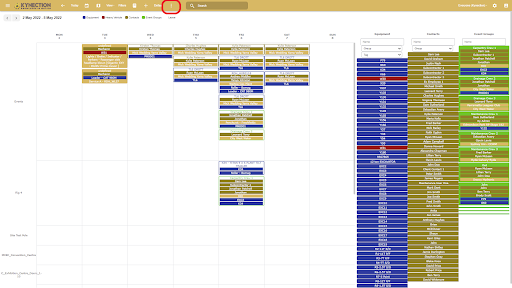
Overview: This ‘How to’ will explain how to configure the scheduler and change the display features of the scheduler.
1. To alter the configuration of the scheduler simply click on the three dots in the top panel
2. Then click on ‘Settings’

3. This will open the settings panel

4. In this tab is where the scheduler can be configured
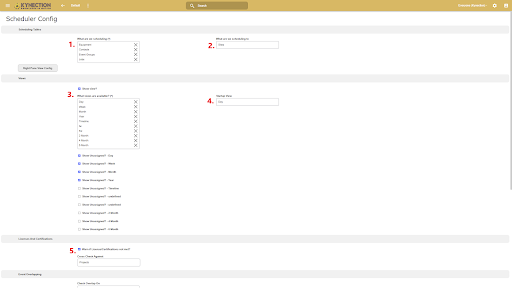
- ‘What we are scheduling’ These are the items that we click and drop on to the schedule.
- ‘What we are scheduling to’ This is the items in the left hand panel on the schedule.
- ‘What views are available’ These are the items that are available in the ‘view’ options in the top panel.
- ‘Start up view’ This is the default view that appears when the scheduler is first opened.
- ‘Warn if License/Certification not met?’ This tick feature will enable/disable pop ups if an individual is put on a project that they do not hold the qualification for.

