This guide will walk you through the transport workflow, covering job acceptance, completing a fit-for-duty form, pre-start procedures, transport runs, and Pods.
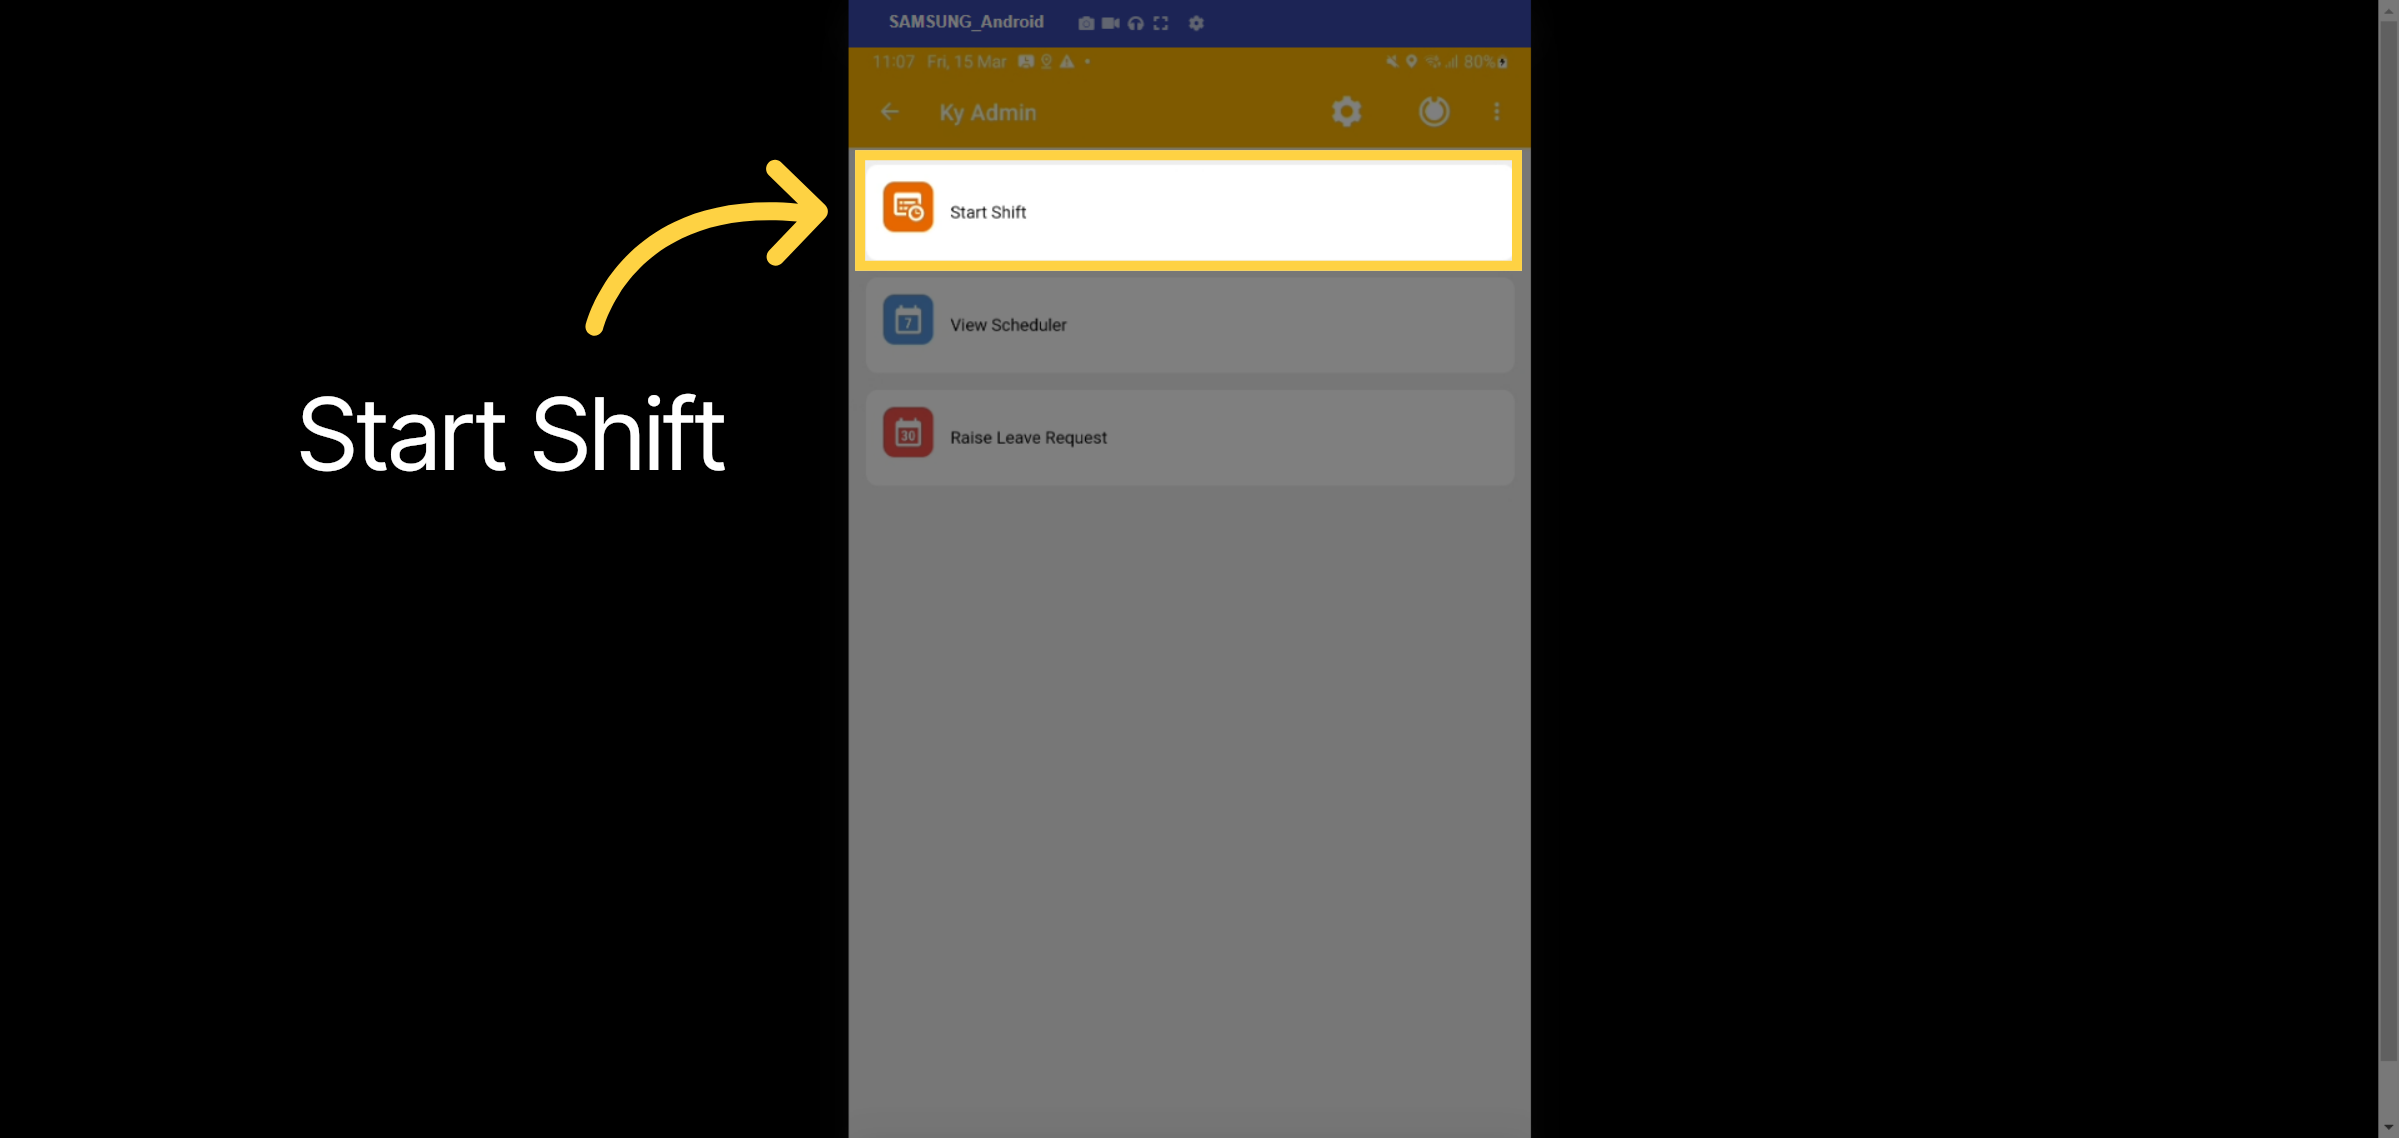
1. Start Shift
Once the Driver logs in, they will start their shift by swiping the start shift button.
2. Fit for duty
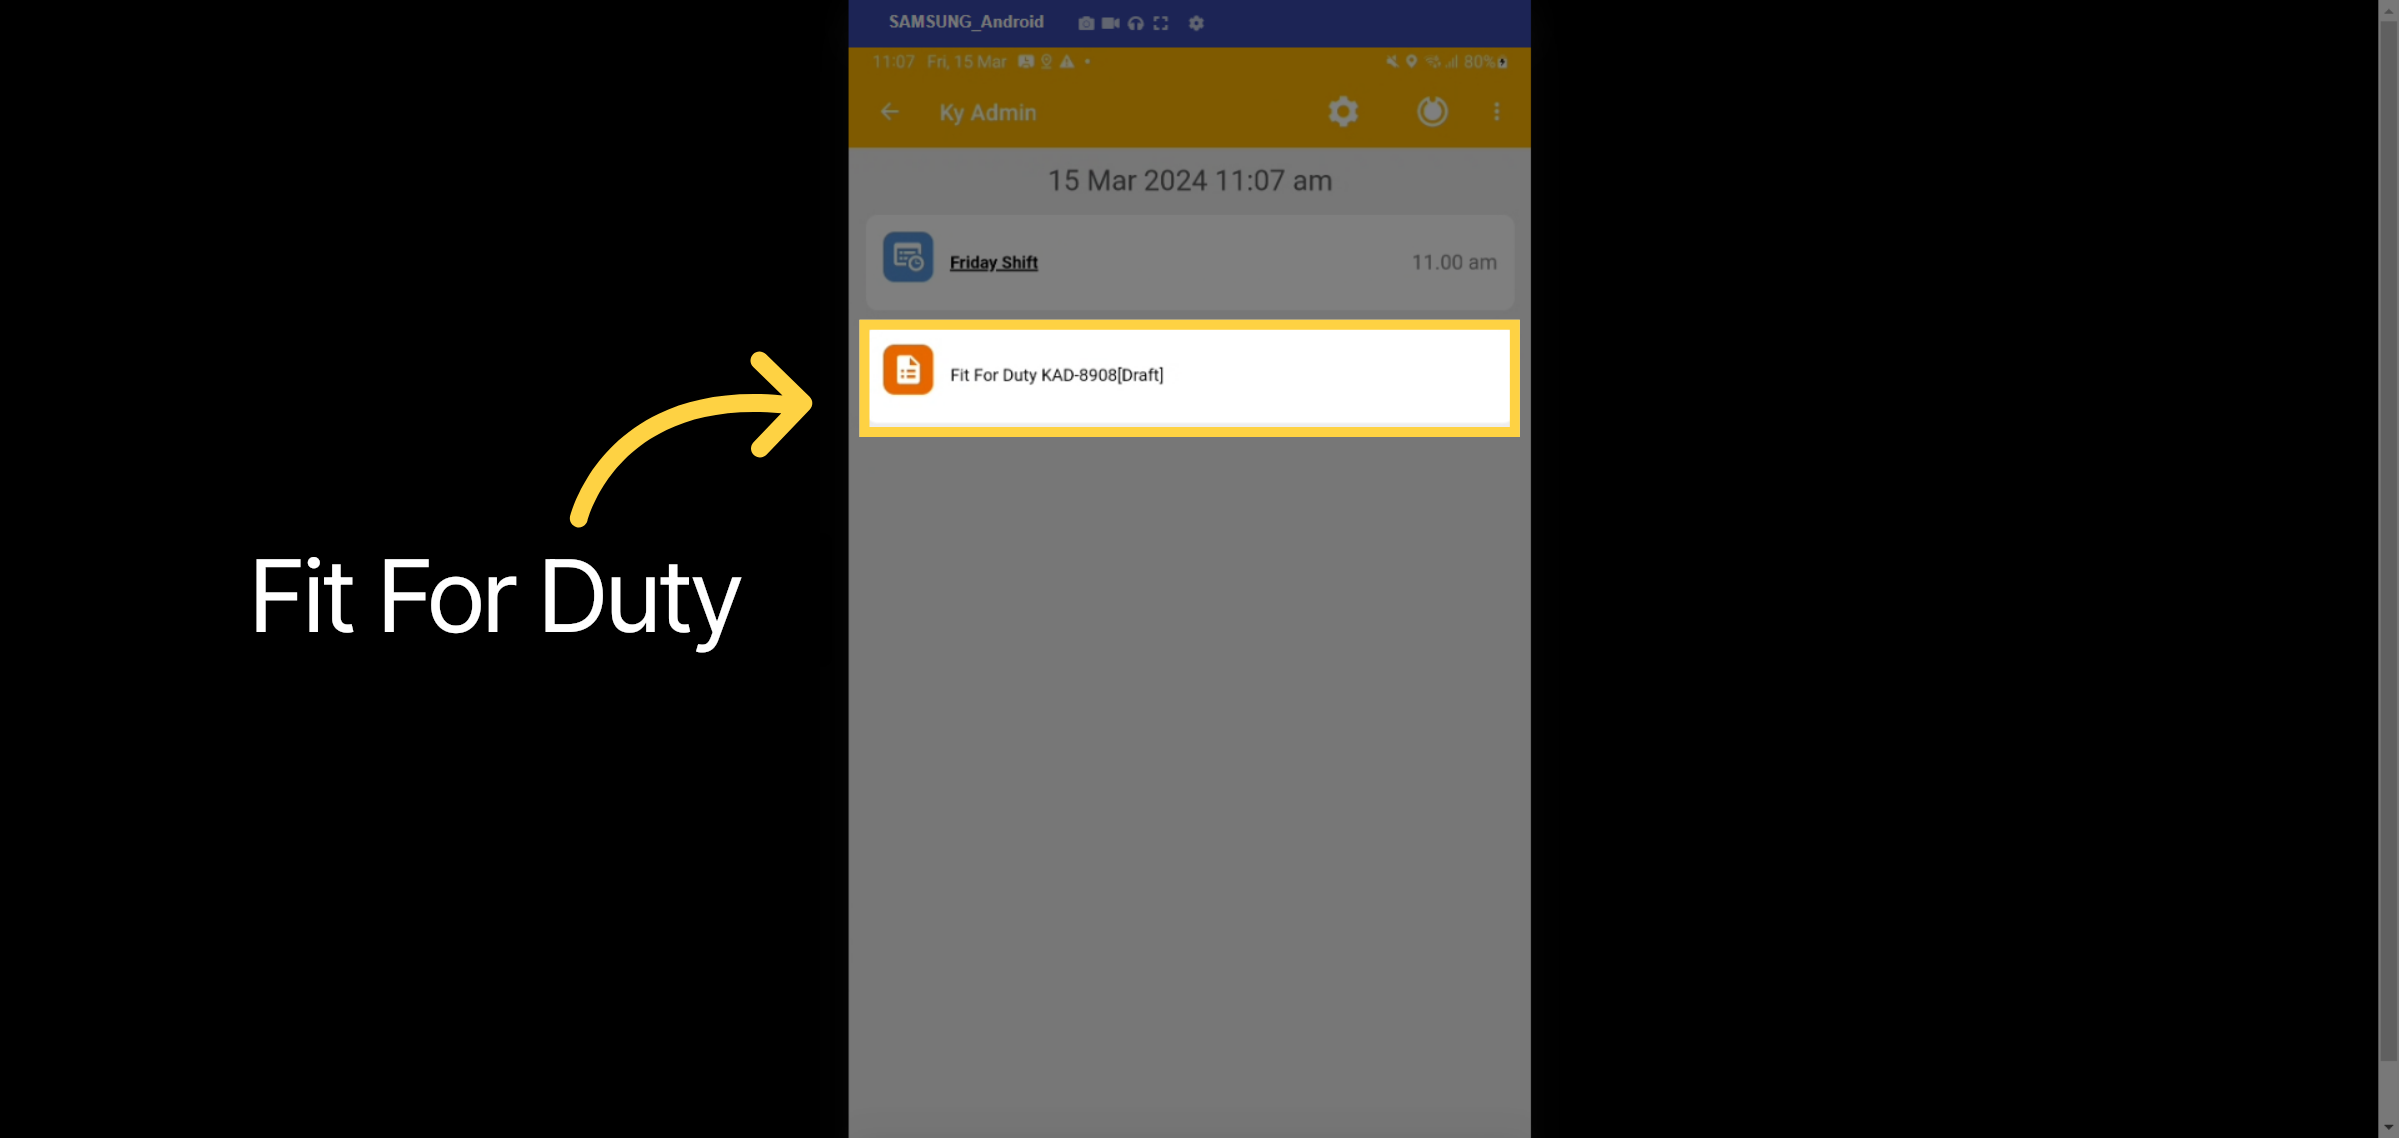
The shift will begin, and the mandatory workflow will commence, requiring the completion of the Fit for Duty form. Please select the Fit for Duty form.
3. Edit
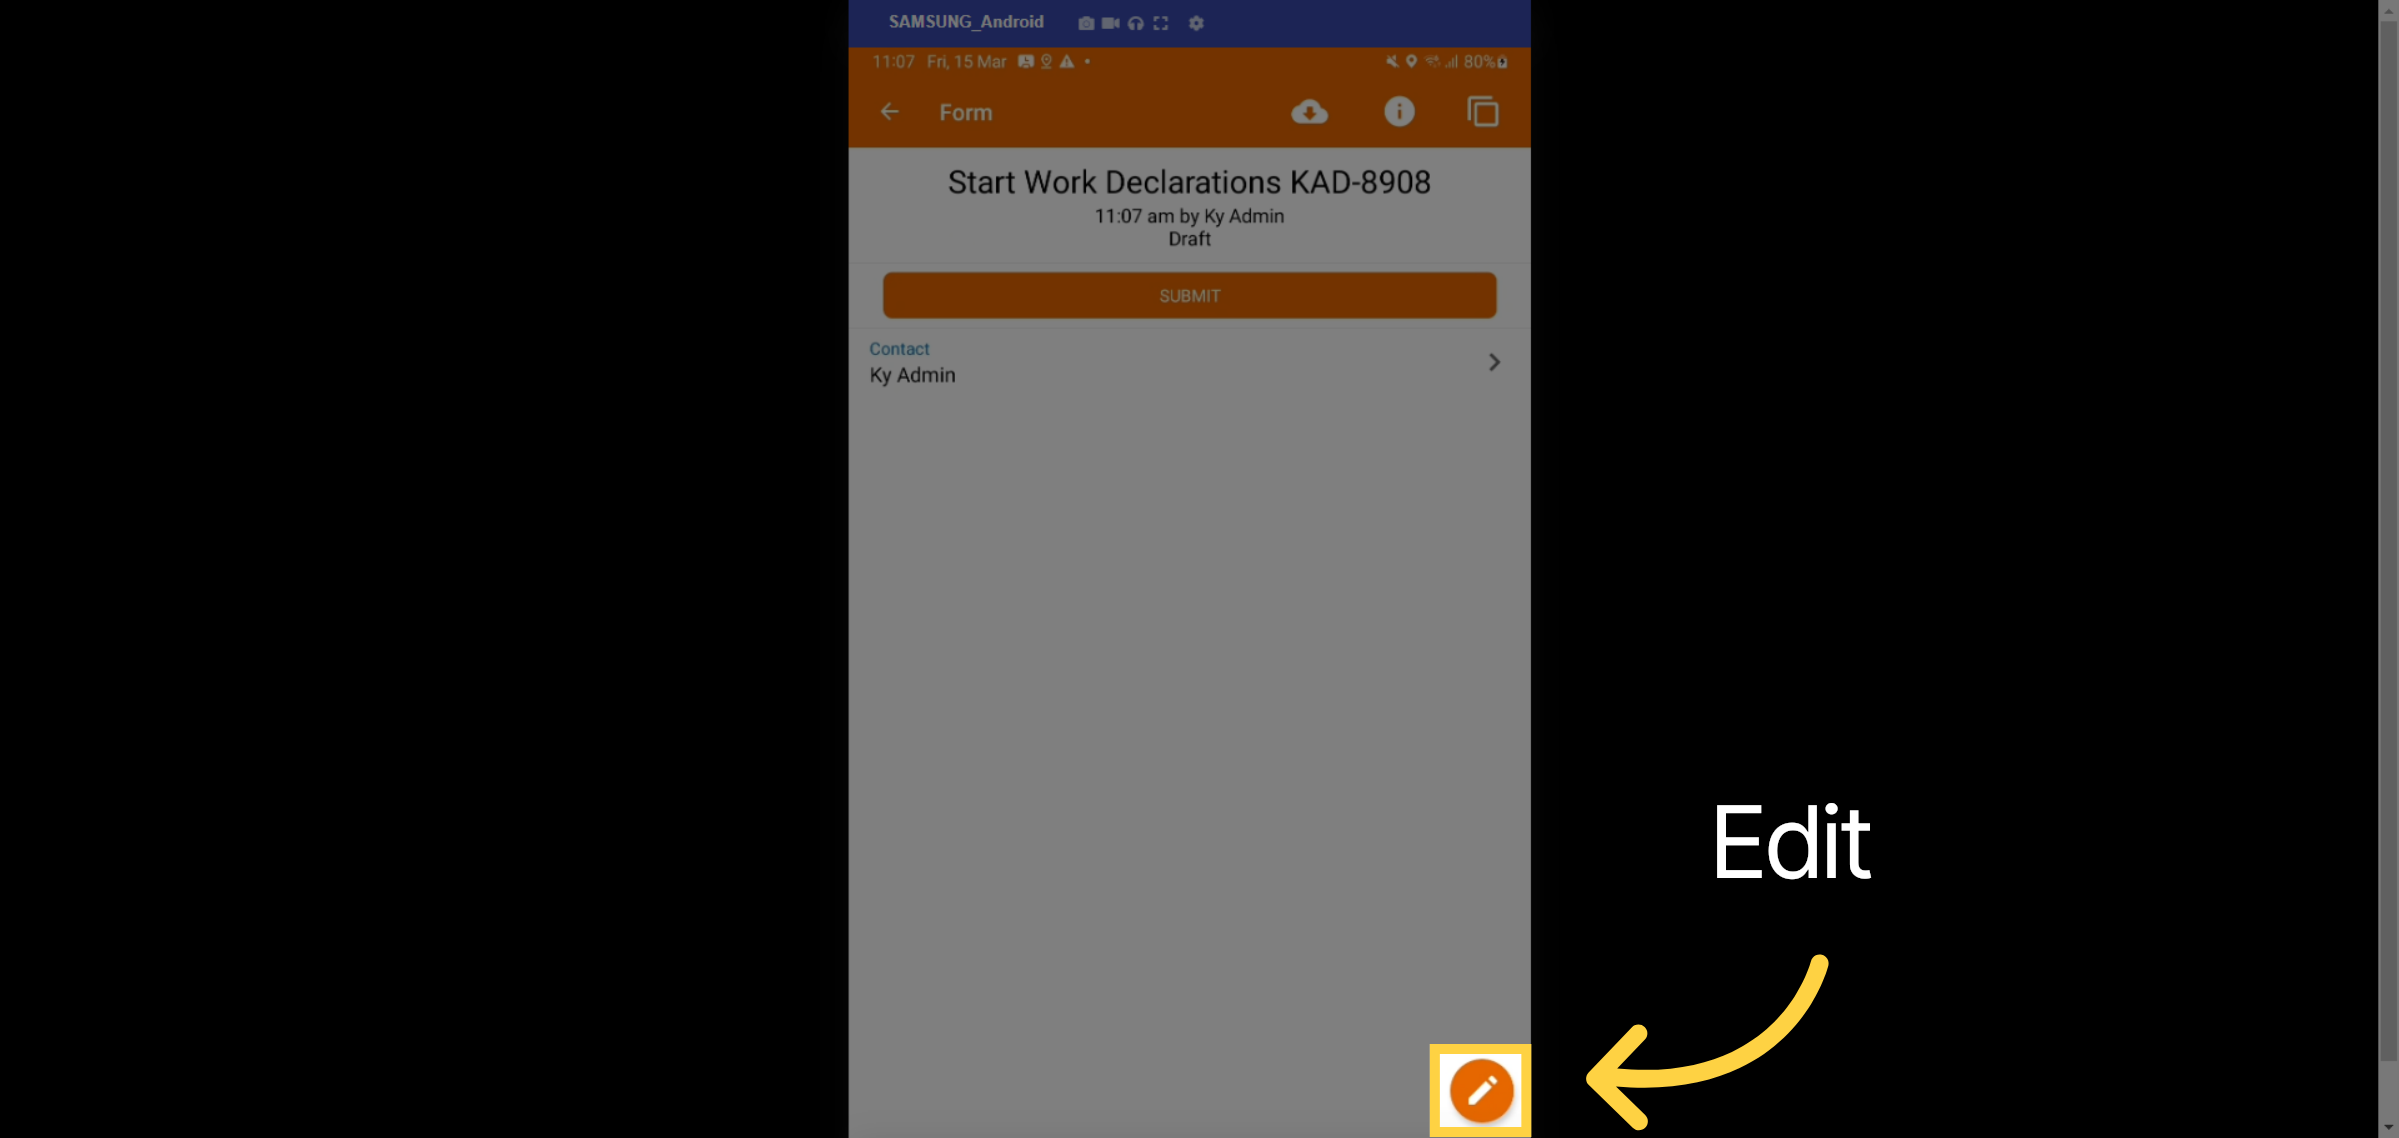
Select the pencil edit field
4. Complete Form
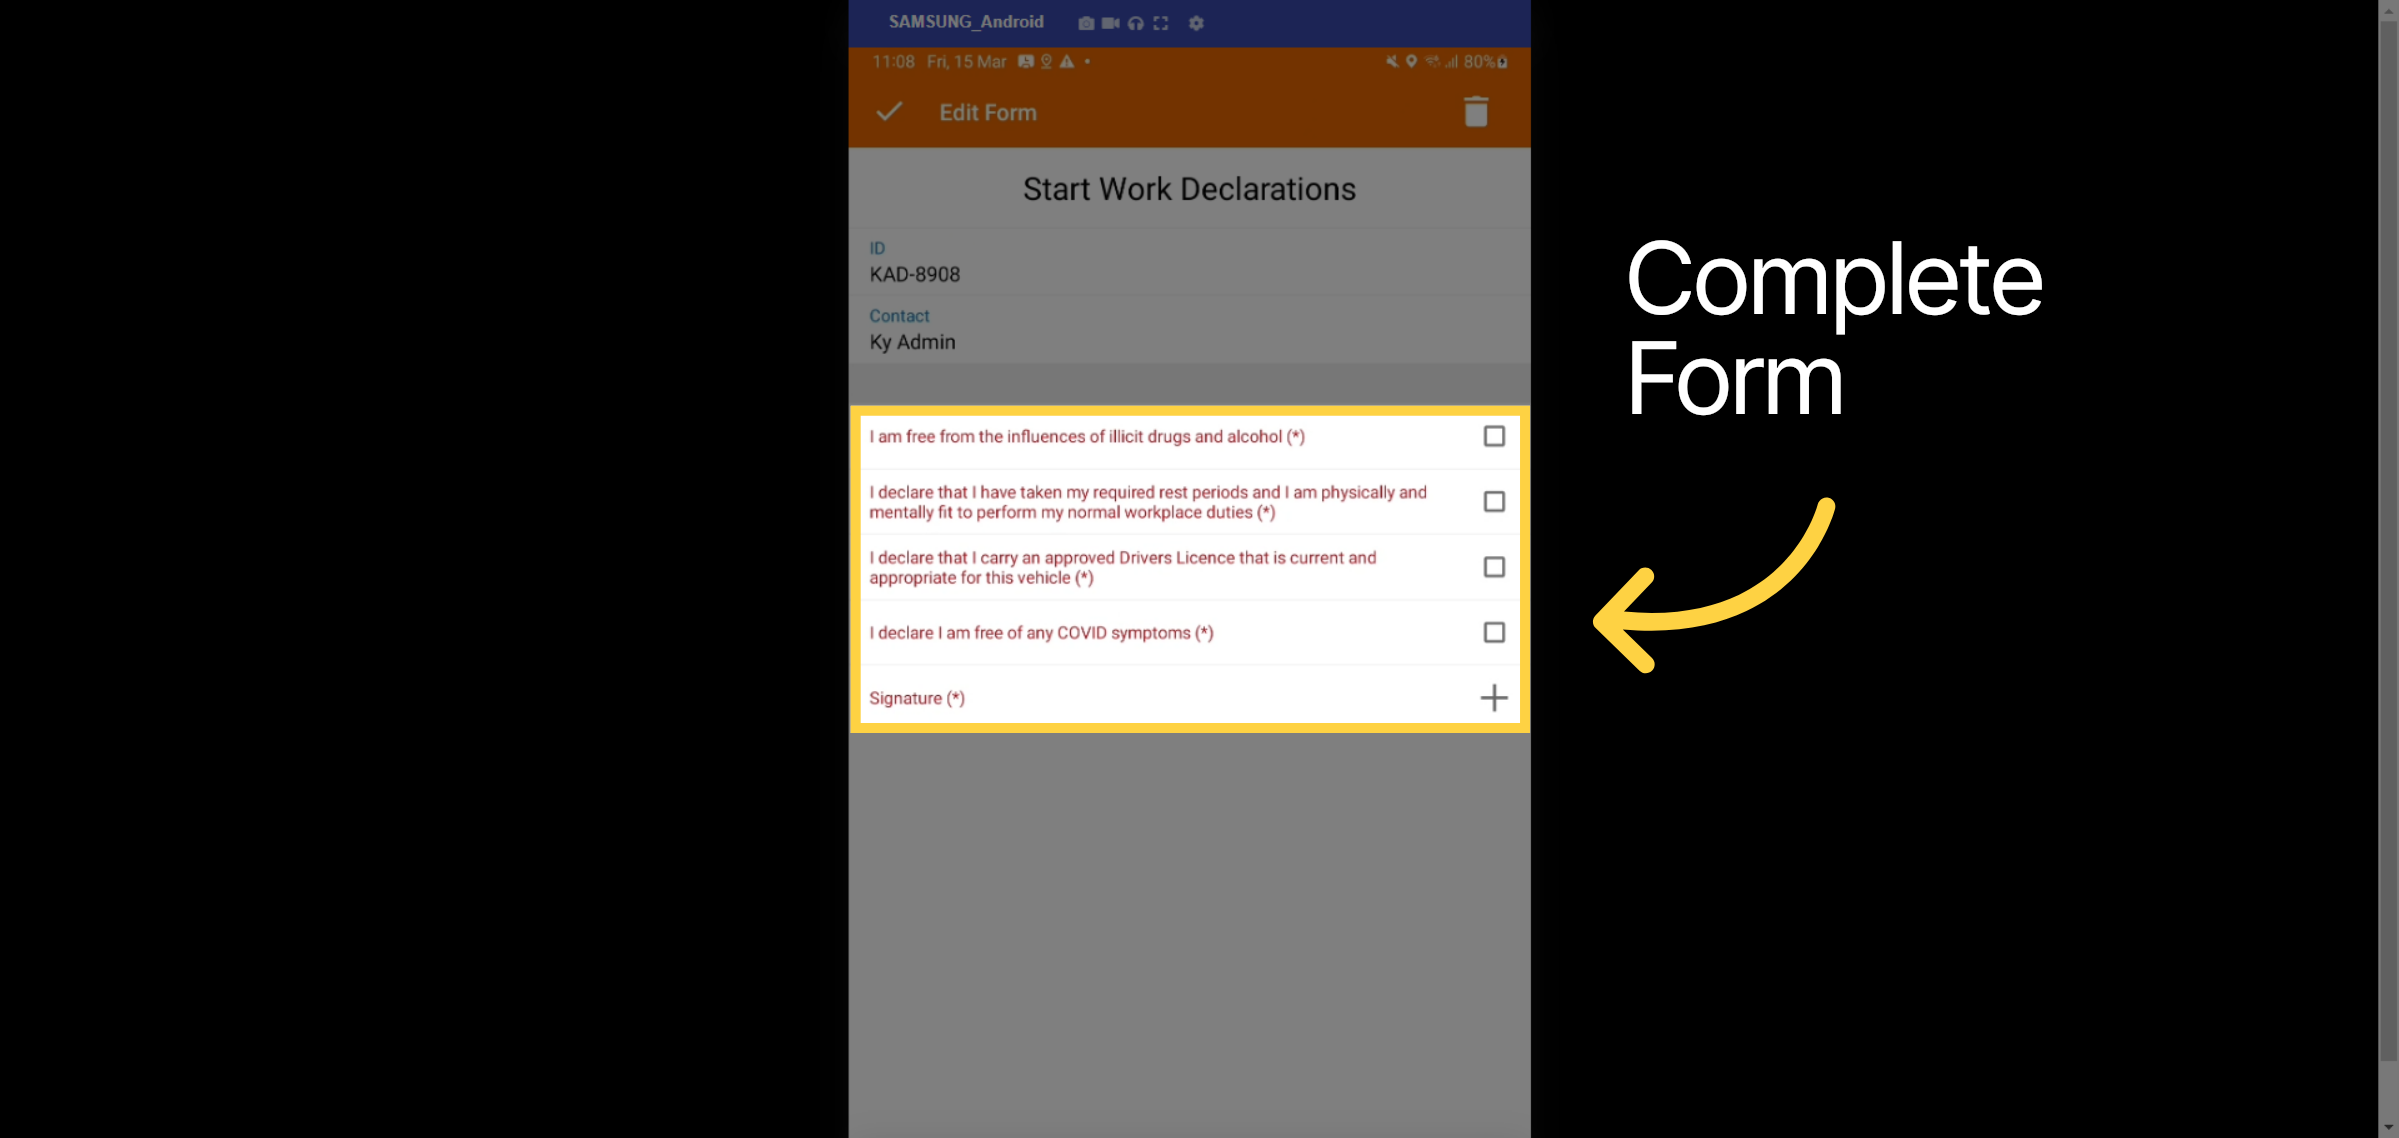
Read and check all check boxes.
5. Save
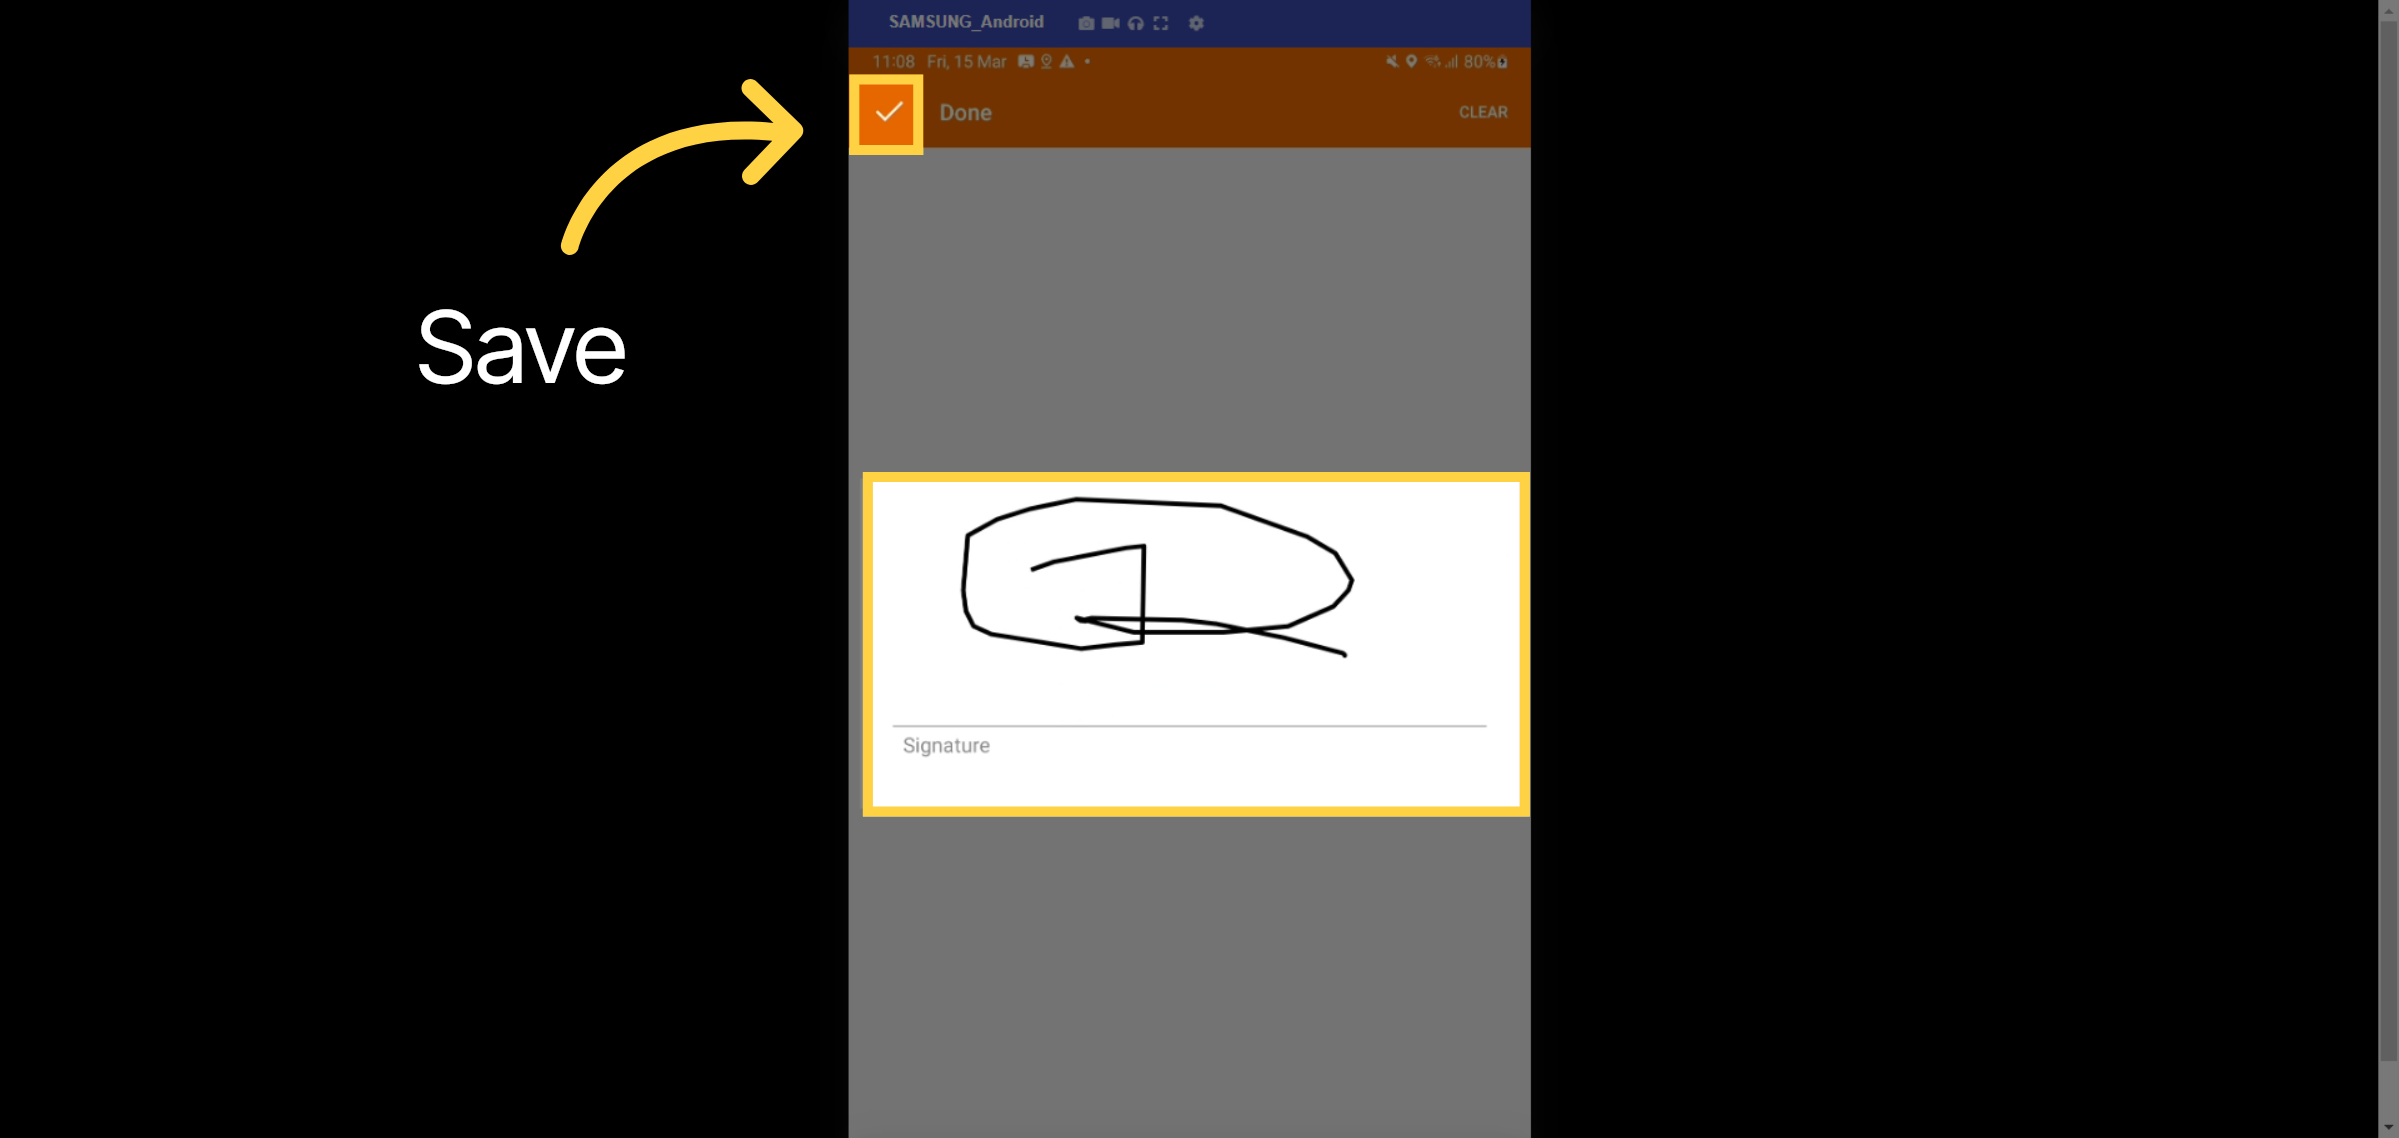
Input your signature and click the checkmark to save.
6. Submit
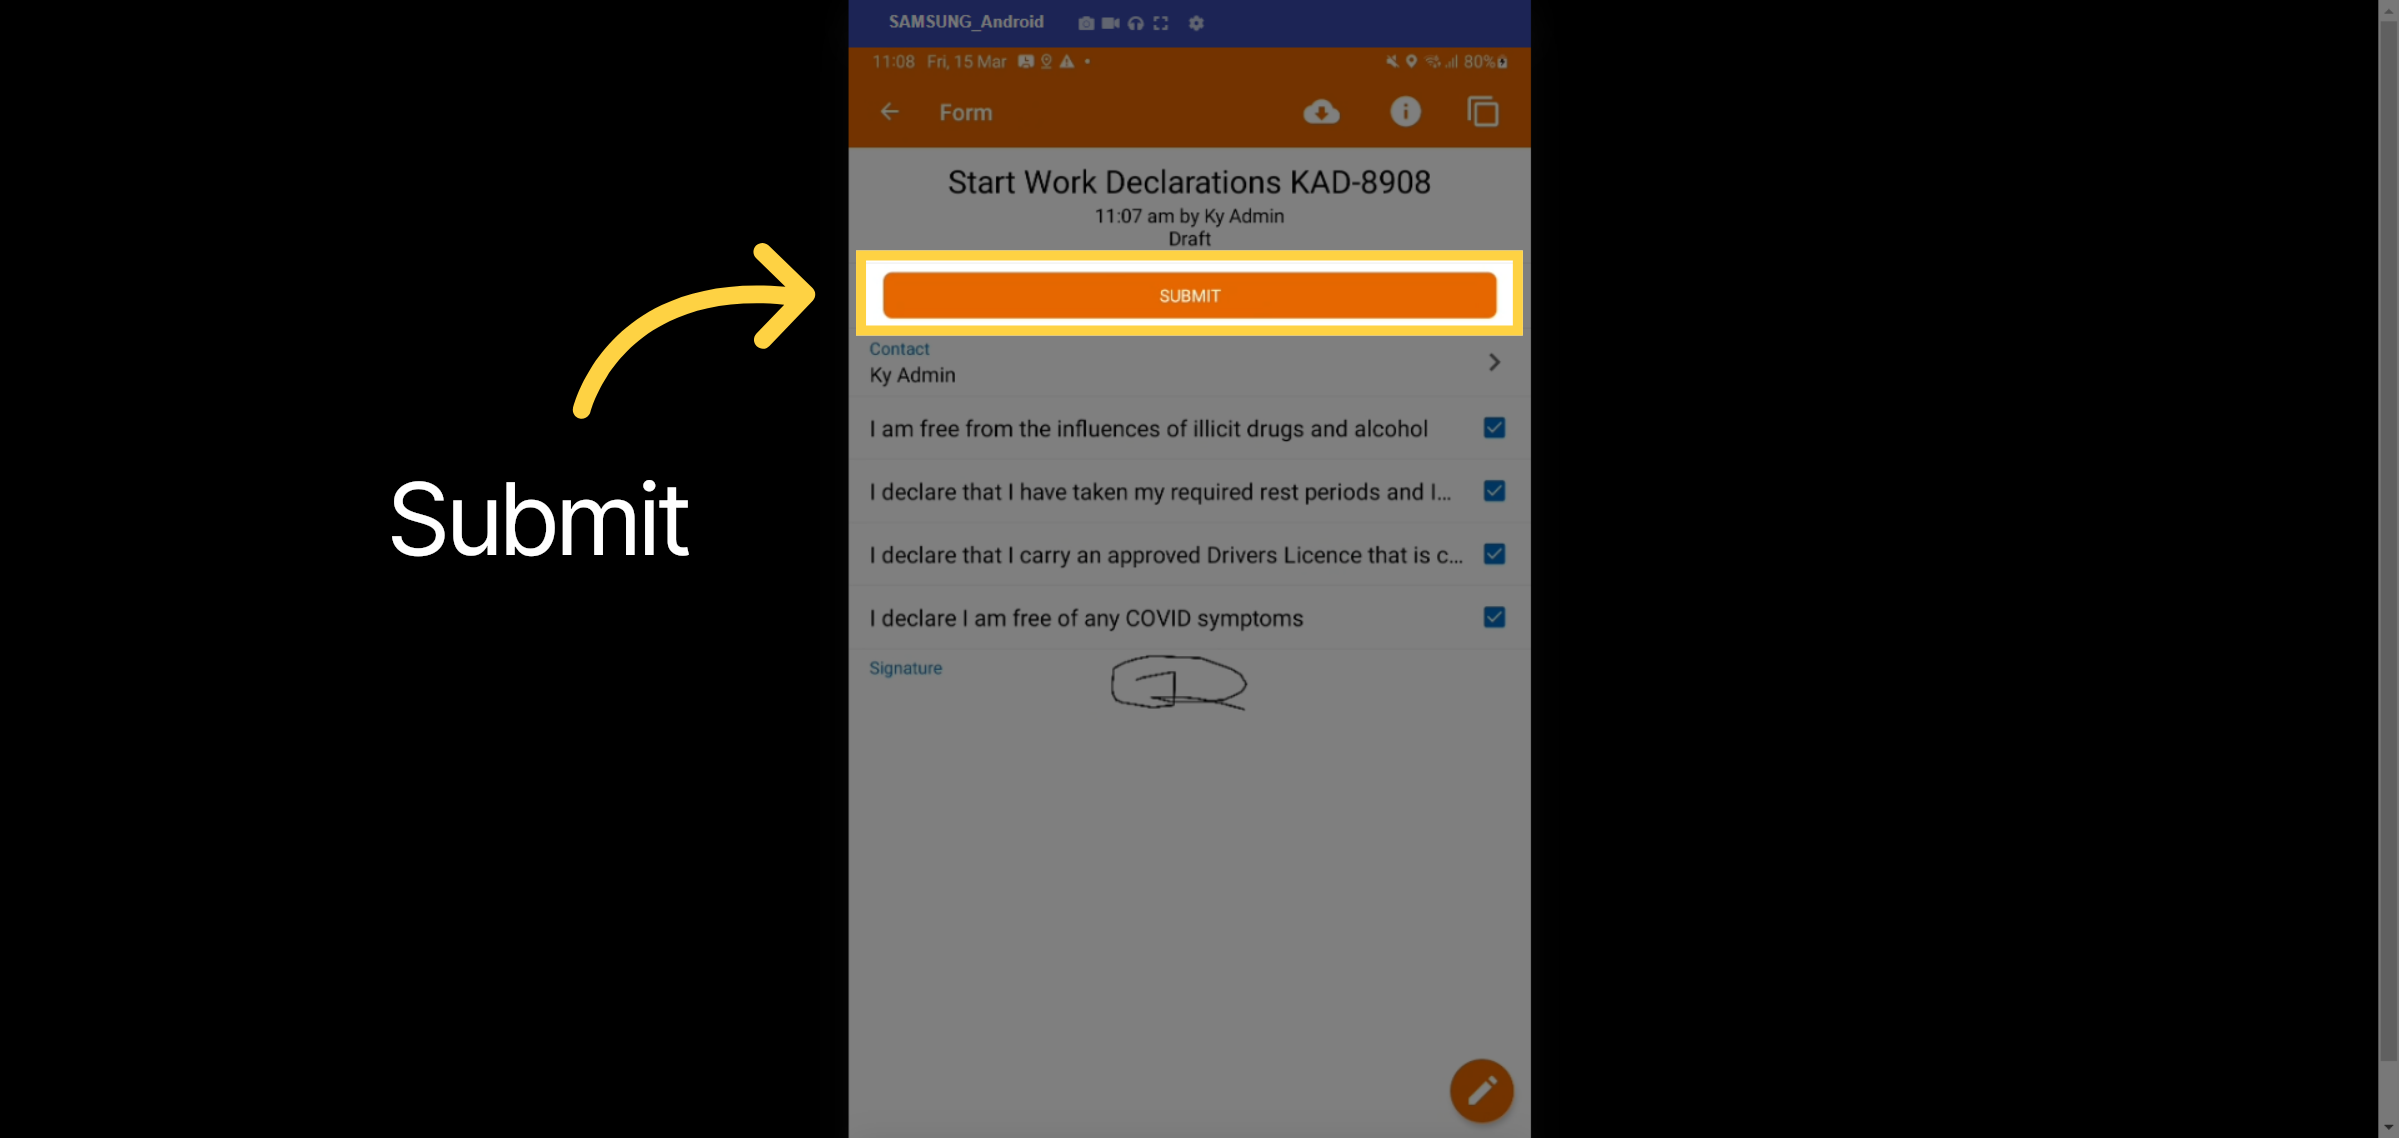
Select the submit button.
7. Pre Start Selection
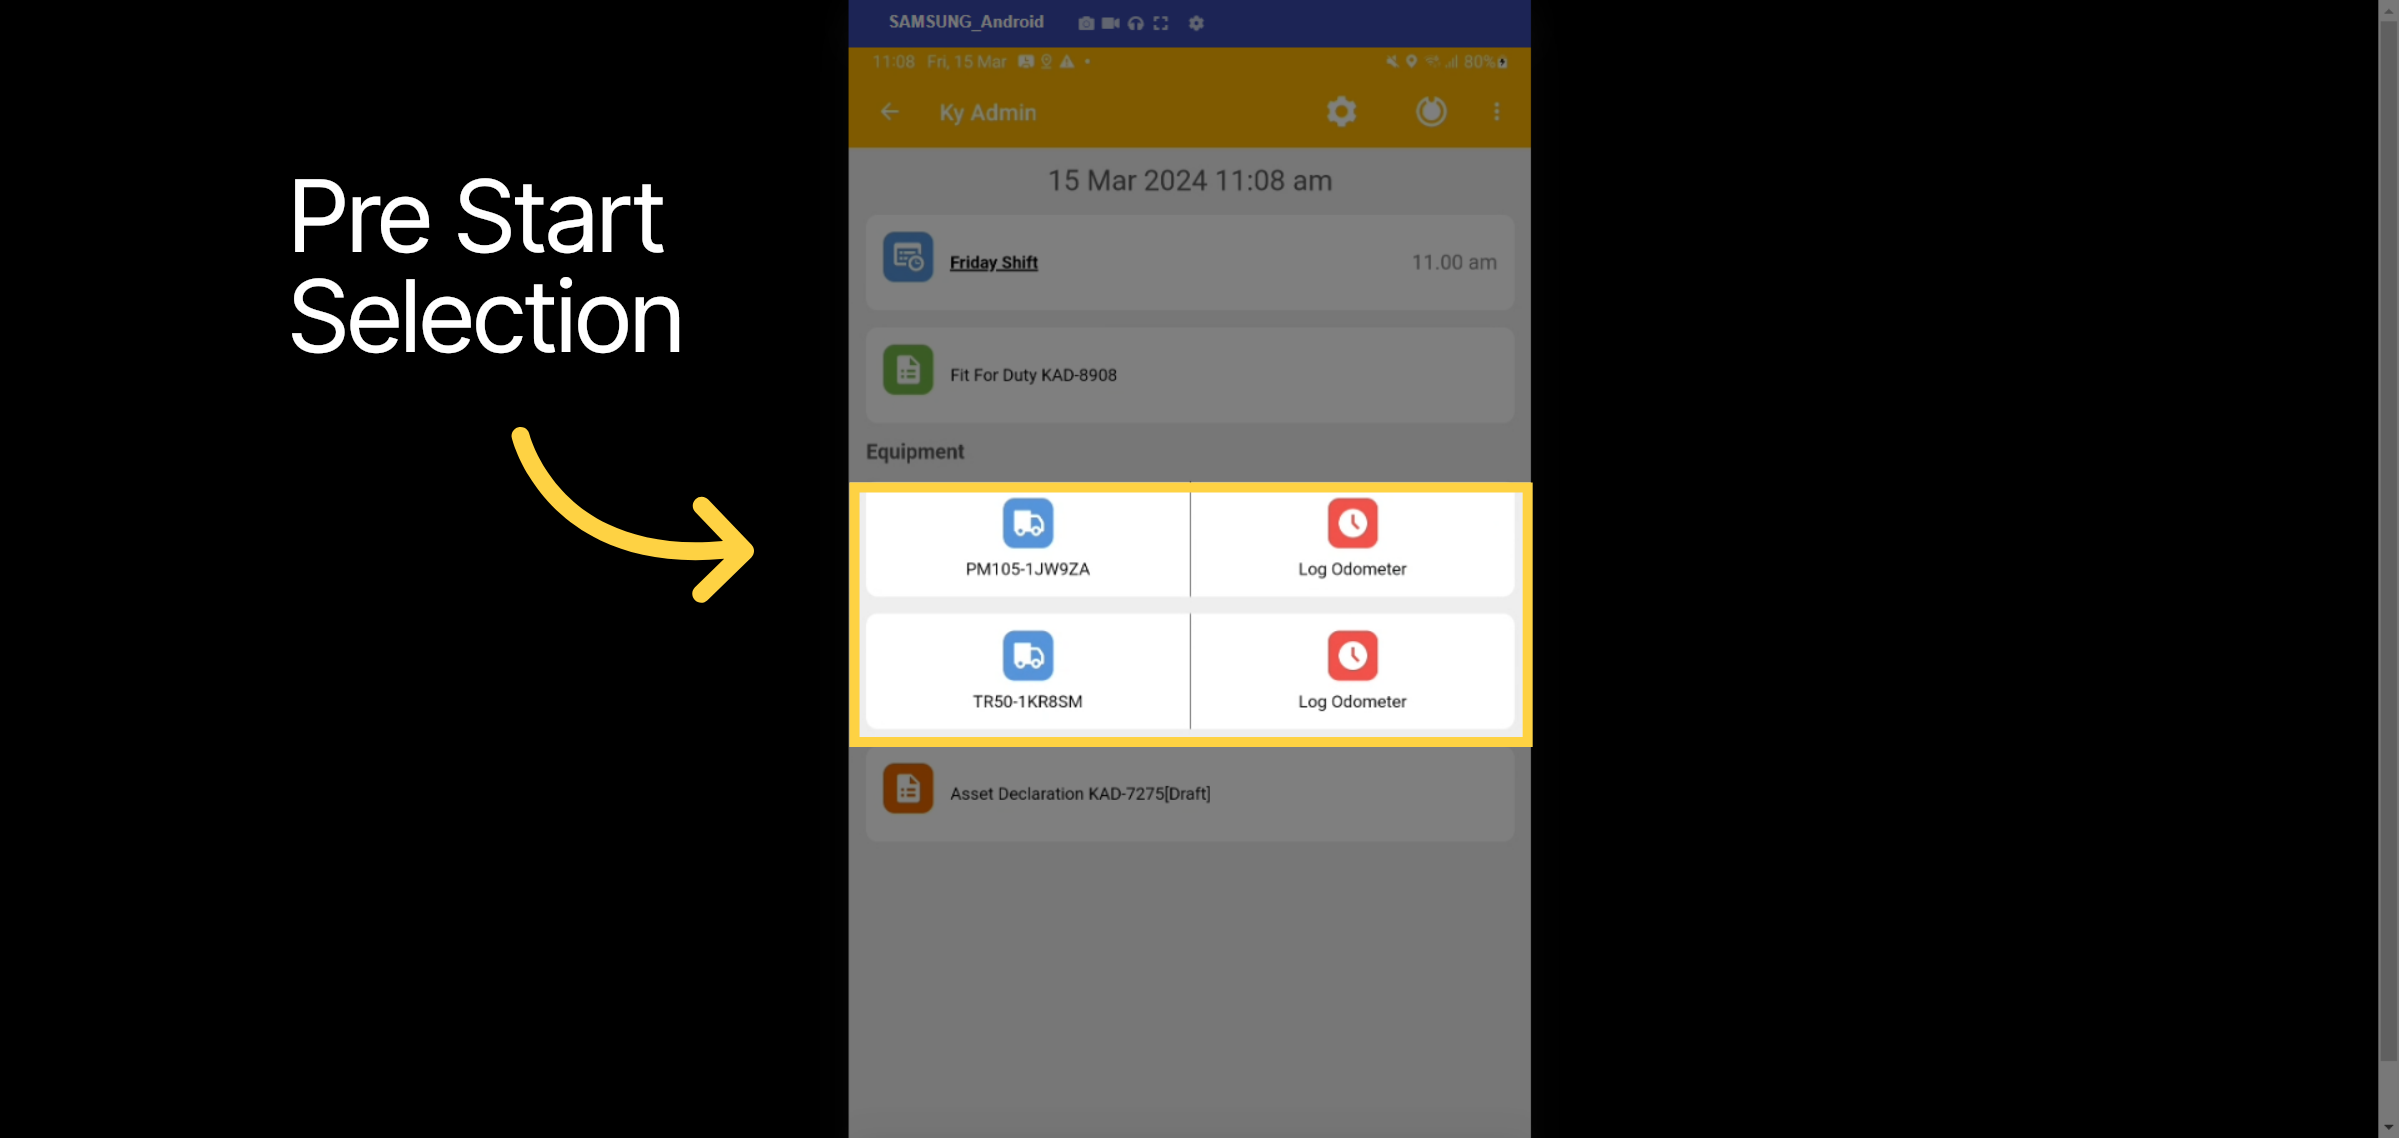
Here you can see the equipment allocated to you and need to procced with the prestart cheklist to advance to the next stage
8. Prestart
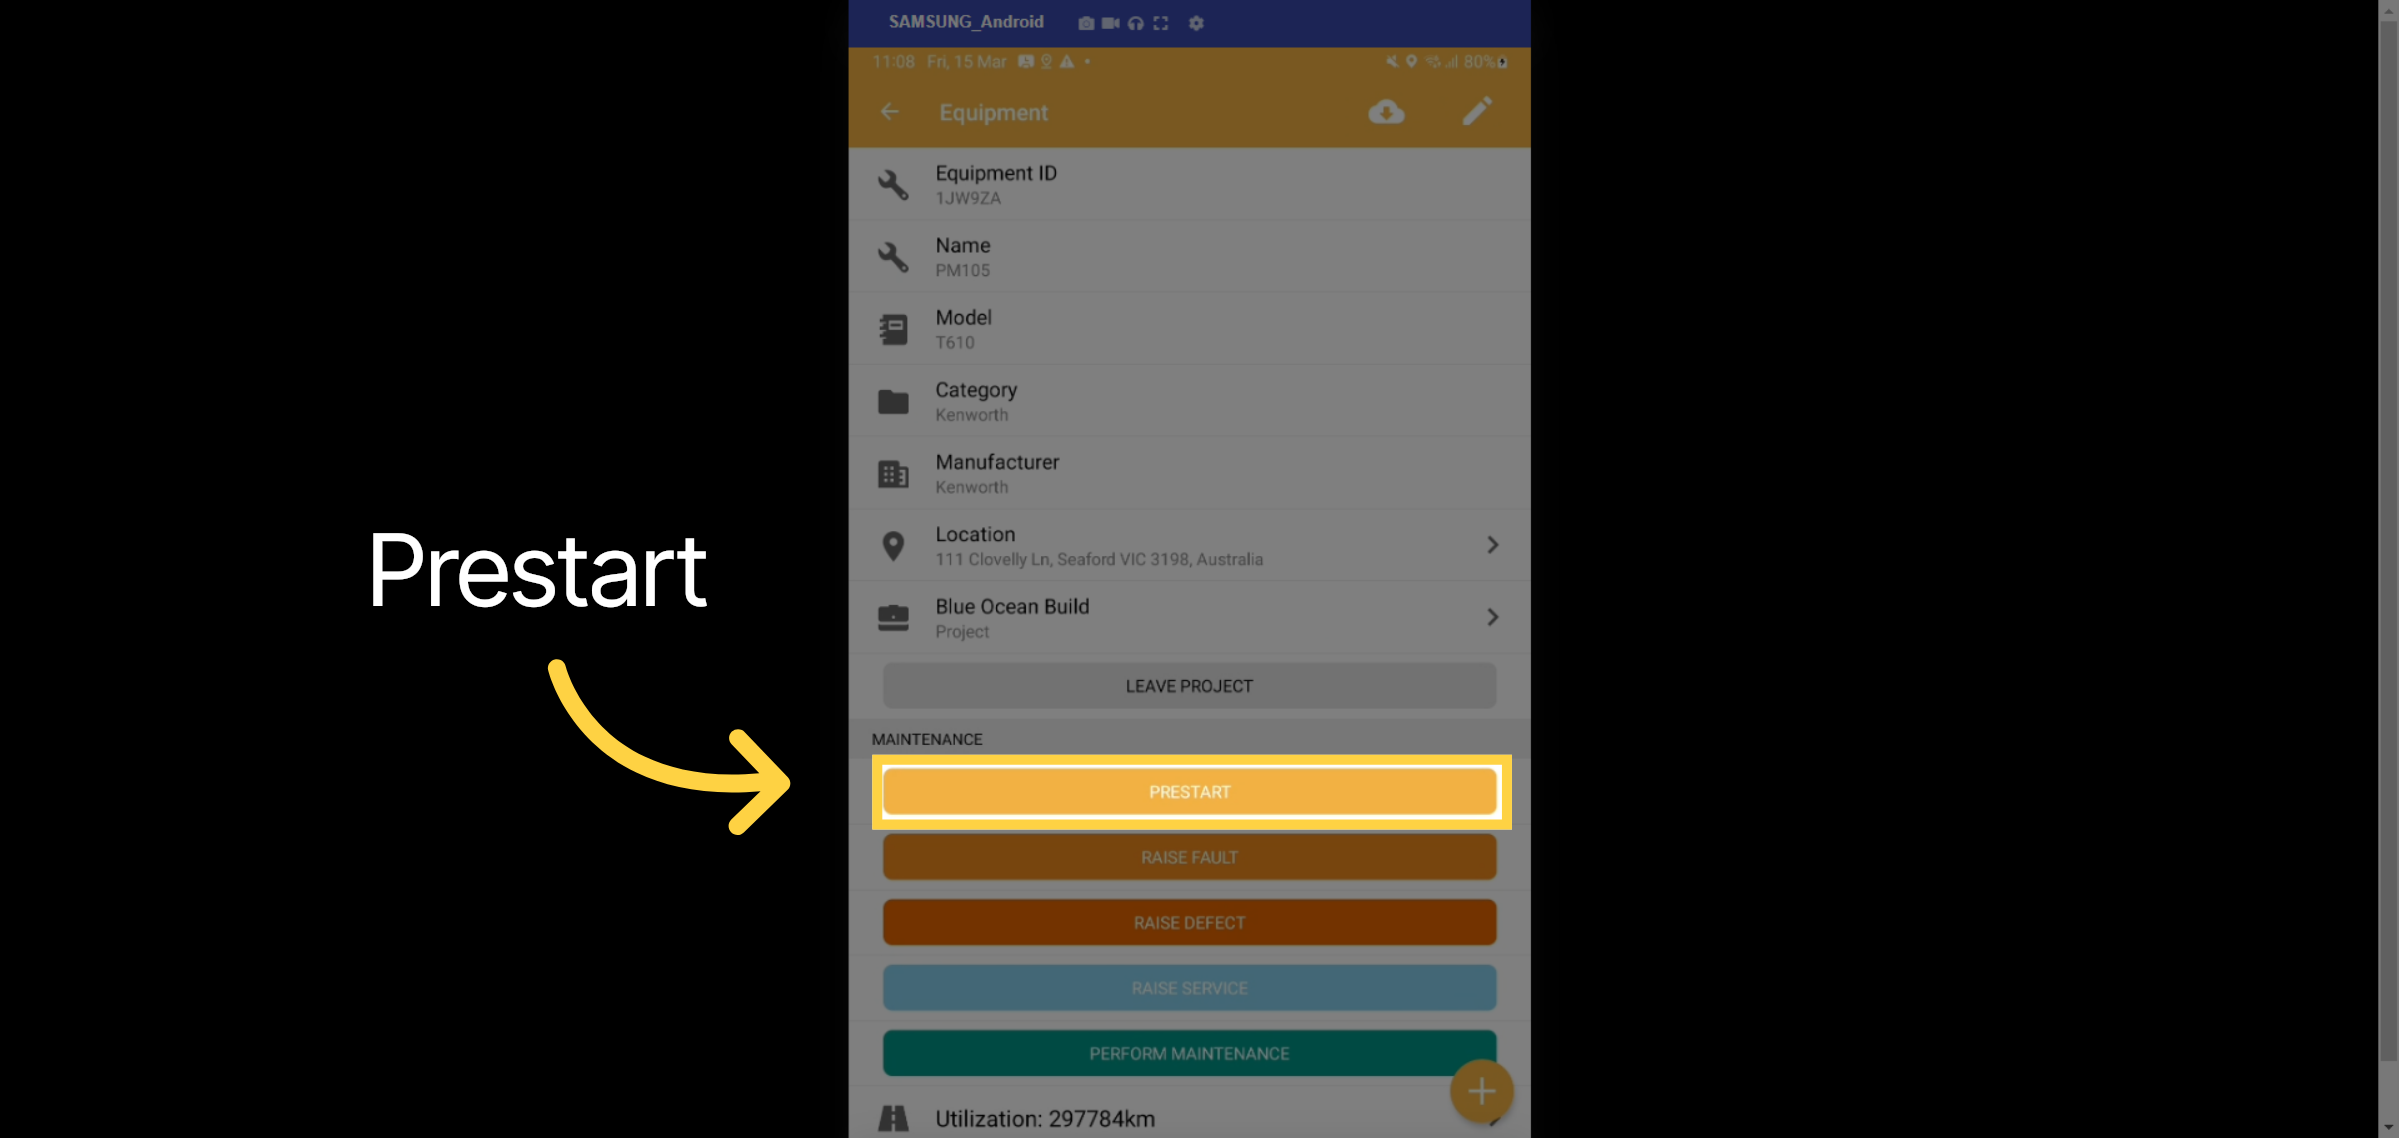
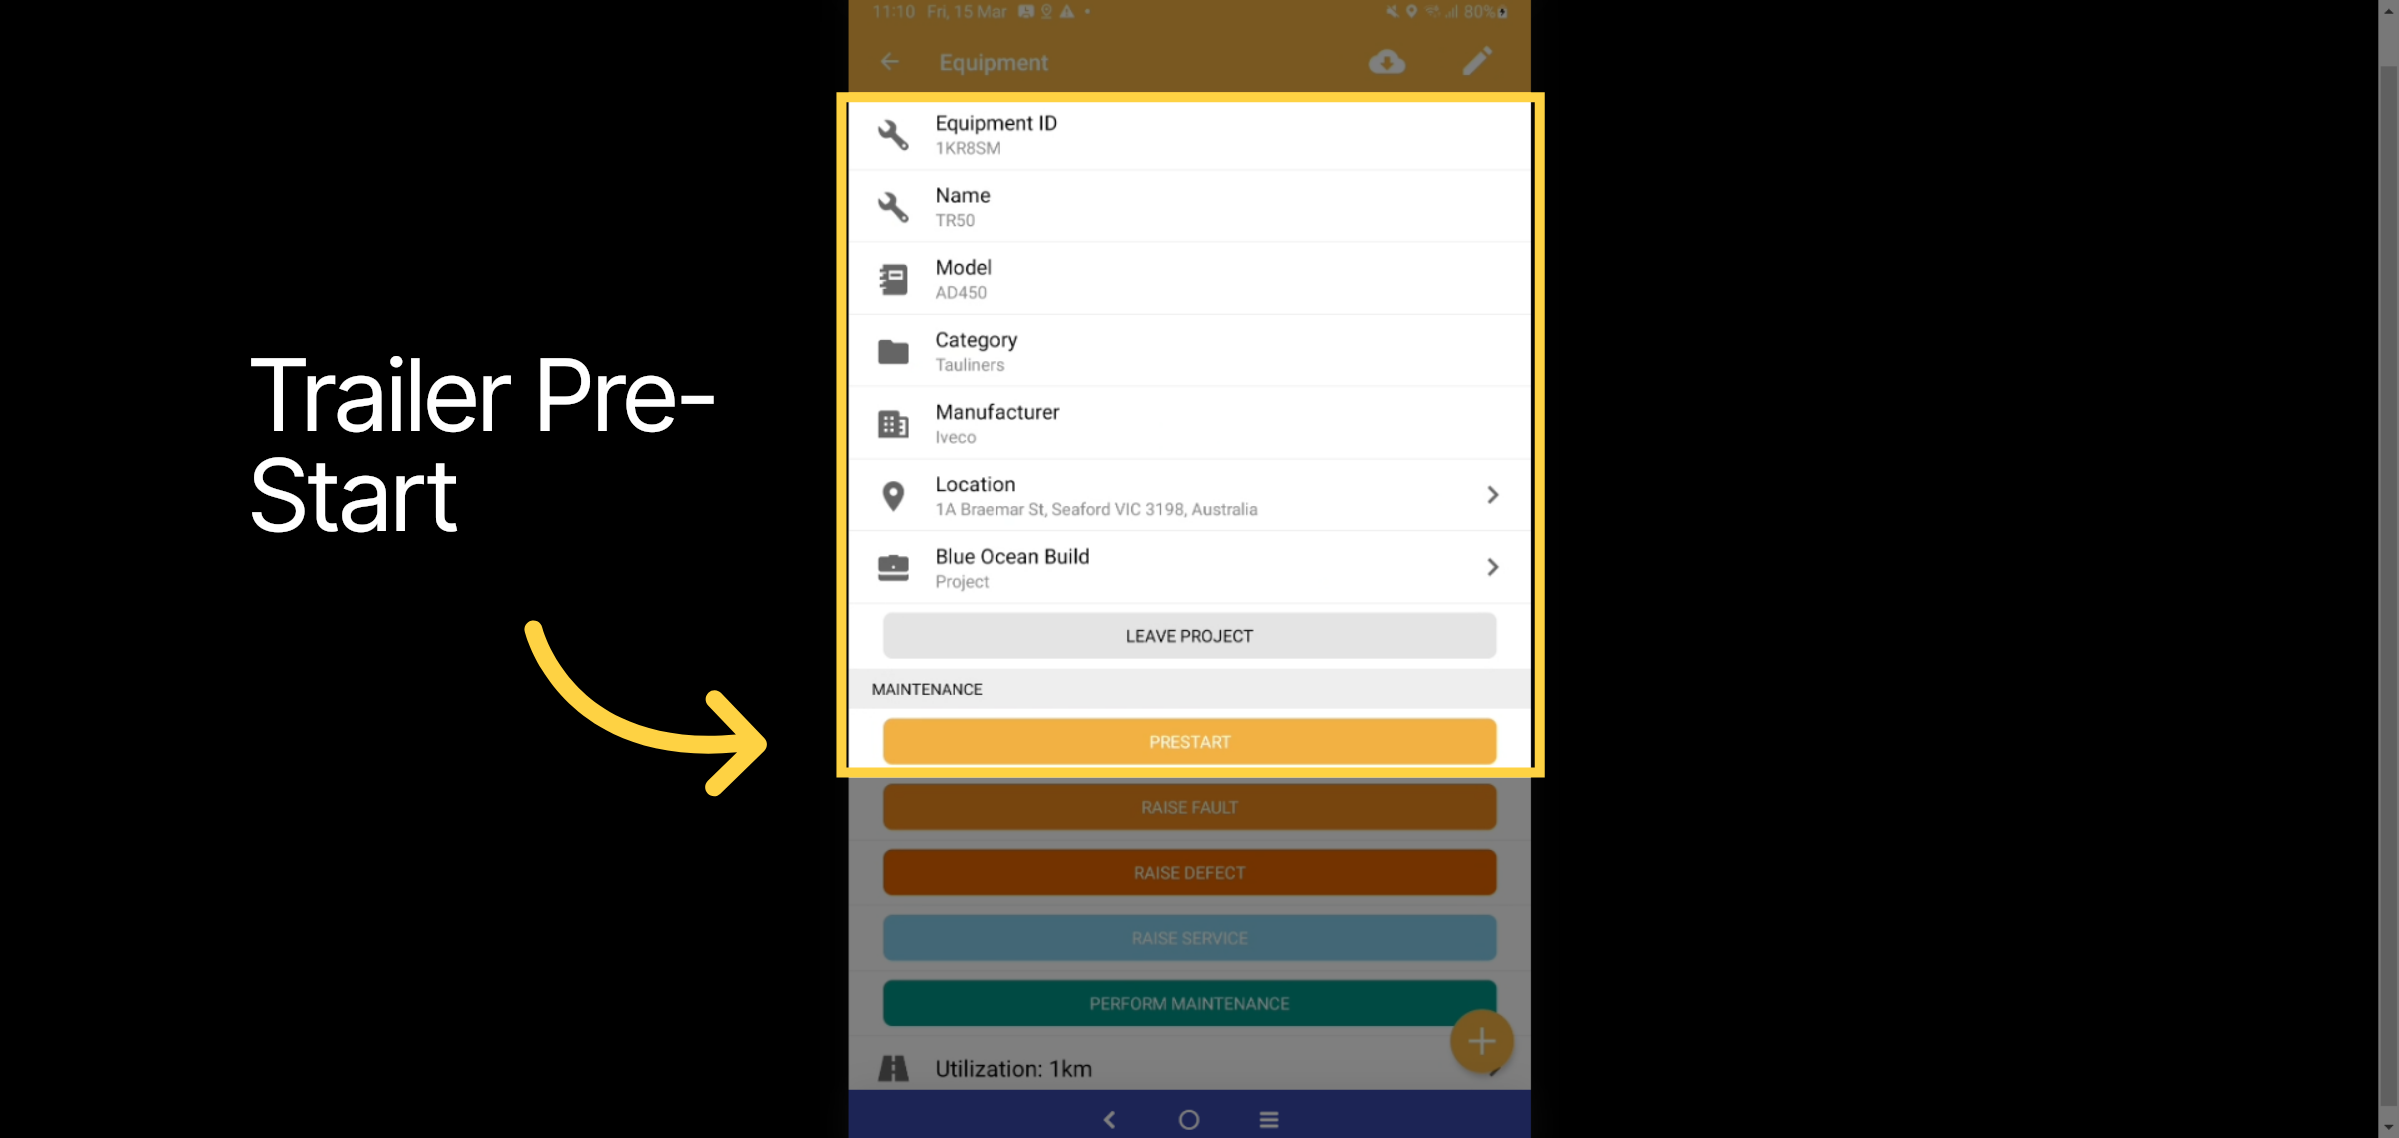
Here you will be able to view all information and history of this asset. Please select the prestart button.
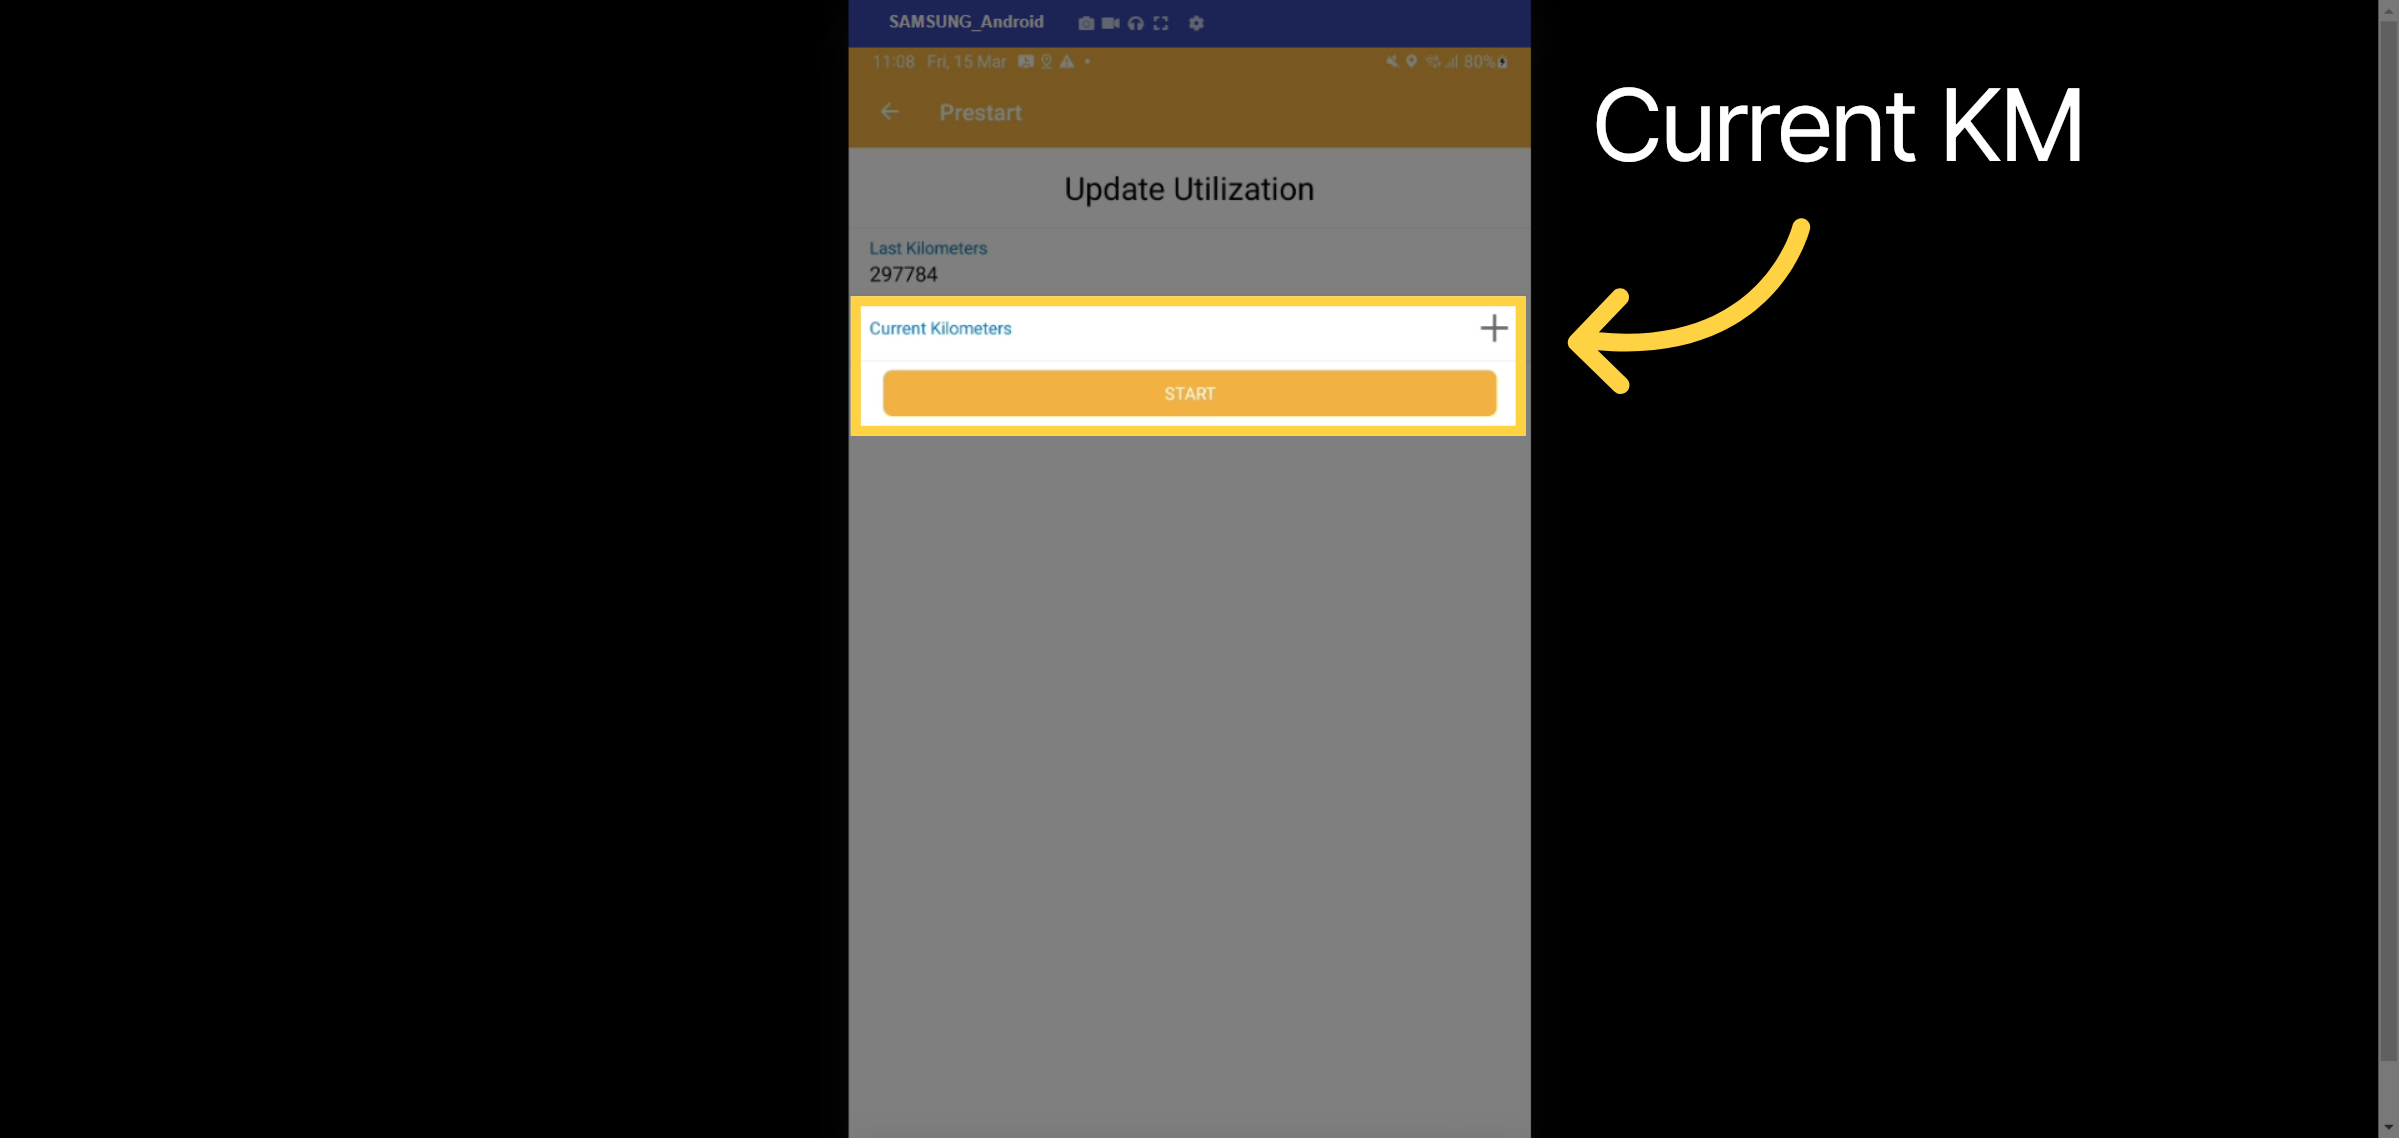
9. Add Current Kilometer
Input the current Kilometeres or hours of the asset
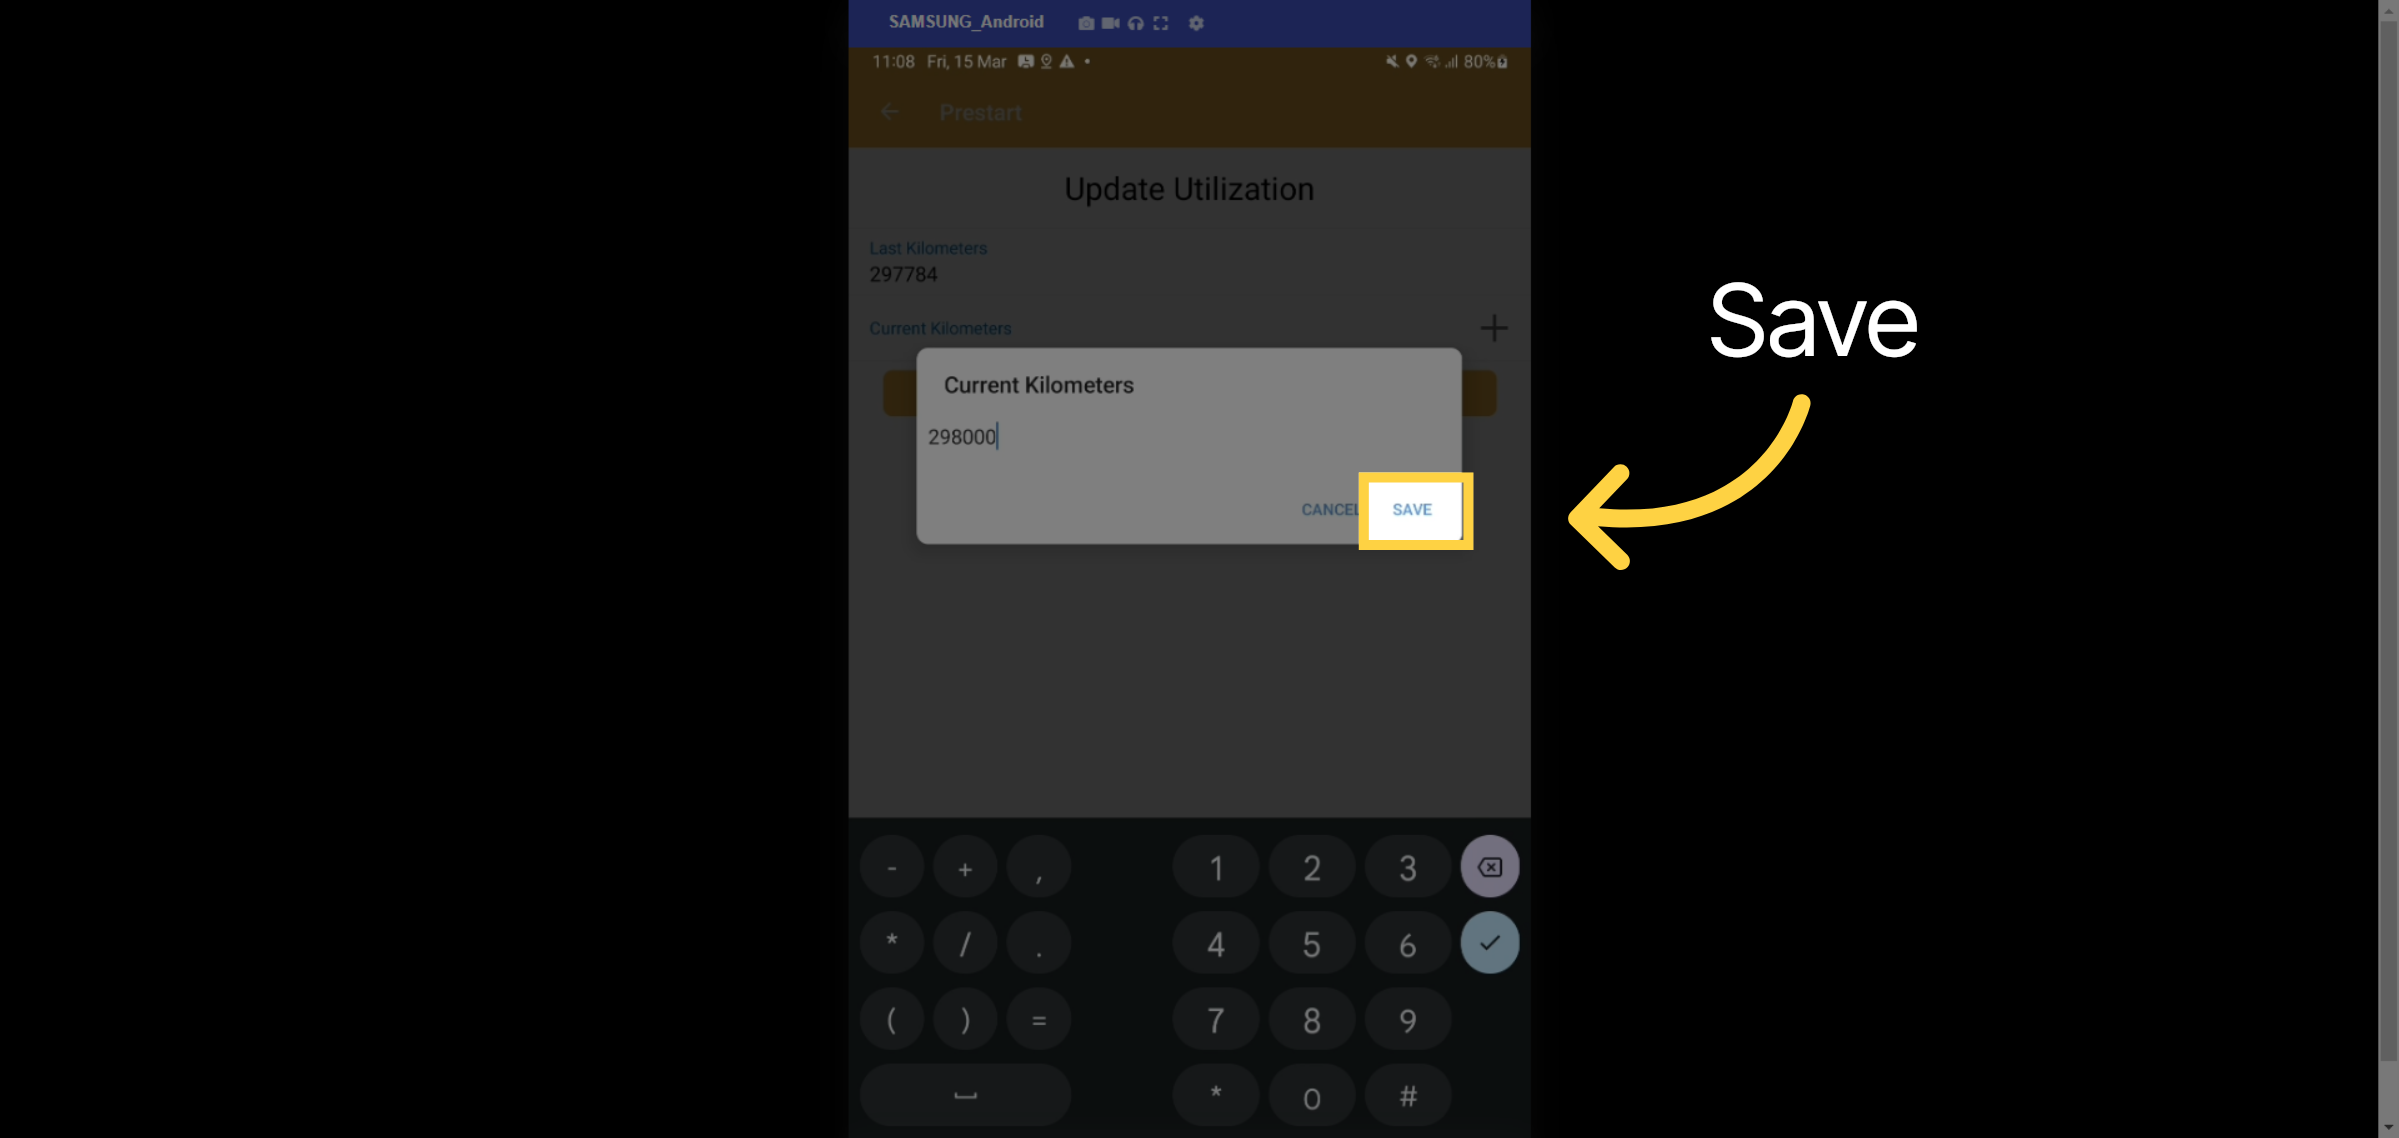
10. Save
Select Save
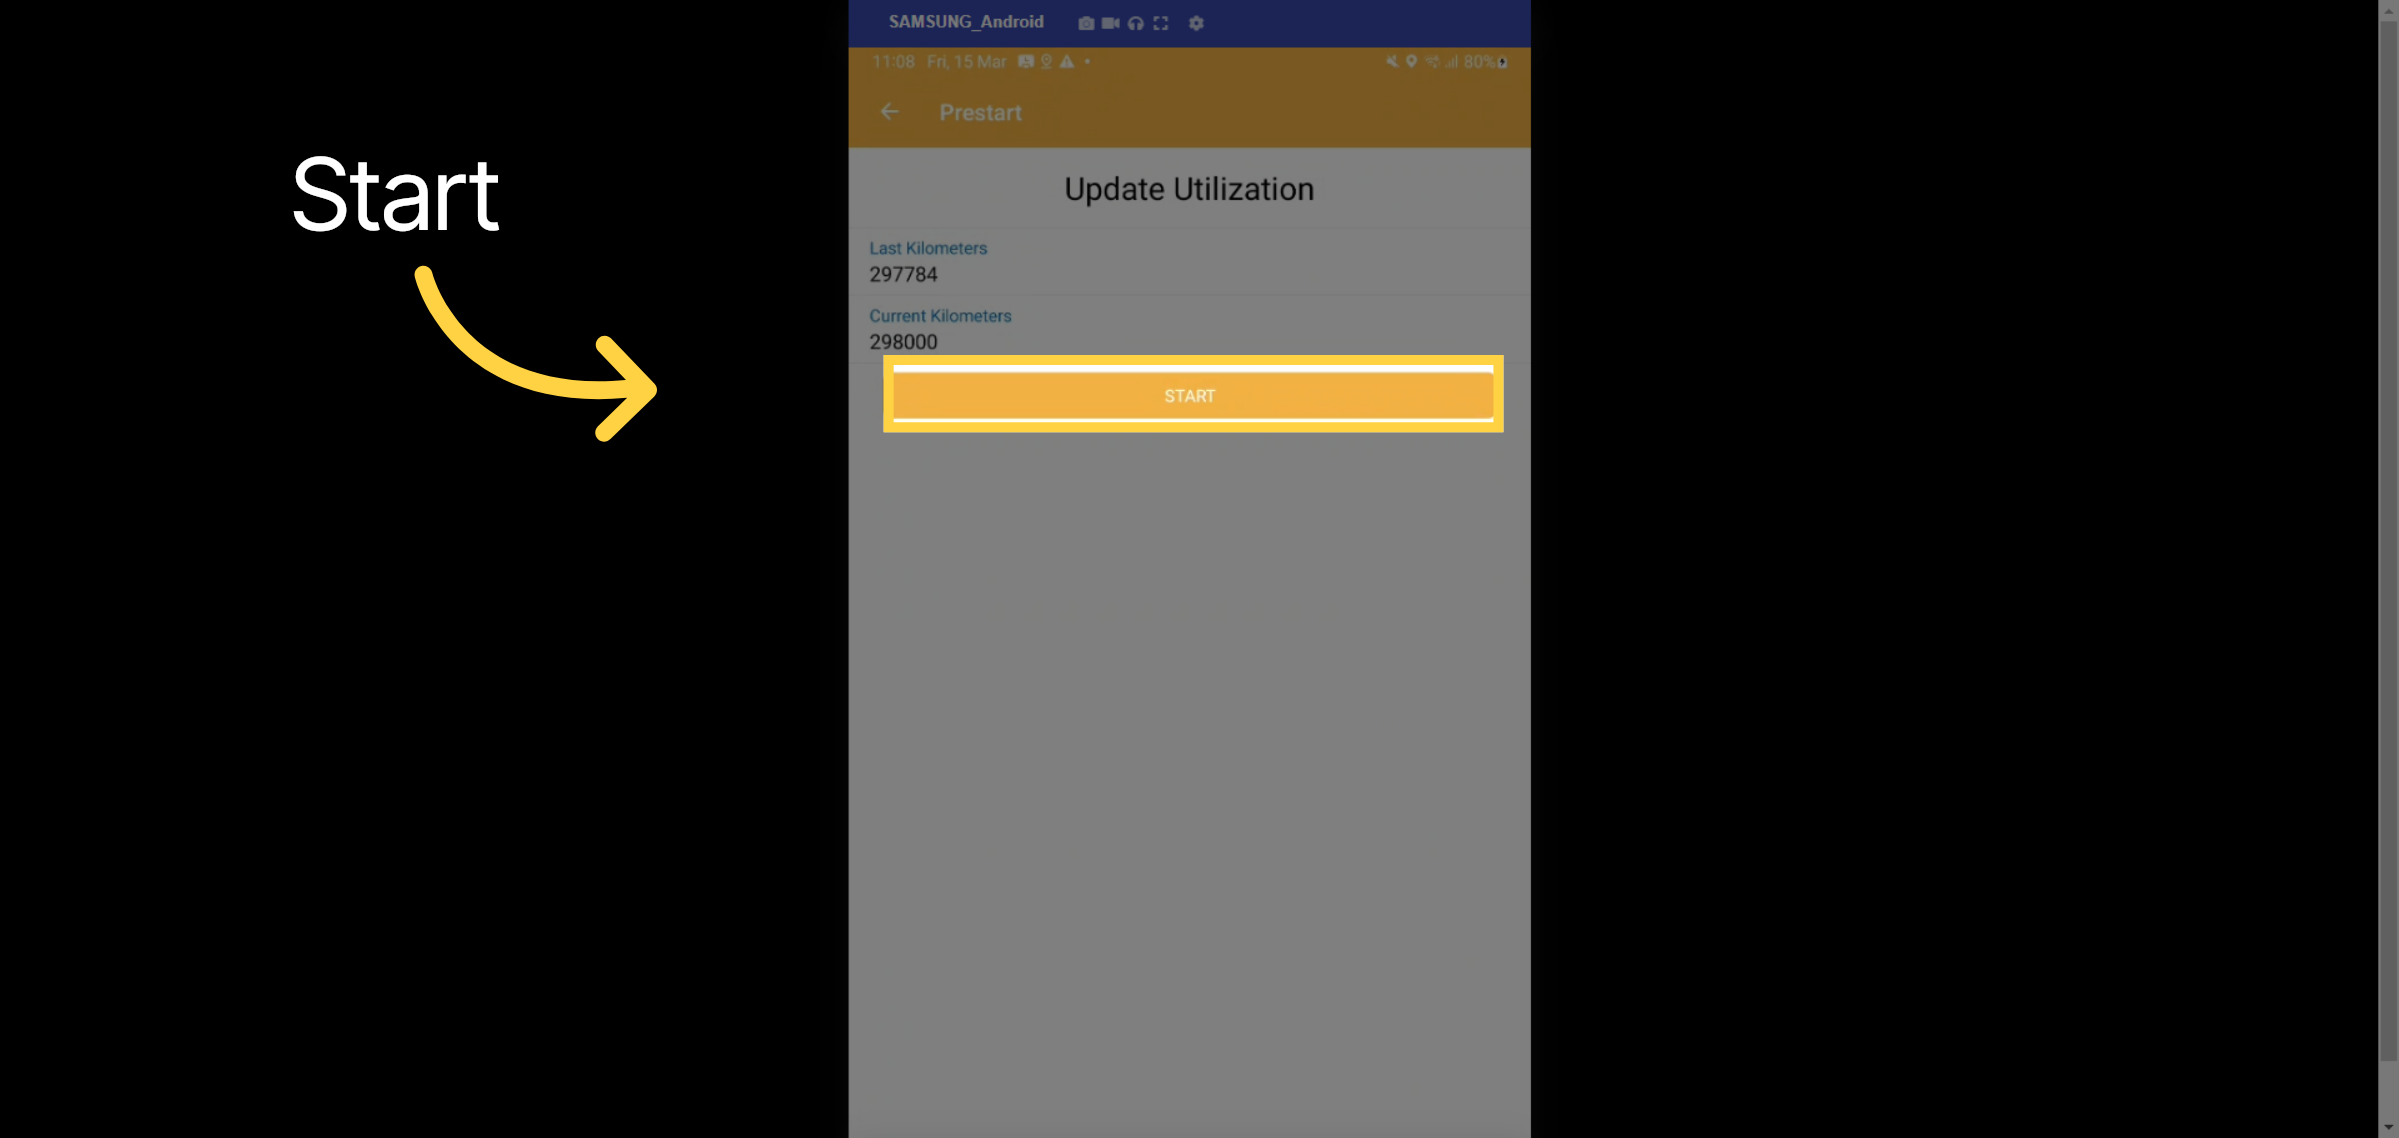
11. Start
Select the start button
12. Checklist
Complete the prestart check list
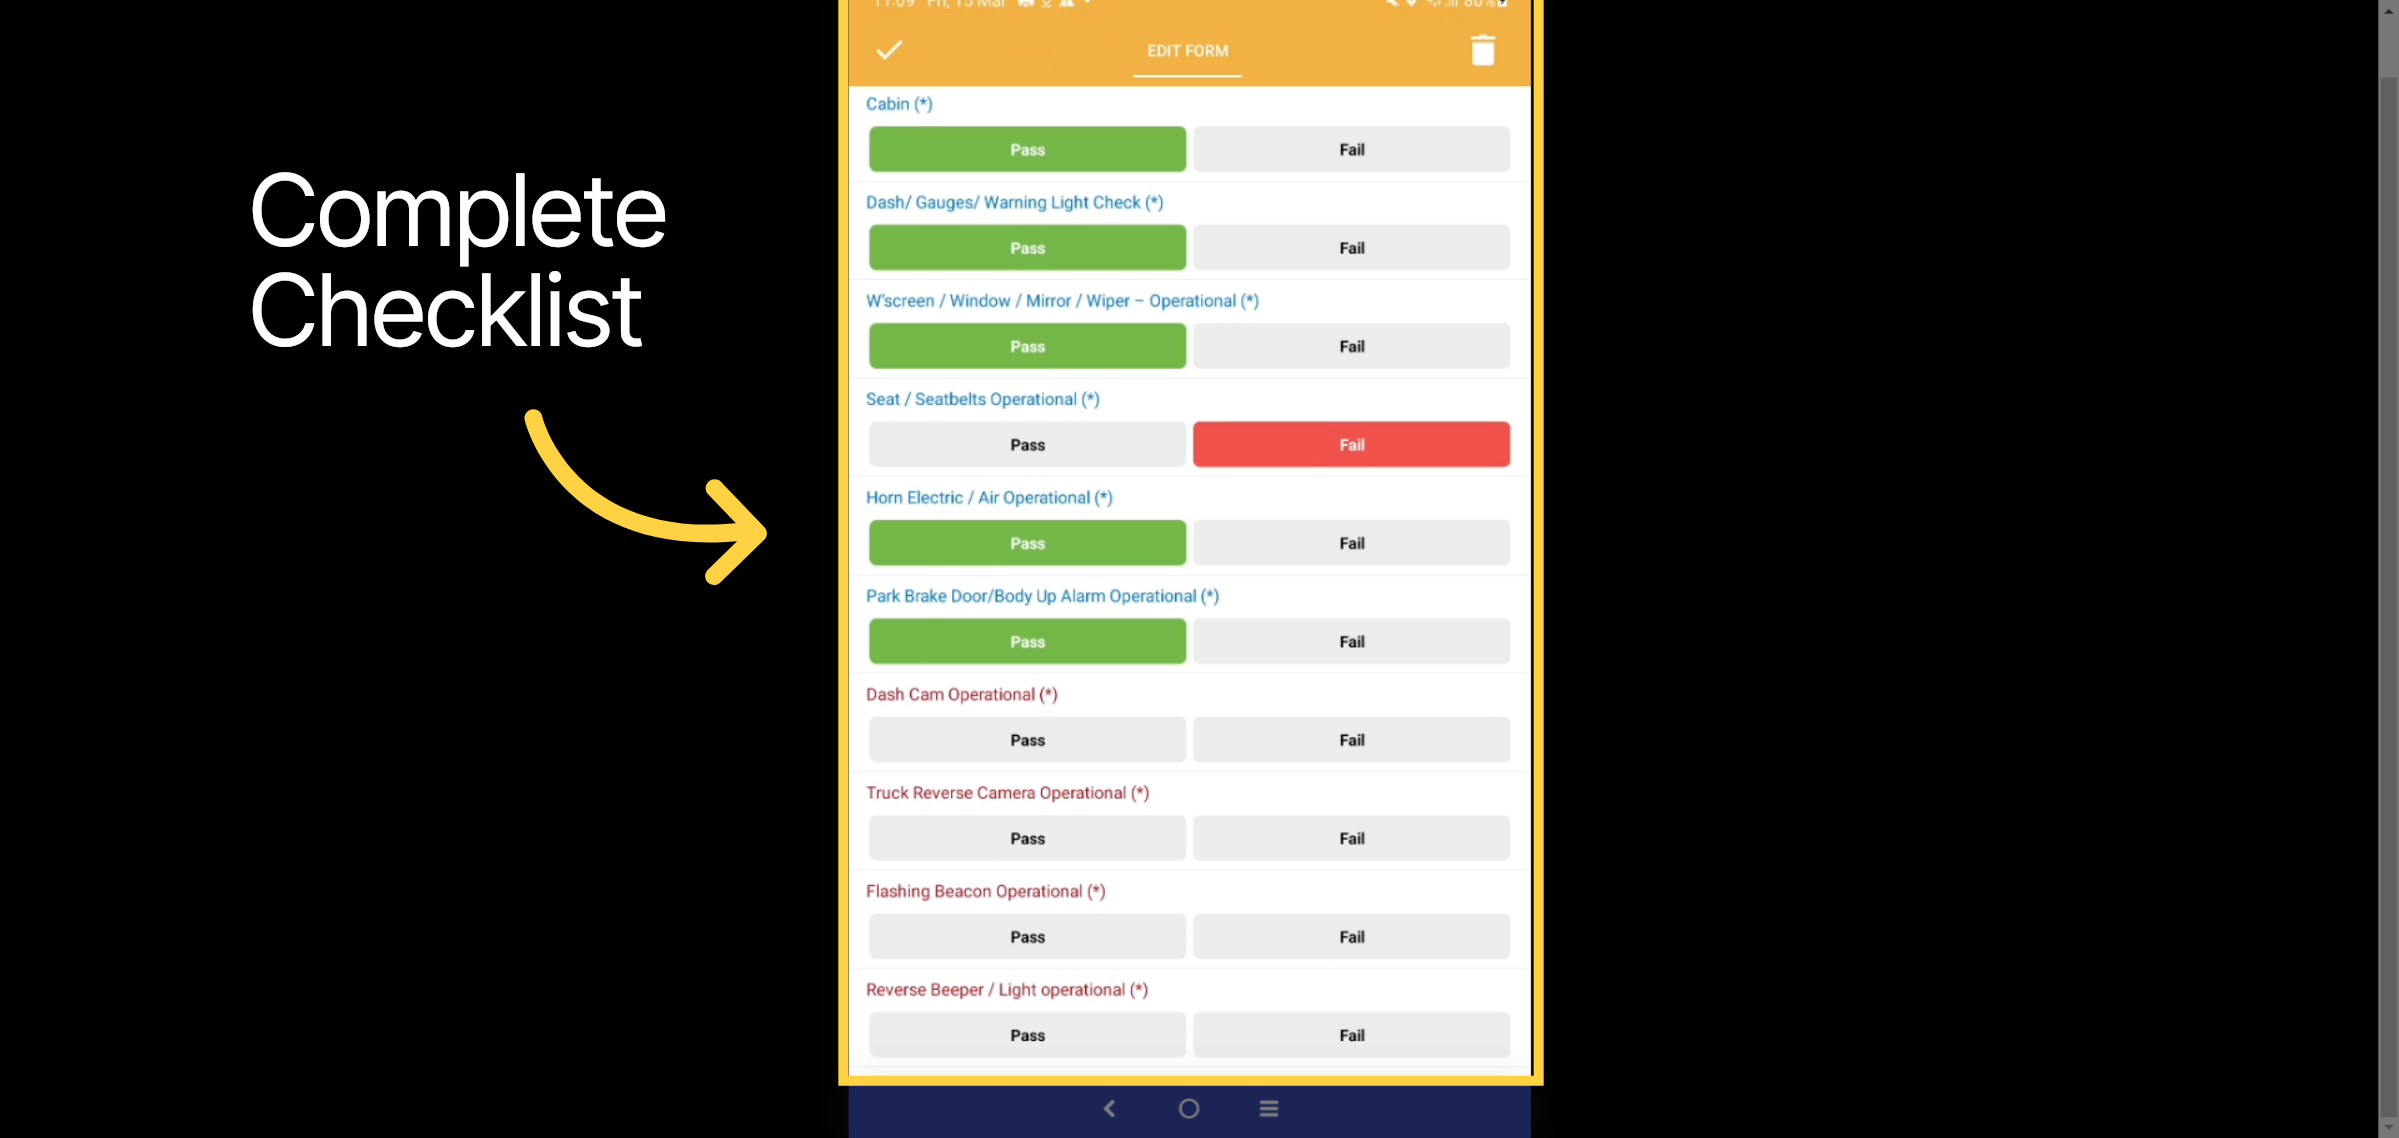
13. Raise Faults & Submit
If you have identified a fault, select the fail button. You will then have the option to choose the sub-fault, add notes, and take photos of the issue. Once completed, input your signature and submit.
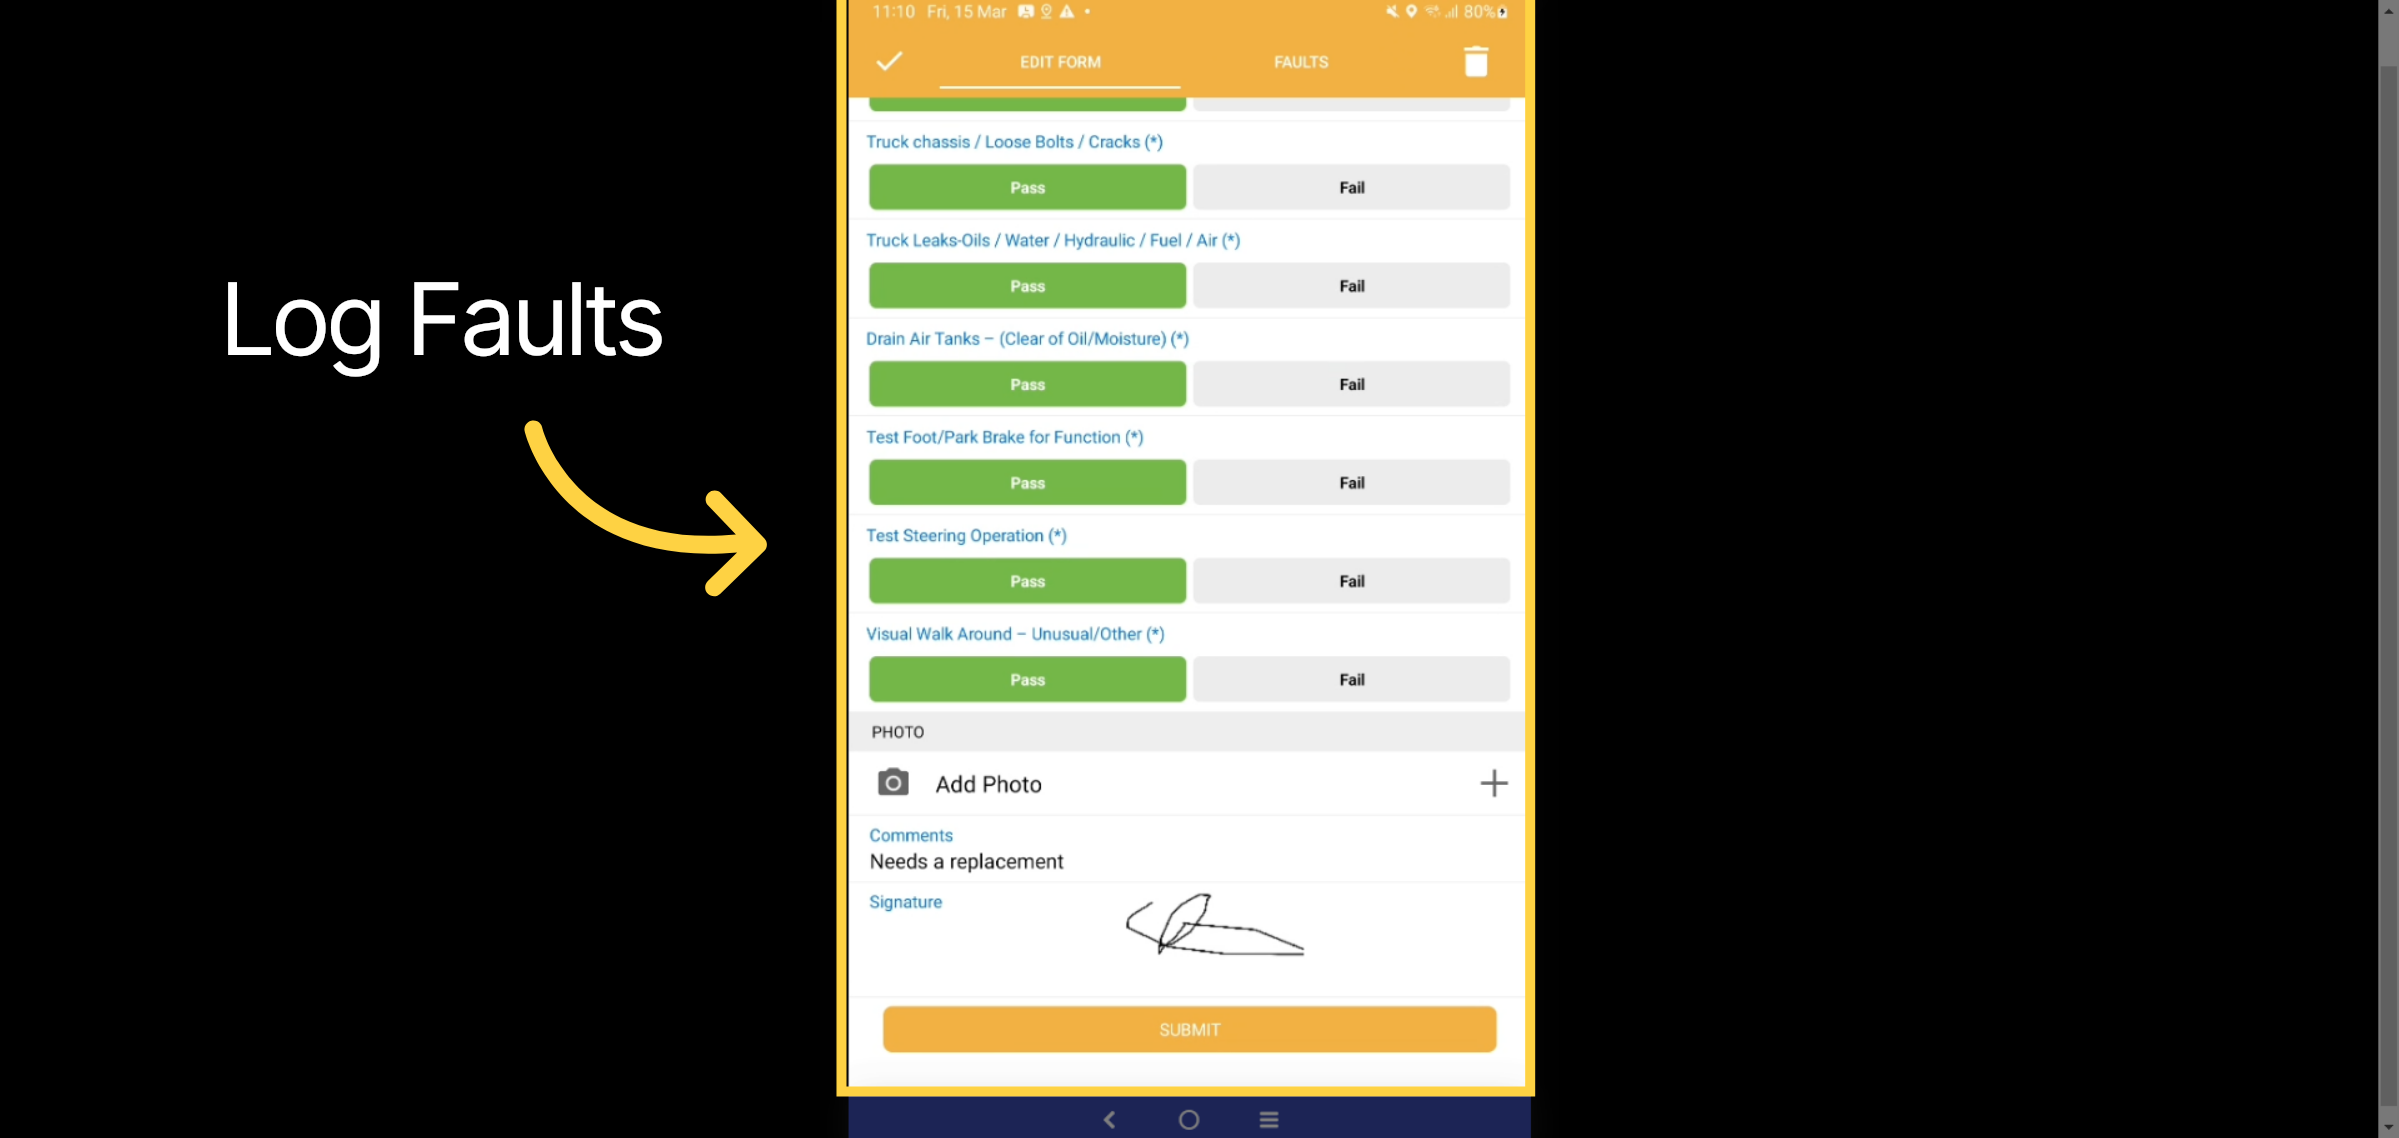
14. Review
Here you can review the completed pre-start checklist.
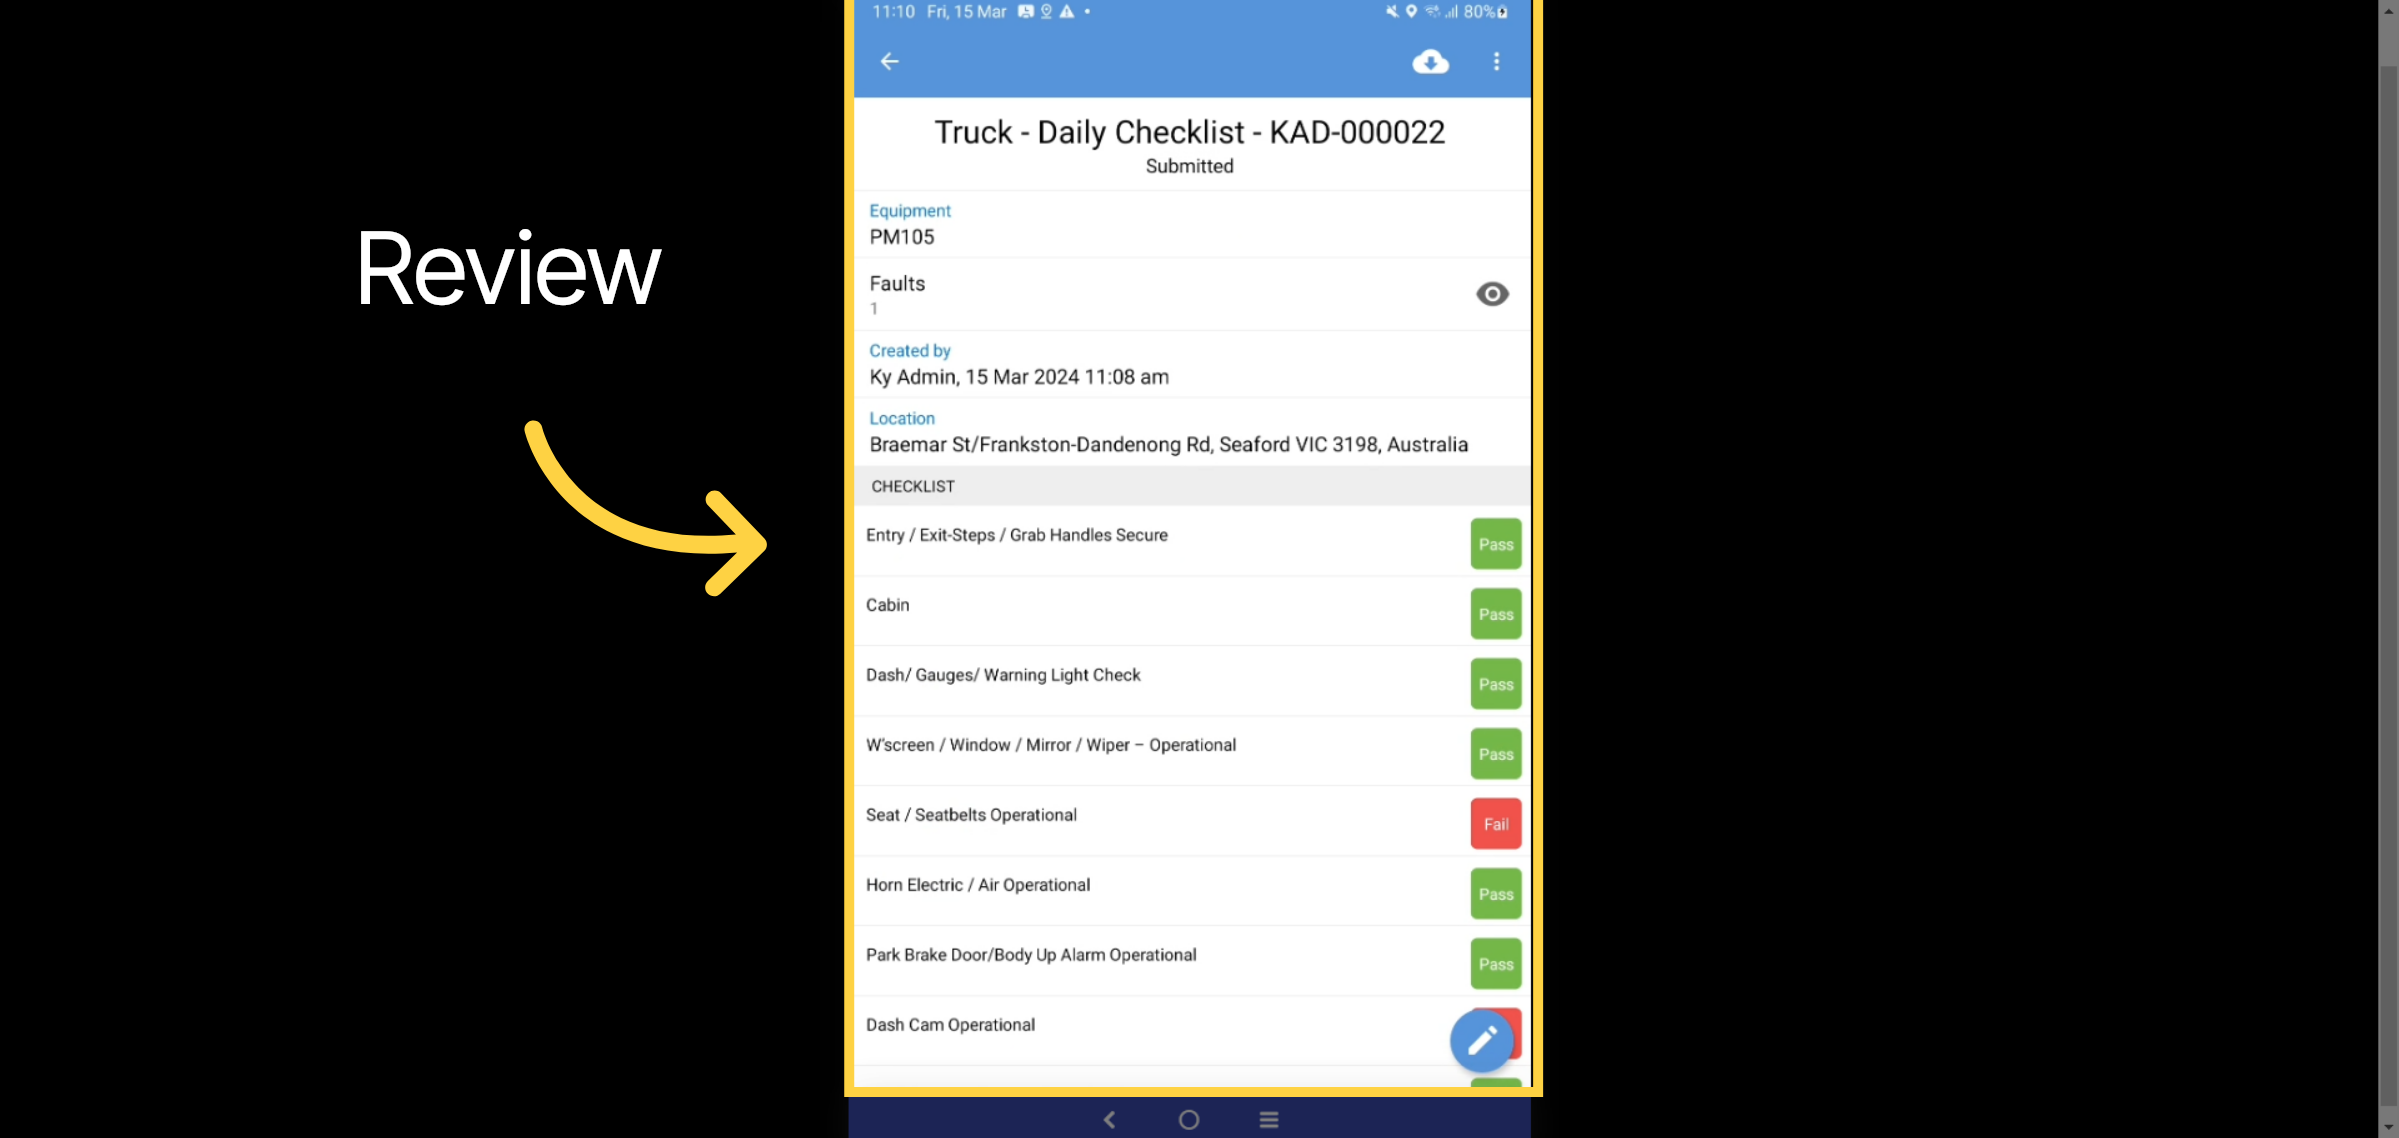
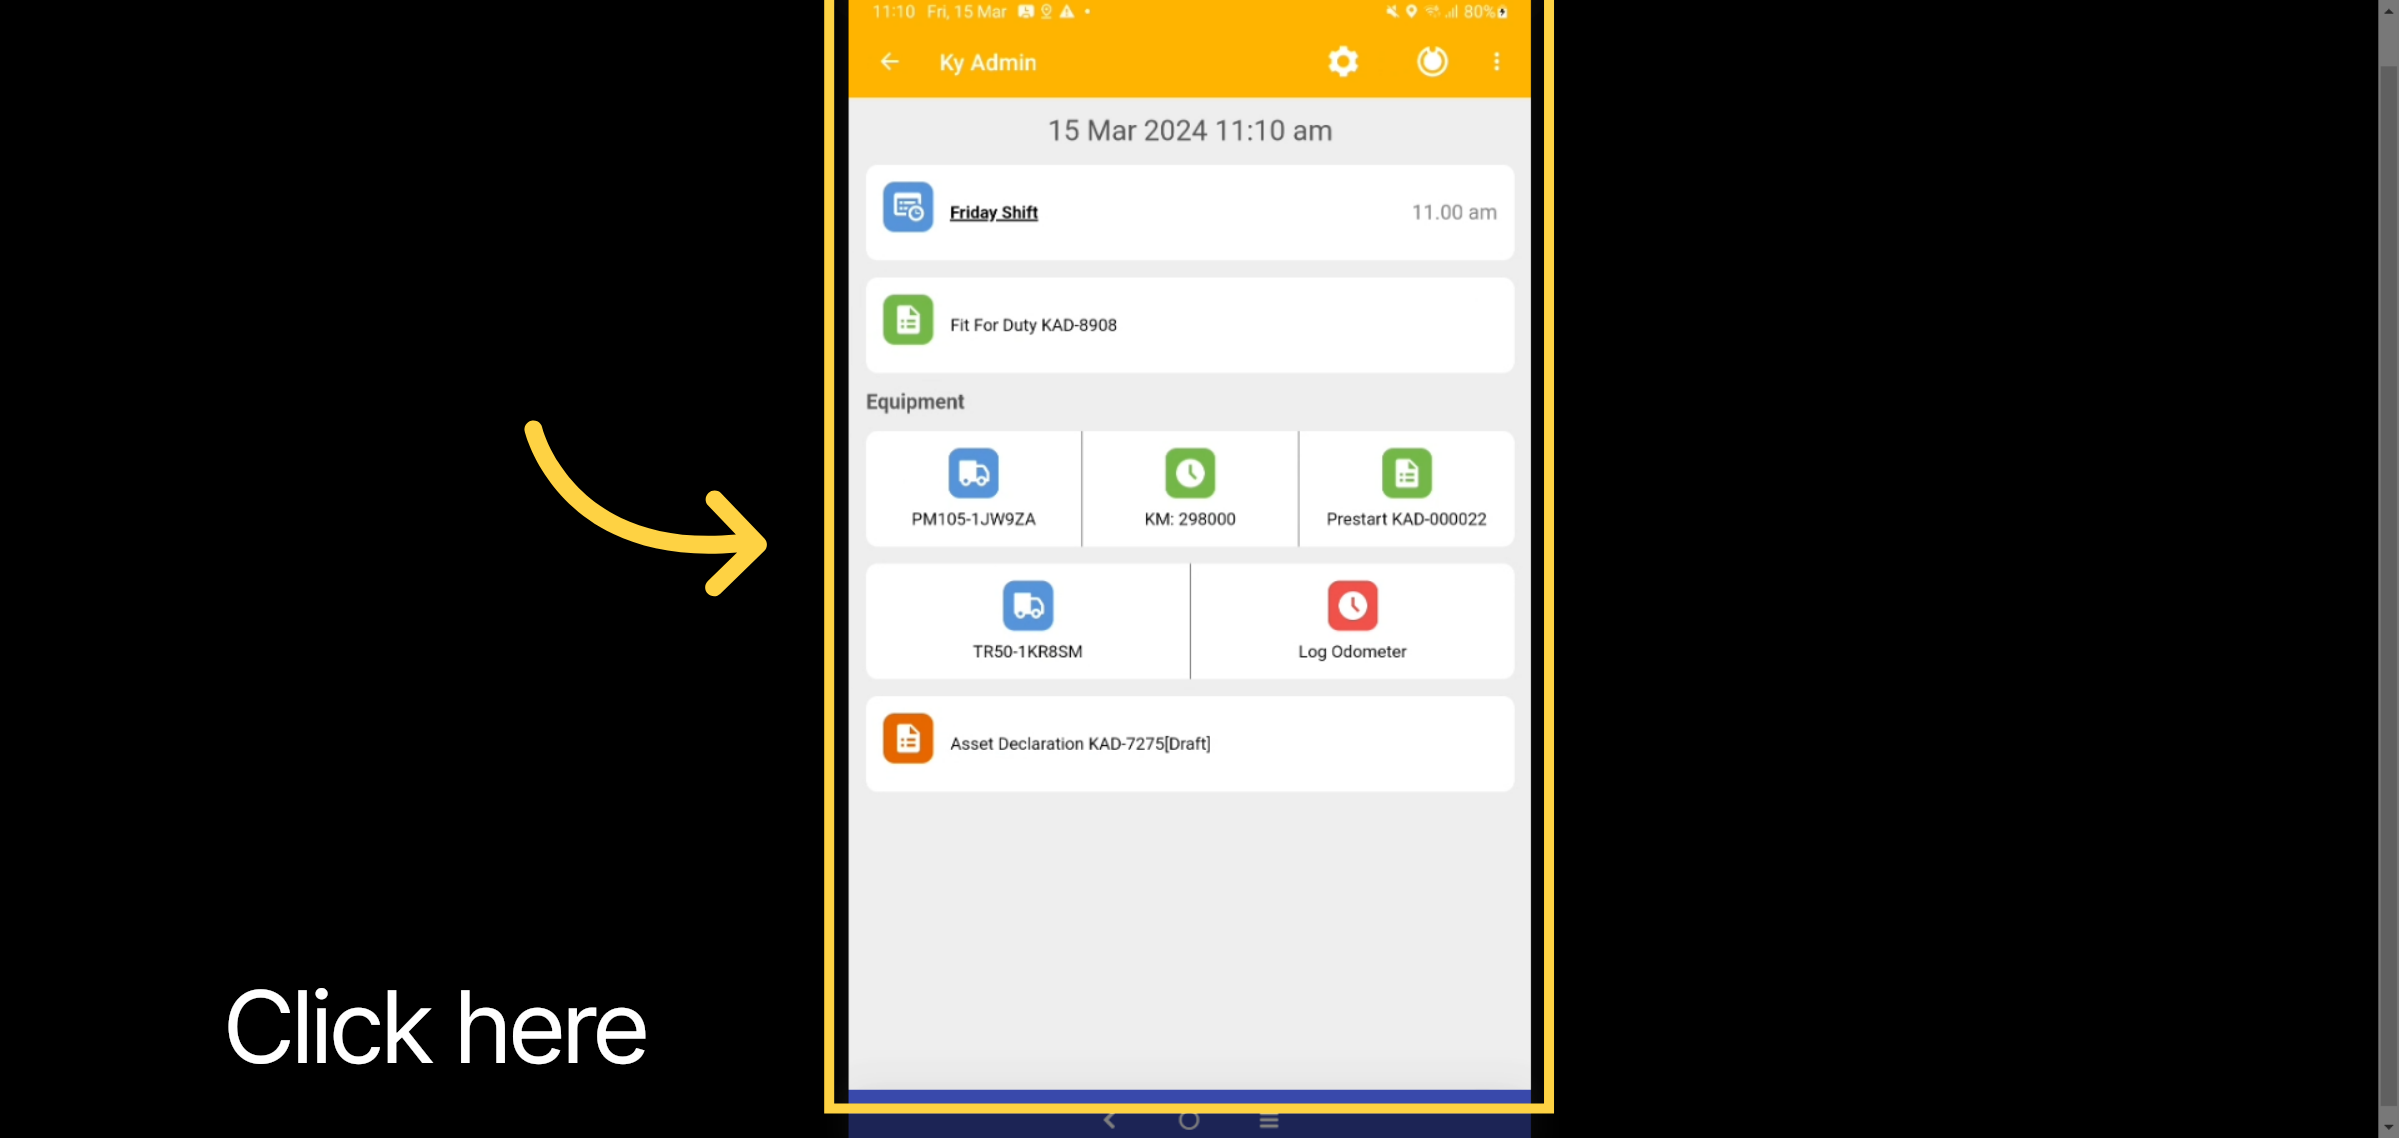
15. Prestart Status
Now that the prestart is completed, the color has switched from red to green. The trailer prestart now needs to be completed.
16. Trailer Pre-Start
Follow the same steps to complete the trailer prestart.
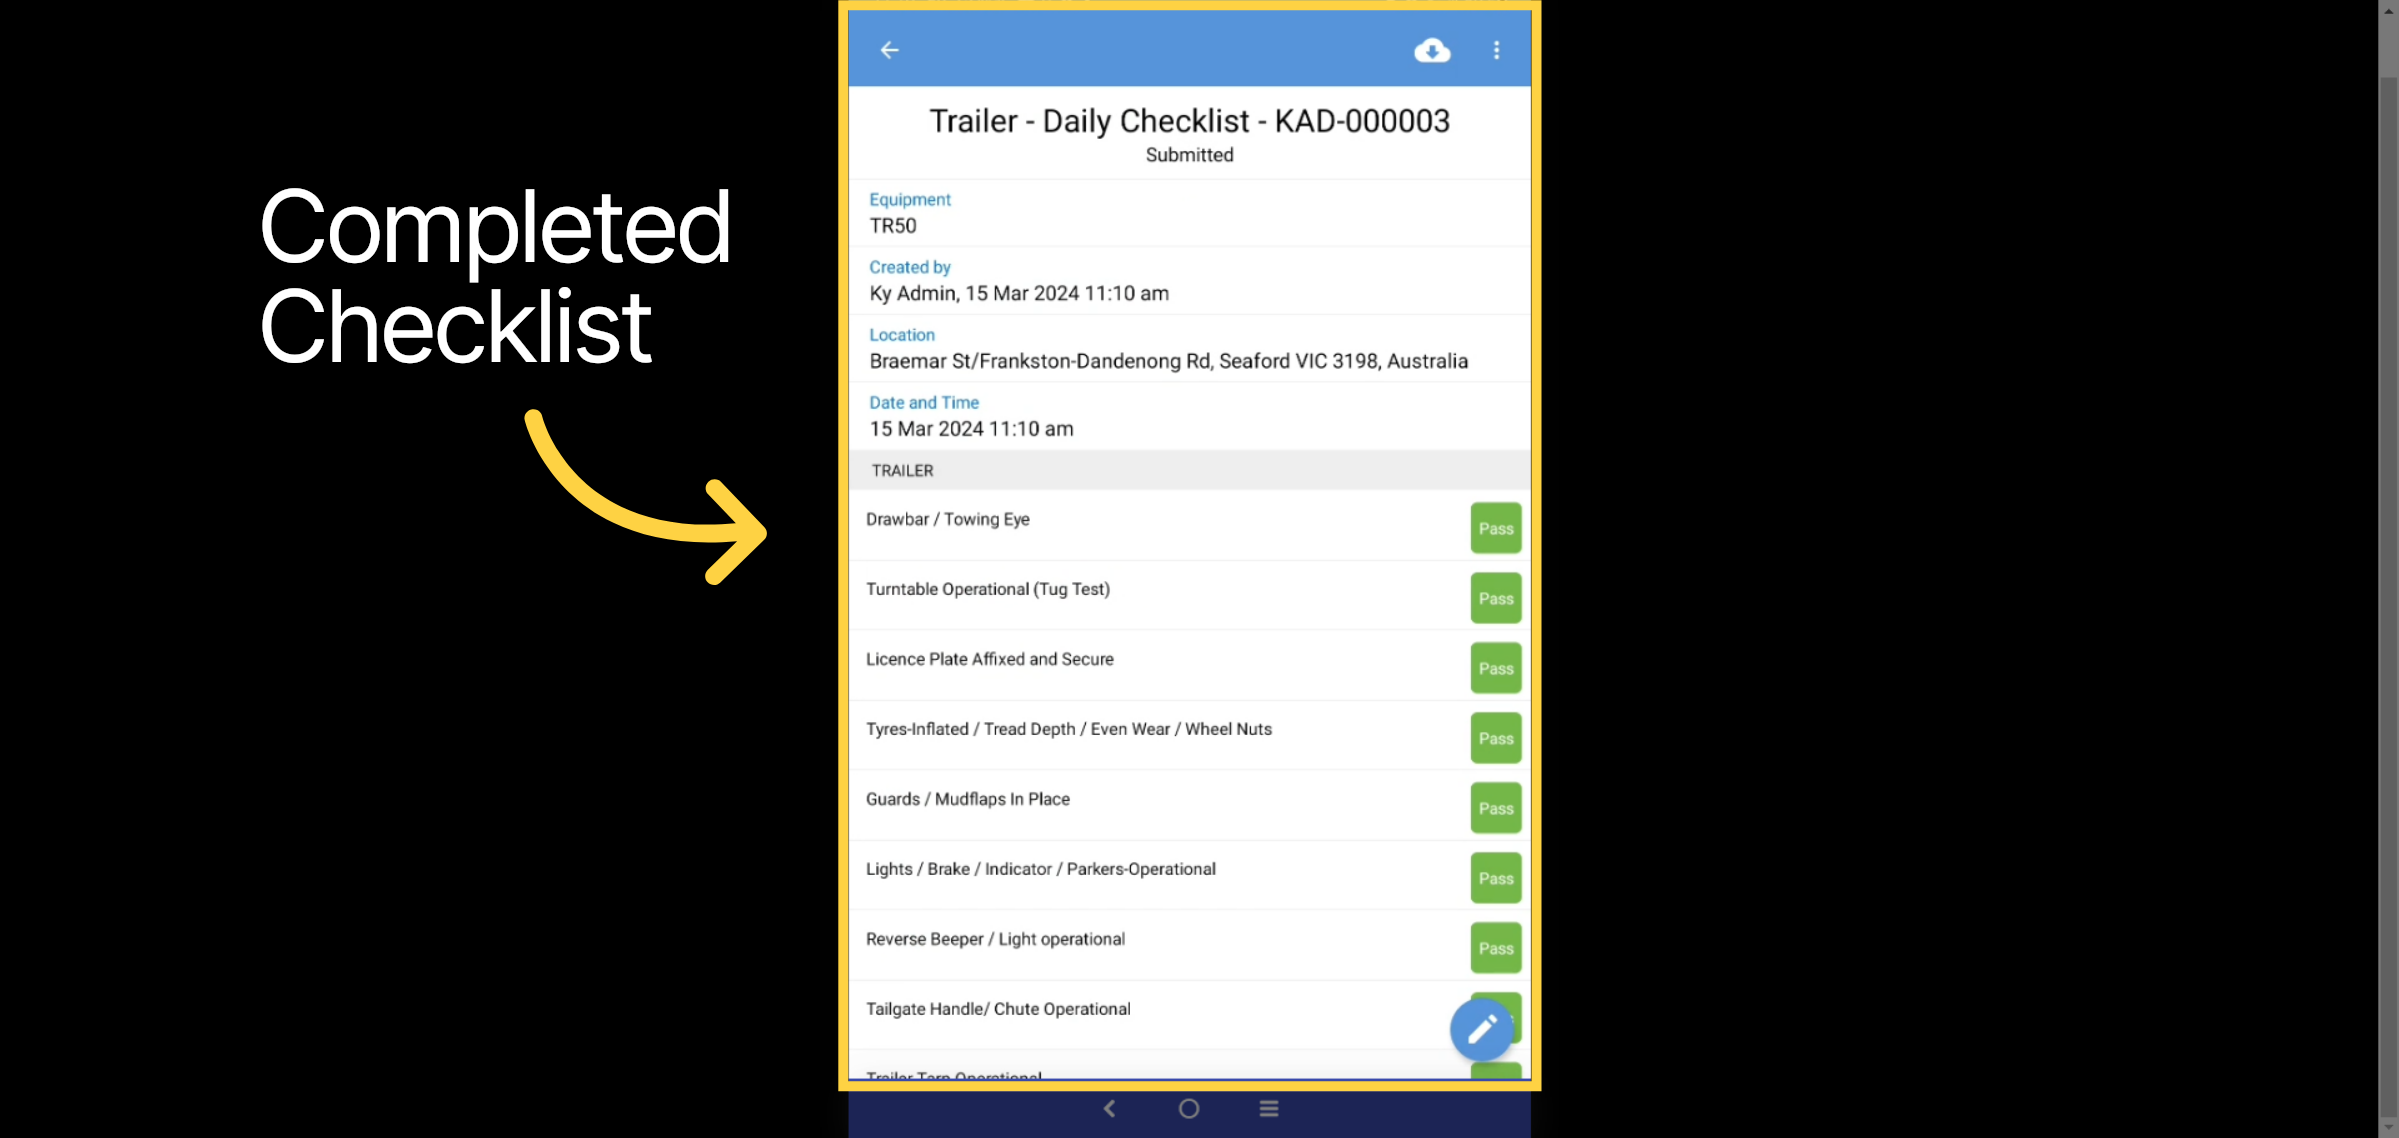
17. Completed Trailer Pre-Start
Select this option
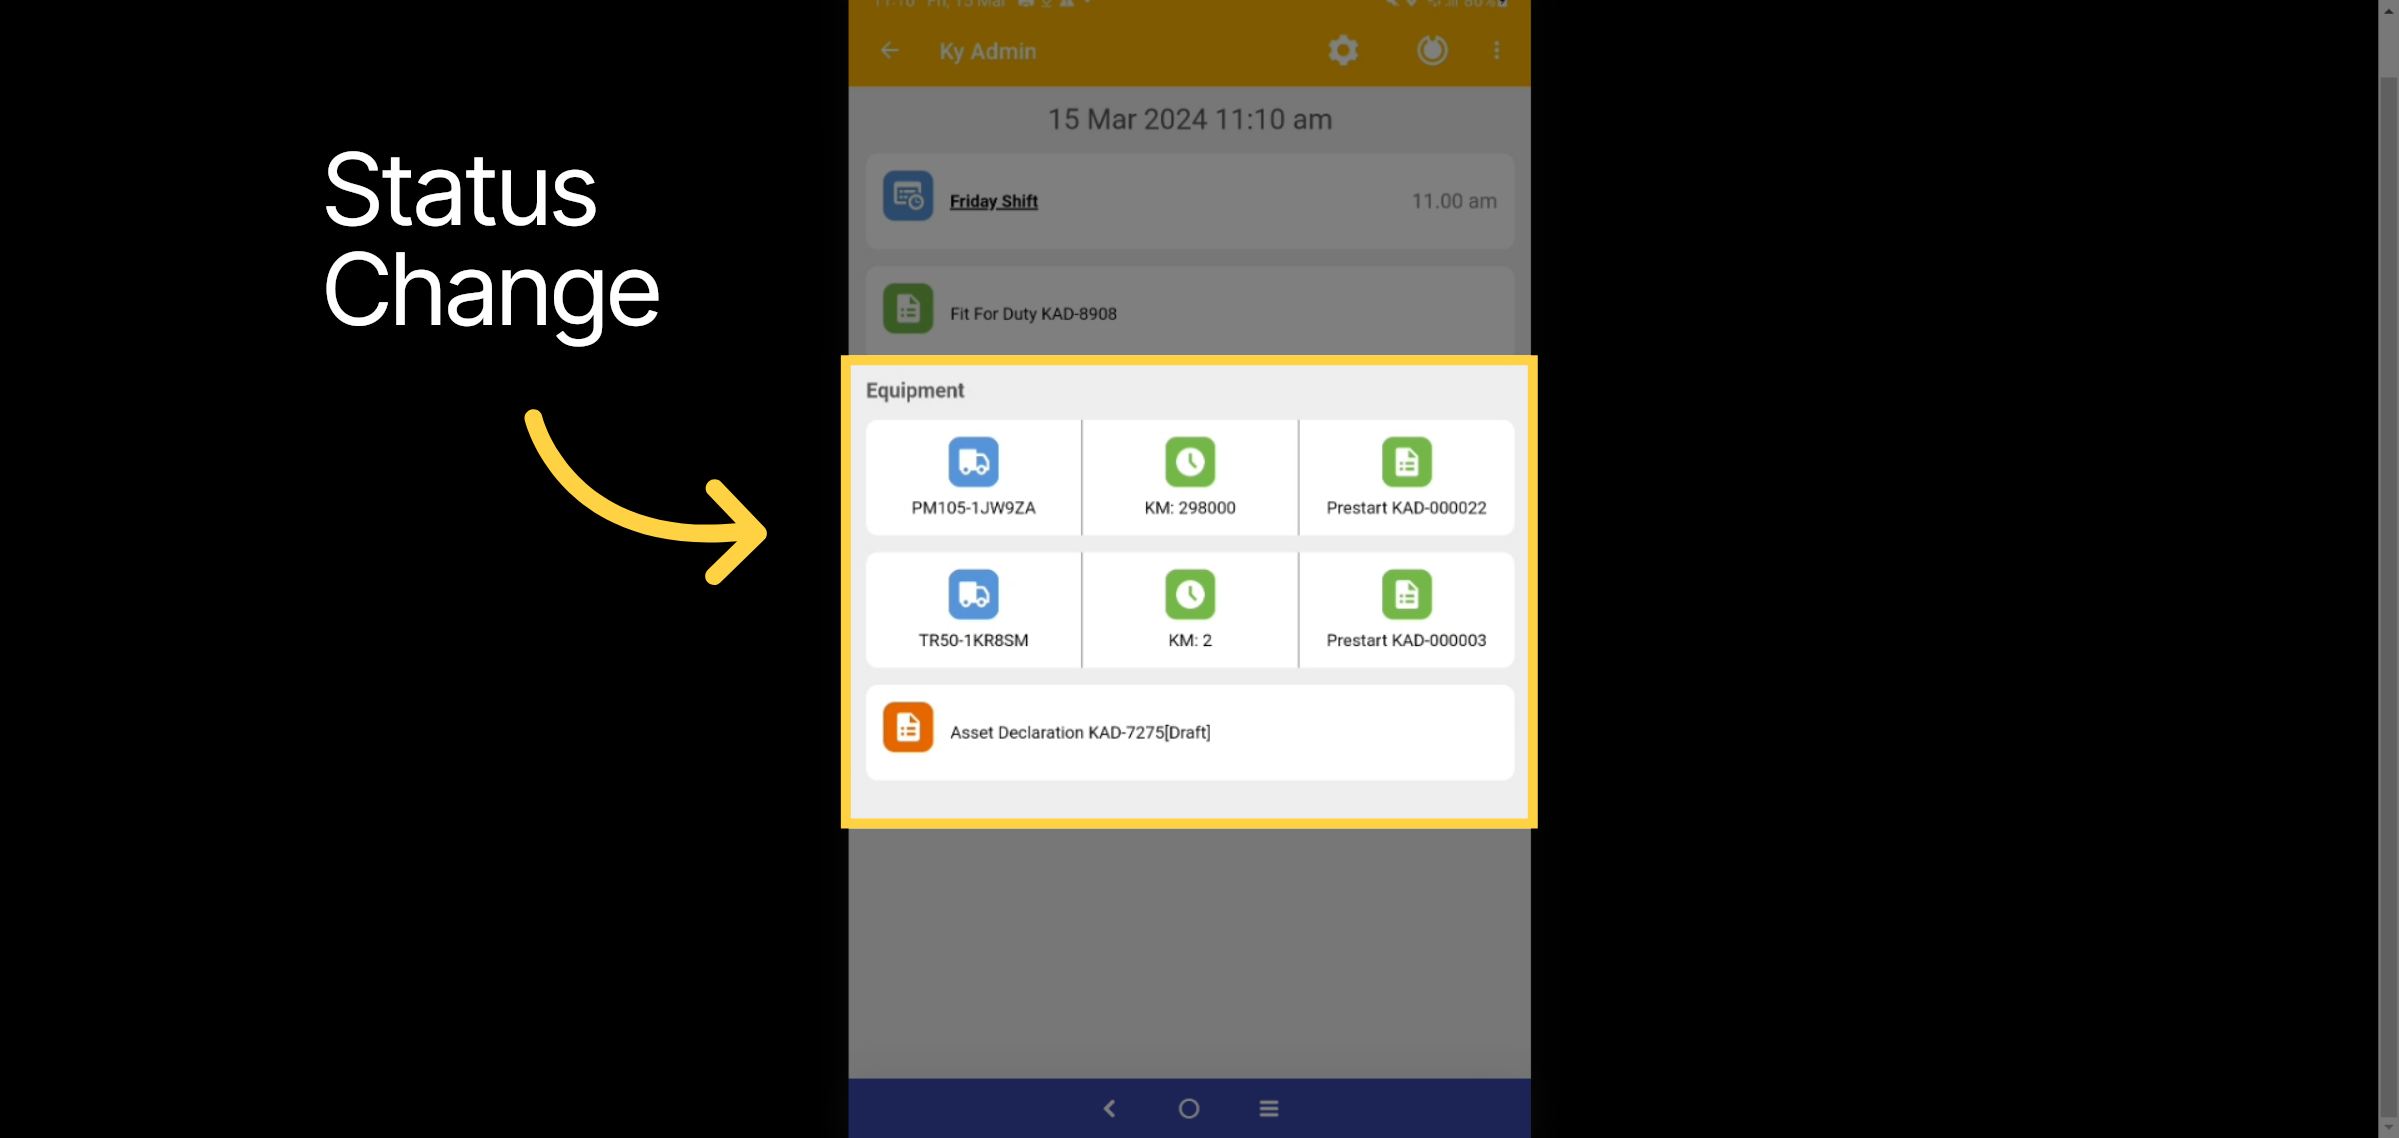
18. Status Change
Not all assets are green, and now I need to complete the Asset Declaration Form.
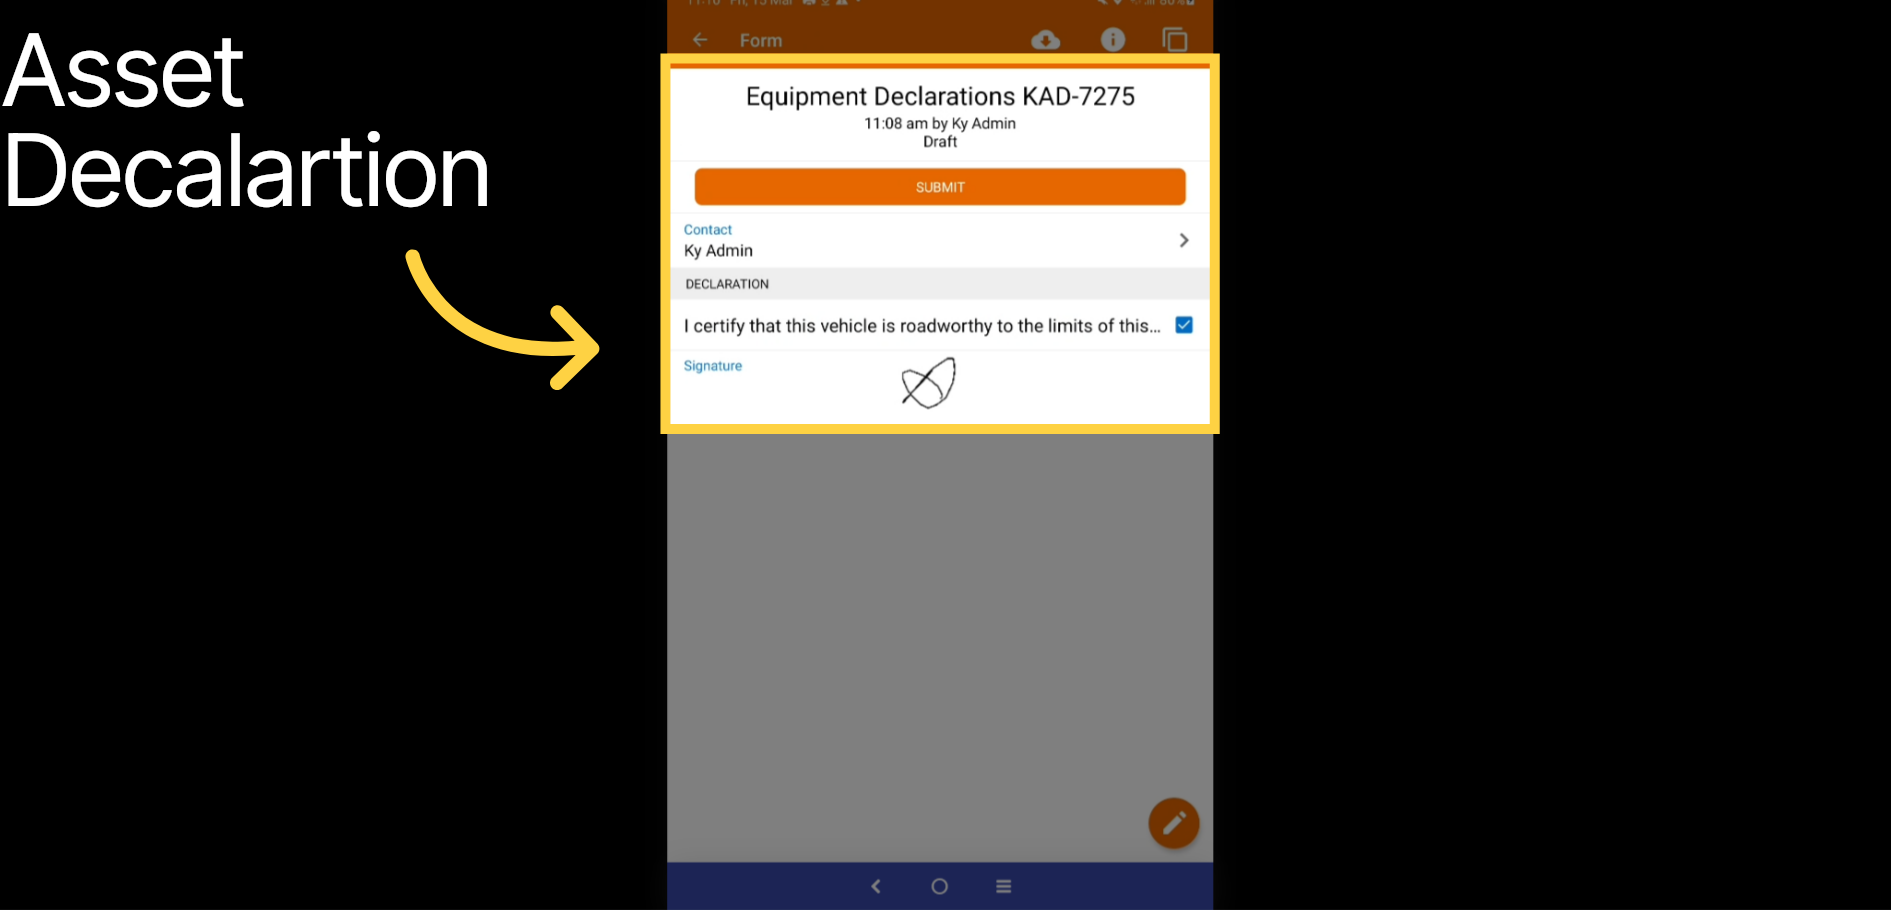
19. Assets Declarations
Acknowledge and sign off on the asset declaration form, then select submit.
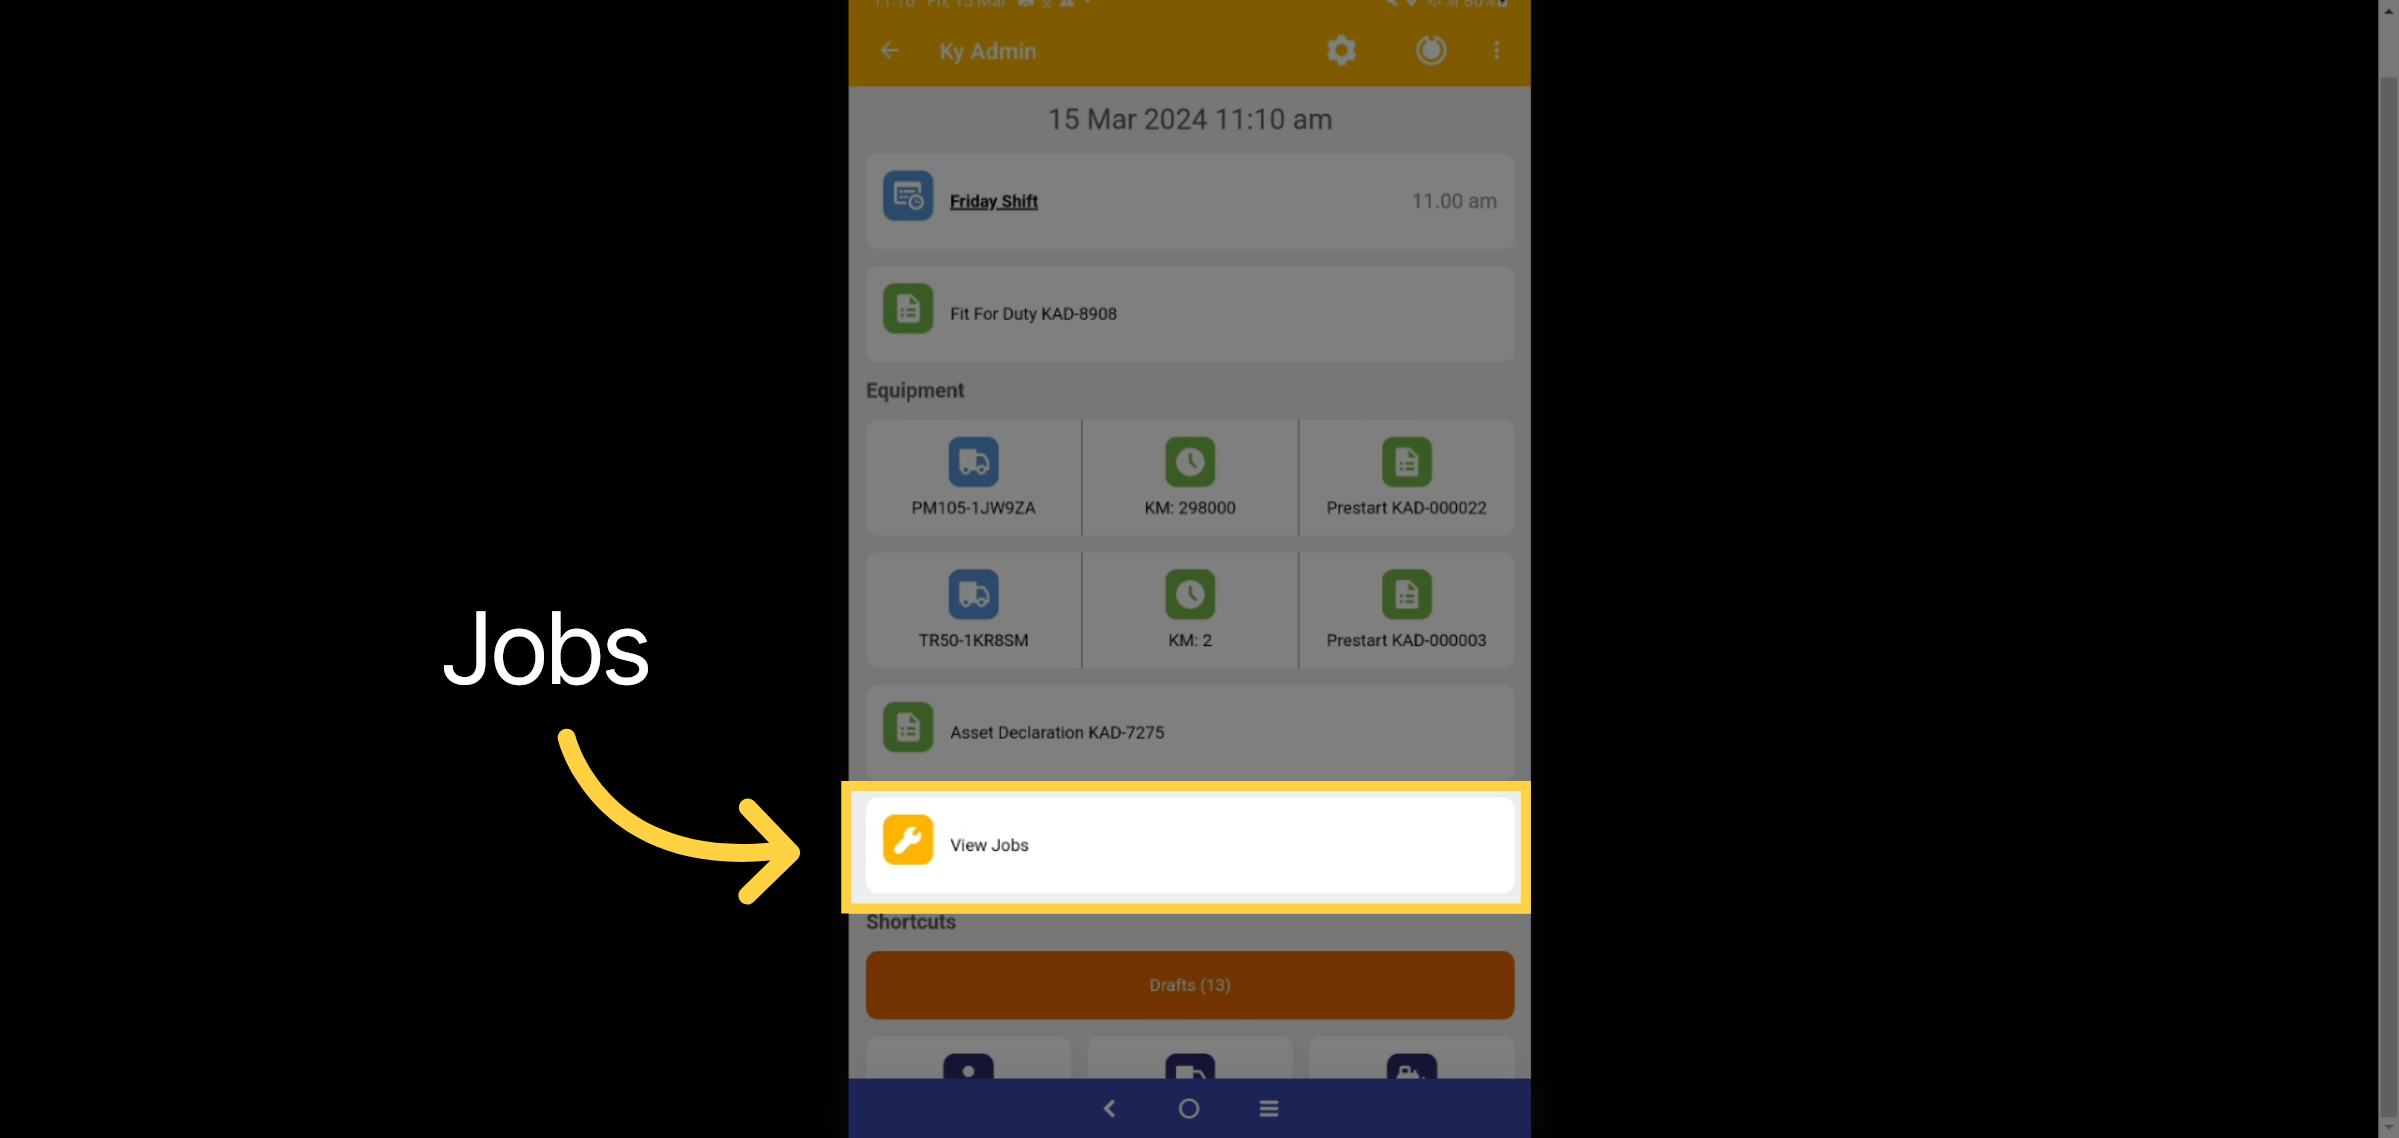
20. Jobs Available
The Jobs tab is now available for selection.
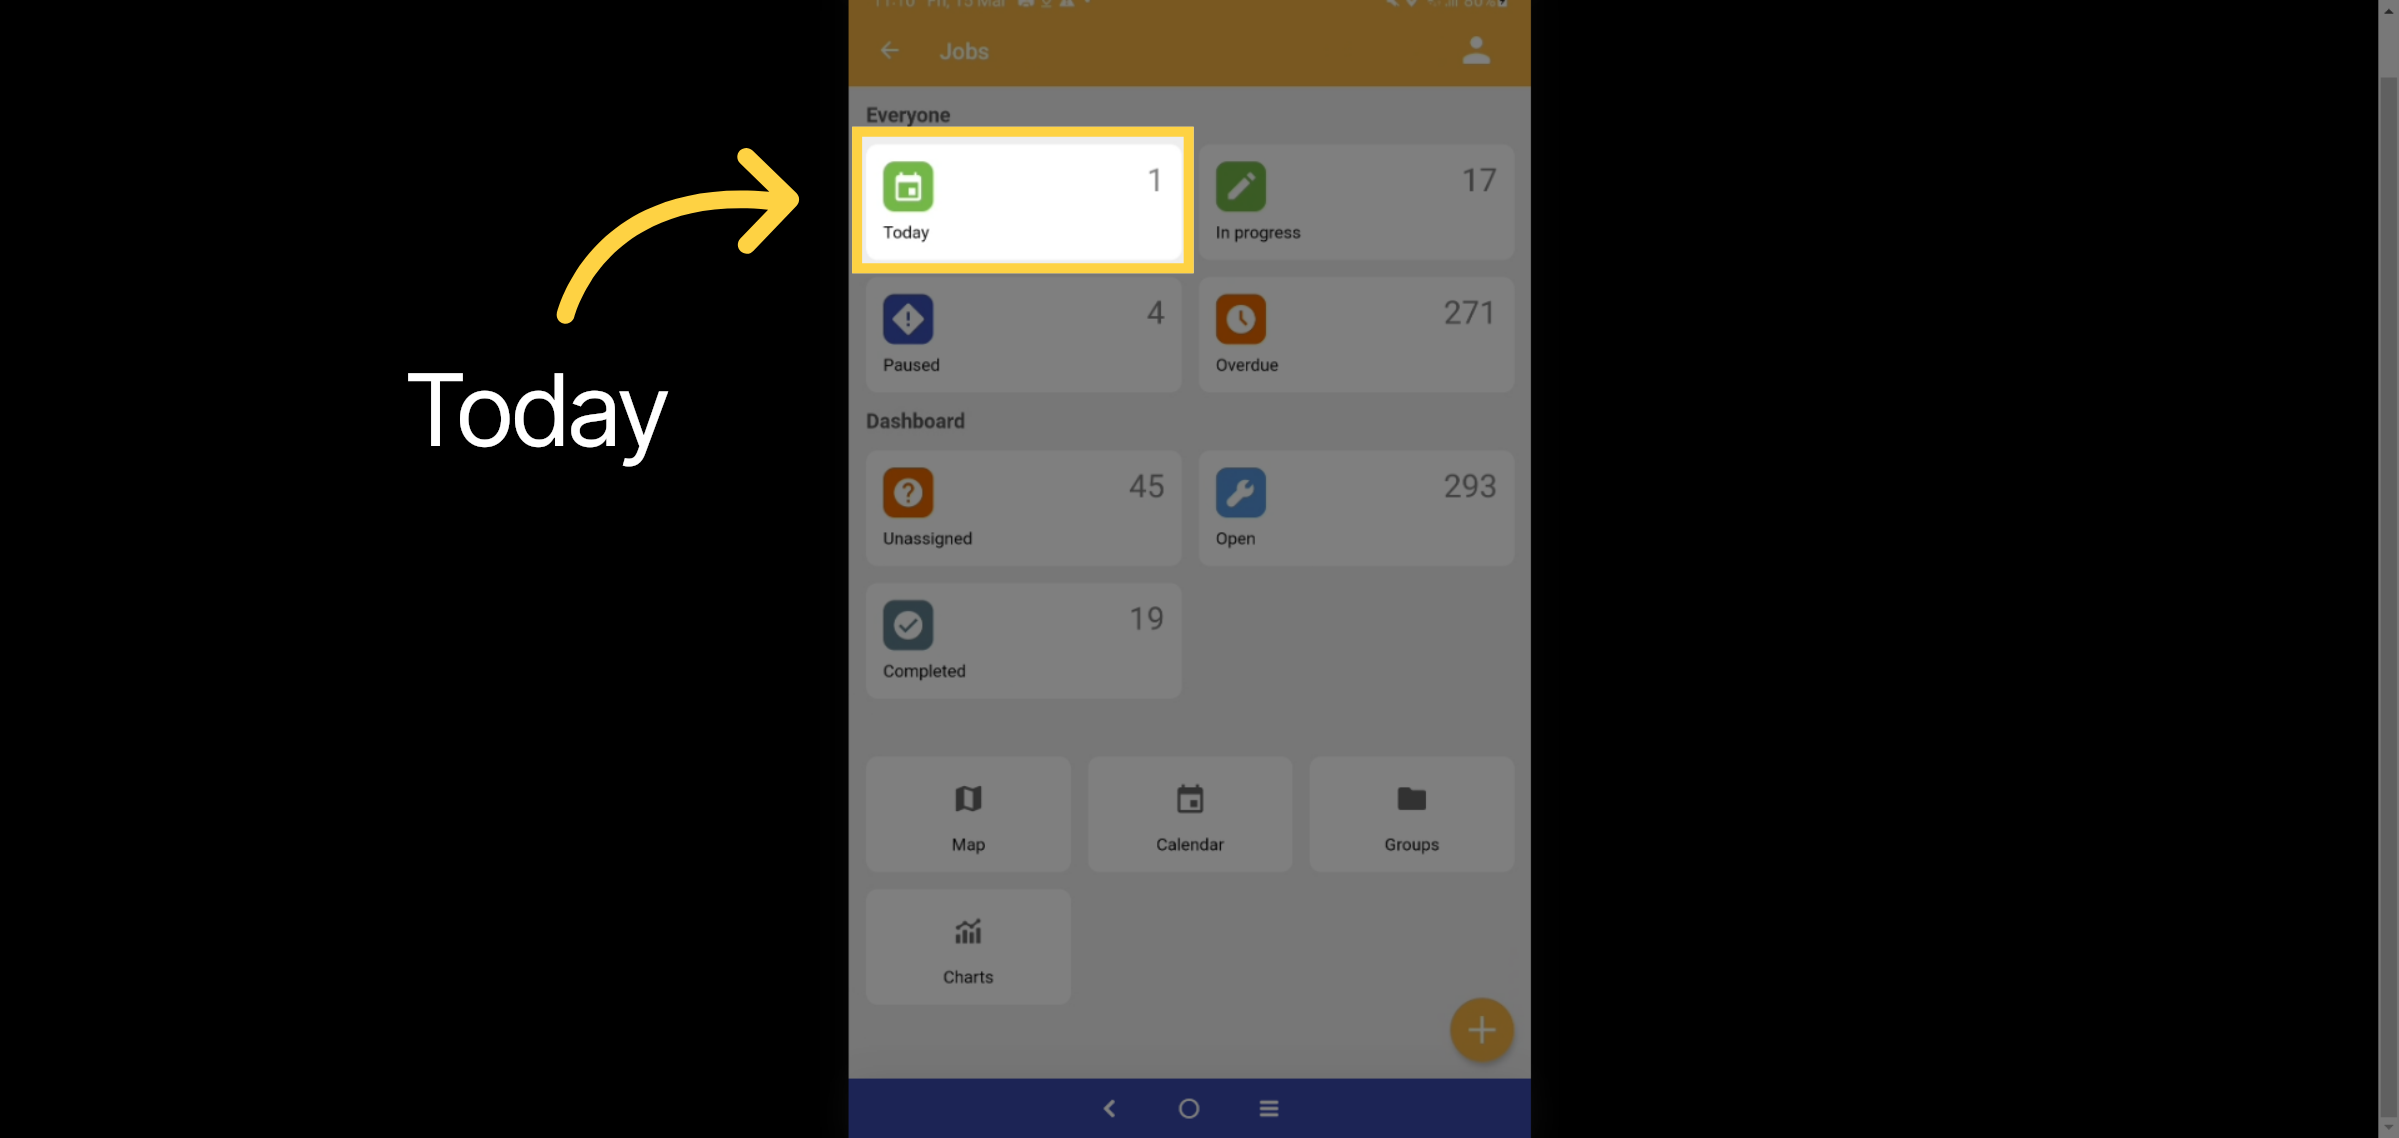
21. Today Jobs
Here you will be able to see the job lifecycle and select jobs for today.
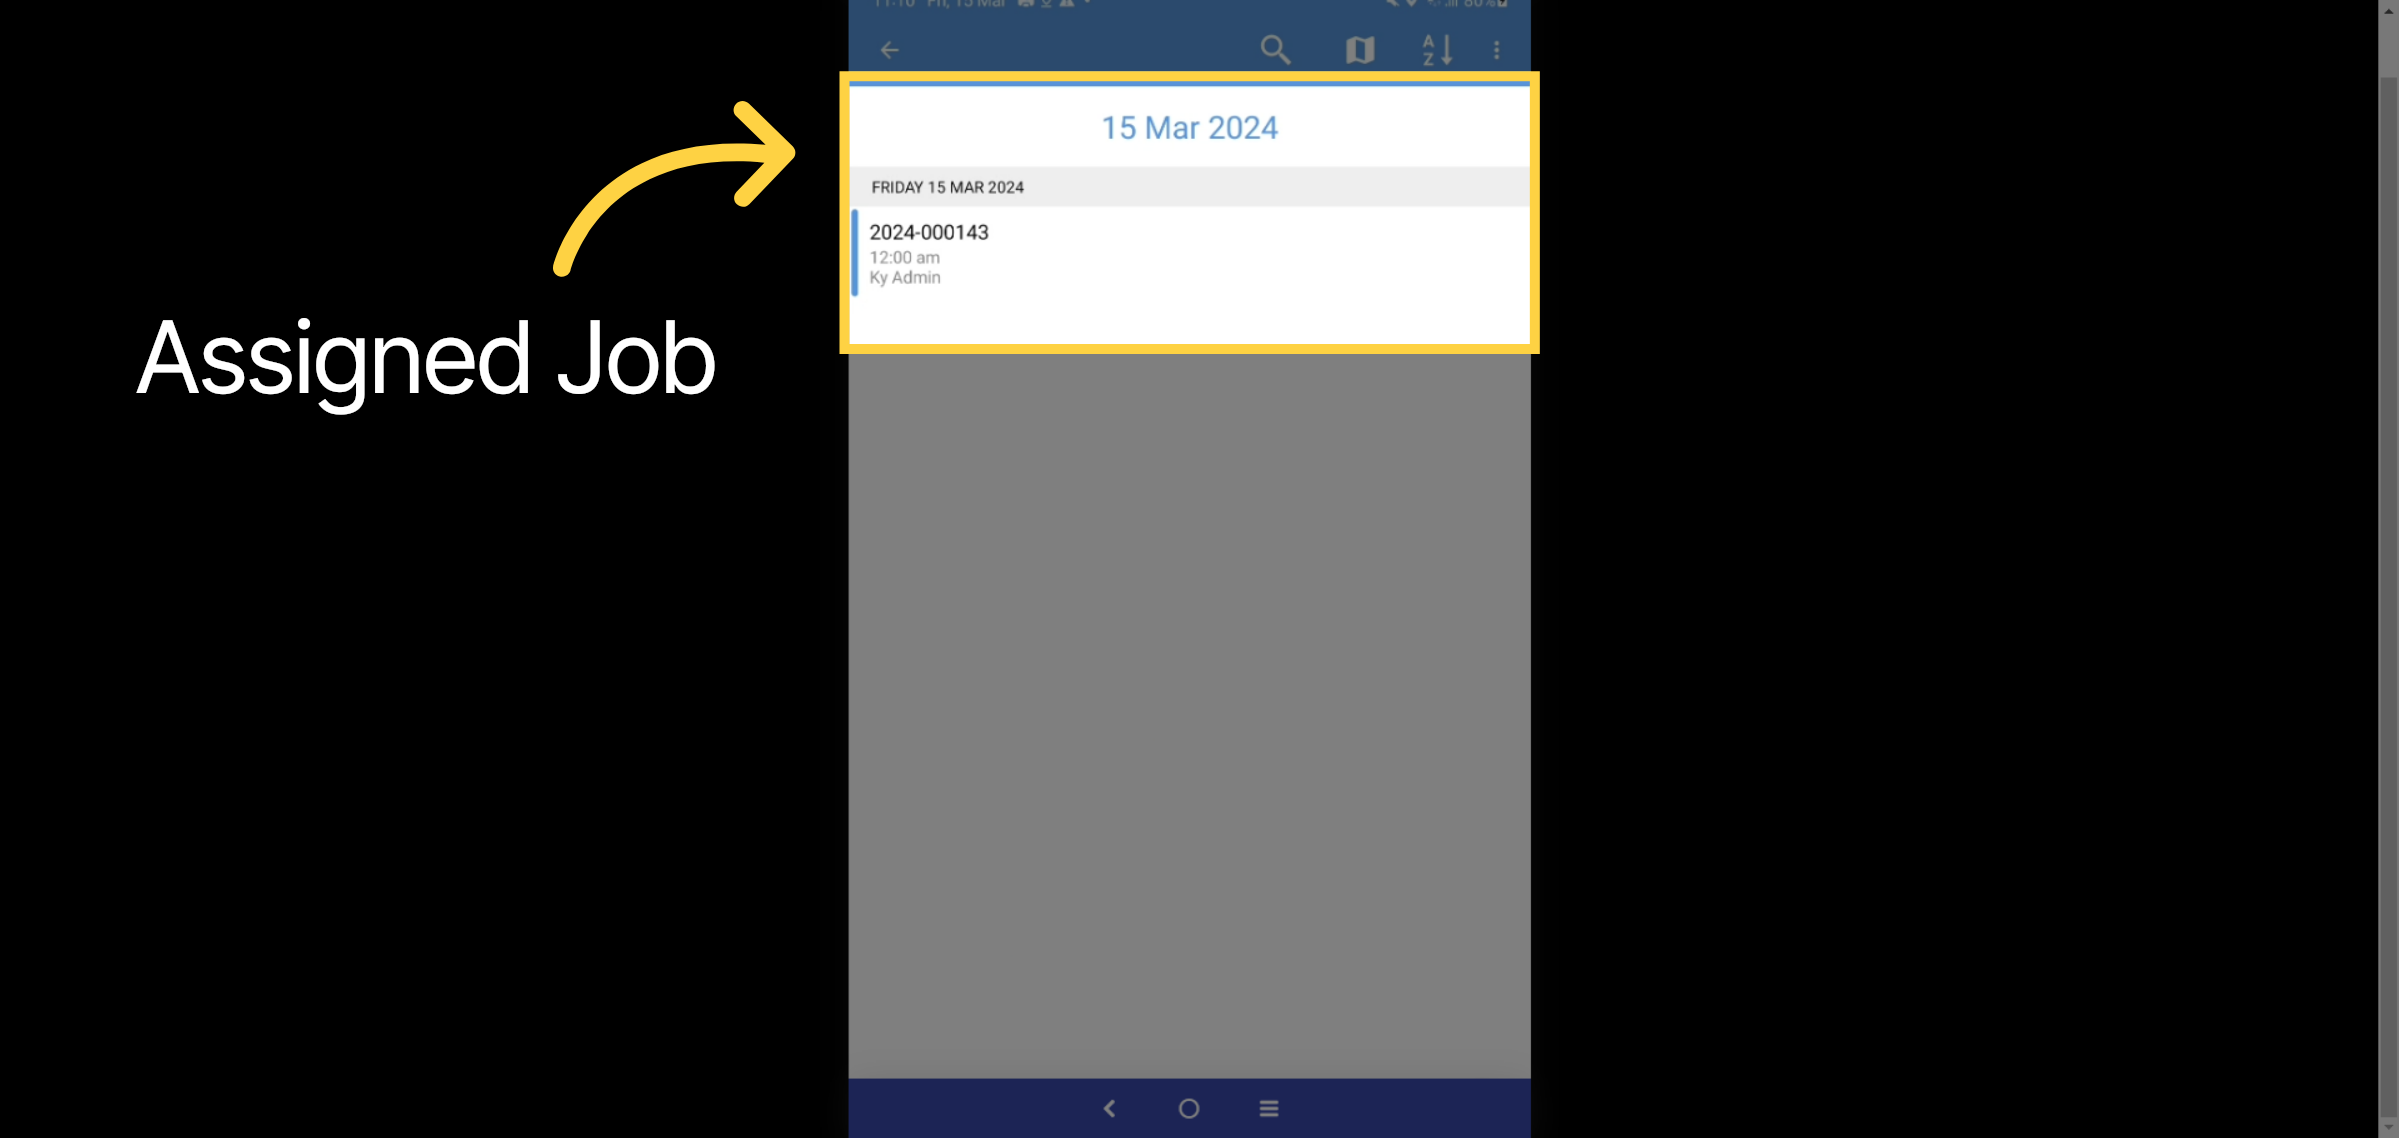
22. Assigned Jobs
Select the job you've been assigned to
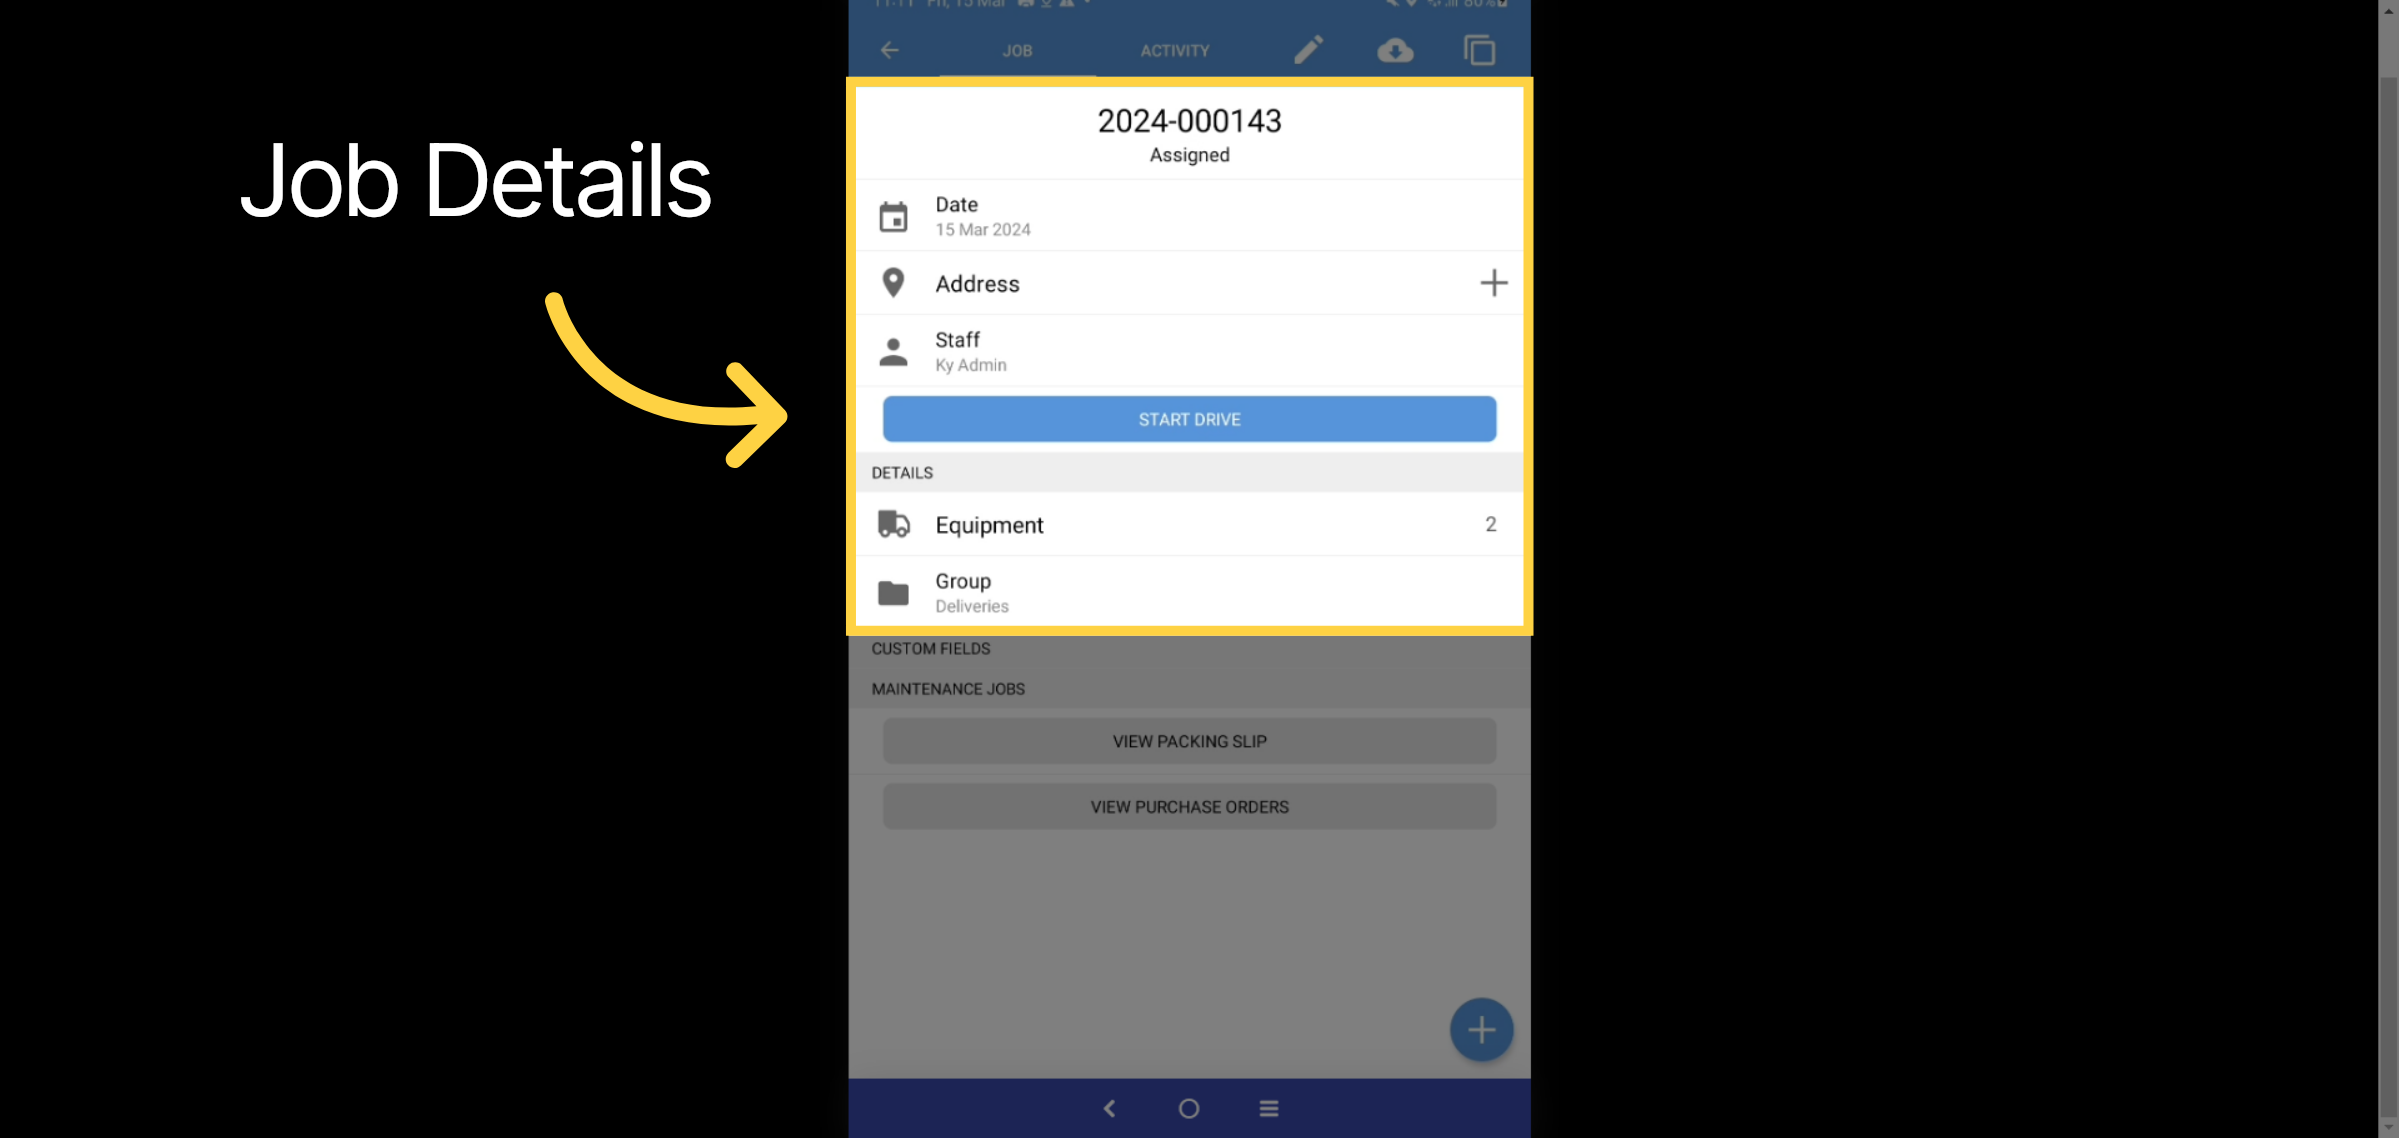
23. Job Details
The job details will be displayed, including the address and equipment. Please select the start drive button.
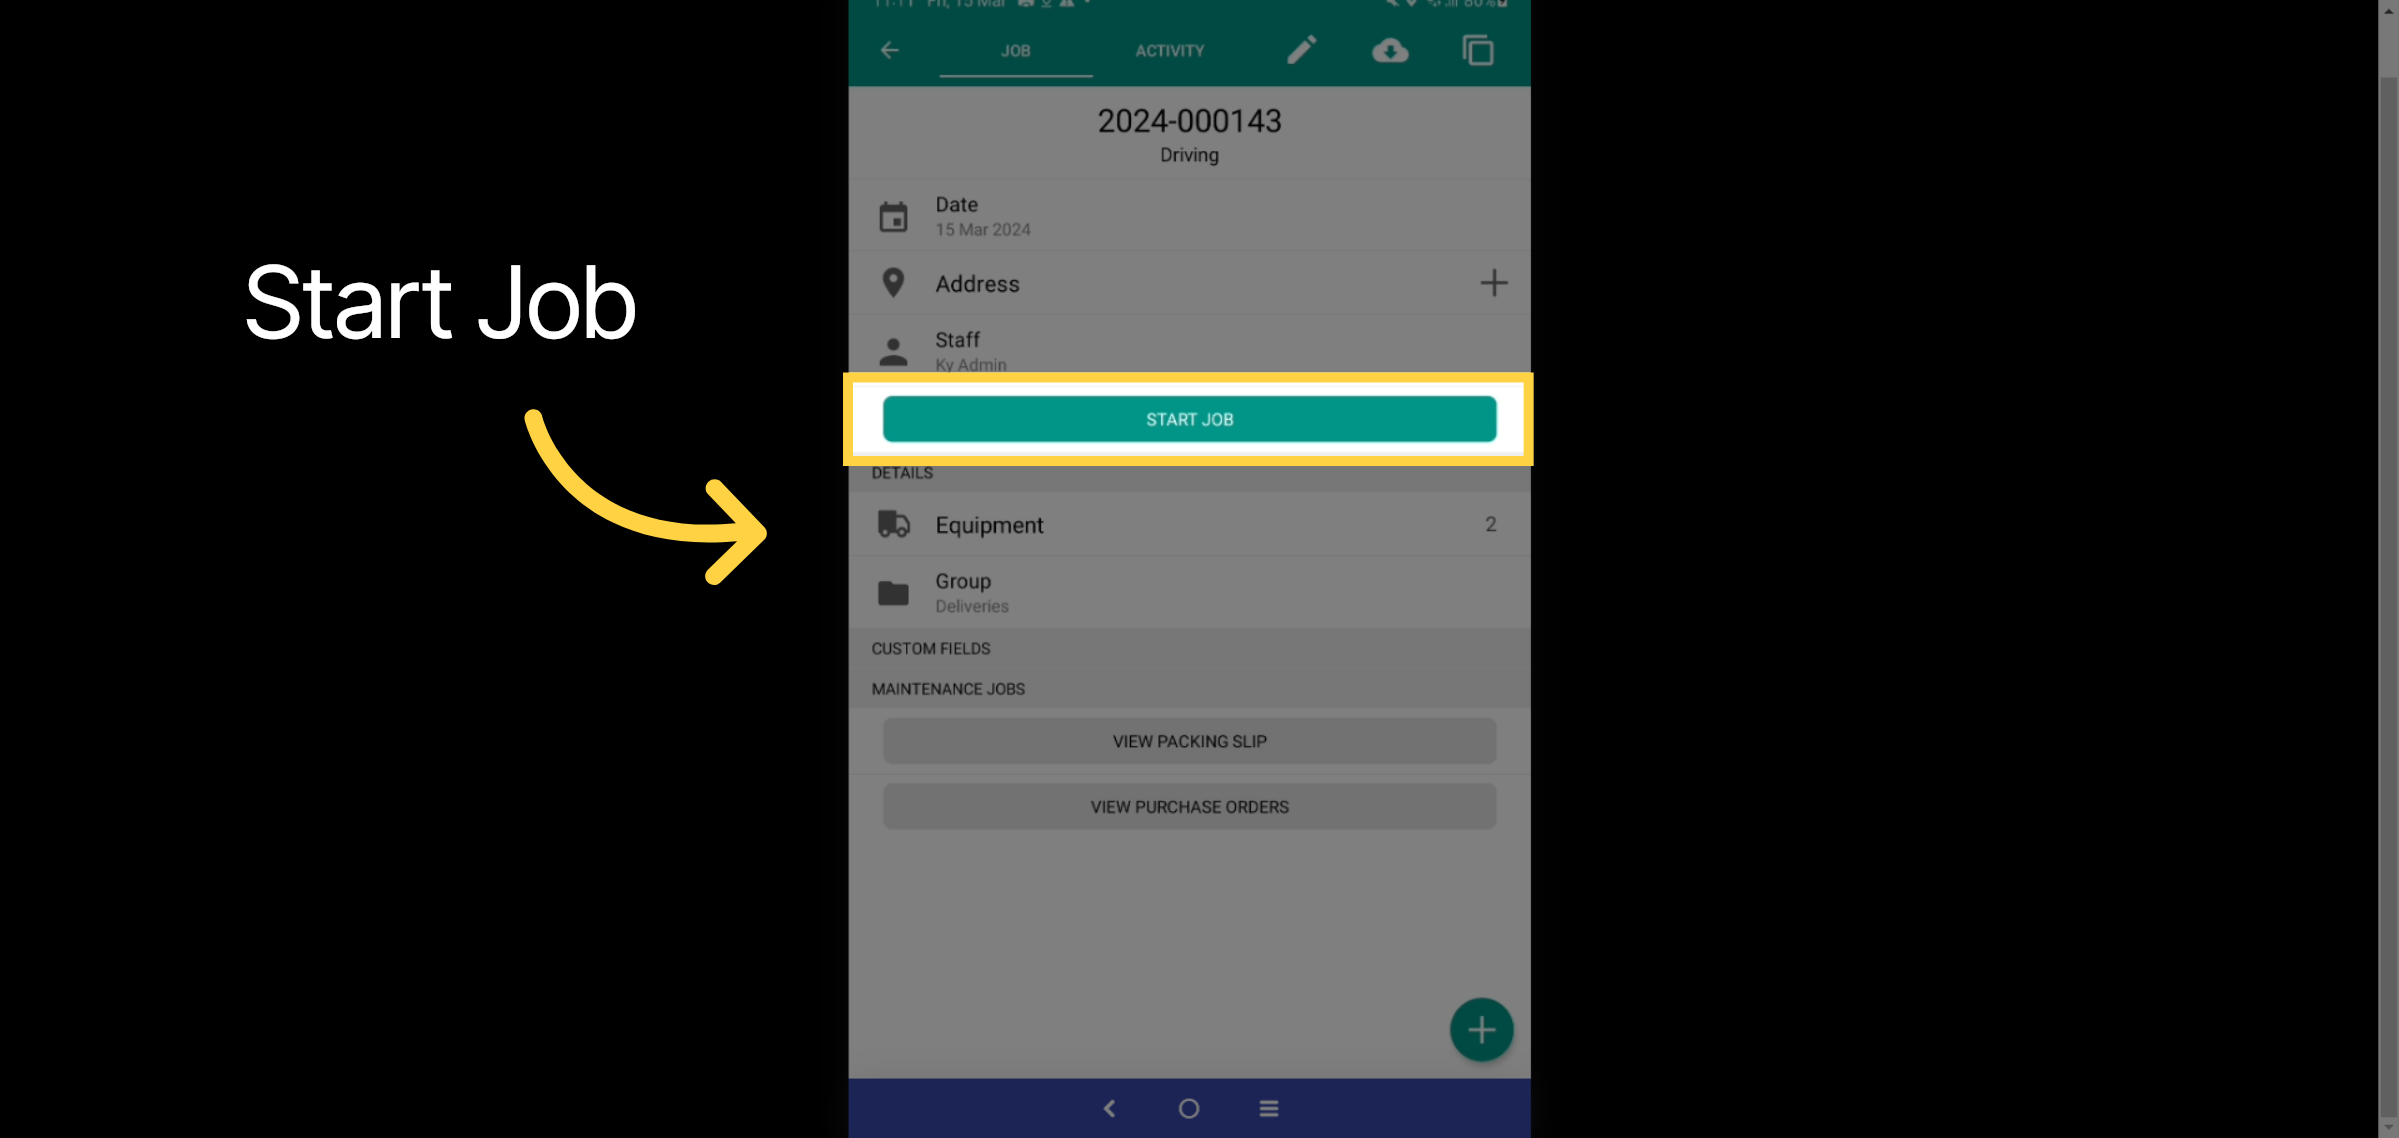
24. Start Job
Once you've arrived at the job destination, select the "Start Job" button.
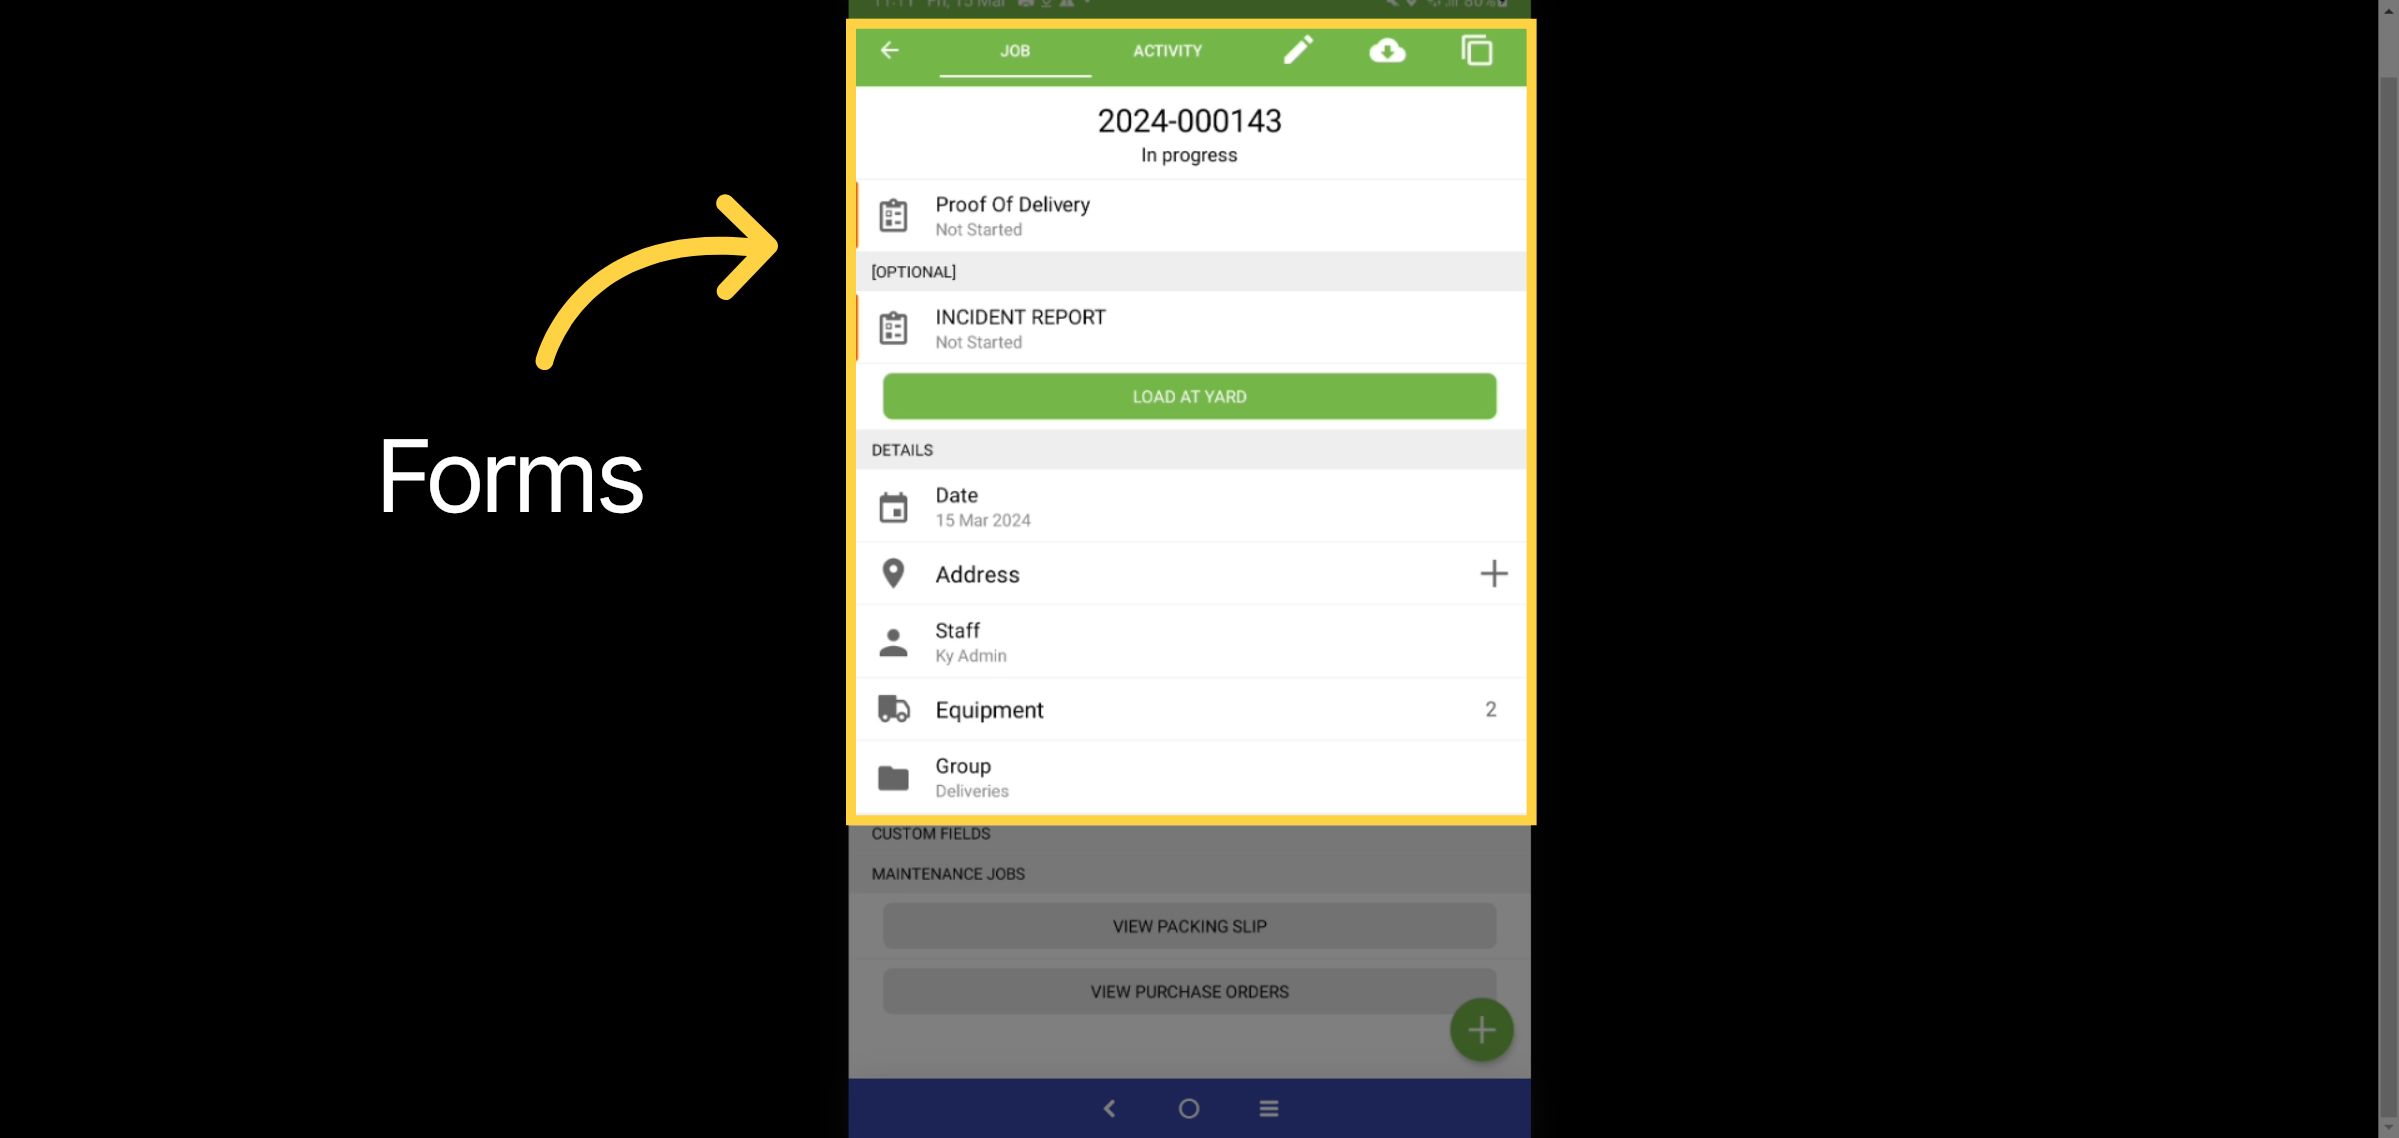
25. Forms
Here, you can view the Madorsay and optional forms. The madordfy form must be completed before proceeding to the next stage of the workflow. Please select the Proof of Delivery form.
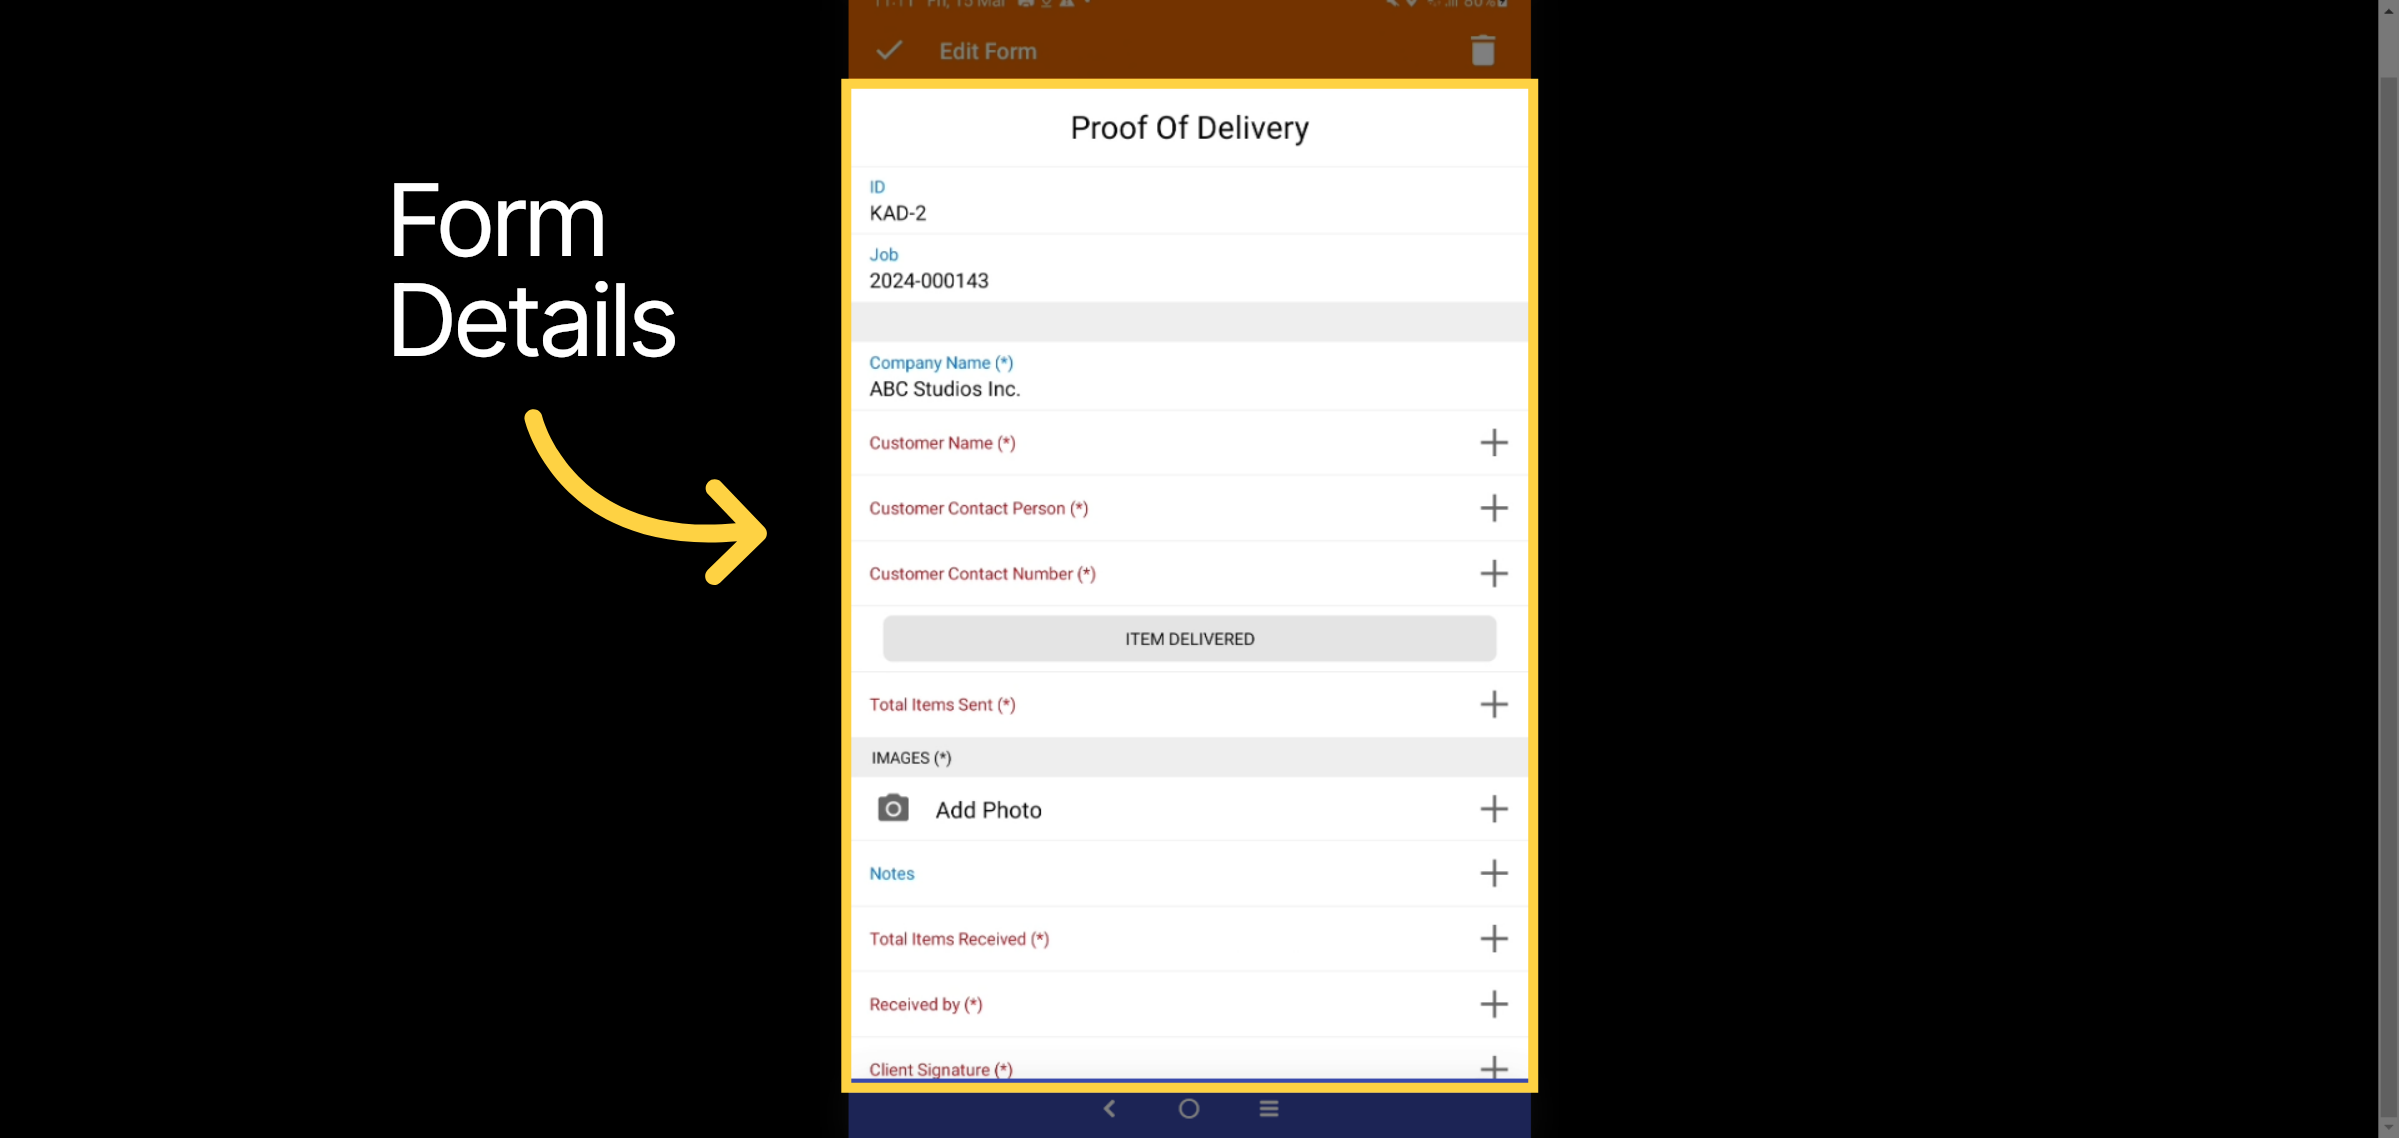
26. Details
Fill in all the fields to complete the form. Most details, such as customer information, can be auto-populated.
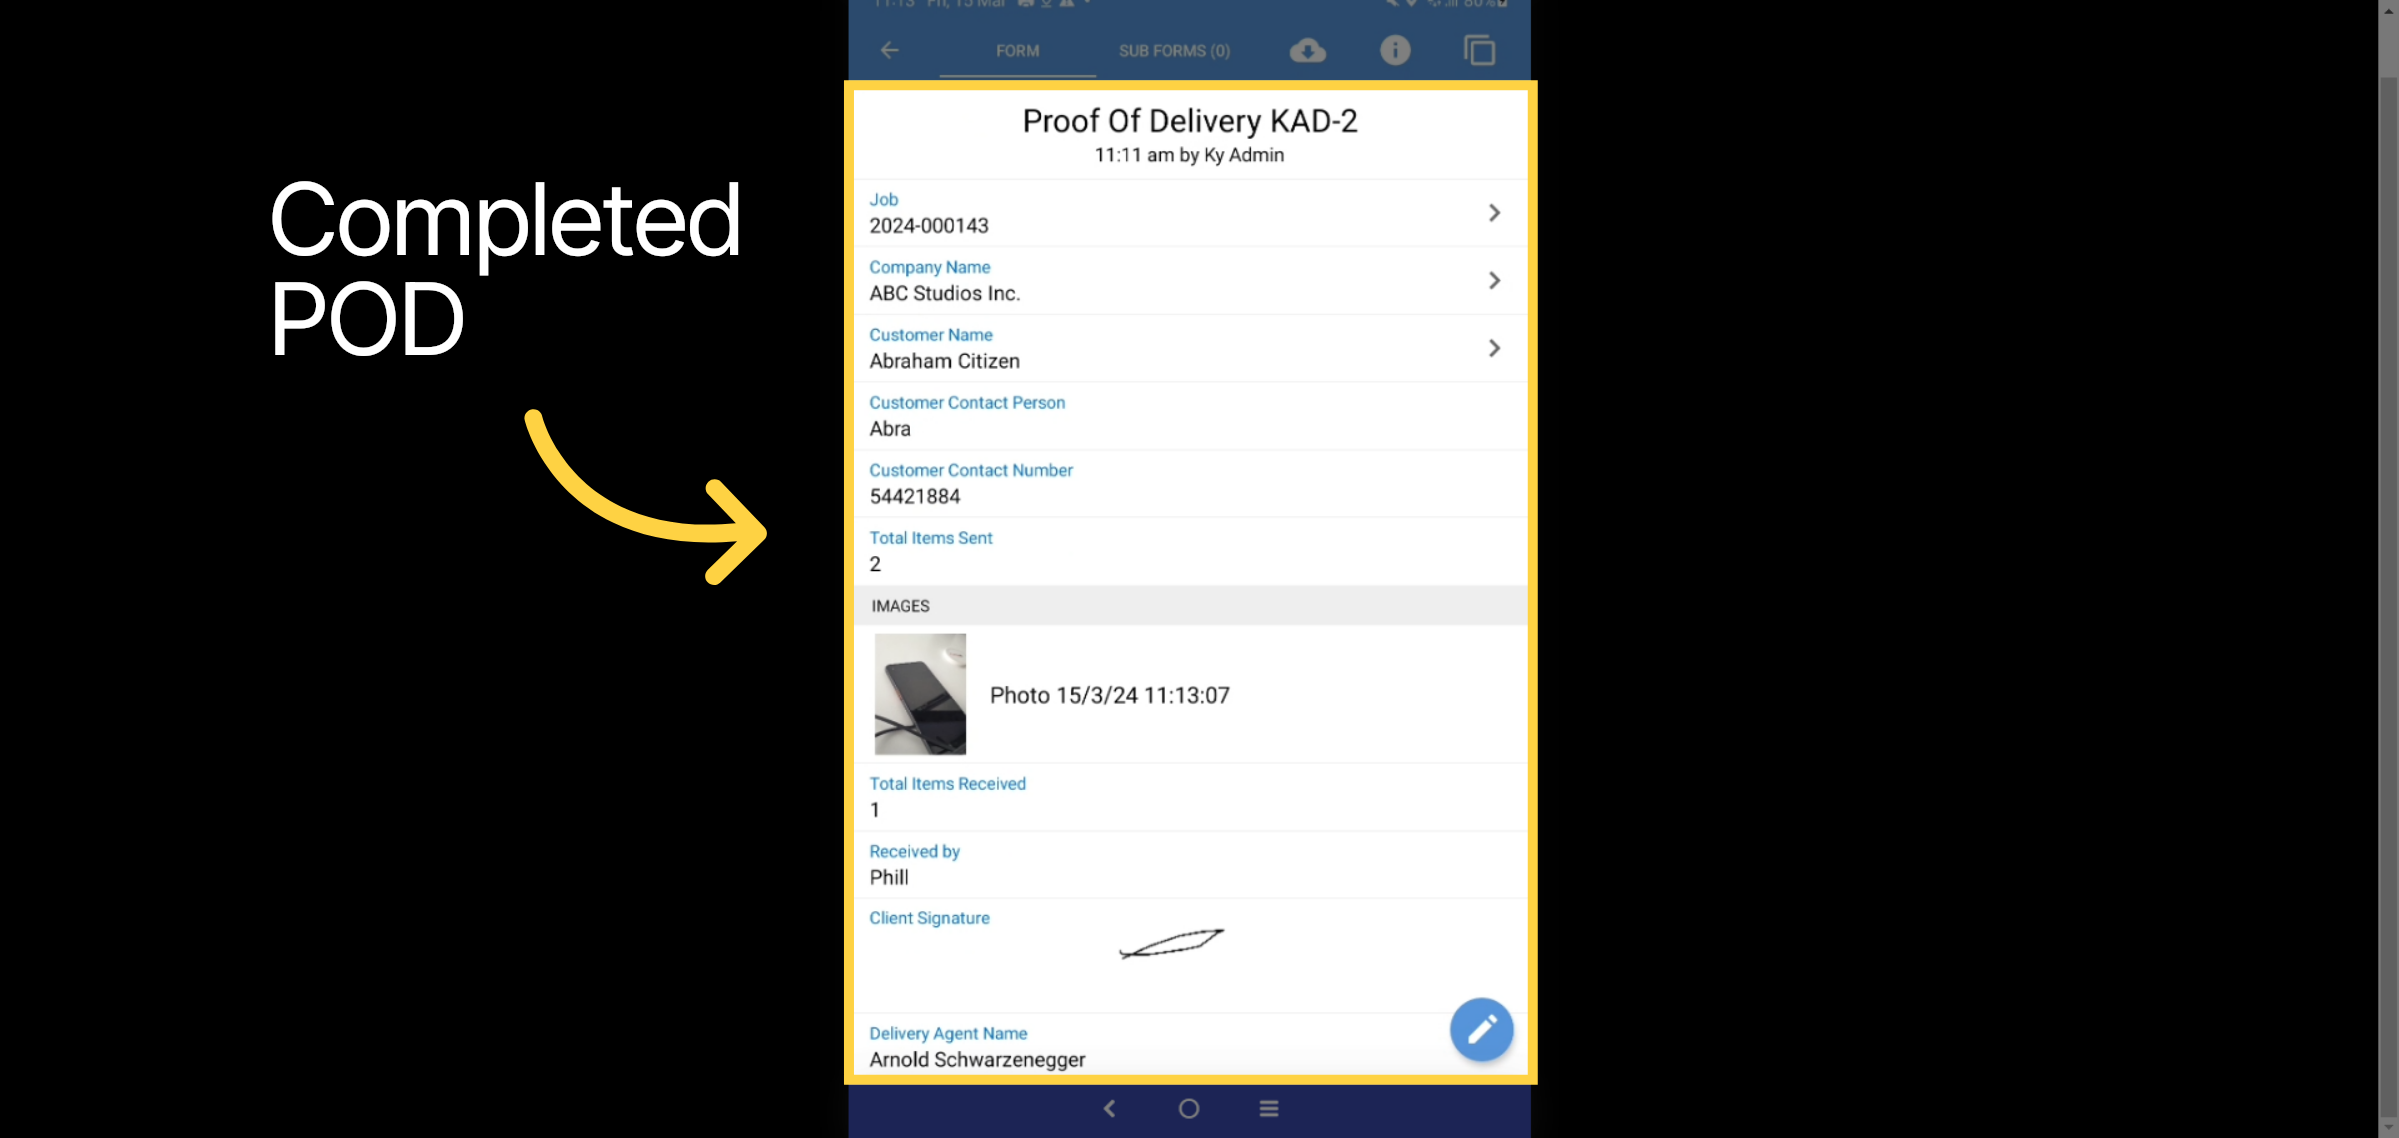
27. Completed POD
Once all fields, customer signature, and photos are taken, review and submit.
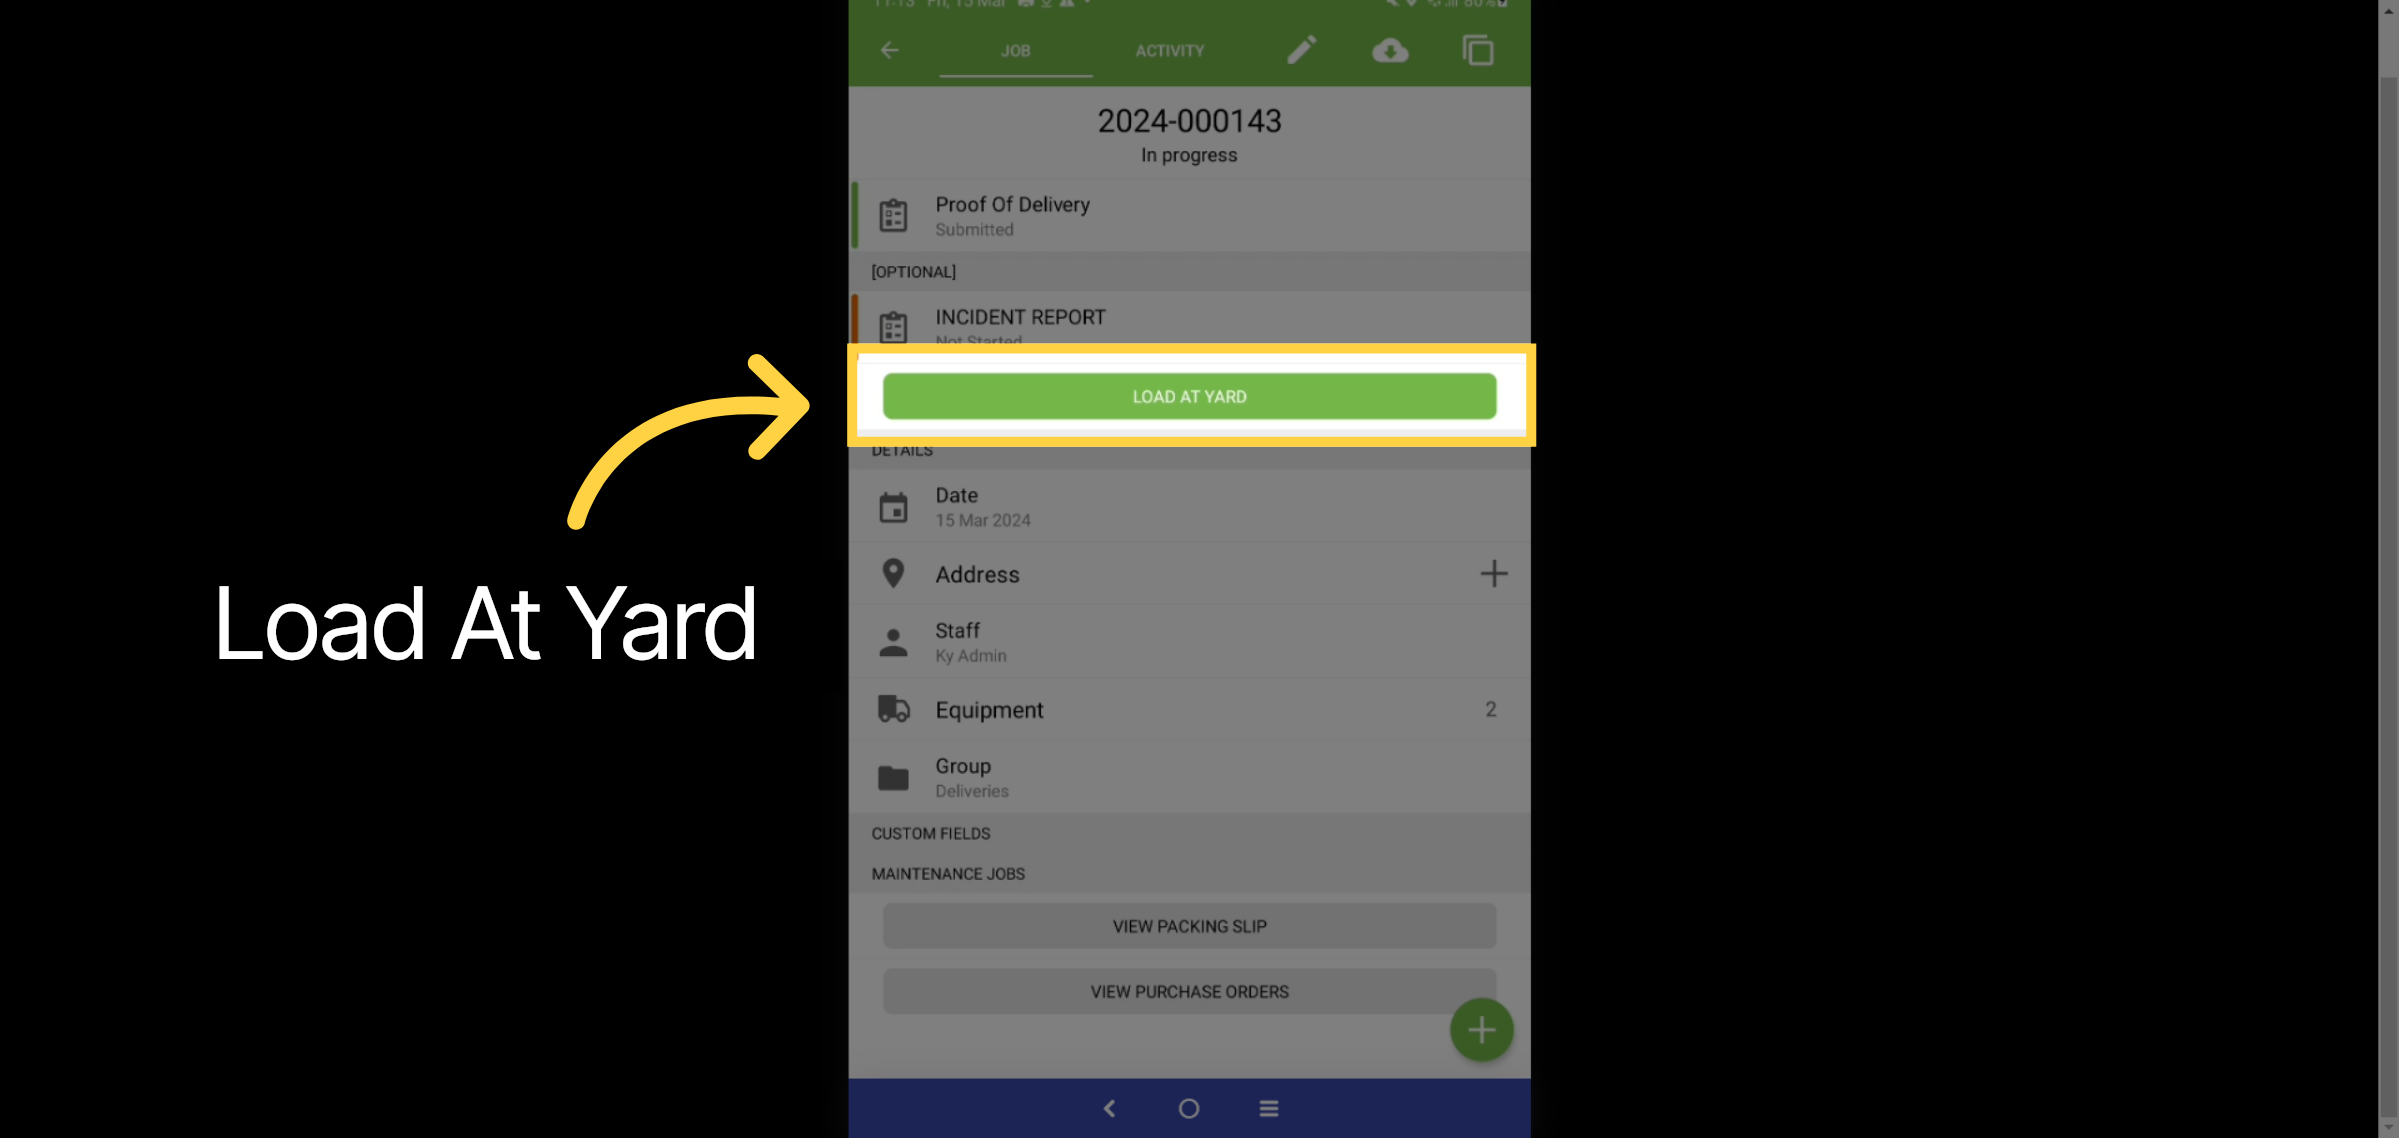
28. Load At Yard
Select the "Load at yard" button once the task is completed.
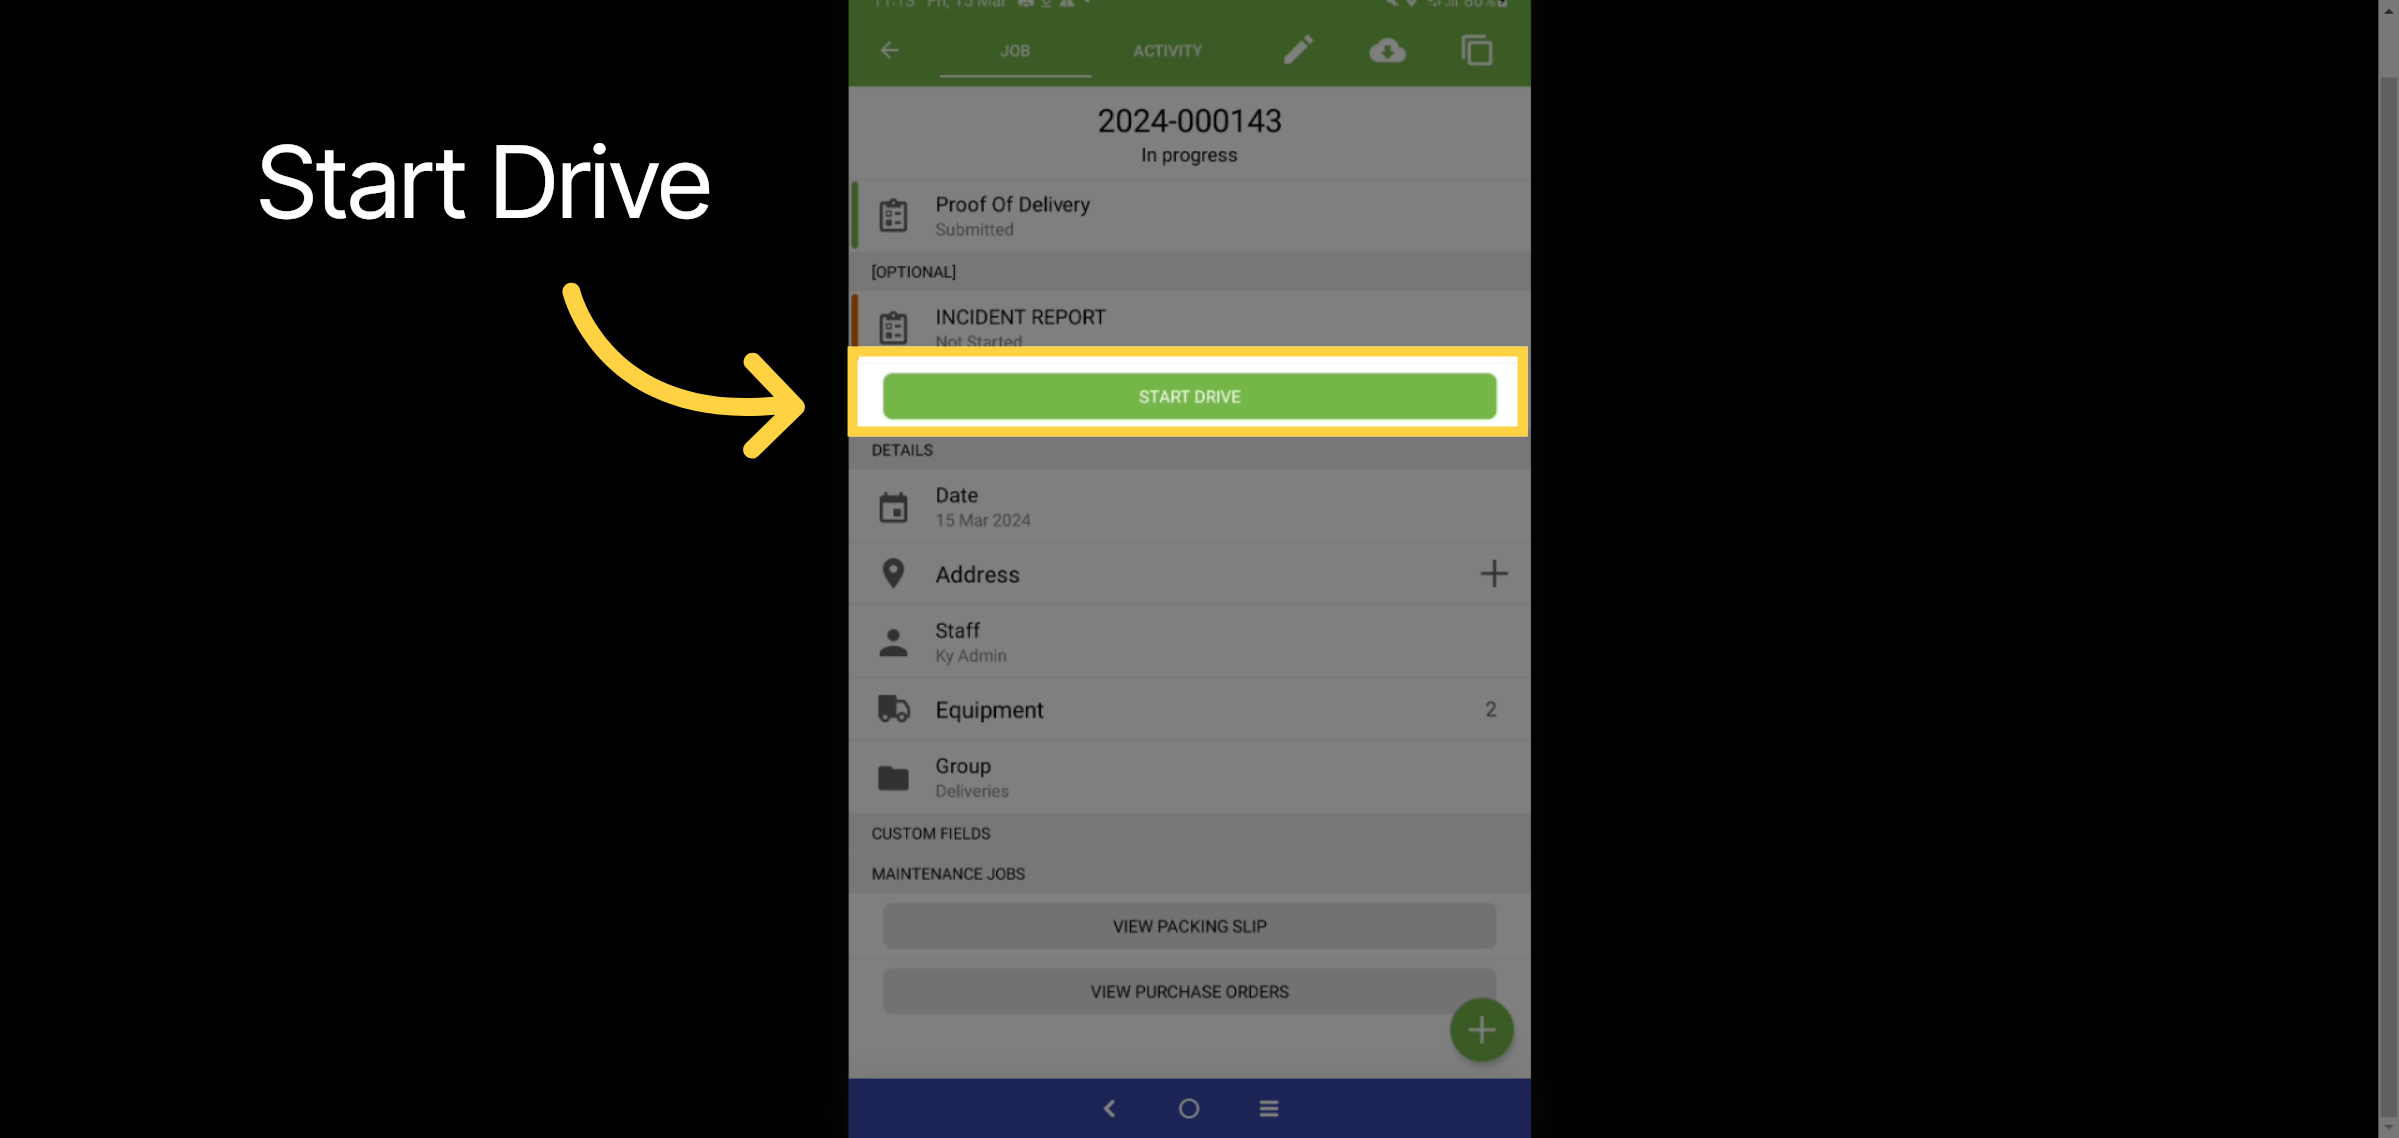
29. Start Drive
Select "Start drive" and continue to transport to the site destination.
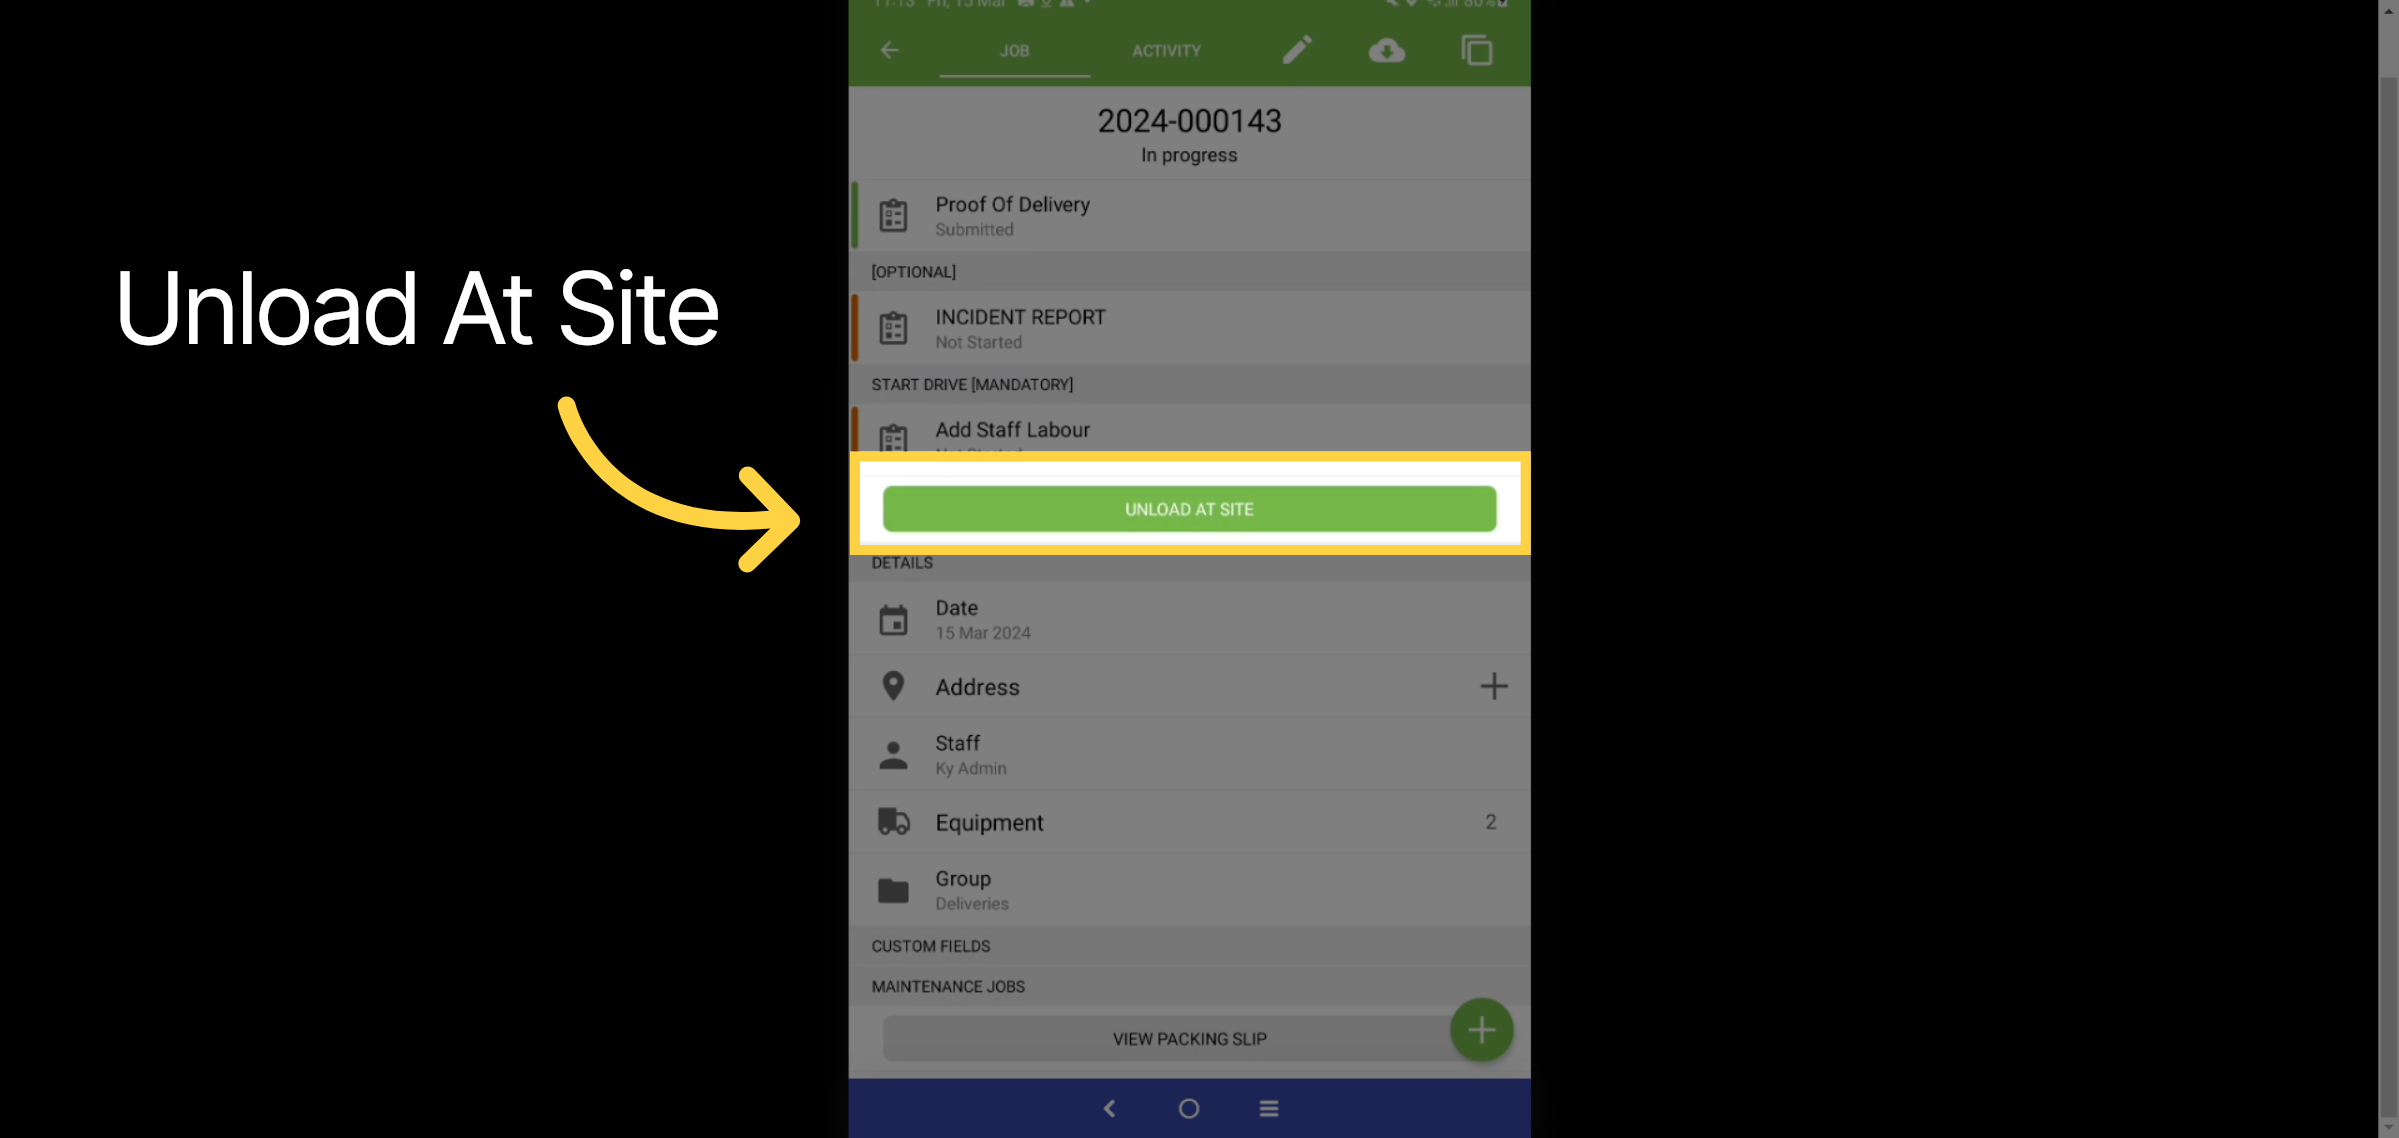
30. Unload At Site
Select the "Unload at Site" button and complete the task.
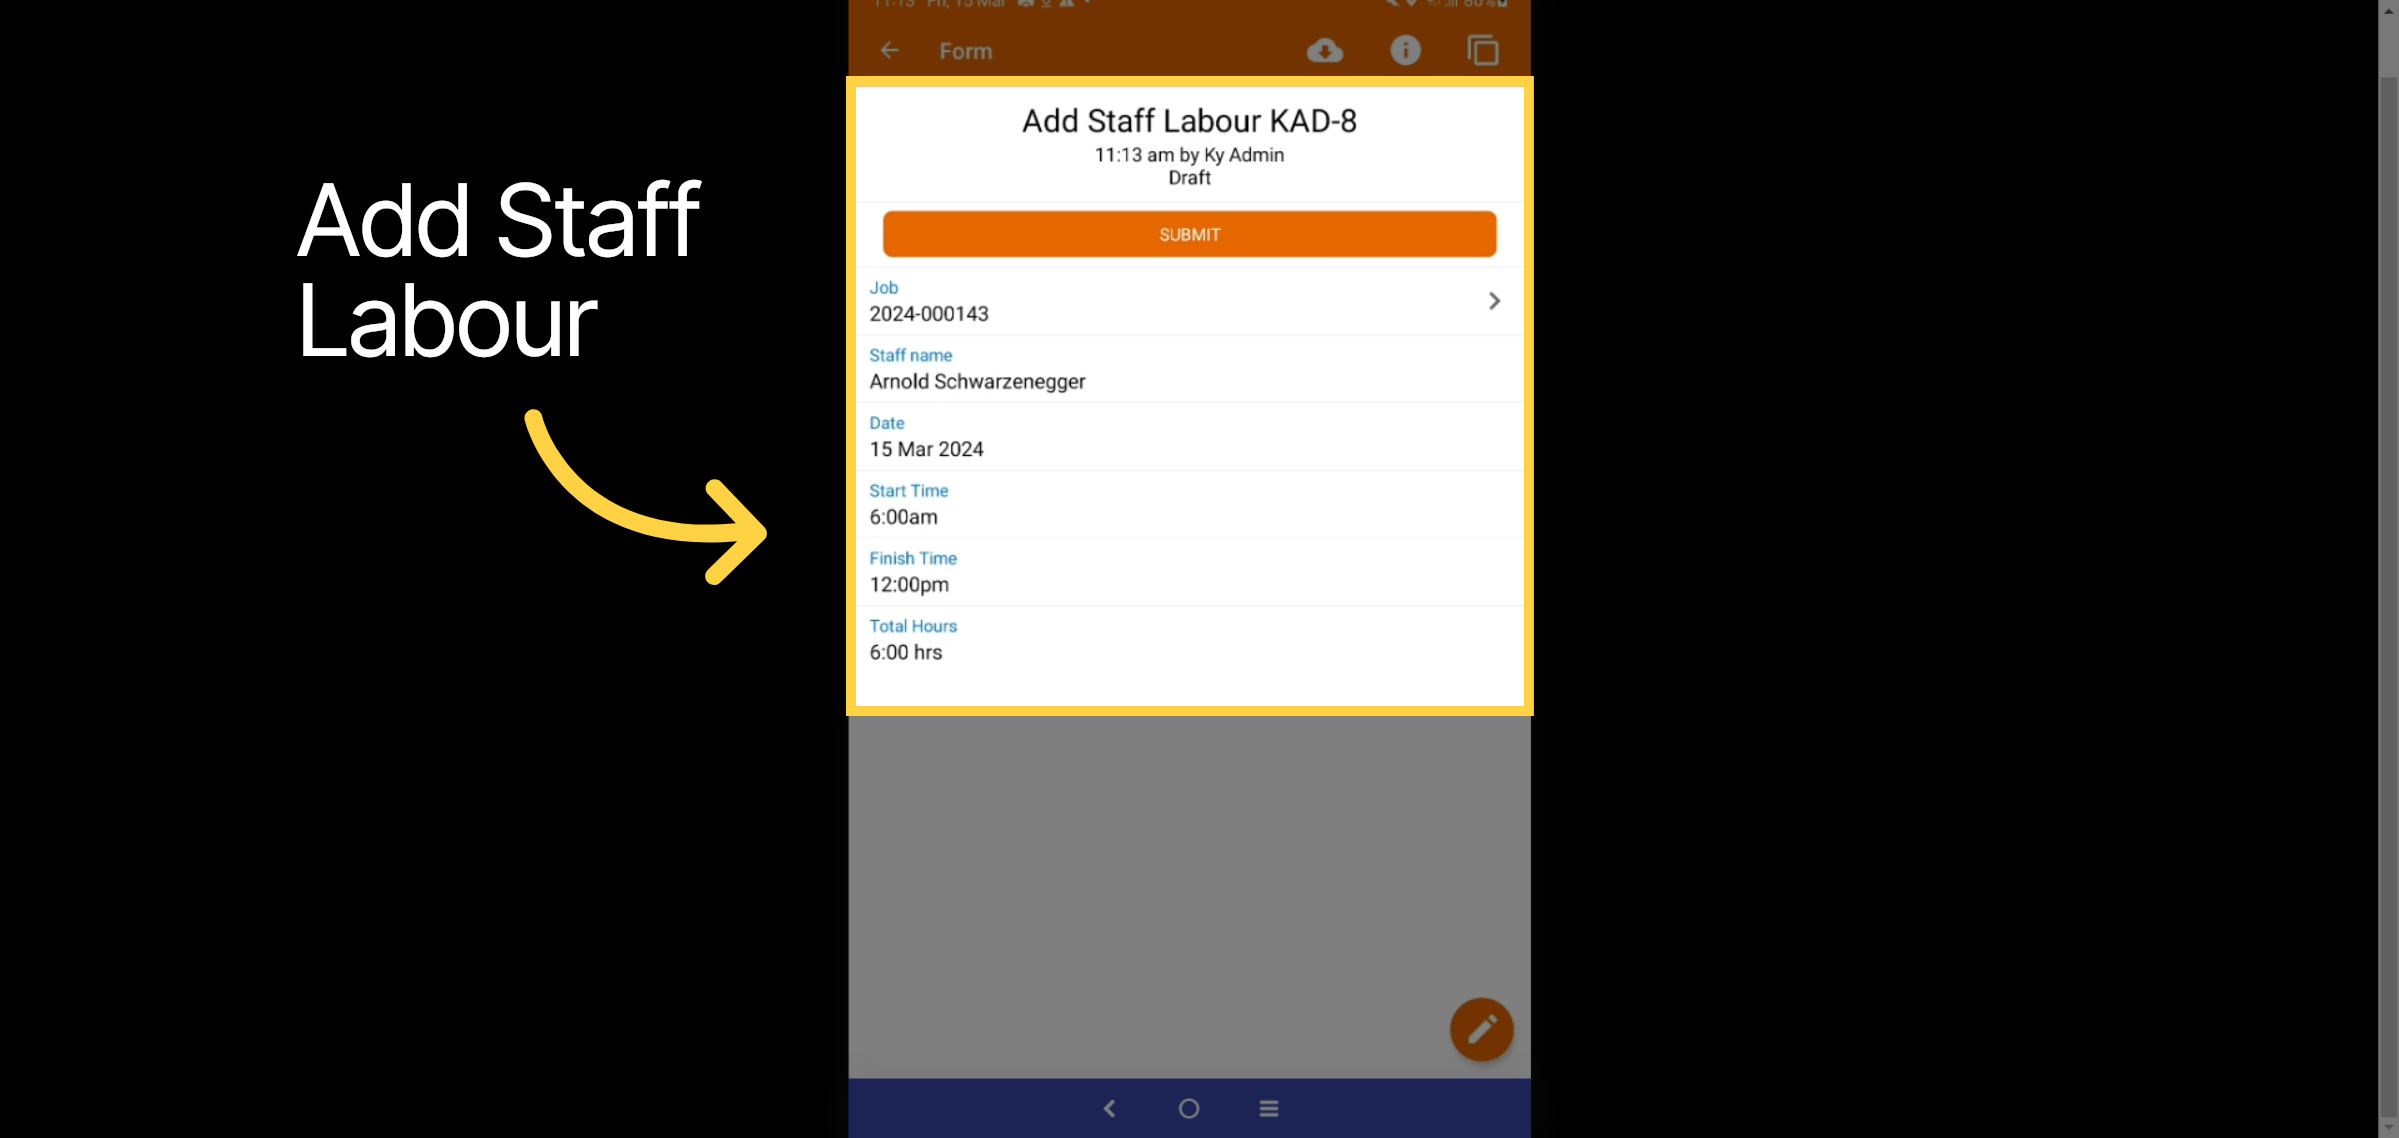
31. Add Staff Labour
To add your staff's labor, select the start and finish times, then click the submit button.
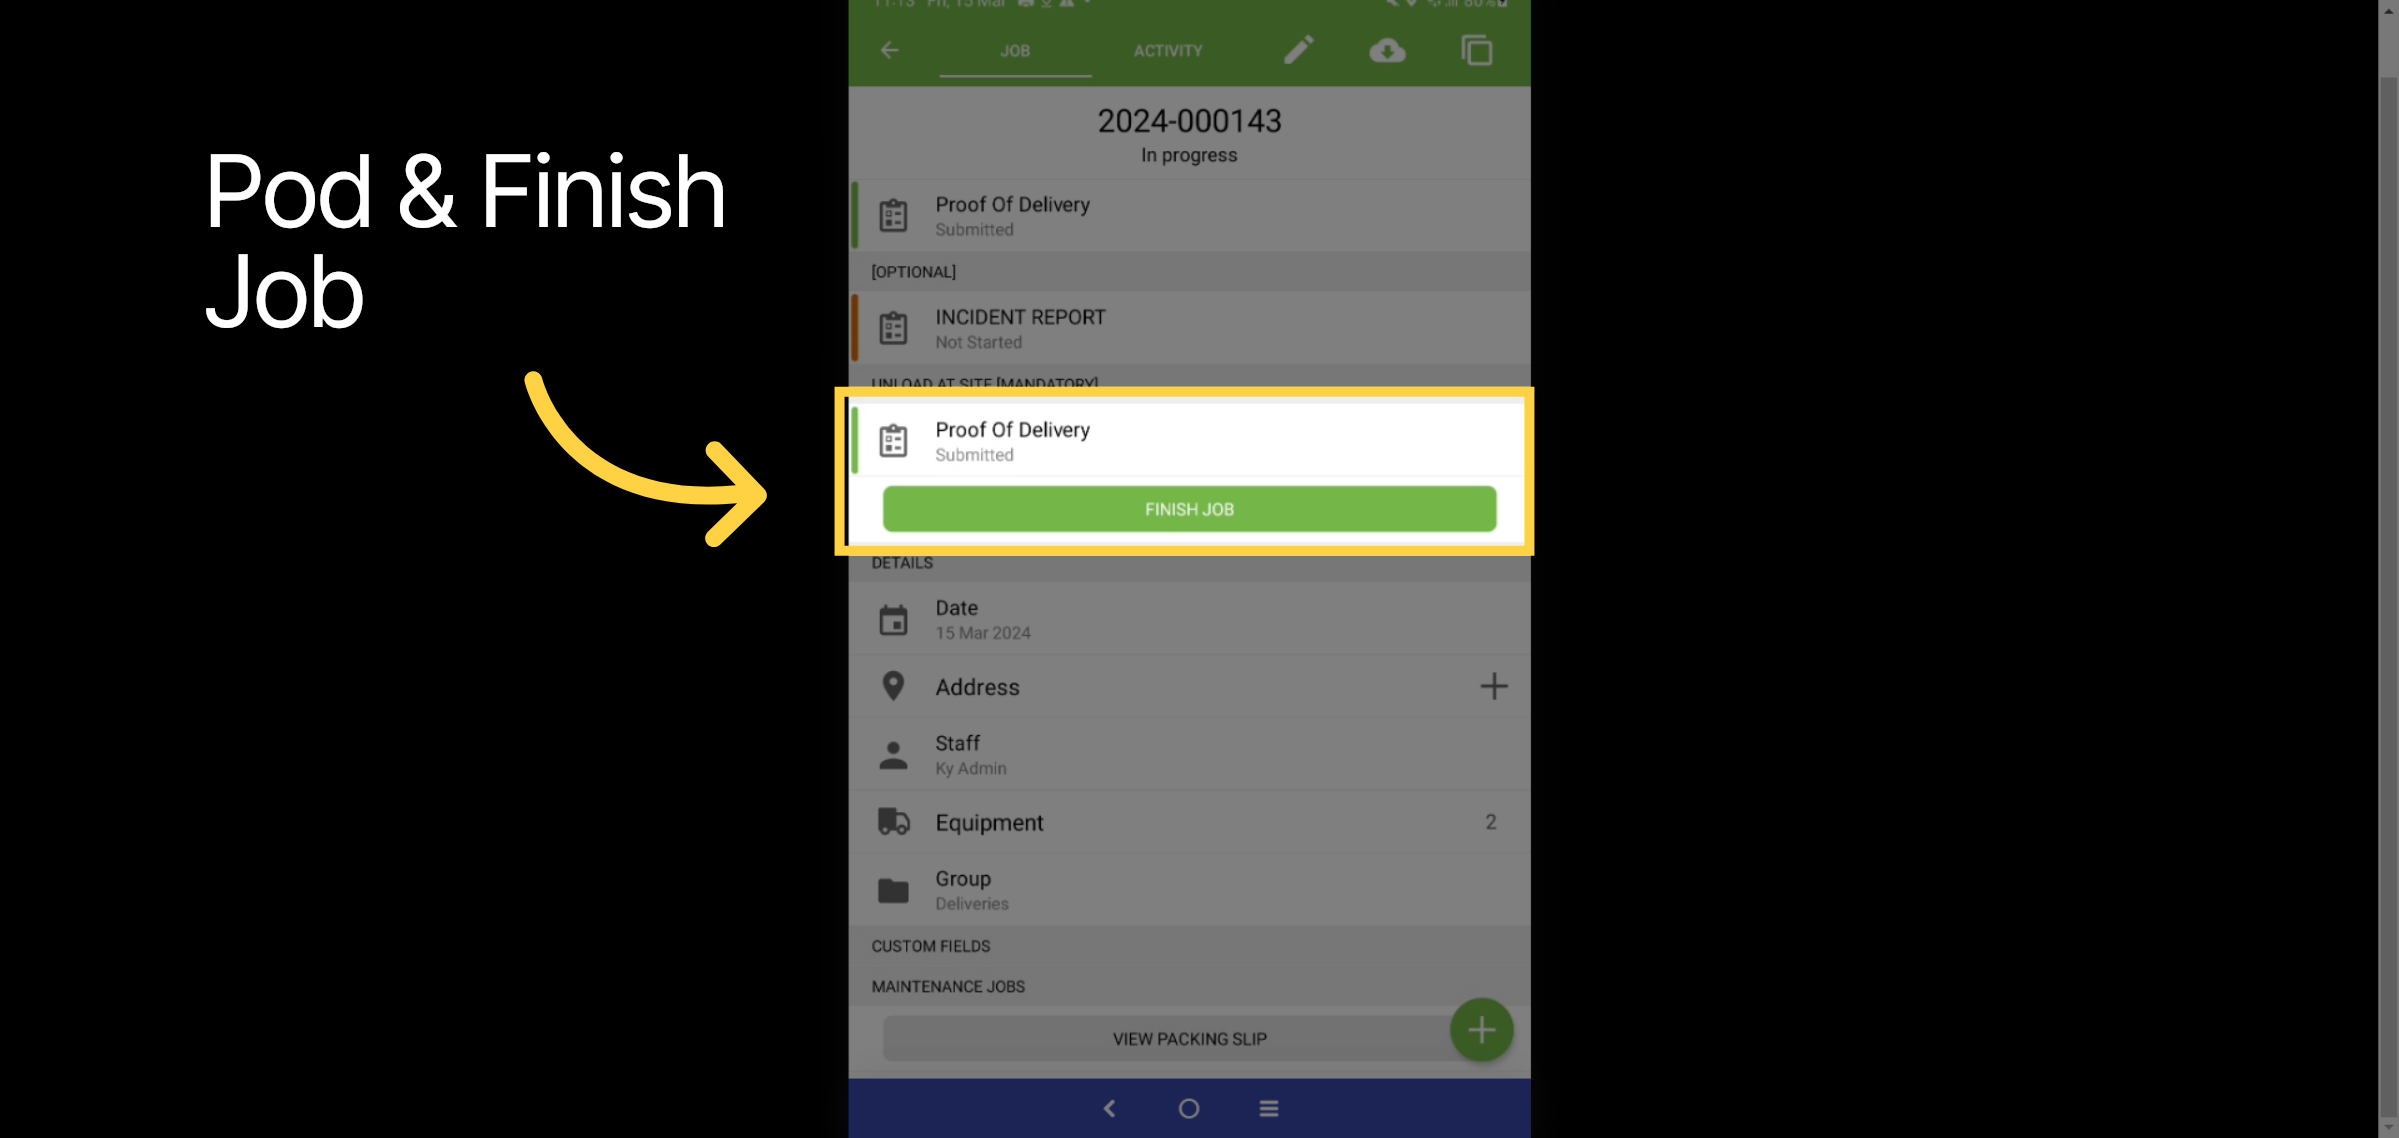
32. POD
Once the Proof of Delivery form is completed, select the Finish Job button.
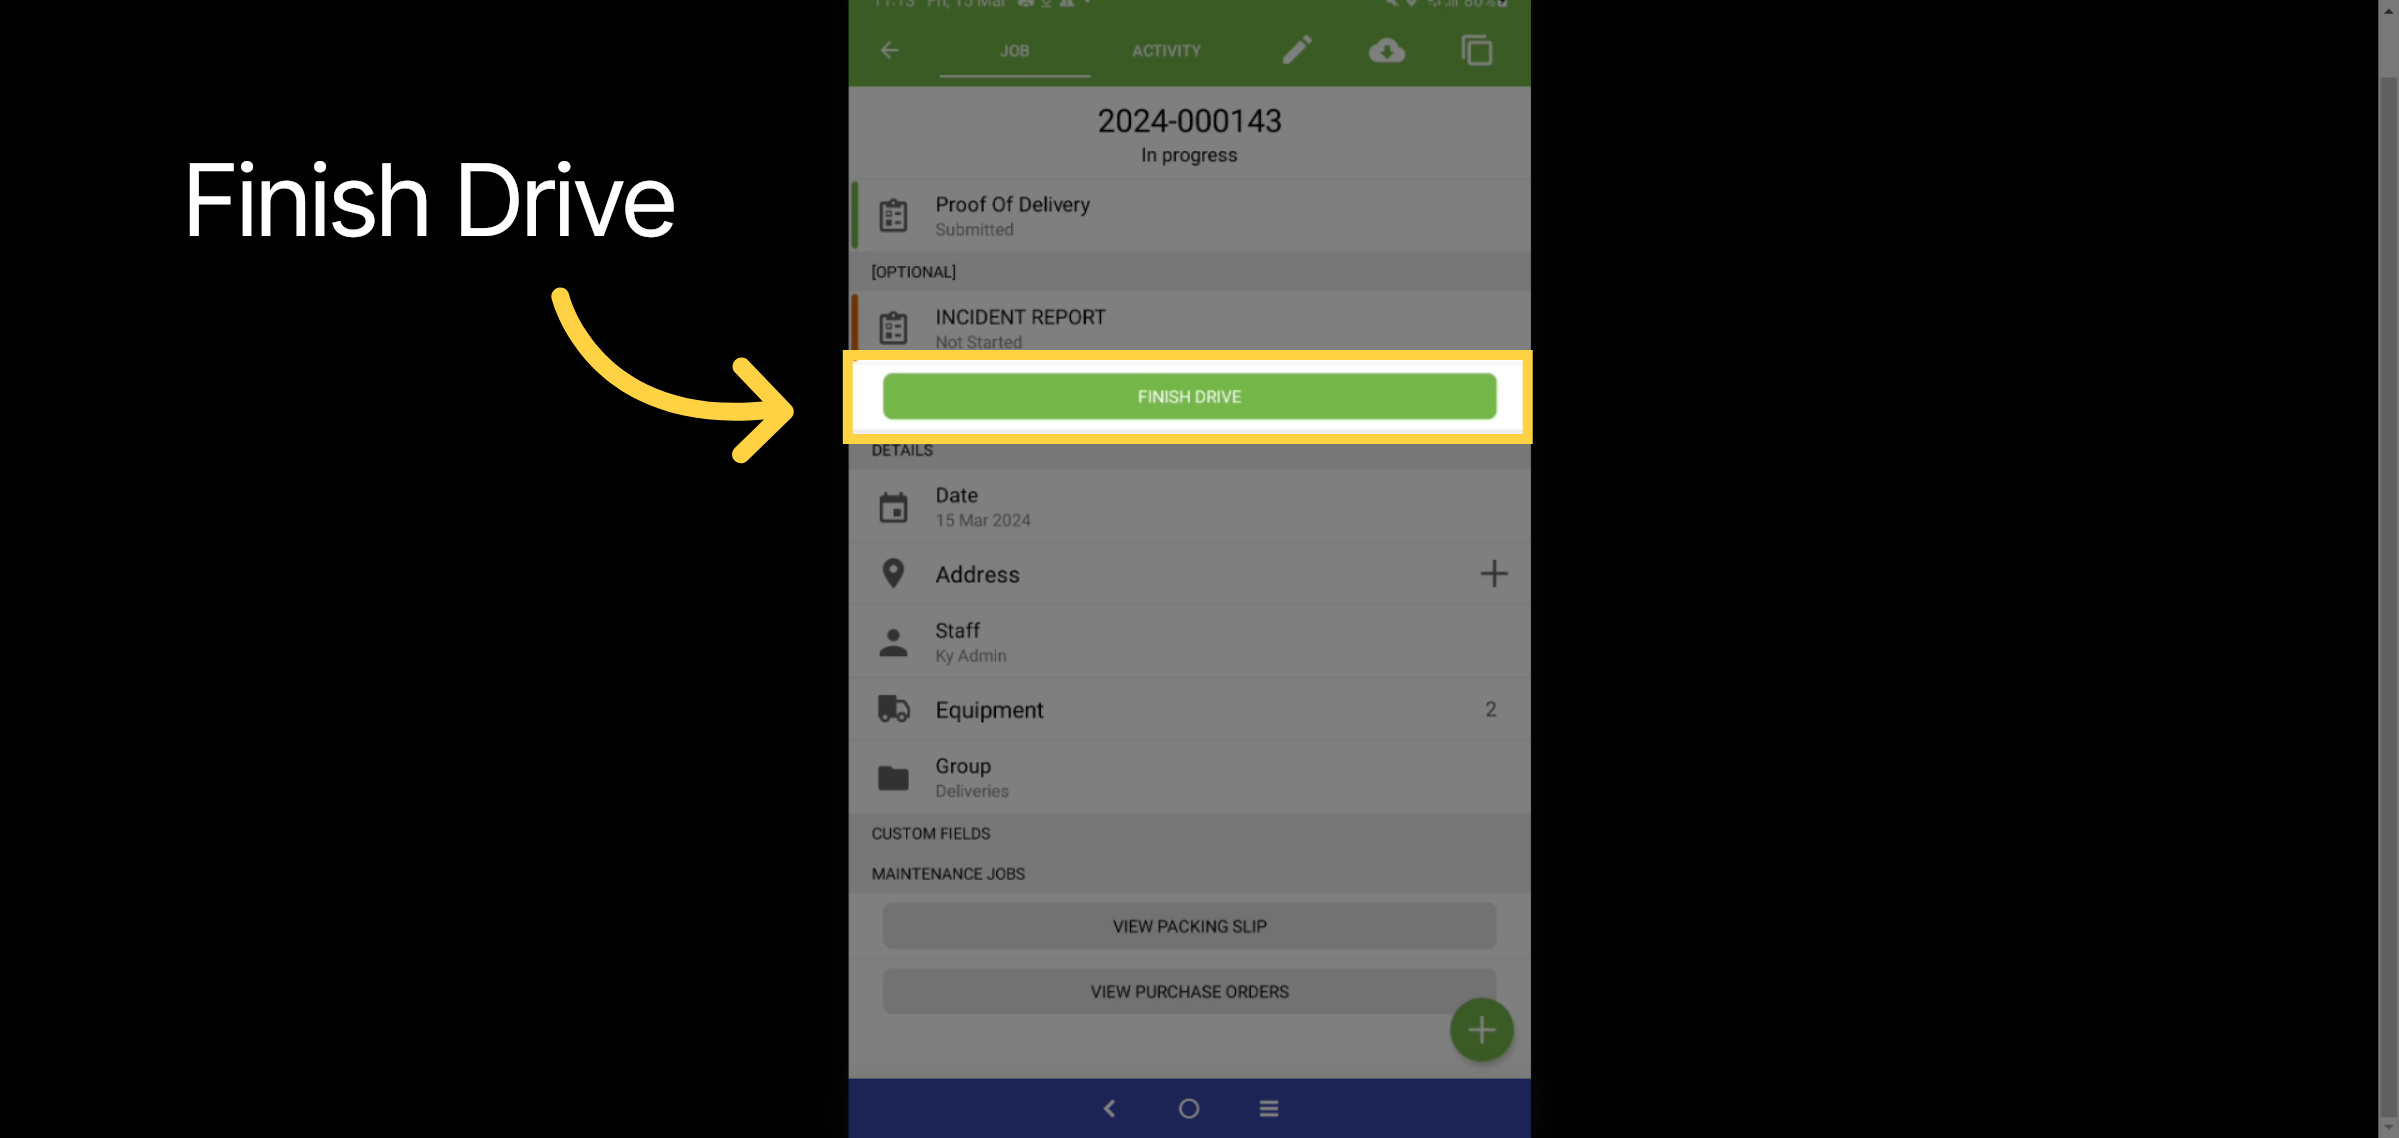
33. Finish Drive
Select the finish drive button
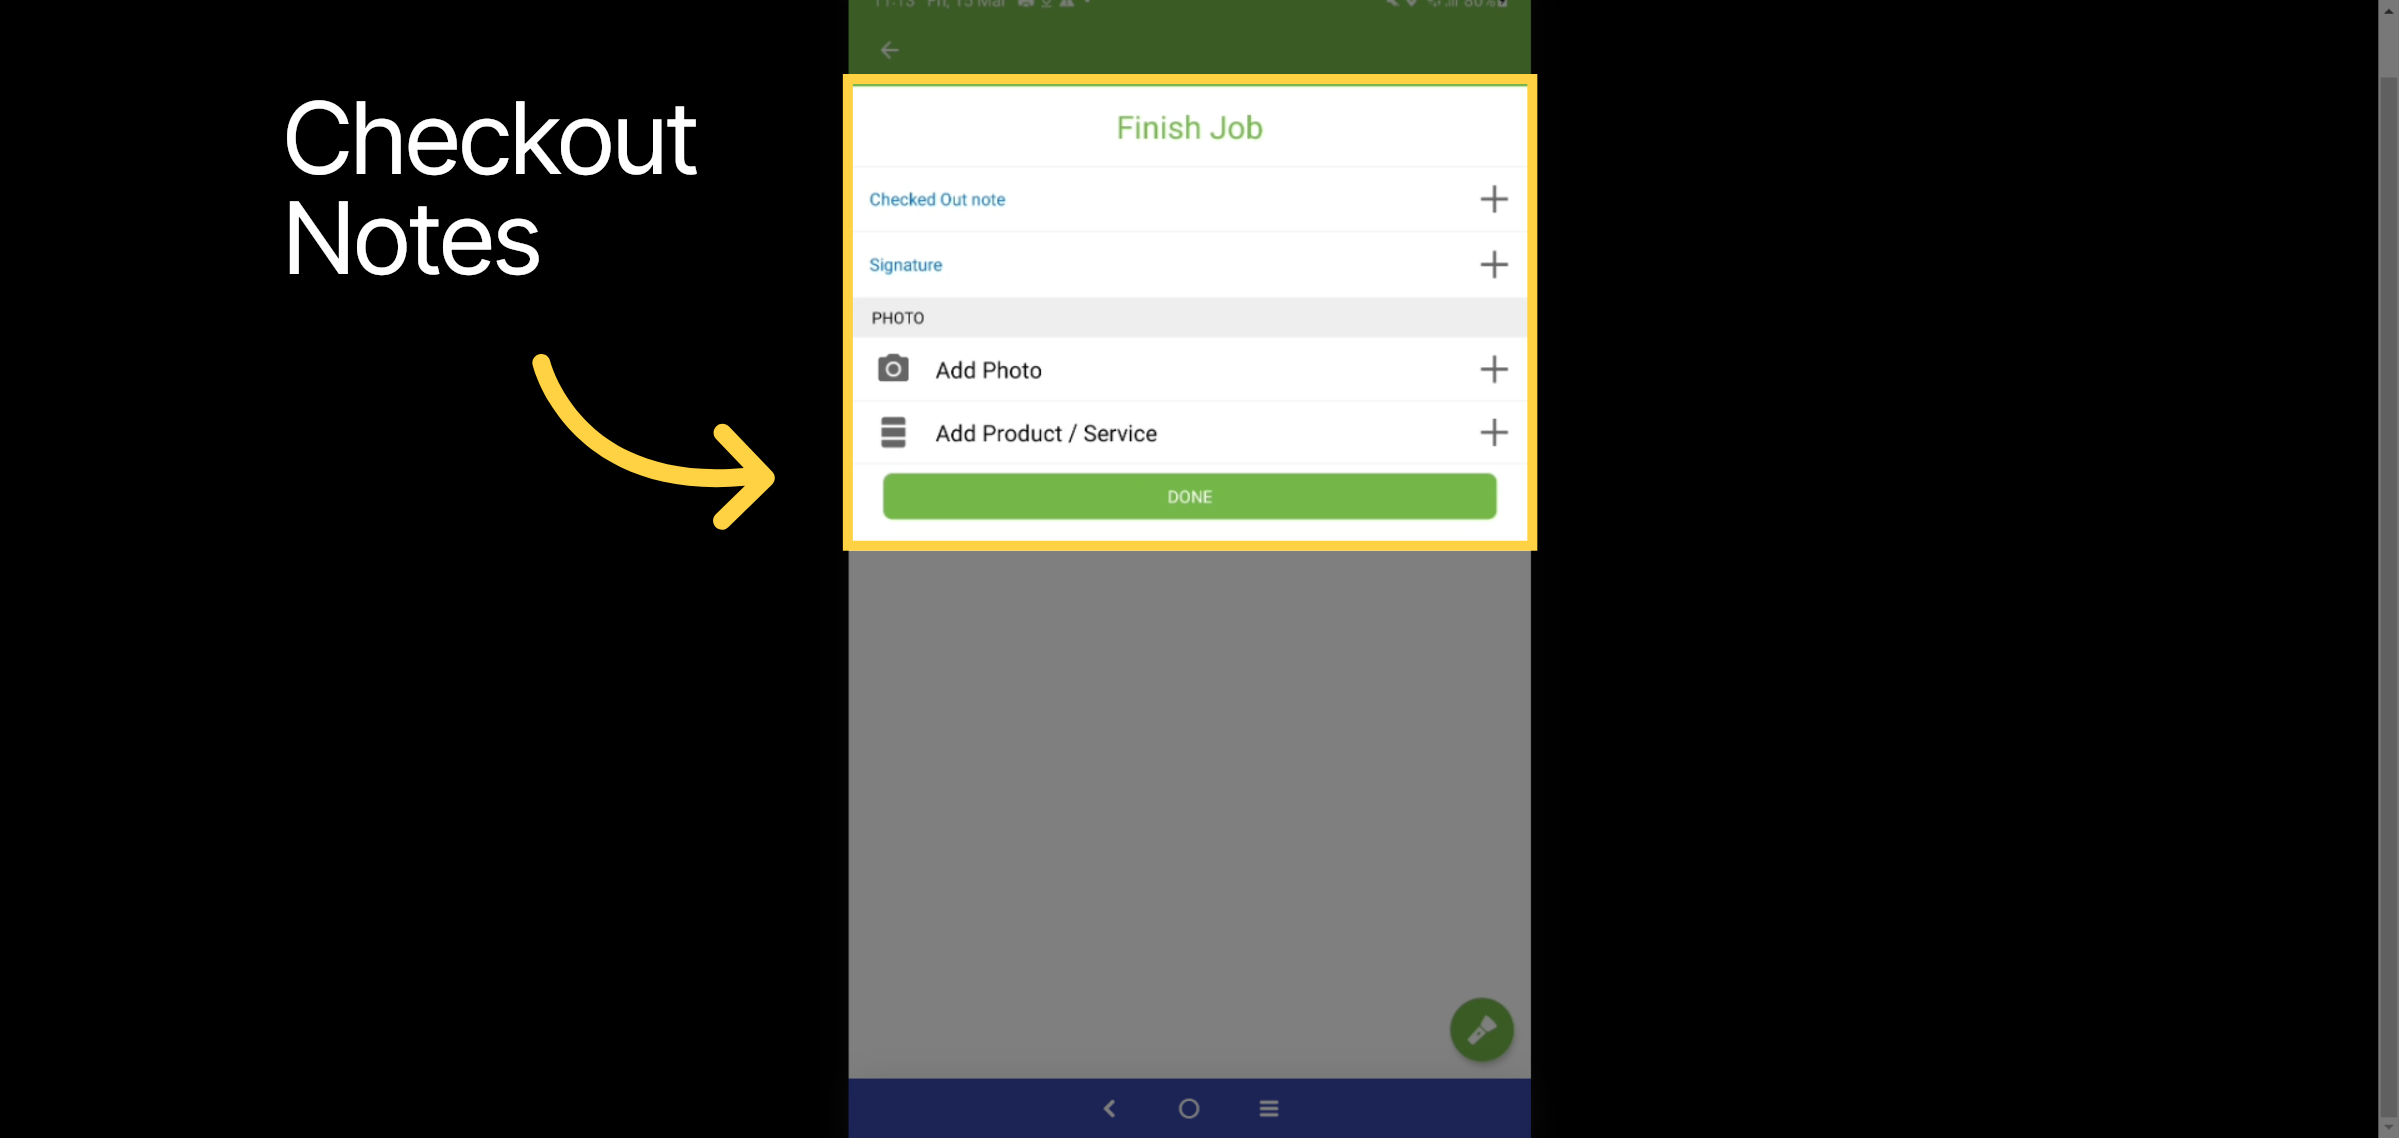
34. Checkout note
Please add any additional information as needed, such as checkout notes.
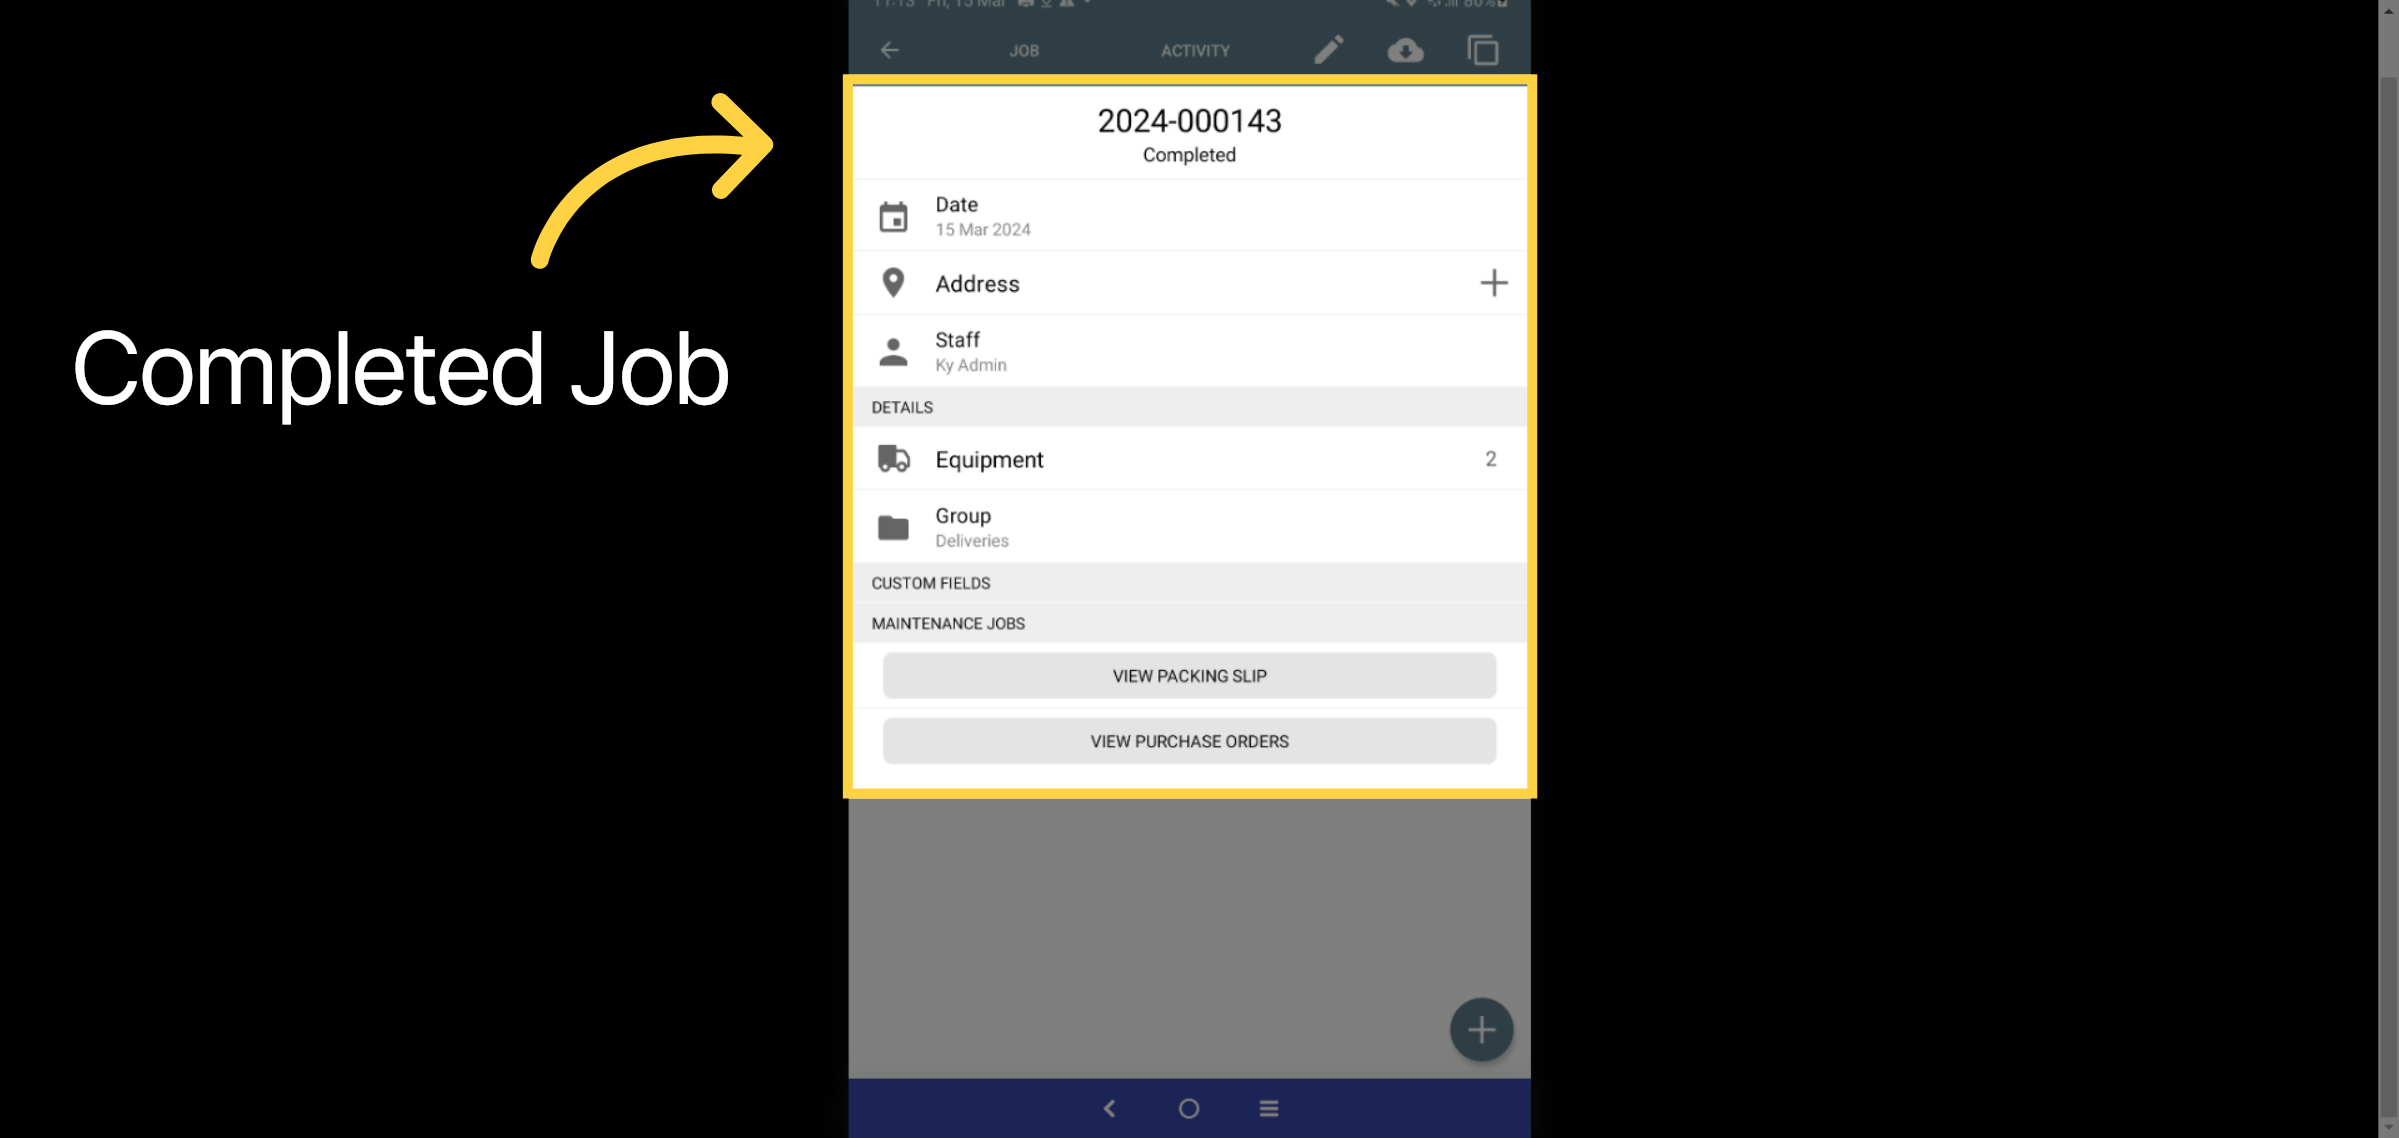
35. Completed Job
Once the job is completed, the job form will change from green to grey.
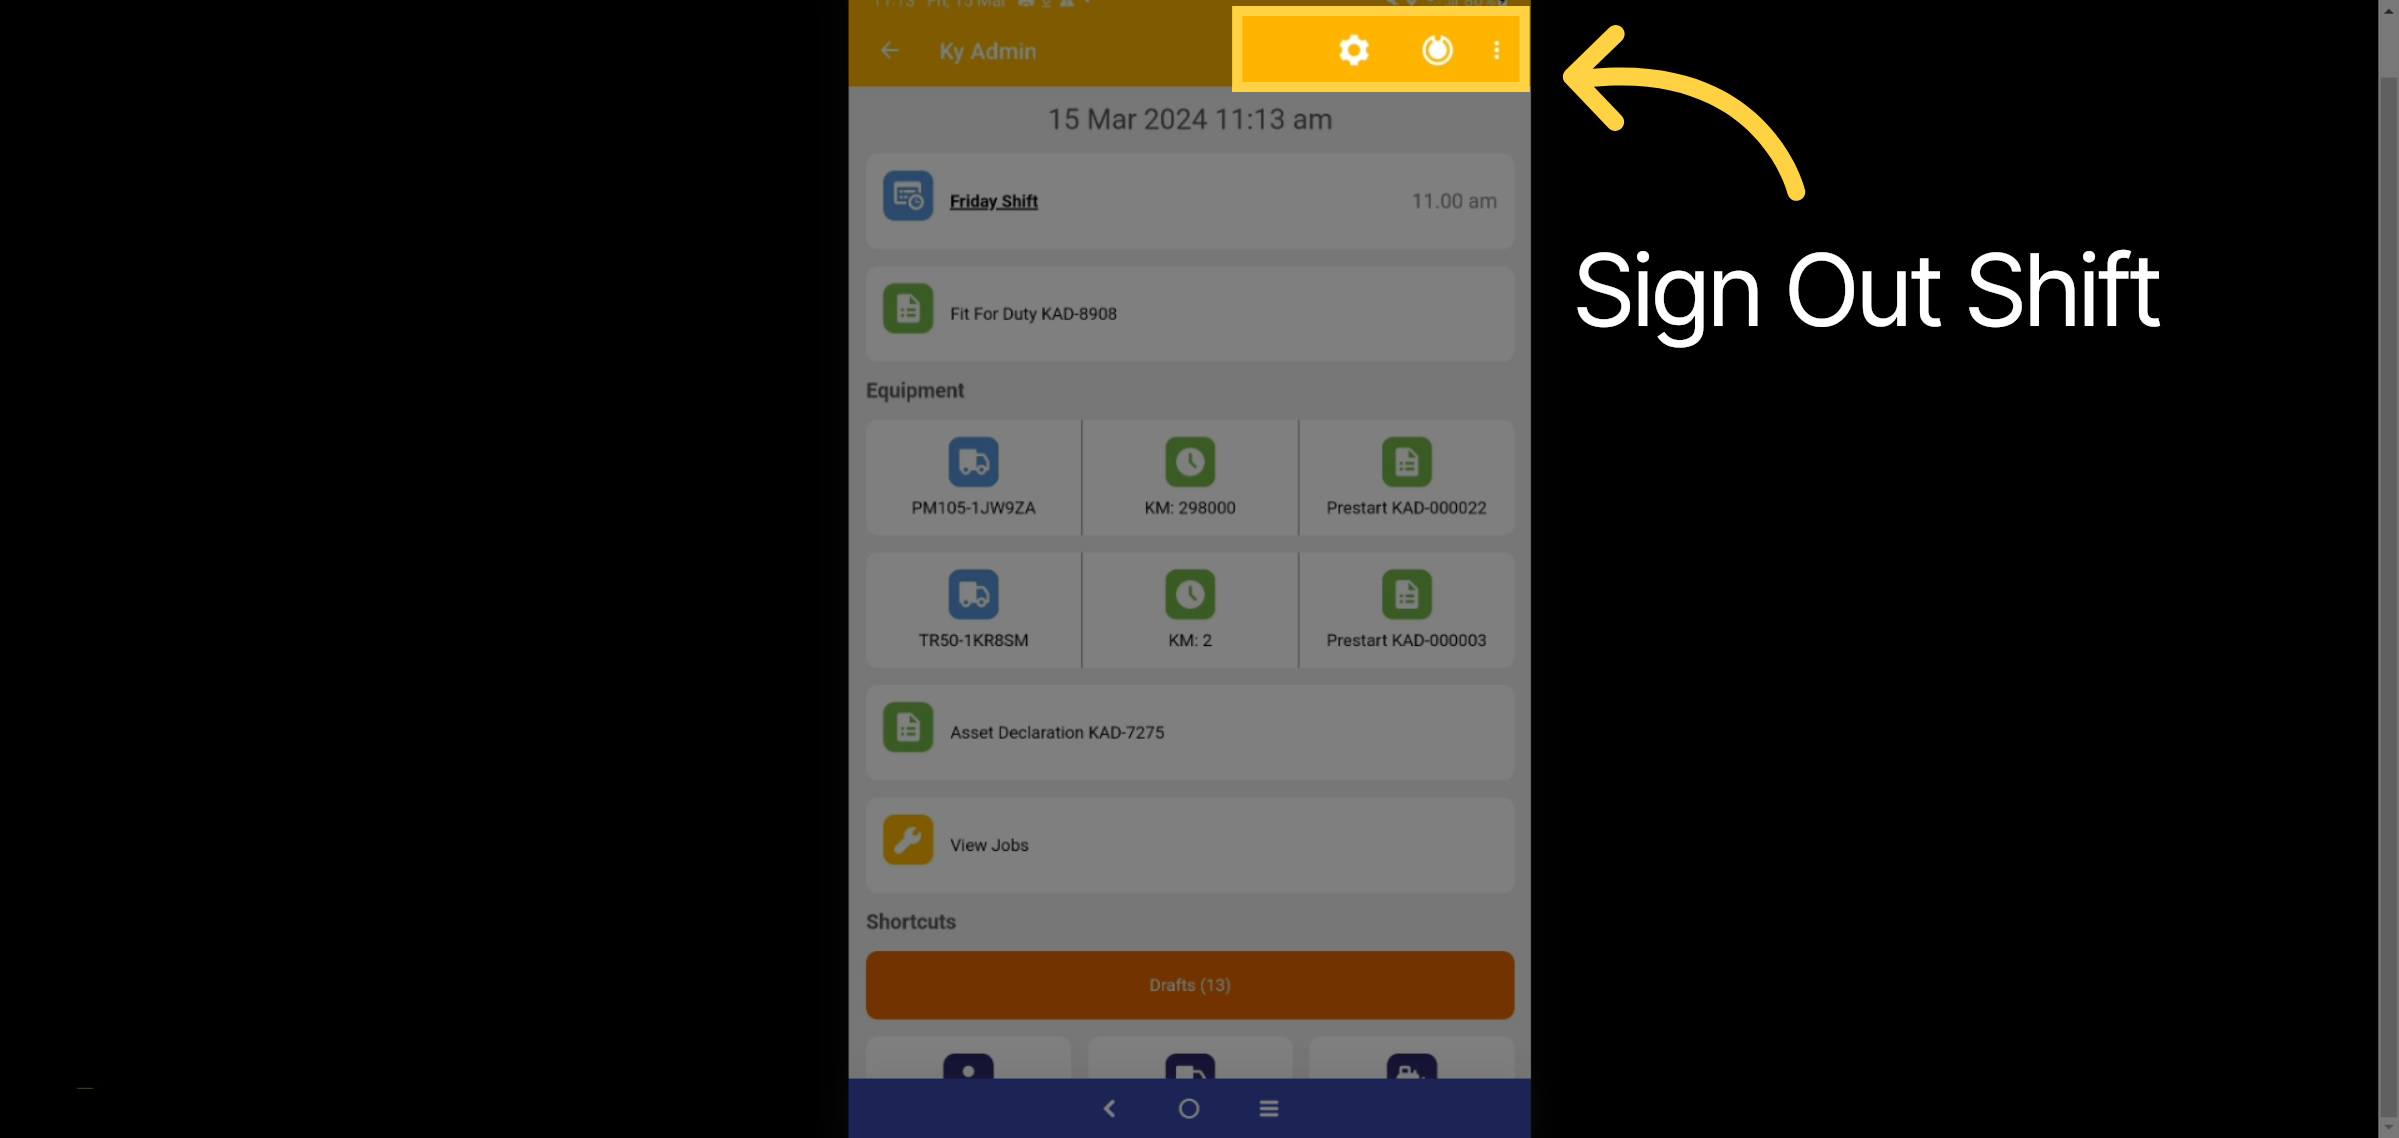
36. Sign out Shift
Select the sign-off shift; this can be found on the home screen or within the three dots in the top right corner.
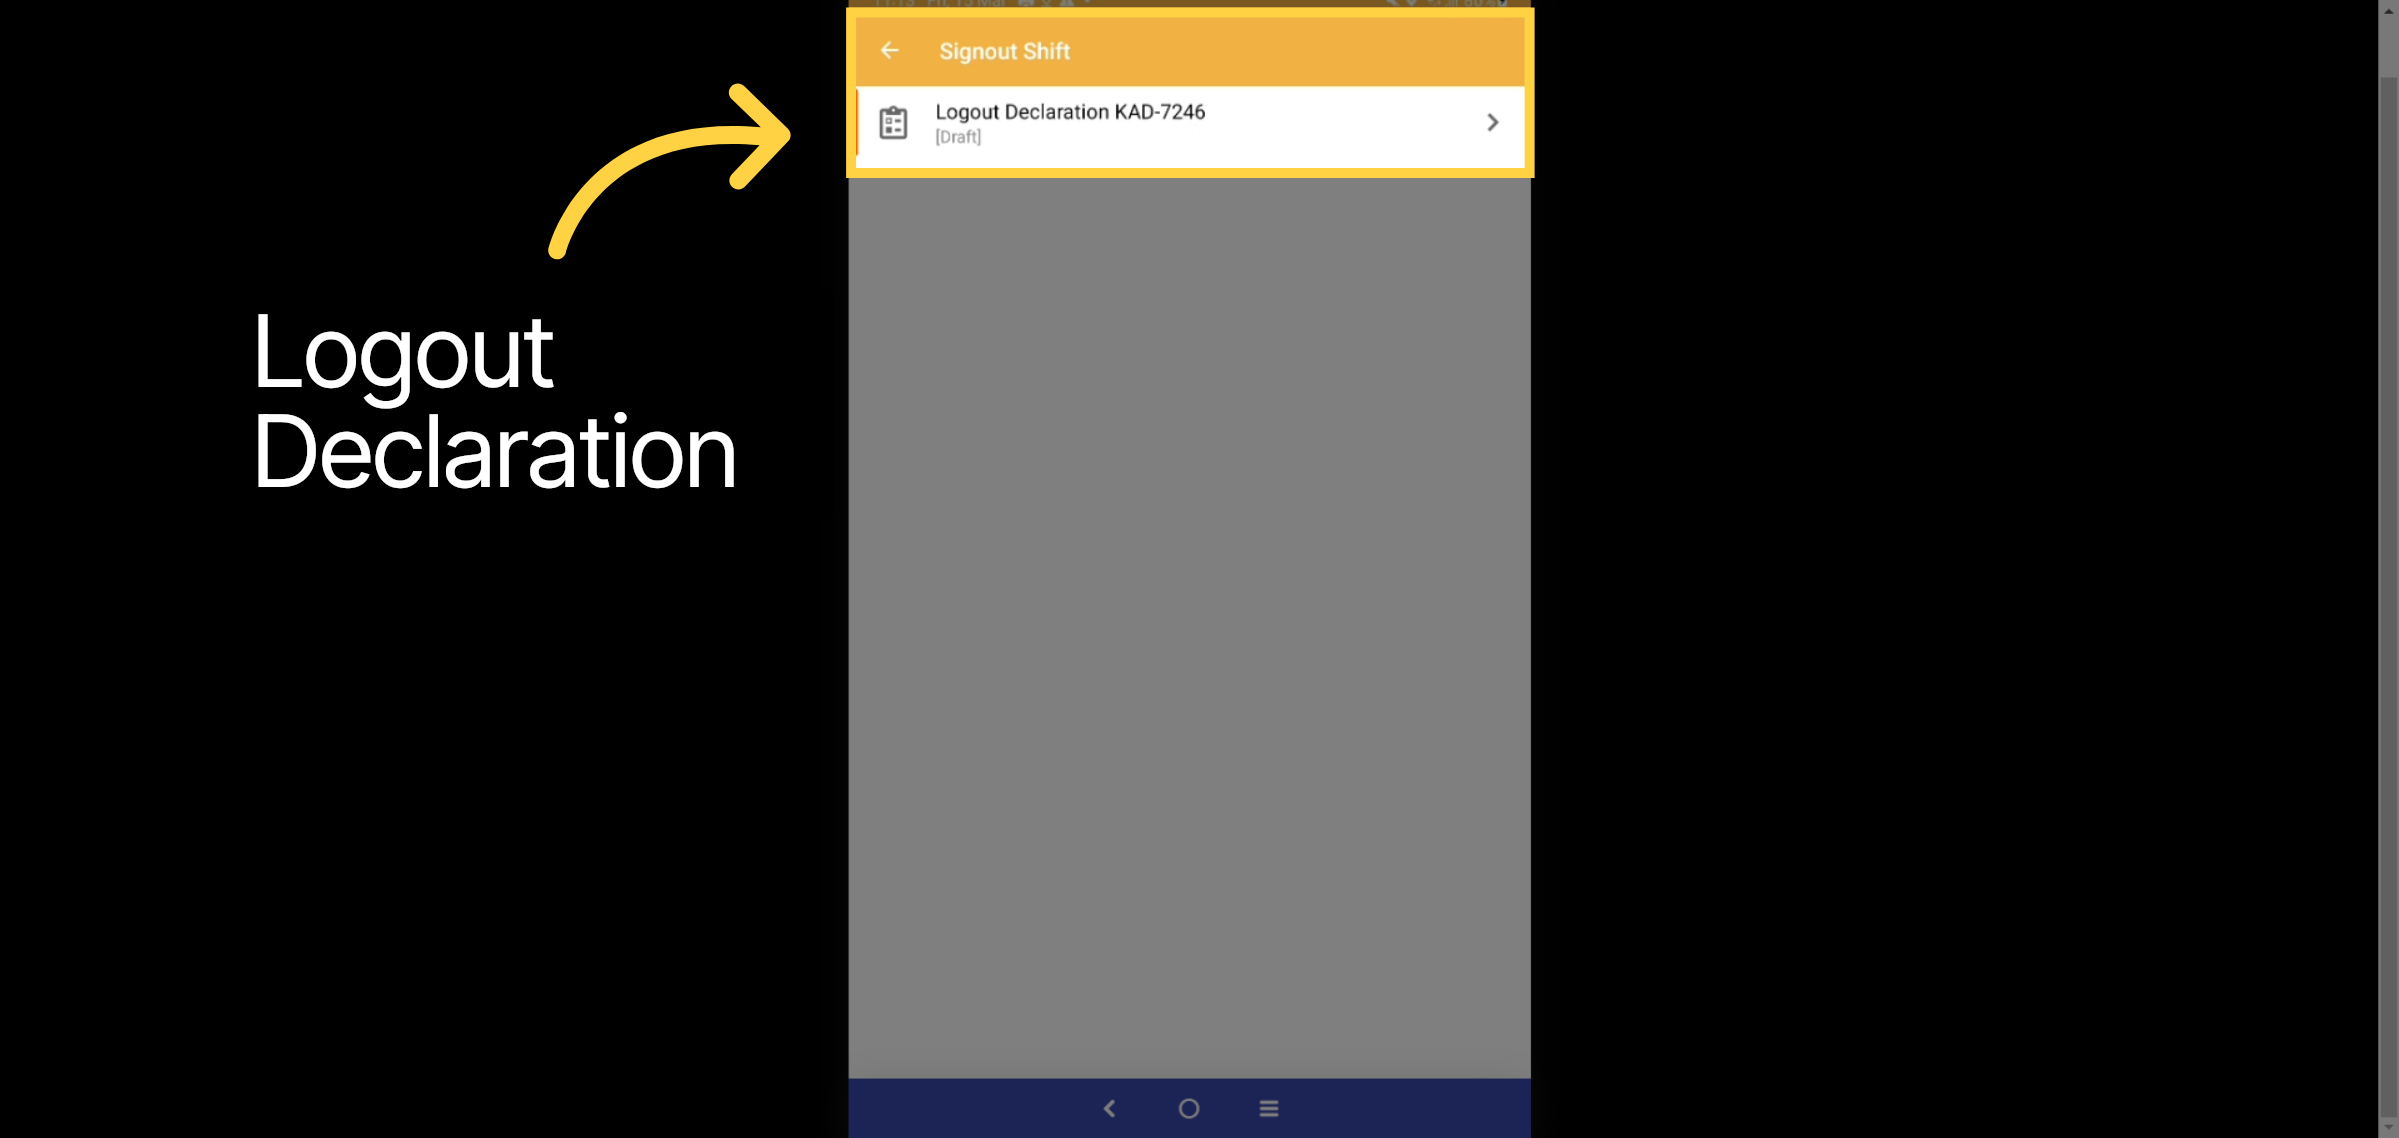
37. Logout Declaration Form
Selec the Logout Declaration form
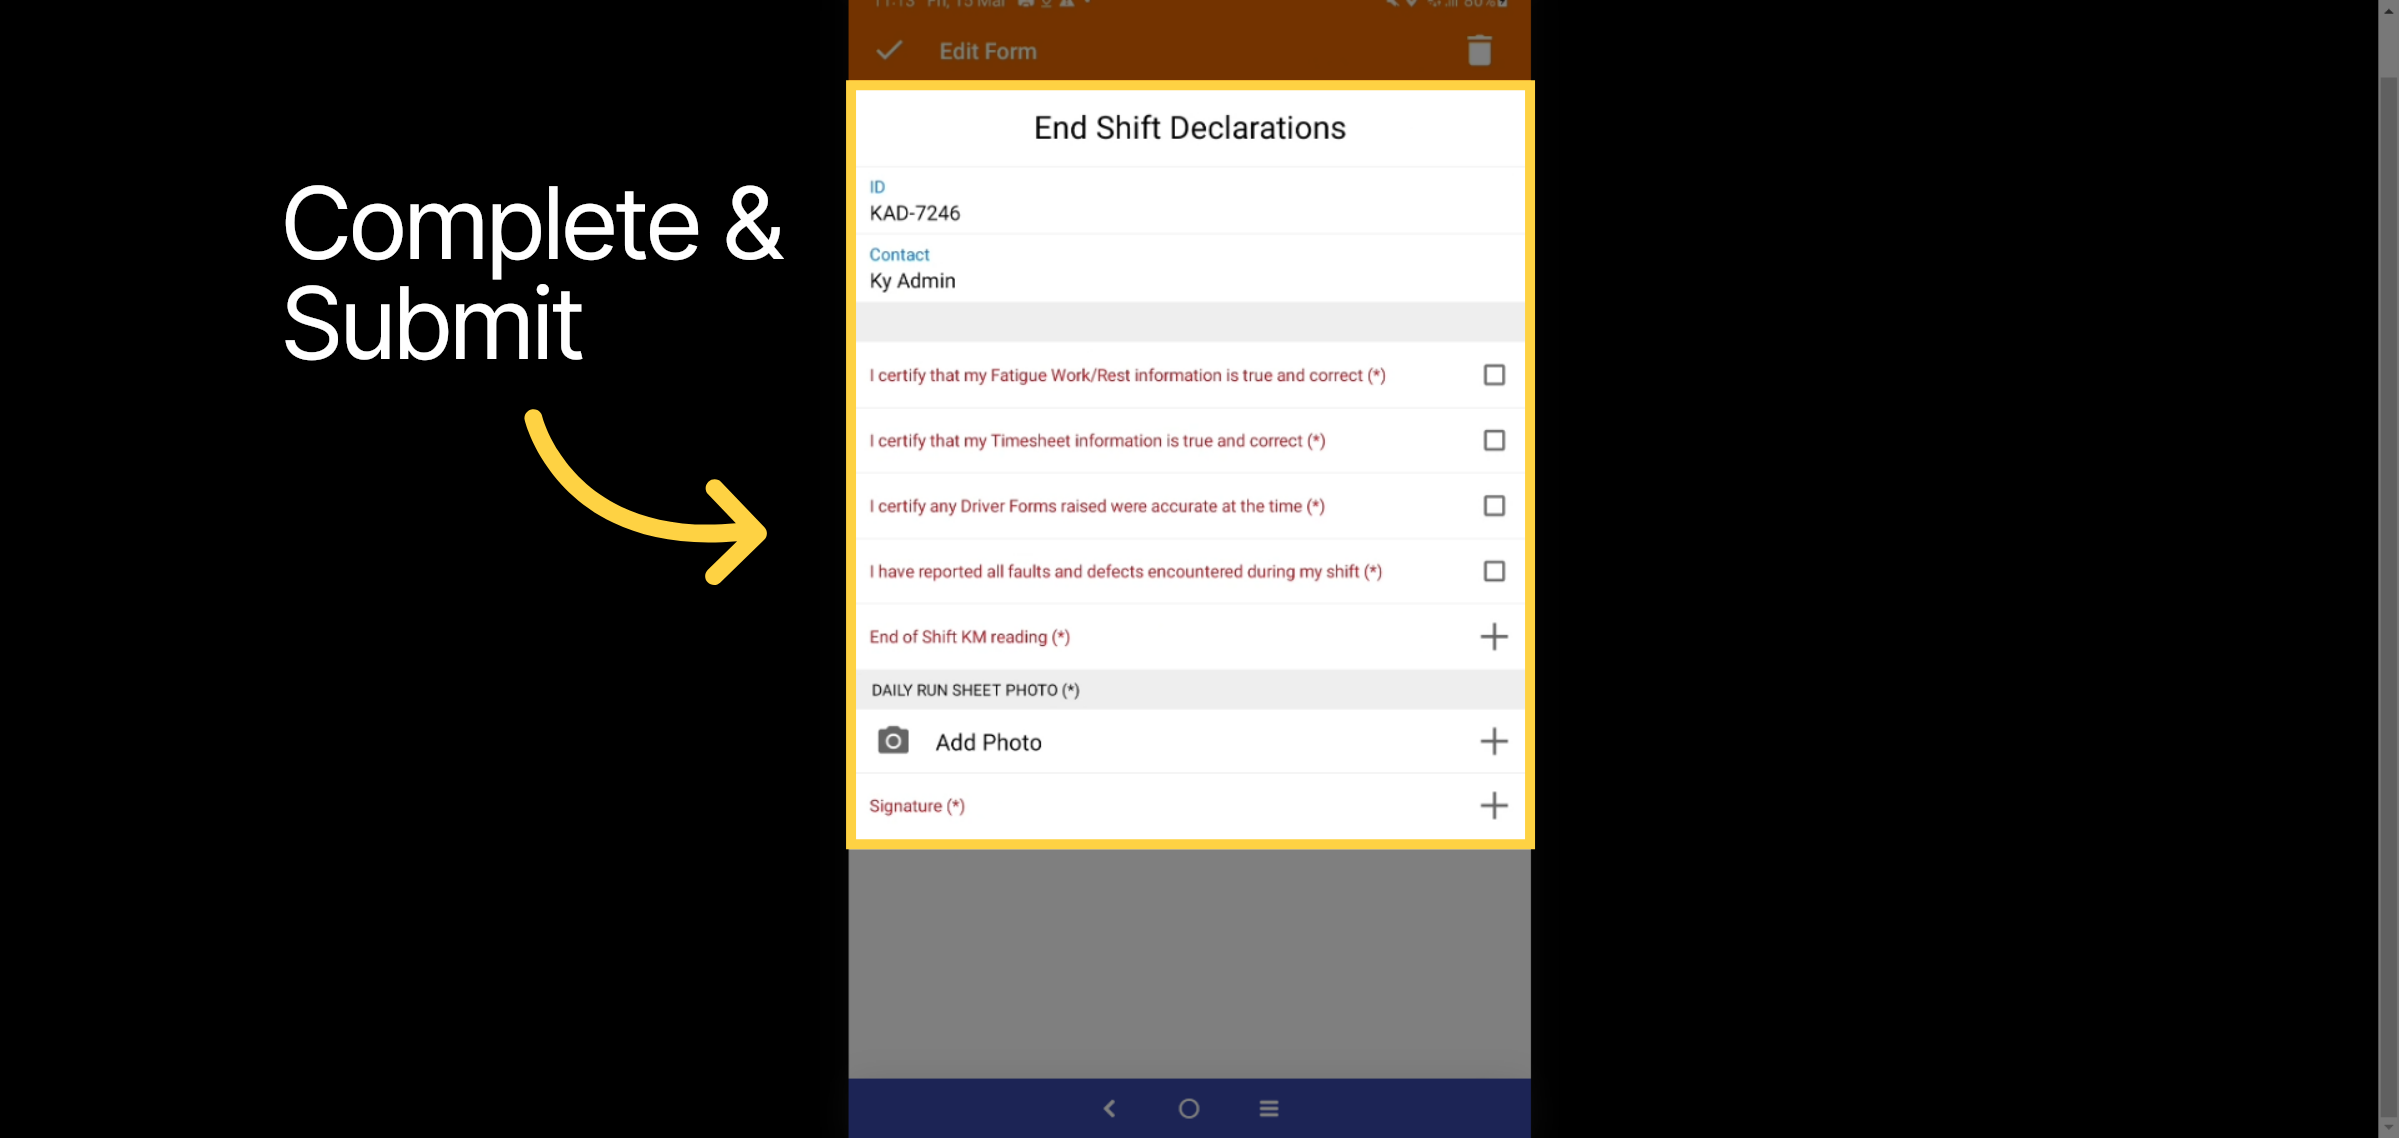
38. Submit Form
Please complete the Logout Declaration form, attach a photo, sign it, and submit.
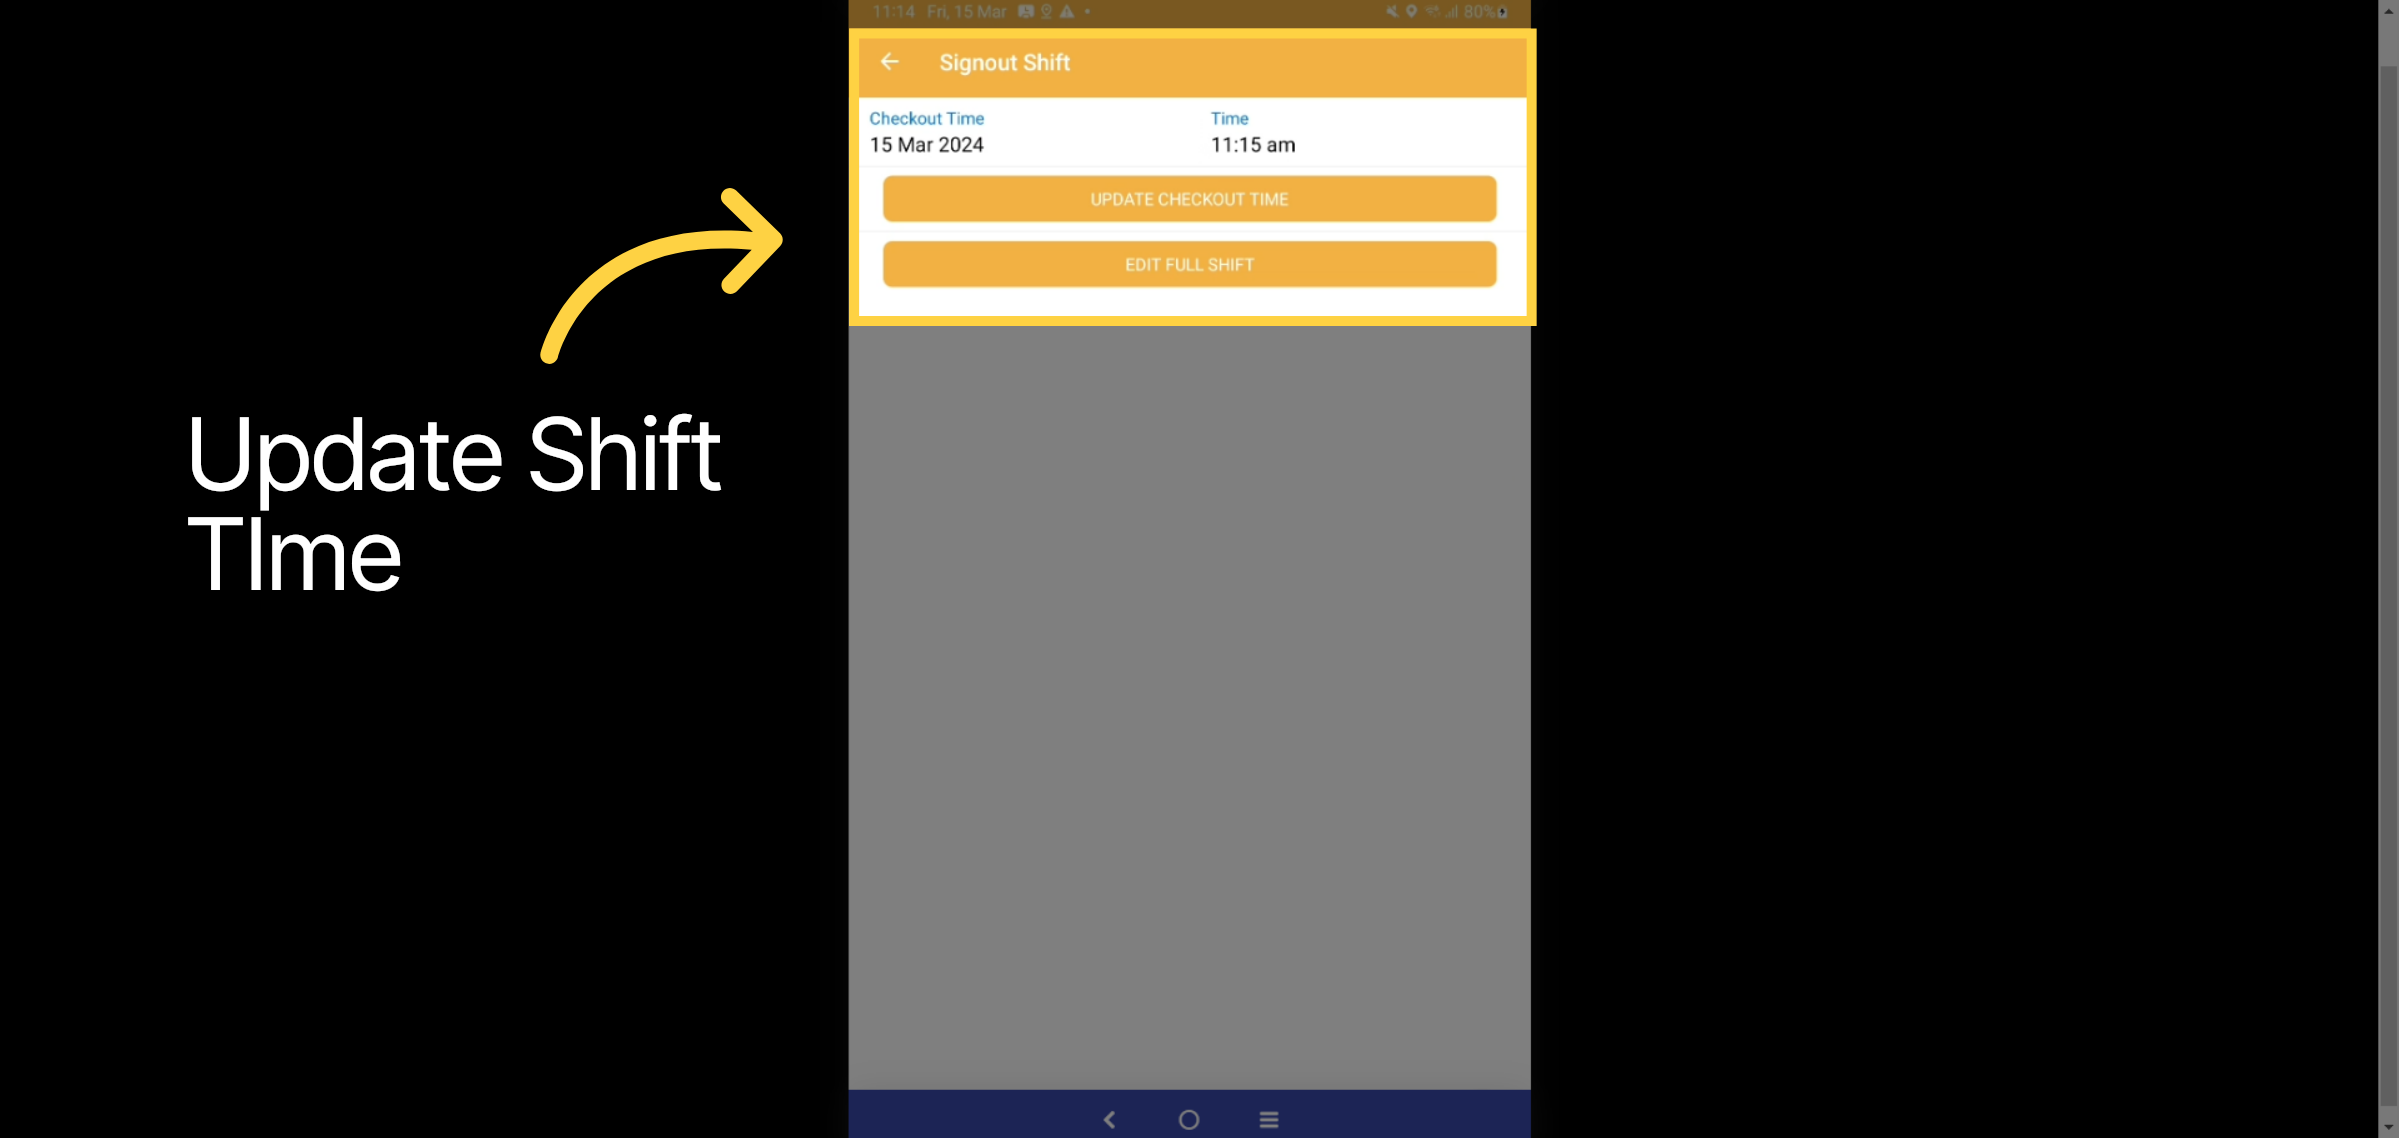
39. Update Shift Time
Update your shift time if needed.
Thanks for Watching

