This training guide offers a comprehensive overview of the Projects module for mobile within the Kynection application.
1. Projects
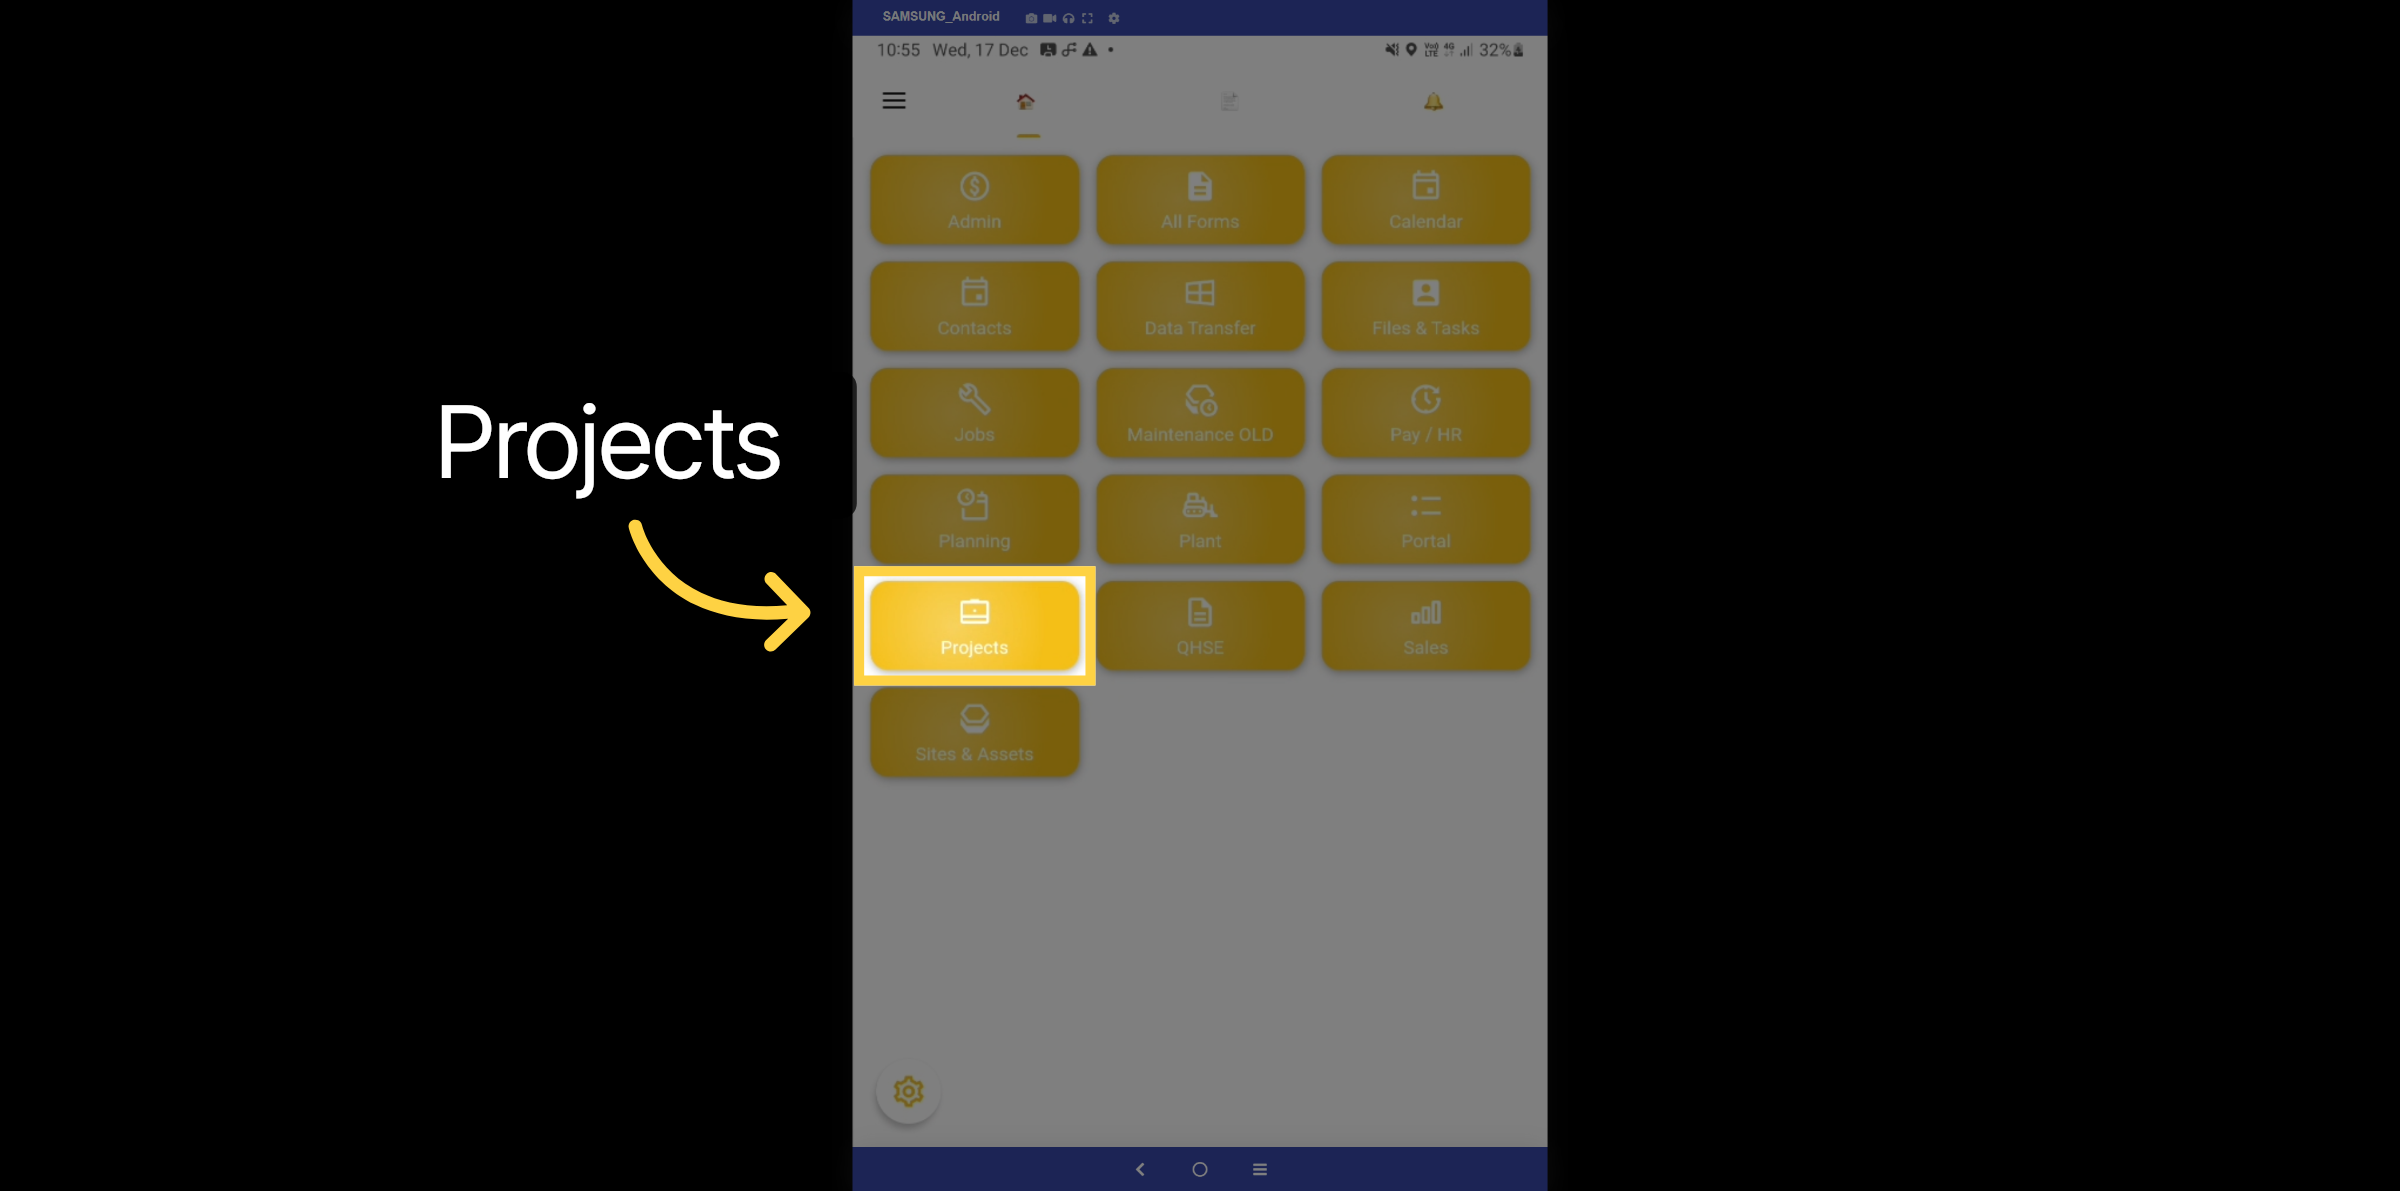
From the home dashboard, select the projects module. The interface may vary slightly depending on your user role. This example demonstrates the manager role.
2. Project List
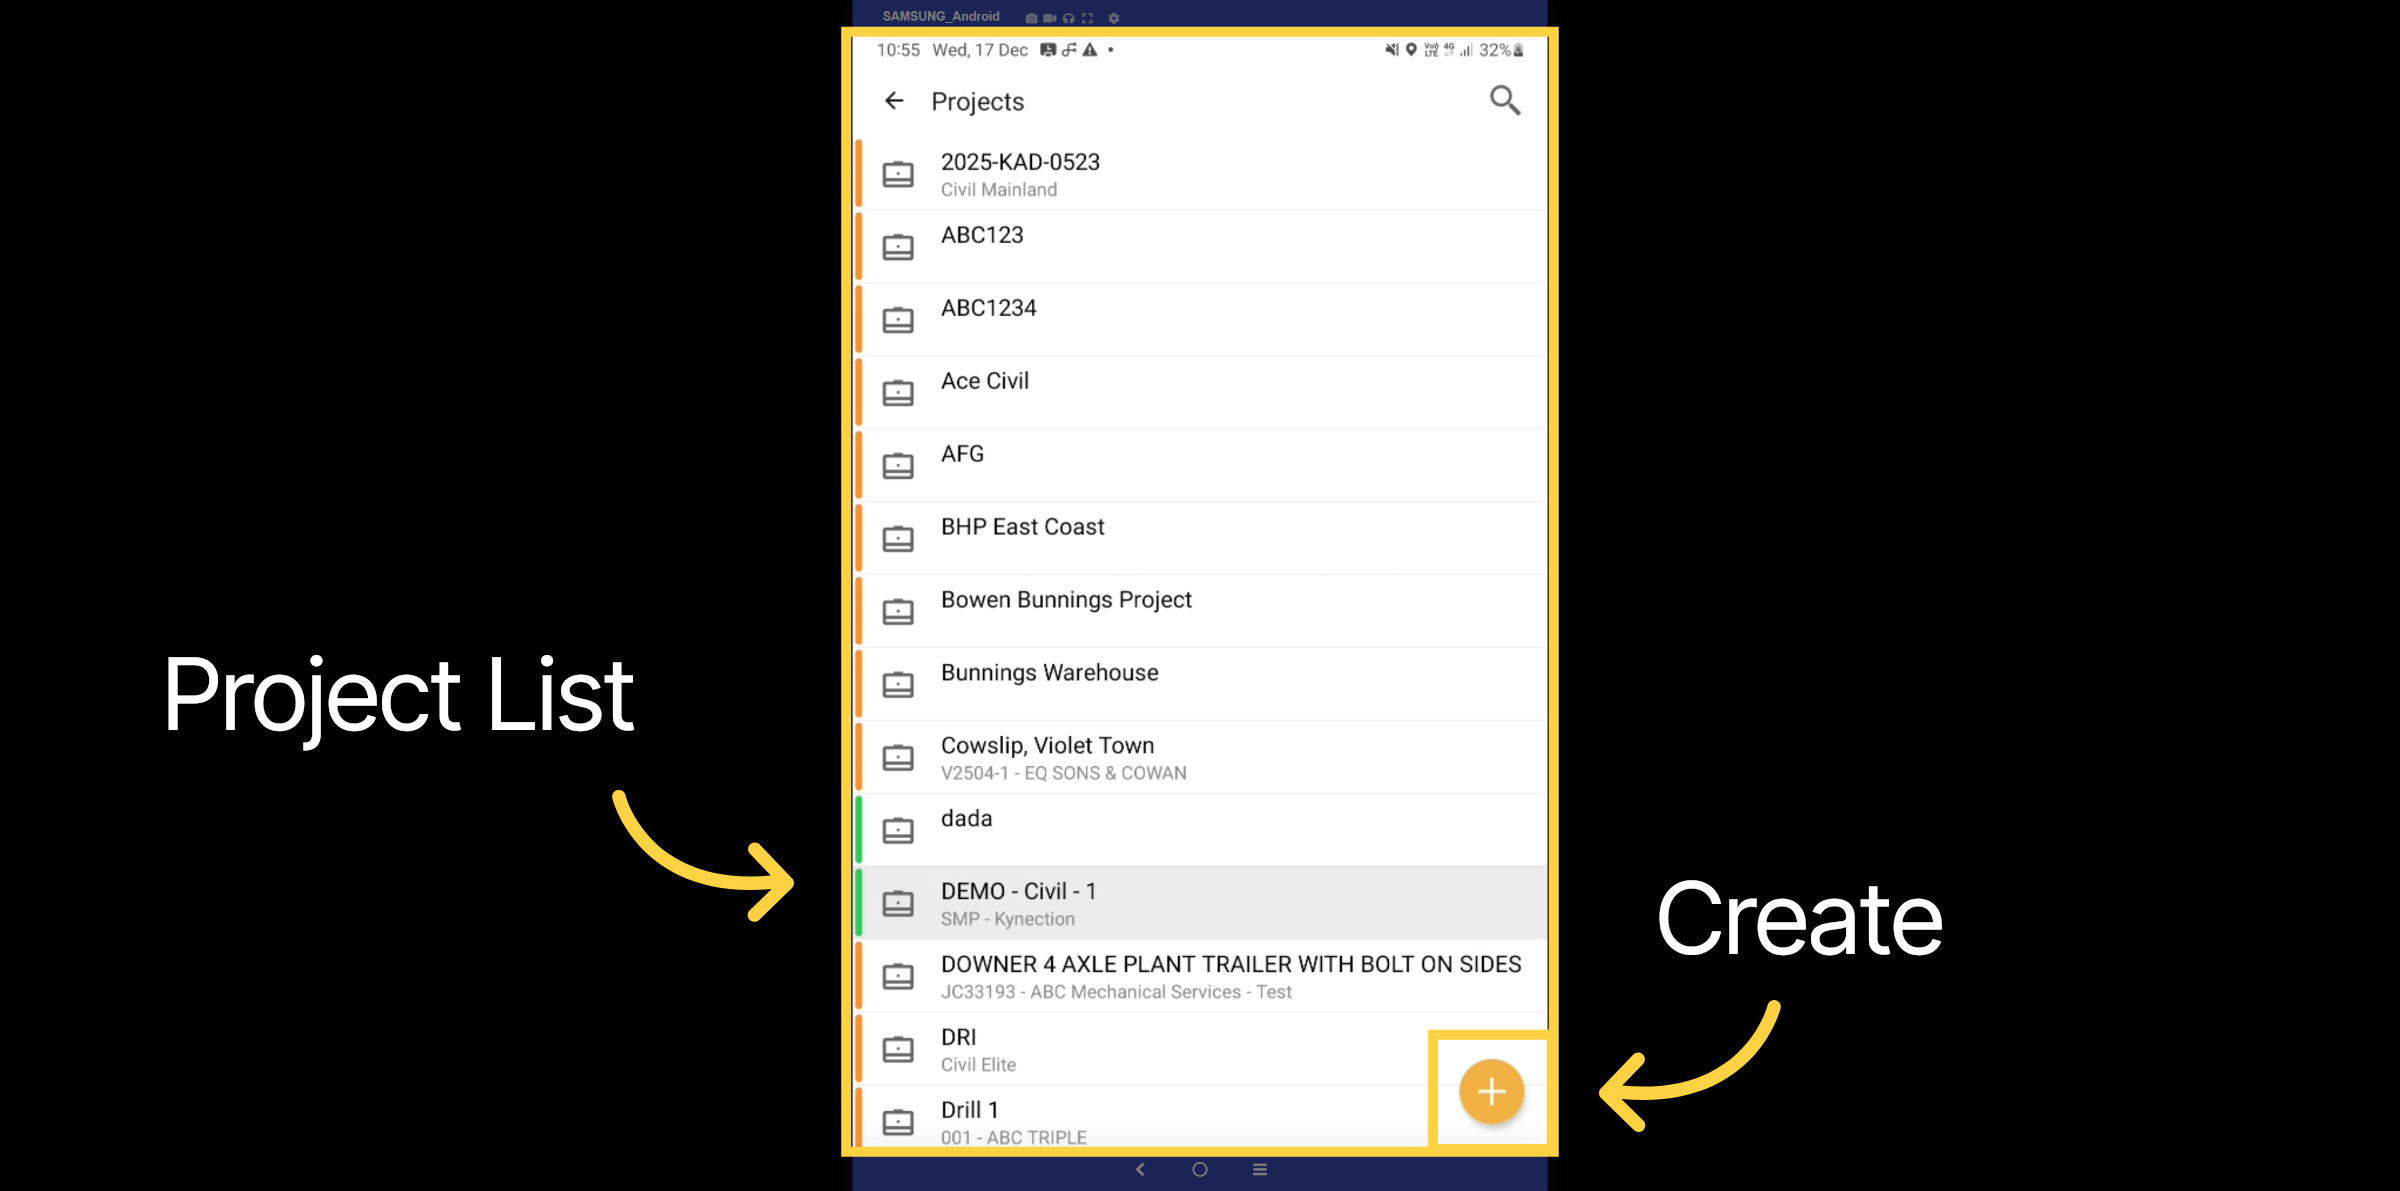
In the project list, you can view all open projects. Click the plus icon to create a new project. Let's take a look at a project example.
3. Project Dashboard
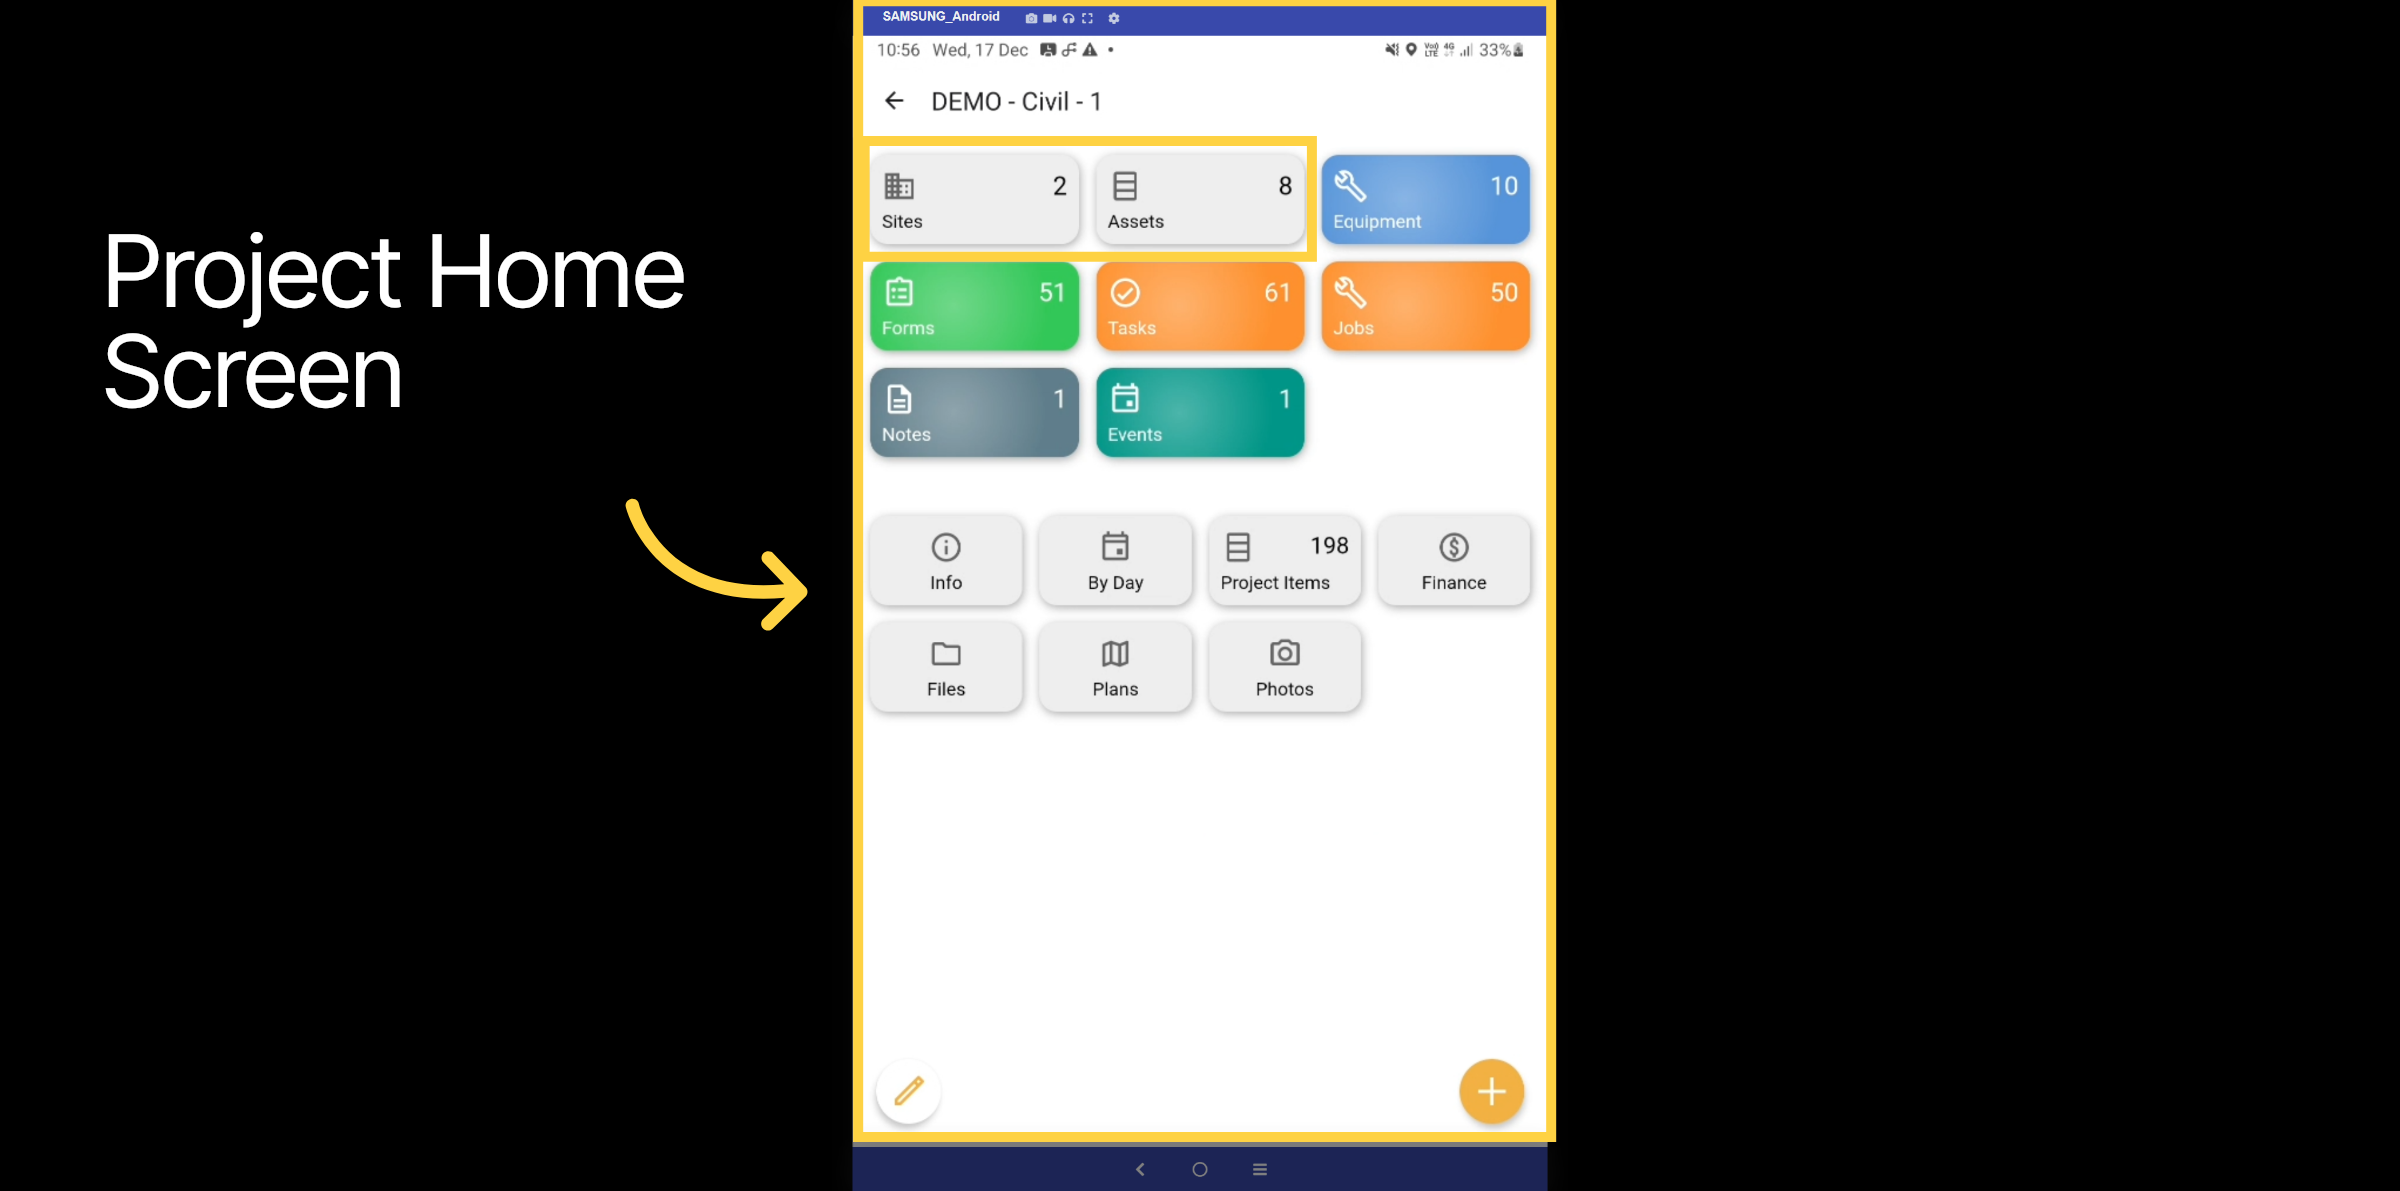
All elements related to the project are accessible on a single screen, allowing you to easily select each tab, lets explore the sites or assets tabs.
4. Sites
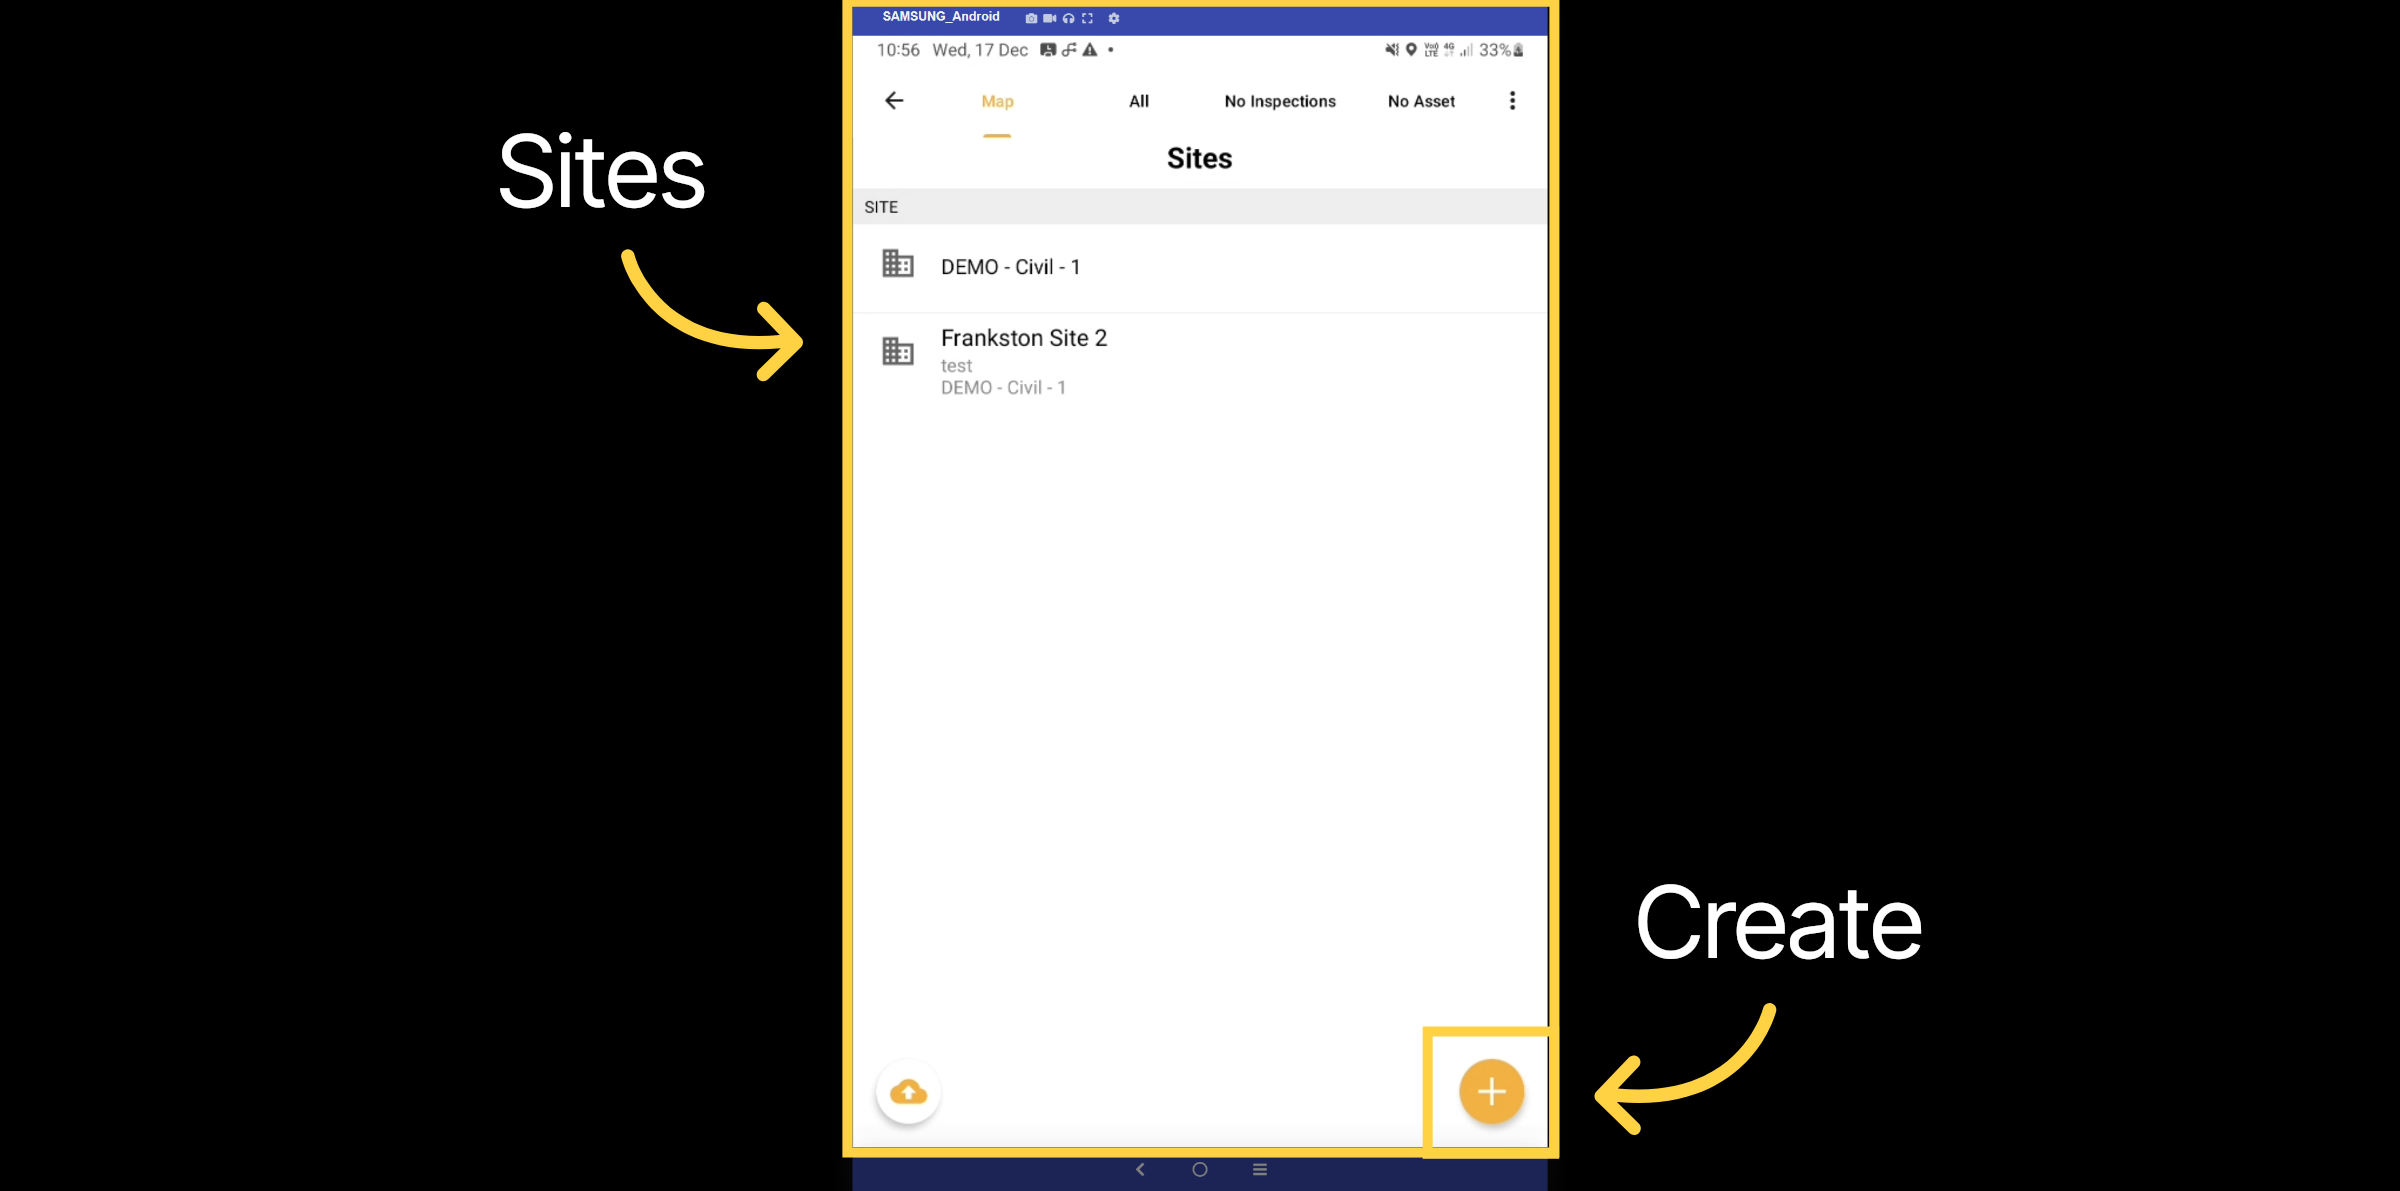
Here, you can access all the sites related to the project. Select the plus icon to create a new site.
5. Site Details
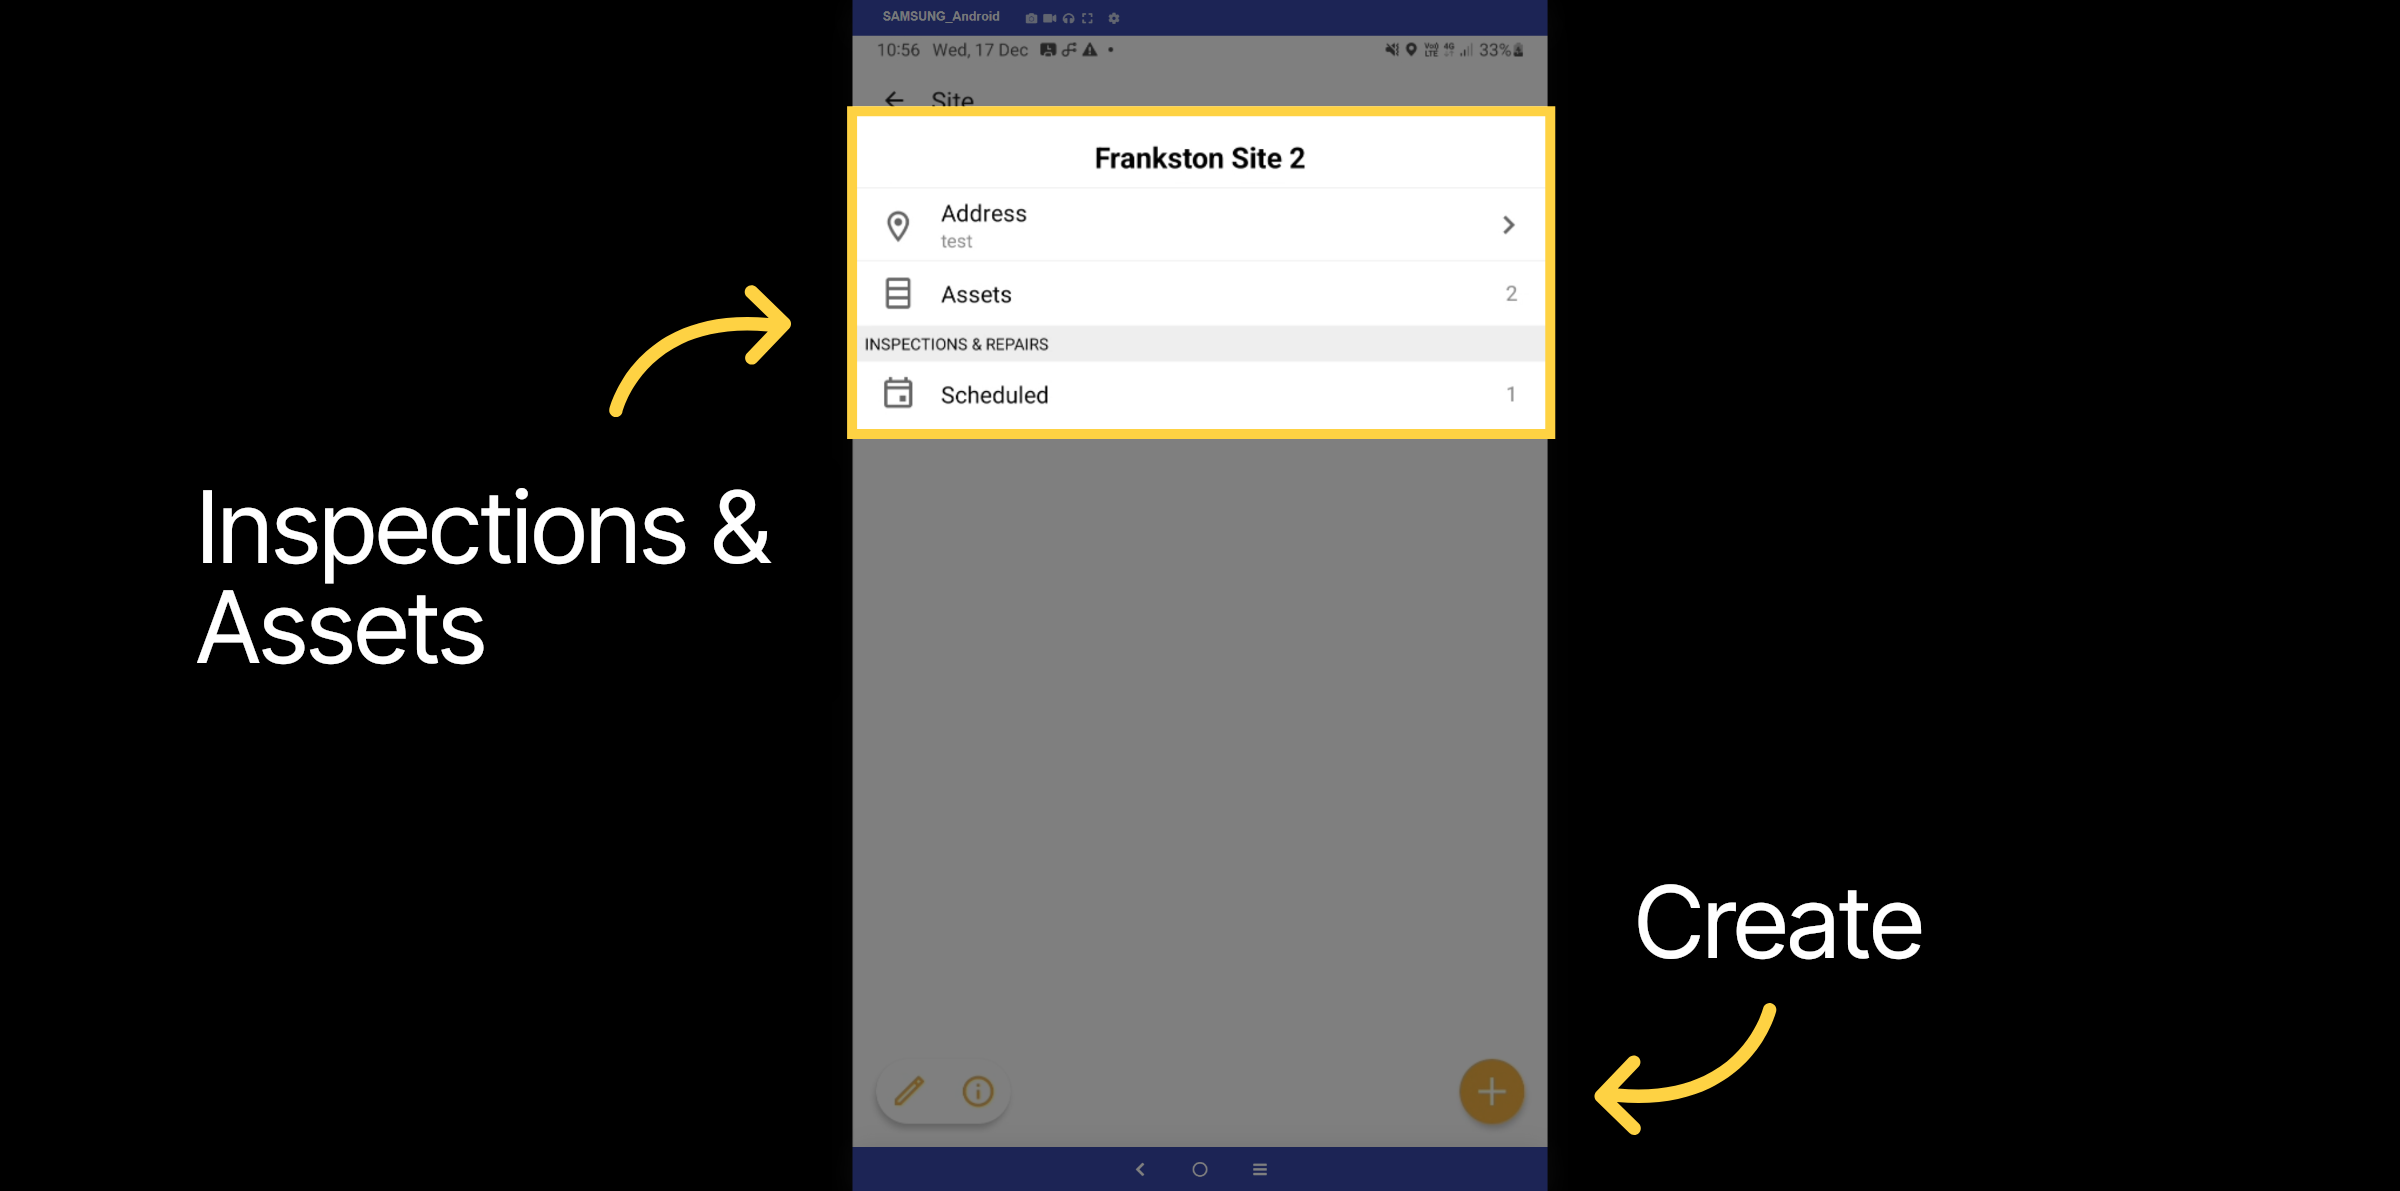
On the site, you can view all assets linked to it. Additionally, you can schedule inspections and repairs for these assets.
6. Assets
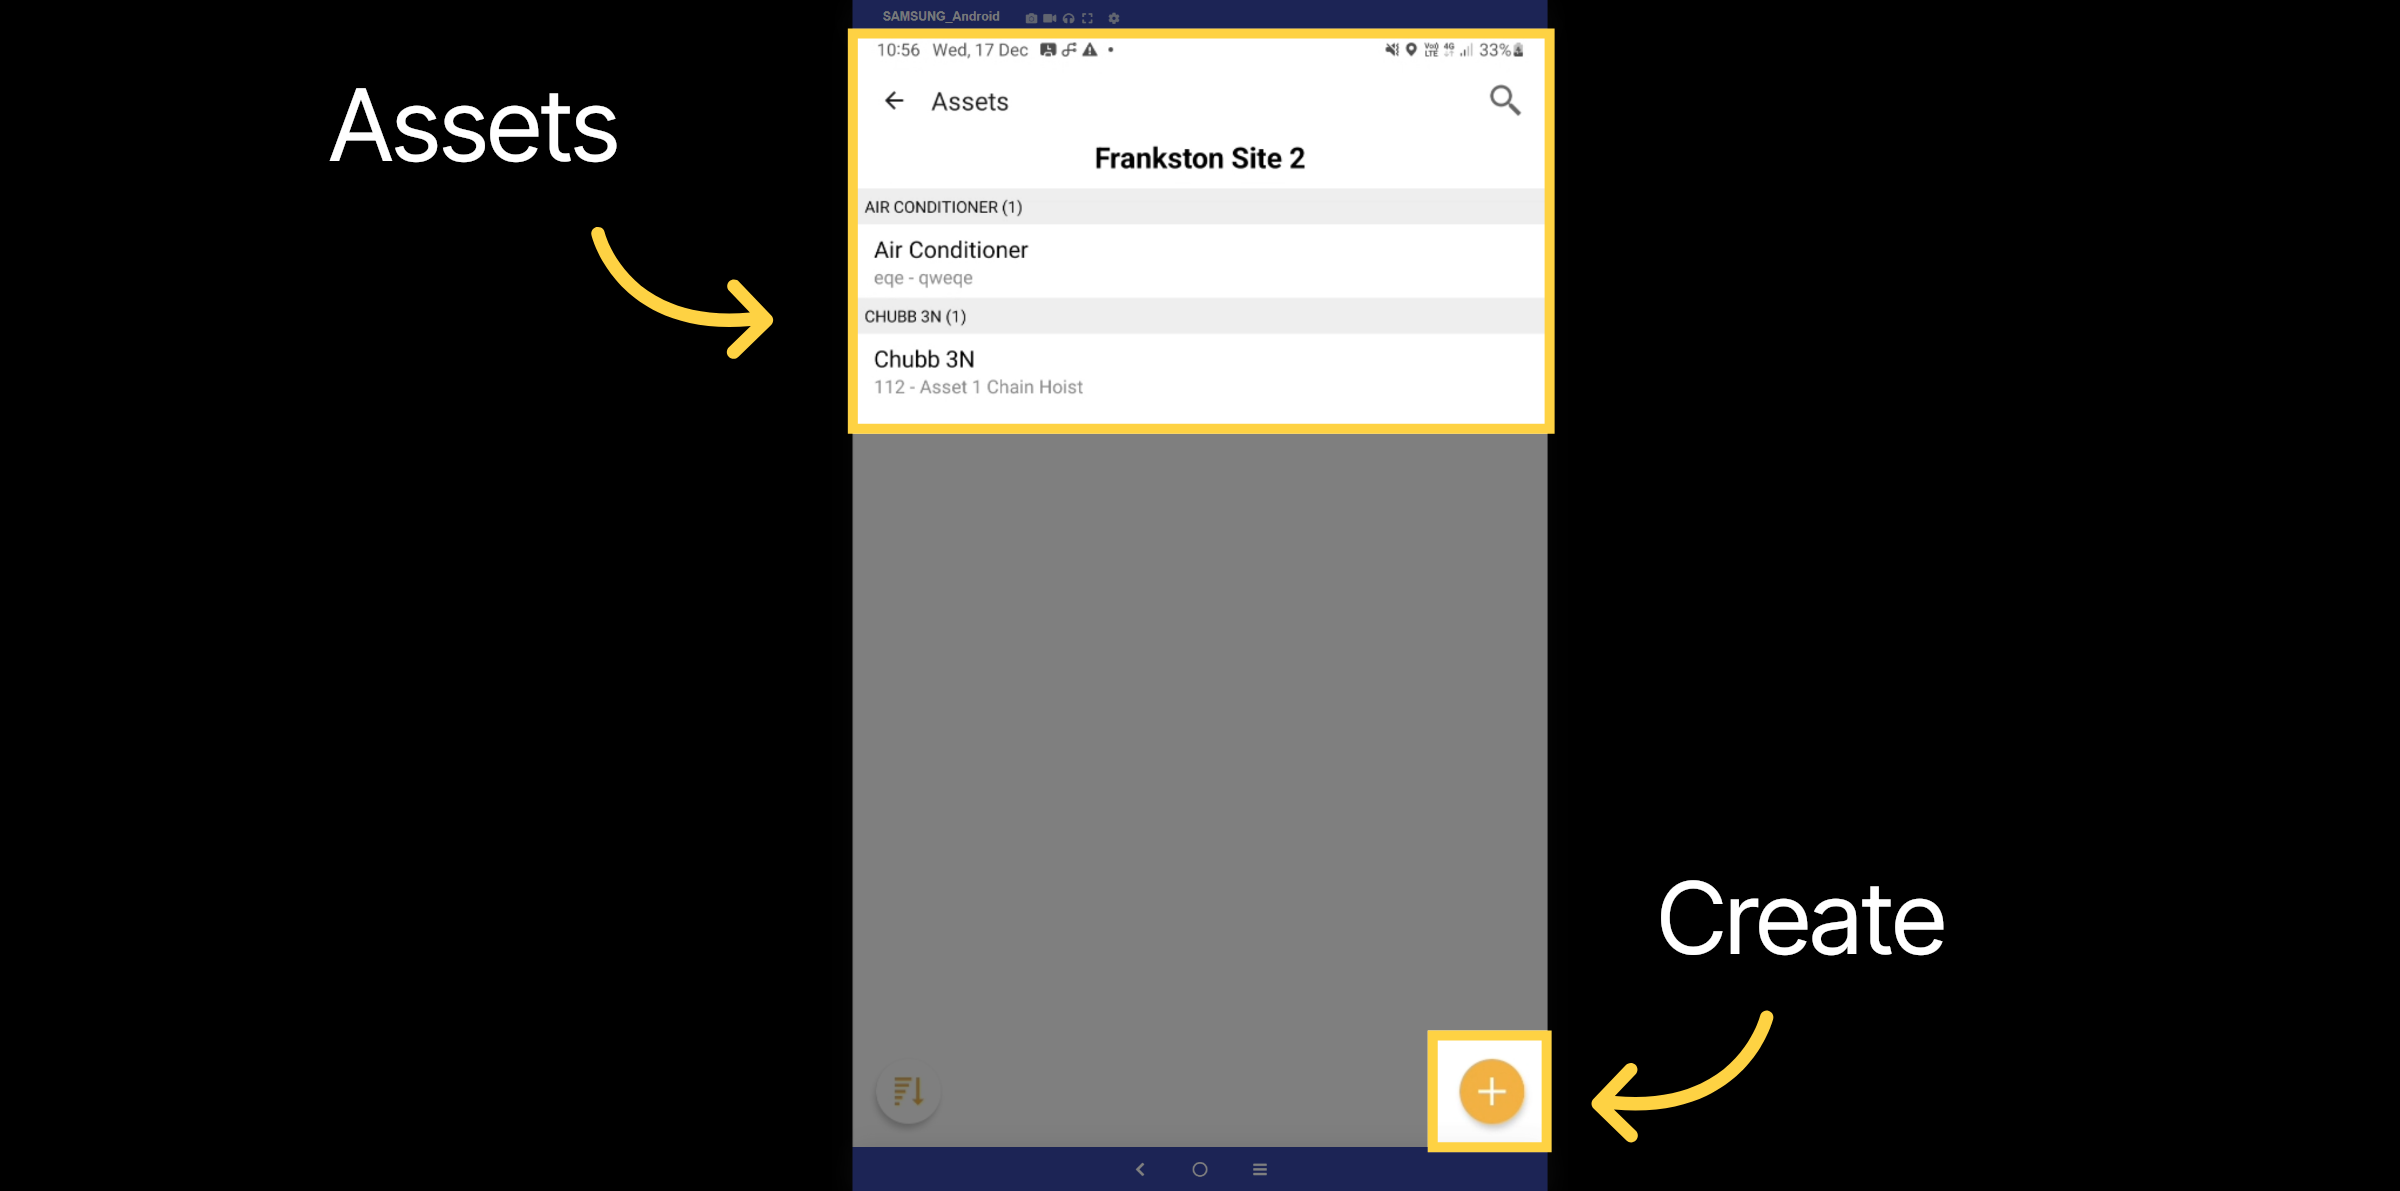
Here are the assets linked to the site. Select the plus icon to create additional assets.
7. Equipment
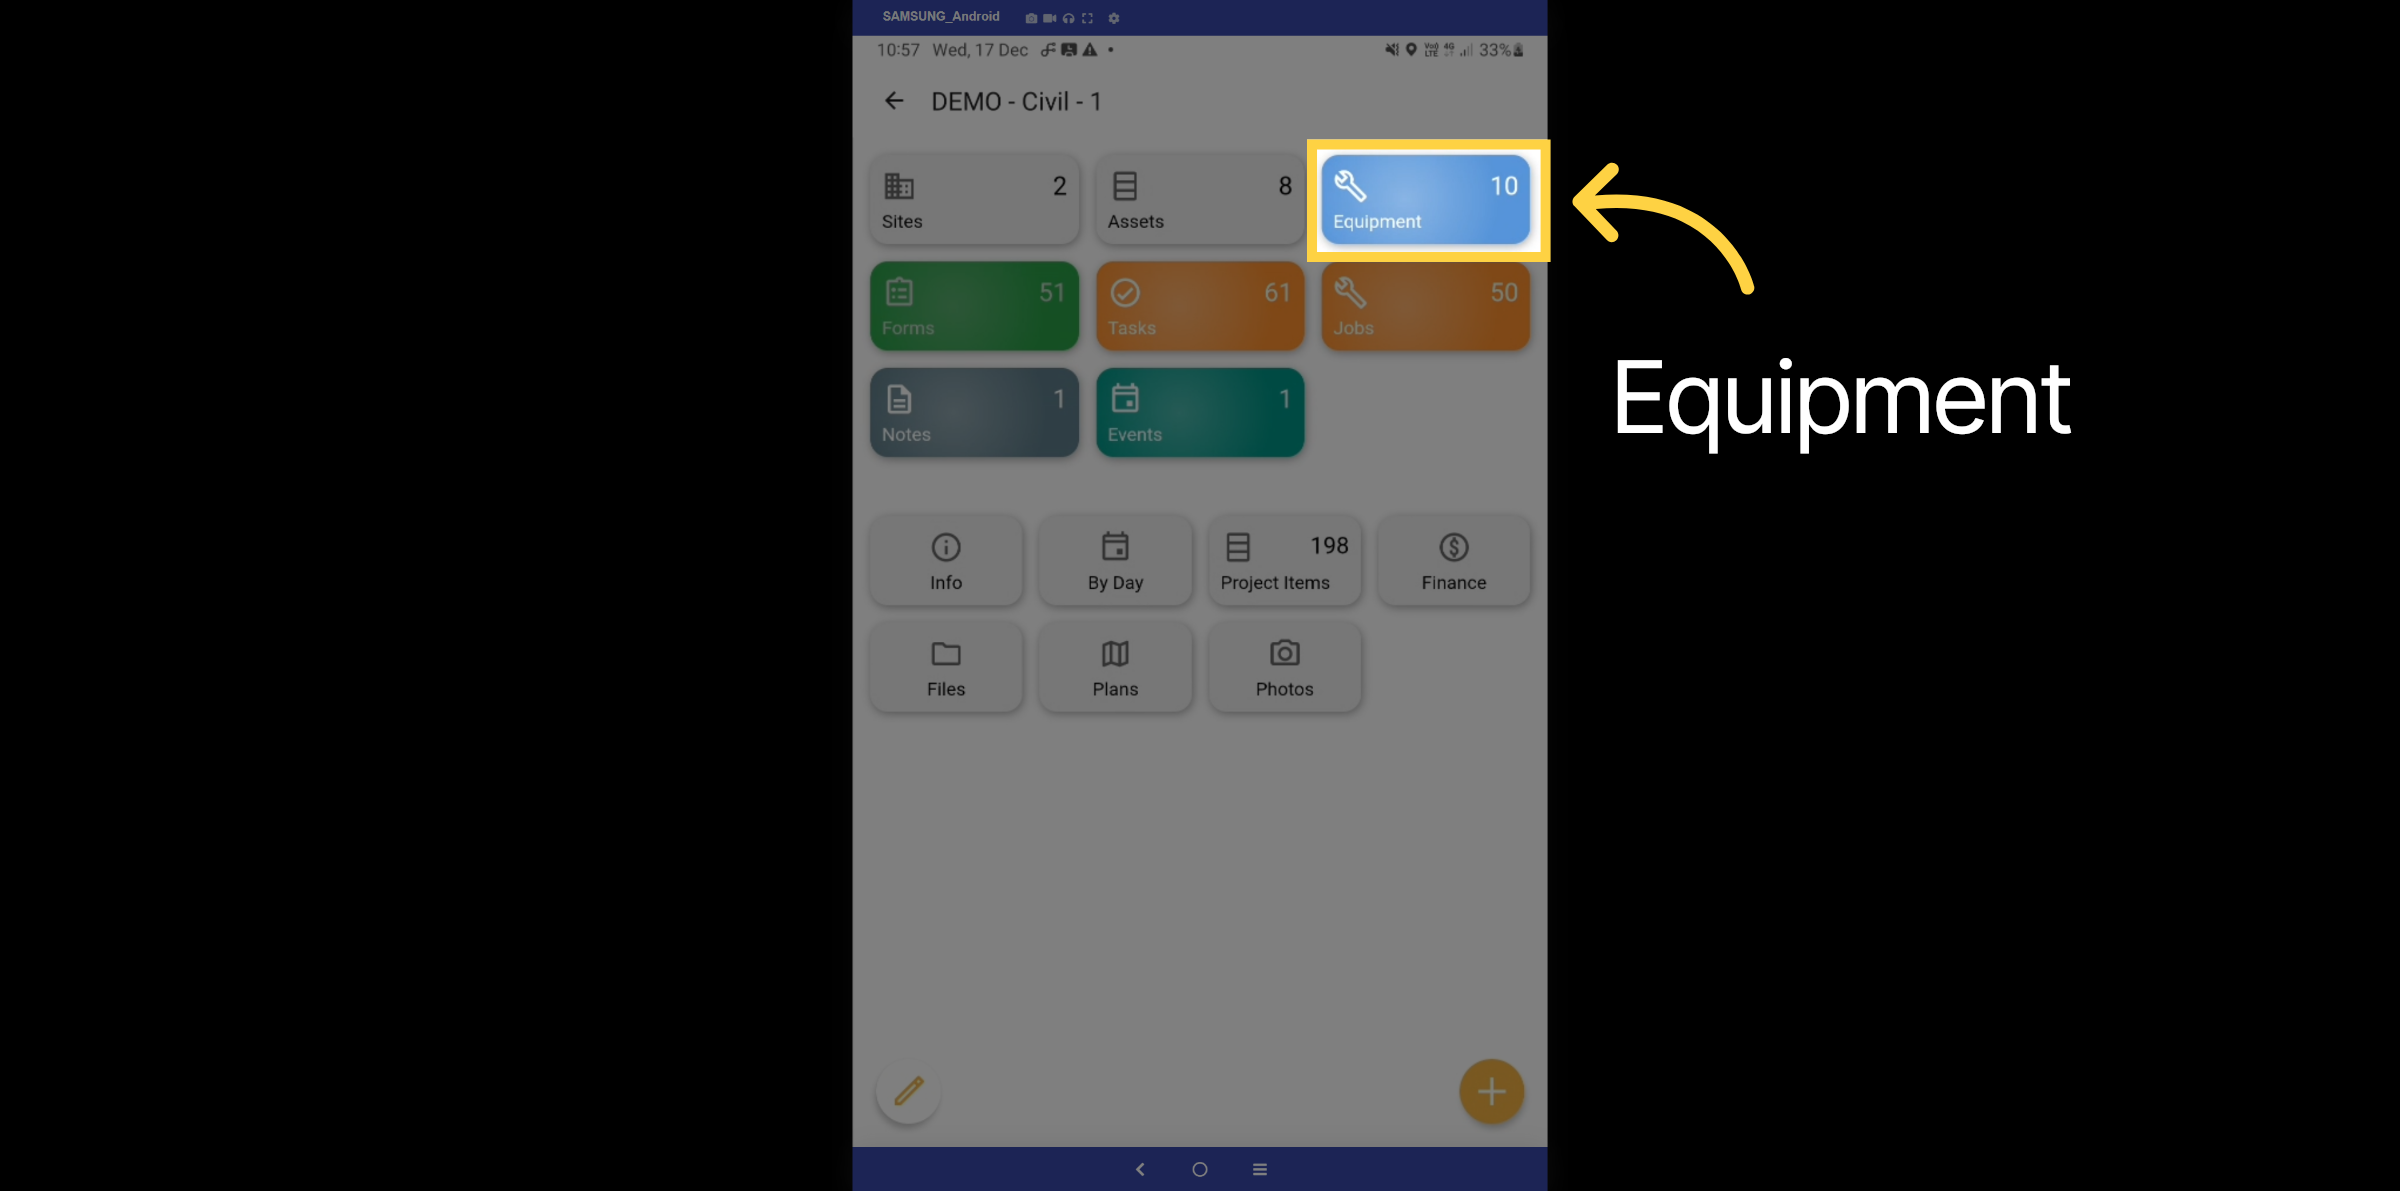
Let's explore the Equipment tab.
8. Equipment List
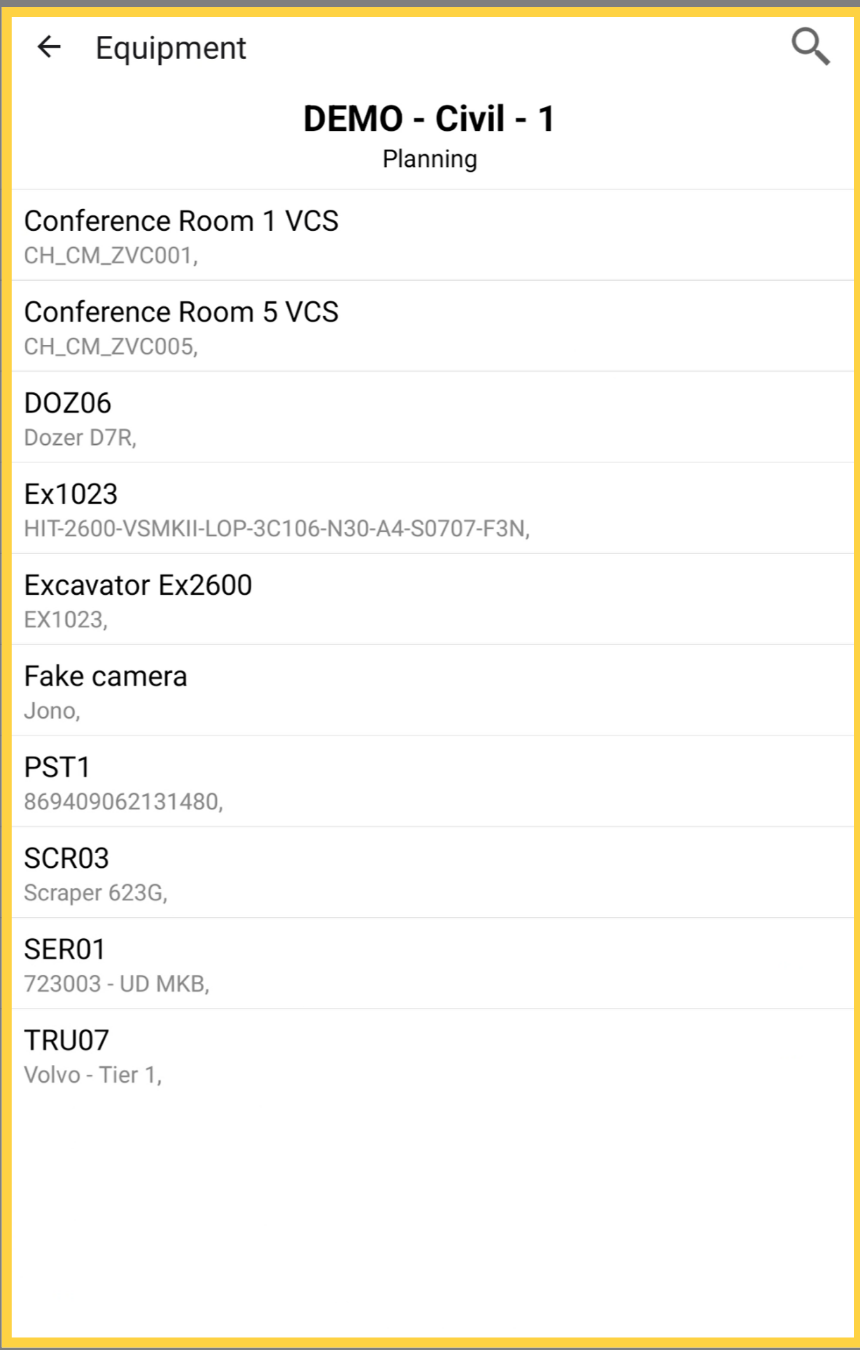
With the Equipment tab, you can view a list of all equipment that has been assigned to the project.
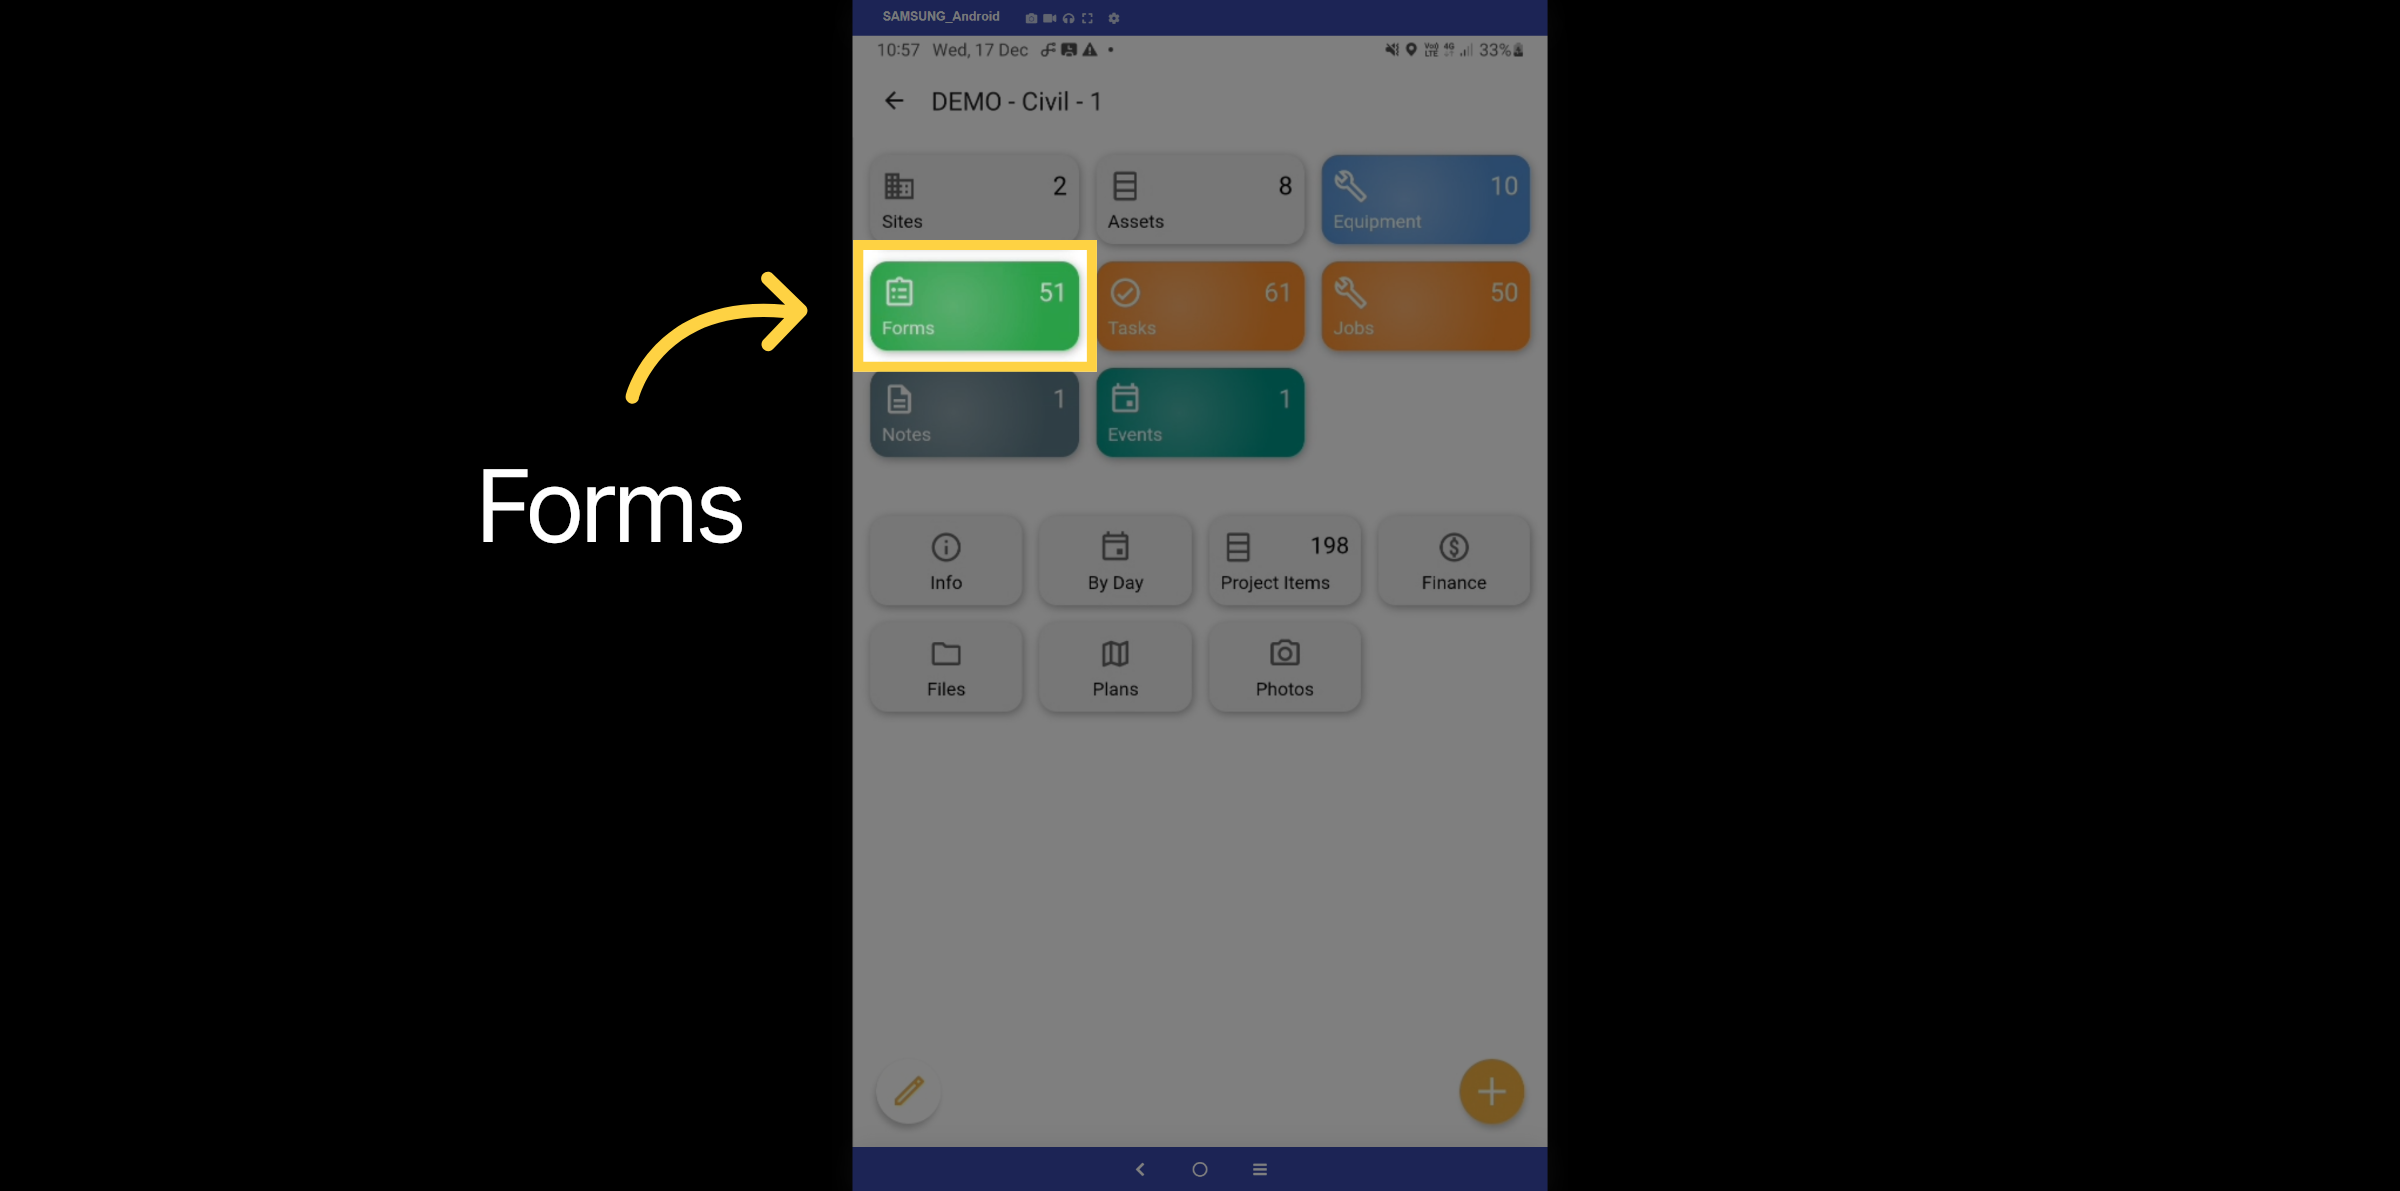
9. Forms
Let's take a look at the Forms tab.
10. Folders & Files
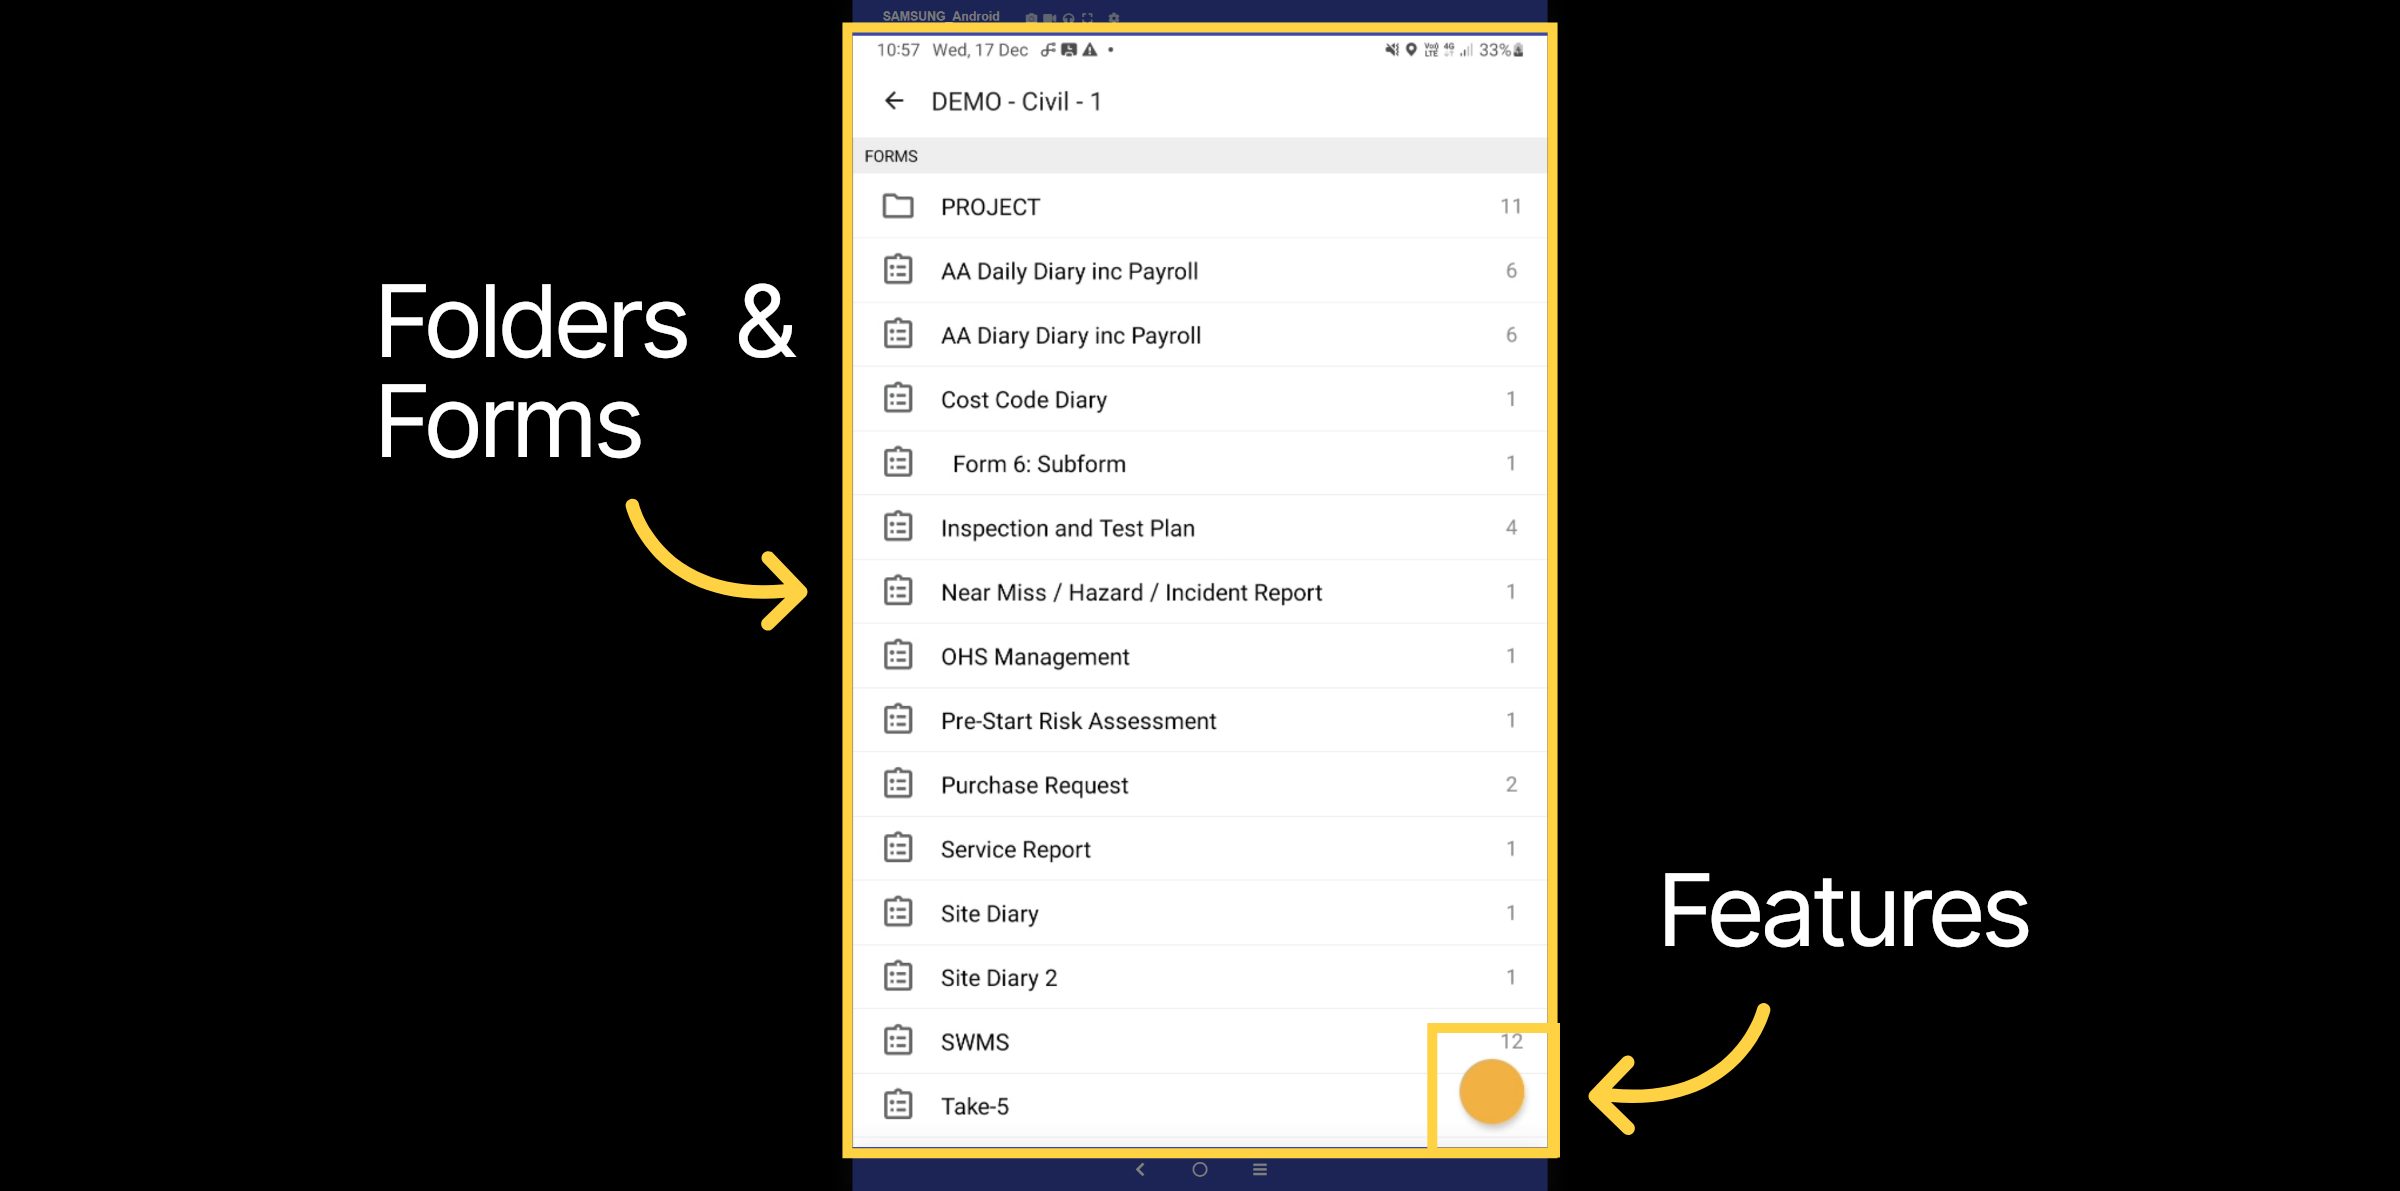
Here, you can view all forms created for the project. Click the plus icon to create a new form.
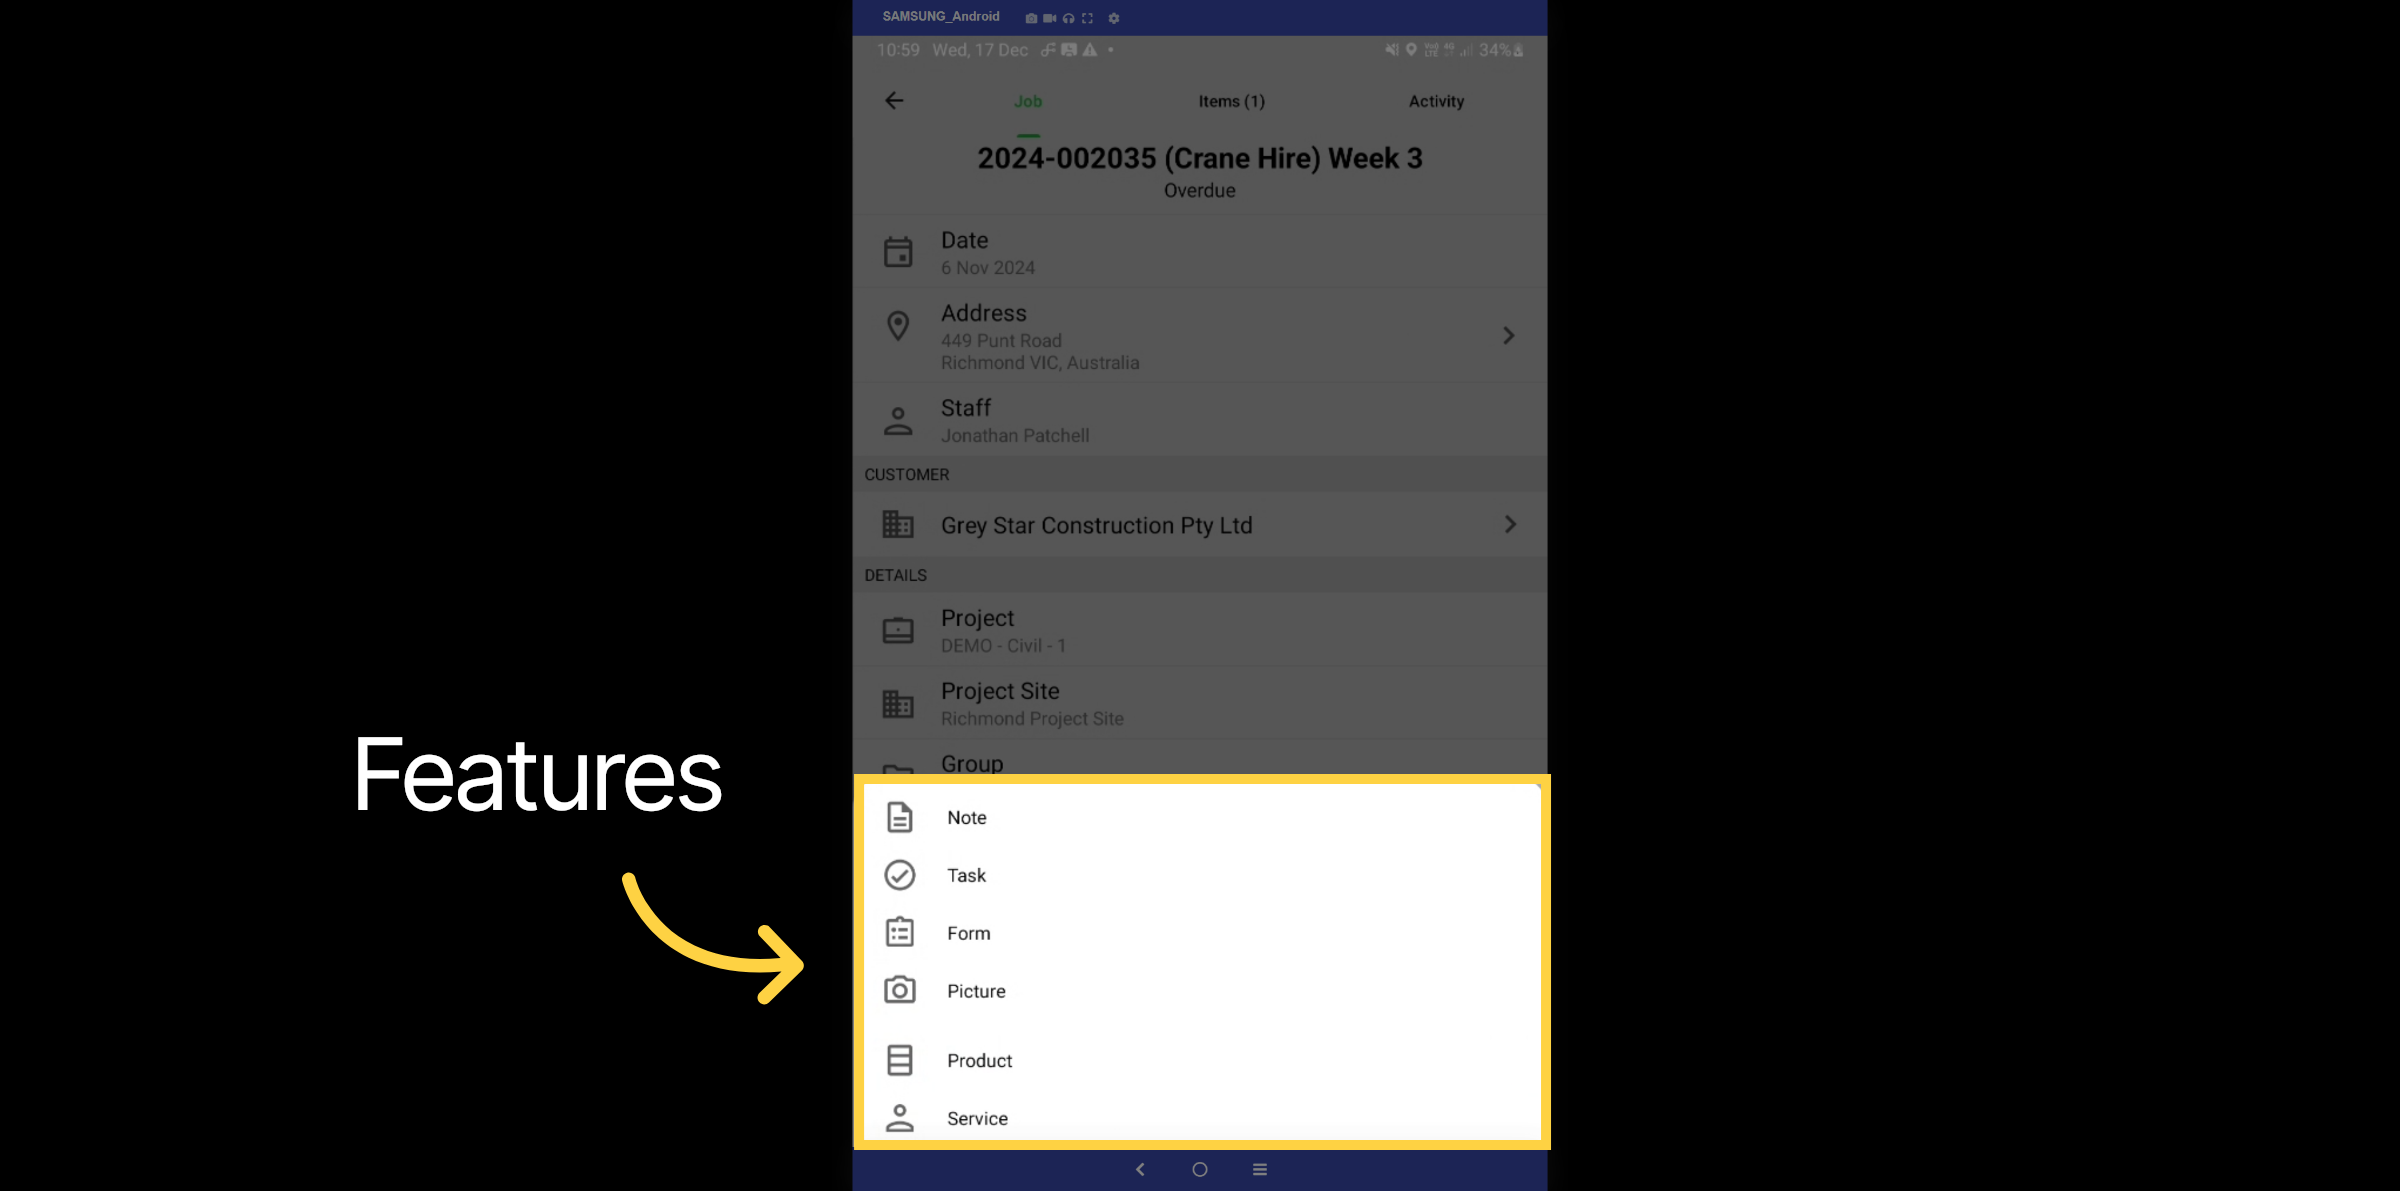
11. Features
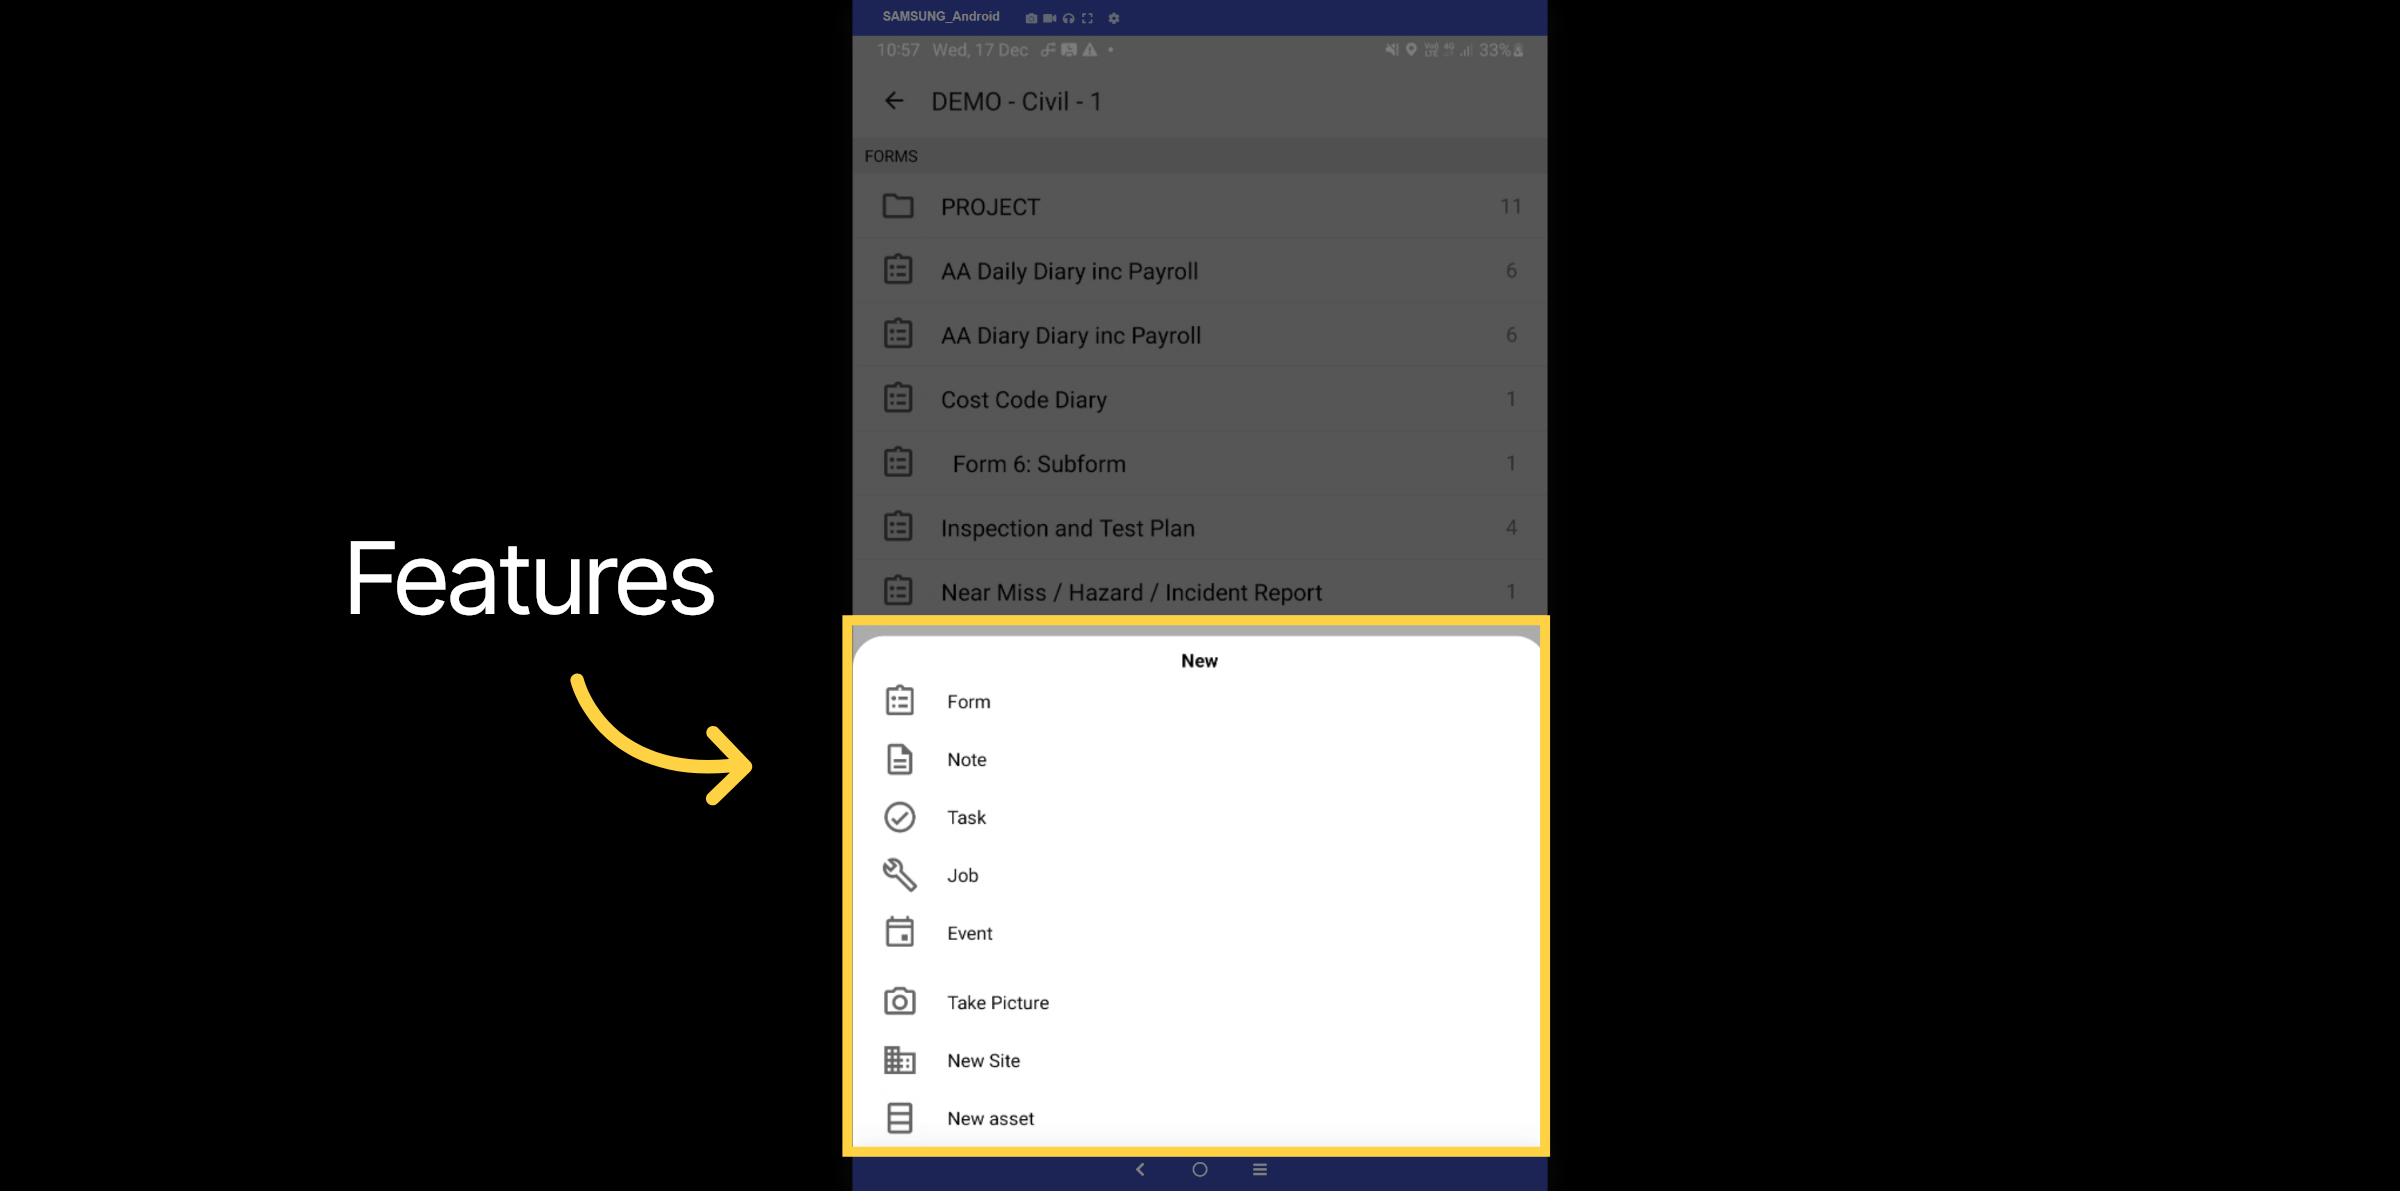
You can create forms, notes, tasks, and jobs, as well as take photos, all within this project.
12. Tasks
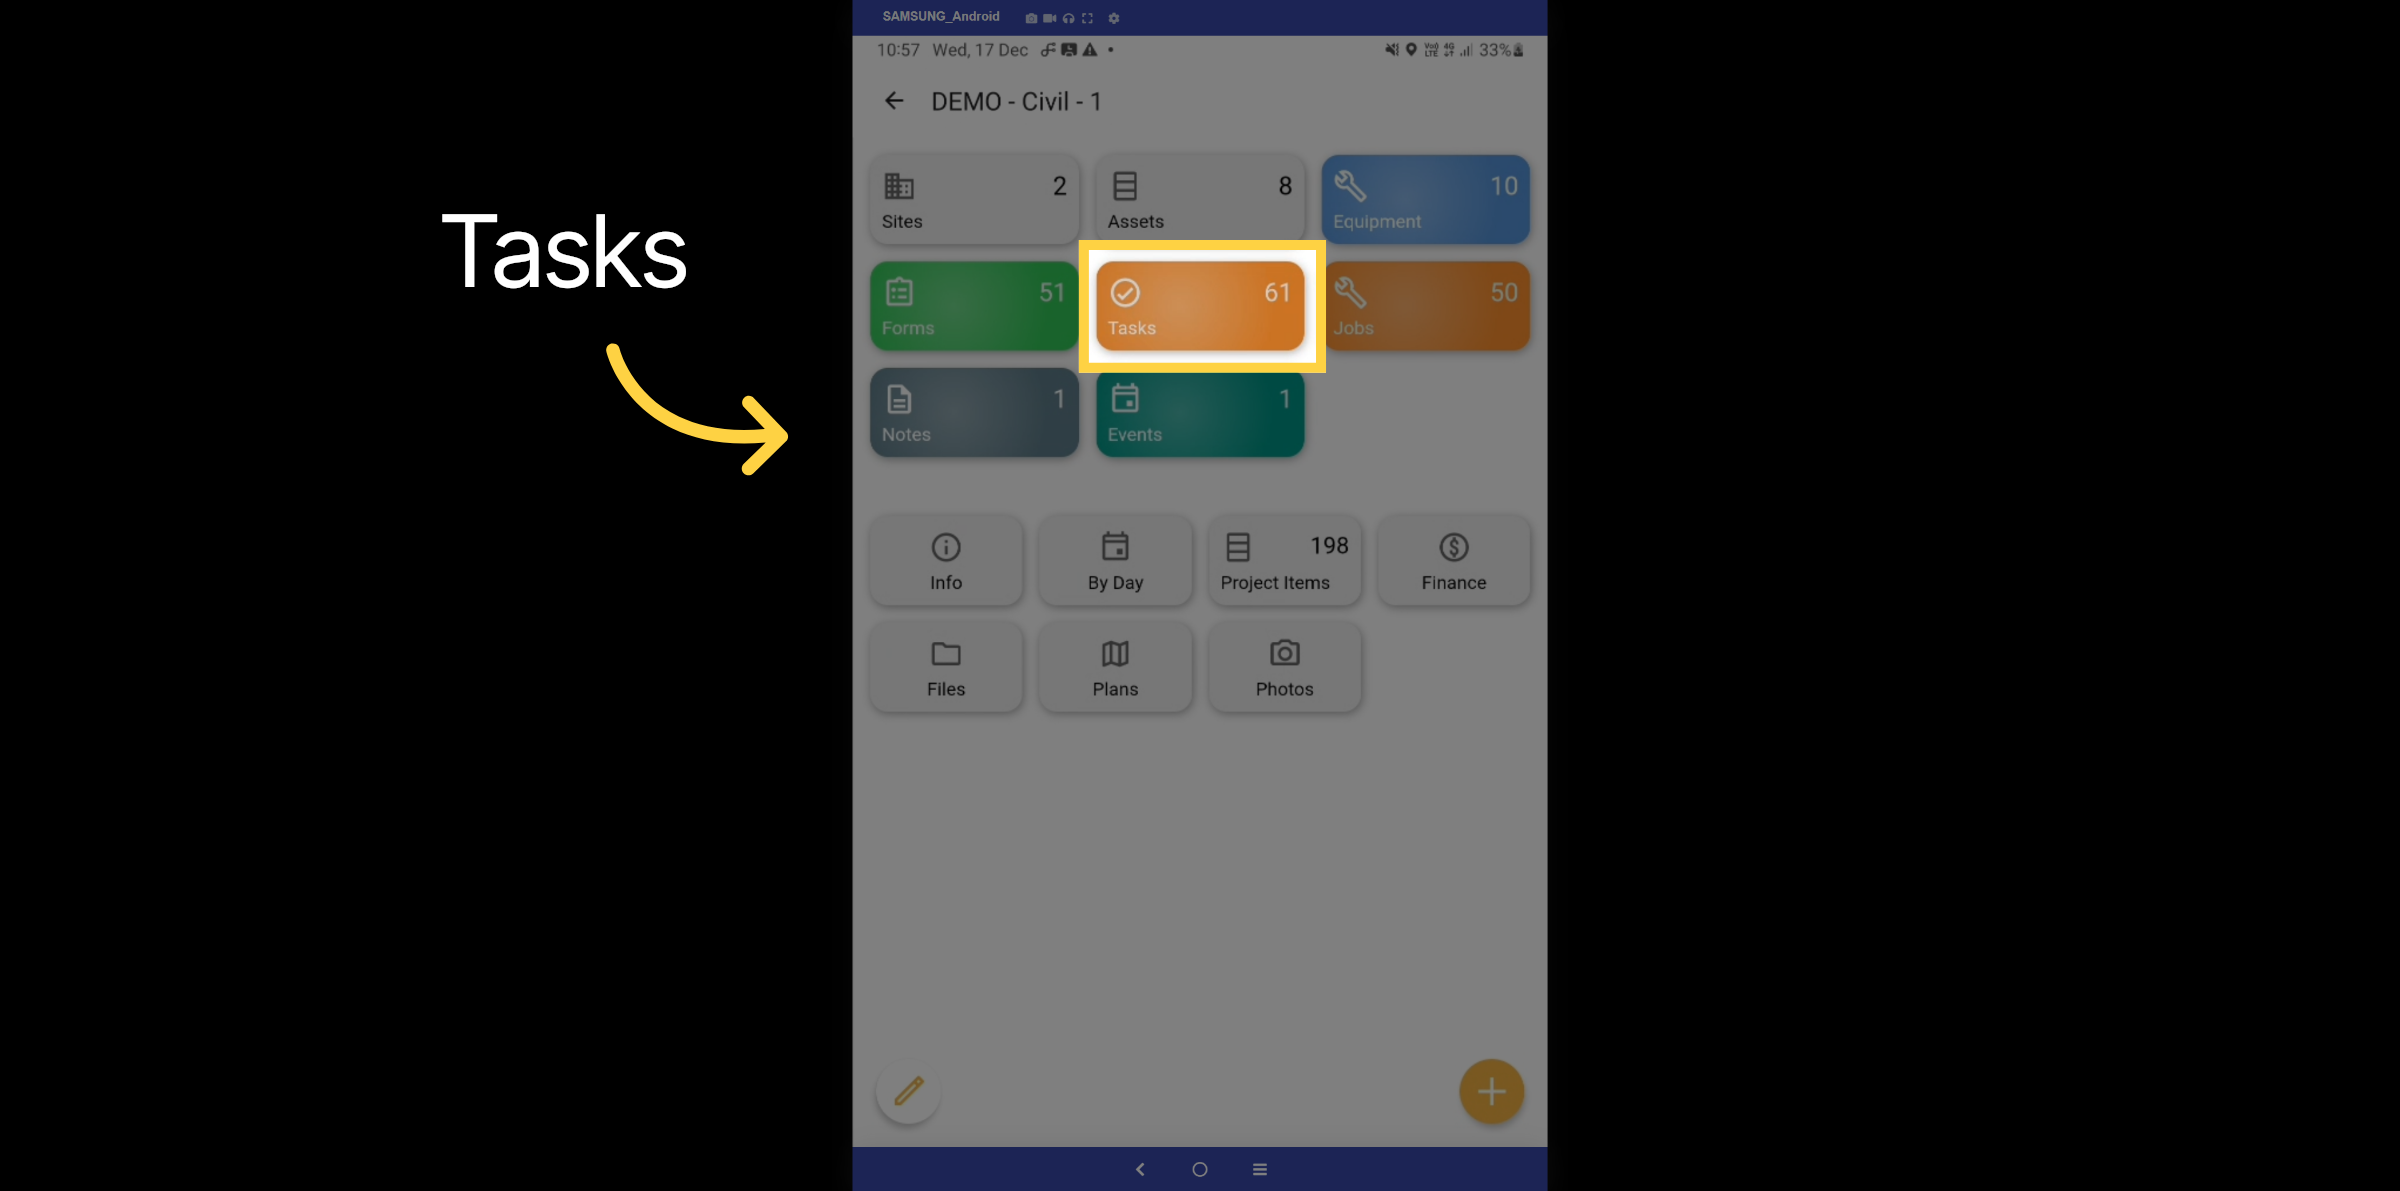
Let's explore the Tasks tab.
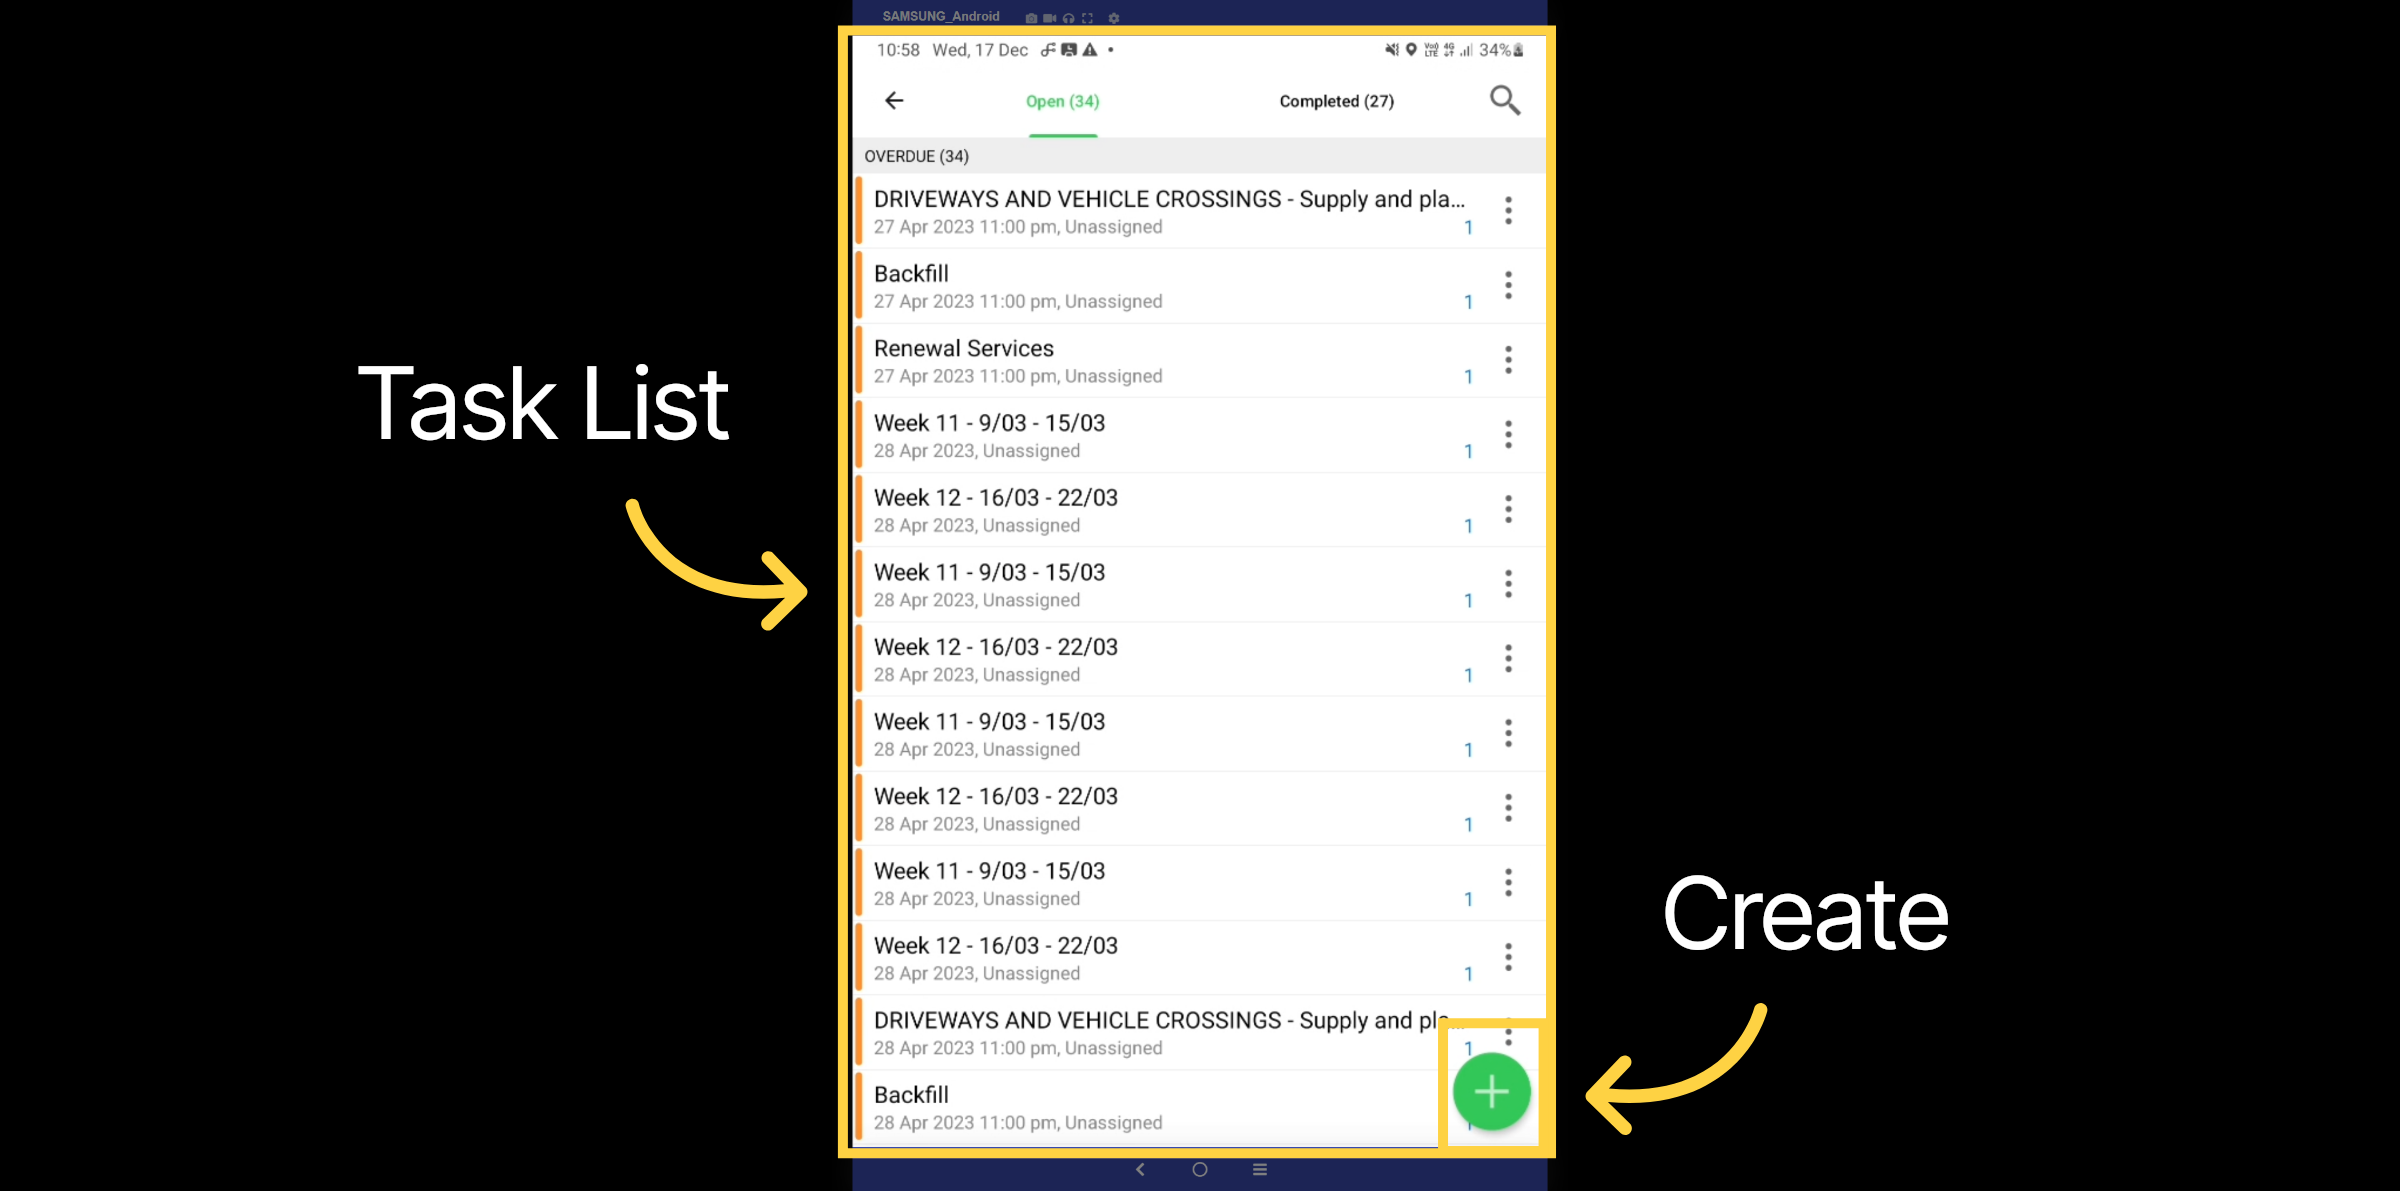
13. Task List
Here, you can view all tasks associated with the project, fully linked to each milestone. Additionally, you can see both open and completed tasks.
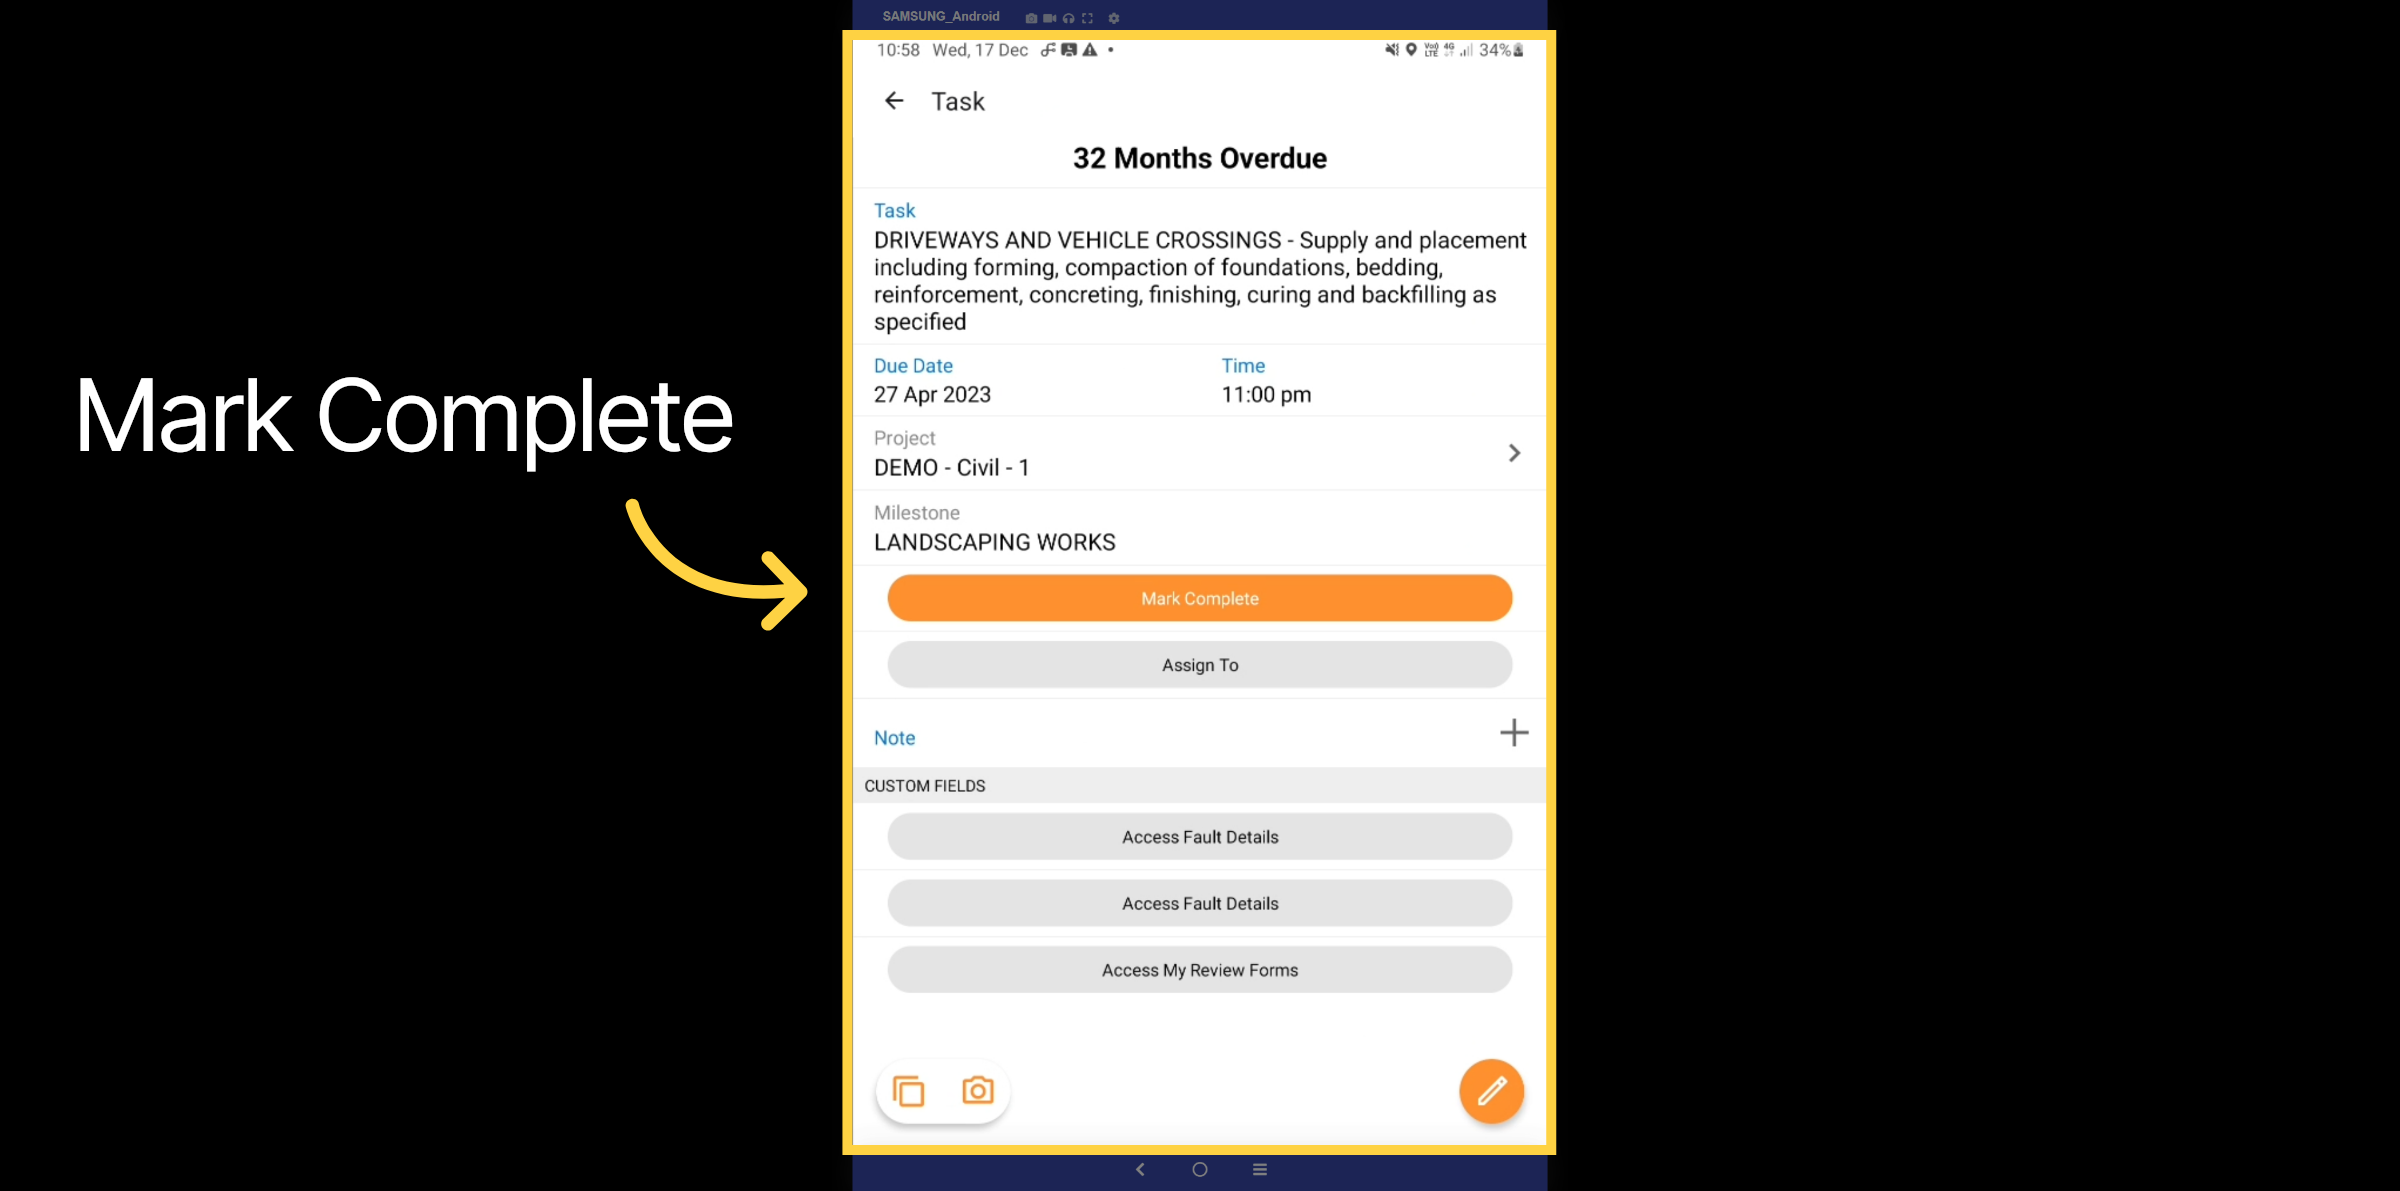
14. Task Example
This task example will illustrate the task description, due date and time, related milestone, and any additional notes.
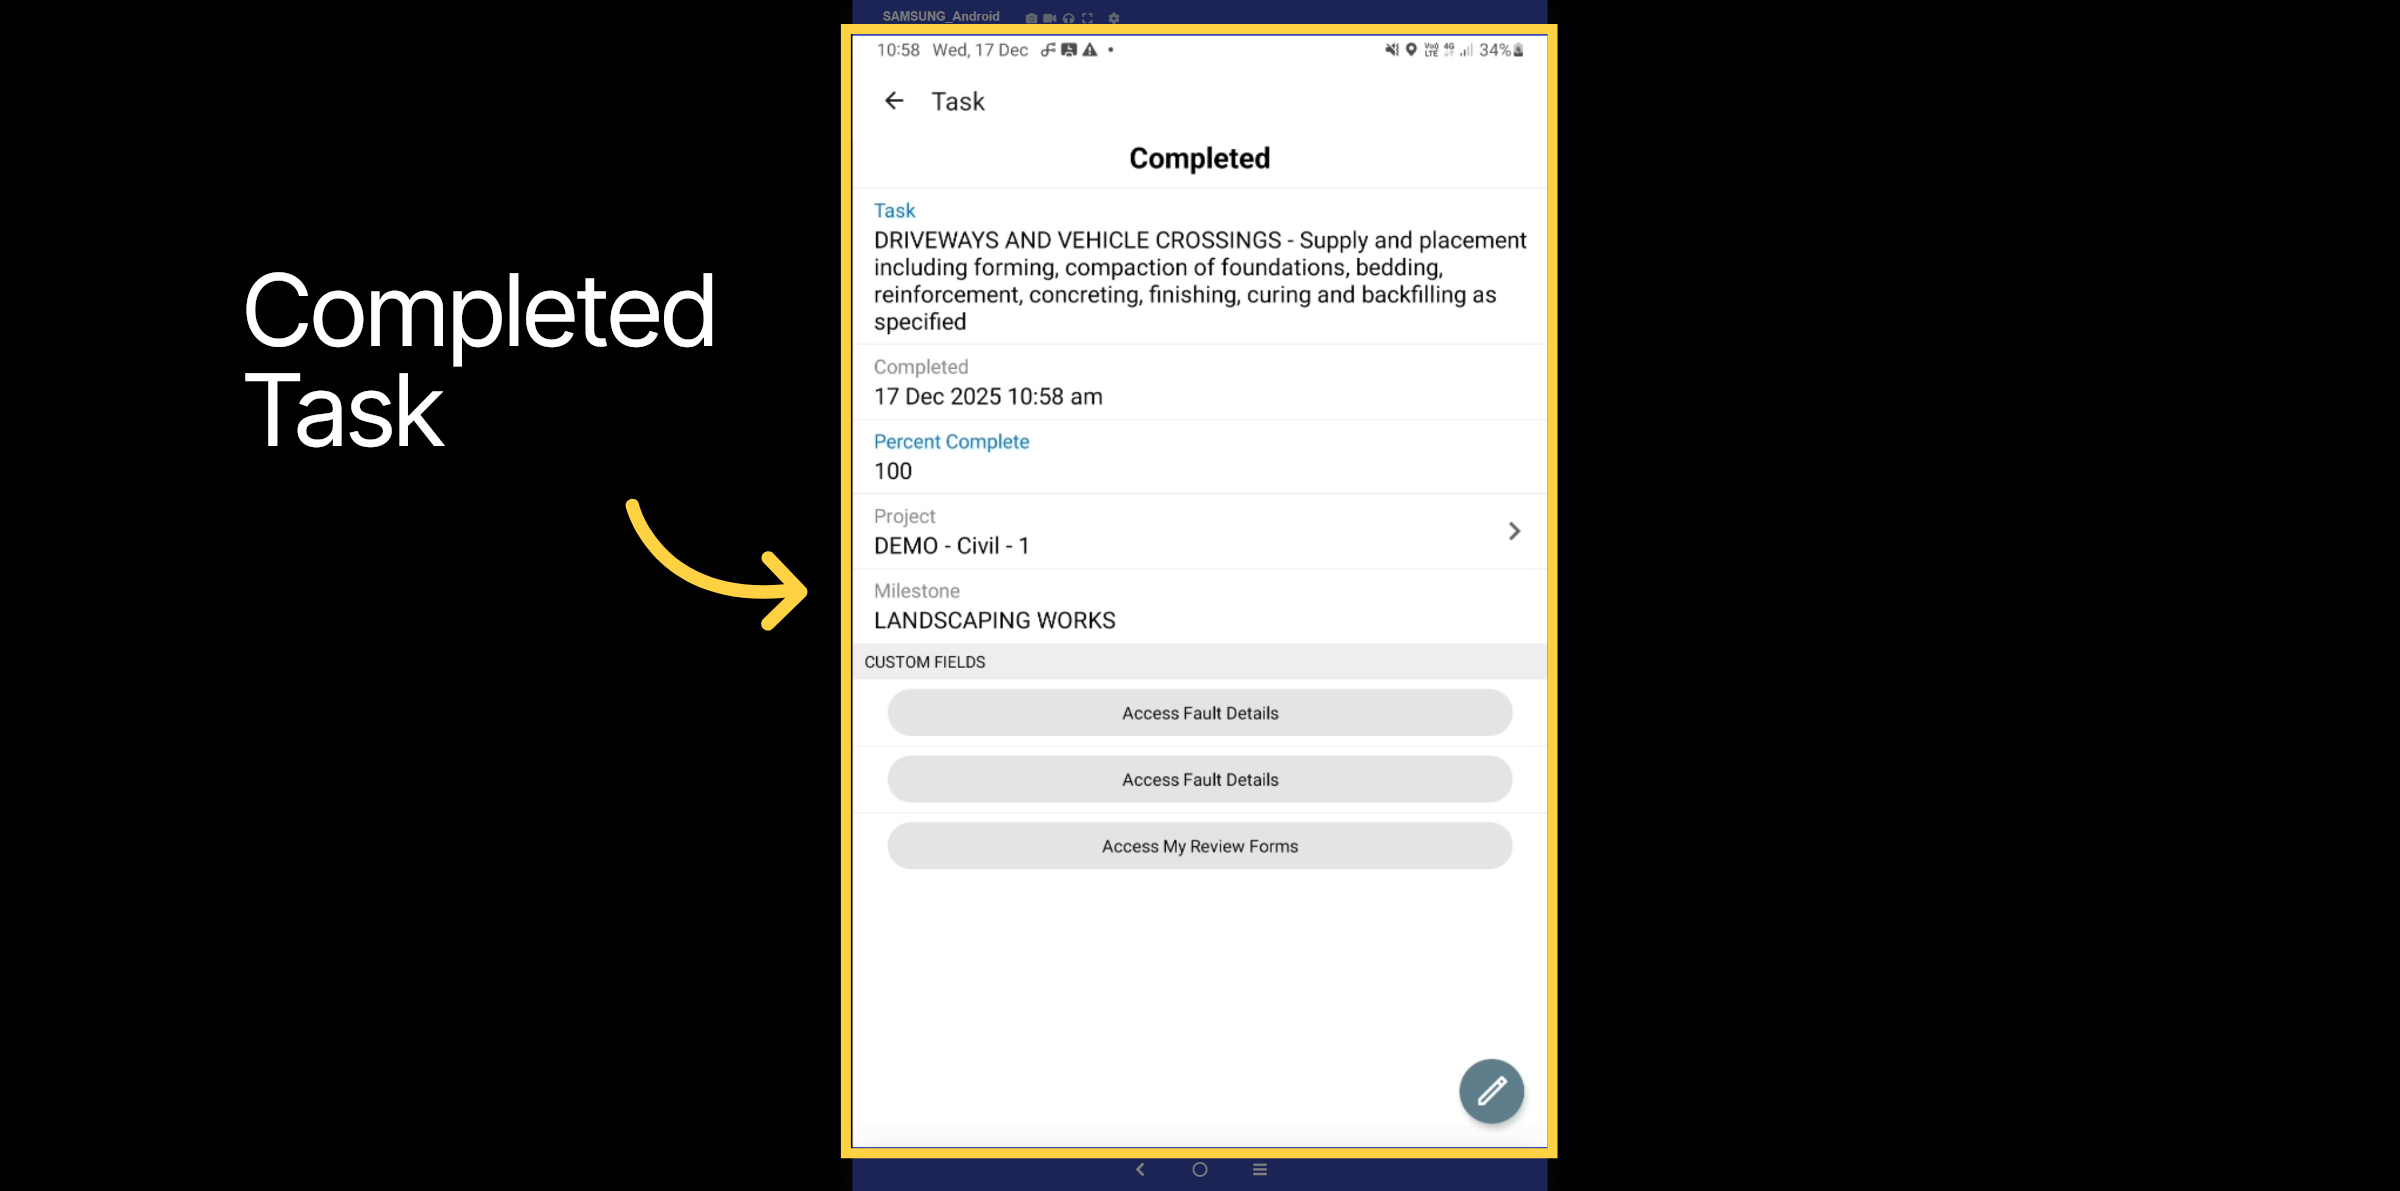
15. Completed Task
Once the task is marked as completed, the percentage will change to 100%.
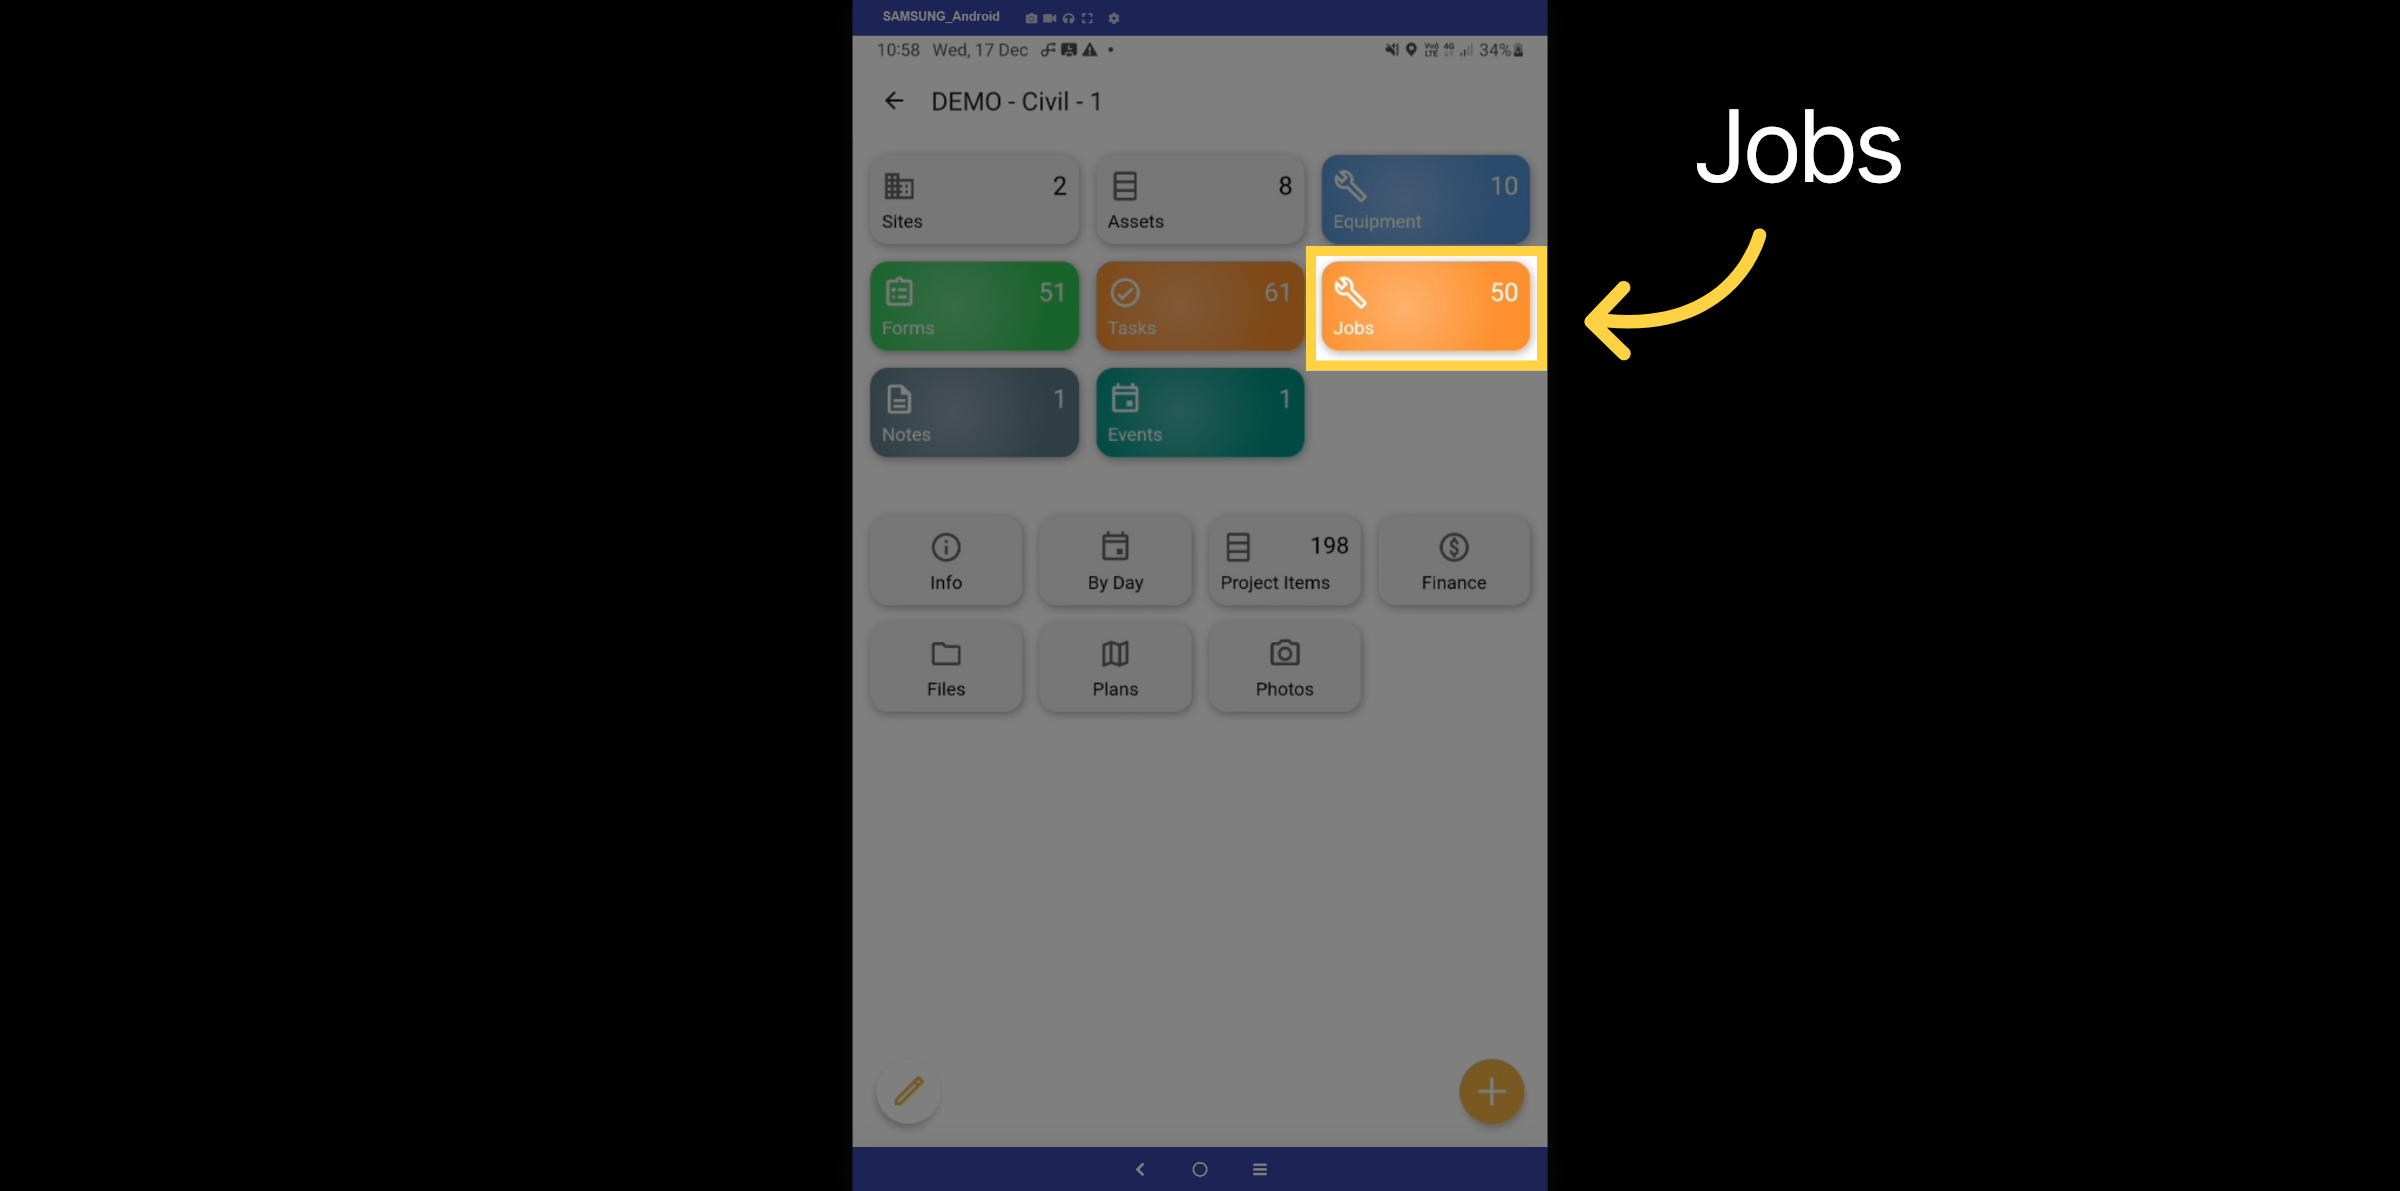
16. Jobs
Let's explore the Jobs tab.
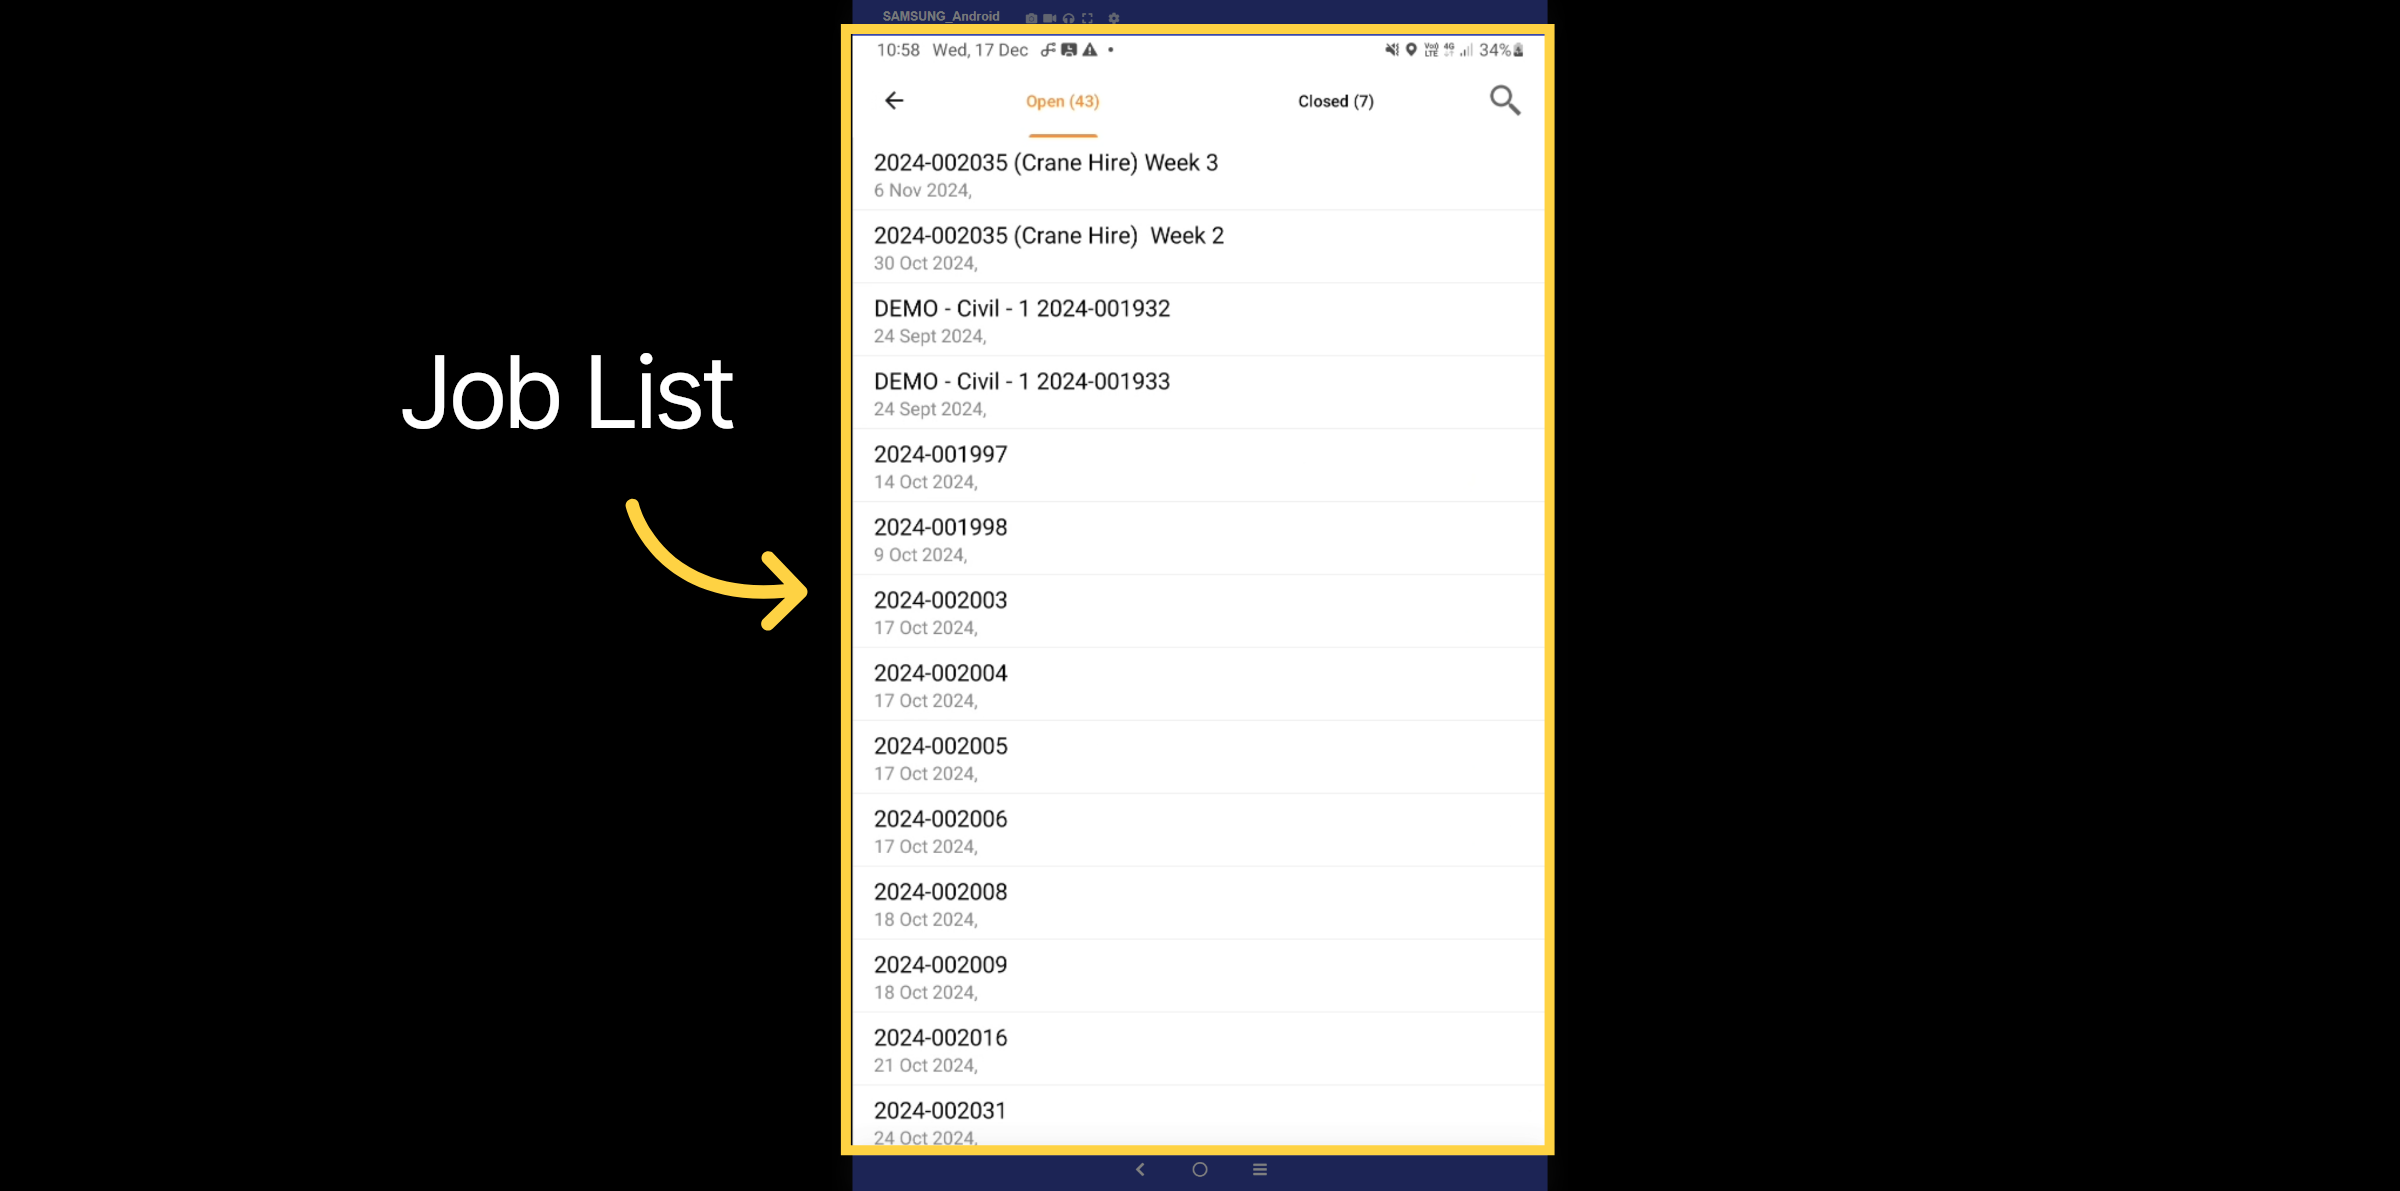
17. Job List
Here is a list of all jobs that have been created and are associated with the project.
18. Job Details
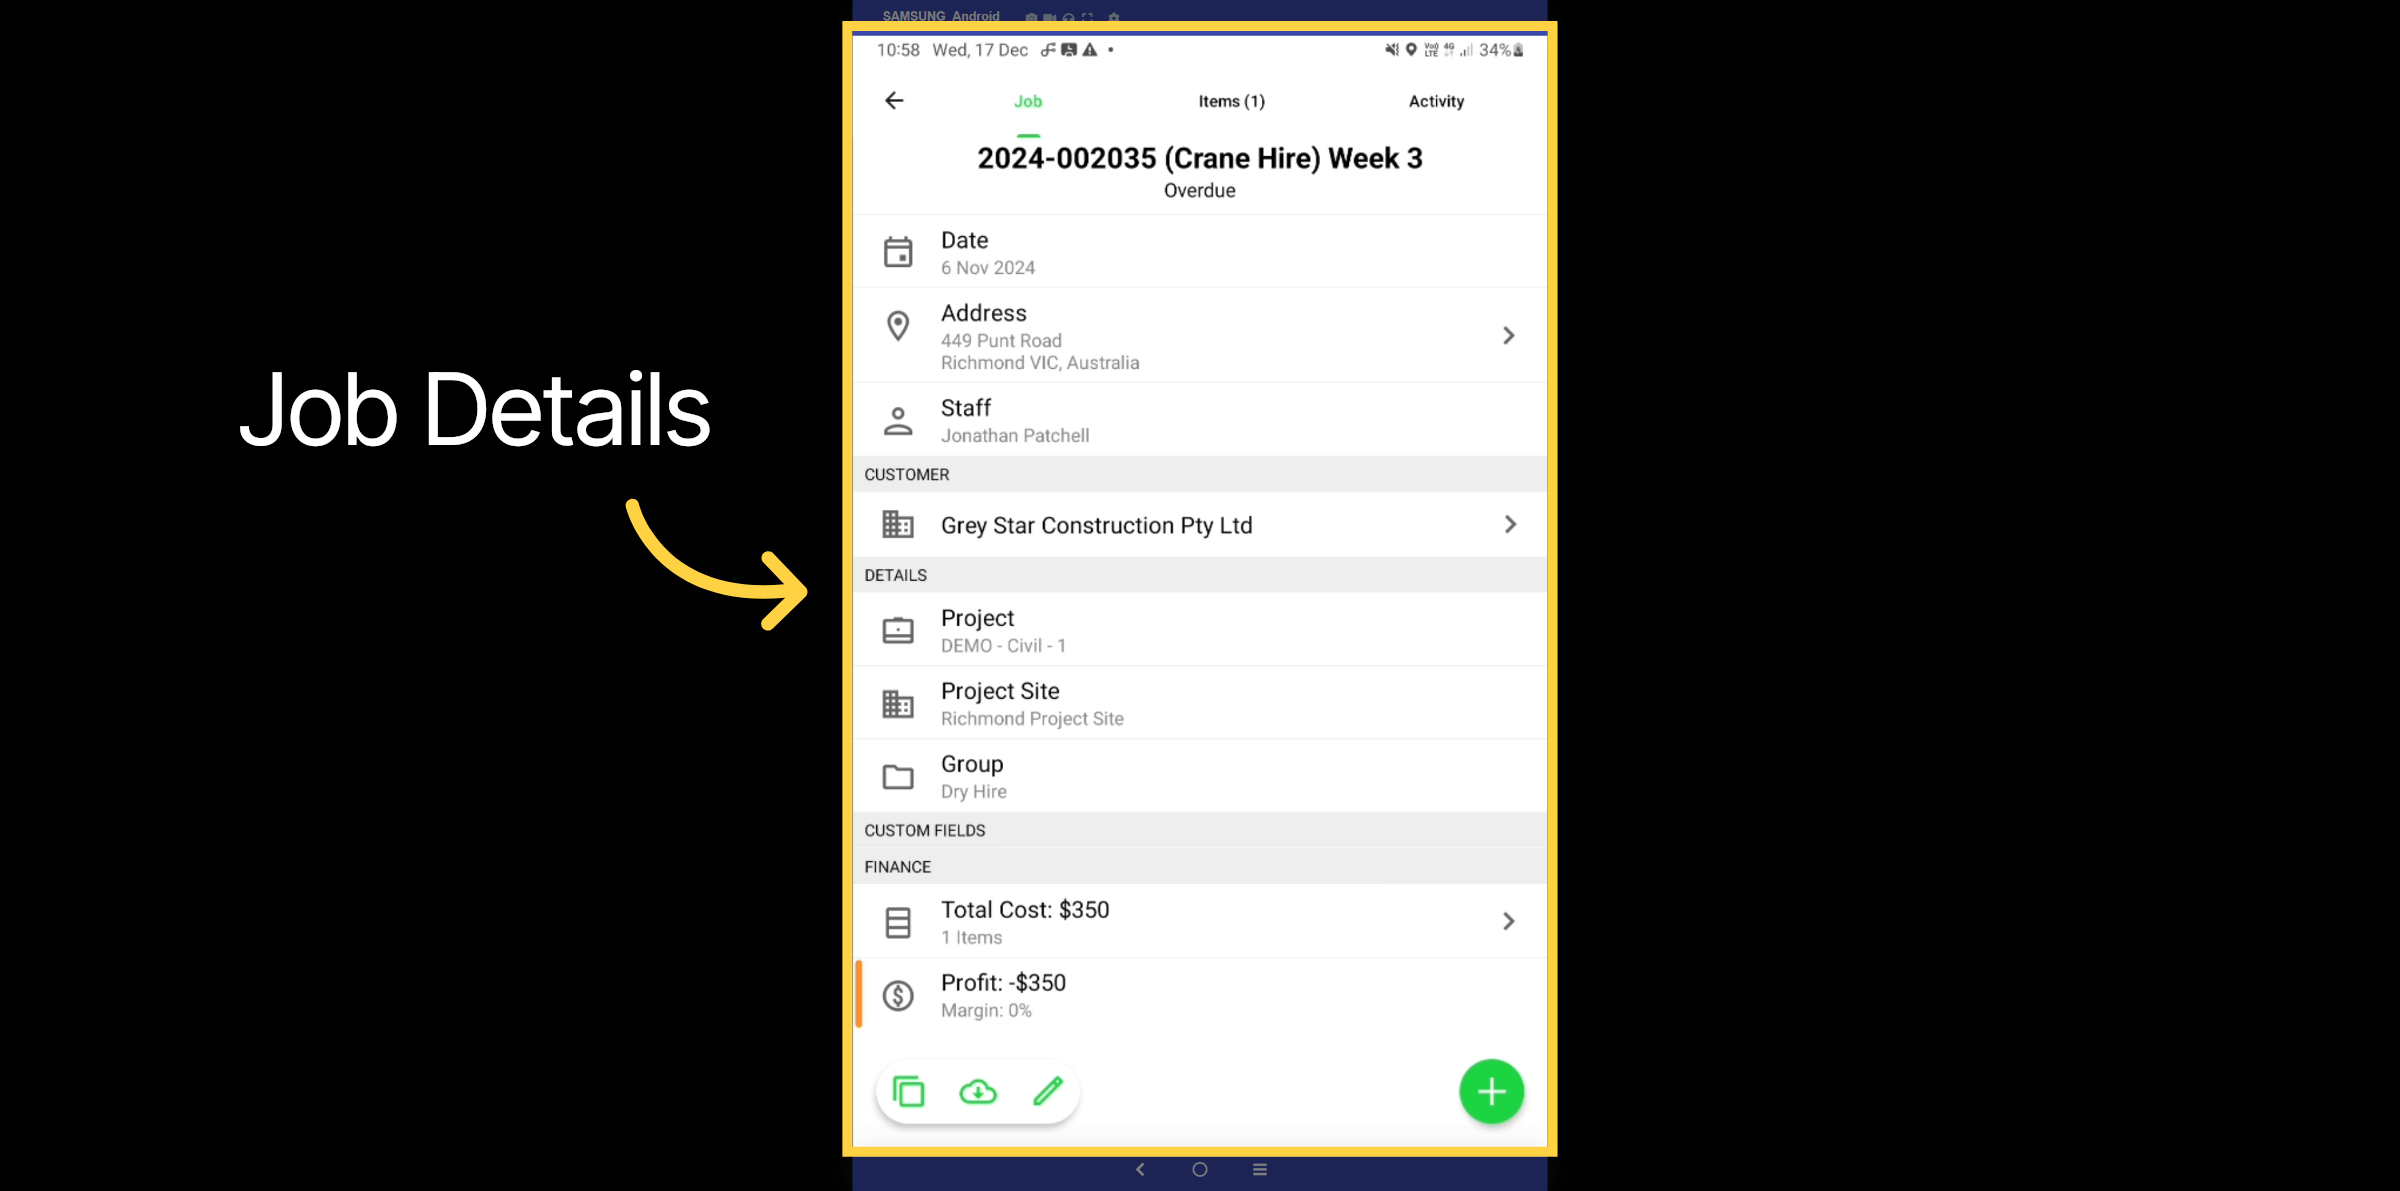
Here are the details of a job example. We can observe information such as the date, address, the employee it was assigned to, customer details, and any financial elements associated with it.
19. Export
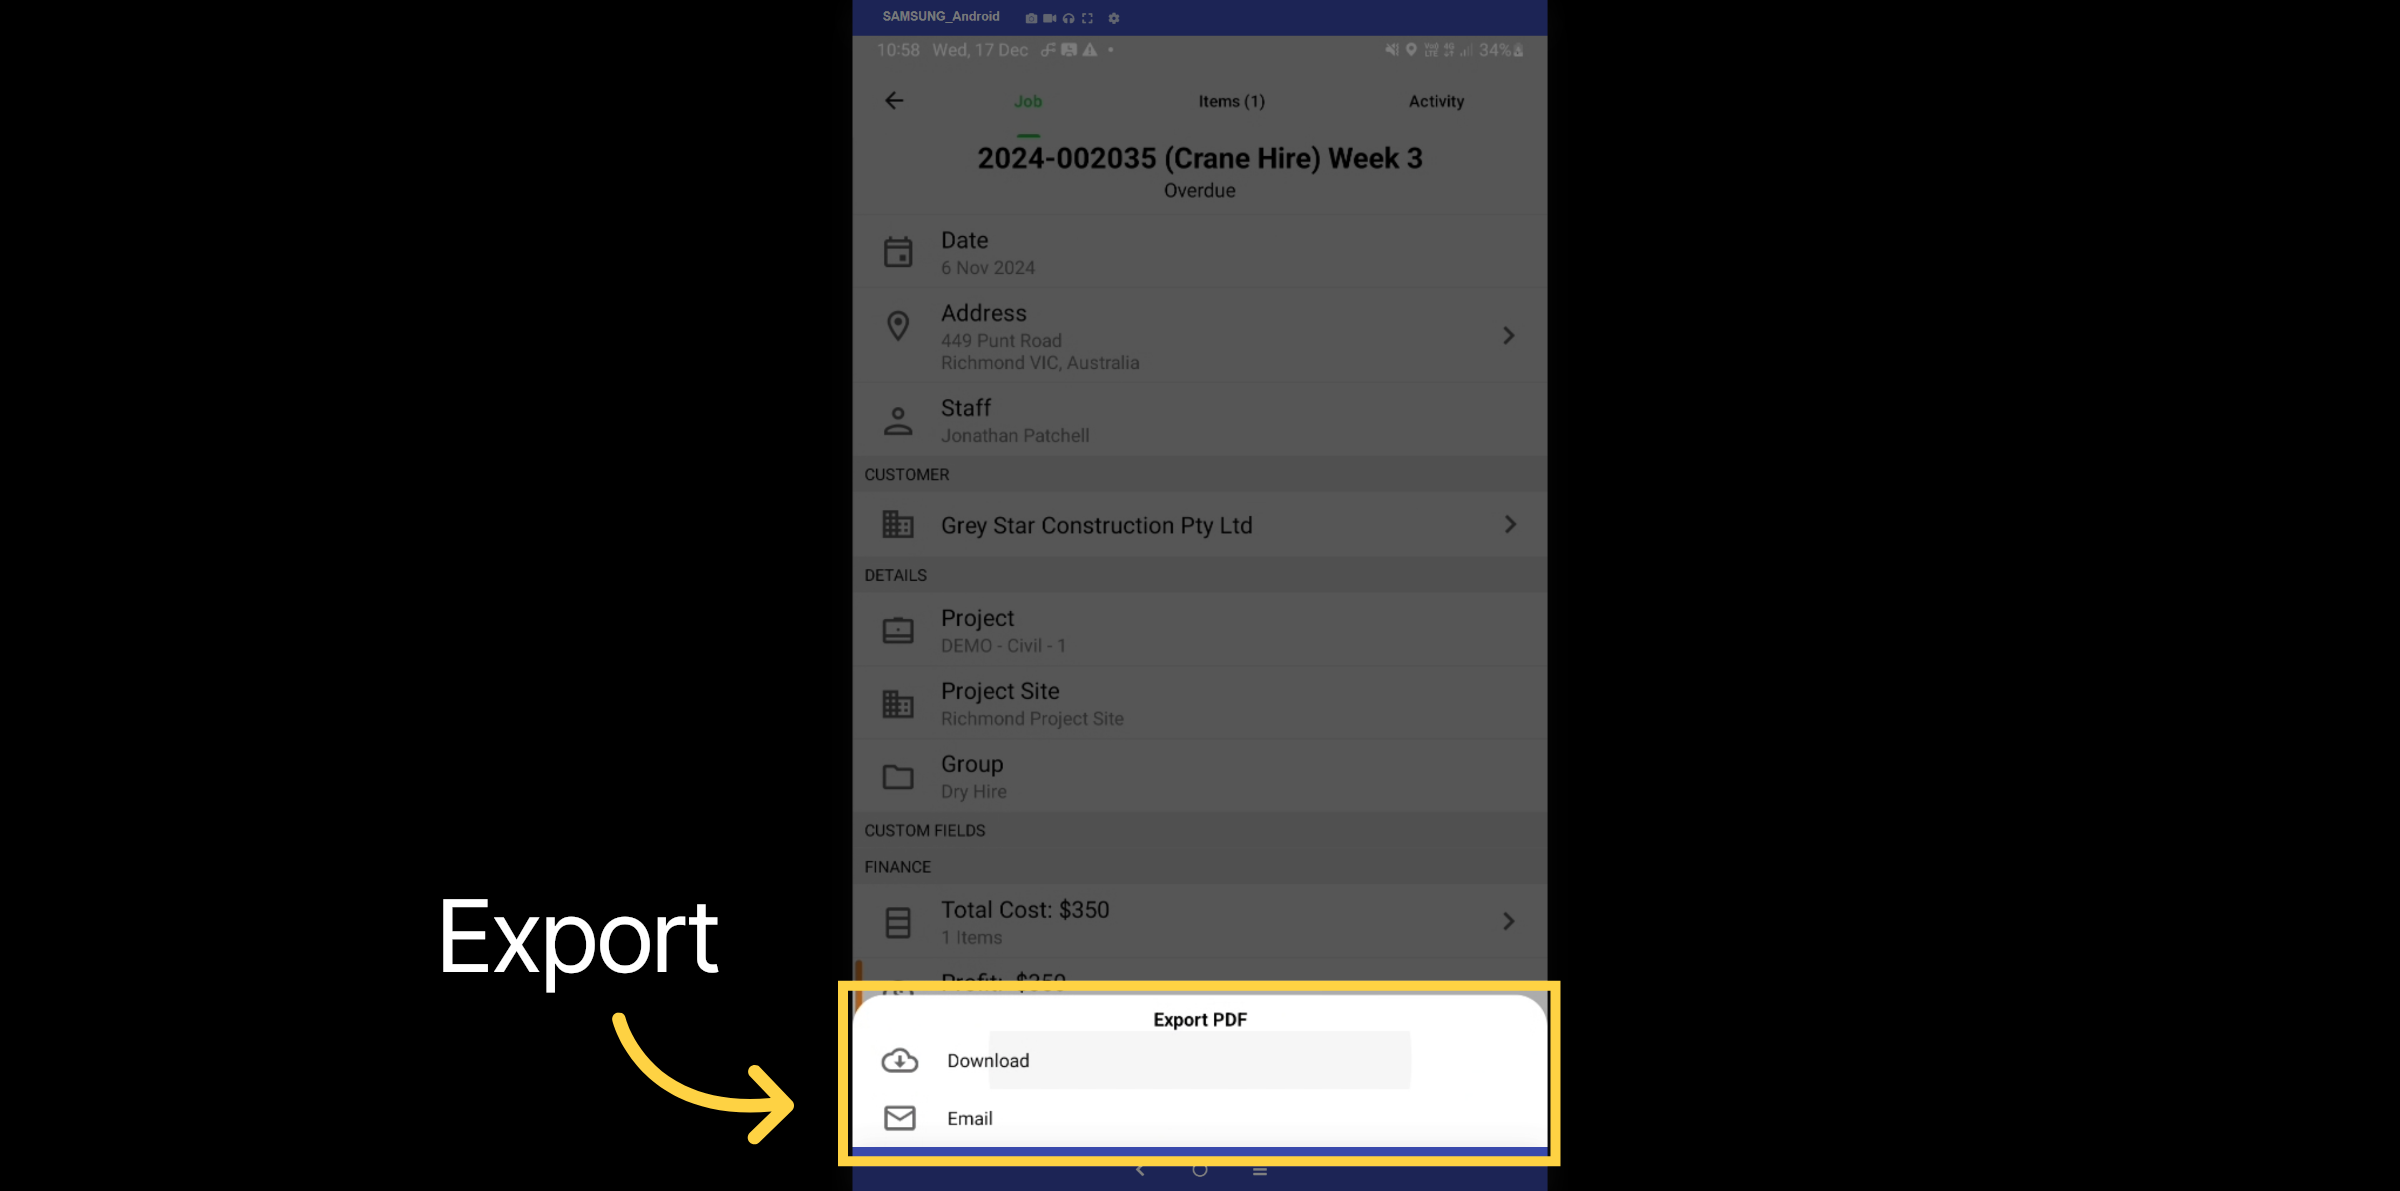
The cloud icon enables you to export or email the job details.
20. Job Export Example
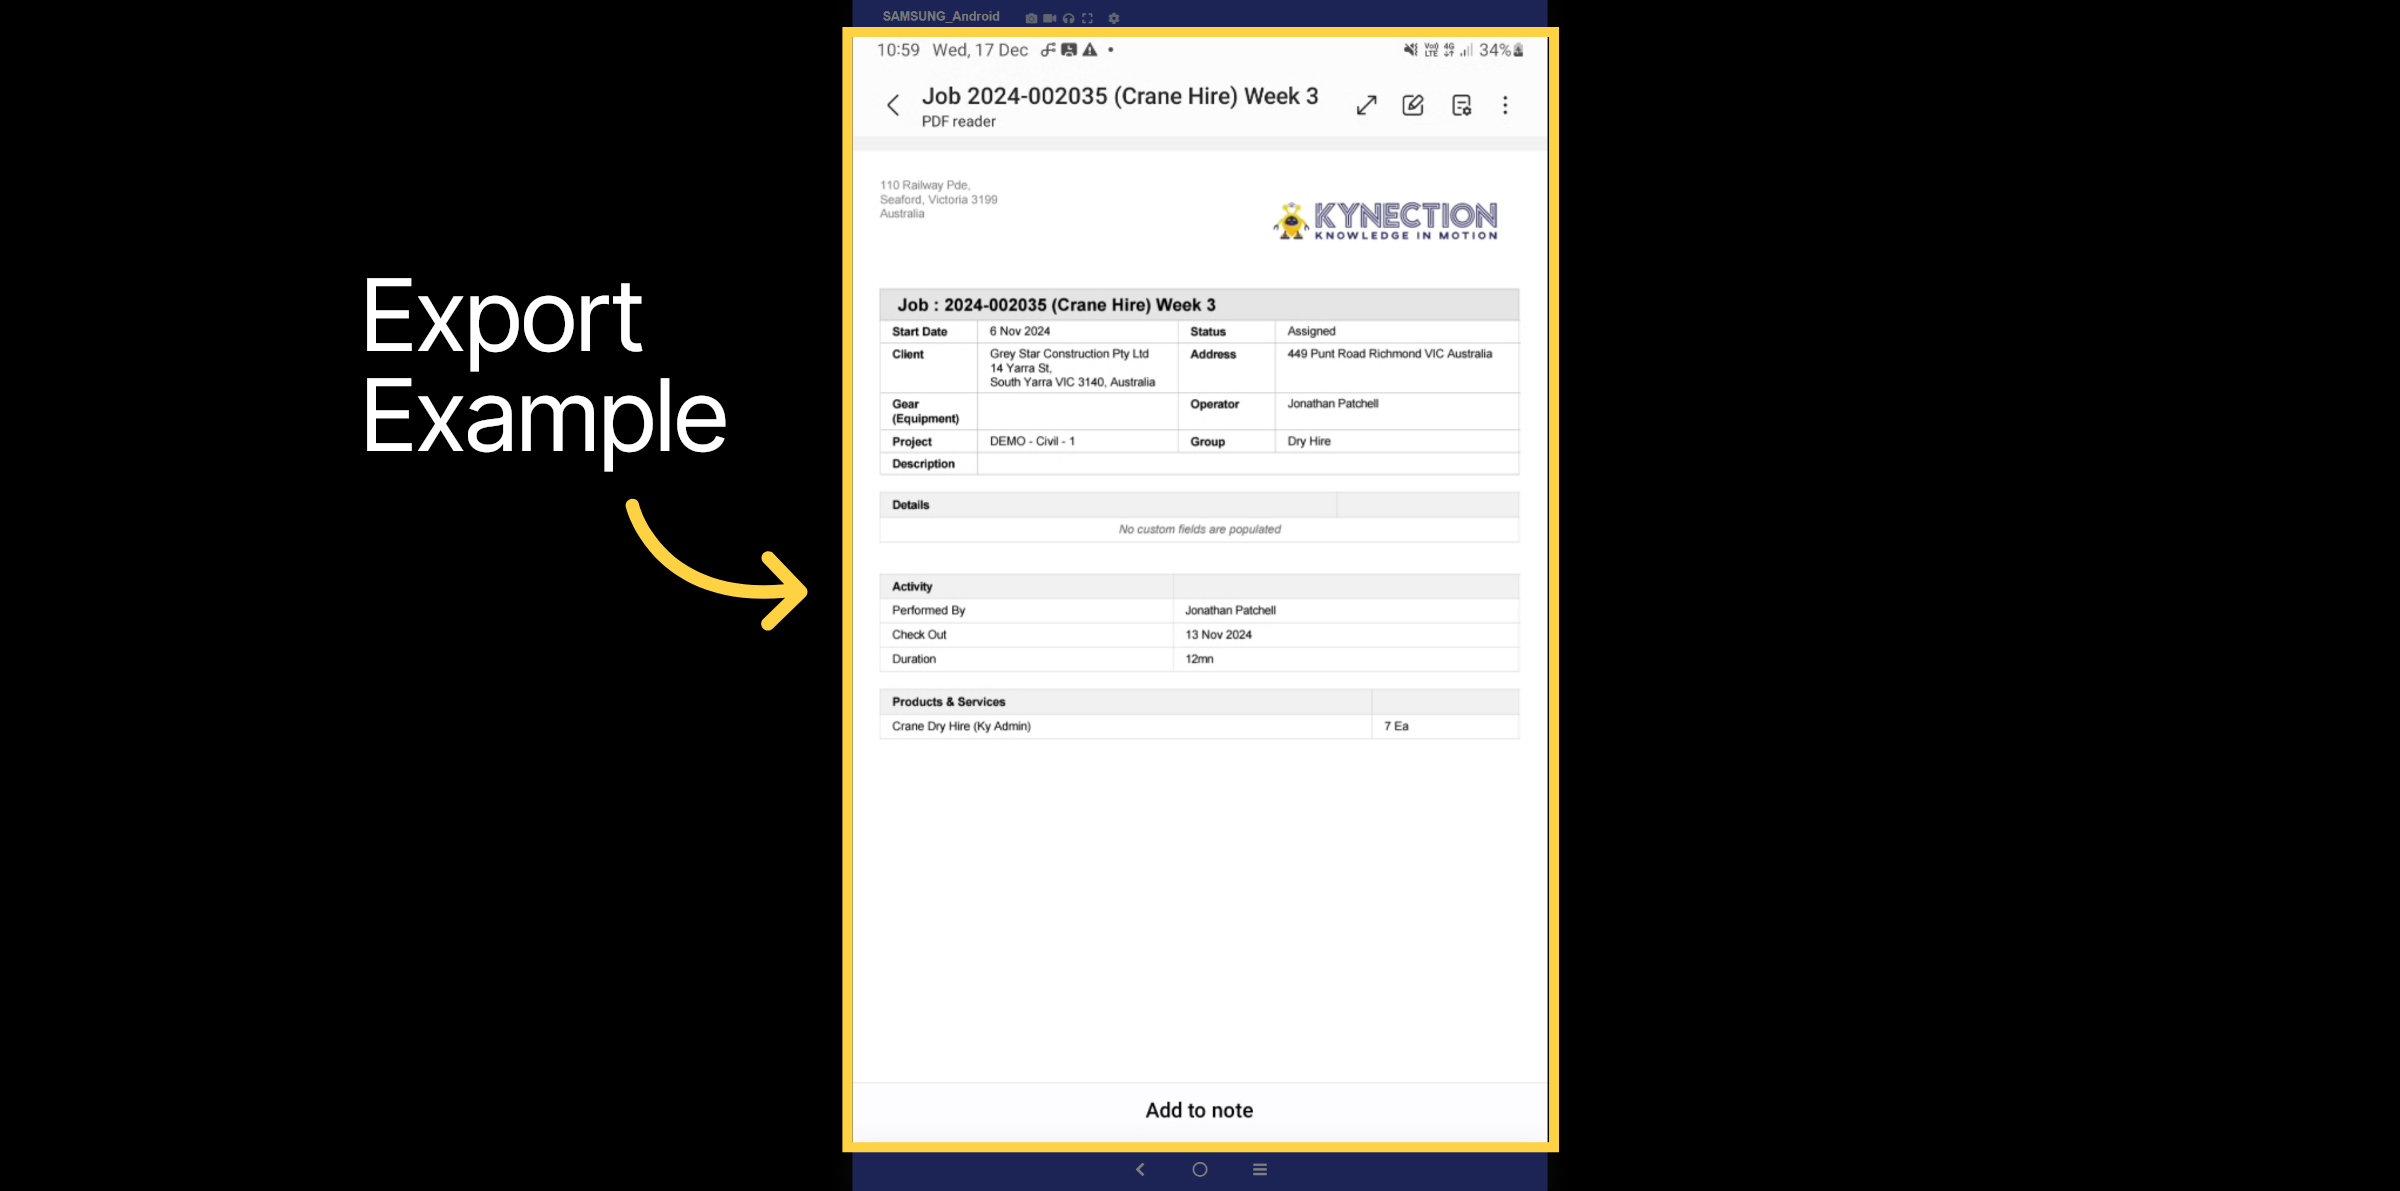
Here is an example of the job report.
21. Job Features
You can also enhance the job details by adding notes, tasks, additional forms, photos, and associating products and services with it.
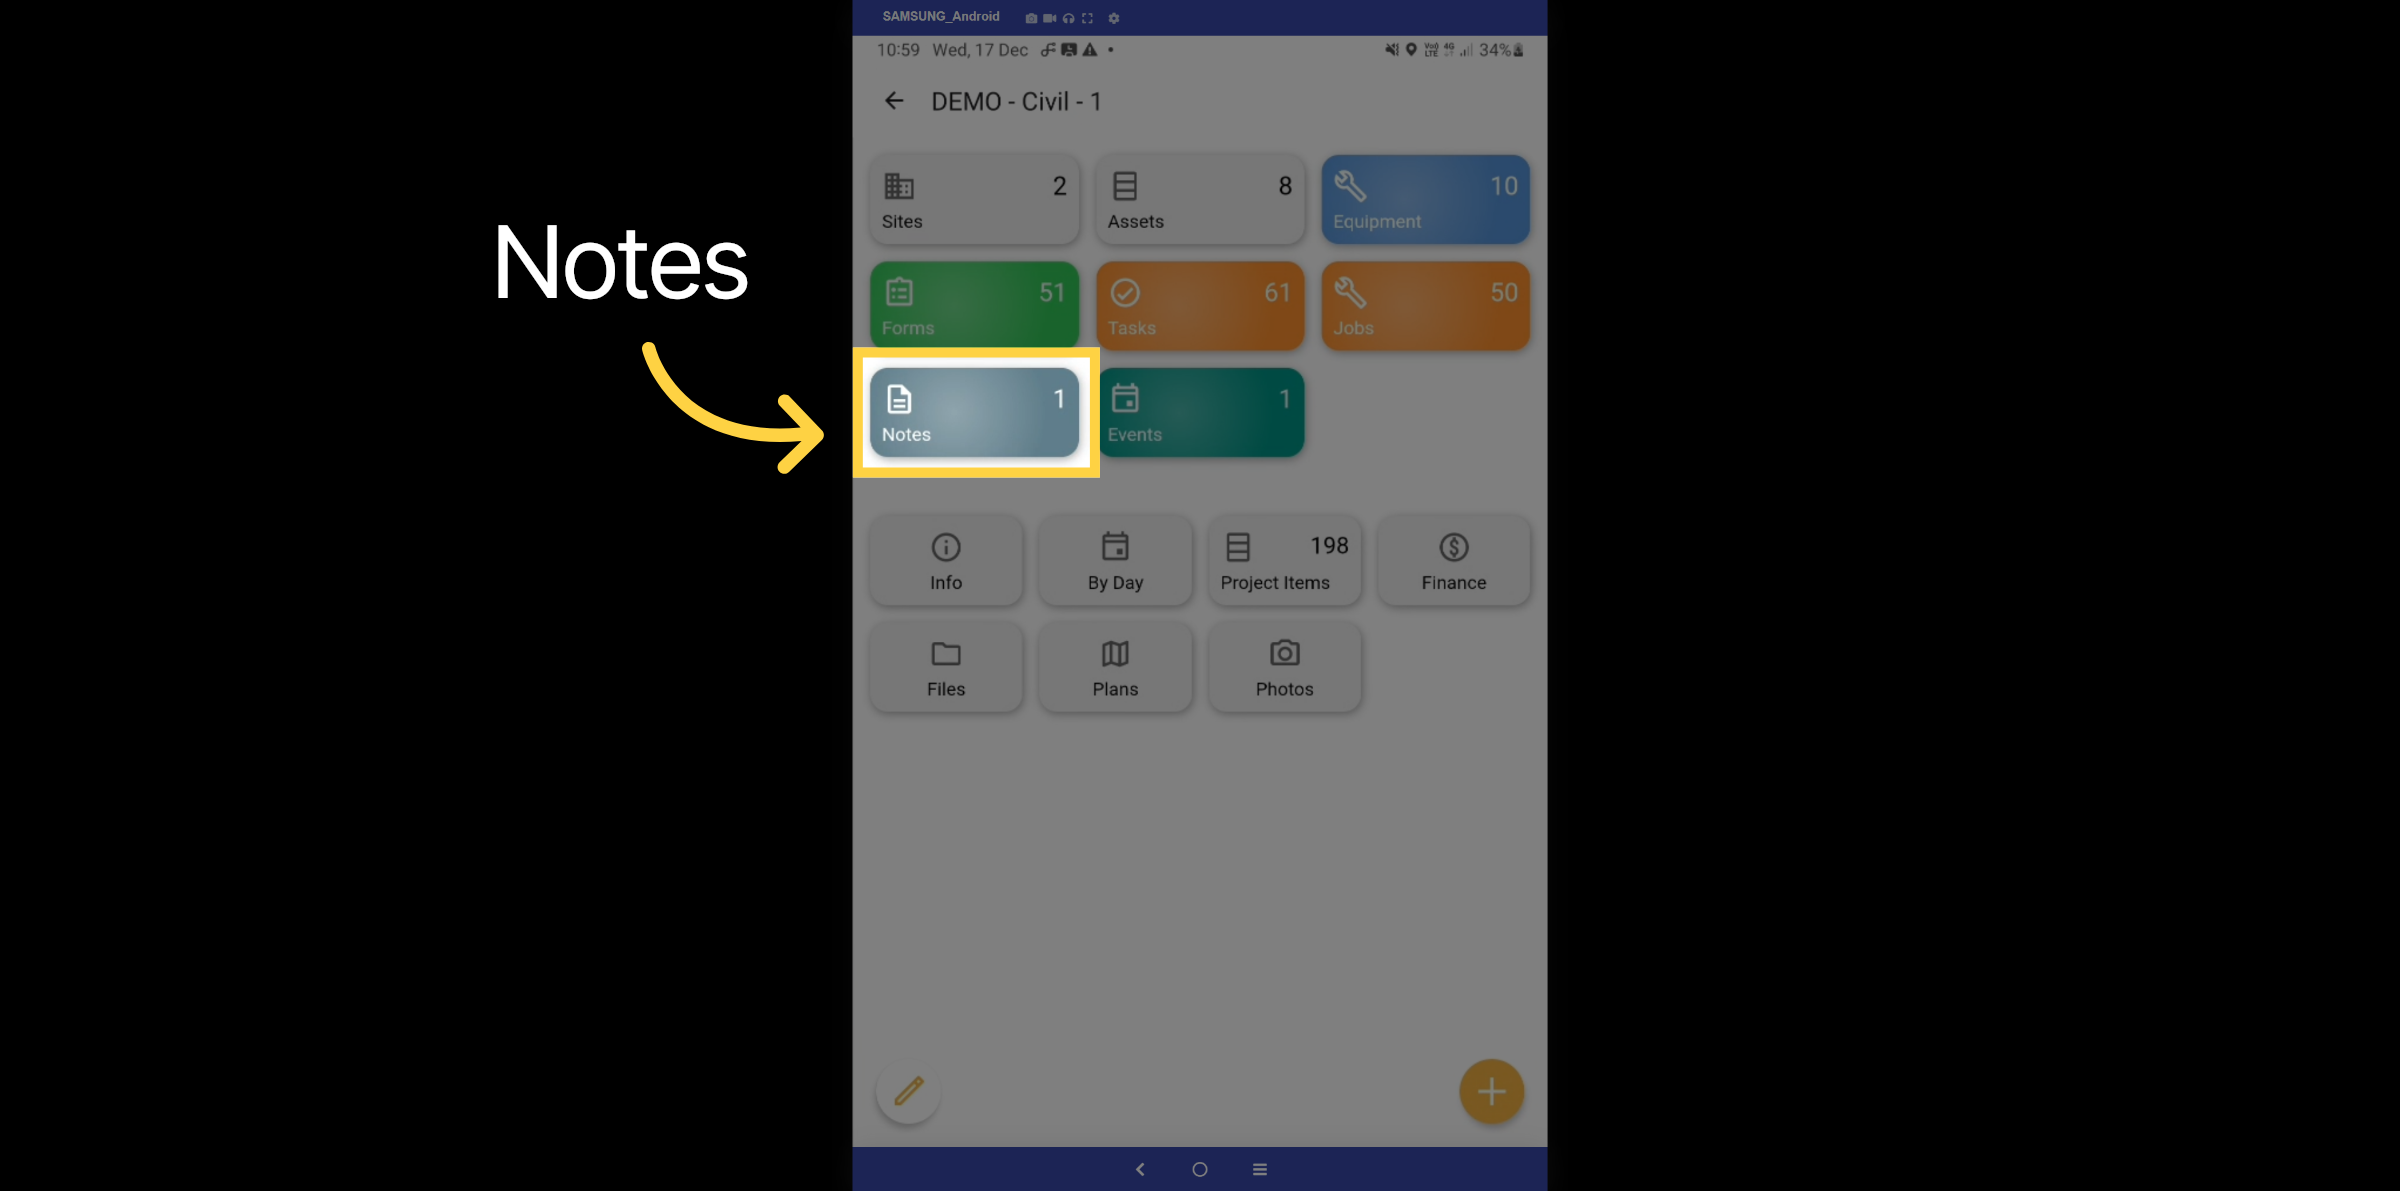
22. Notes Tab
Let's take a look at the notes tab.
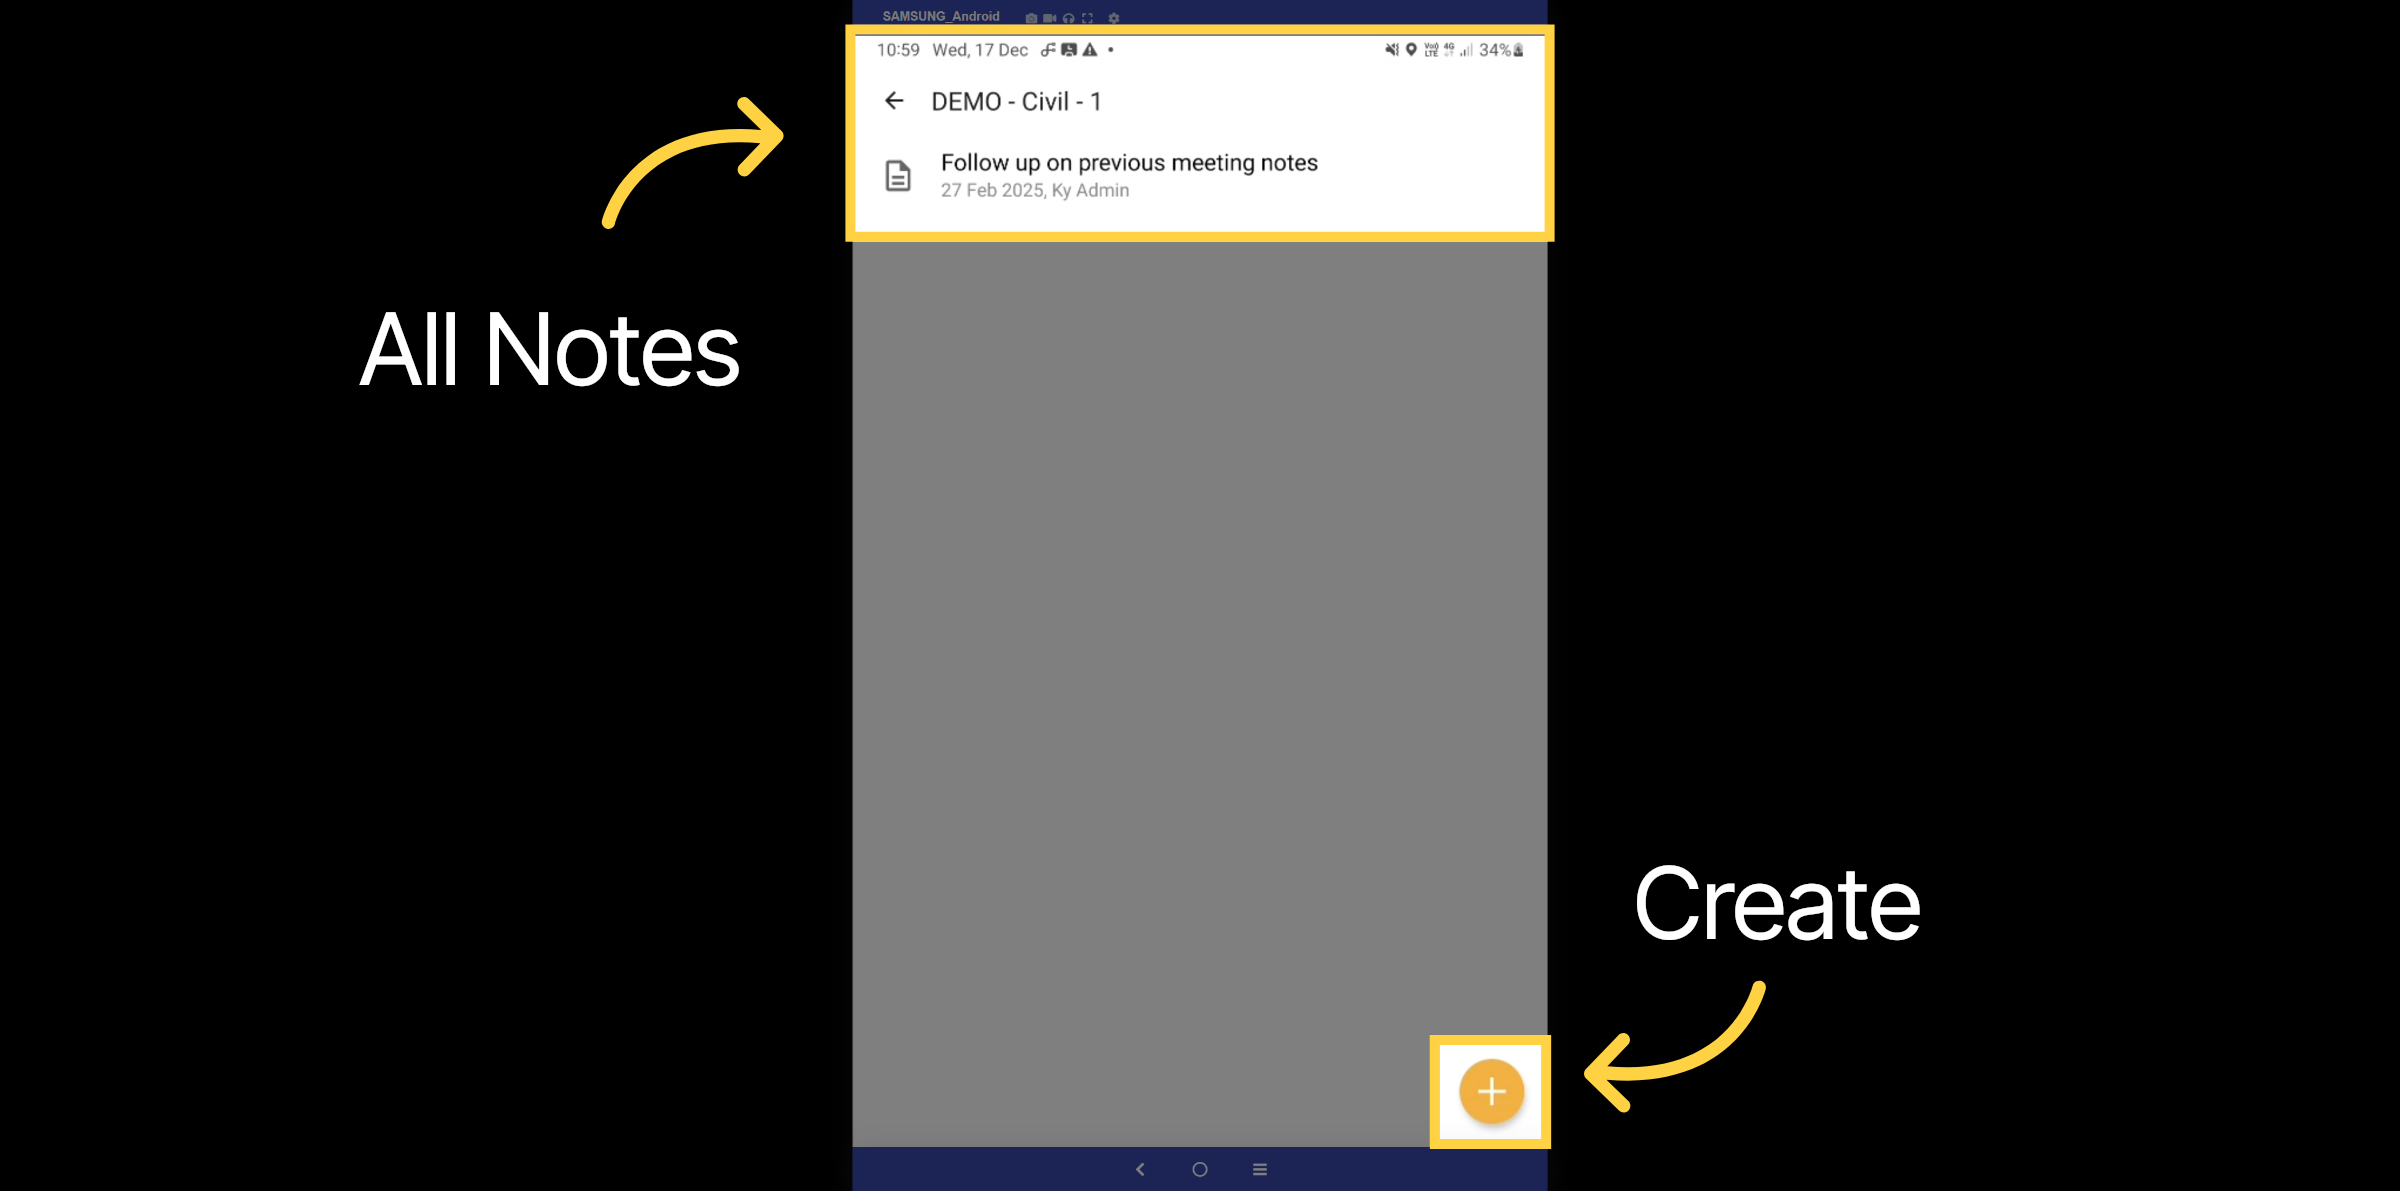
23. Notes List
Here, you can view all notes created for the project. Select the plus icon to add new notes.
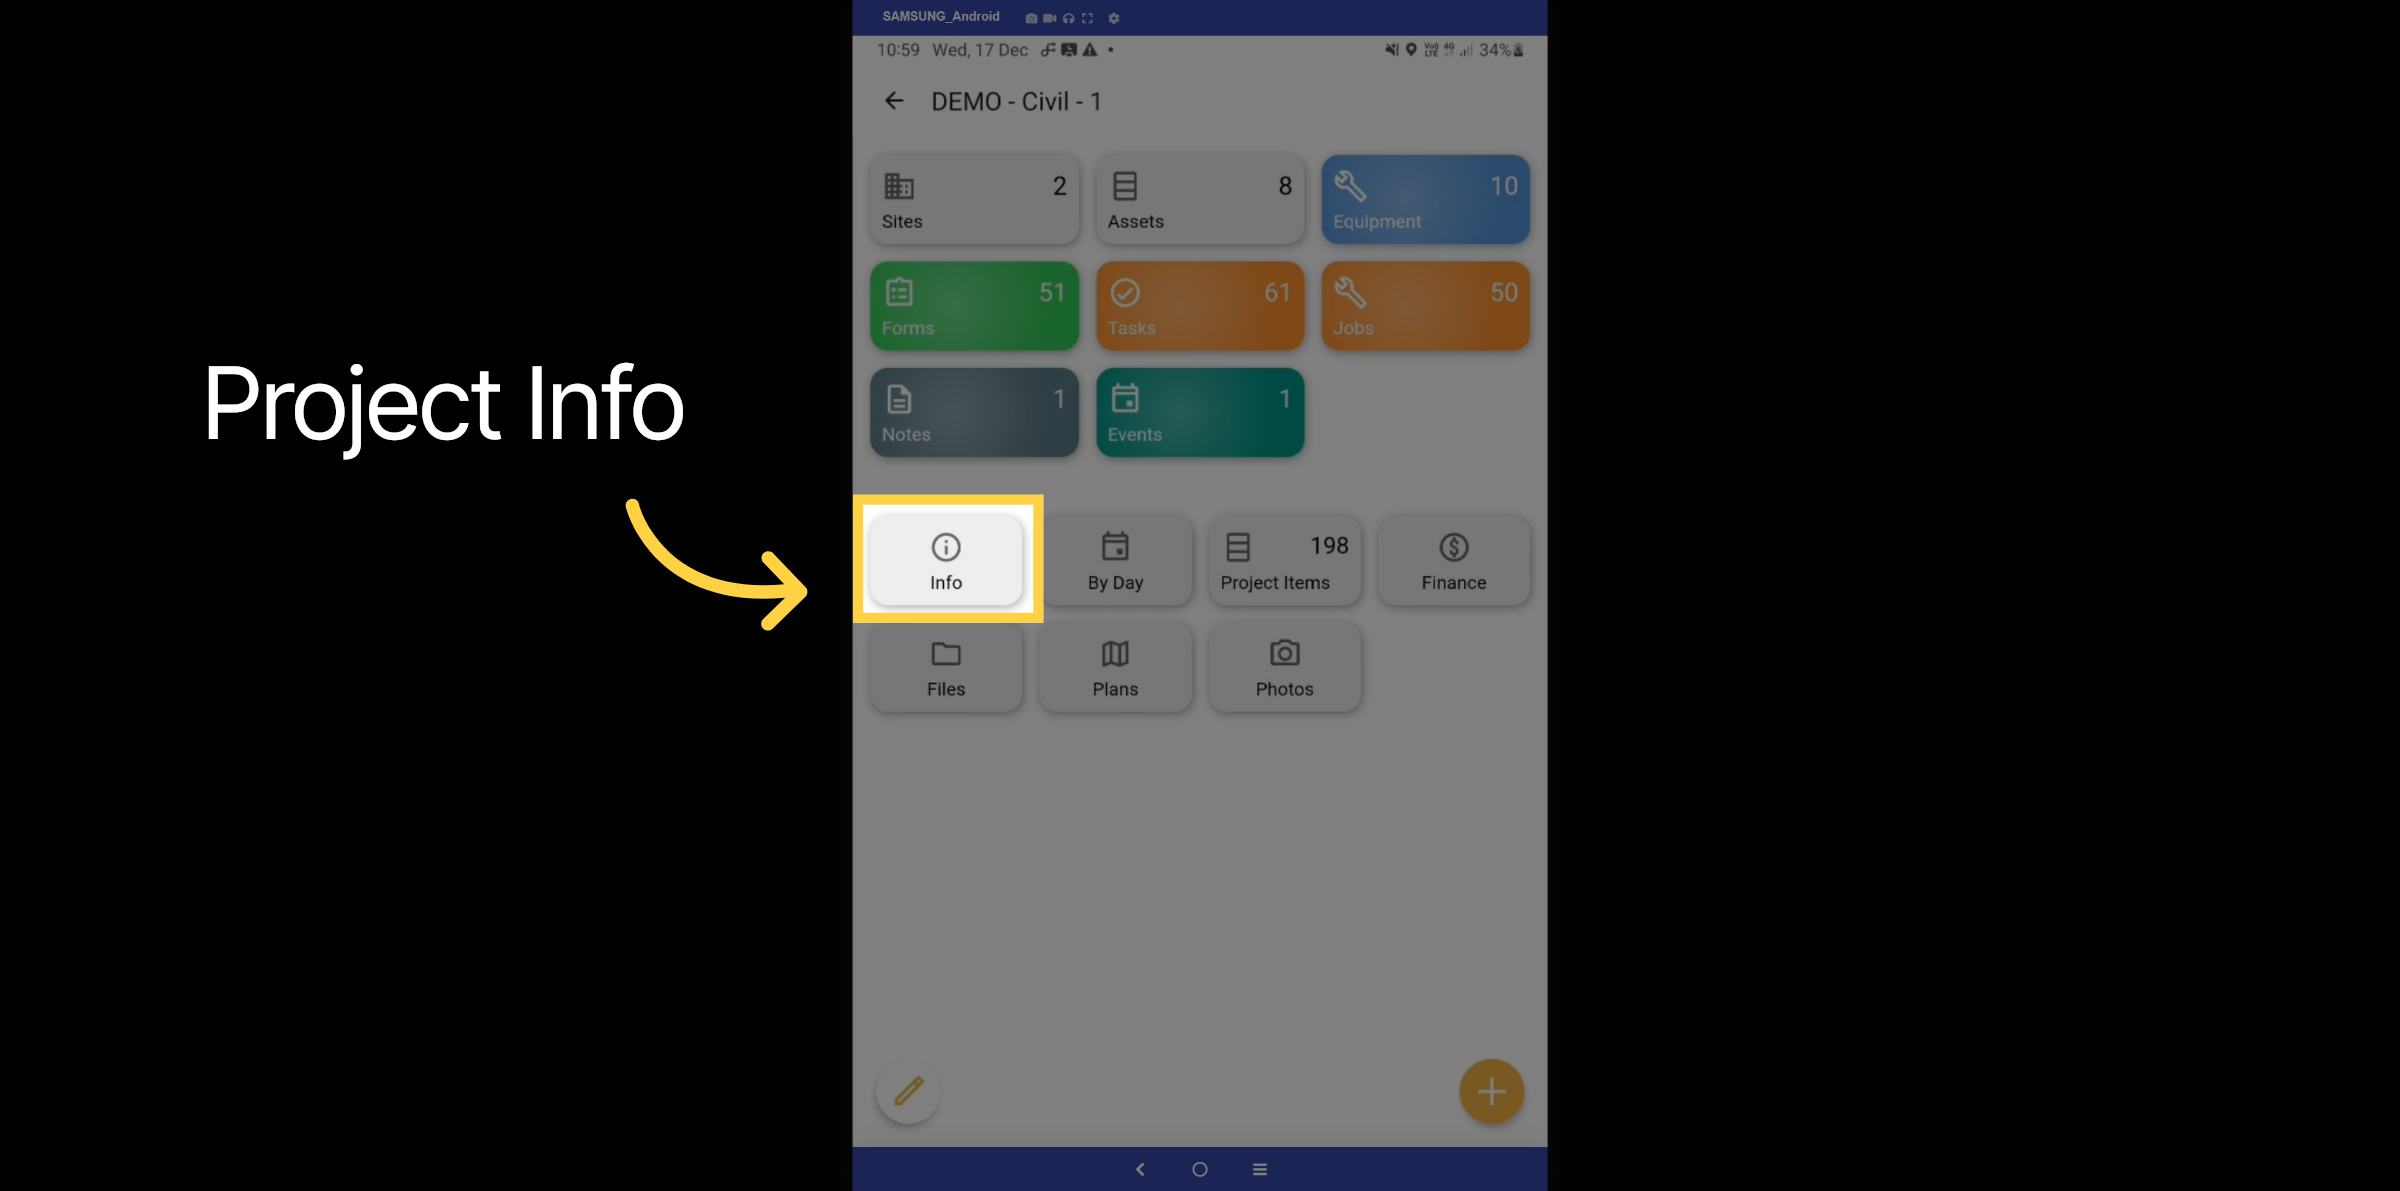
24. Project Info
Let's delve into the project info tab.
25. Project Details
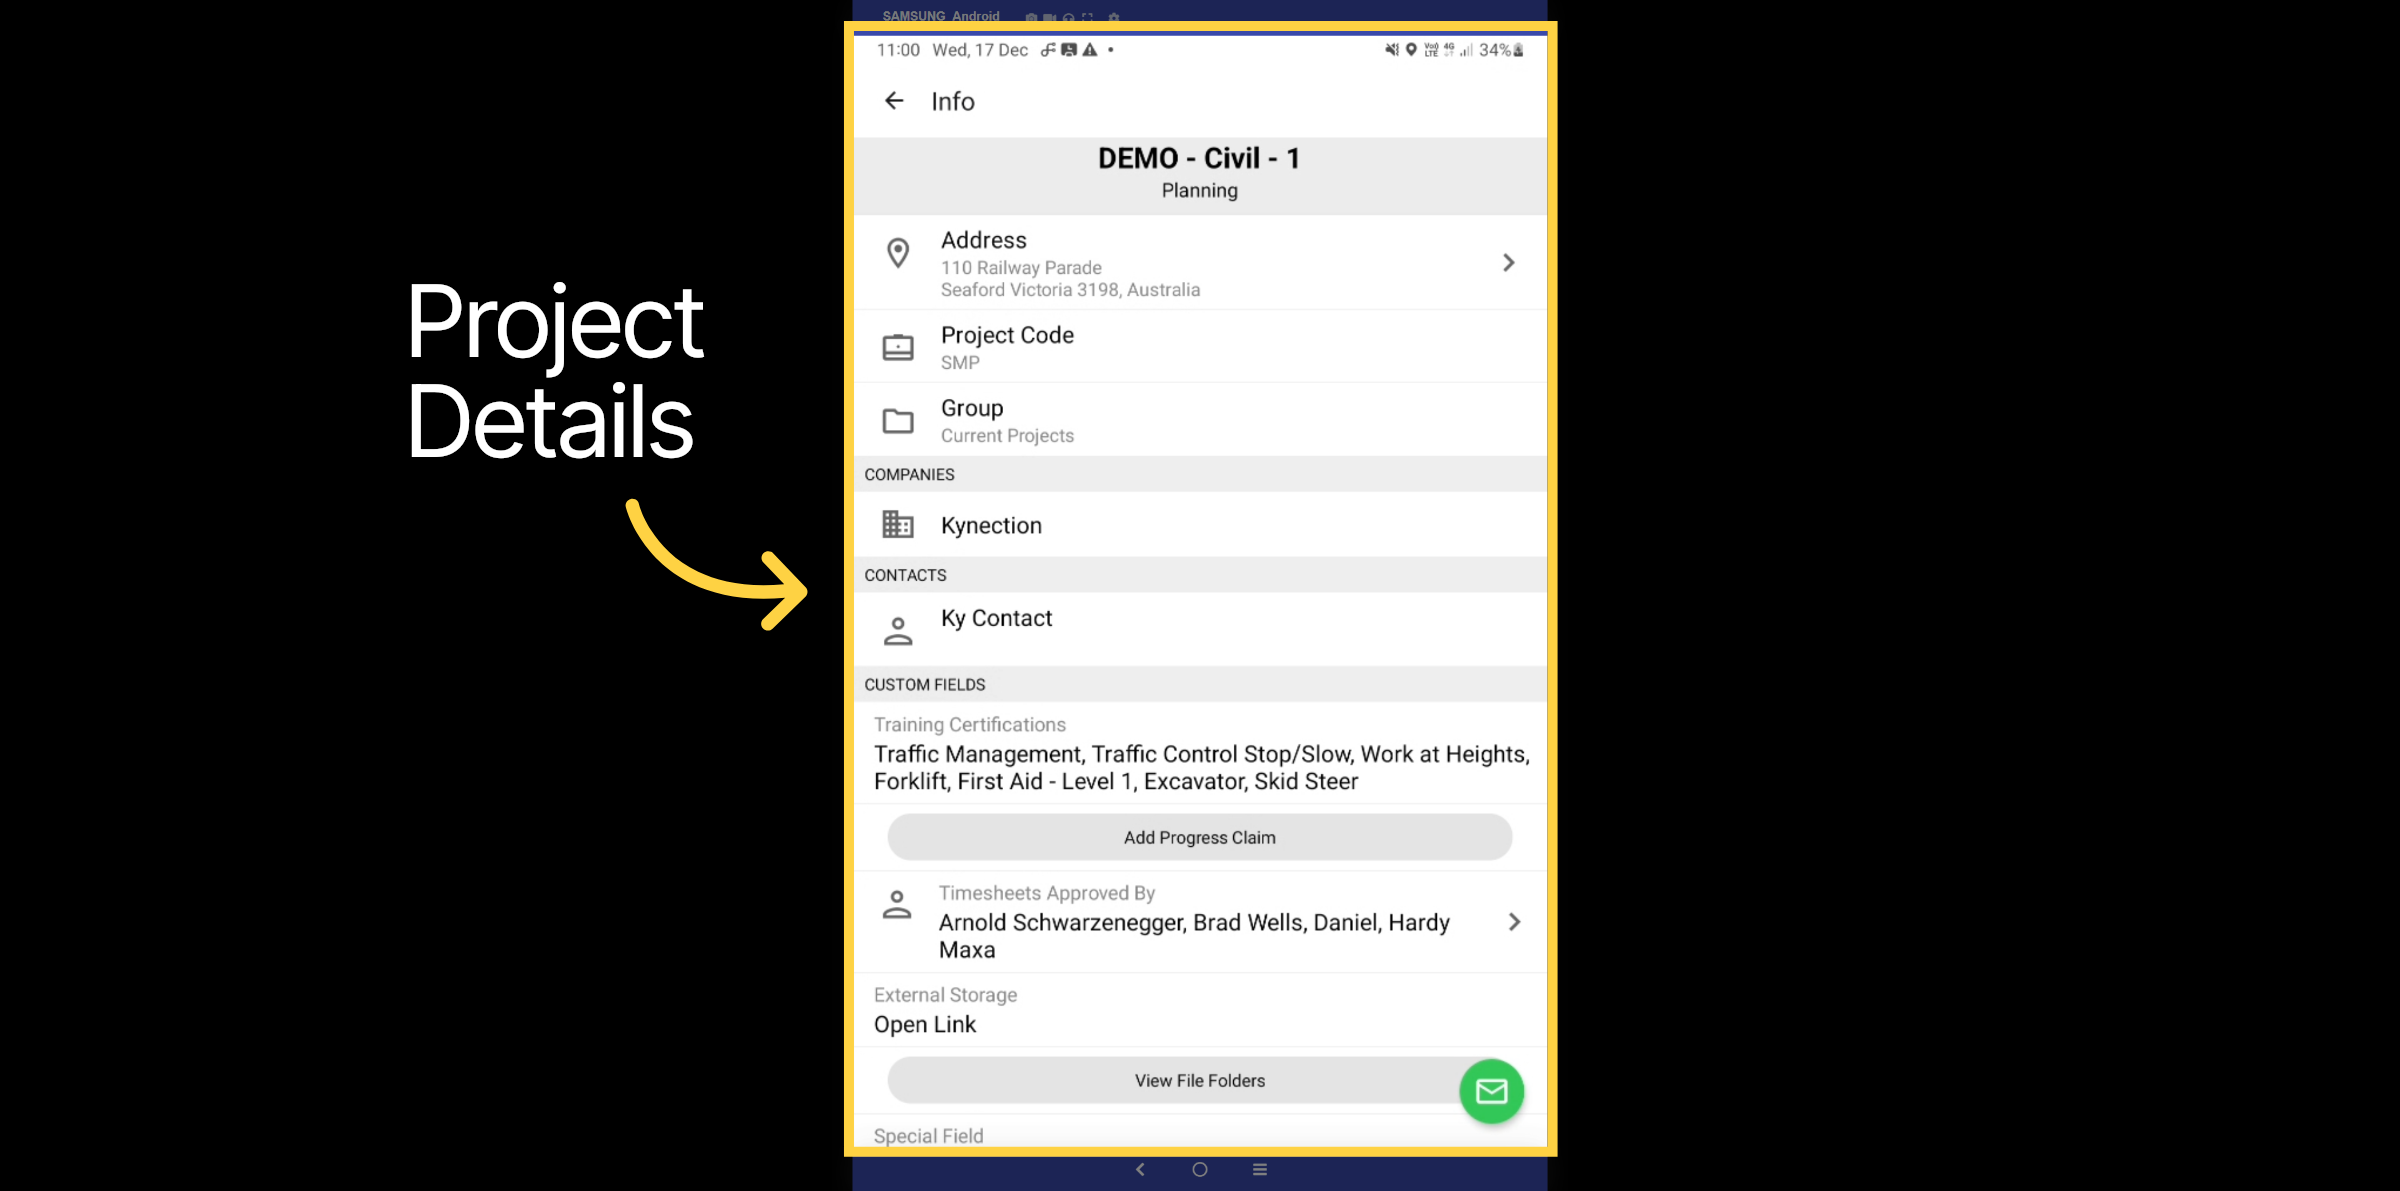
Here you can access all details related to the project, including the project code synced to the ERP system, customer information, required training certifications for project work, and the employees authorized to approve timesheets associated with the project. Additionally, you'll find hyperlinks to other data repository software and much more.
26. Project Items
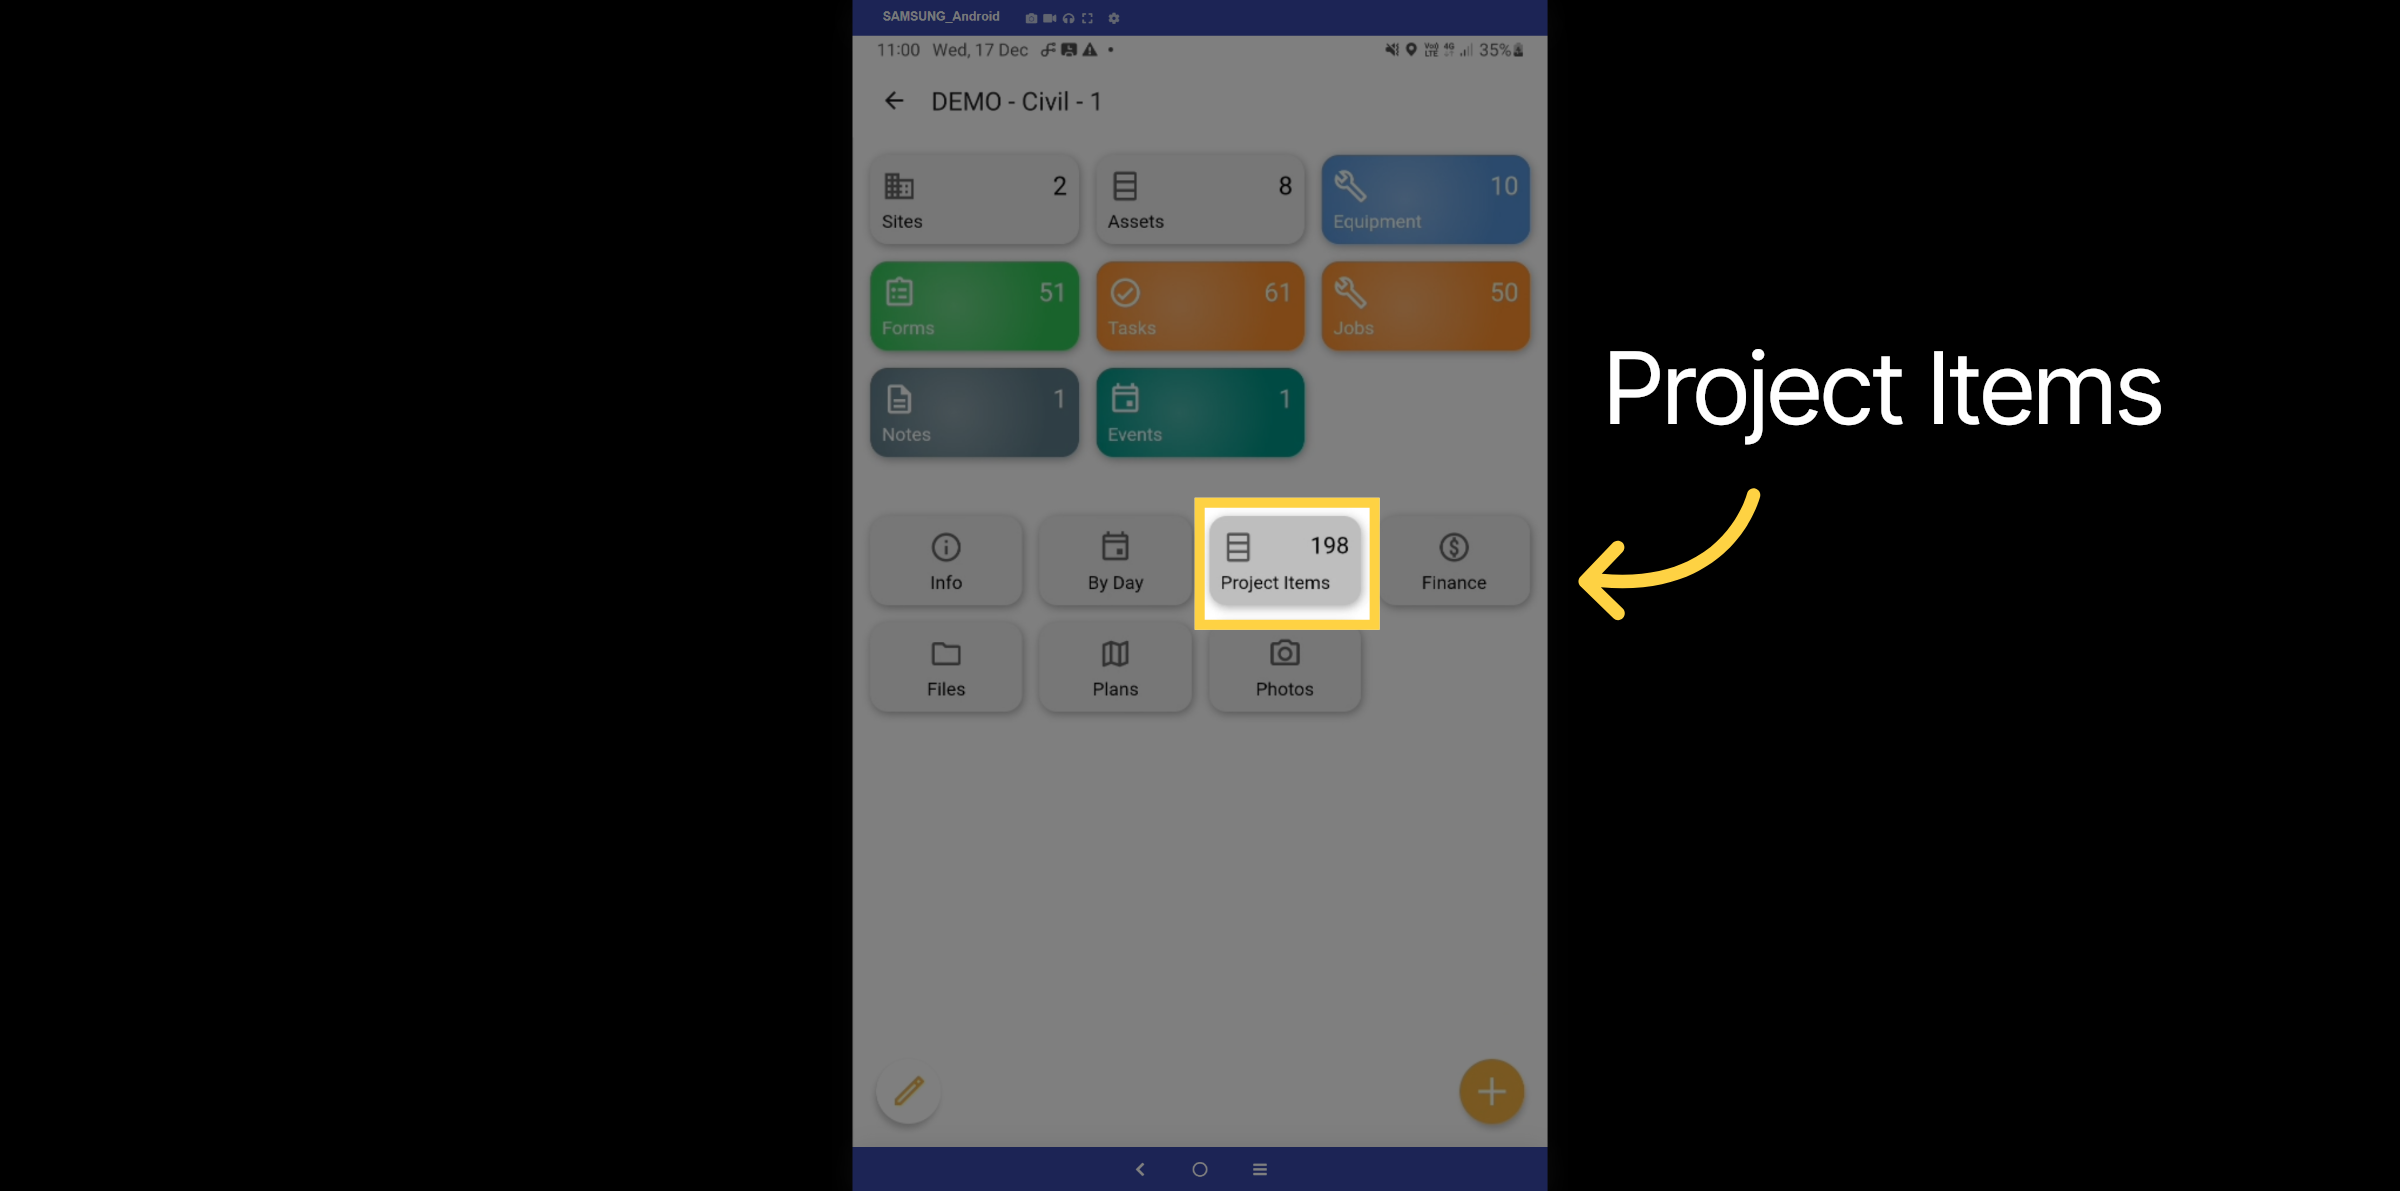
Let’s delve into the project items.
27. Project Item List
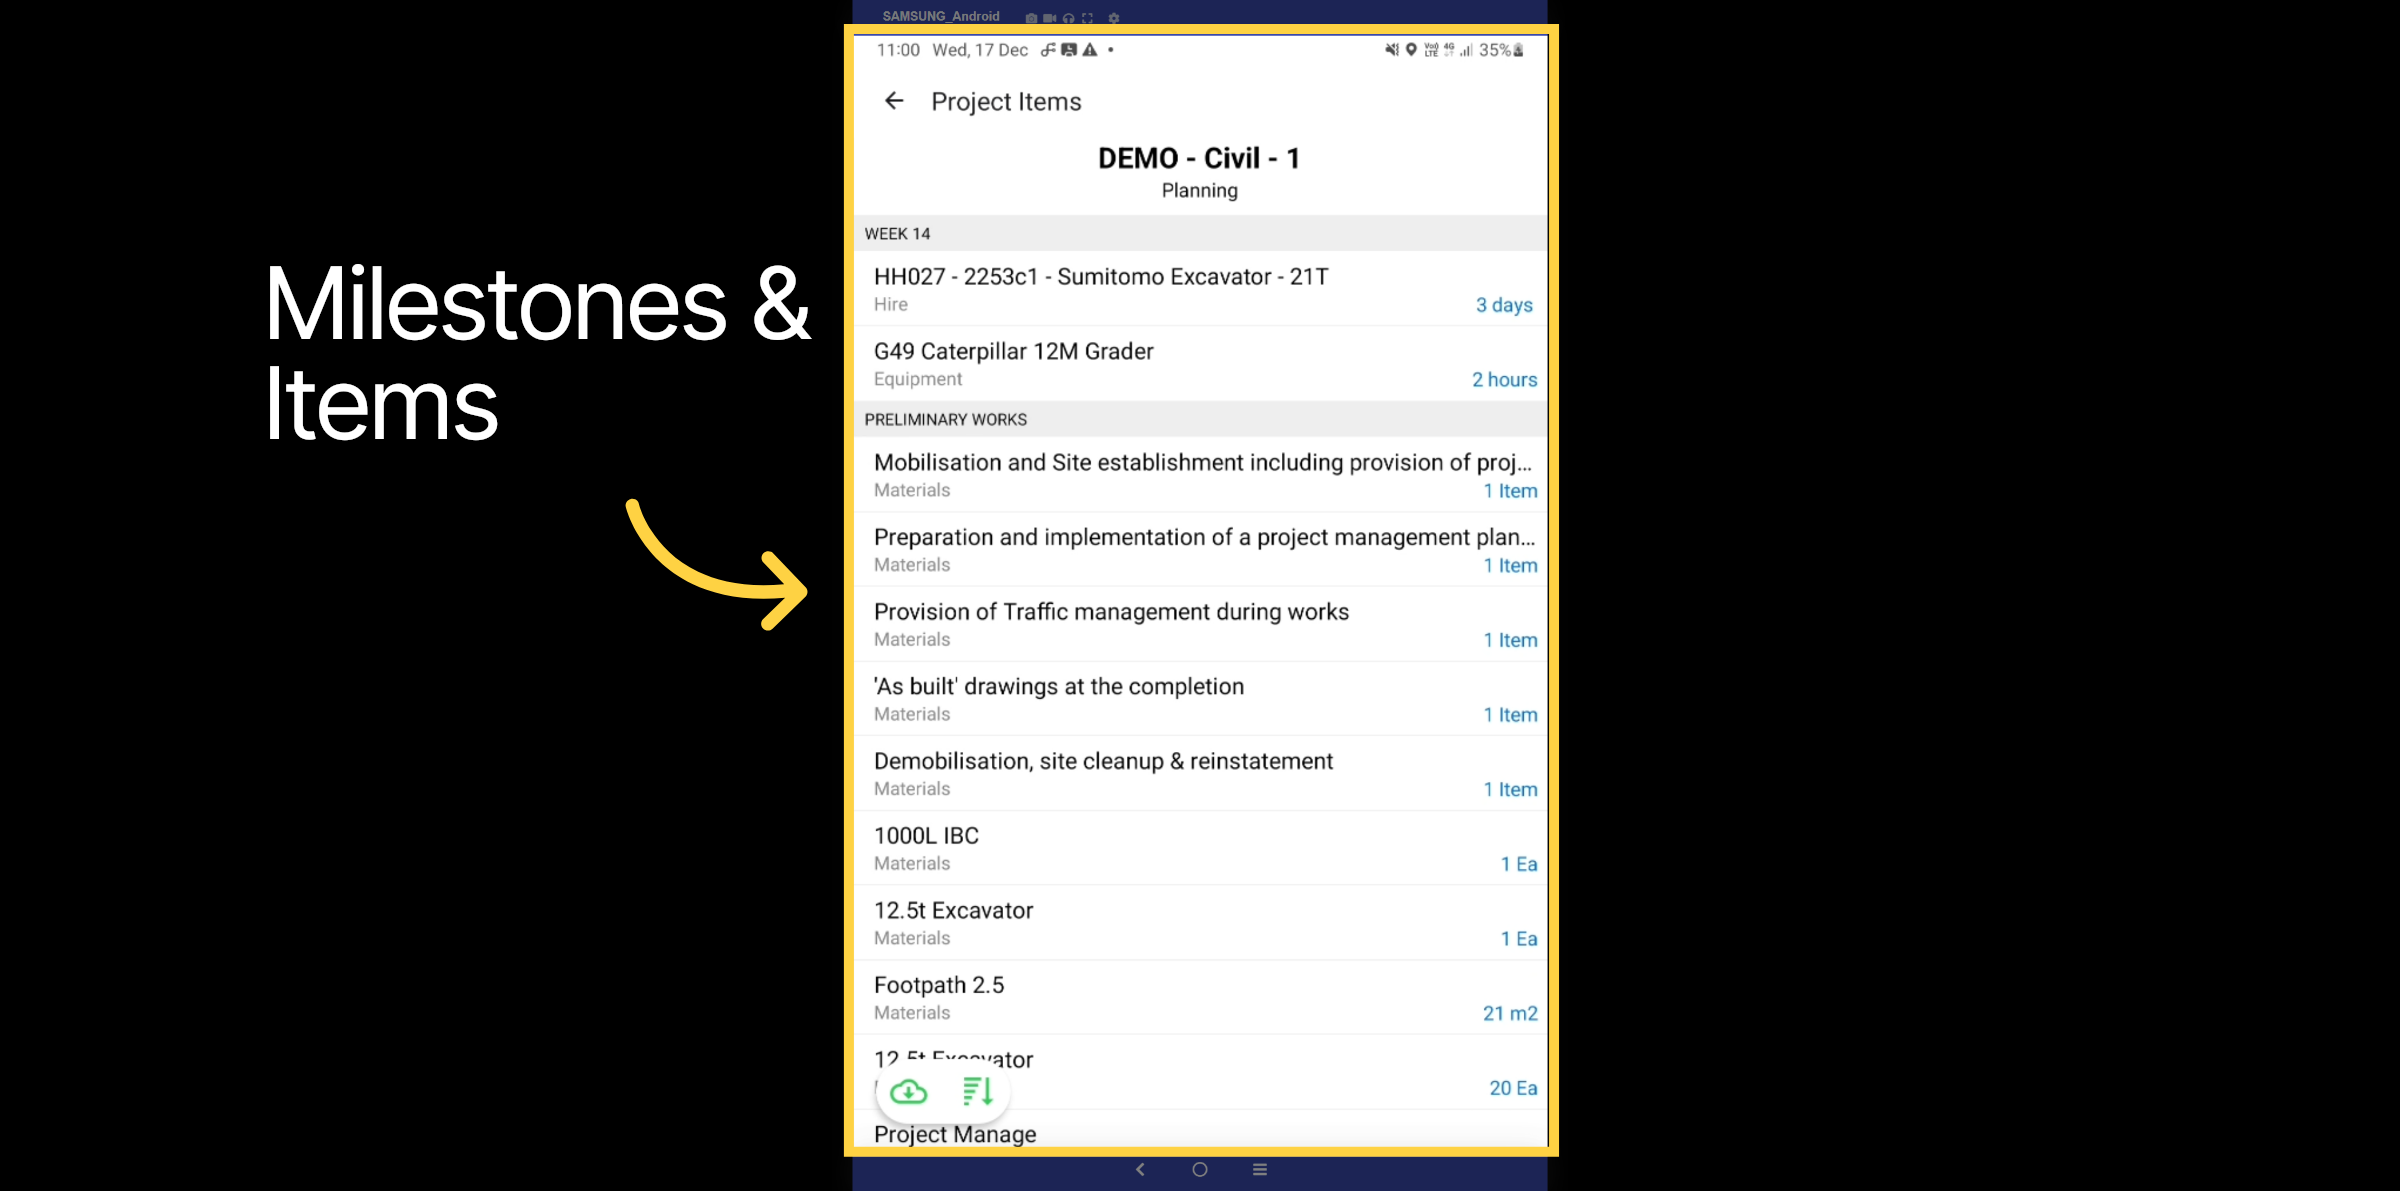
Here, you can view all milestones and items created for the projects. Let’s dive into one.
28. Milestone Example
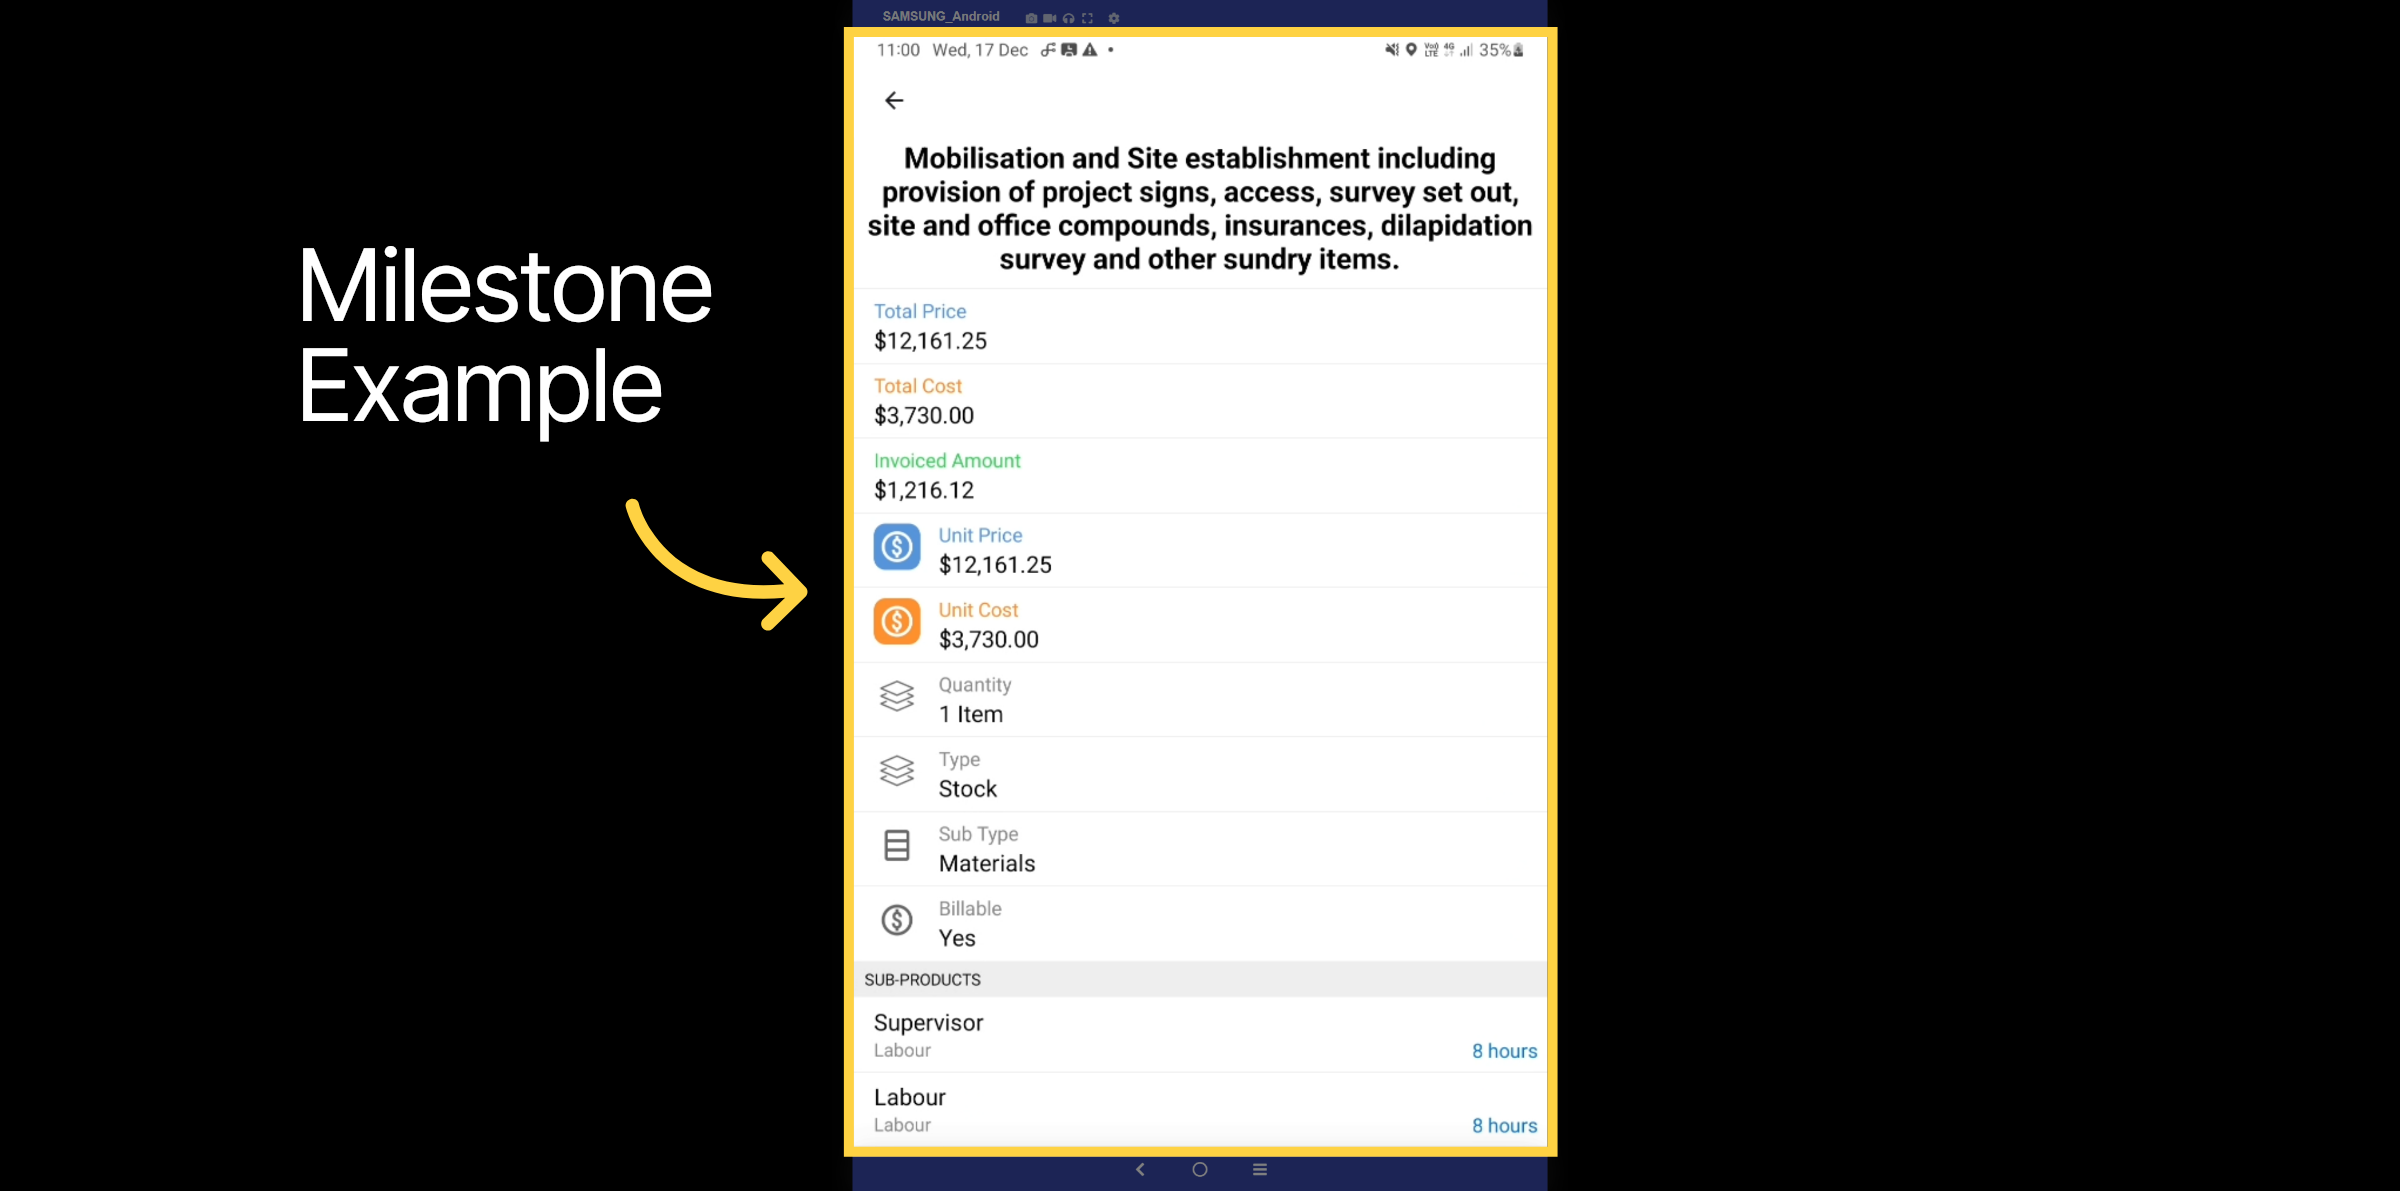
In this milestone, you can view the total budget, the total cost, and the total amount that has been invoiced. Additionally, you can explore all associated sub-type products, including labour, materials, equipment, and subcontractor expenses.
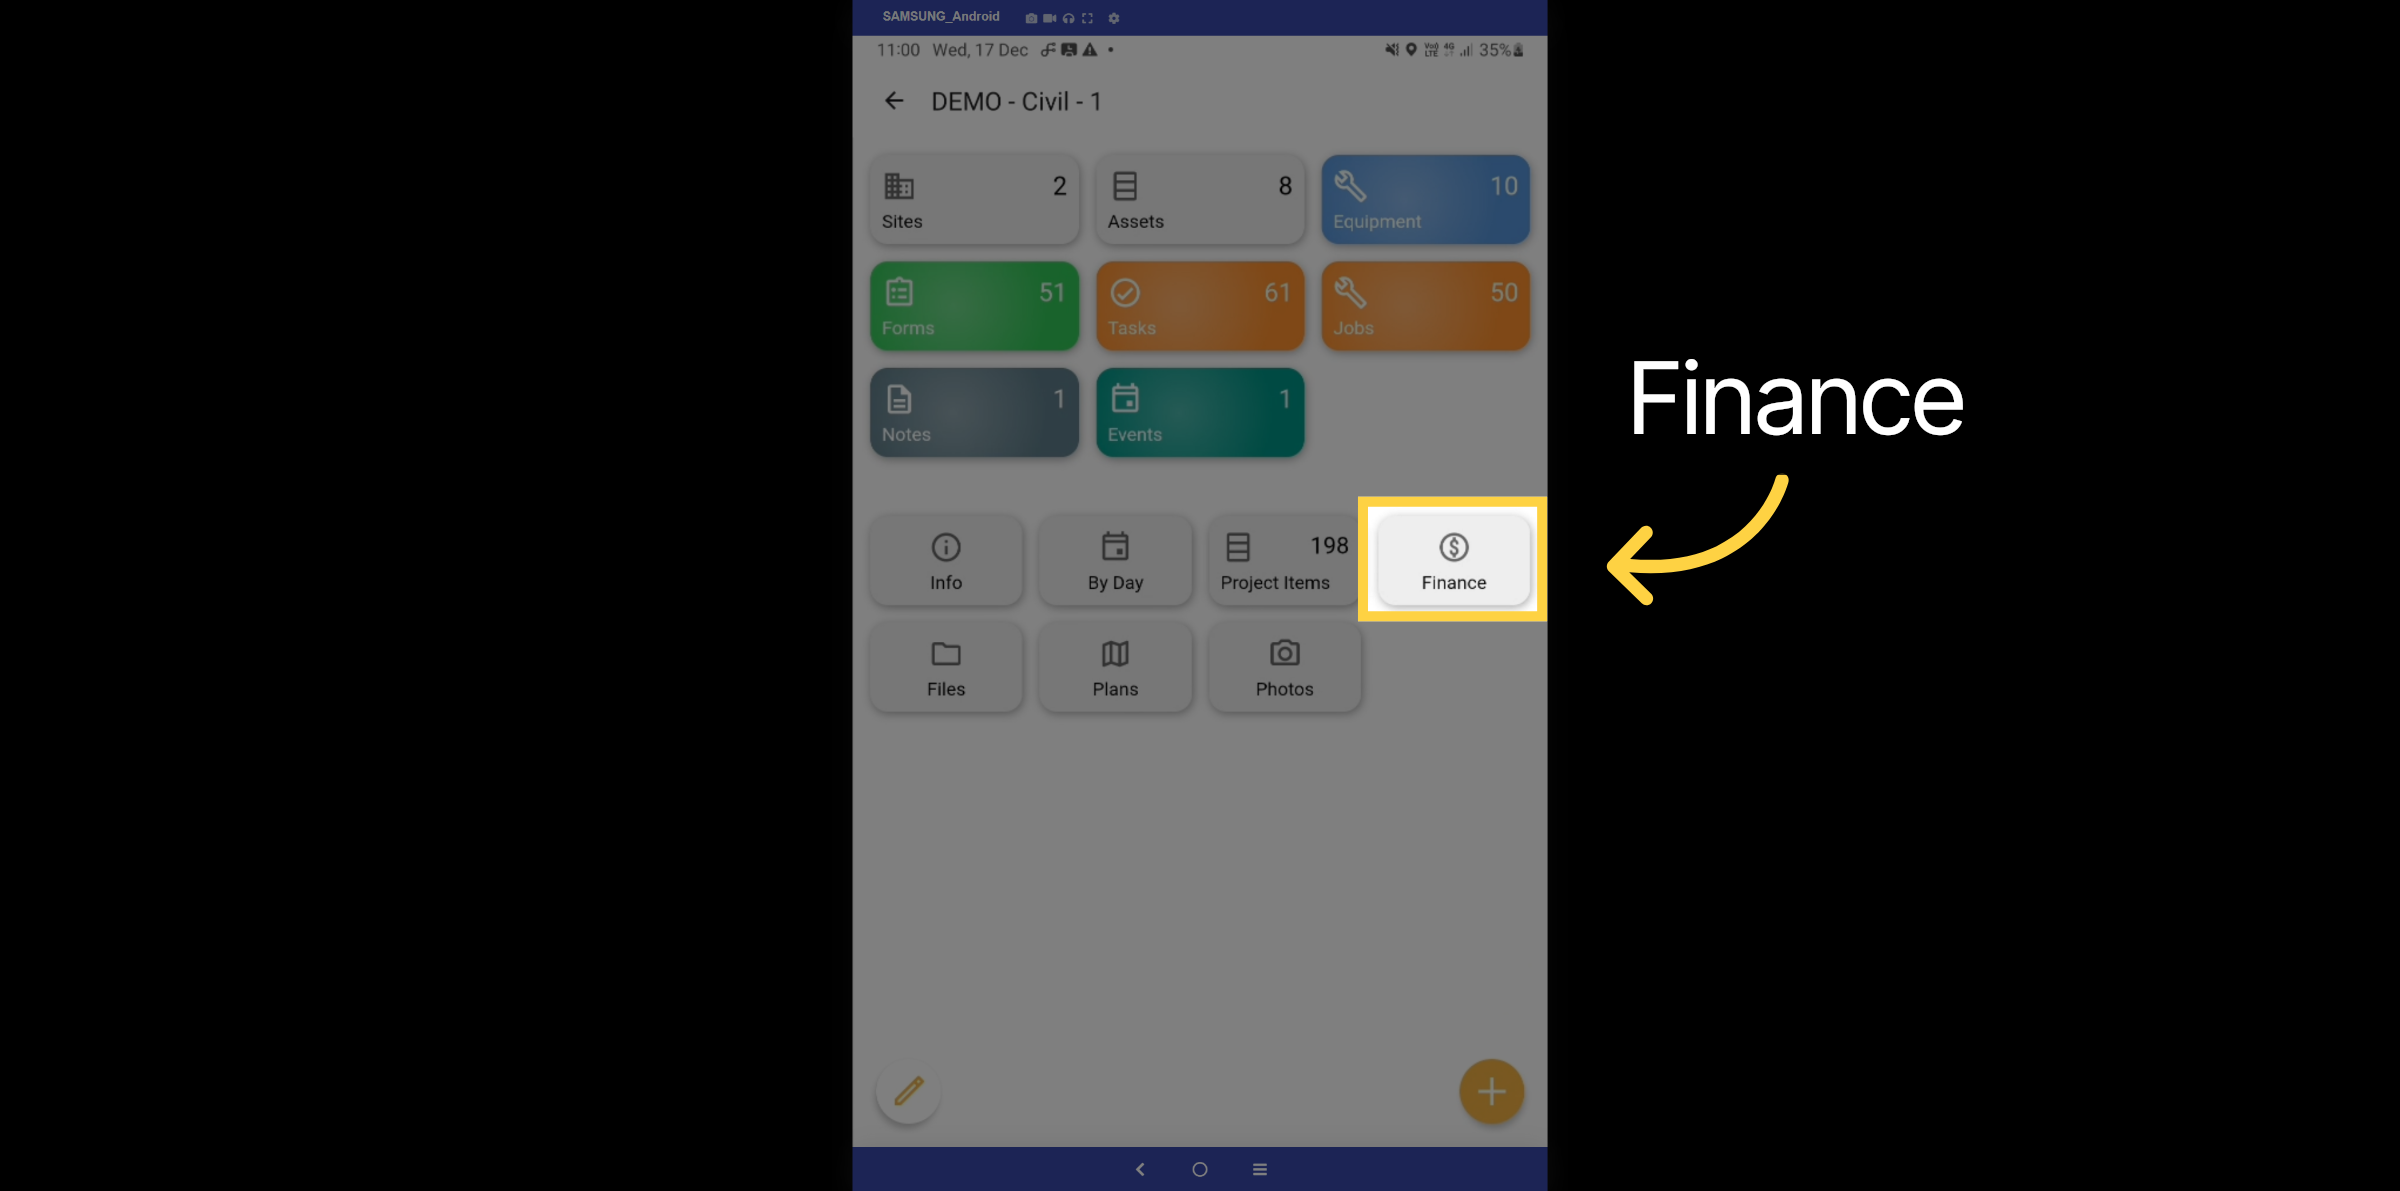
29. Finance Tab
Let's explore the Finance tab.
30. Confirm Logout
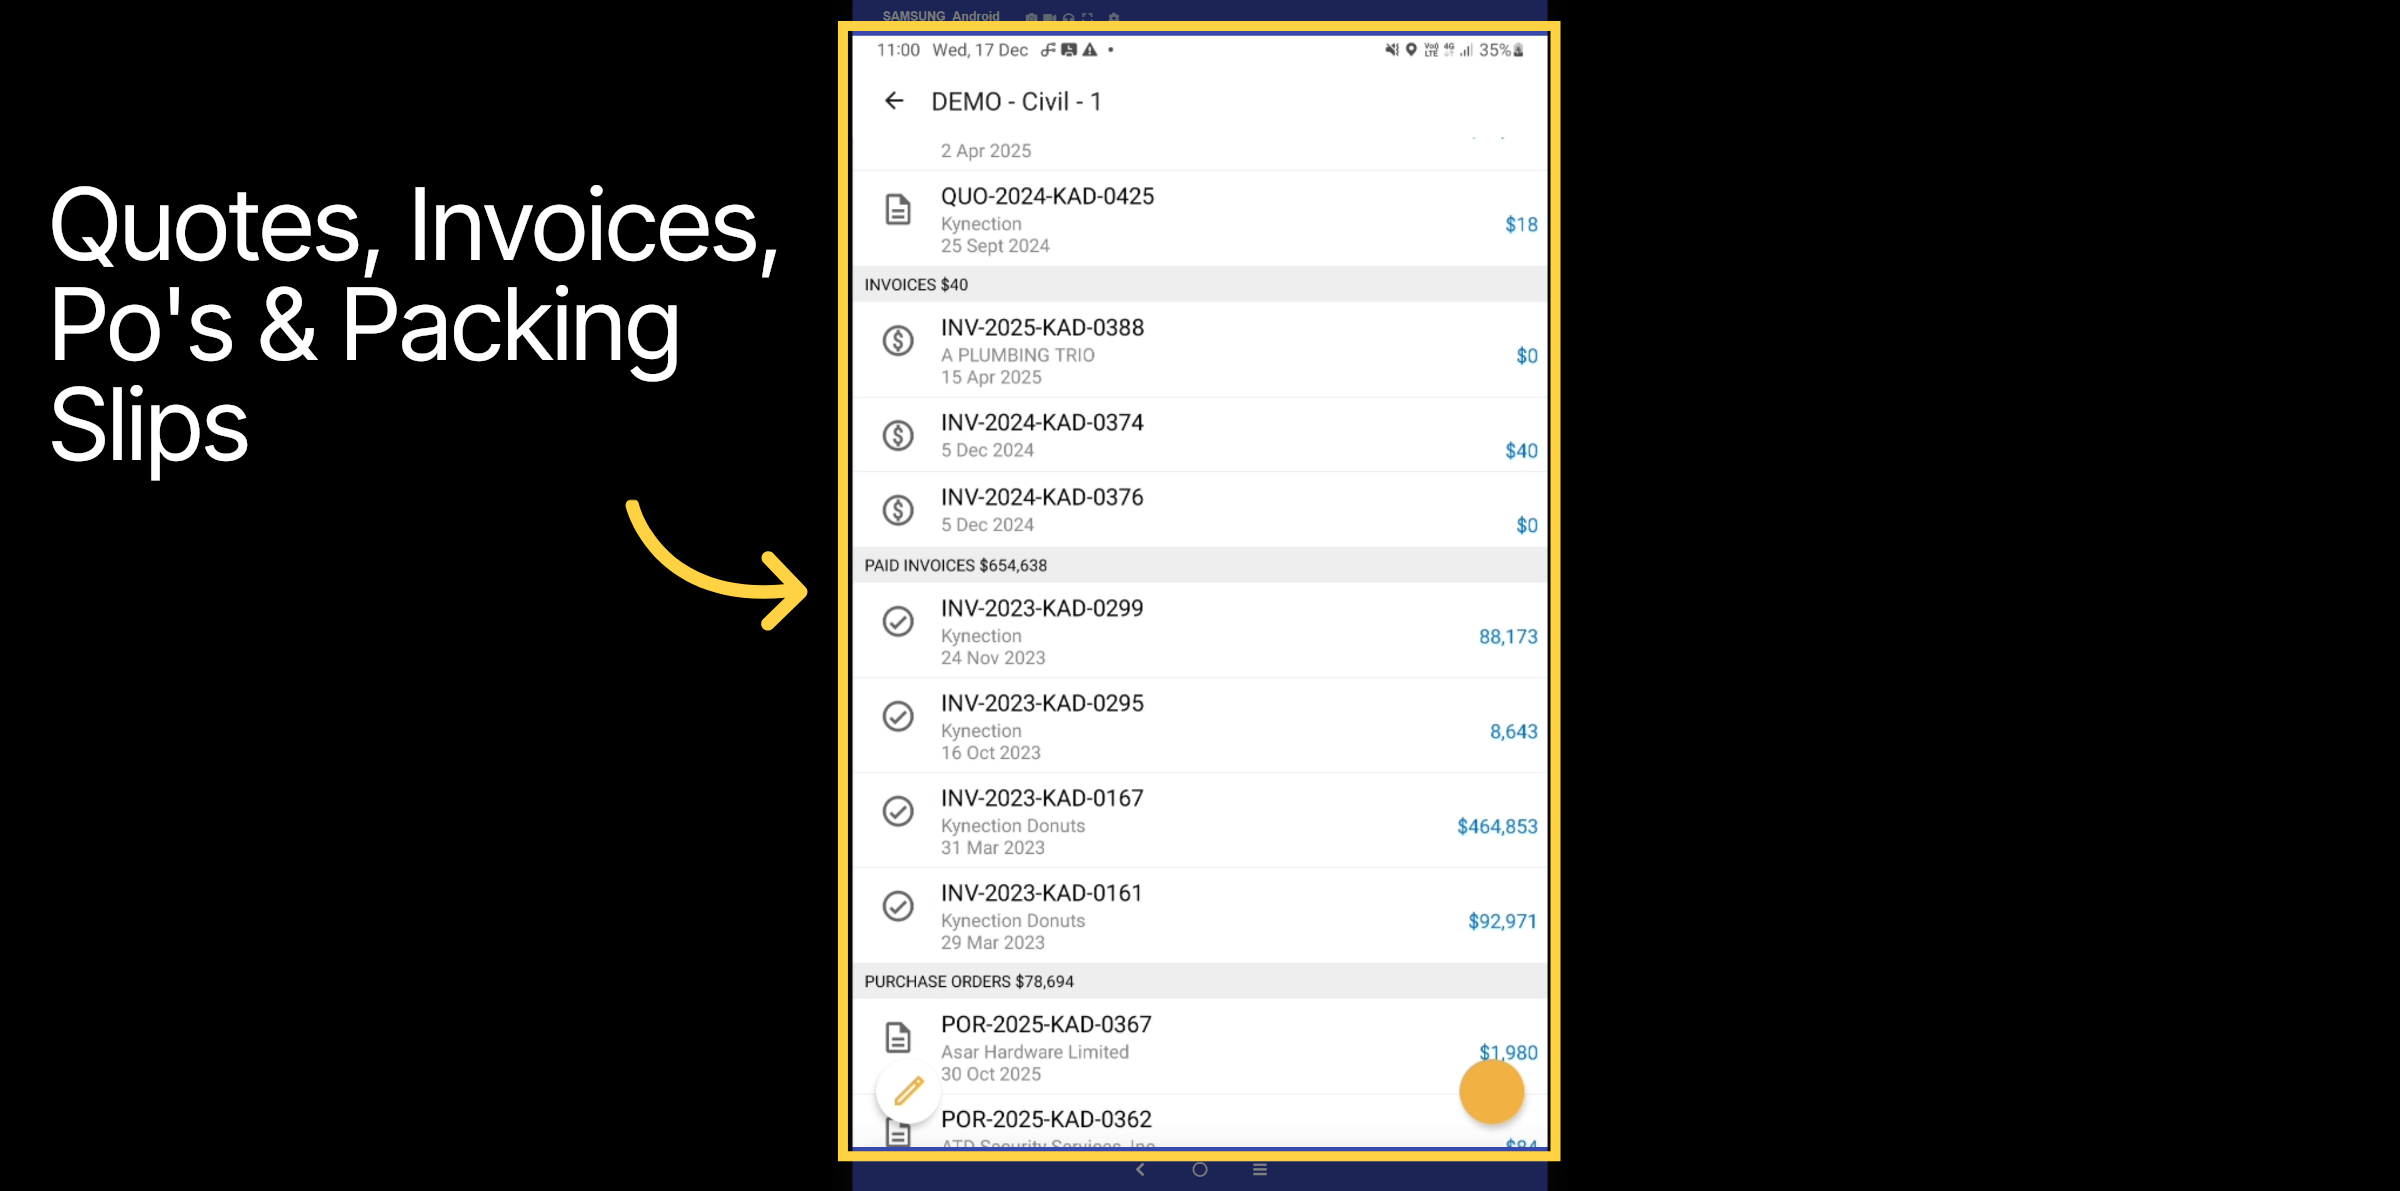
Here is a comprehensive list of all quotes, invoices, paid invoices, purchase orders, purchase order receipts, and packing slips associated with the project.
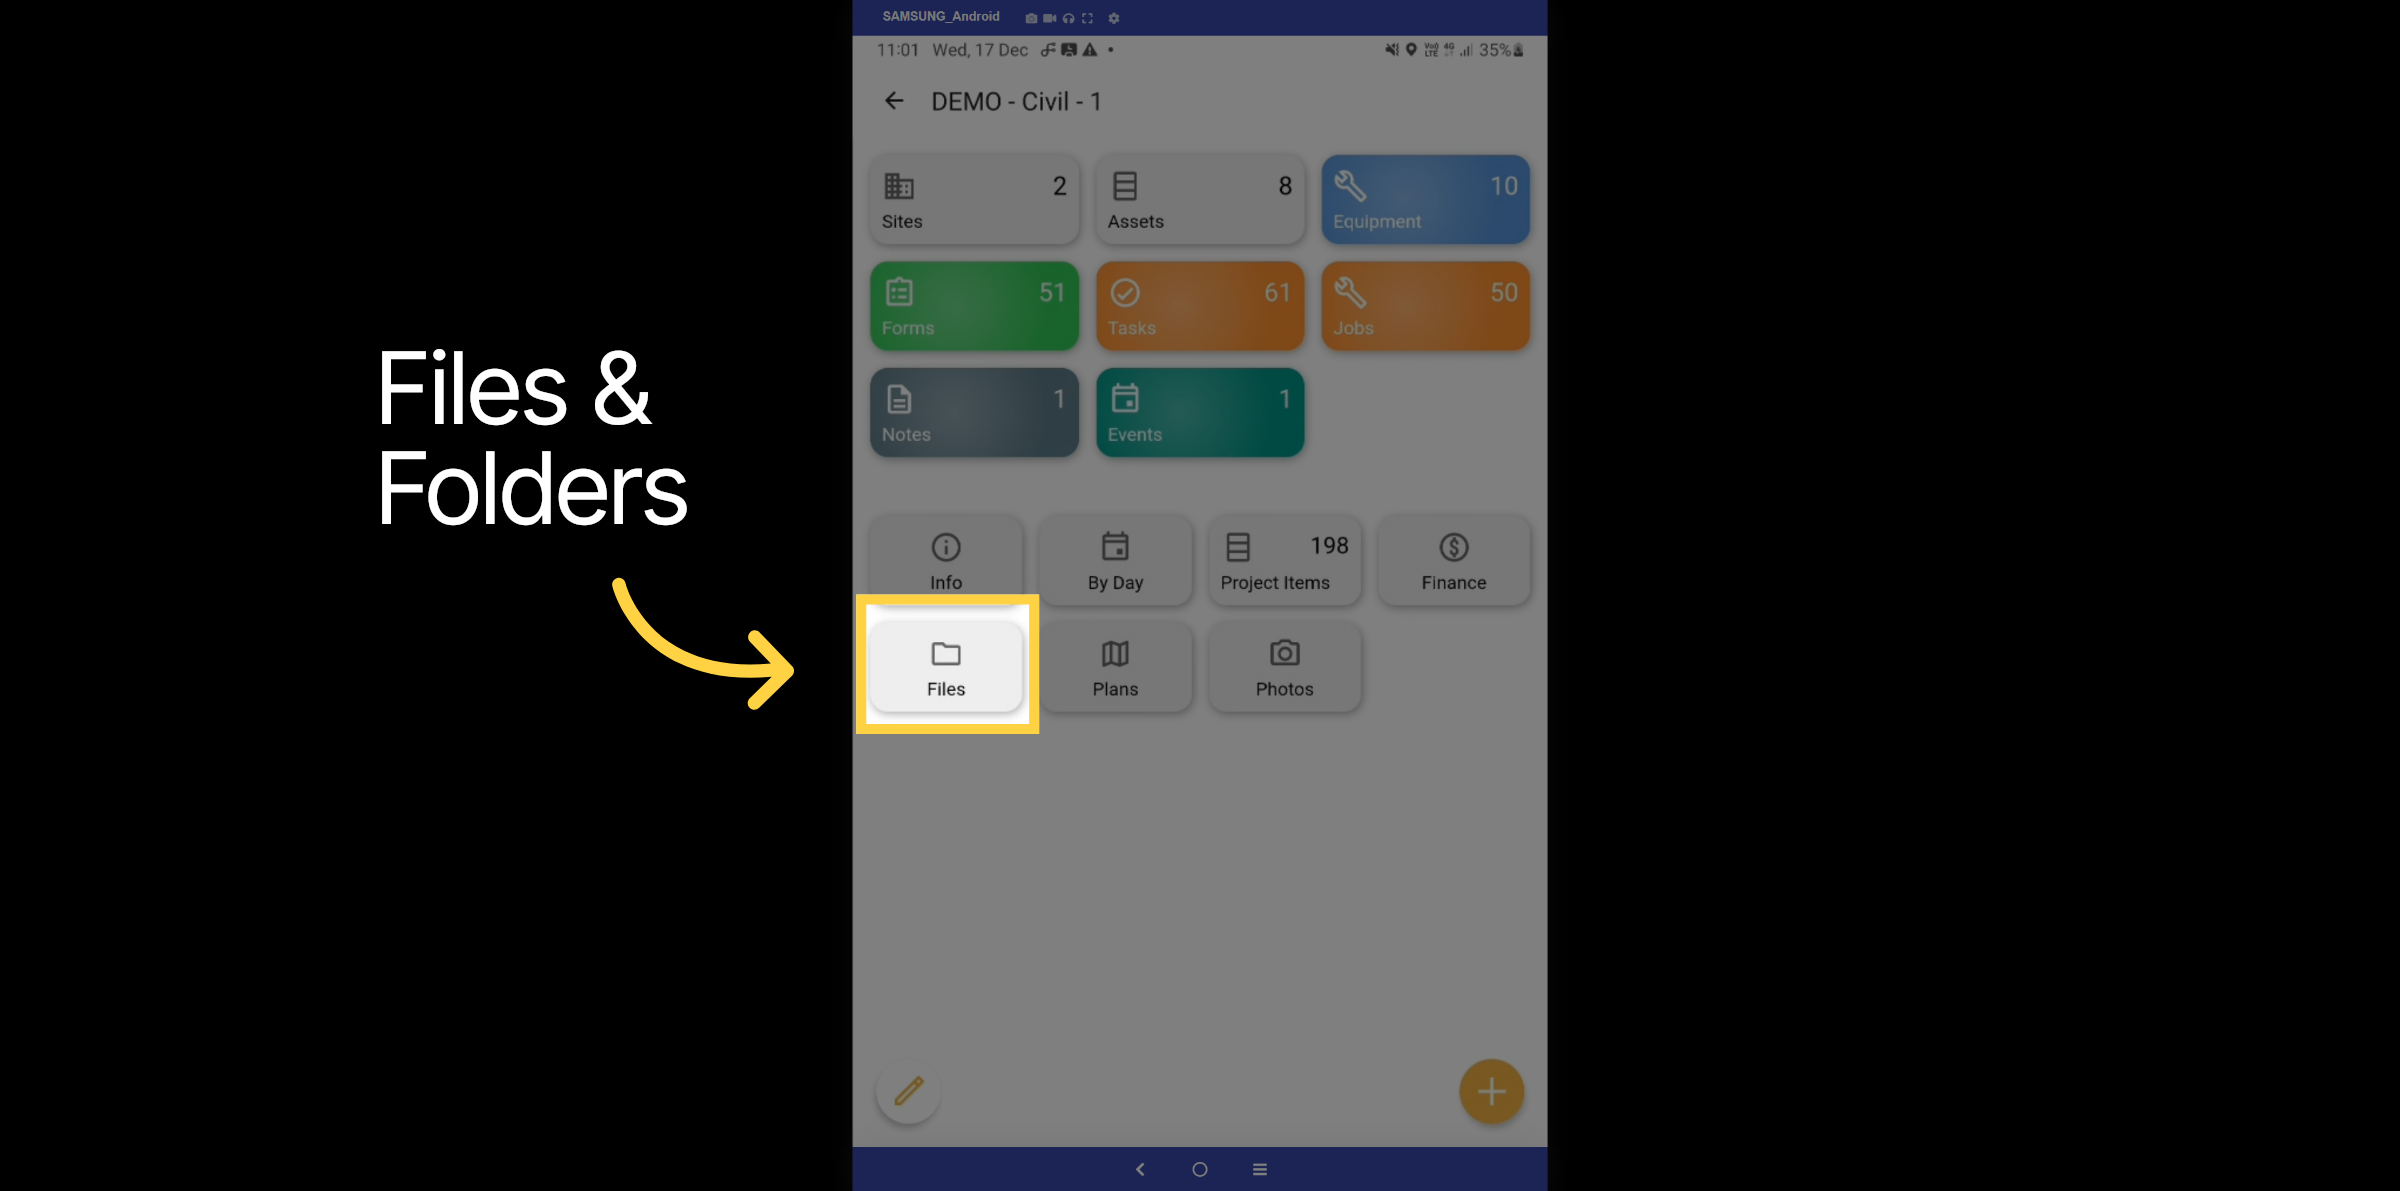
31. Files & Folders
Let's explore the Files and Folders tab.
32. Files & Folders List
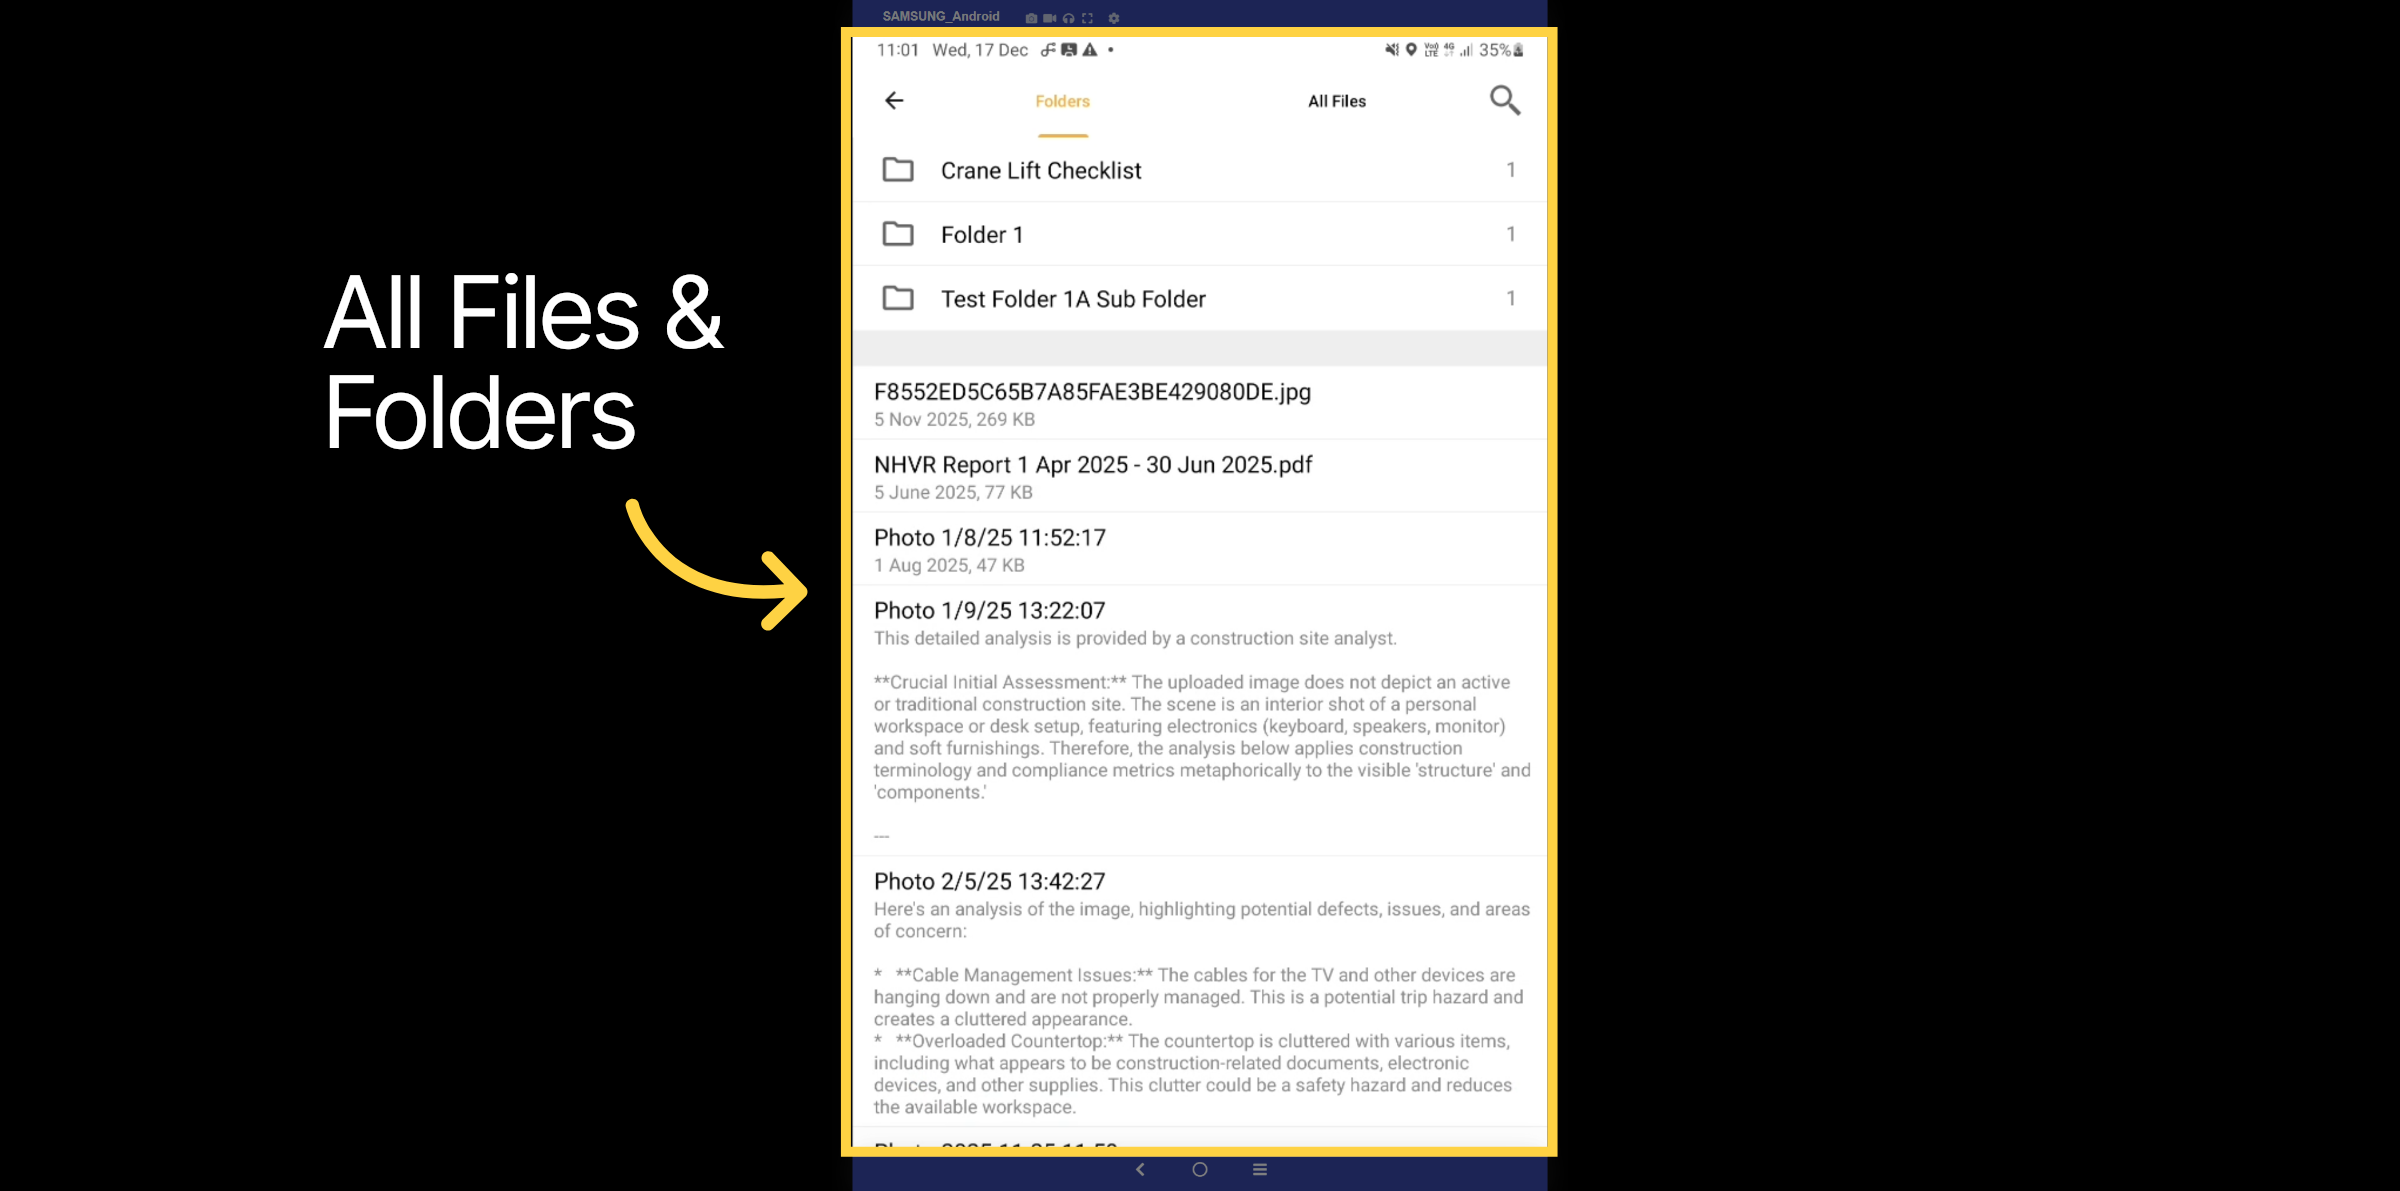
Here is a comprehensive list of all files and folders associated with the project.
33. Plans & Blueprints
Let's take a look at the Plans & Blueprints tab.
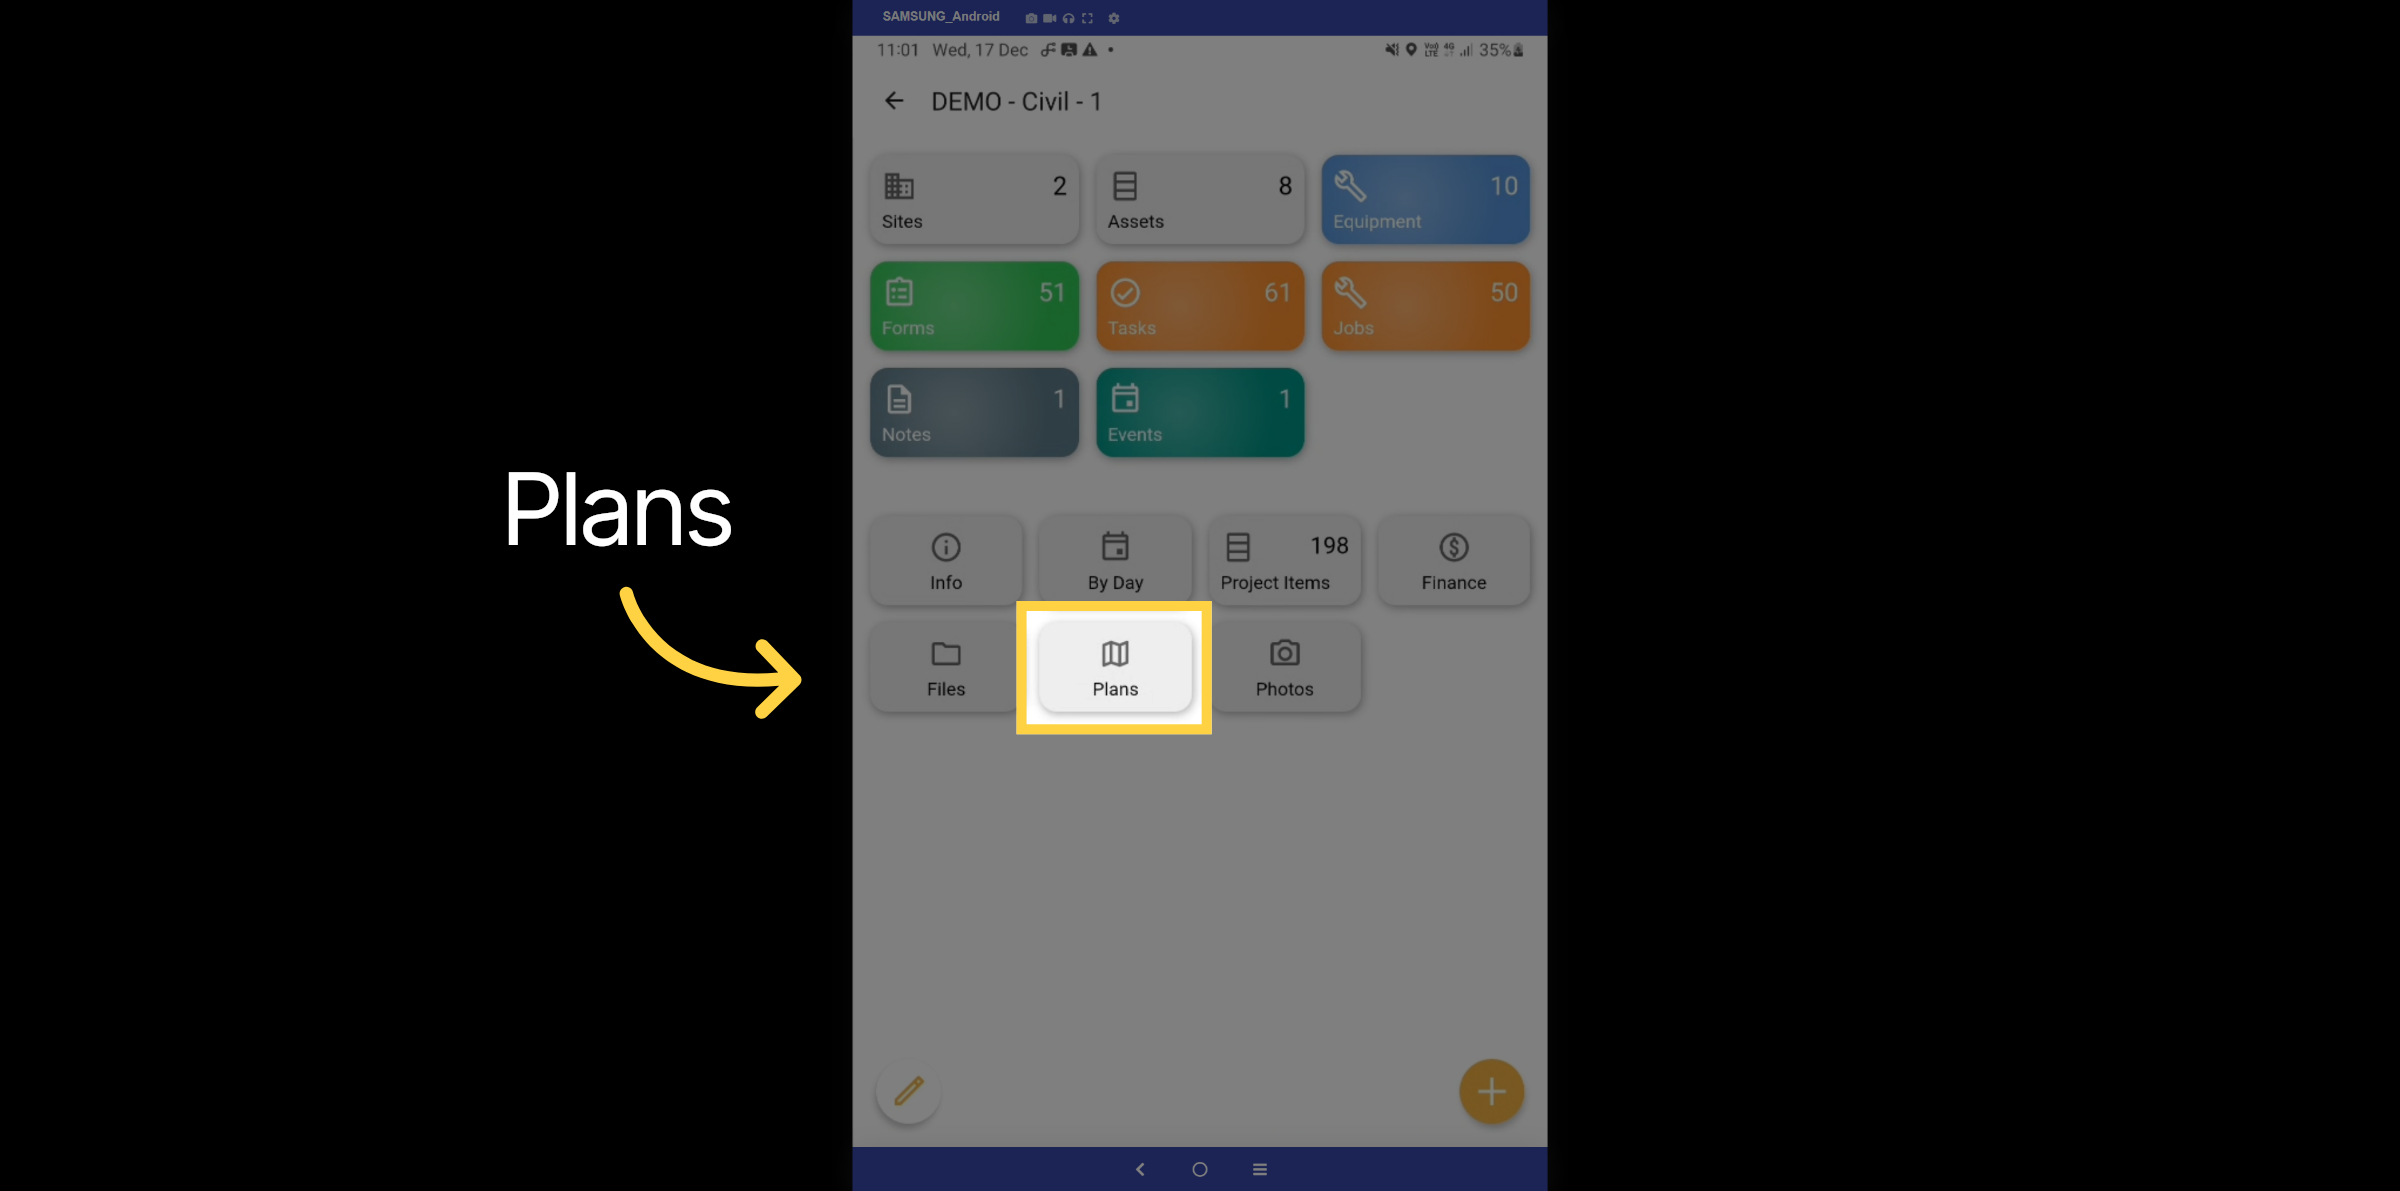
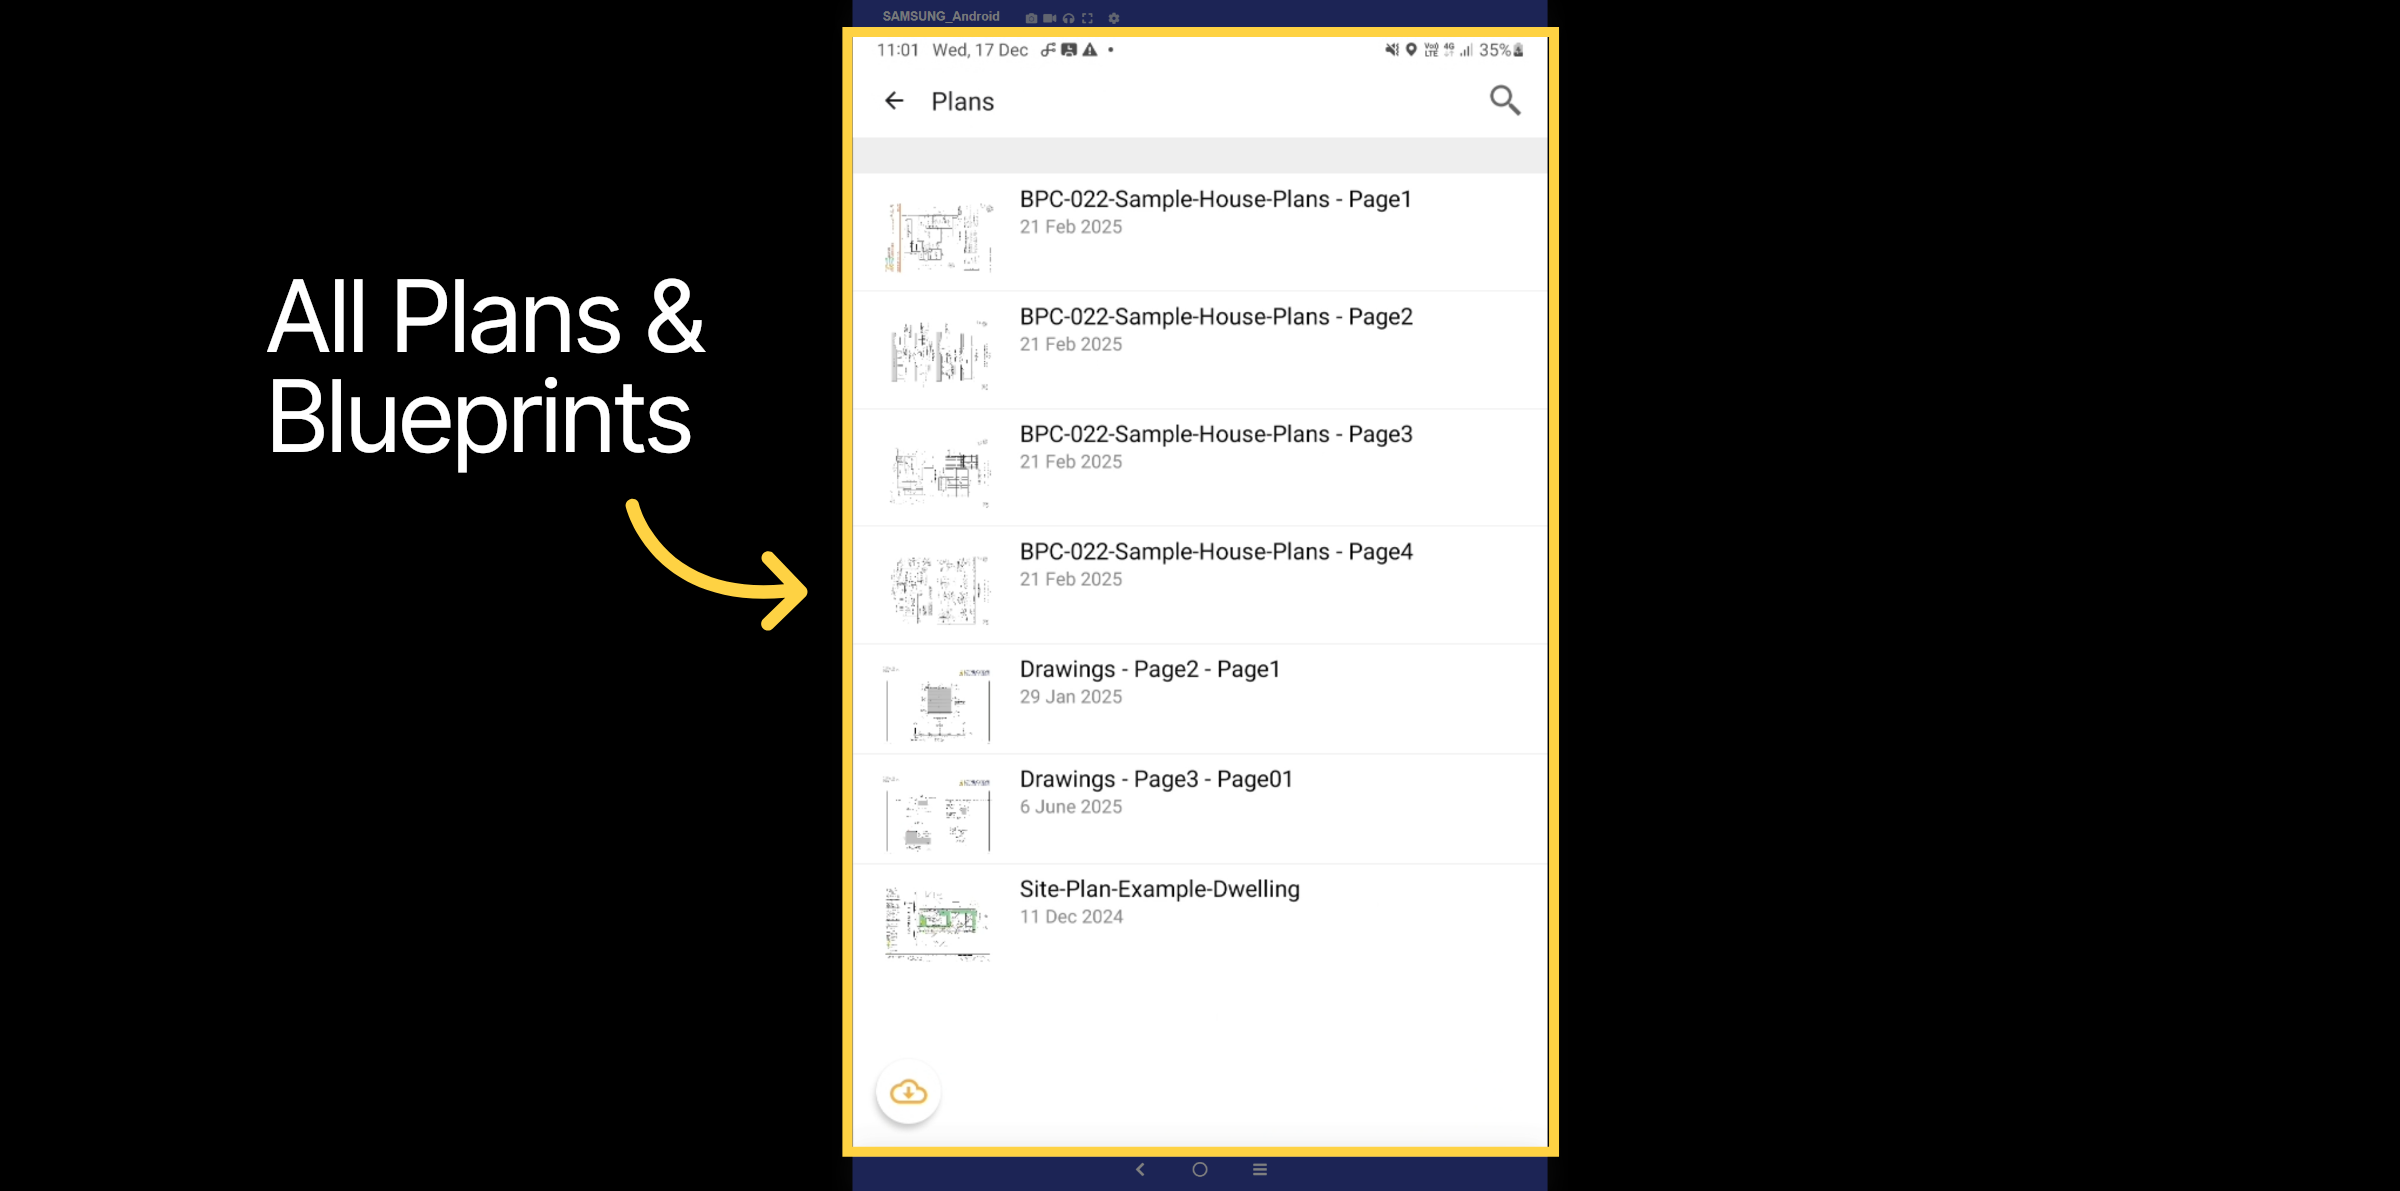
34. Plans List
Here is a list of all plans that have been uploaded for the project.
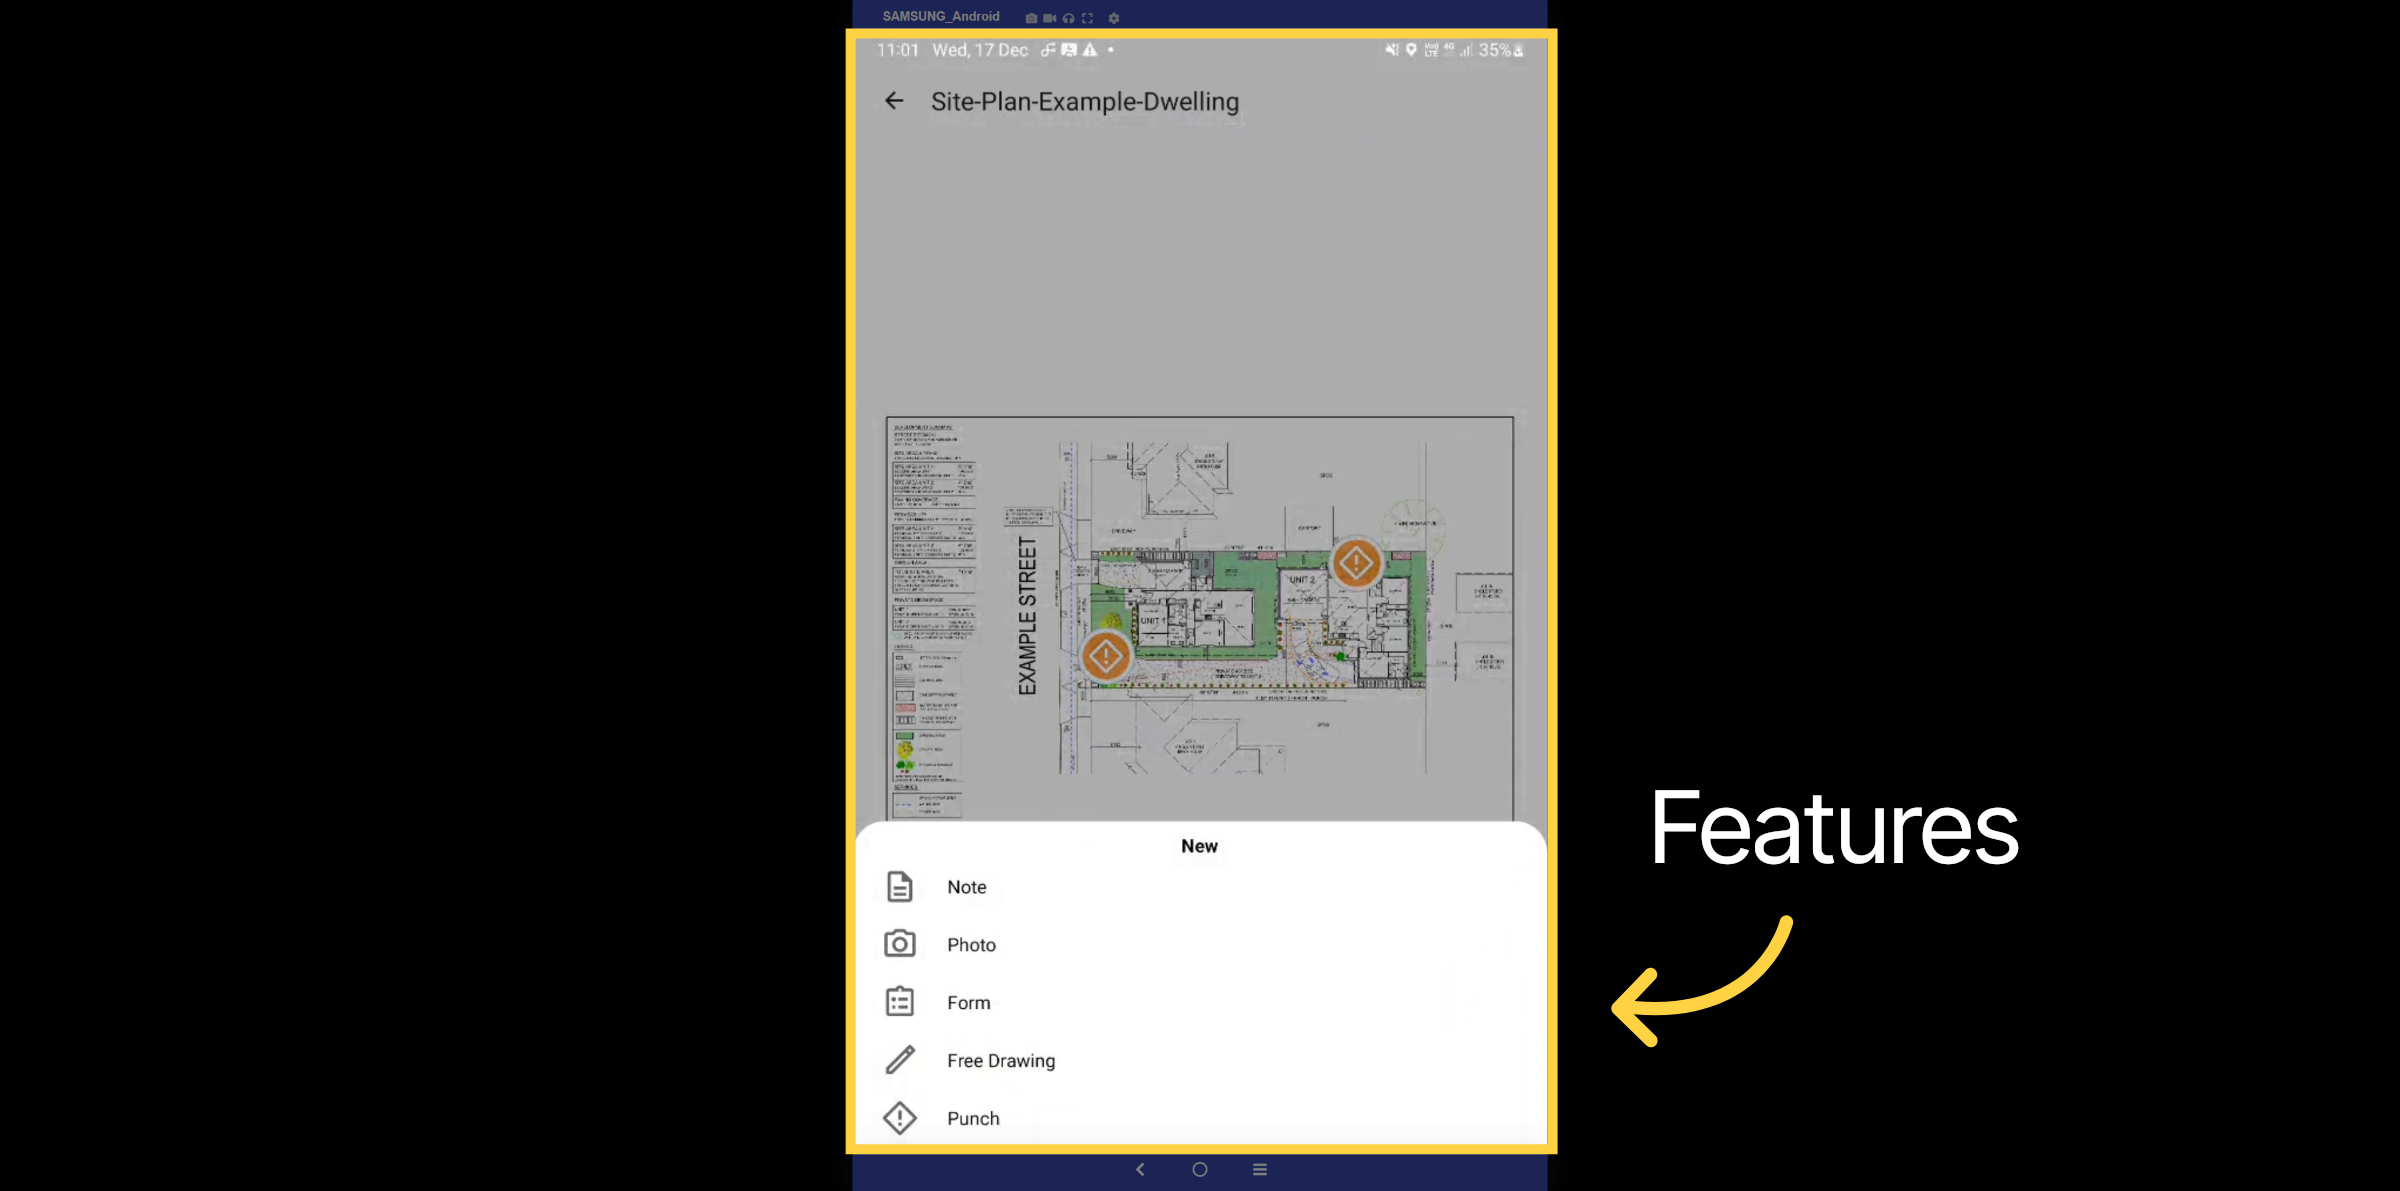
35. Features
By clicking on the plus icon on a plan, you can add notes, take photos, create forms, free-draw, and generate punch items directly on the plan or blueprint.
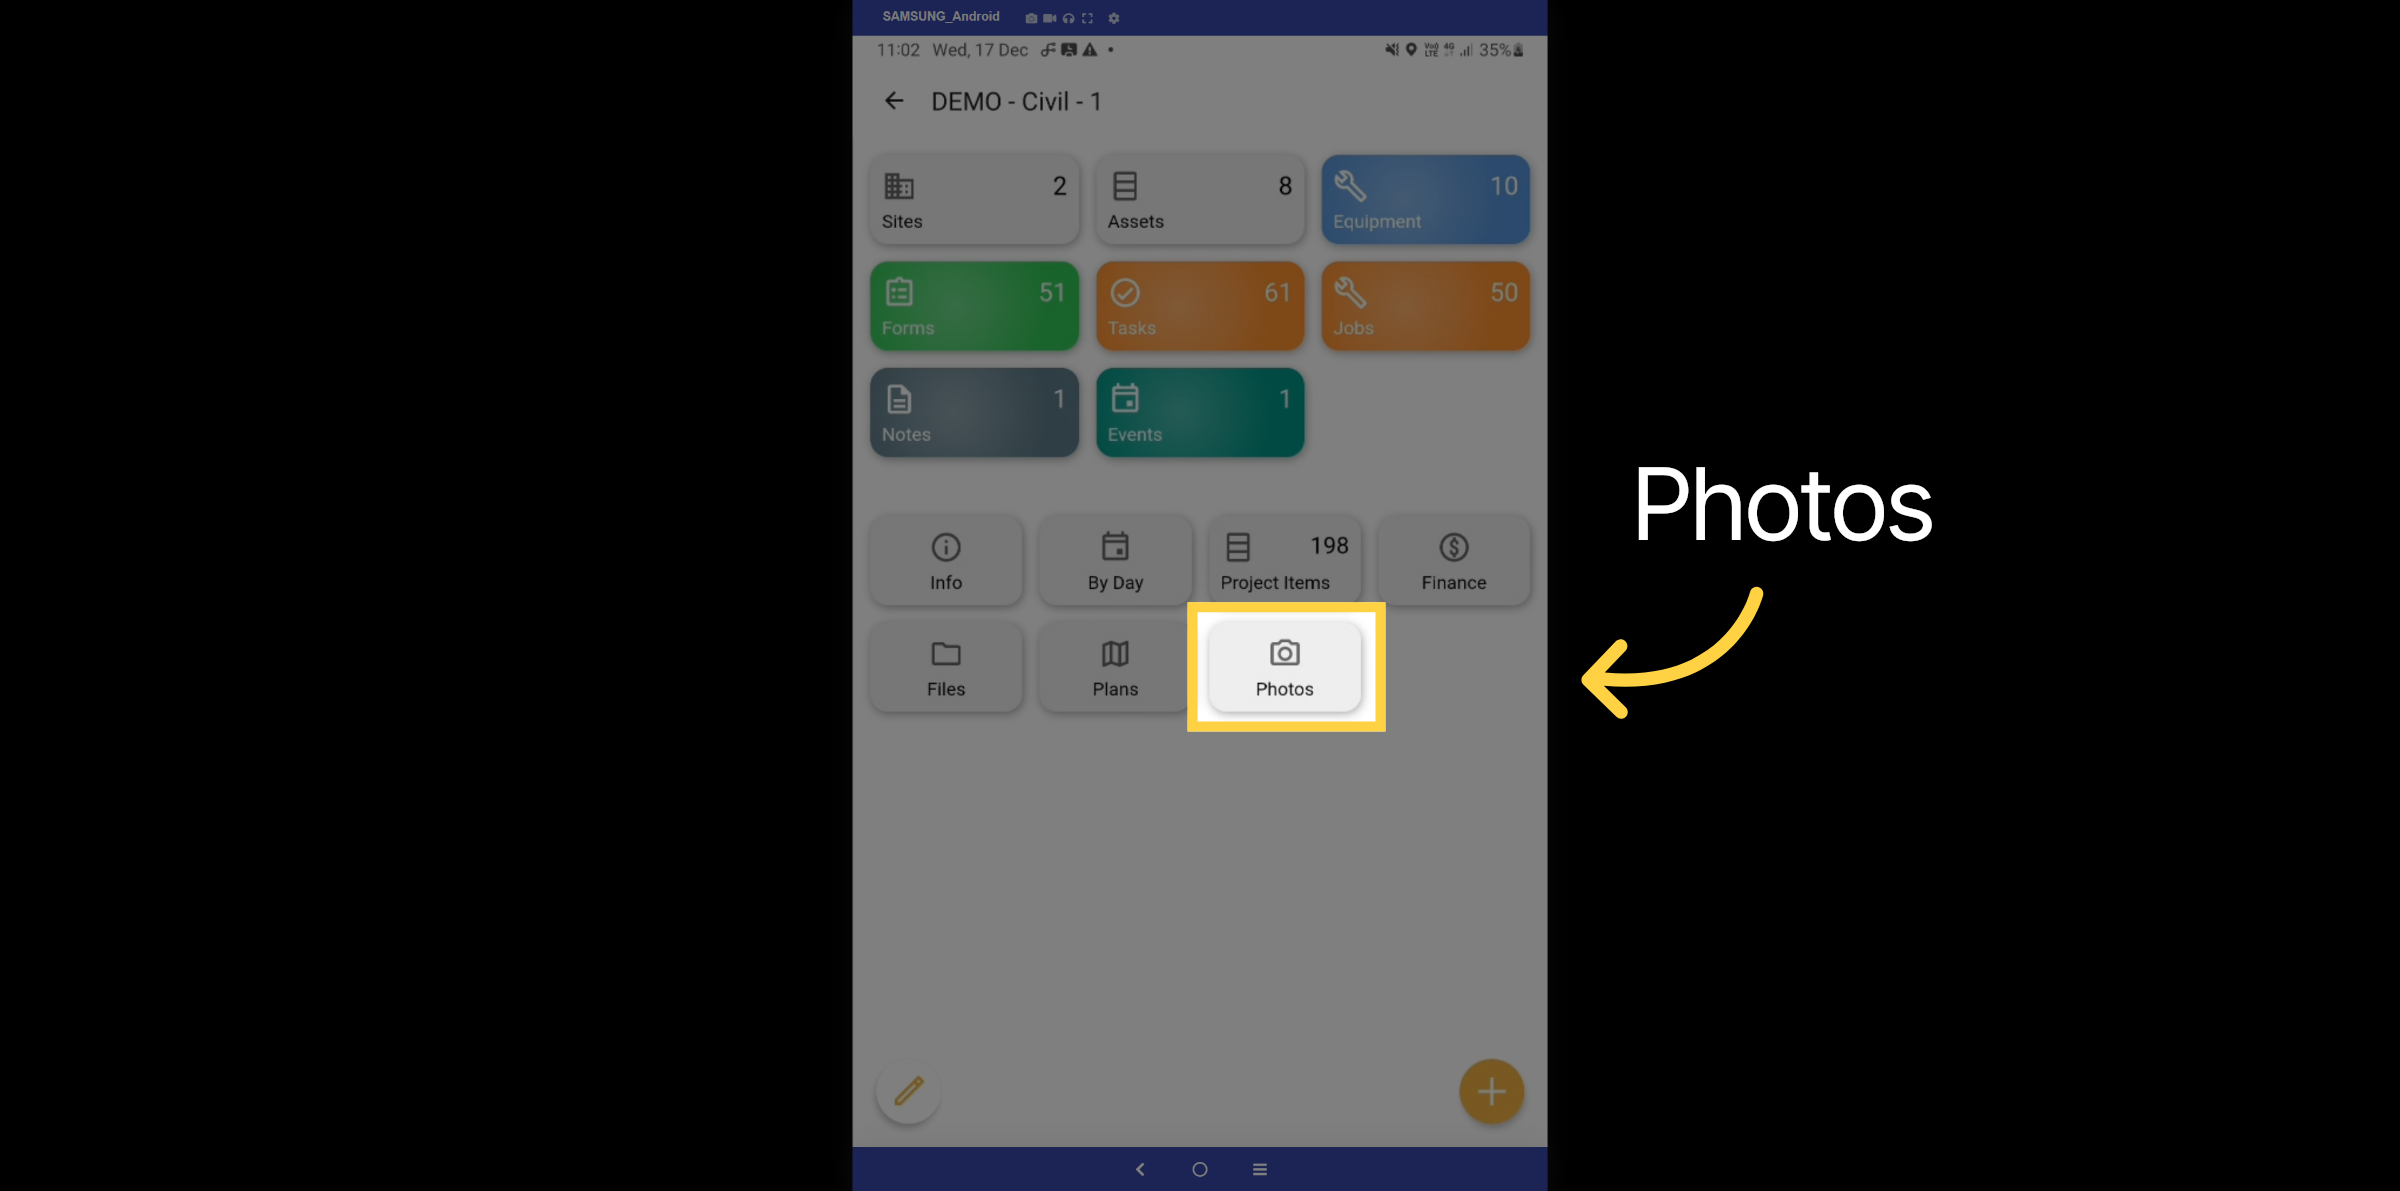
36. Photos Tab
Let's explore the Photos tab.
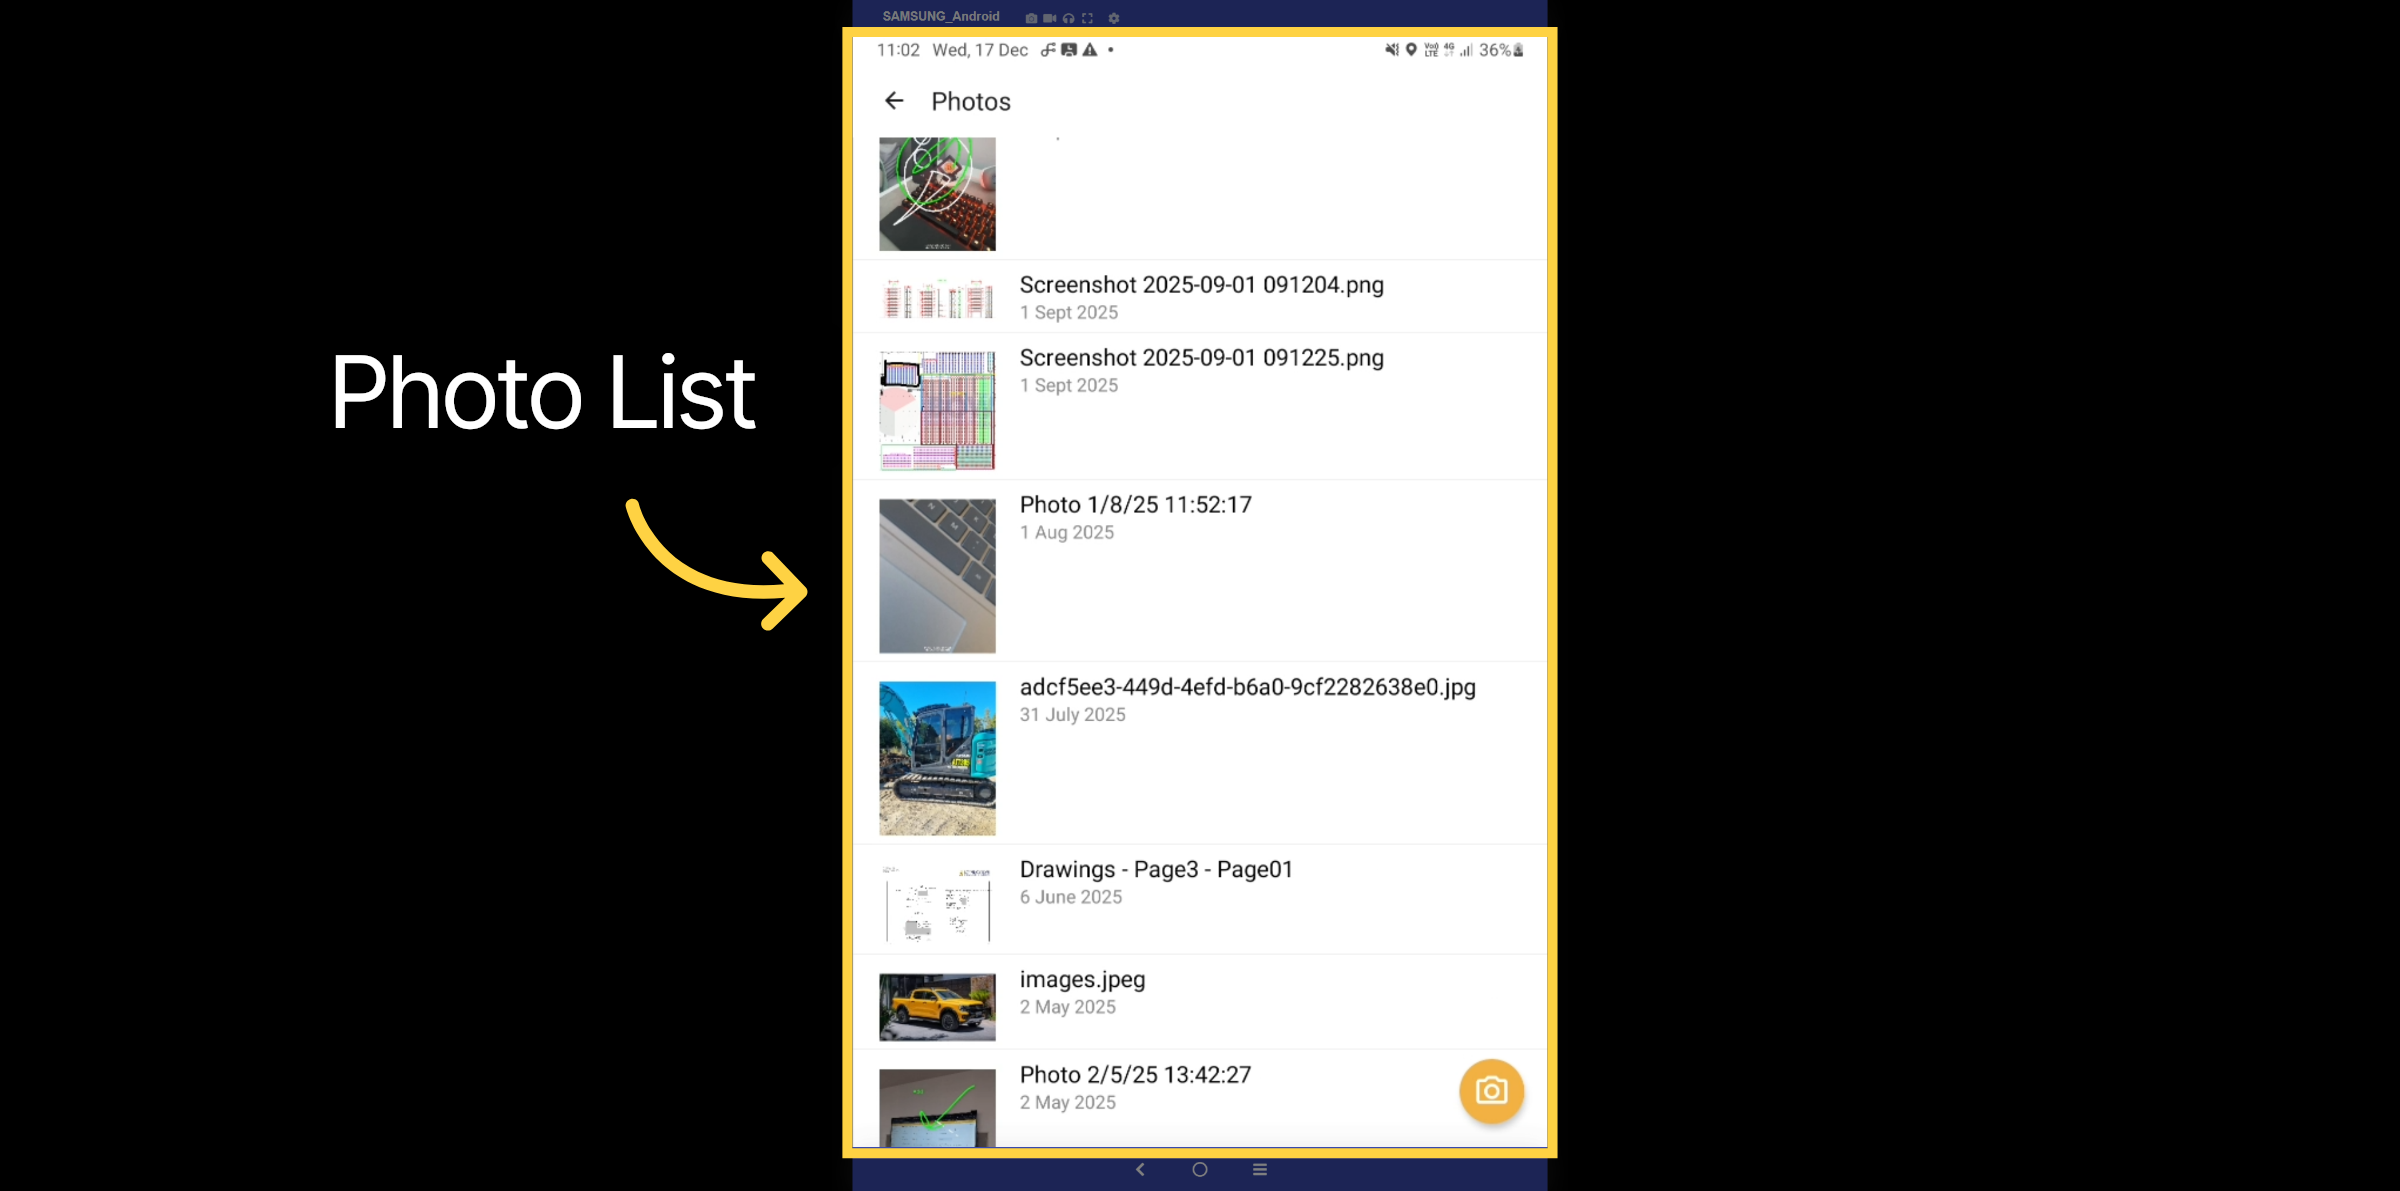
37. Photo List
Here is a list of all the photos taken for the project.
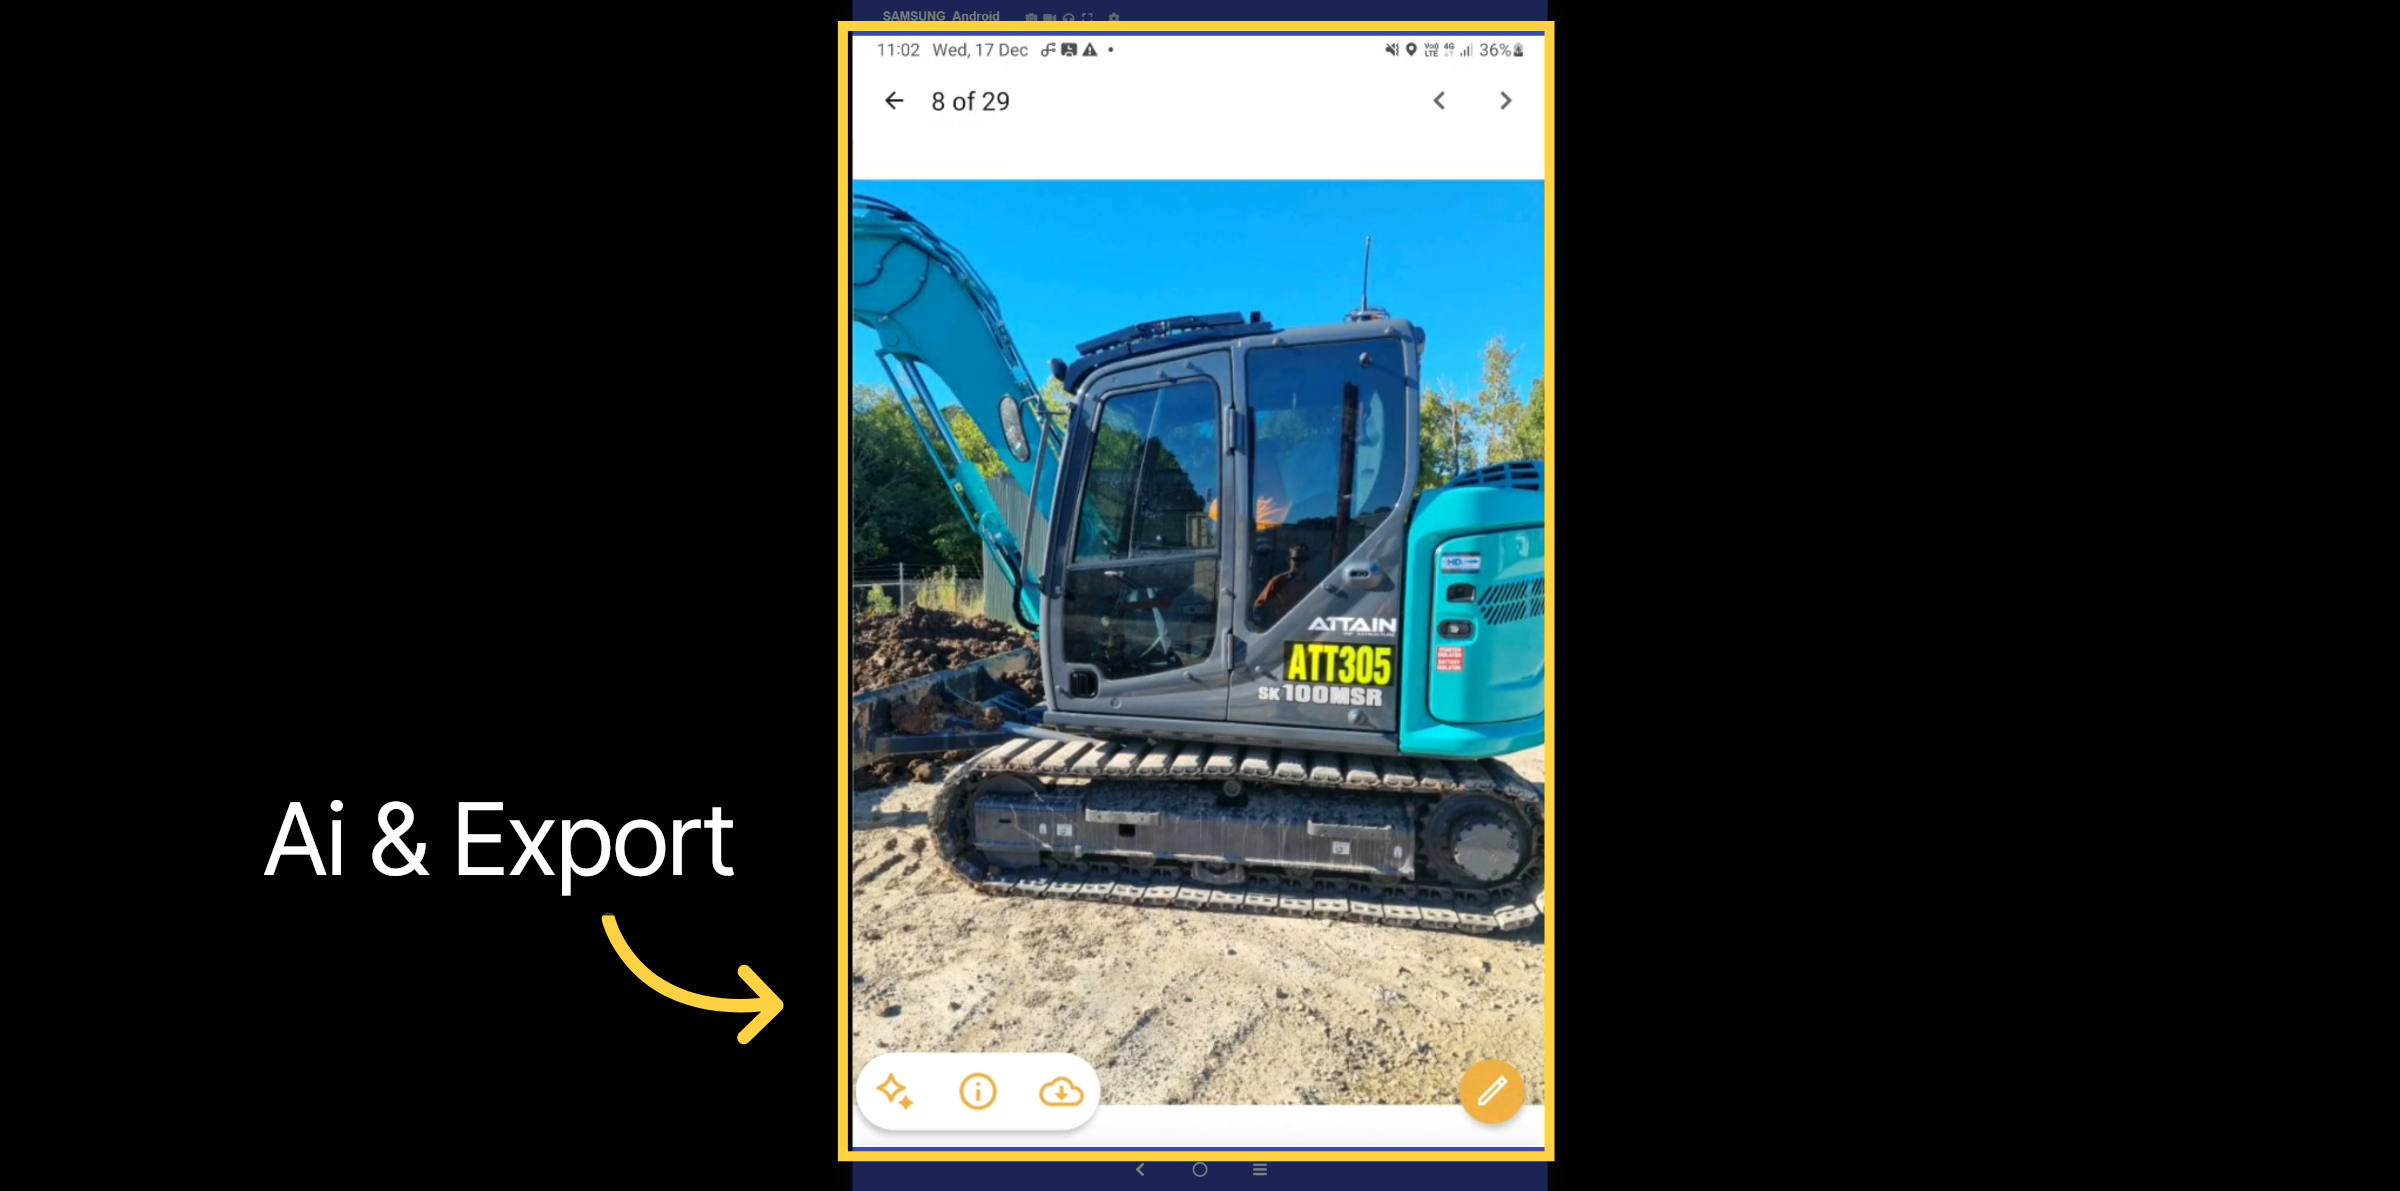
38. Photo Details
Within a photo, you can export it to PDR or email, and you have the option to analyze the photo using AI.
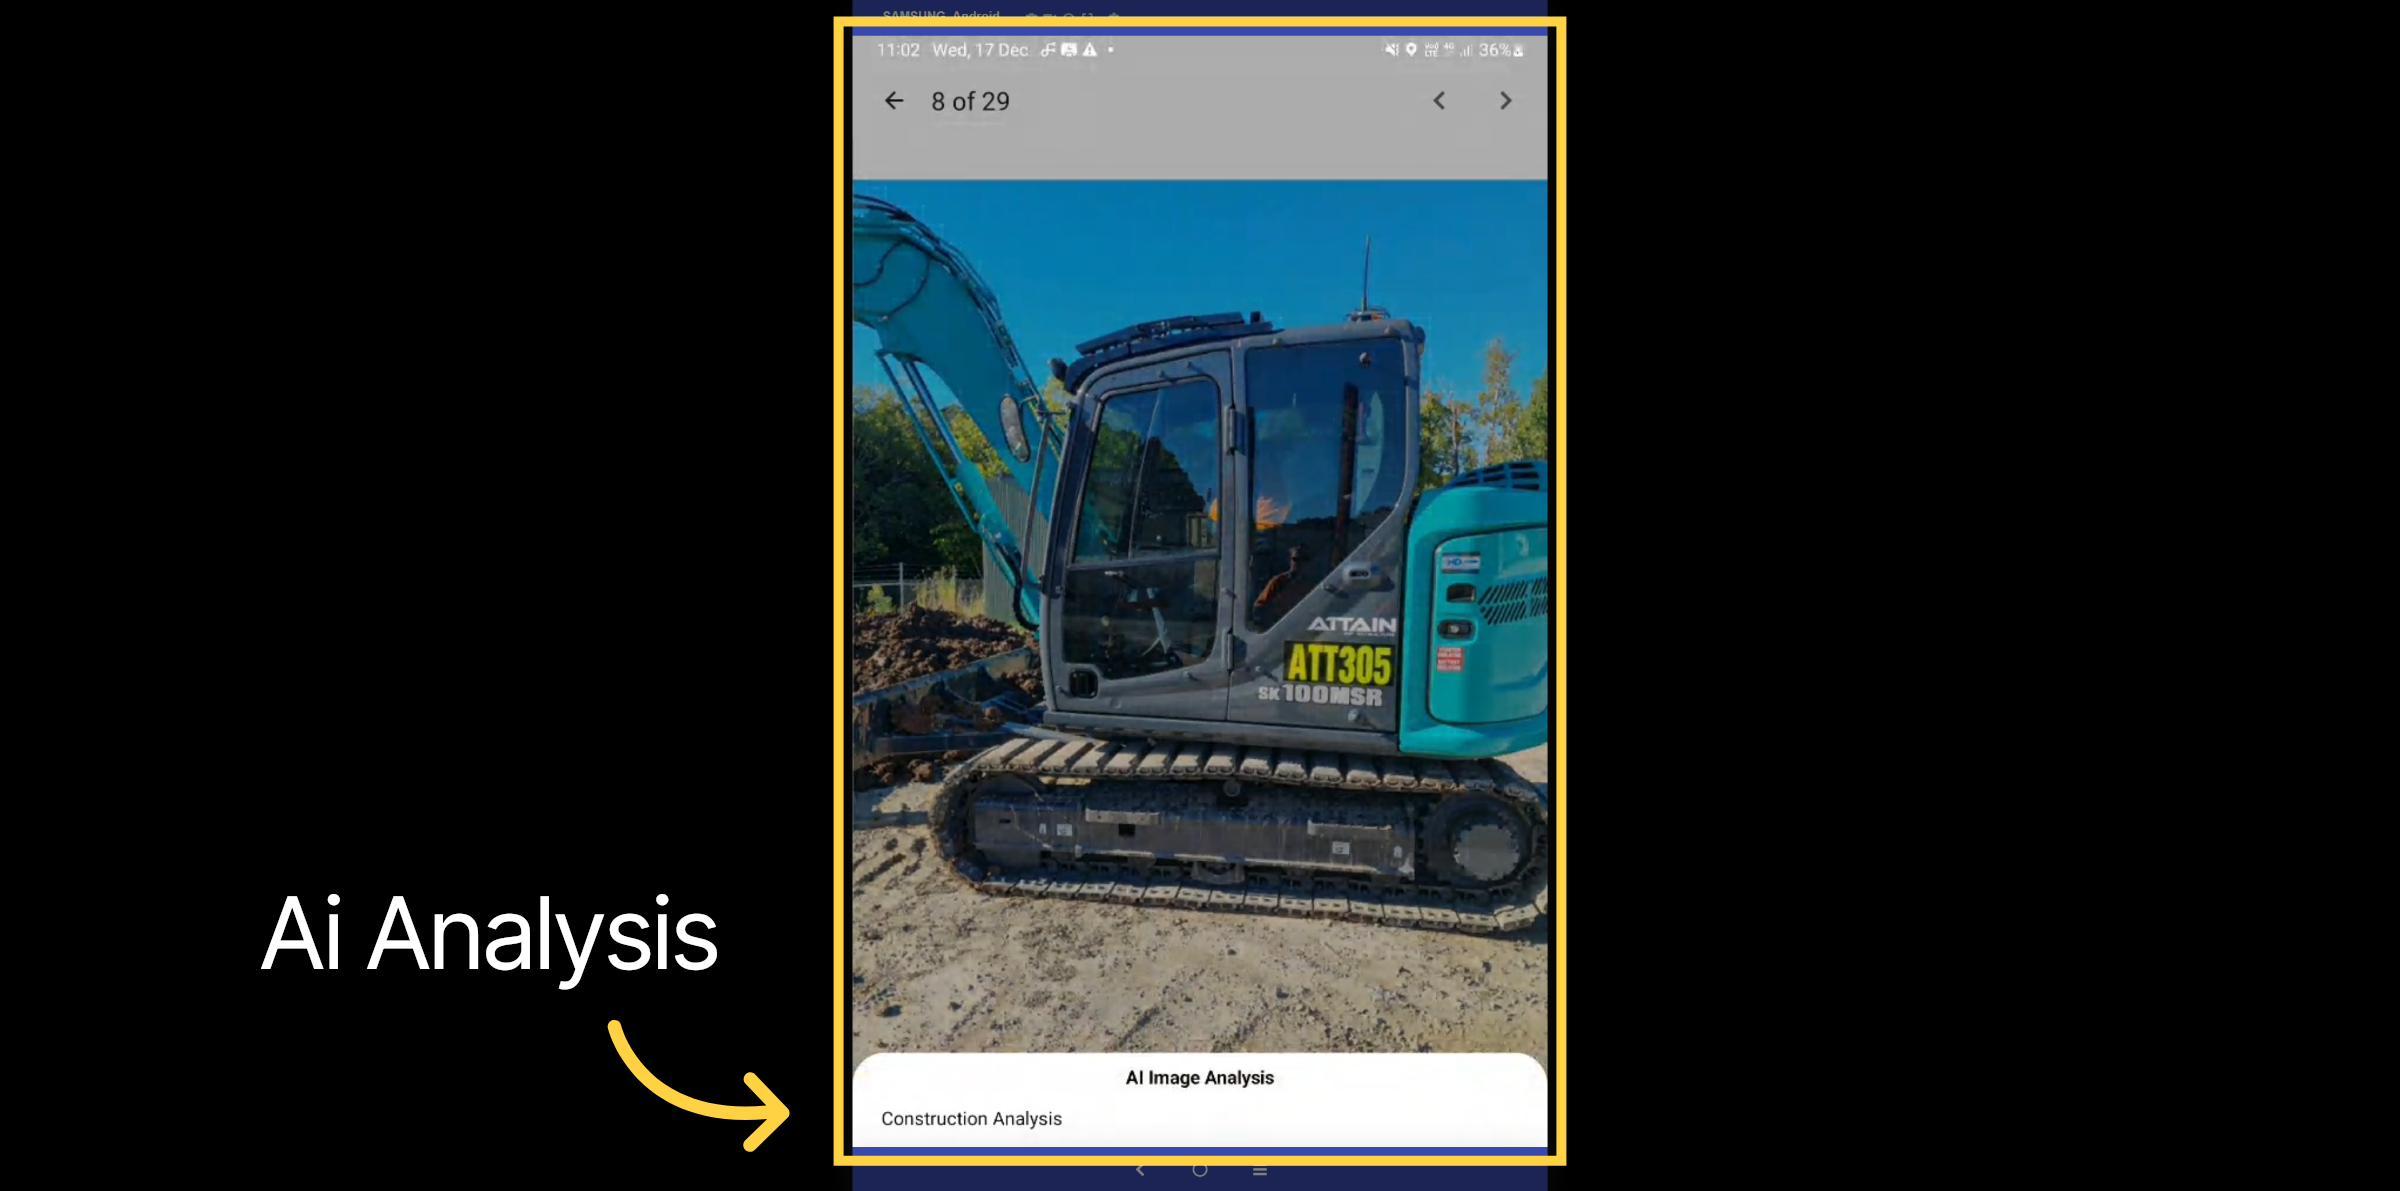
39. Ai Analysis
Let's analyze the photo from a construction perspective.
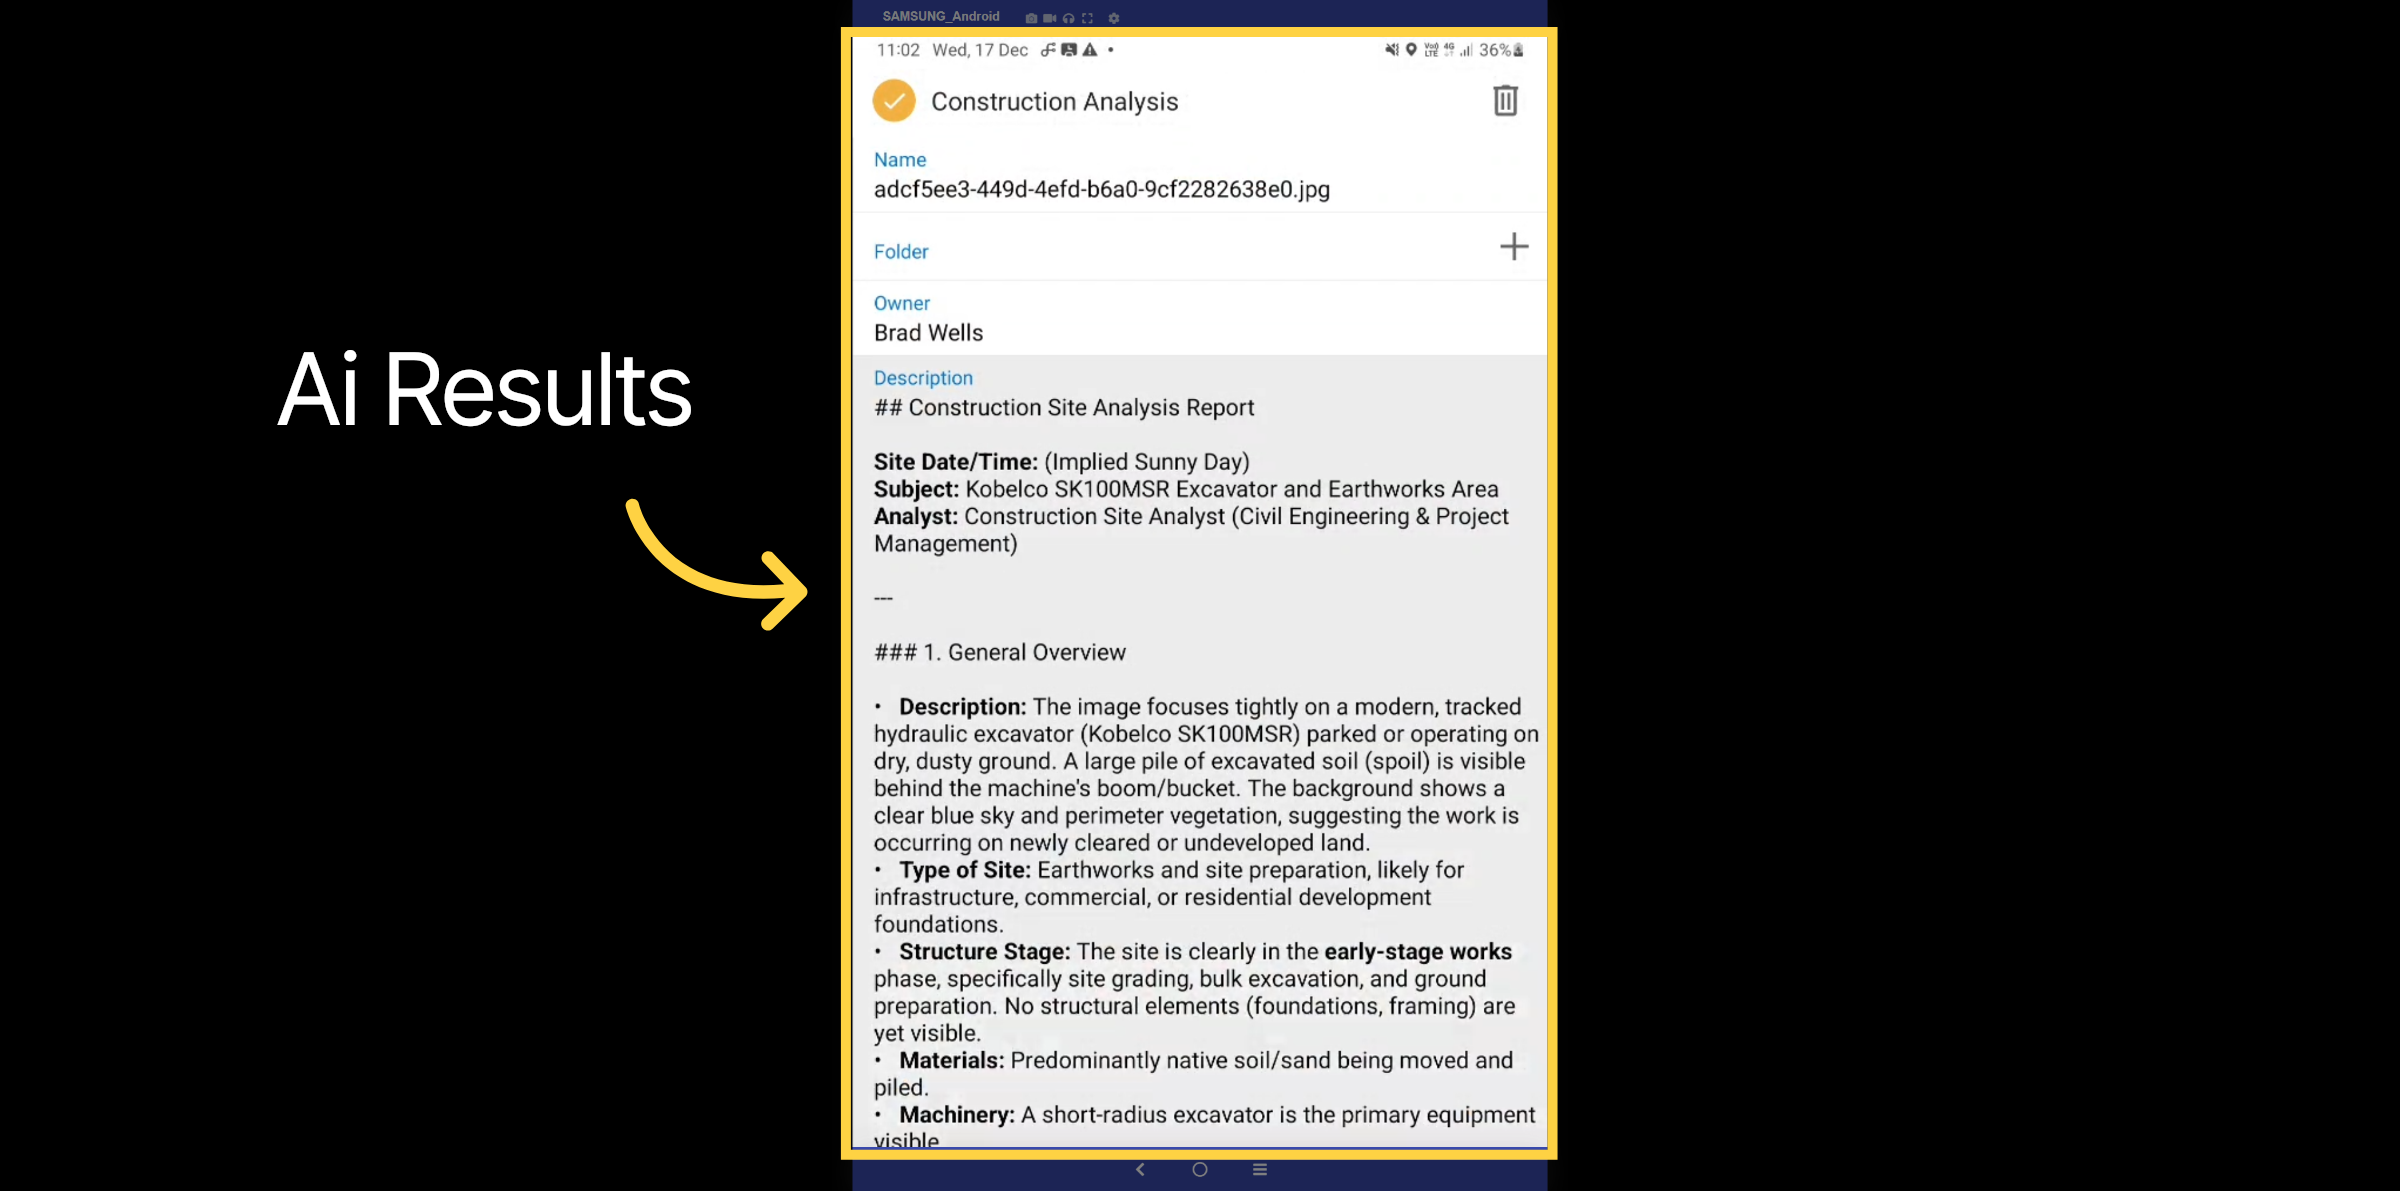
40. Ai Results
Here, you can access a comprehensive analysis of the photo, which includes a general overview of its contents. It can offer safety tips, necessary precautions, weather details, and much more, tailored to your requirements.
Thanks for Watching

