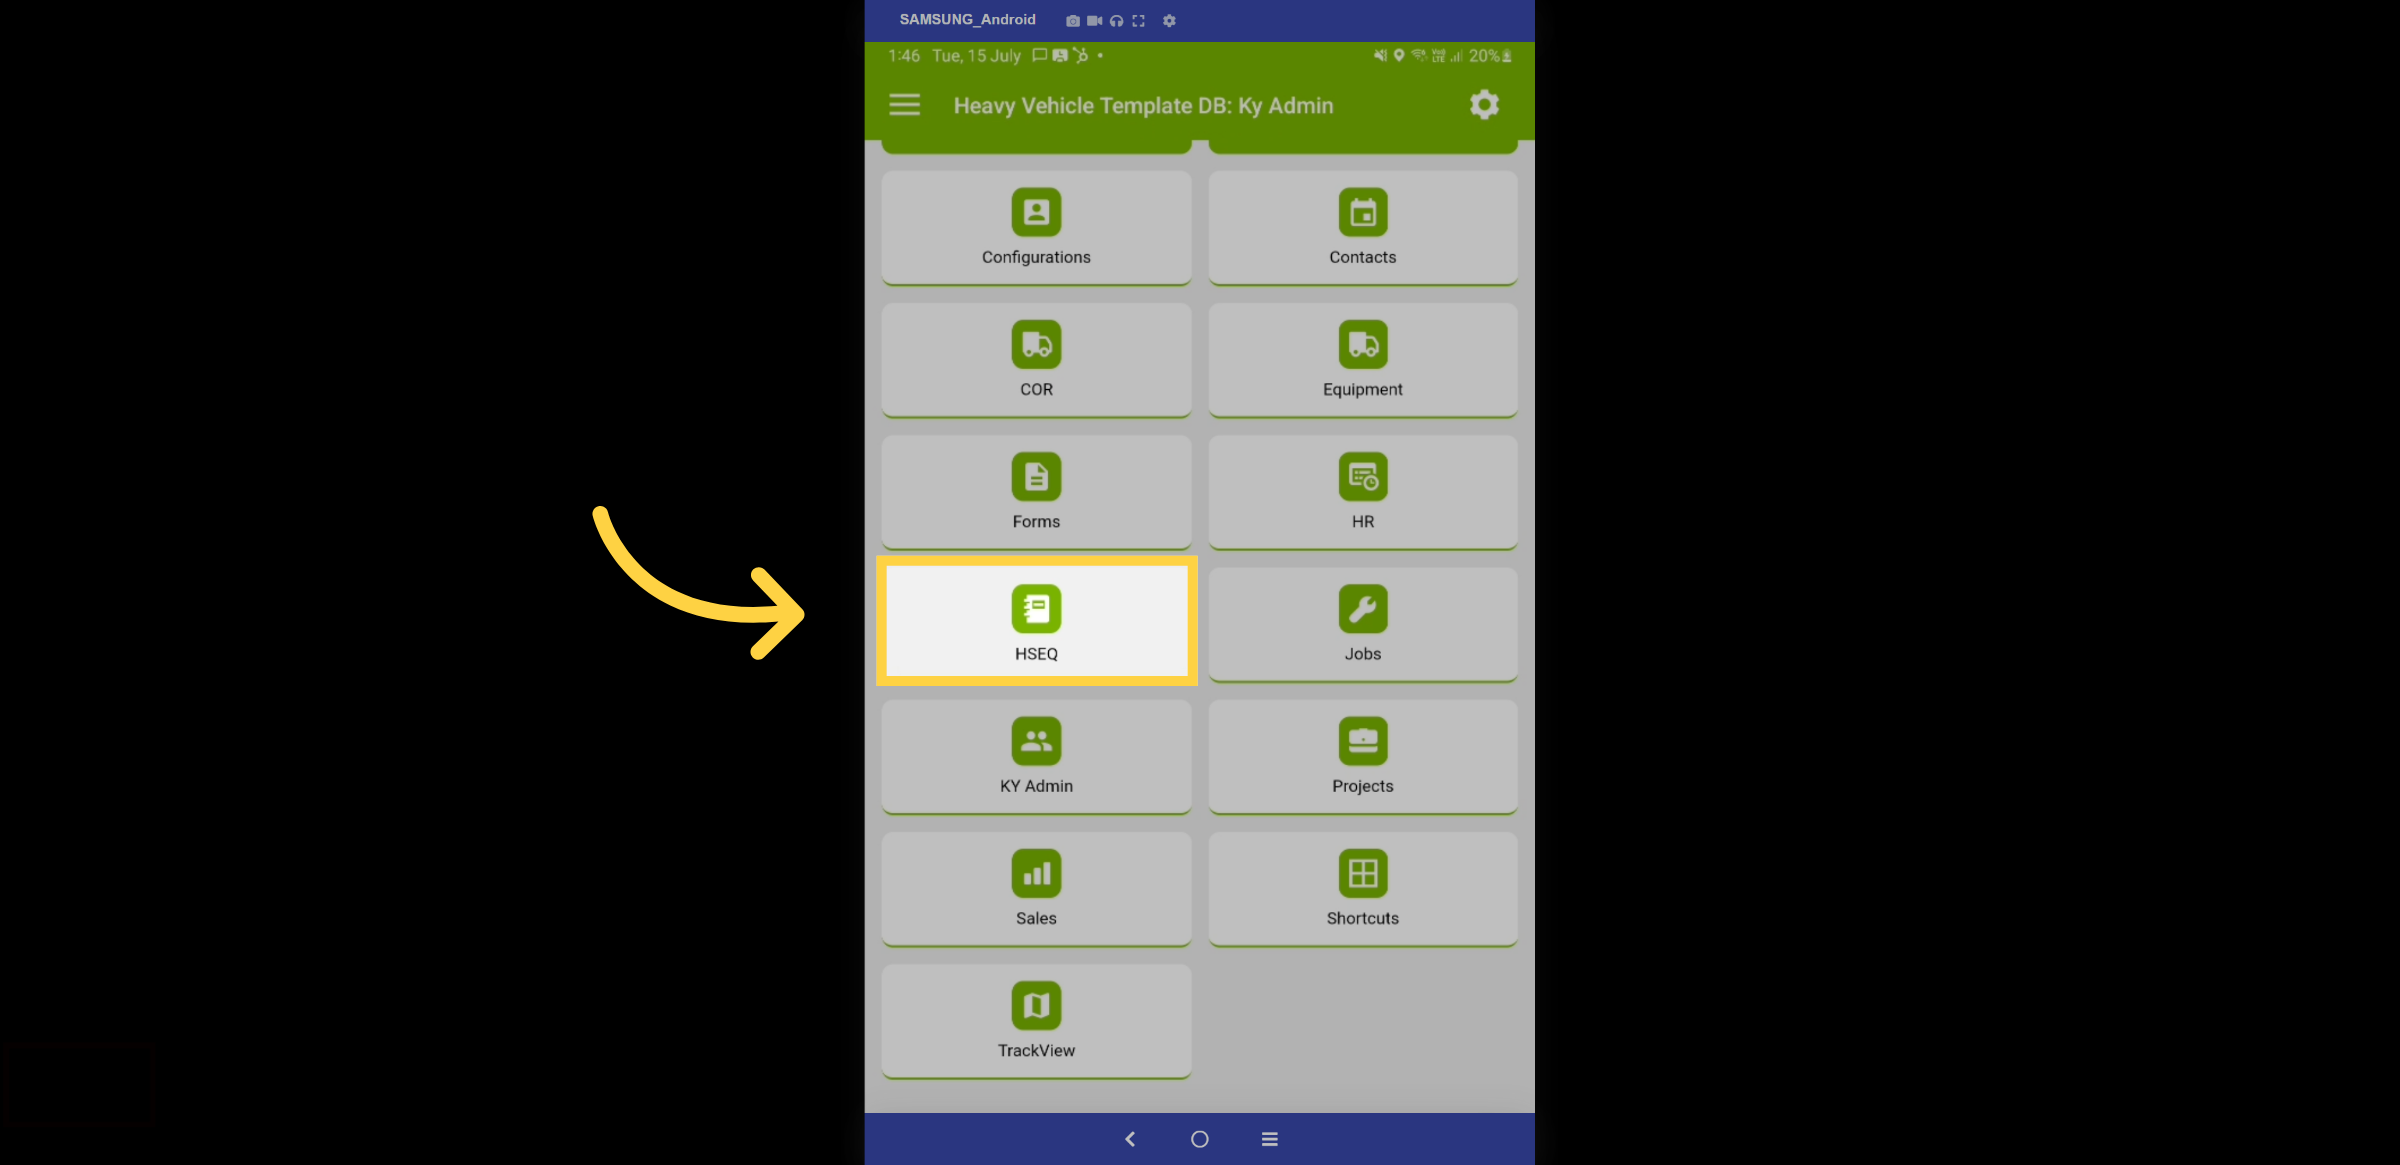
1. HSEQ - Mobile Dashboard
From the Home dashboard on the mobile app, select the HSEQ module. If you are logging in as a standard user, a mandatory workflow may be in place requiring you to start your shift and complete a fit-for-duty form prior to accessing the HSEQ module.
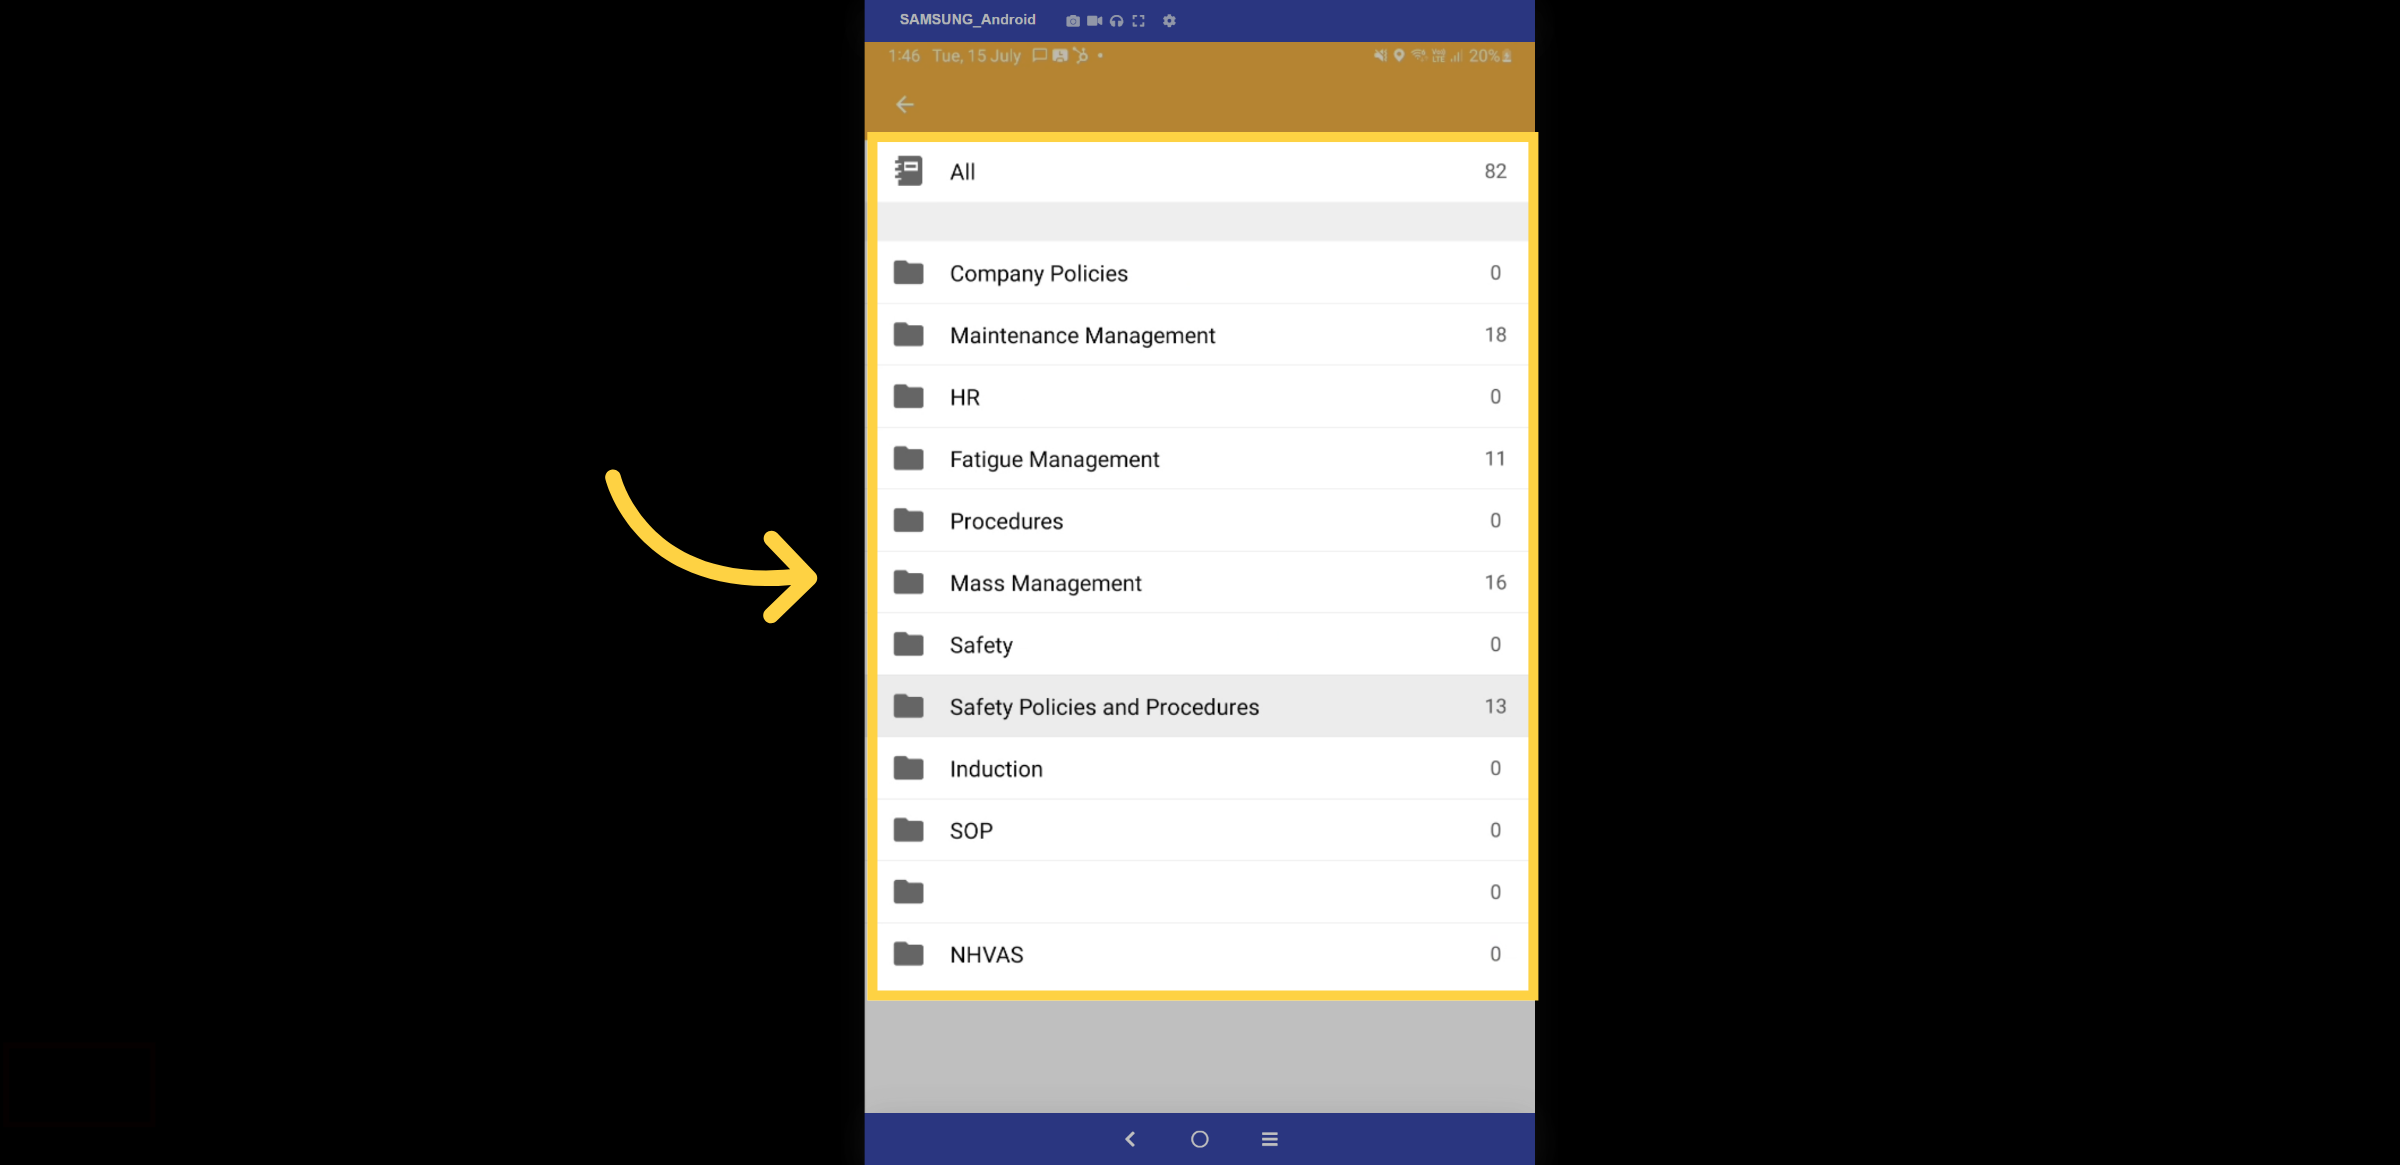
2. All Forms & Folders
Once the folder structure is configured on Kynection via the web, the folders will be displayed here. Depending on their roles, some users may not have access to certain forms. Let's take a closer look at the Safety Policies.
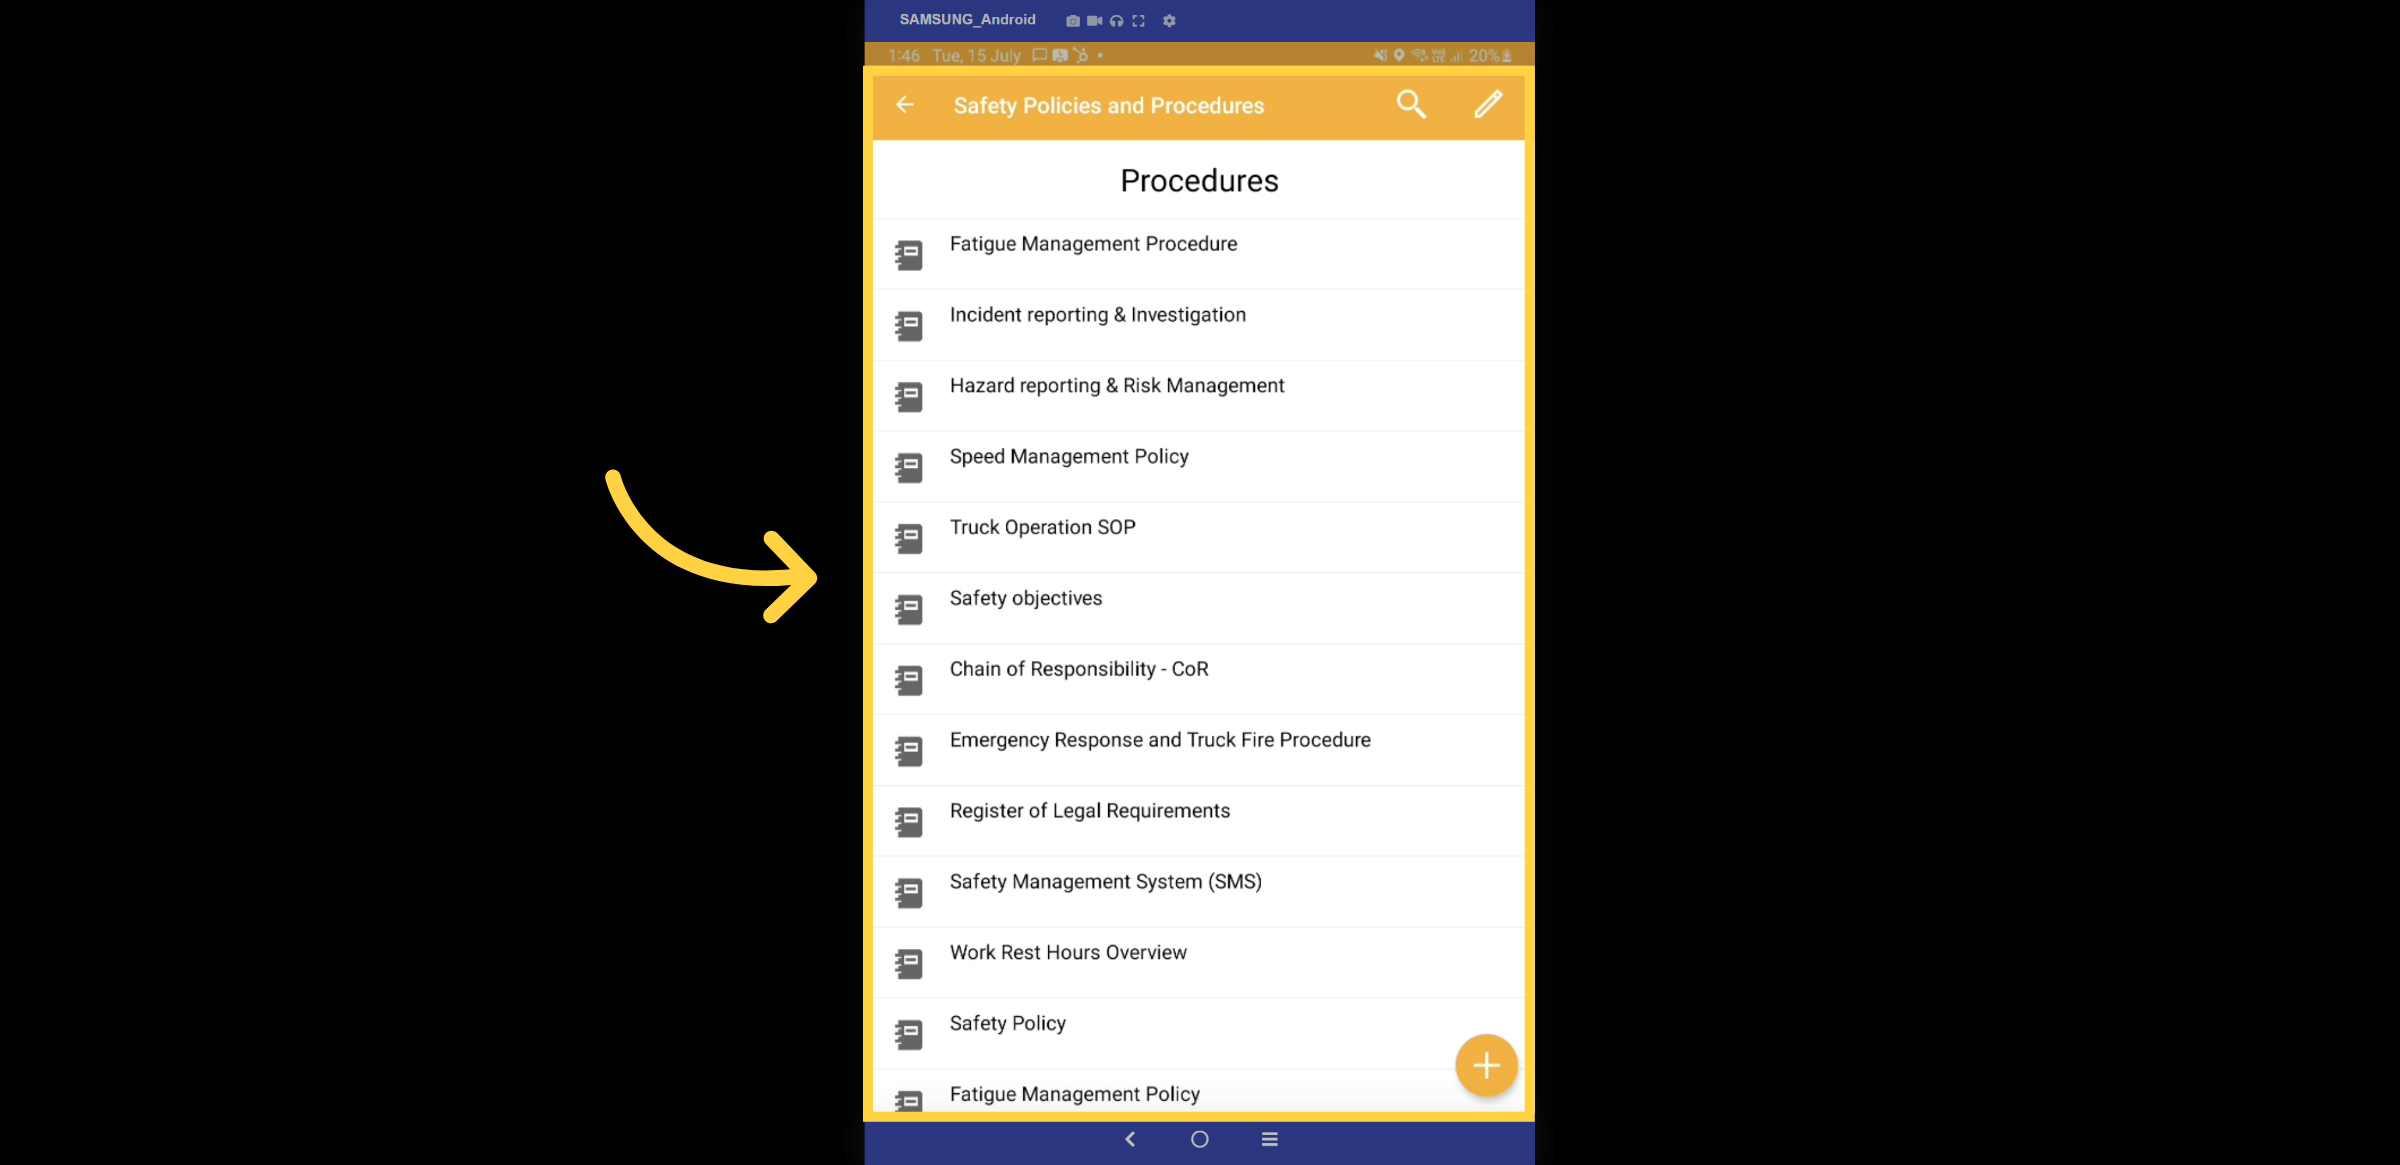
3. Procedures
Here is a list of all your procedures. Let's take a closer look at the Incident Reporting Procedure.
4. Description Tab
Please click on the description tab.
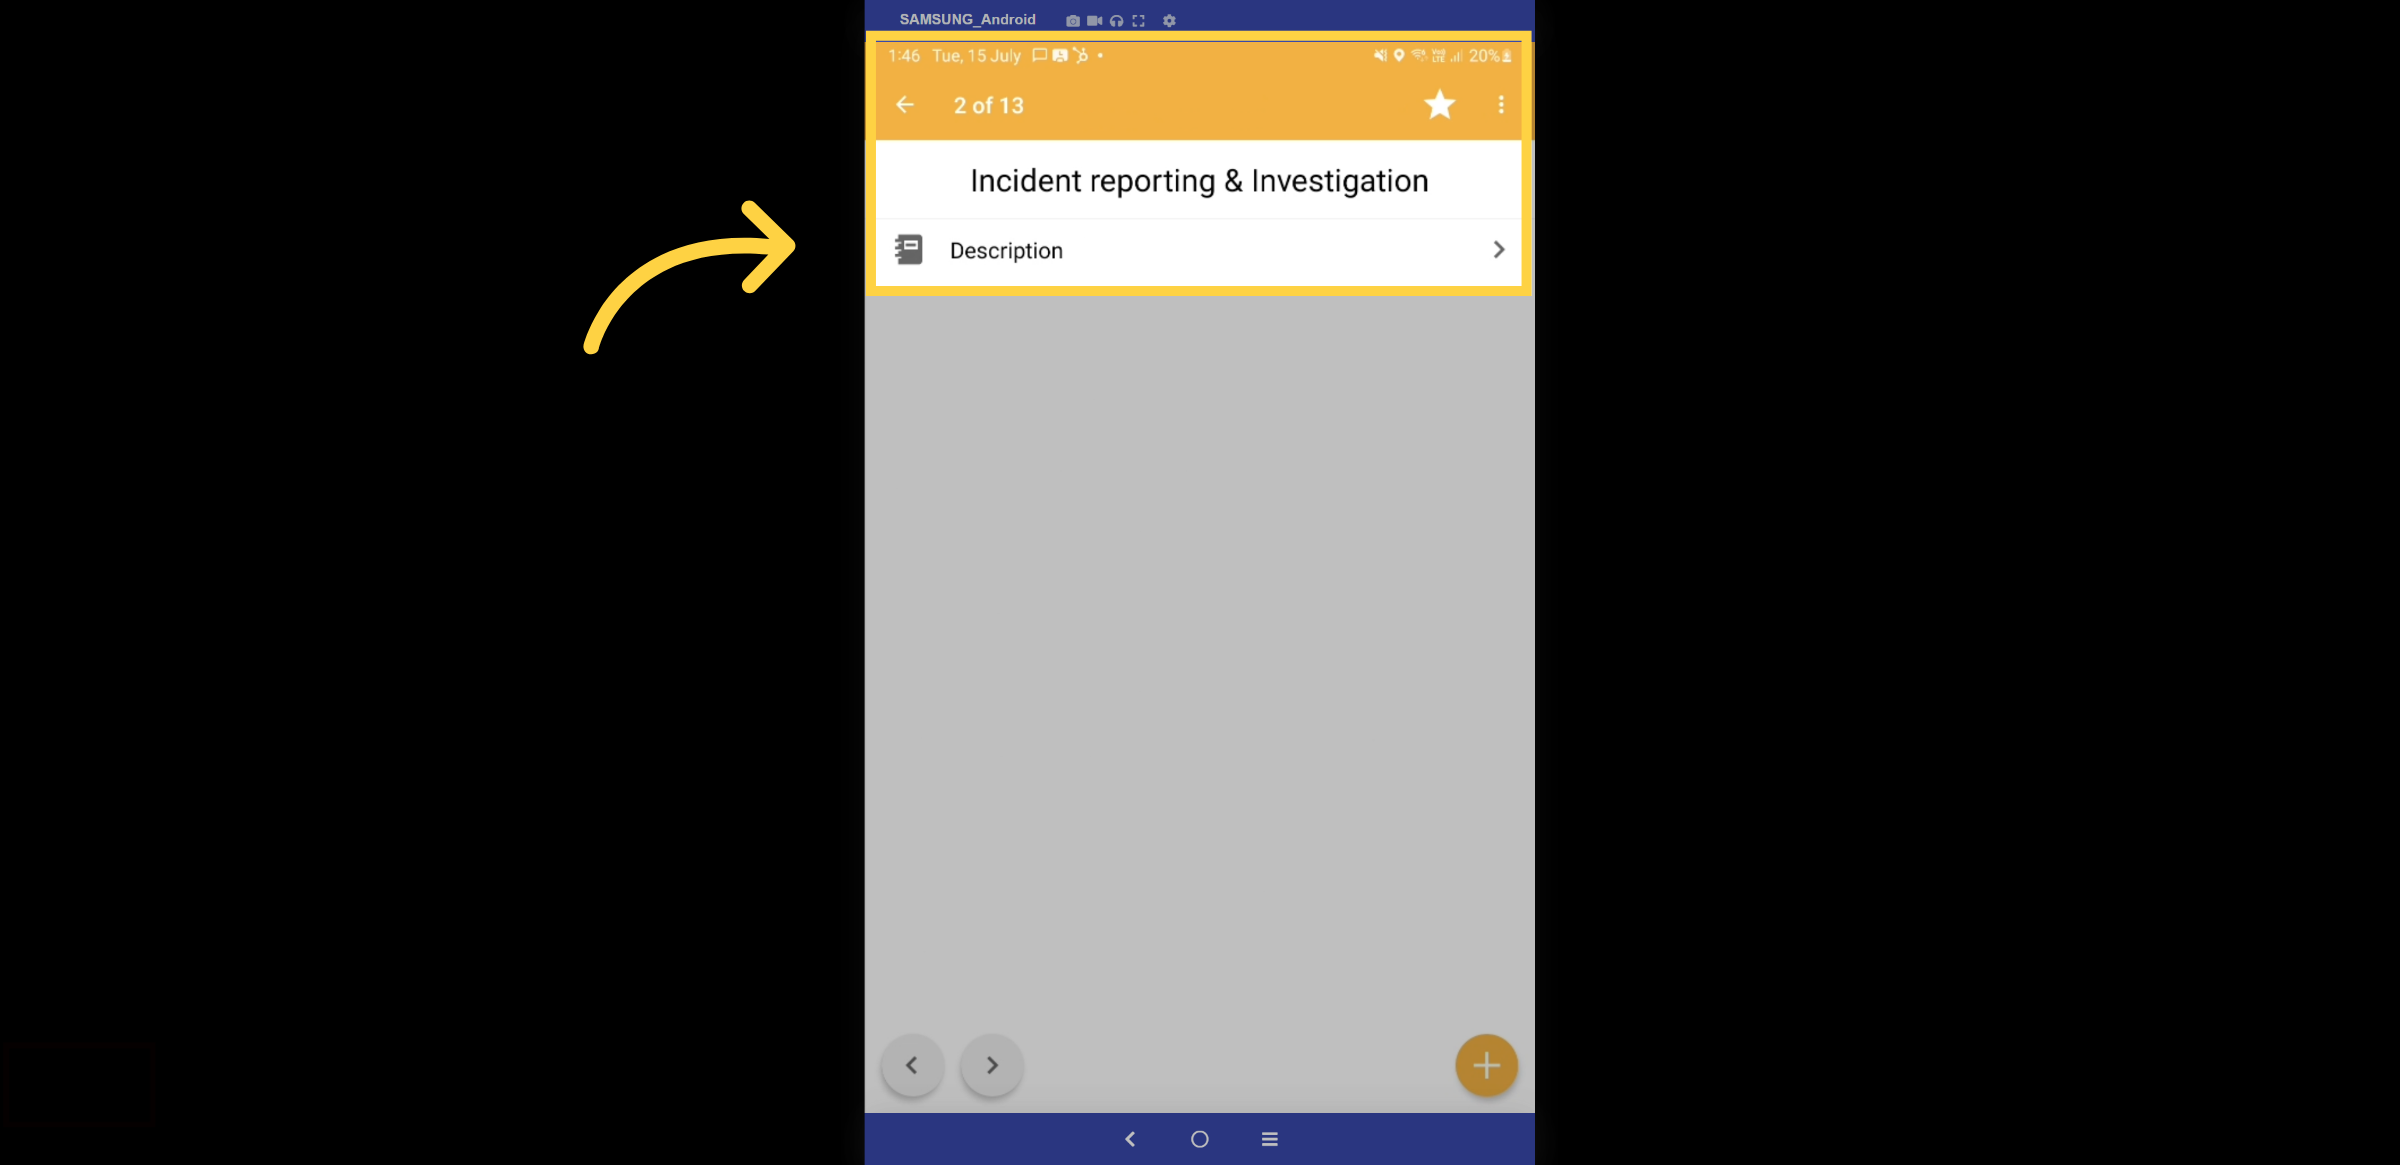
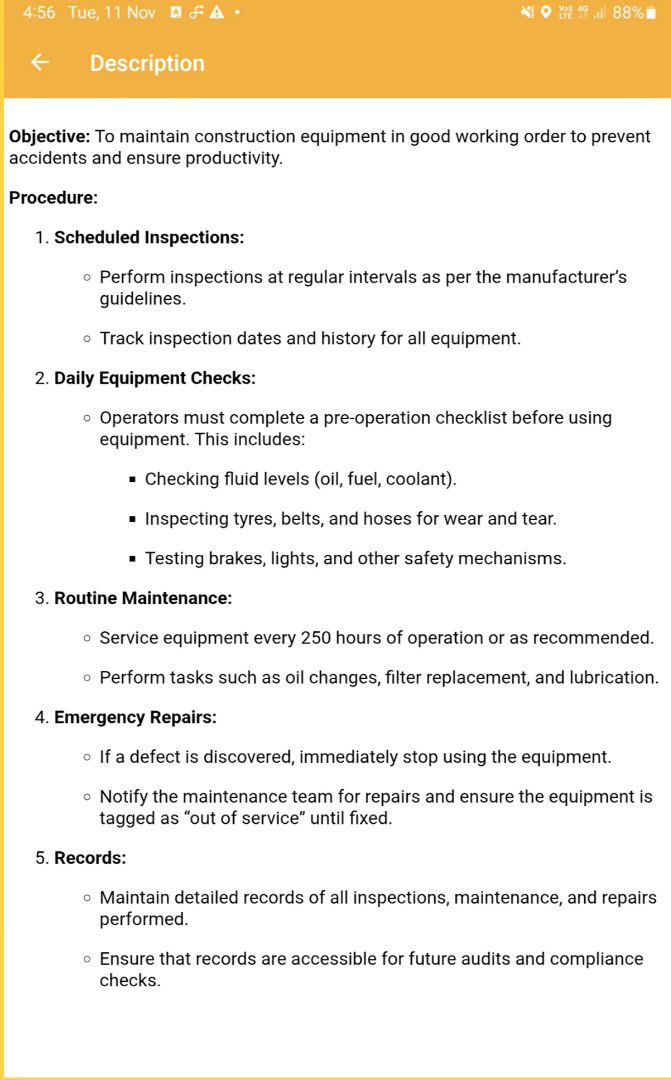
5. Description
You can access the complete procedure right from your palm.
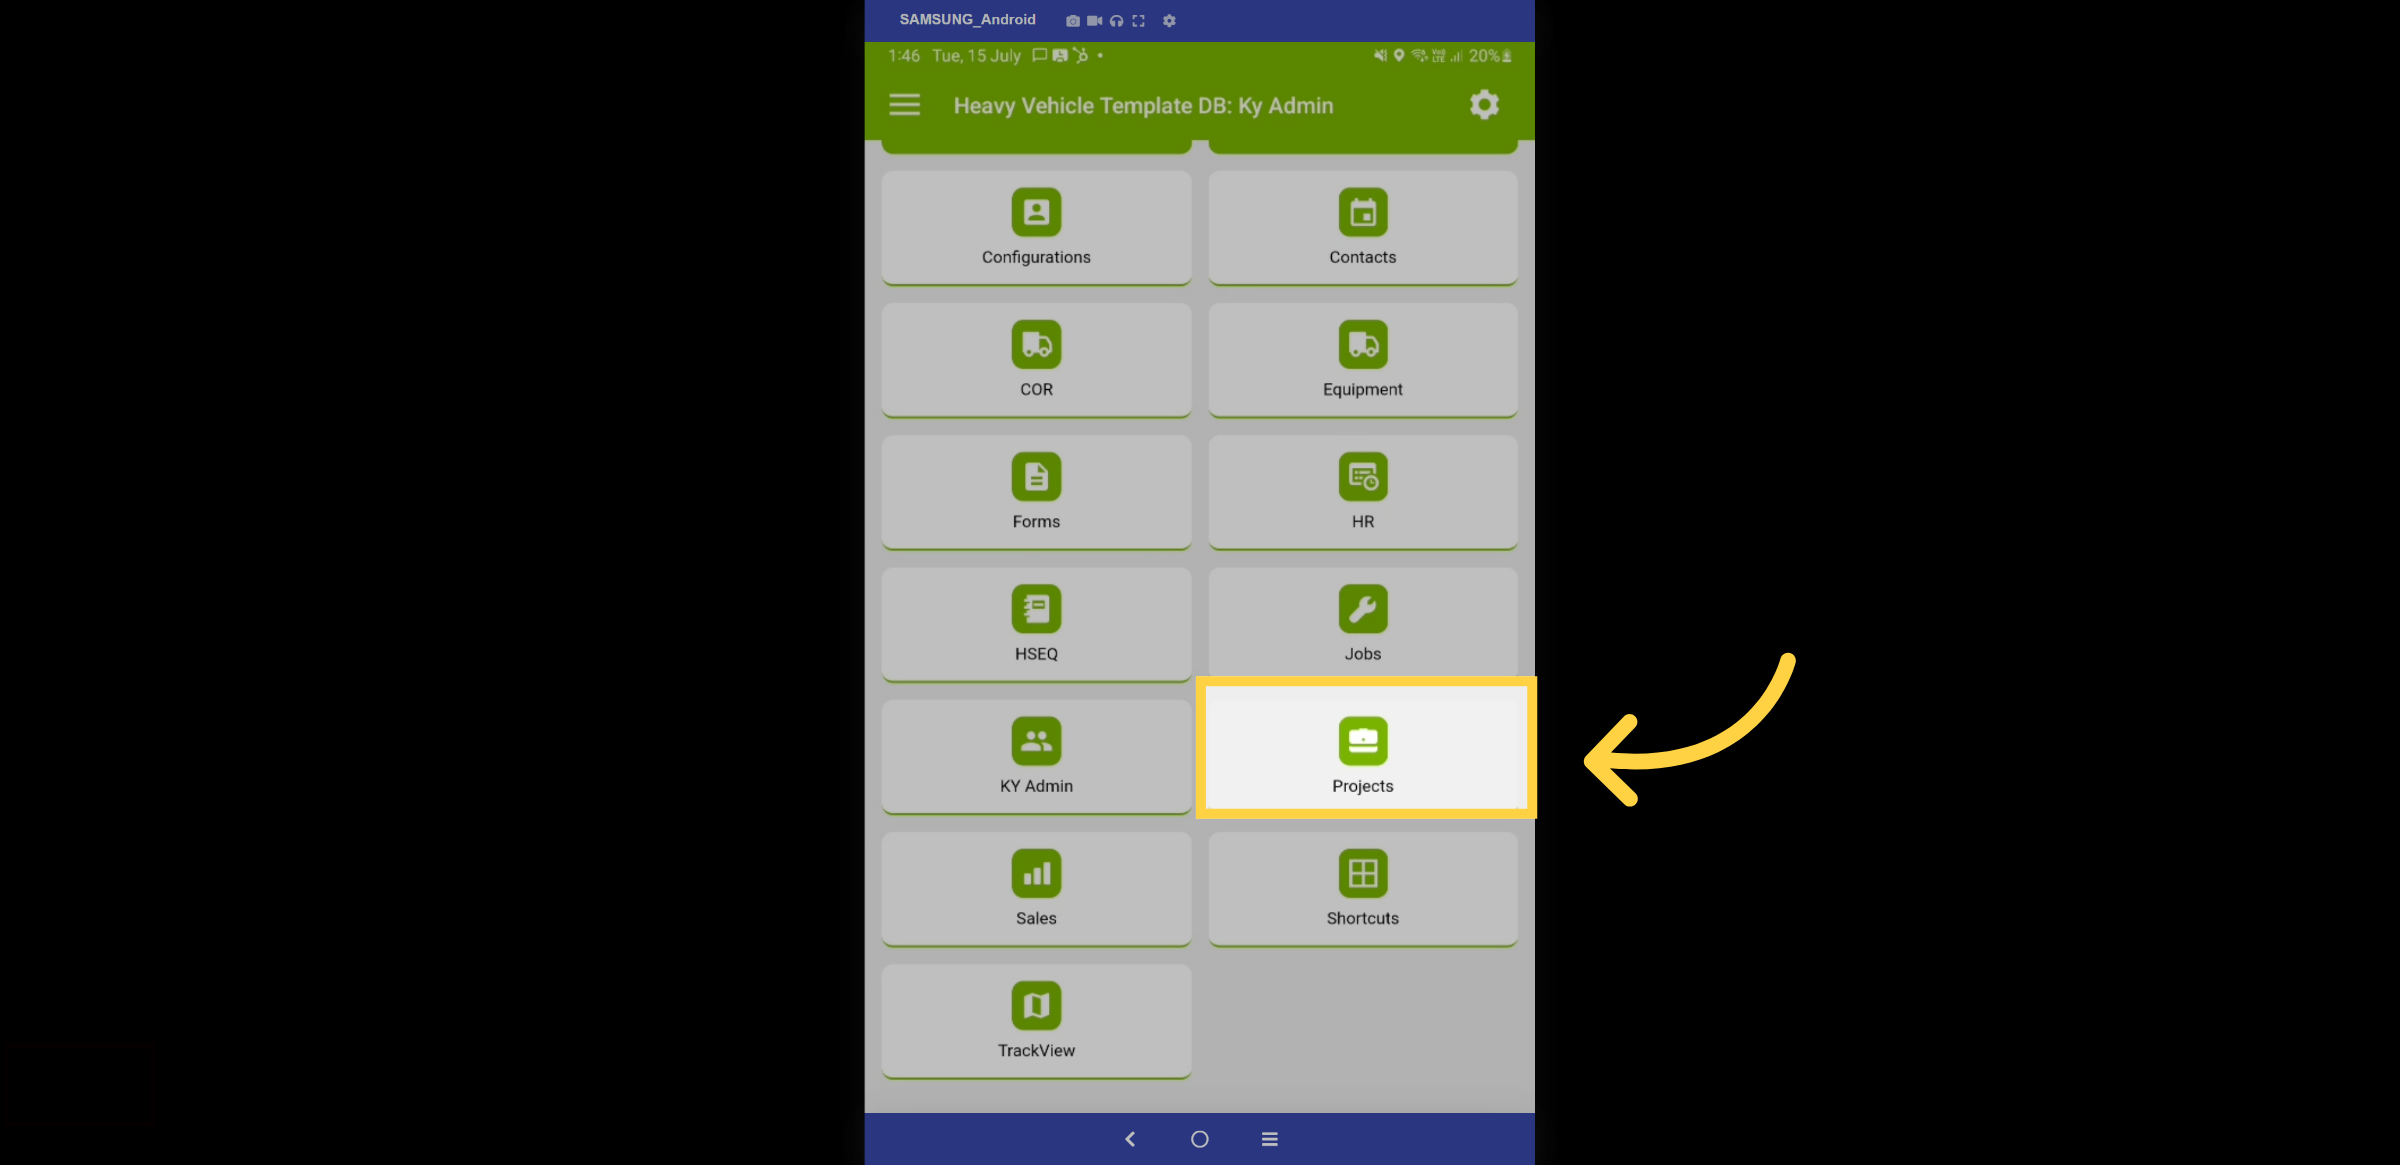
6. Projects
Let's go through the process of completing compliance forms for projects. First, navigate to the projects module from the home dashboard.
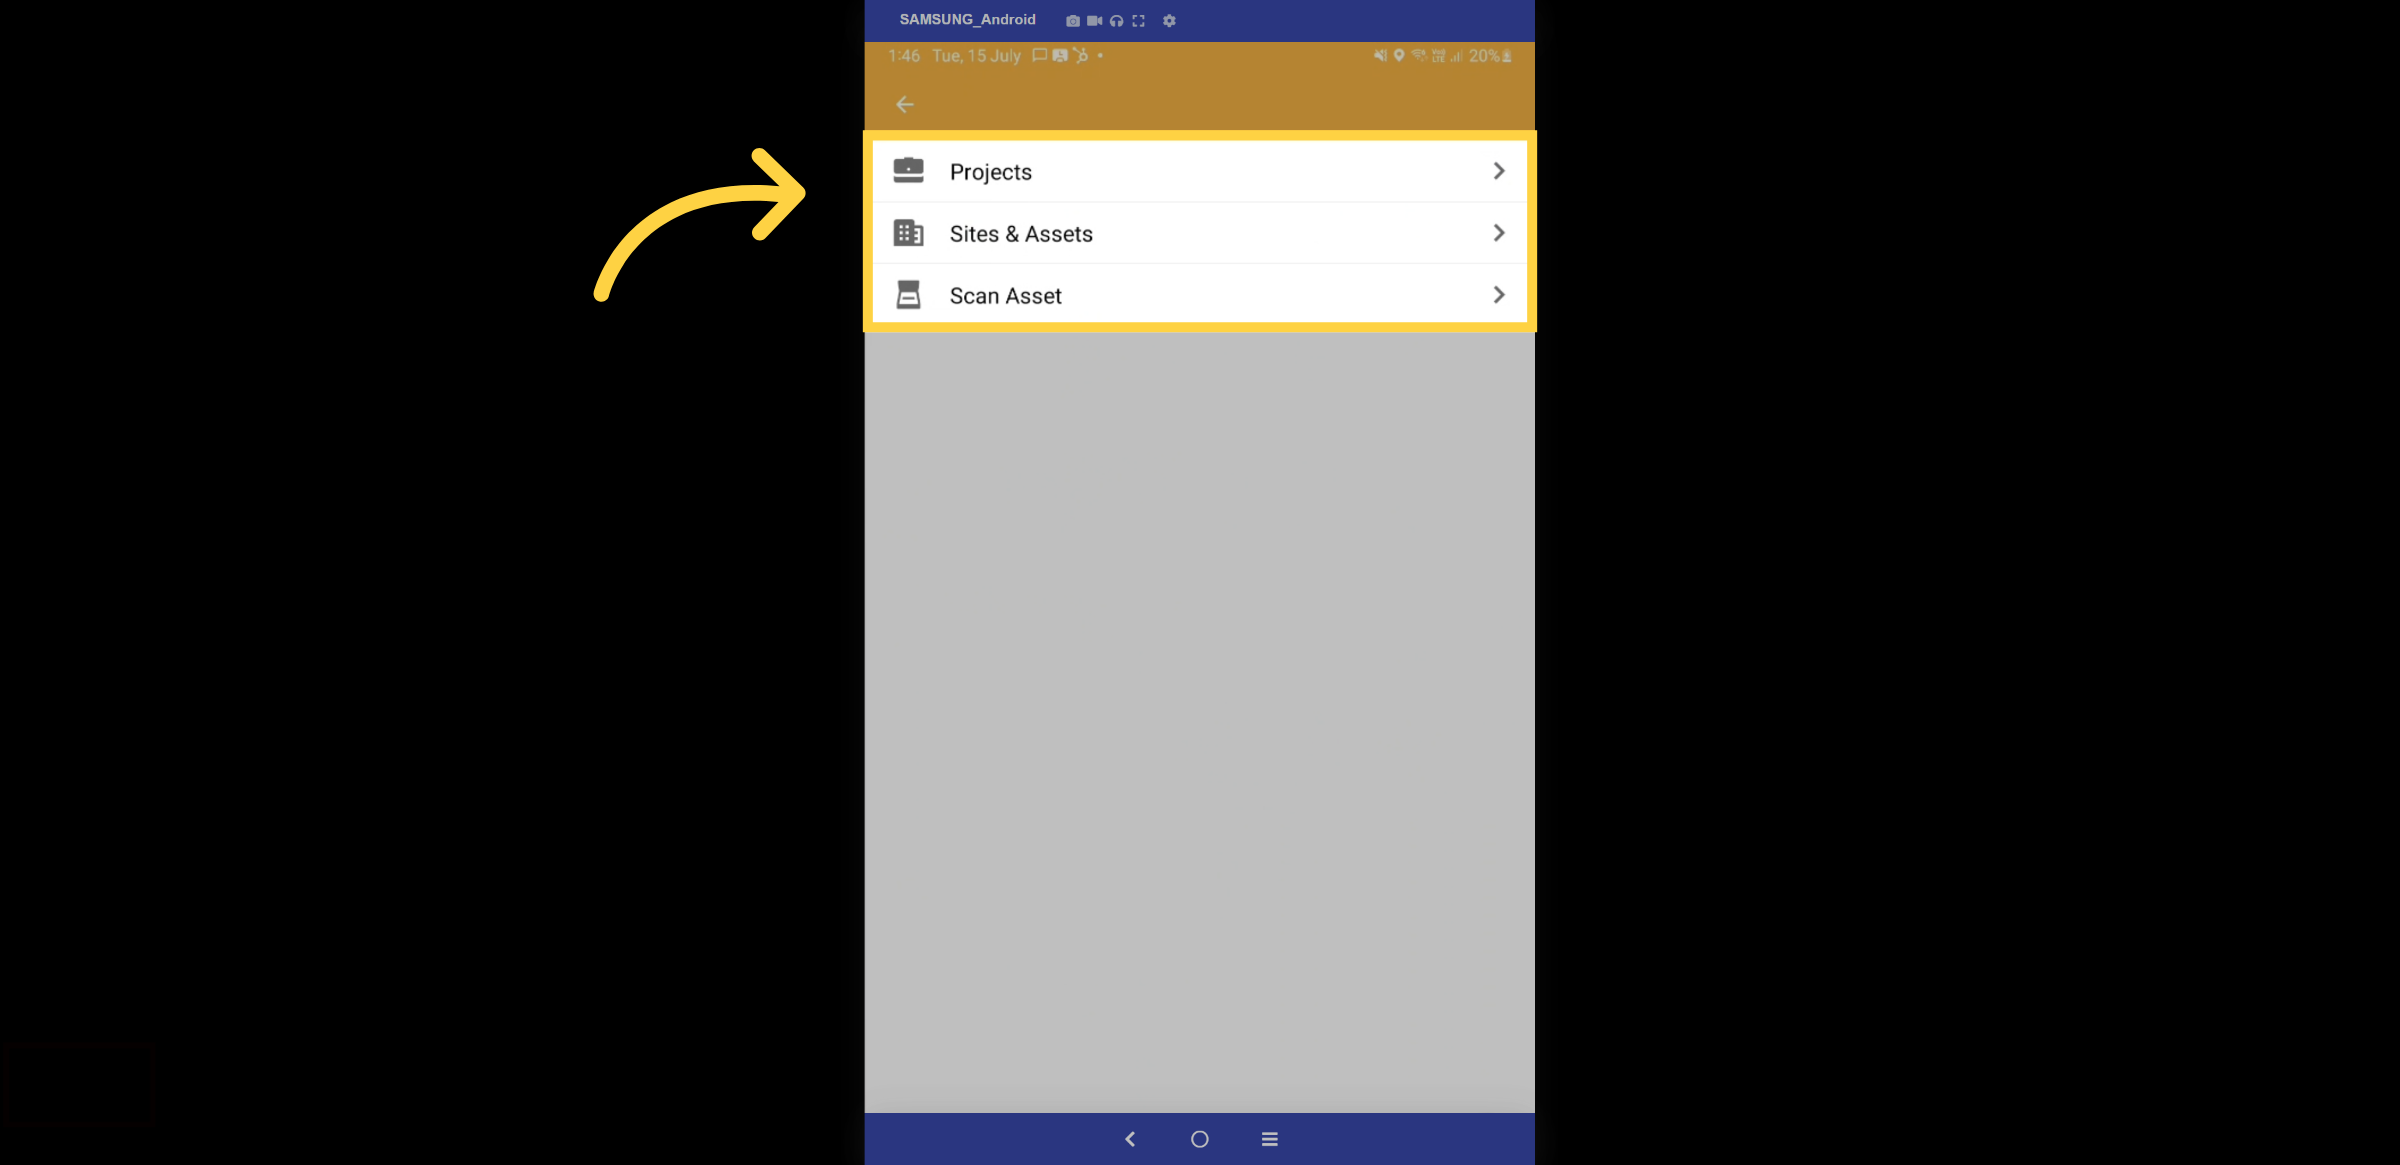
7. Projects or Assets
Select Projects, or if you have compliance linked to a QR code, you have the option to print a QR code on an asset and then scan it.
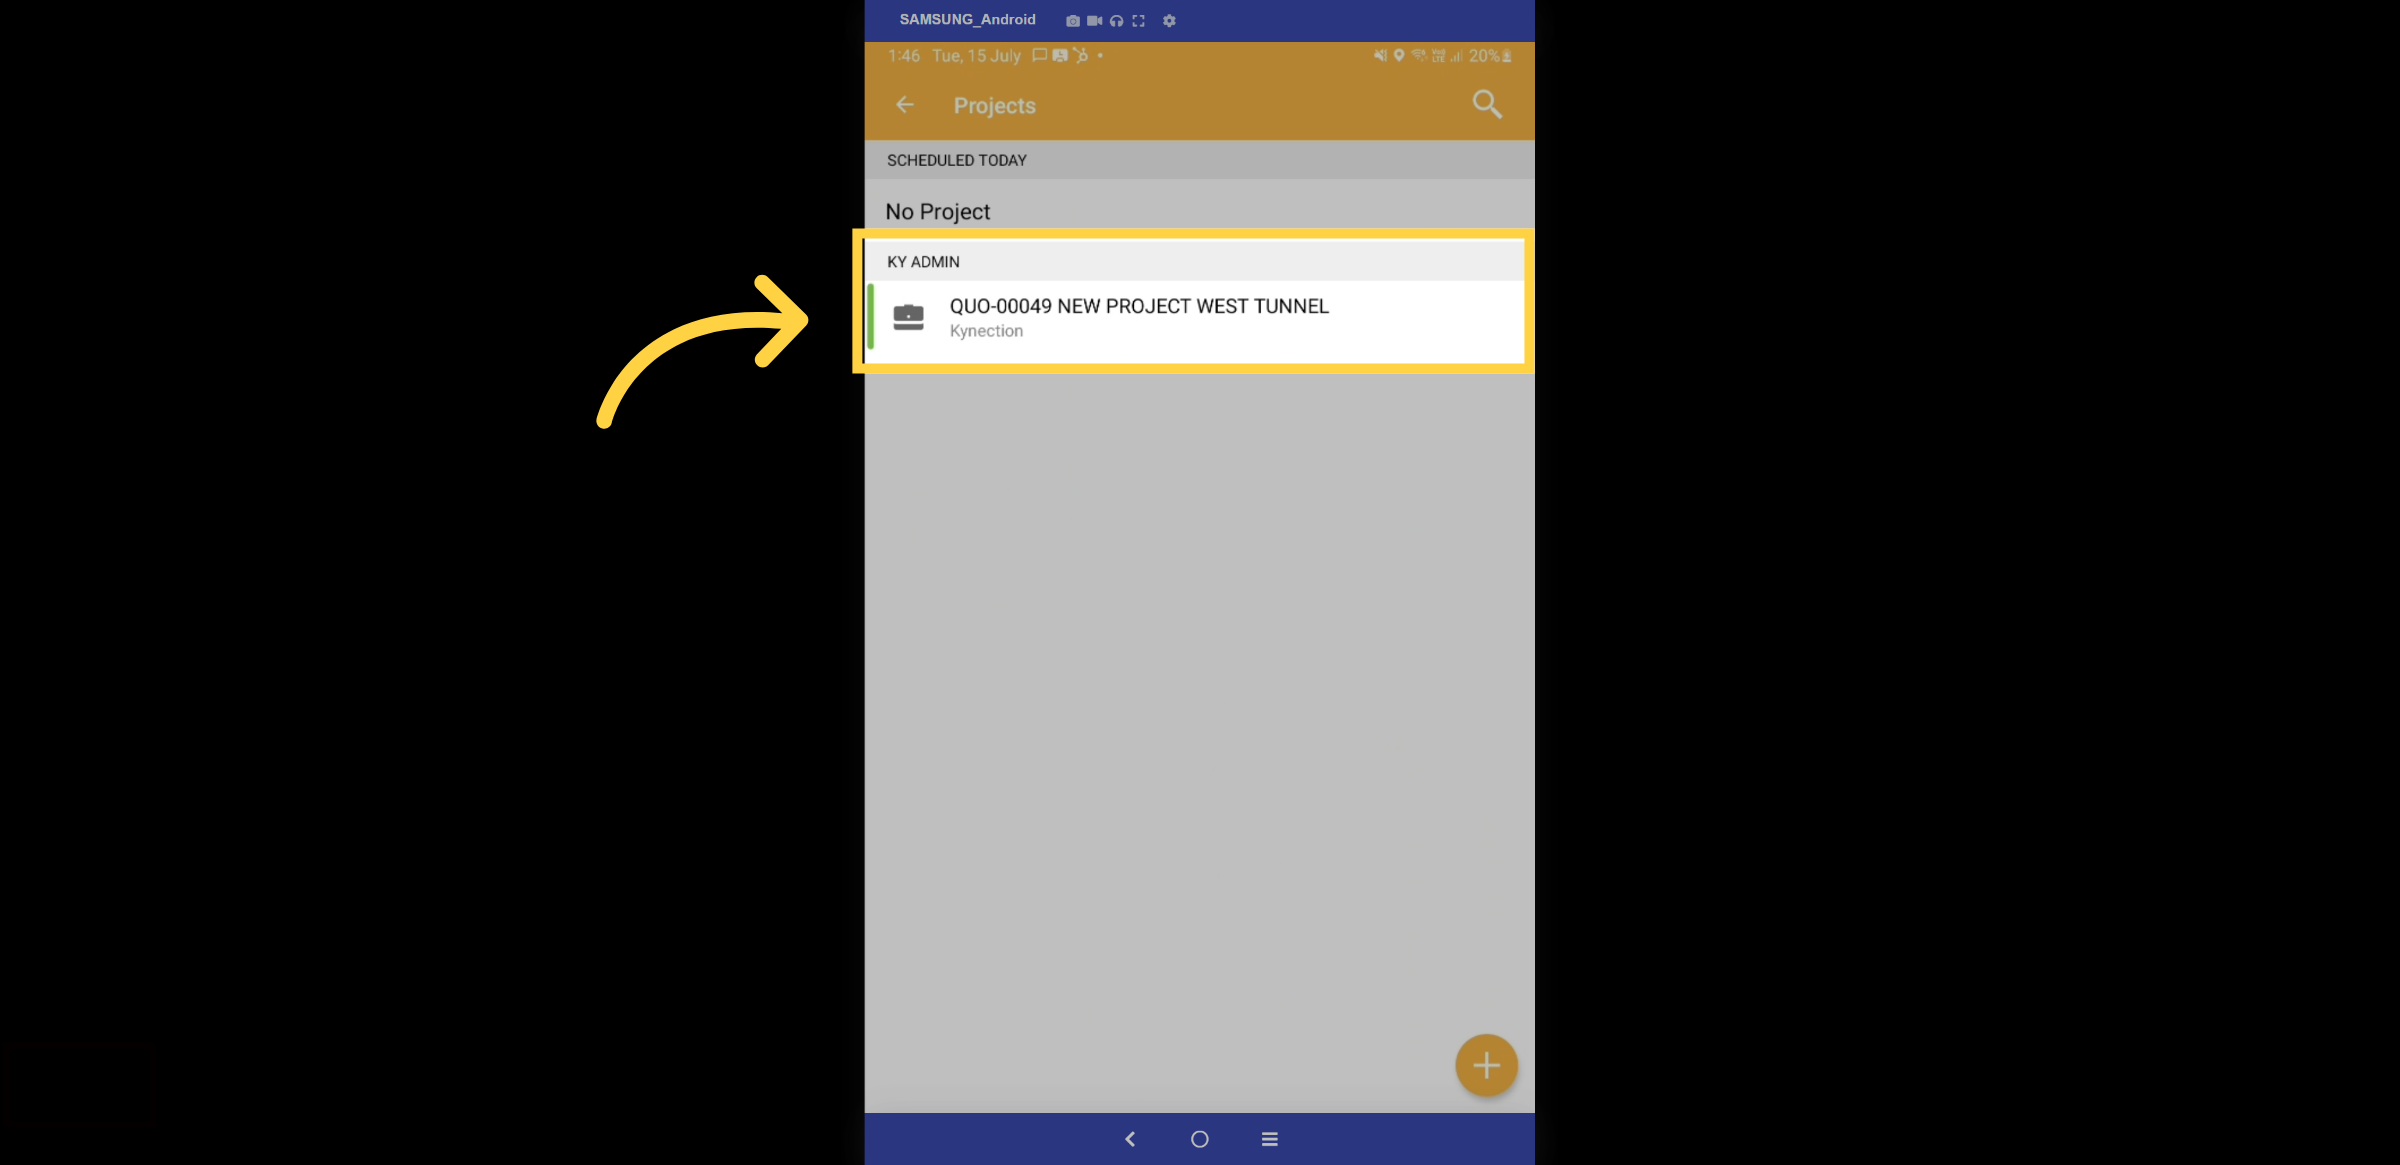
8. Select a Project
Select a project from the list. Kynection can be configured to display all projects or only those assigned to you.
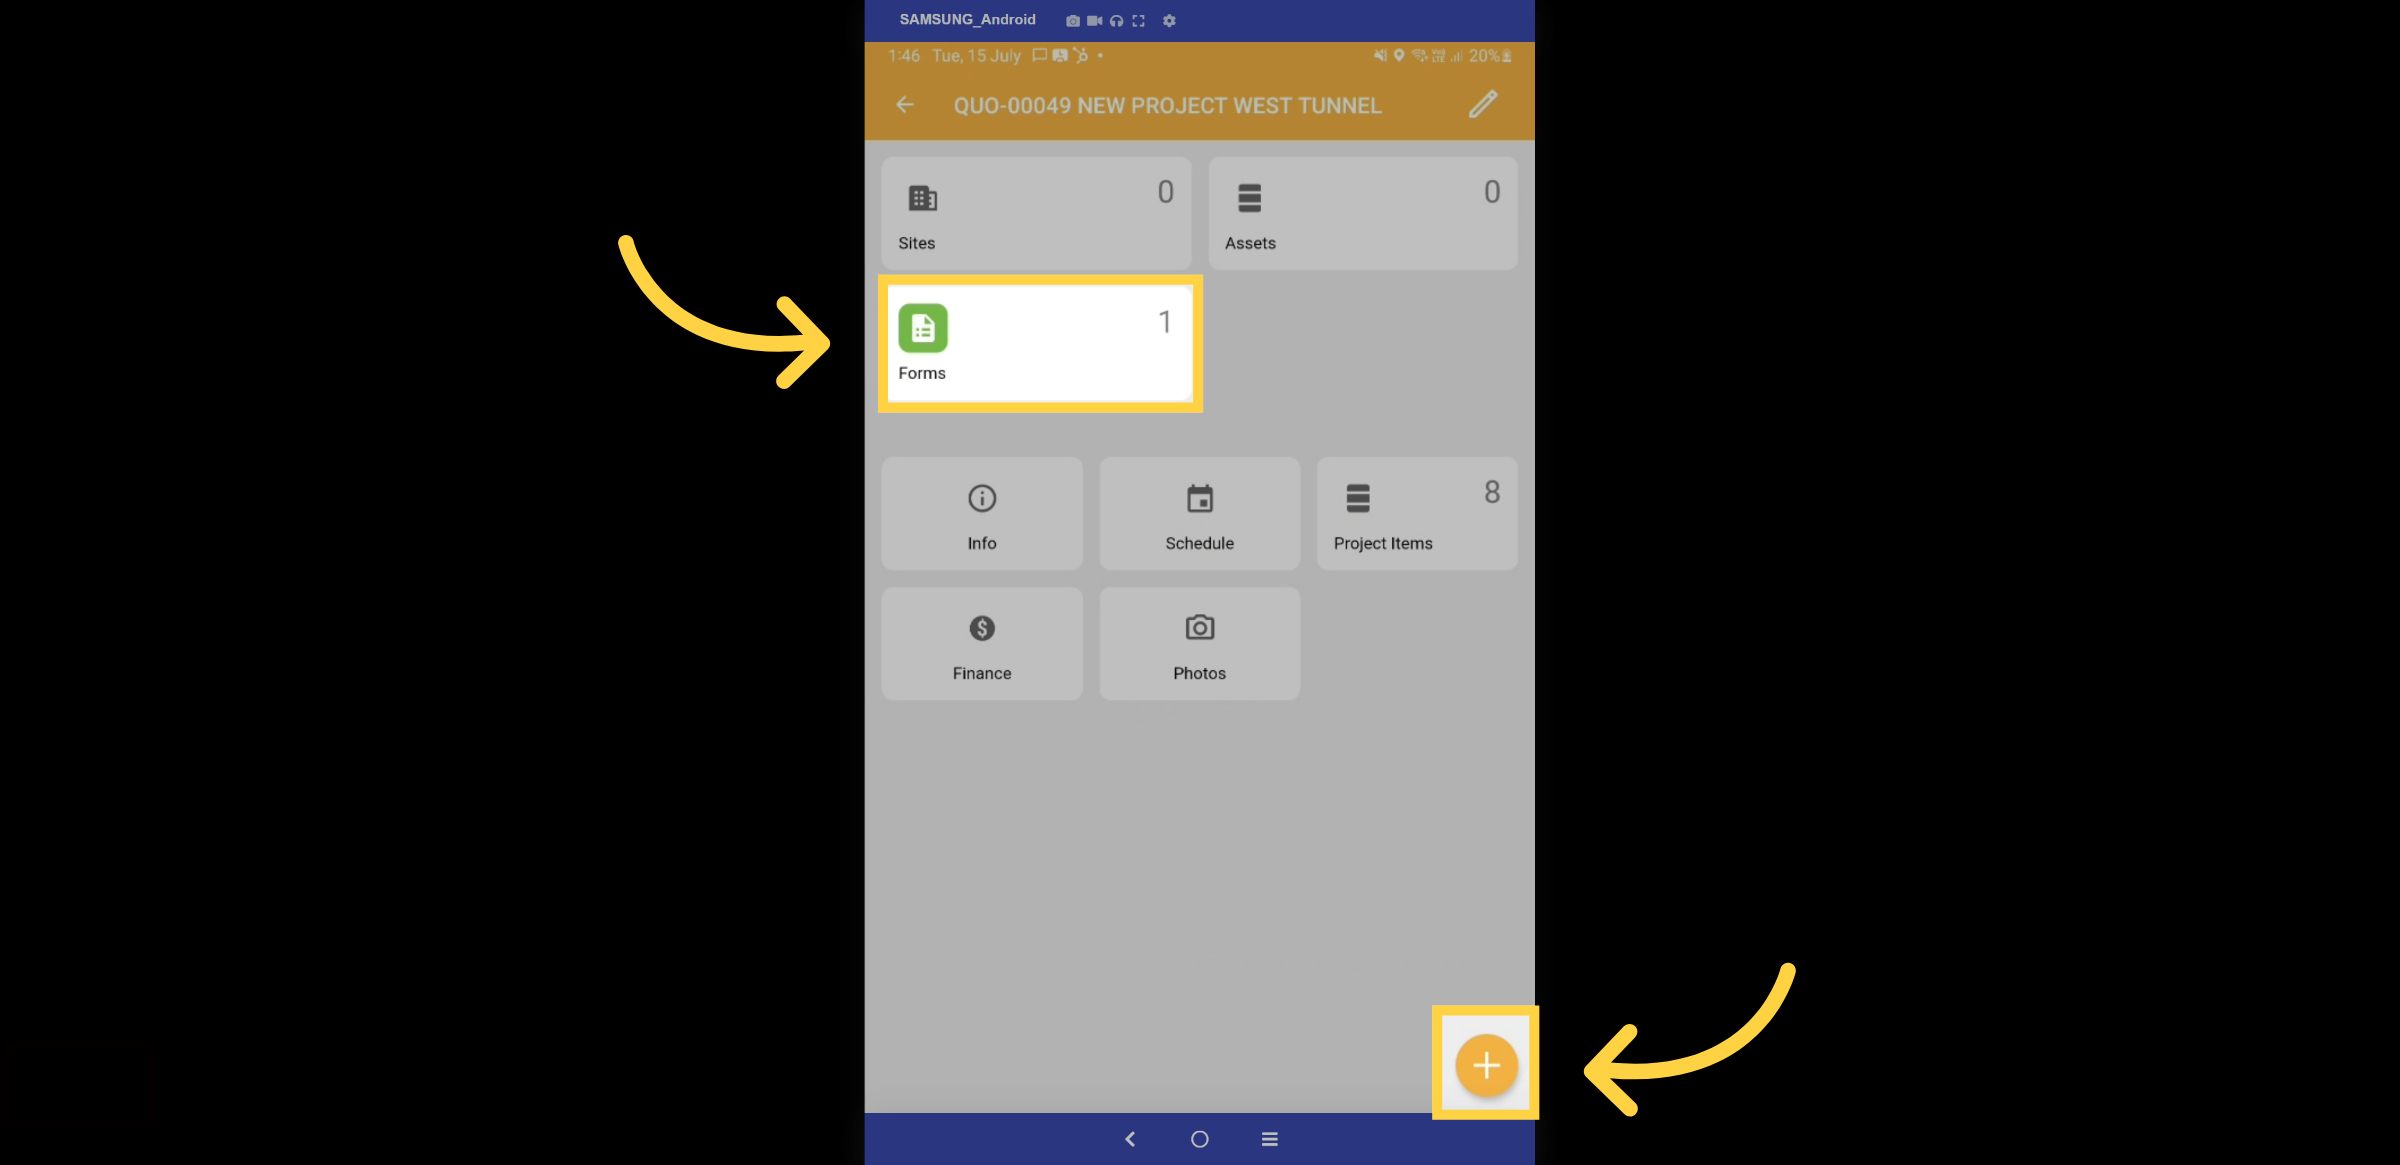
9. Project Container
Within the Project container, you can track all project progress and find more details in the mobile guides. Today, we will focus on the compliance forms. To create a new form, select the + icon.
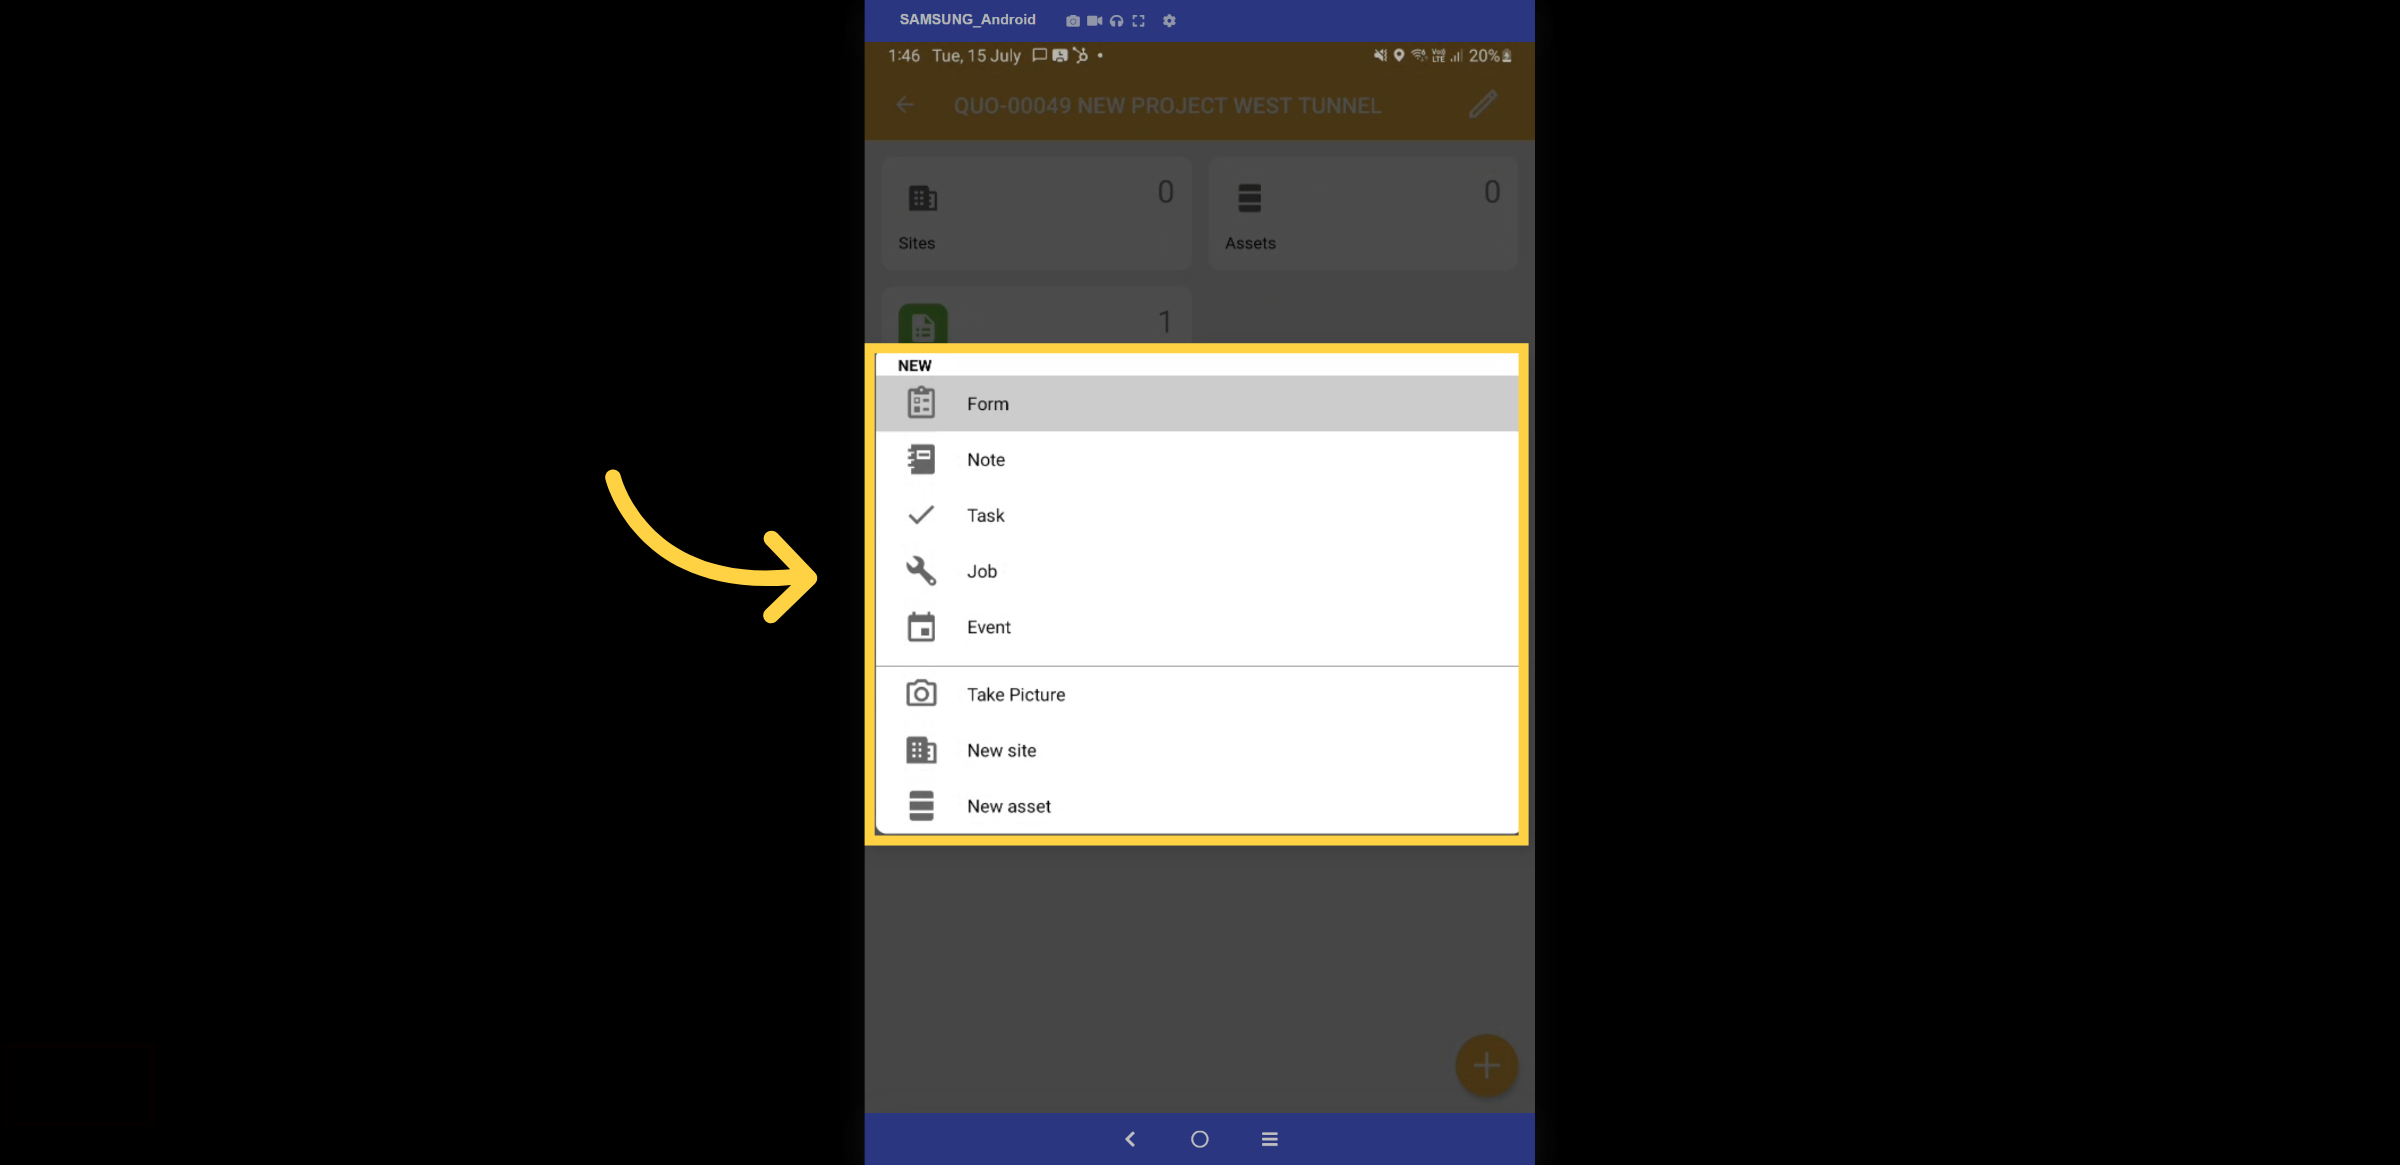
10. Select Forms
Here, you can create forms, notes, tasks, and more. Please select forms.
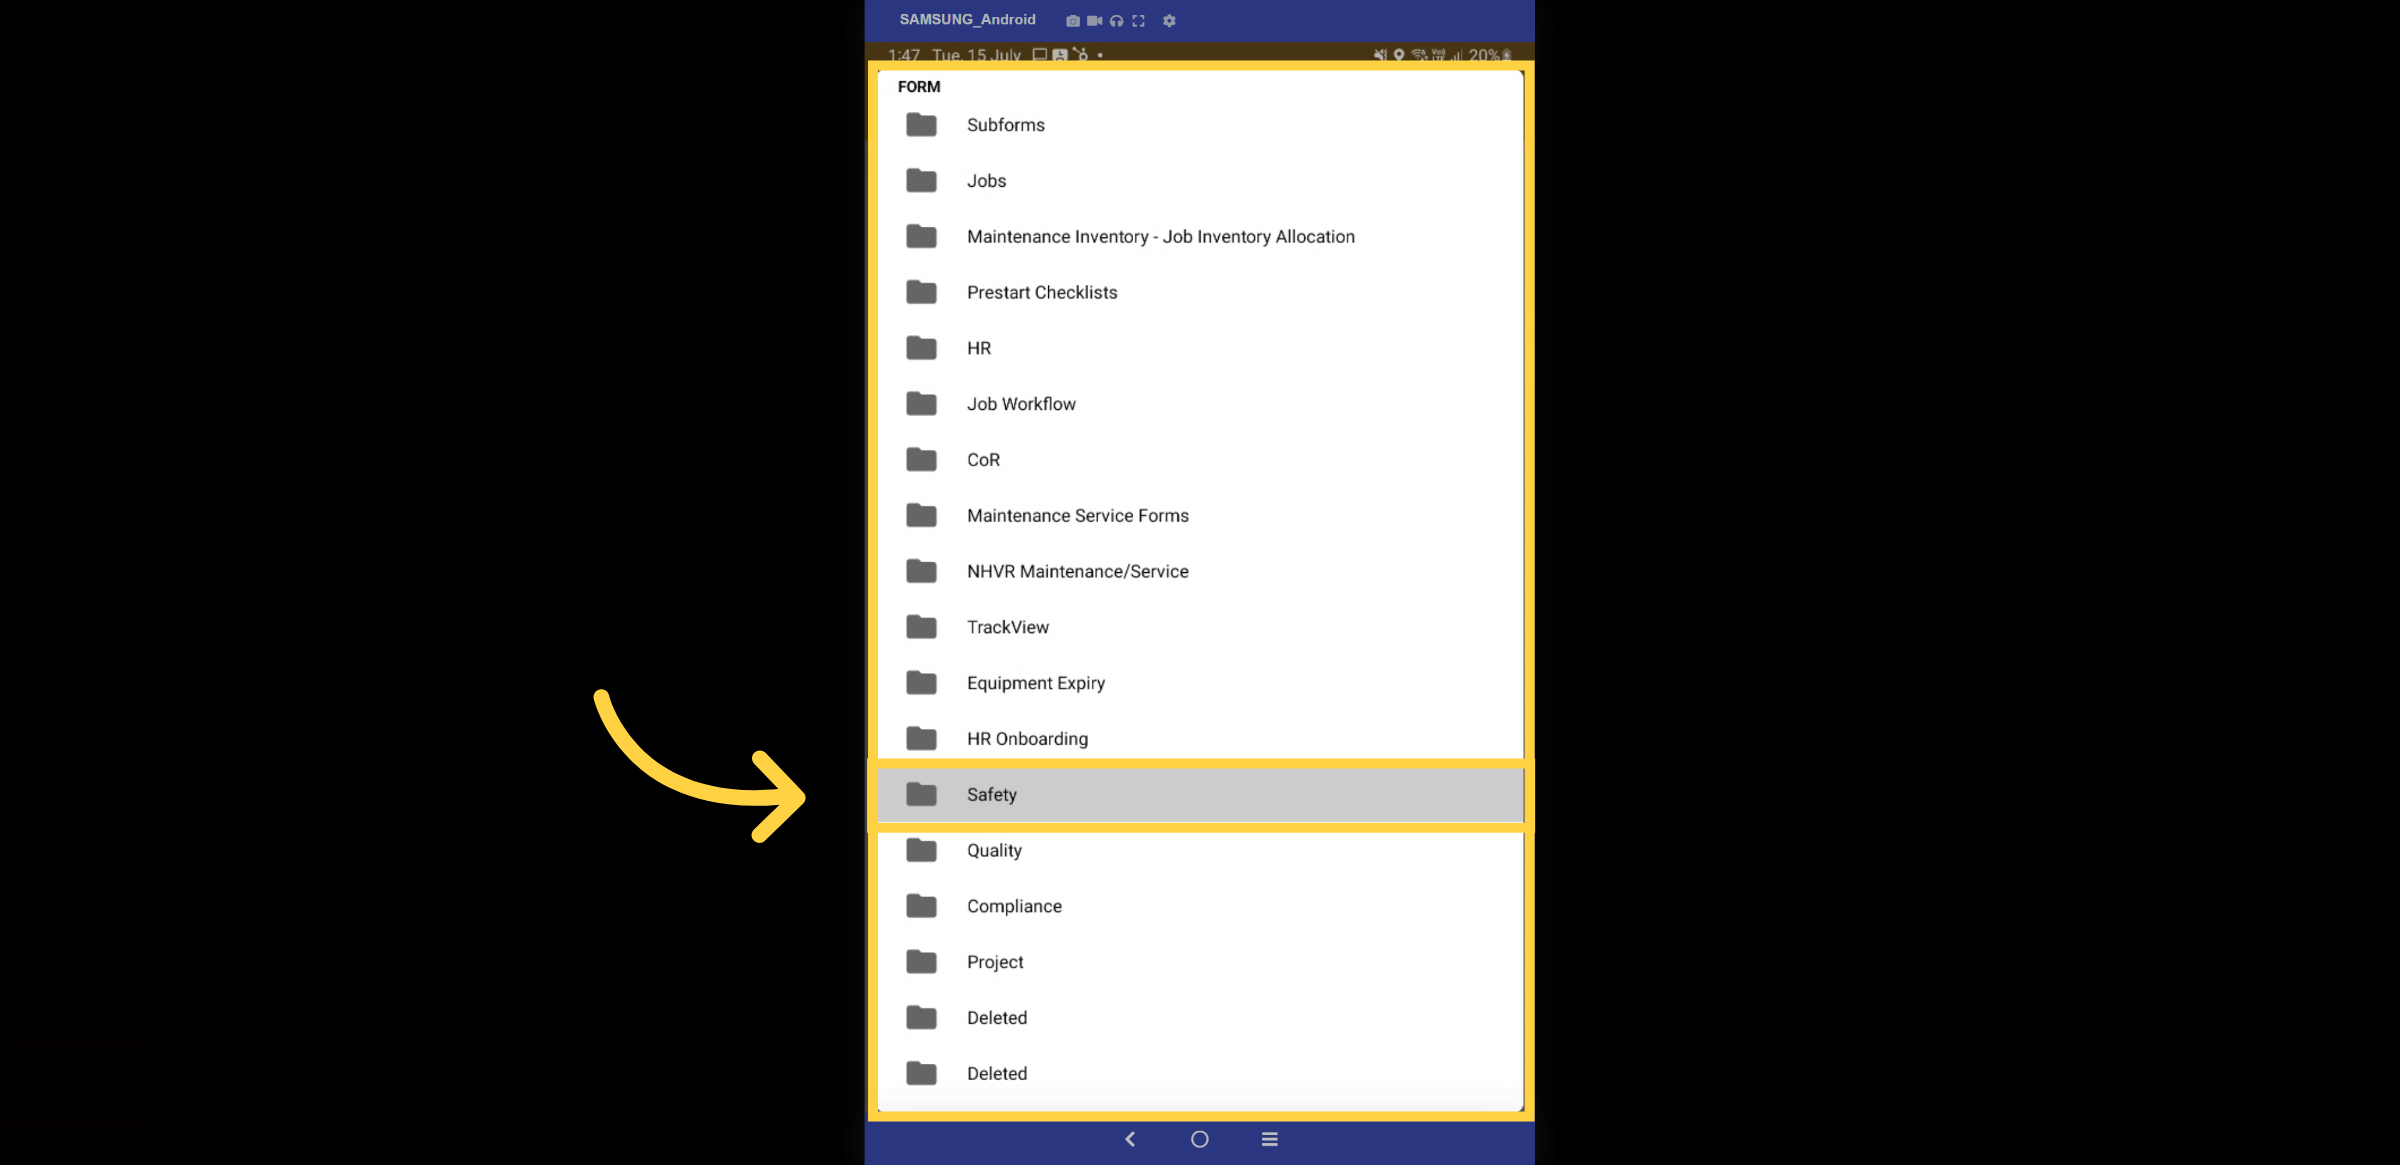
11. Safety Folders
Here, you can view all the folders connected to the Projects module. Let's select the Safety Folder.
12. Safety Forms
Here is a list of all your safety forms. Let’s complete a SWMS.

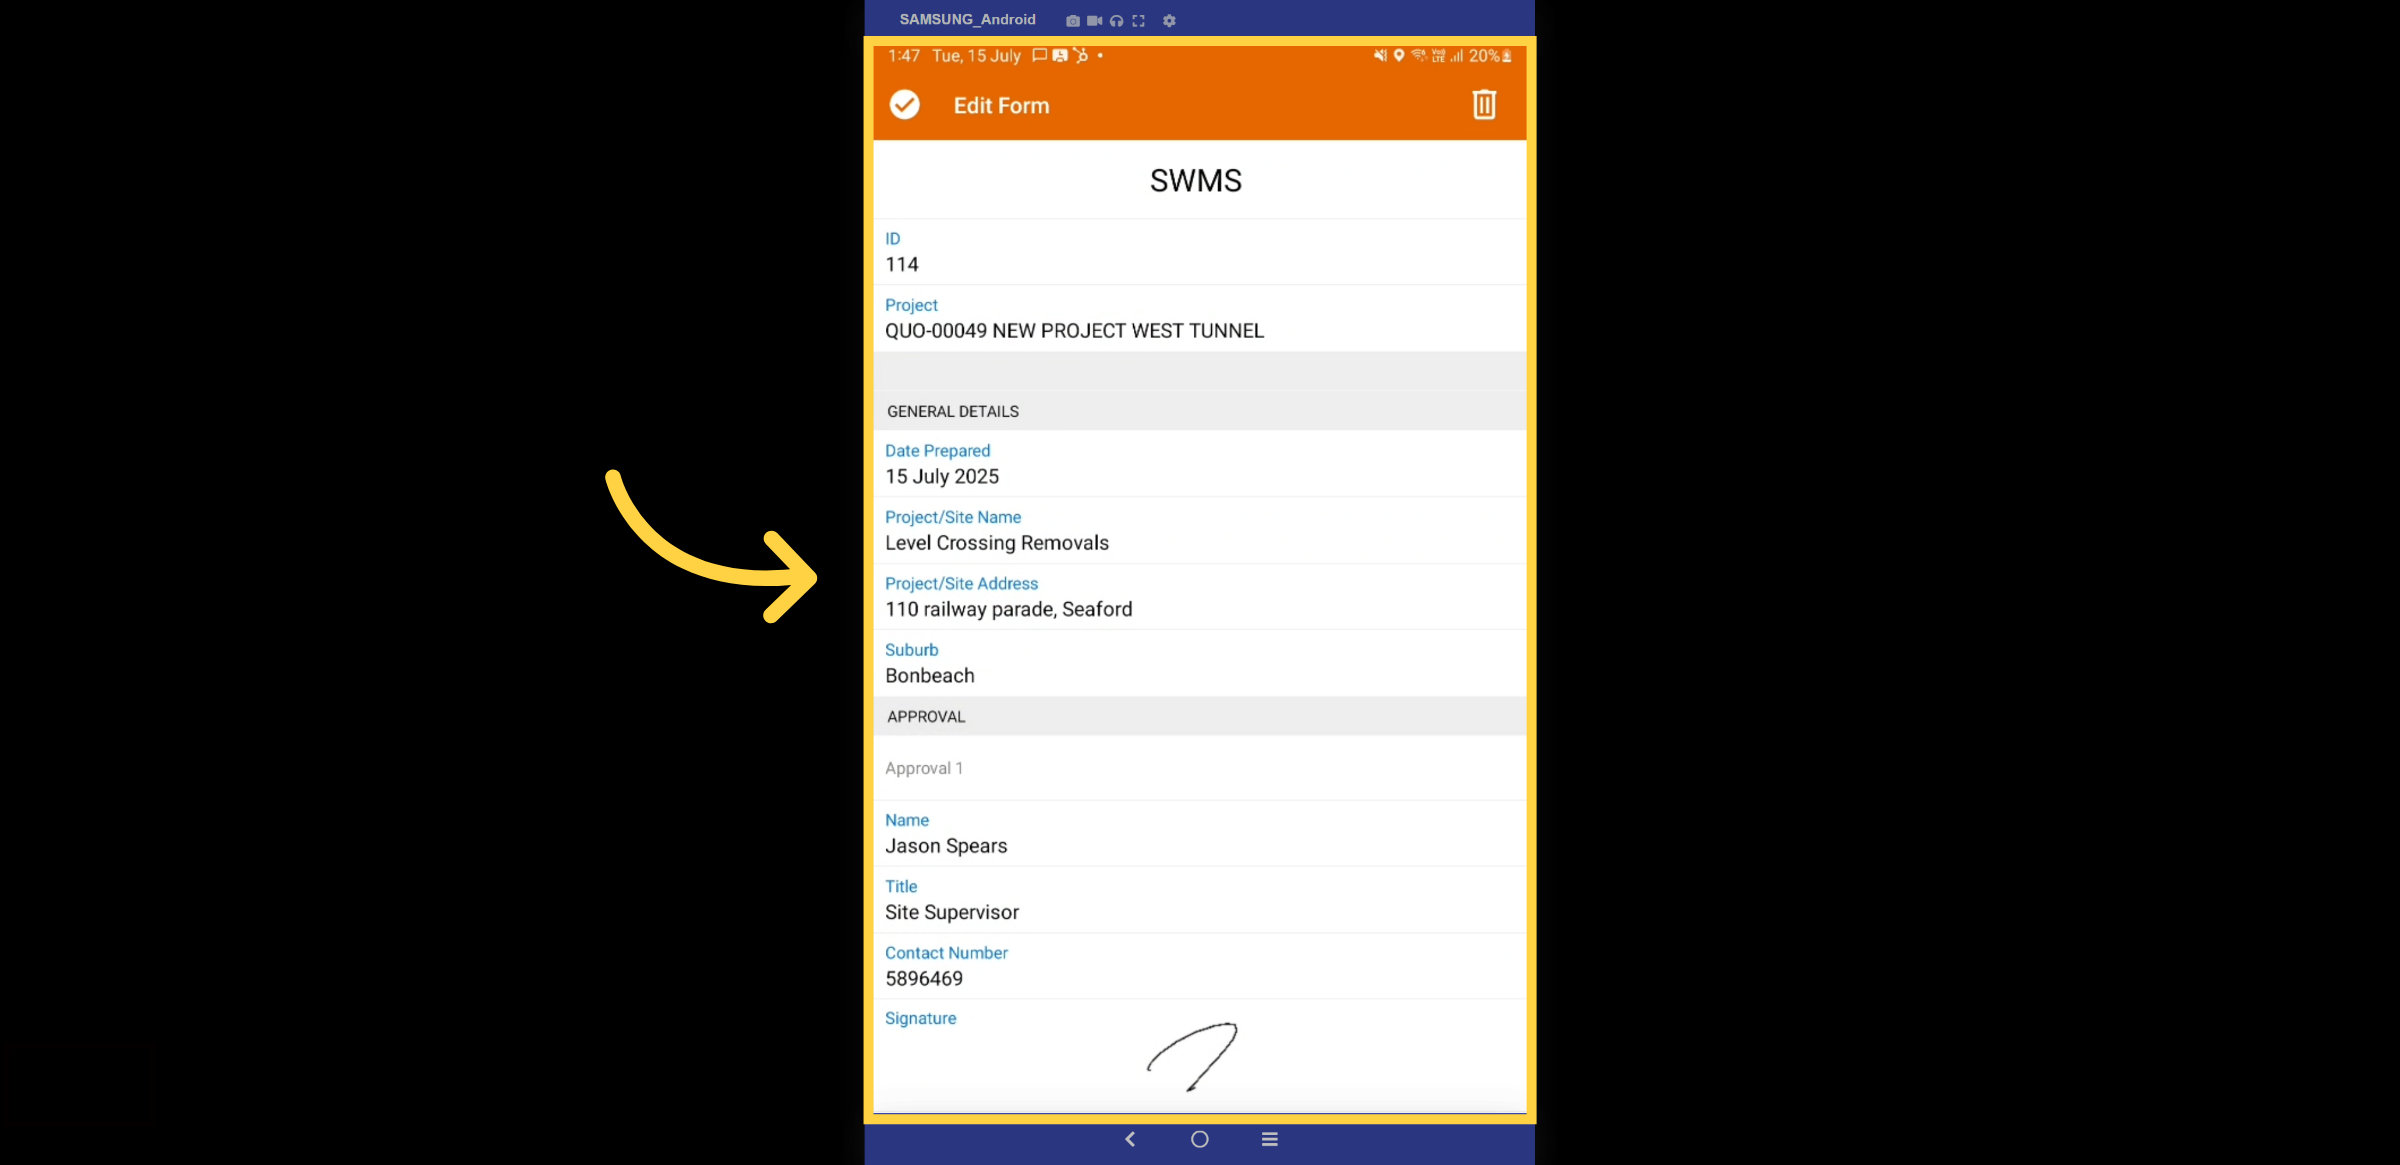
13. Fill in Details
Begin filling in the fields; some will auto-populate from the projects, including project names, addresses, dates, times, usernames, and contact numbers.
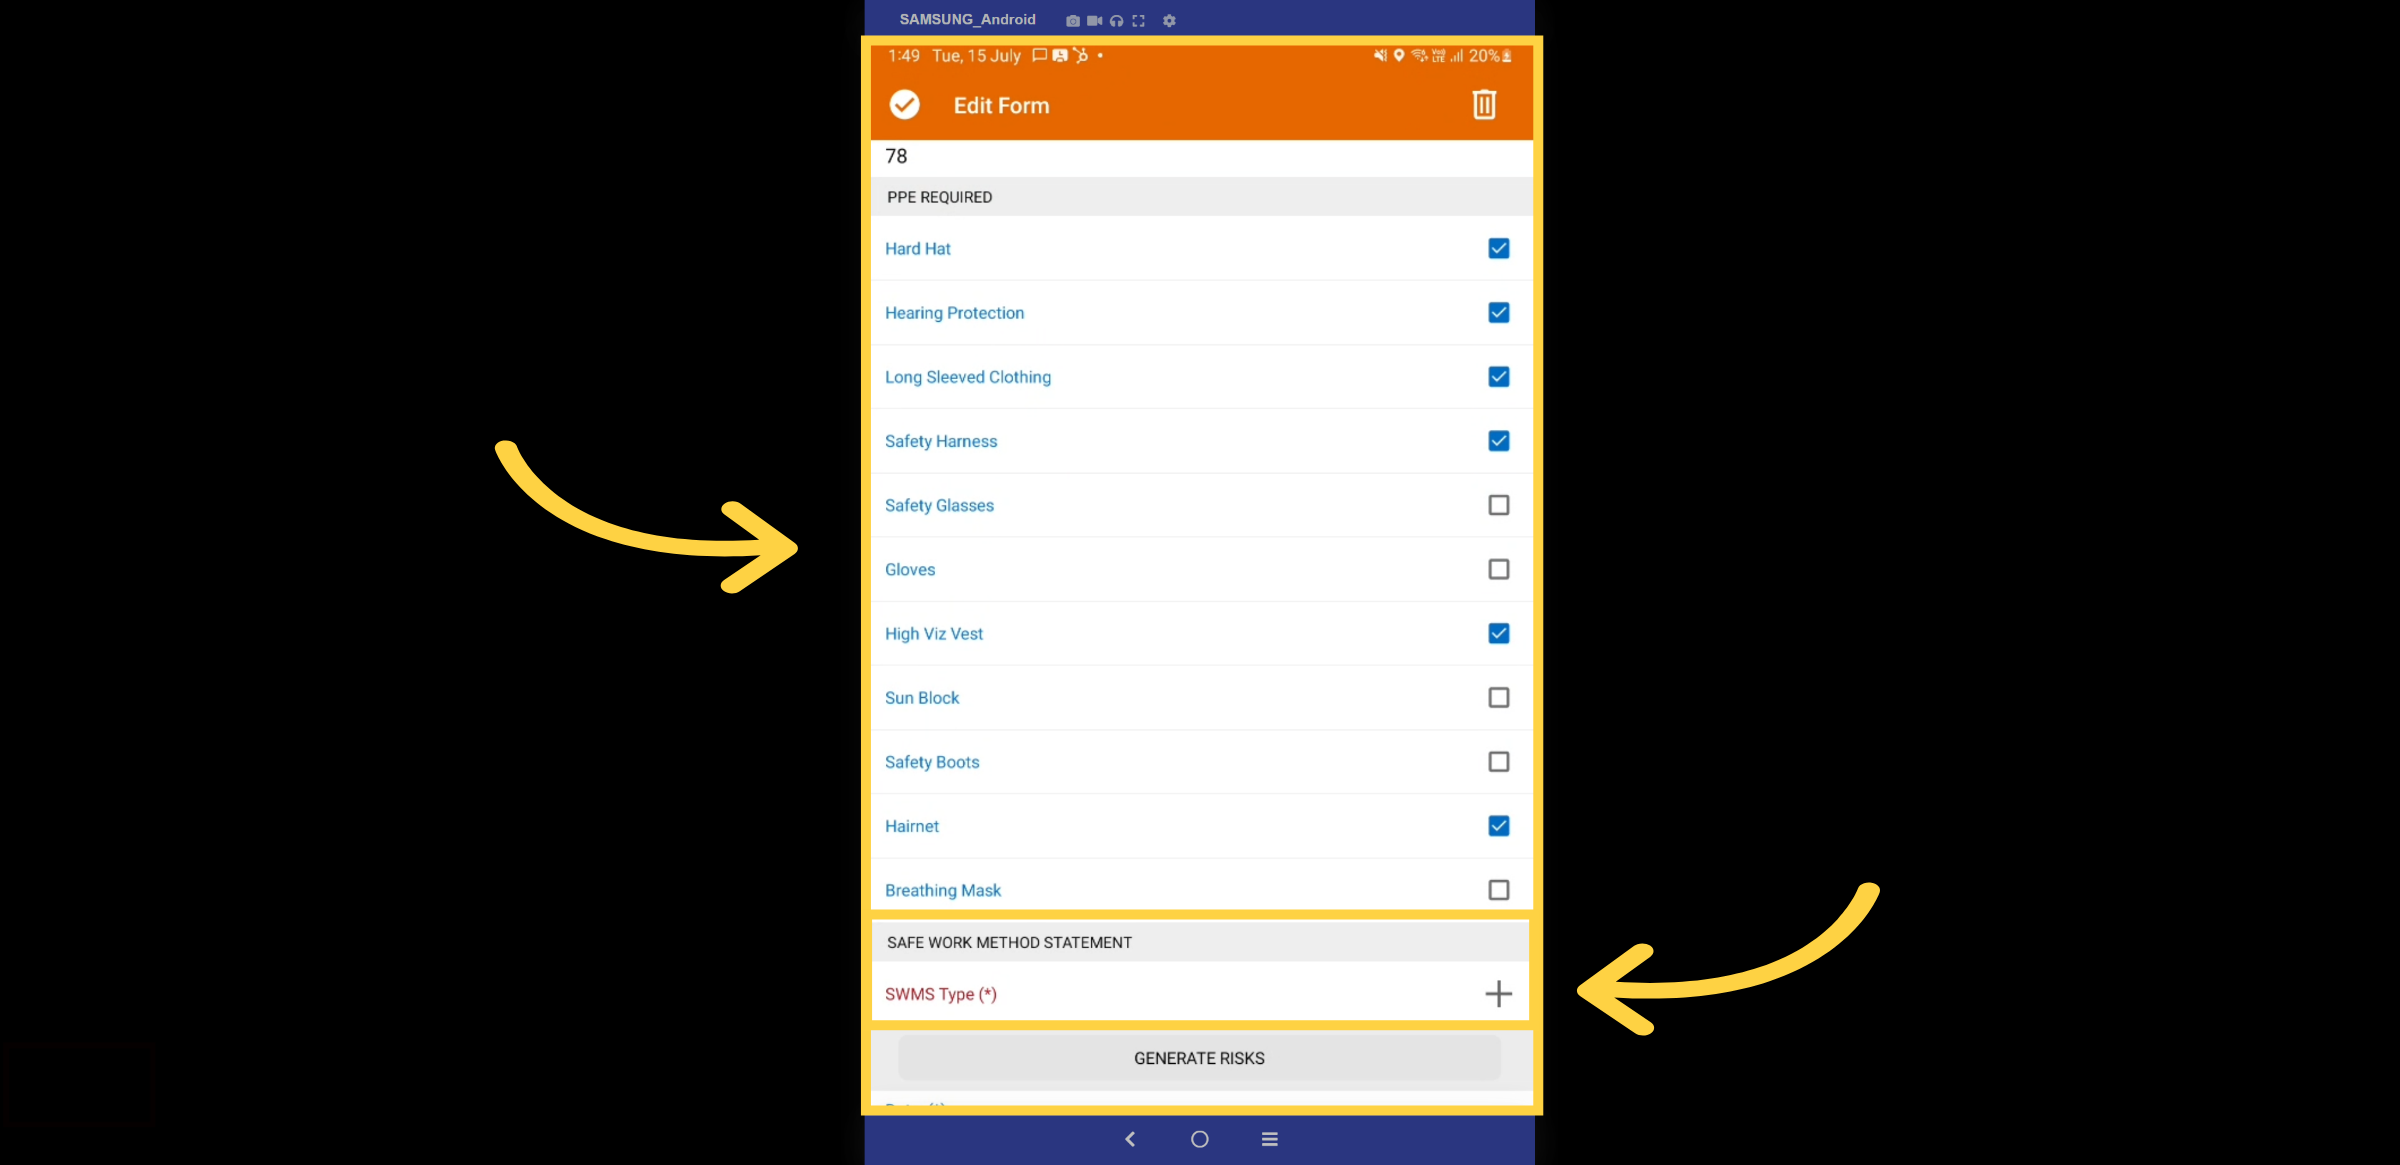
14. Checklists & SWMS Type
Complete the checklists and select the appropriate SWMS type. This will also automatically populate all the risks.
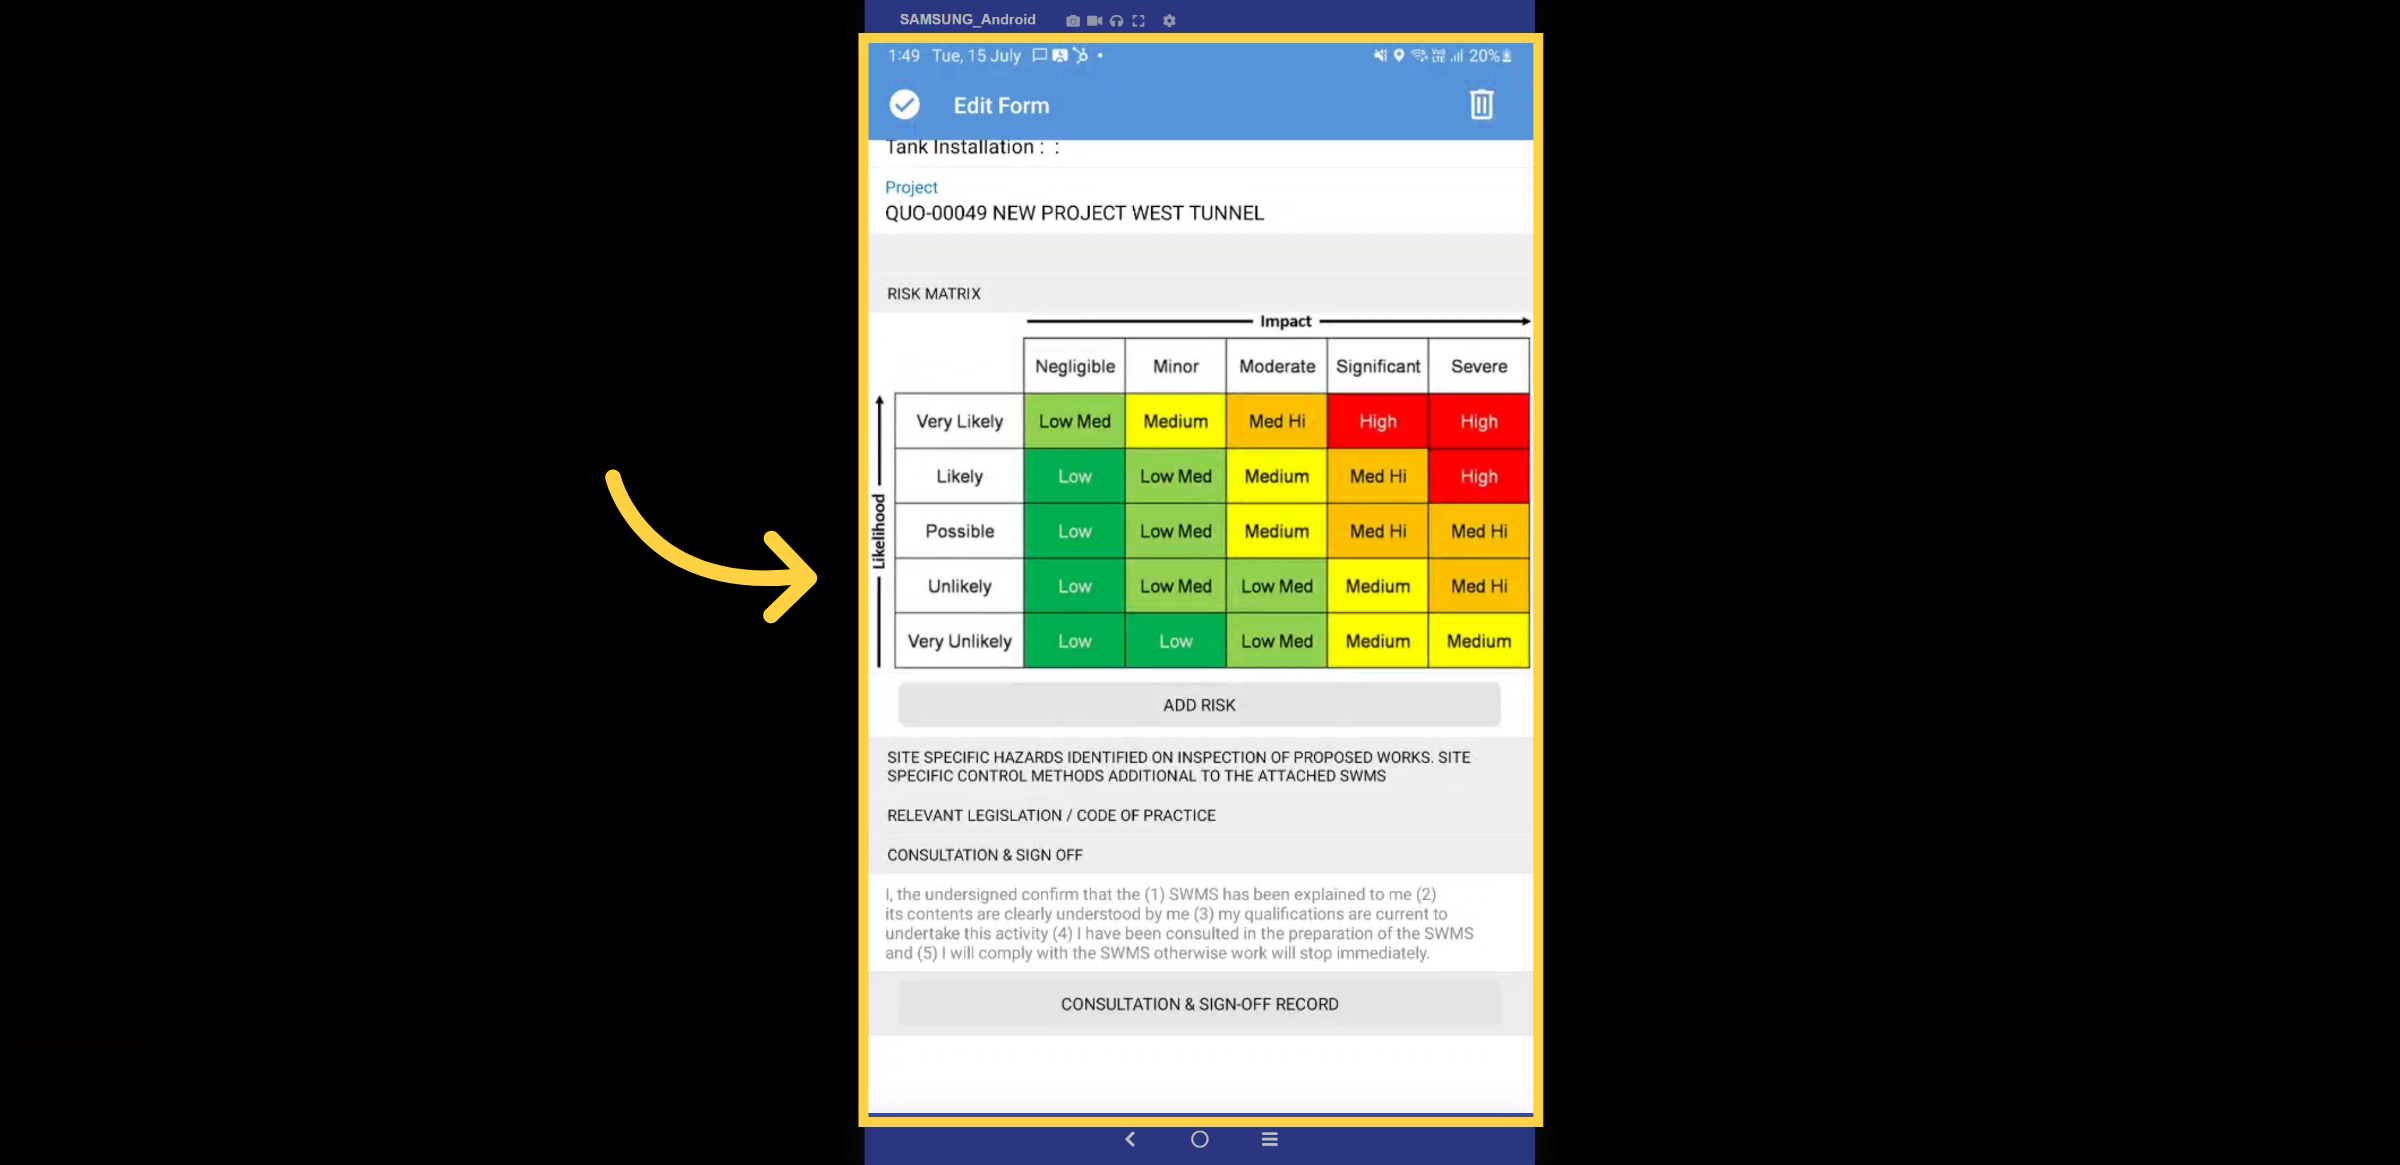
15. Risk Matrix
Here is an example of the risk matrix.
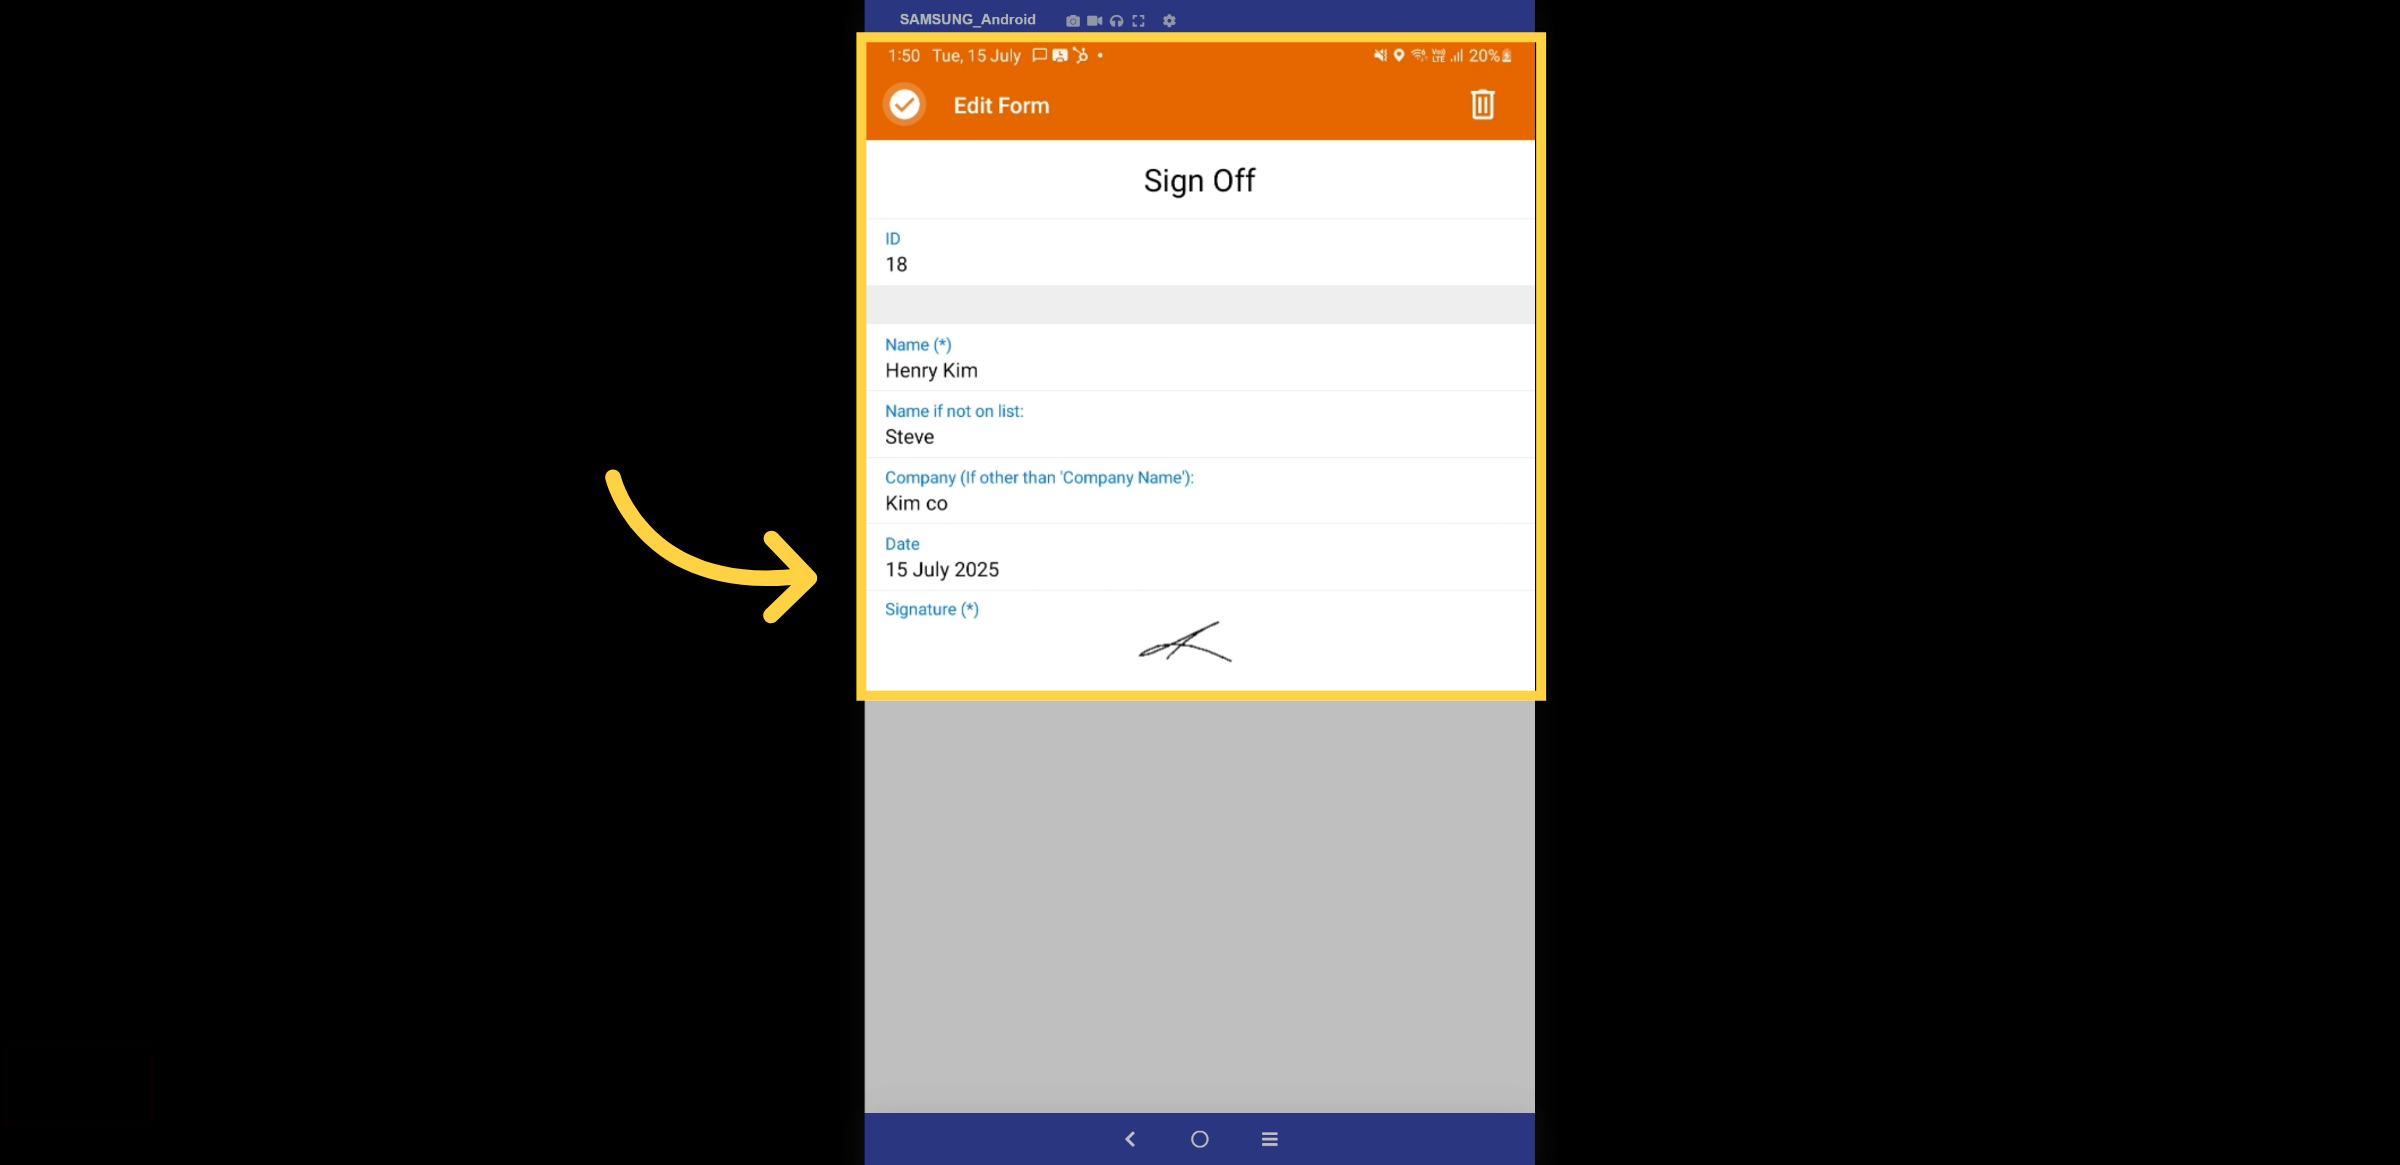
16. Sign offs
Each member scheduled for the project will receive an alert to sign off on the SWMS. Employees who have not been scheduled can also be added for this sign-off.
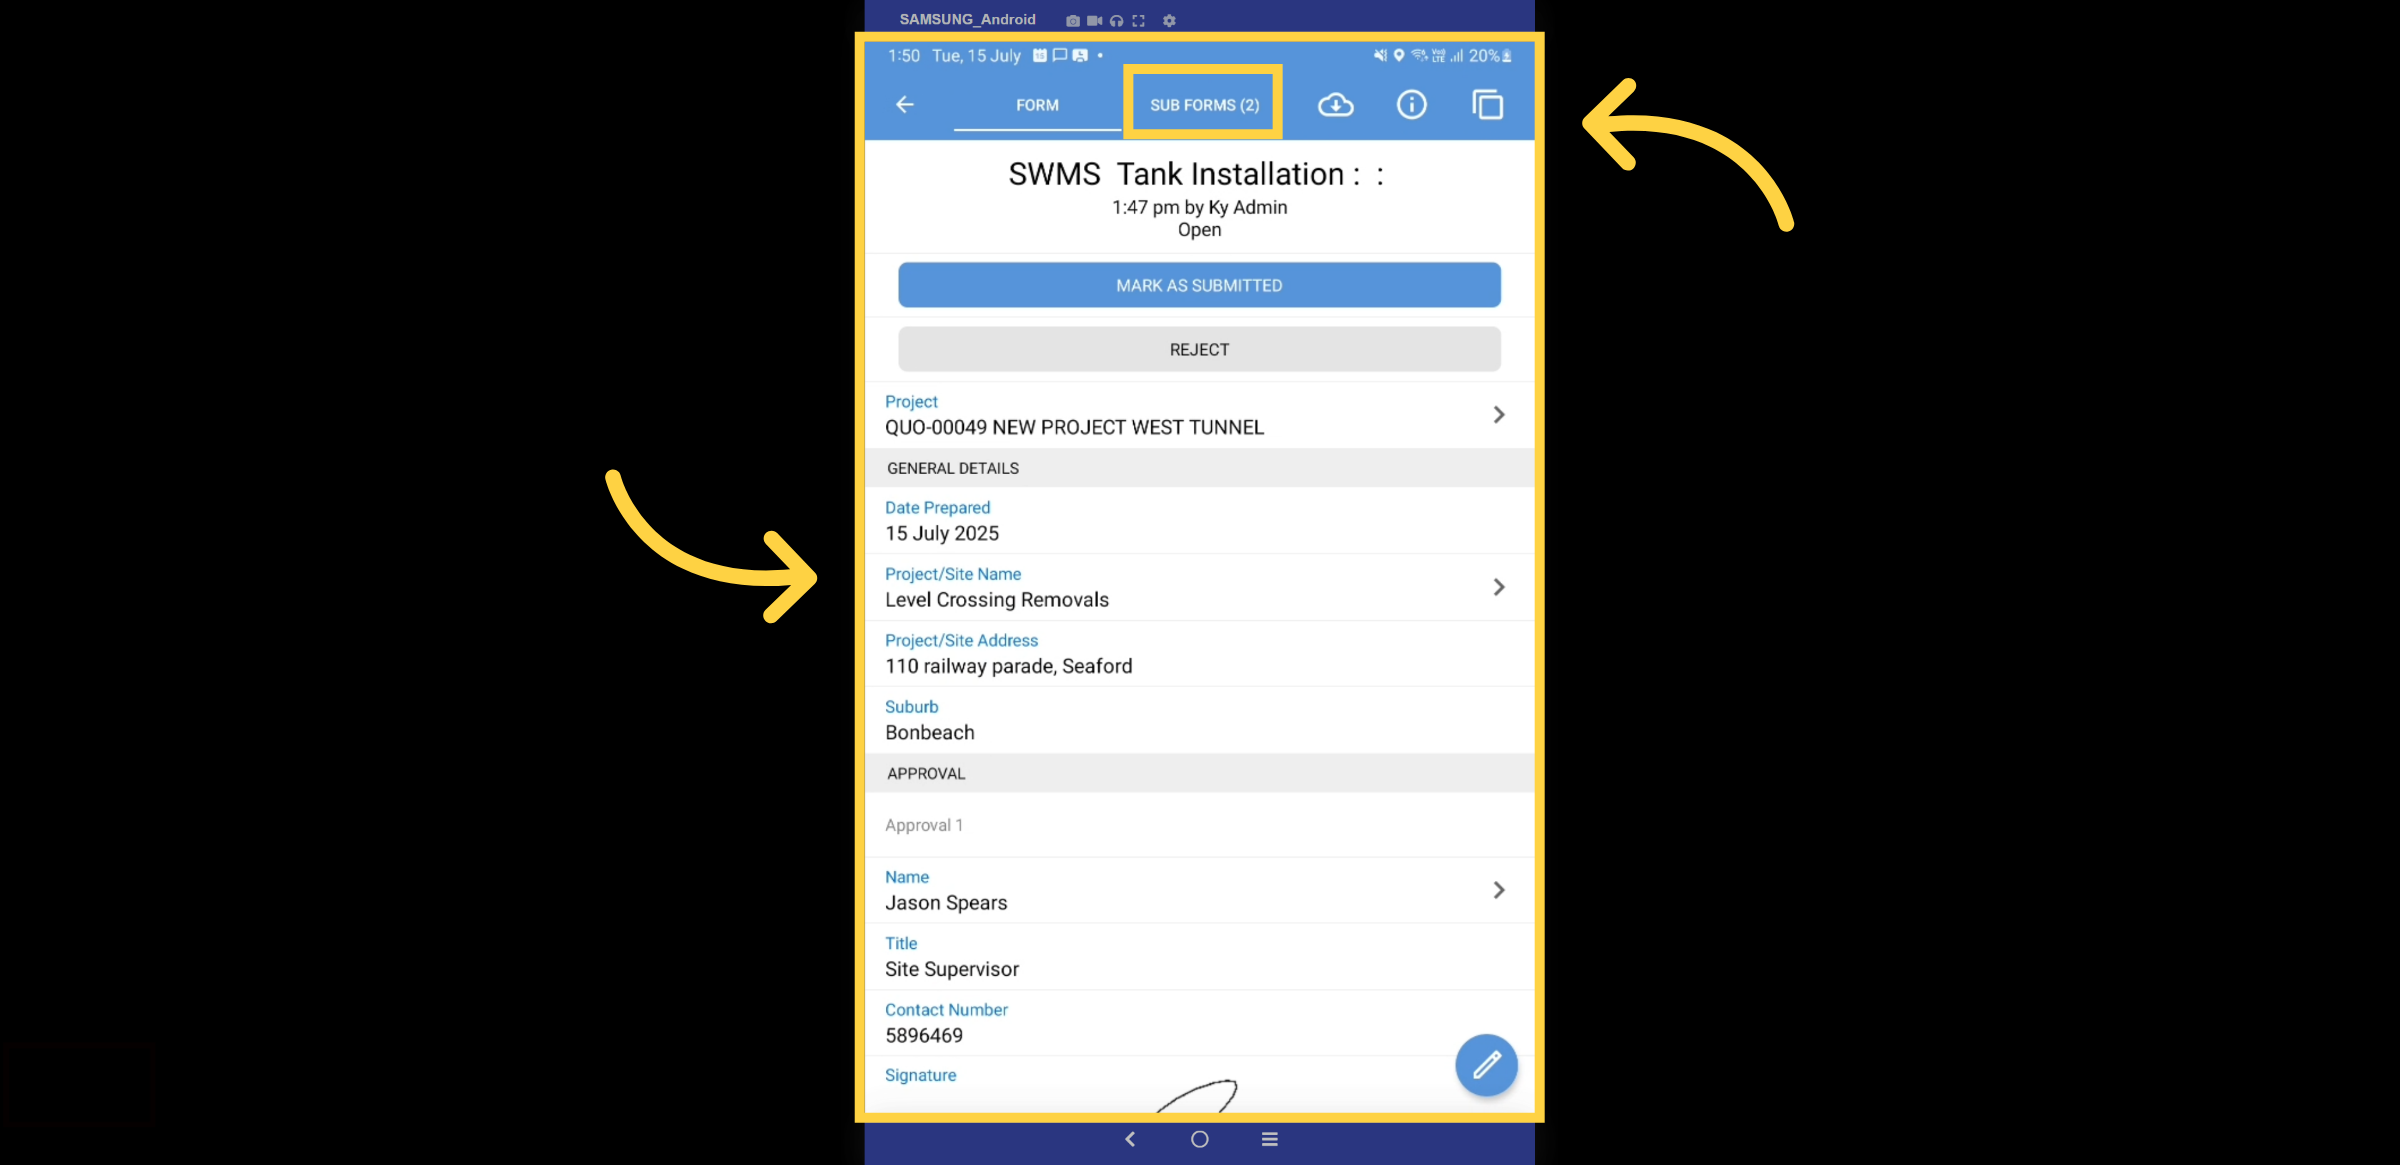
17. Completed Form
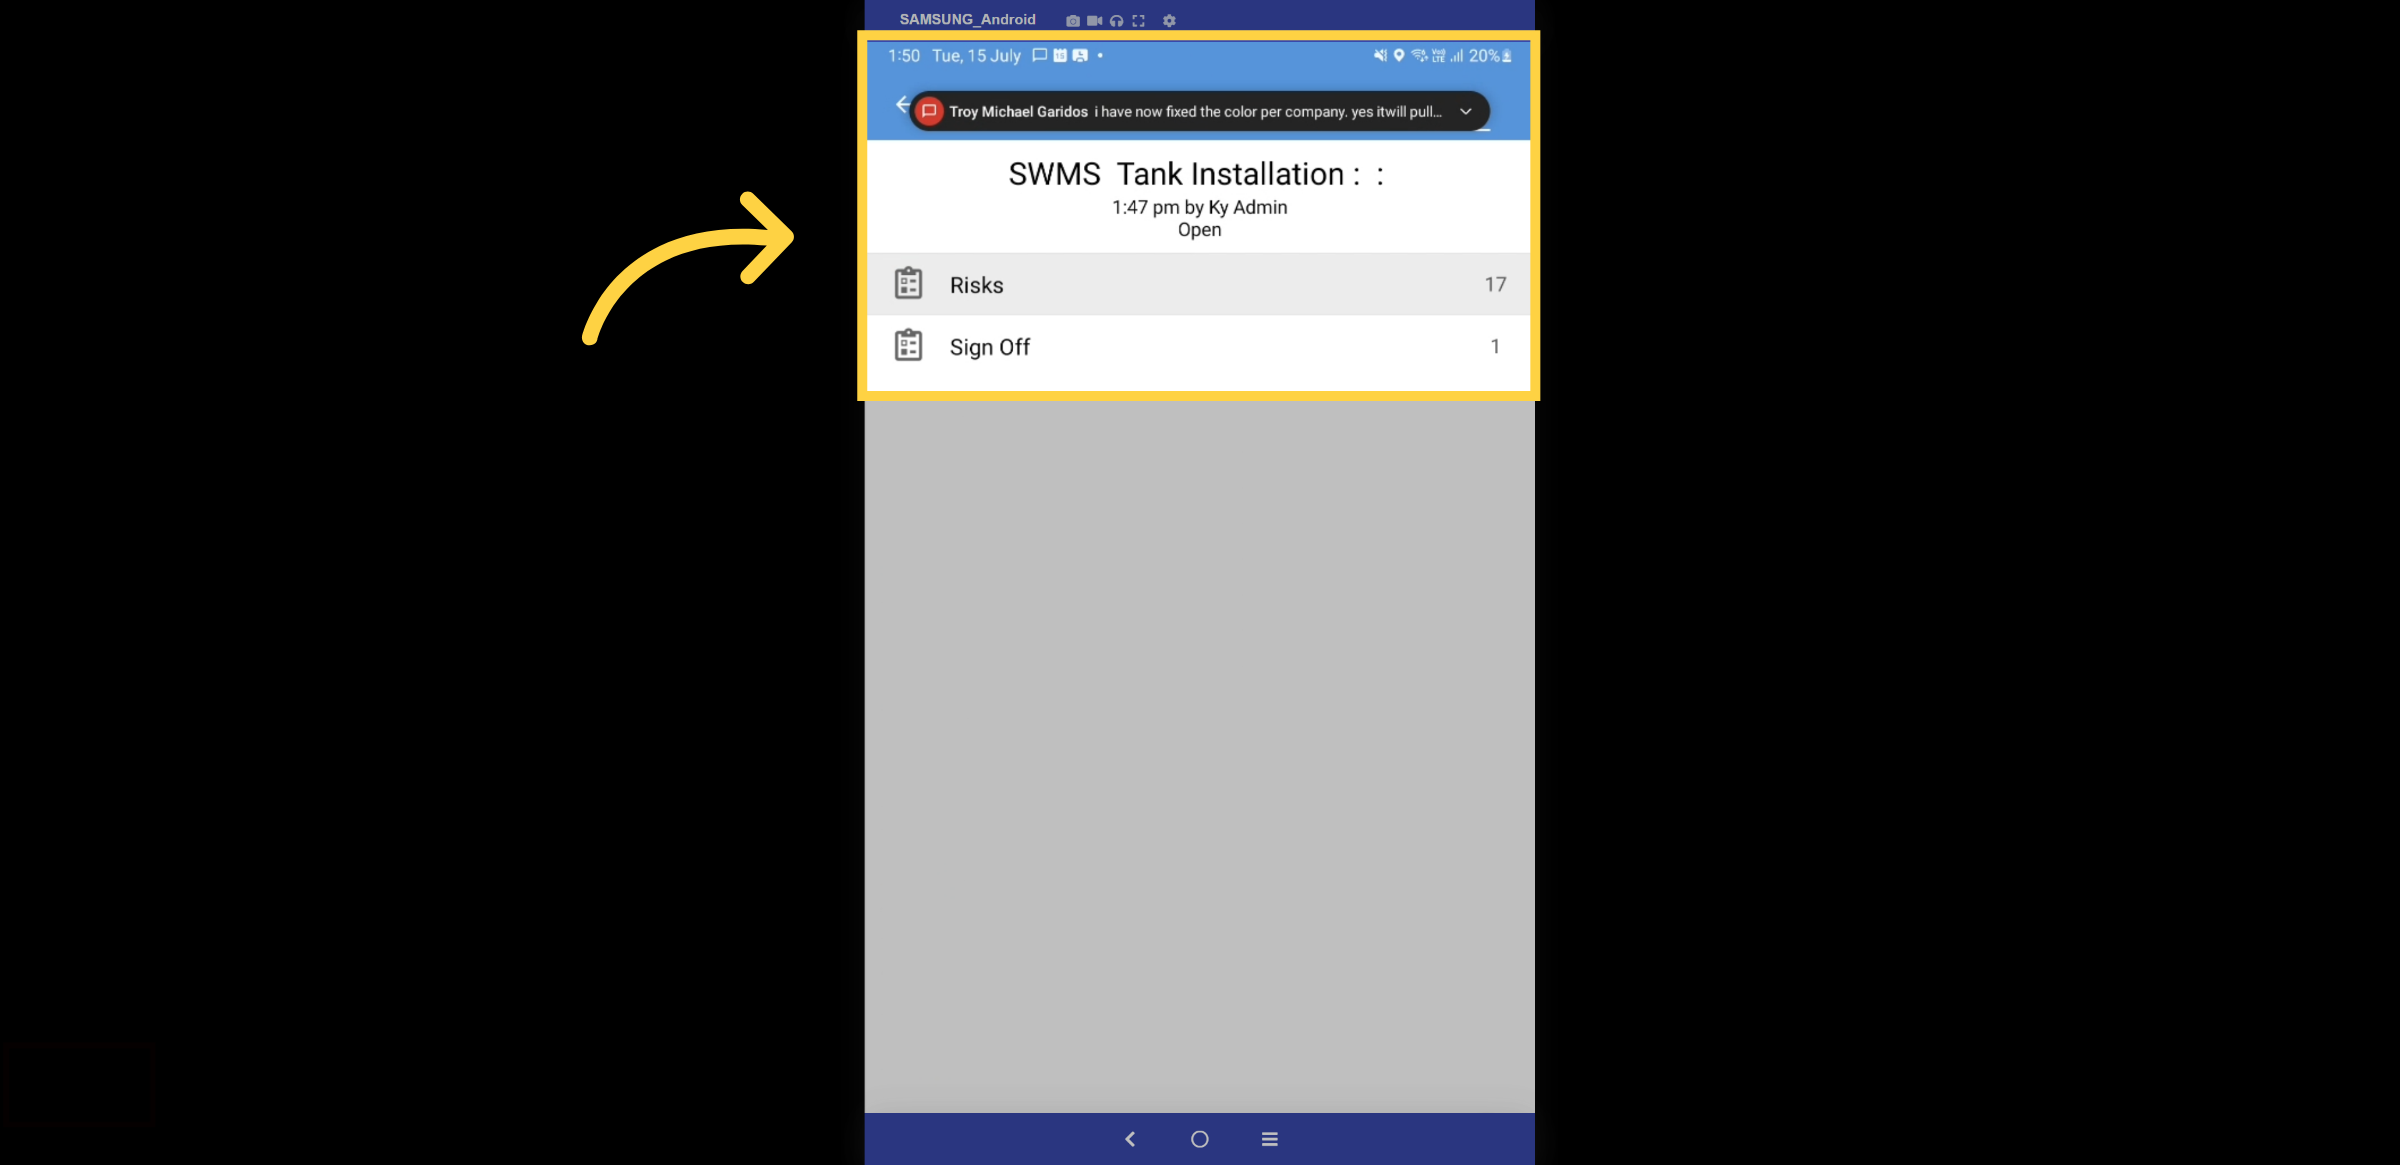
The form will turn blue, indicating that it is completed. Please select the Sub Forms tab.
18. Risks & Sign Offs
In this section, you will find two tabs: one for risks and the other containing all the sign-off signatures. Let’s explore the risks.
19. All Risks
Here woull be able to view all the risks related to this specific SWMS type. Lets exlpore one

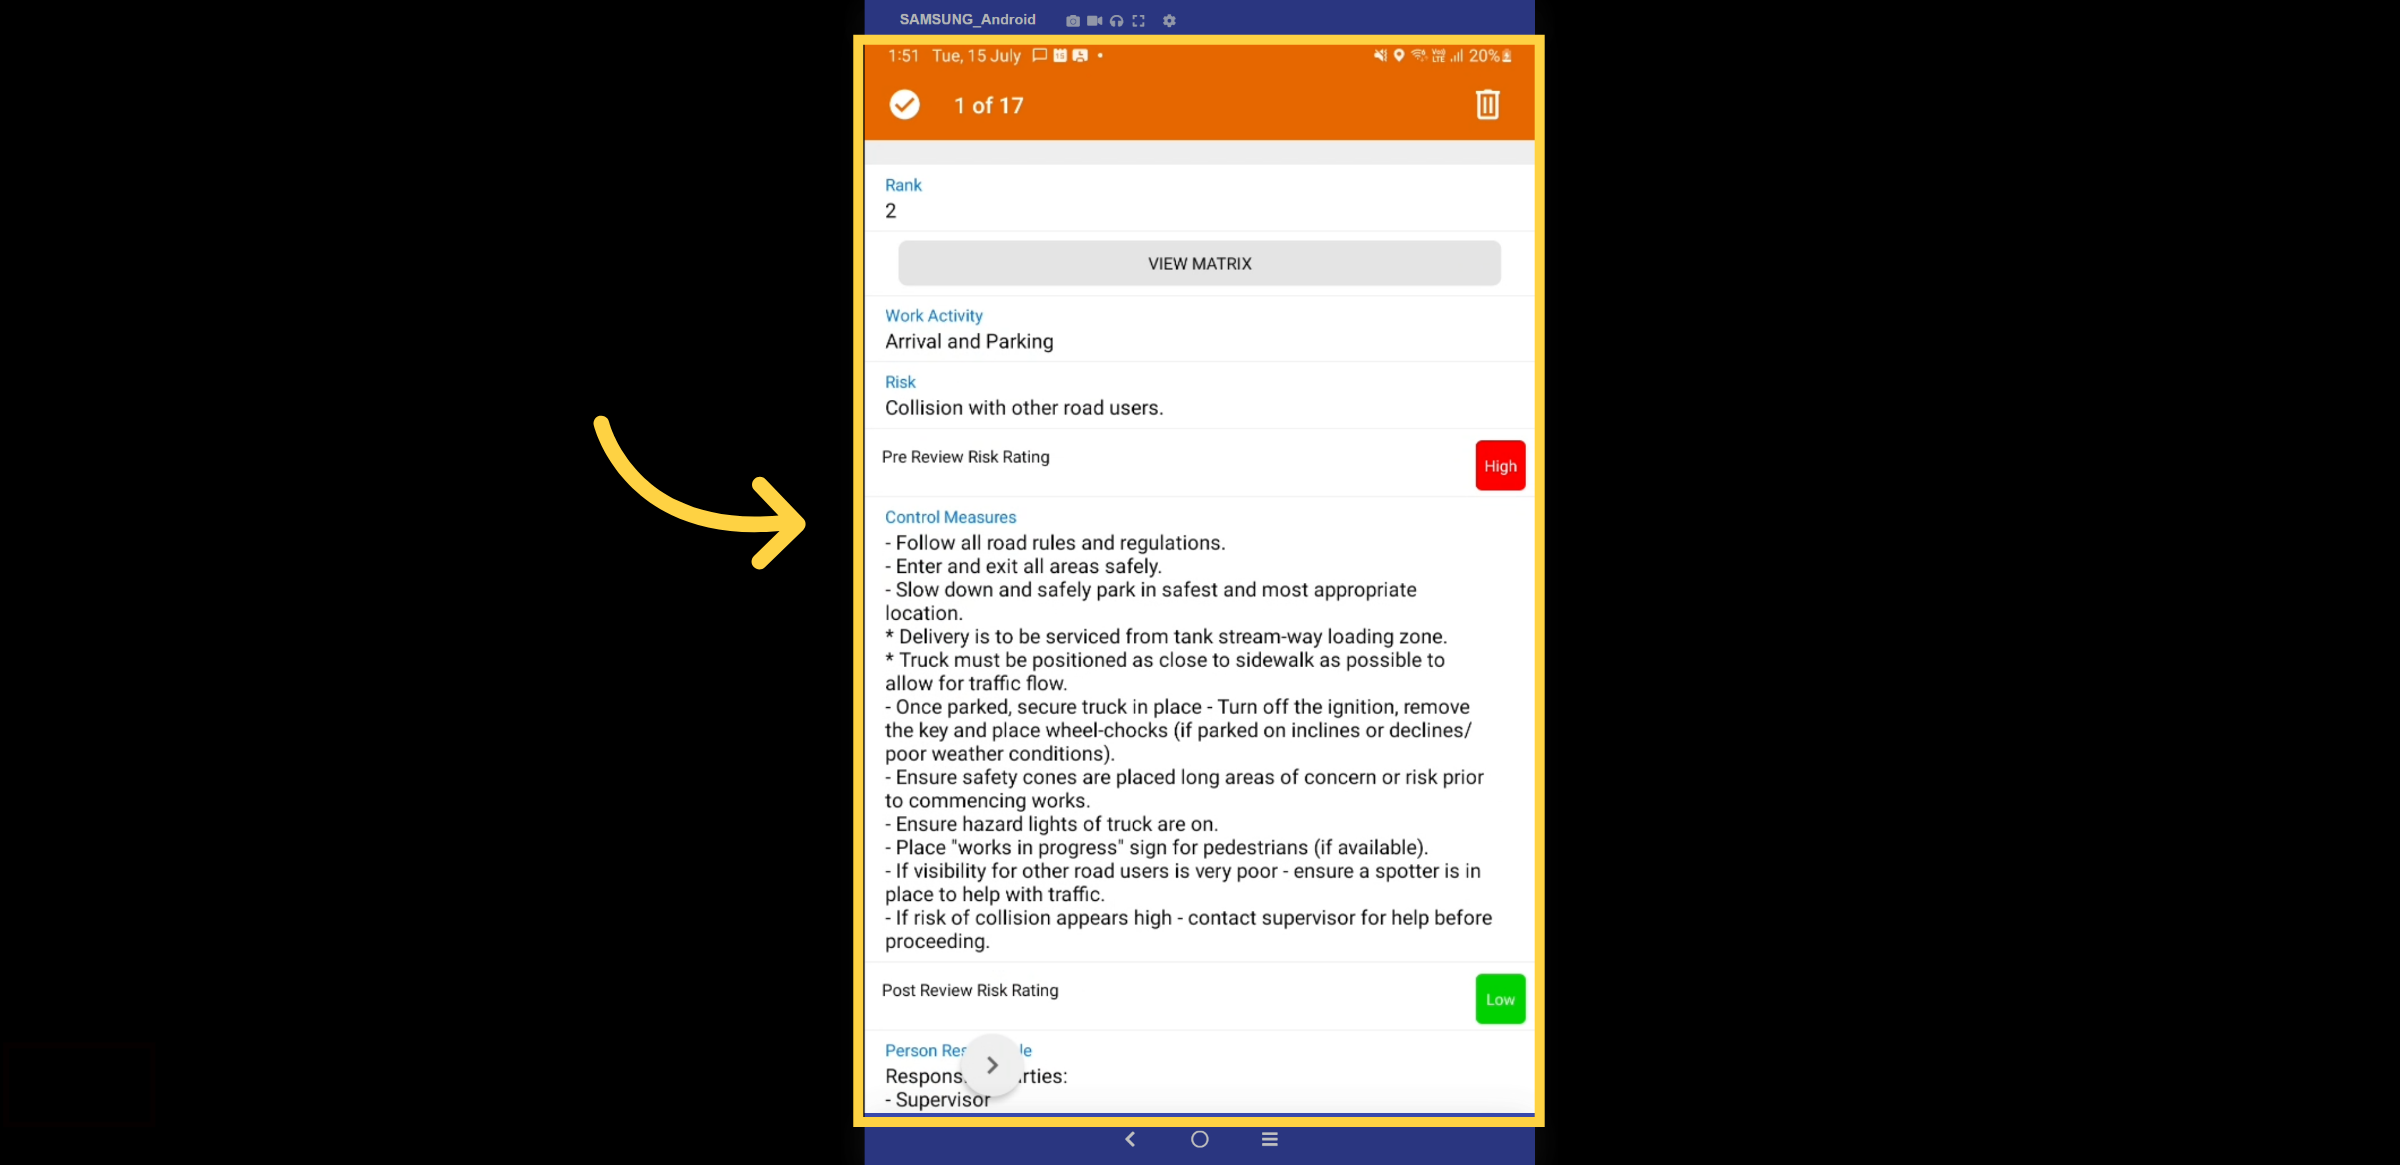
20. Risk Example
Here is an example of a collision risk involving other road users. You can view all relevant details, including the risk rating, control measures, and more.
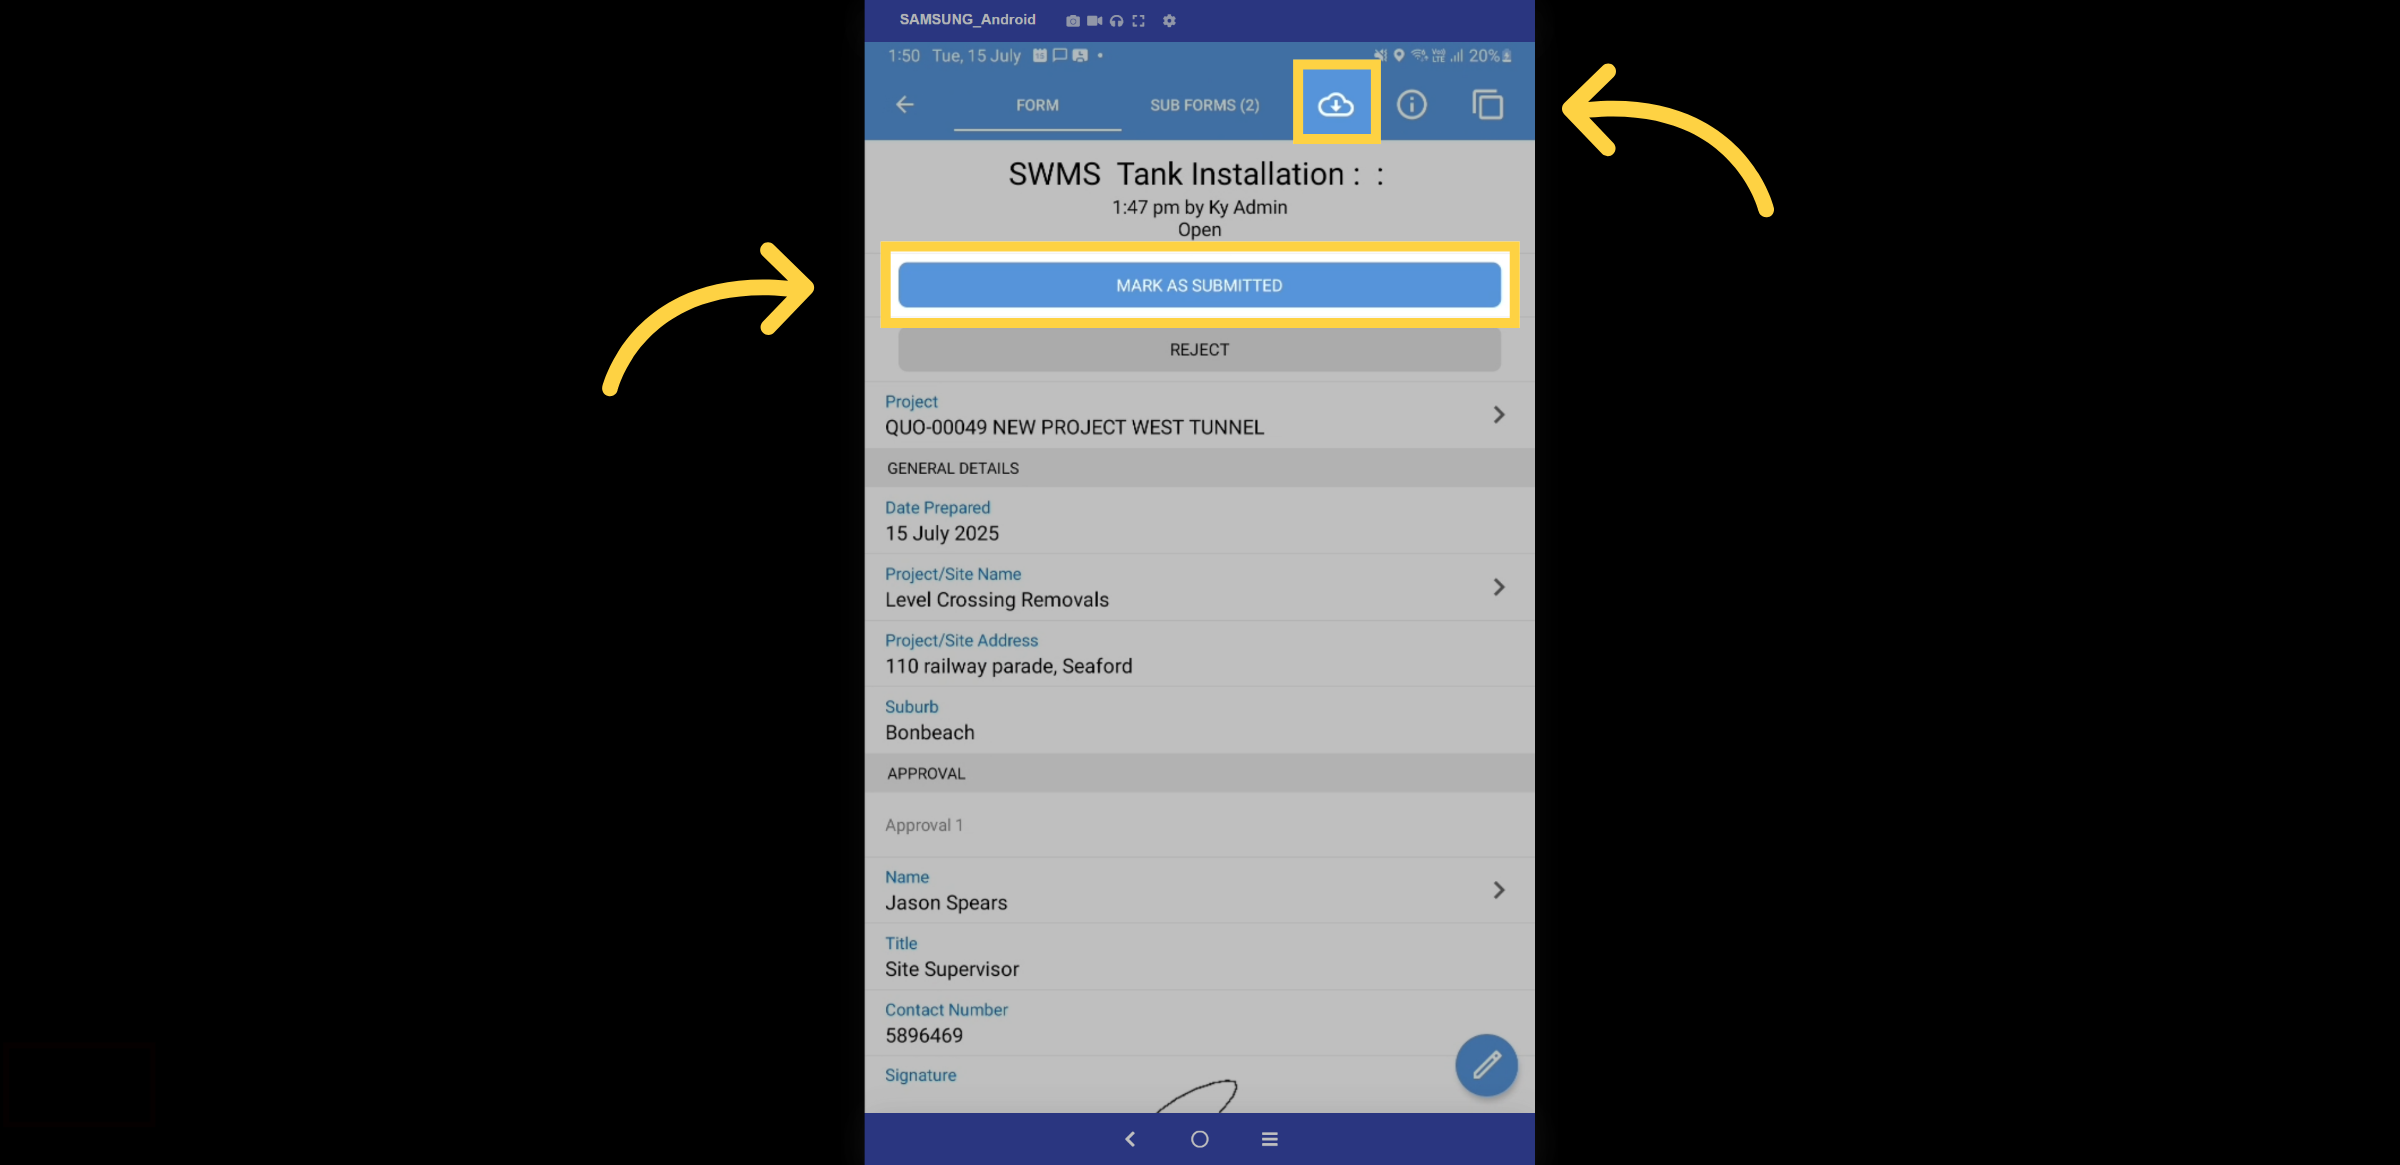
21. Submit & Export
After reviewing, click the submit button. To export the PDF of the SWMS, simply select the cloud icon.
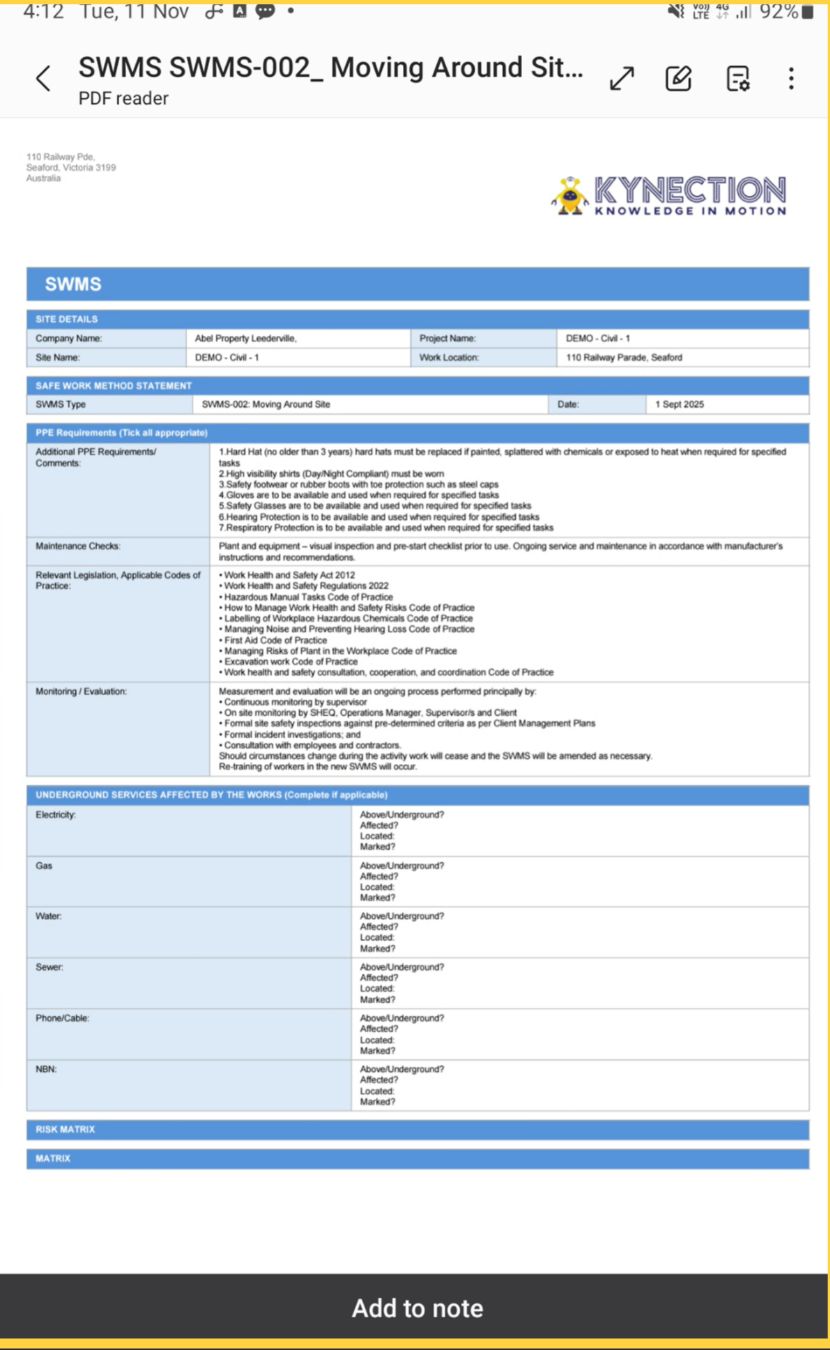
22. Export Example
Here is an example of the SWMS PDF export. The cloud icon also enables you to email the export to anyone.
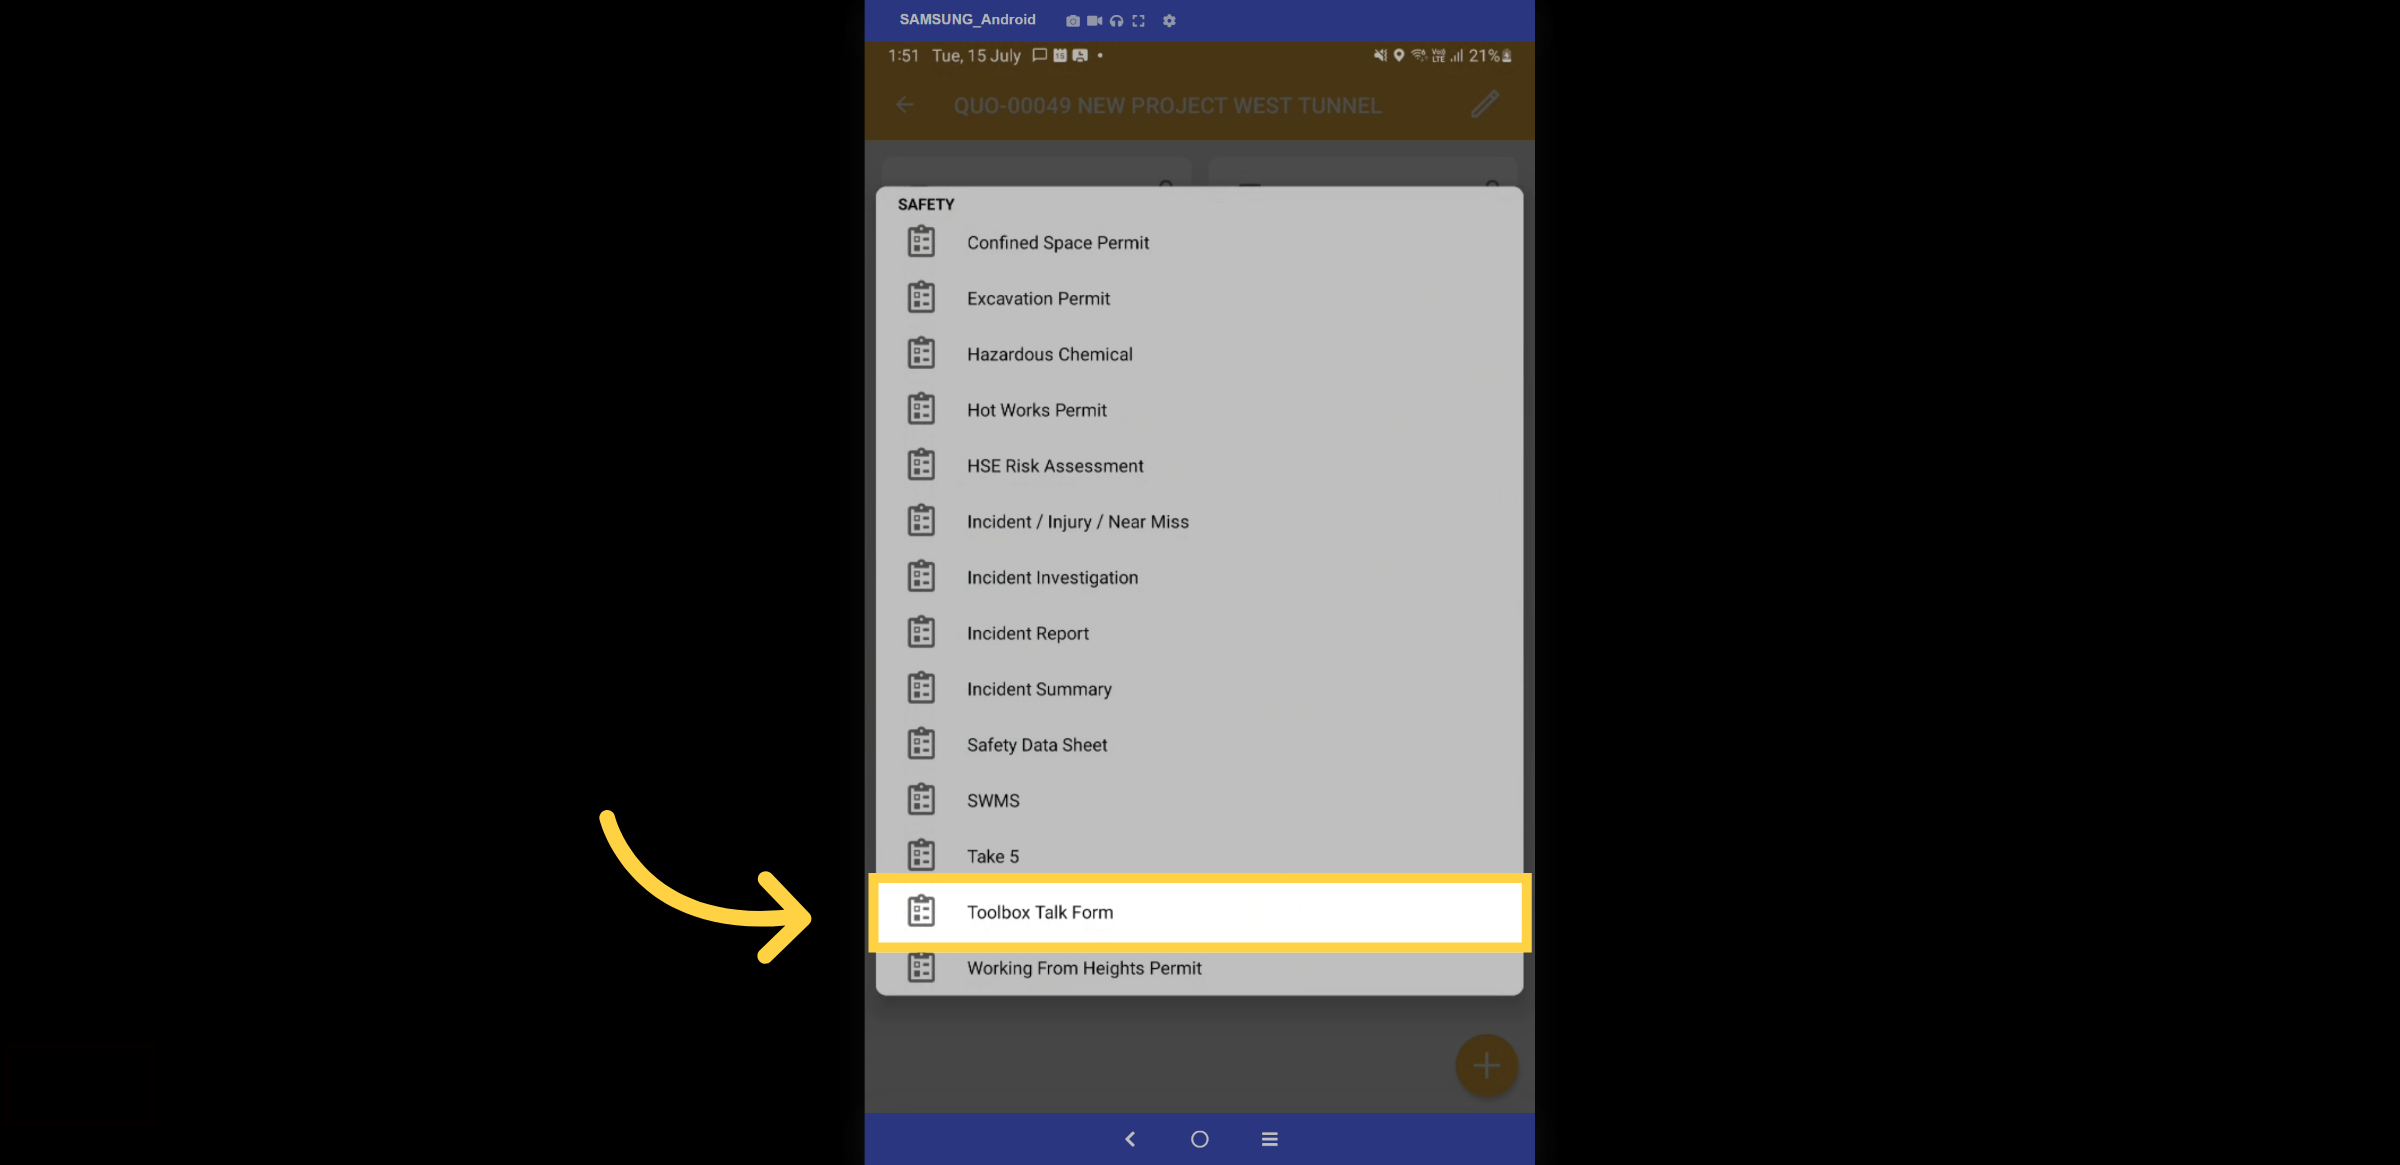
23. Toolbox Talk Form
Returning to the form section of the project, let's now delve into compiling a toolbox talk form by selecting the appropriate template.
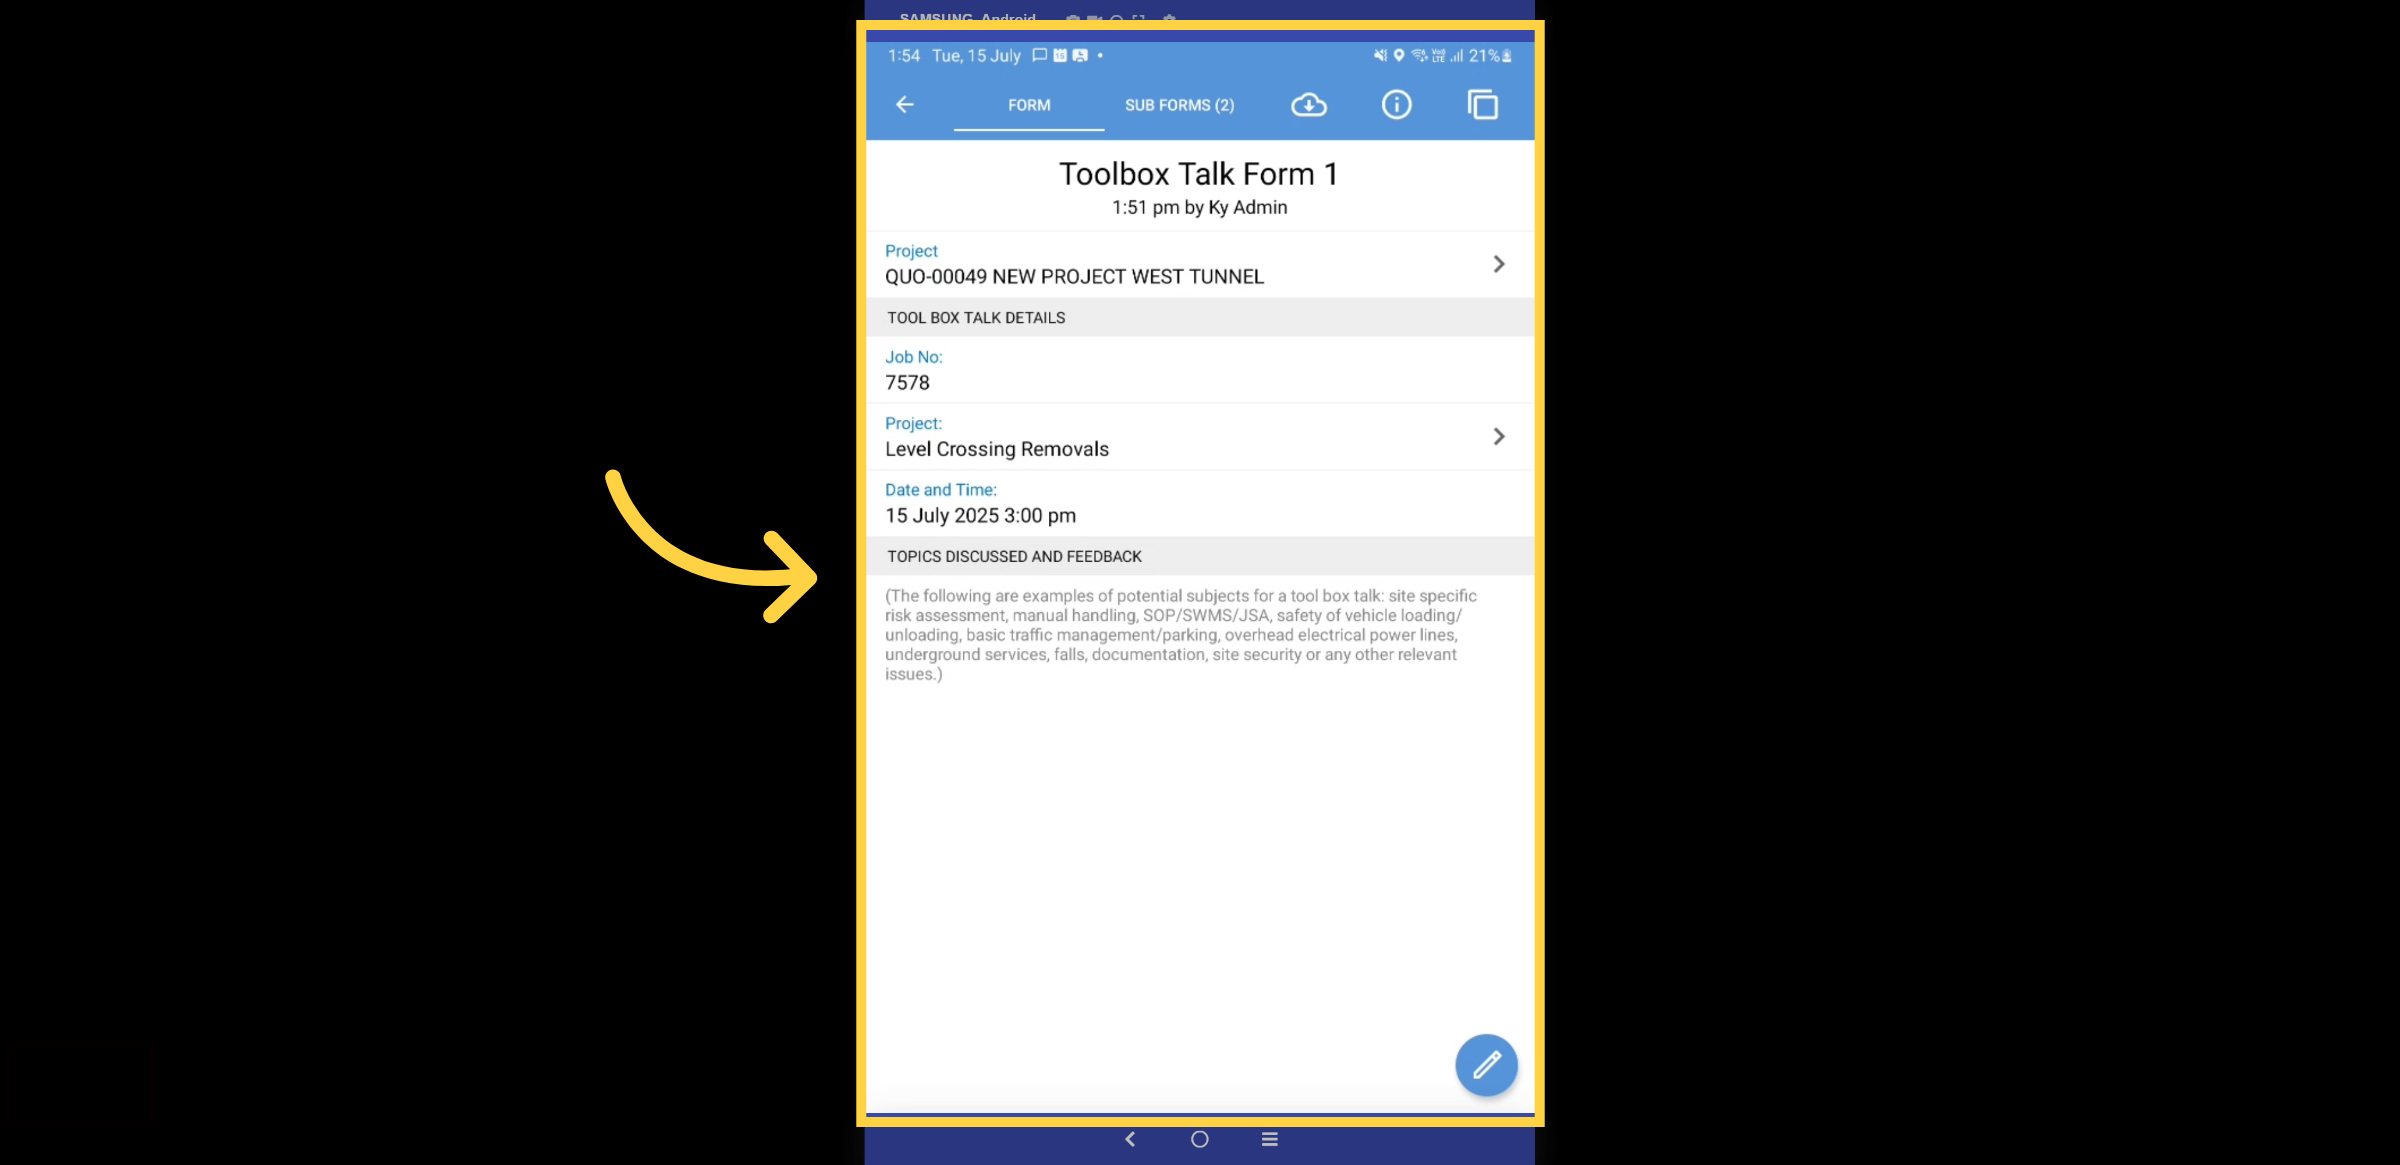
24. Fill Details
Please fill in the required details, as you did in the previous SWMS form. Some fields will auto-populate, as you can observe. Click the sign-off button to confirm your attendance. Each employee on site can sign off on the toolbox from their own device.

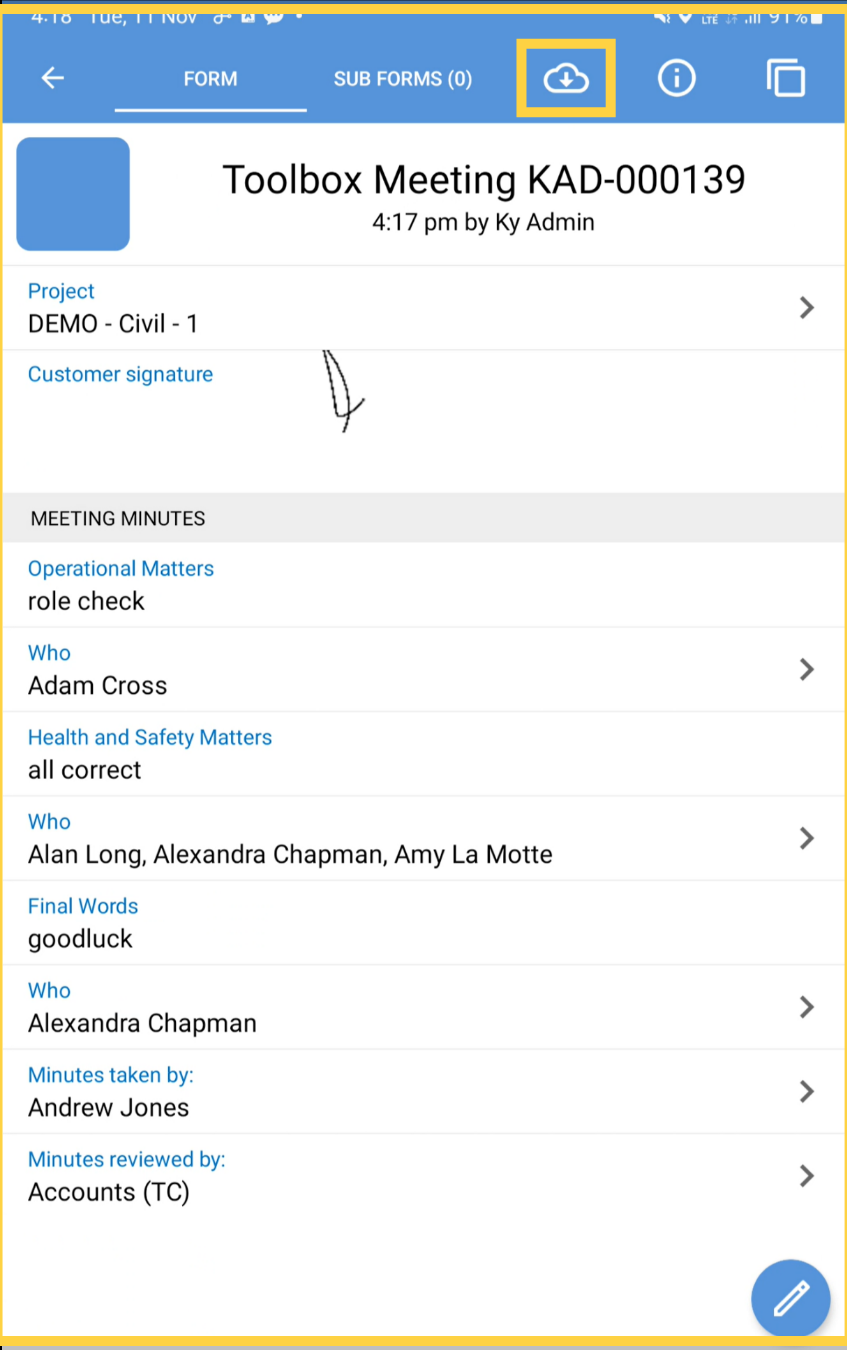
25. Submit
Once the form is submitted, it will turn blue.
26. Export
Click the cloud icon to export the toolbox talk PDF.
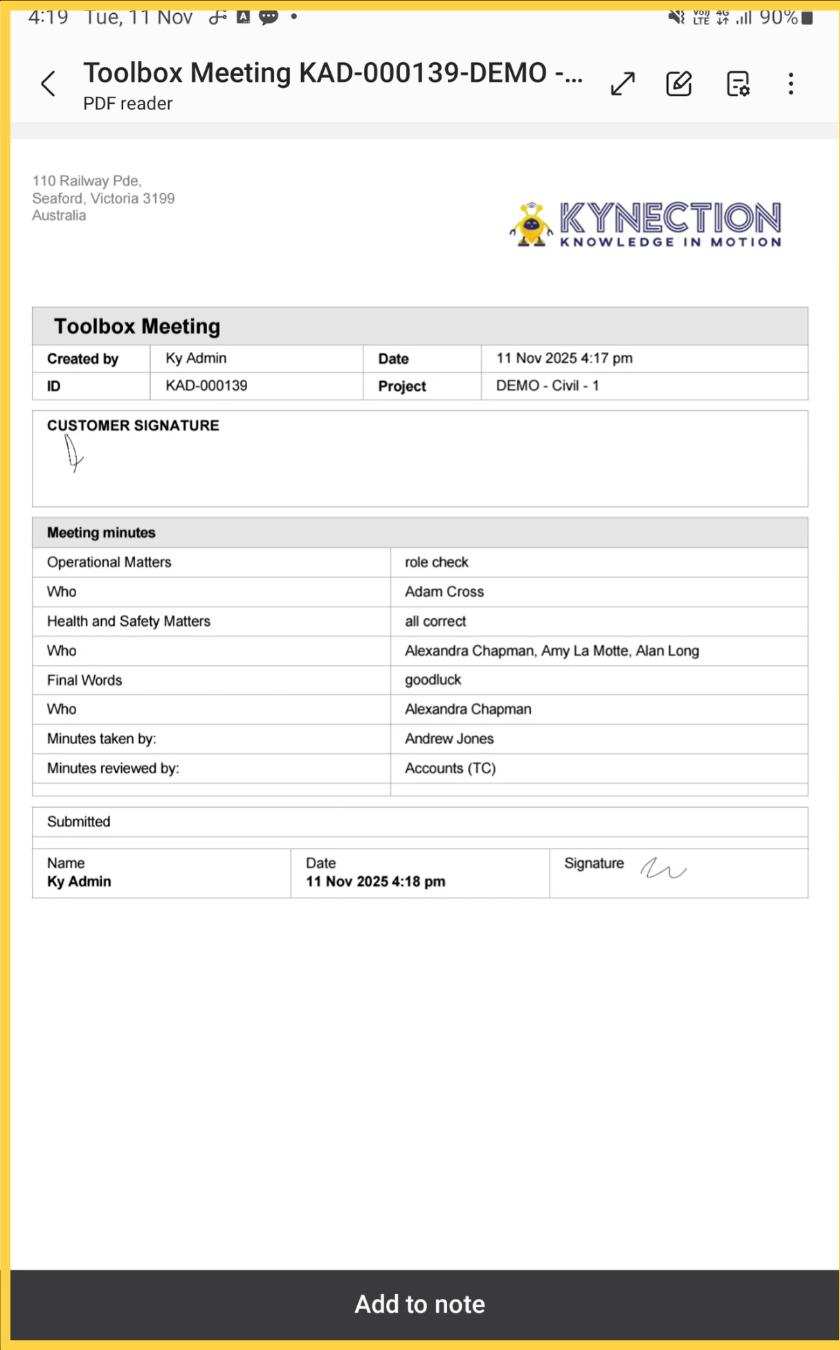
27. Export Example
Here is an example of the export, which will list all the attendees and their signatures.
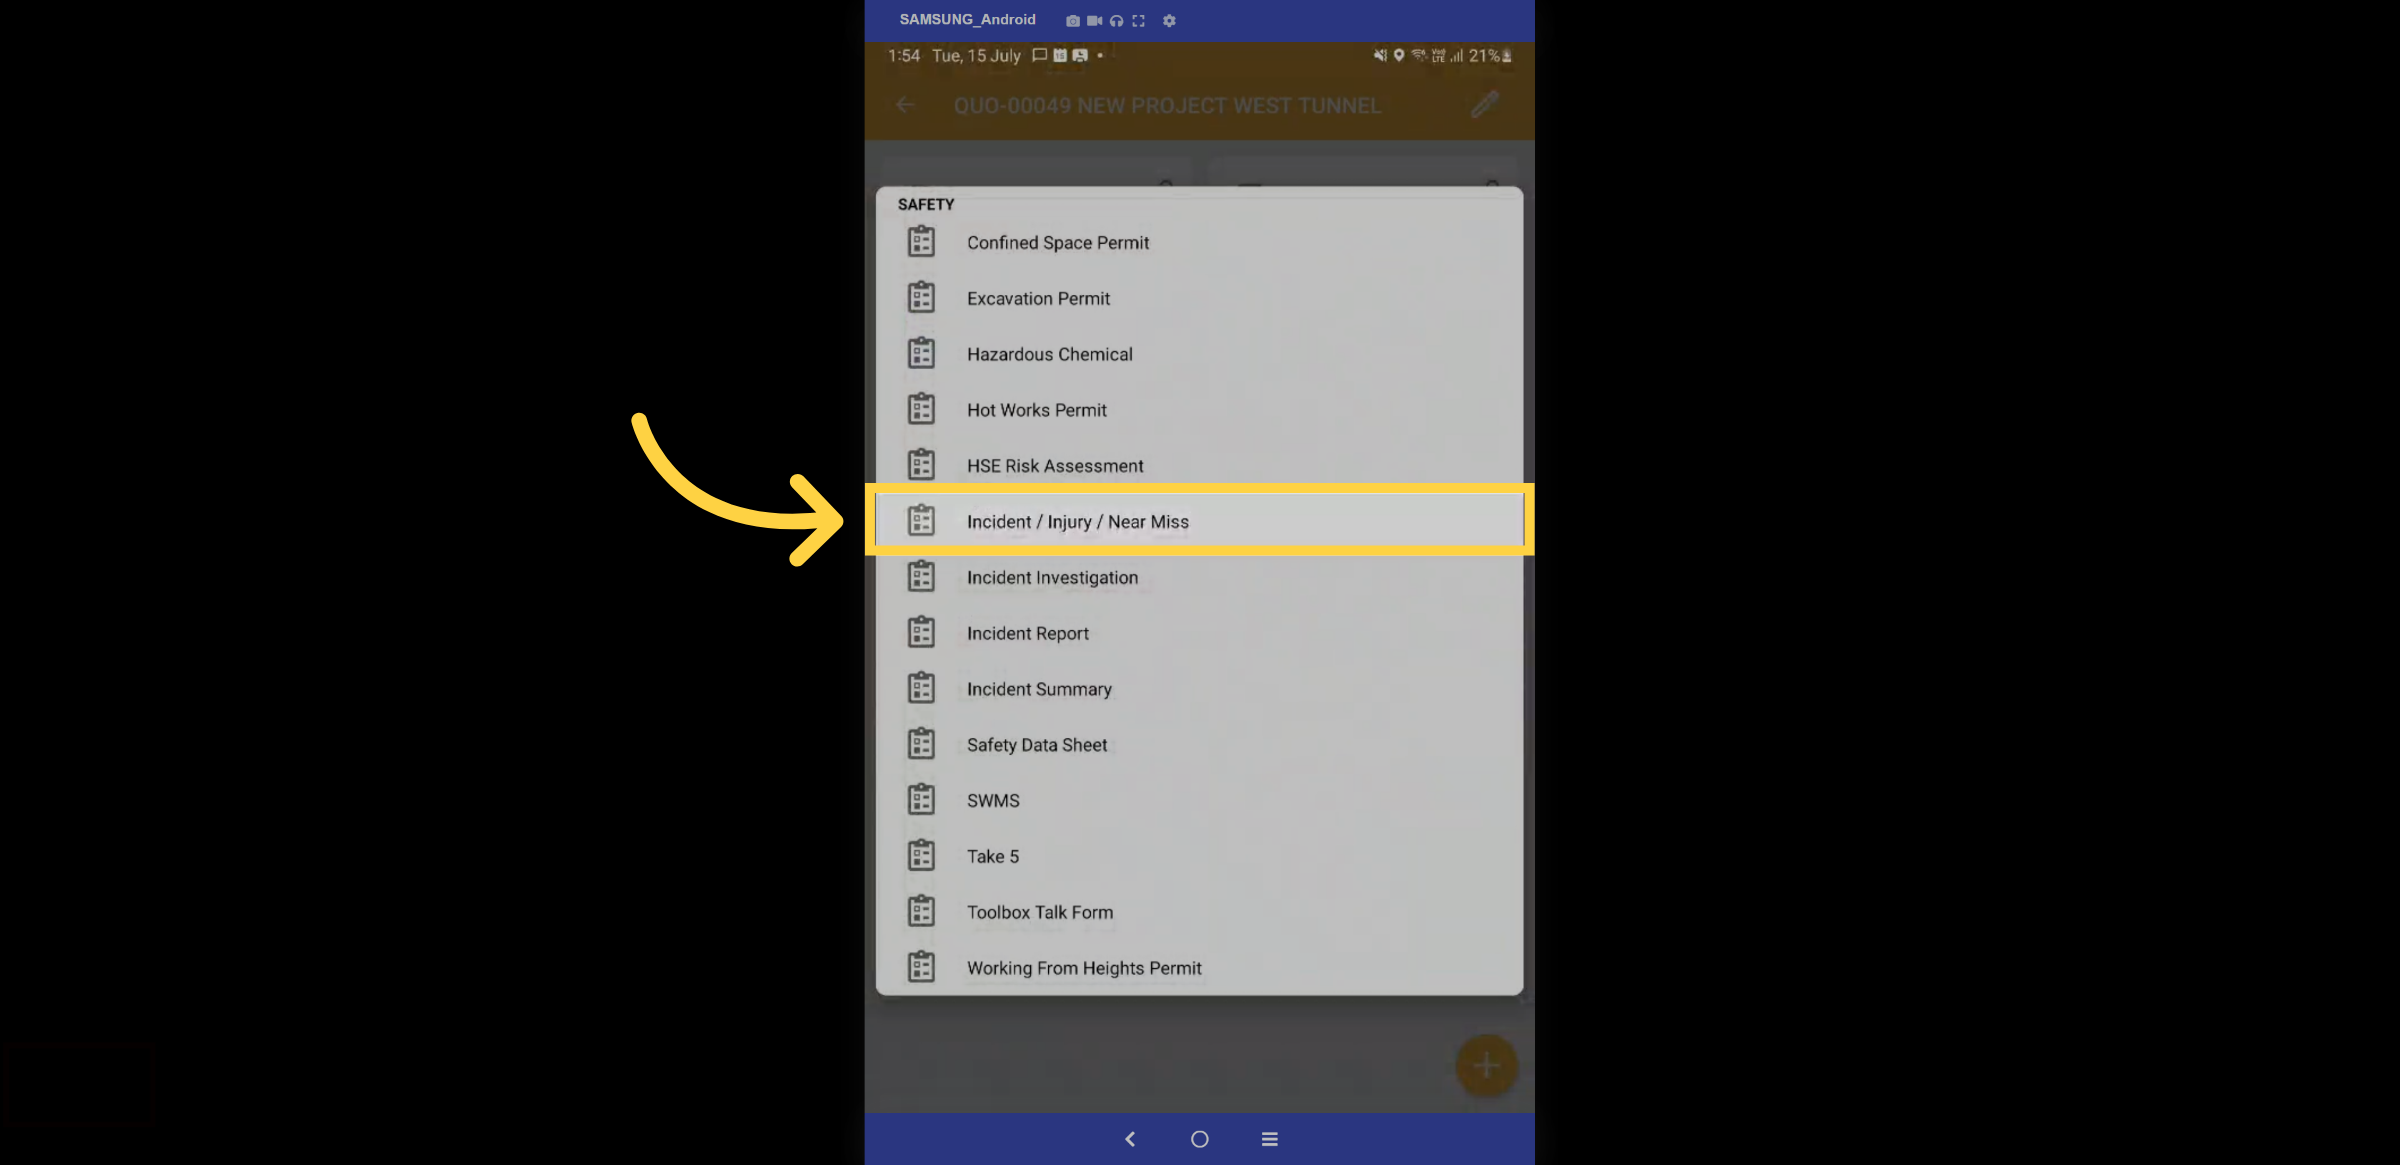
28. Incident/Injury/Near Miss Form
In the safety folder, let us explore the Incident, Injury, or Near Miss form.
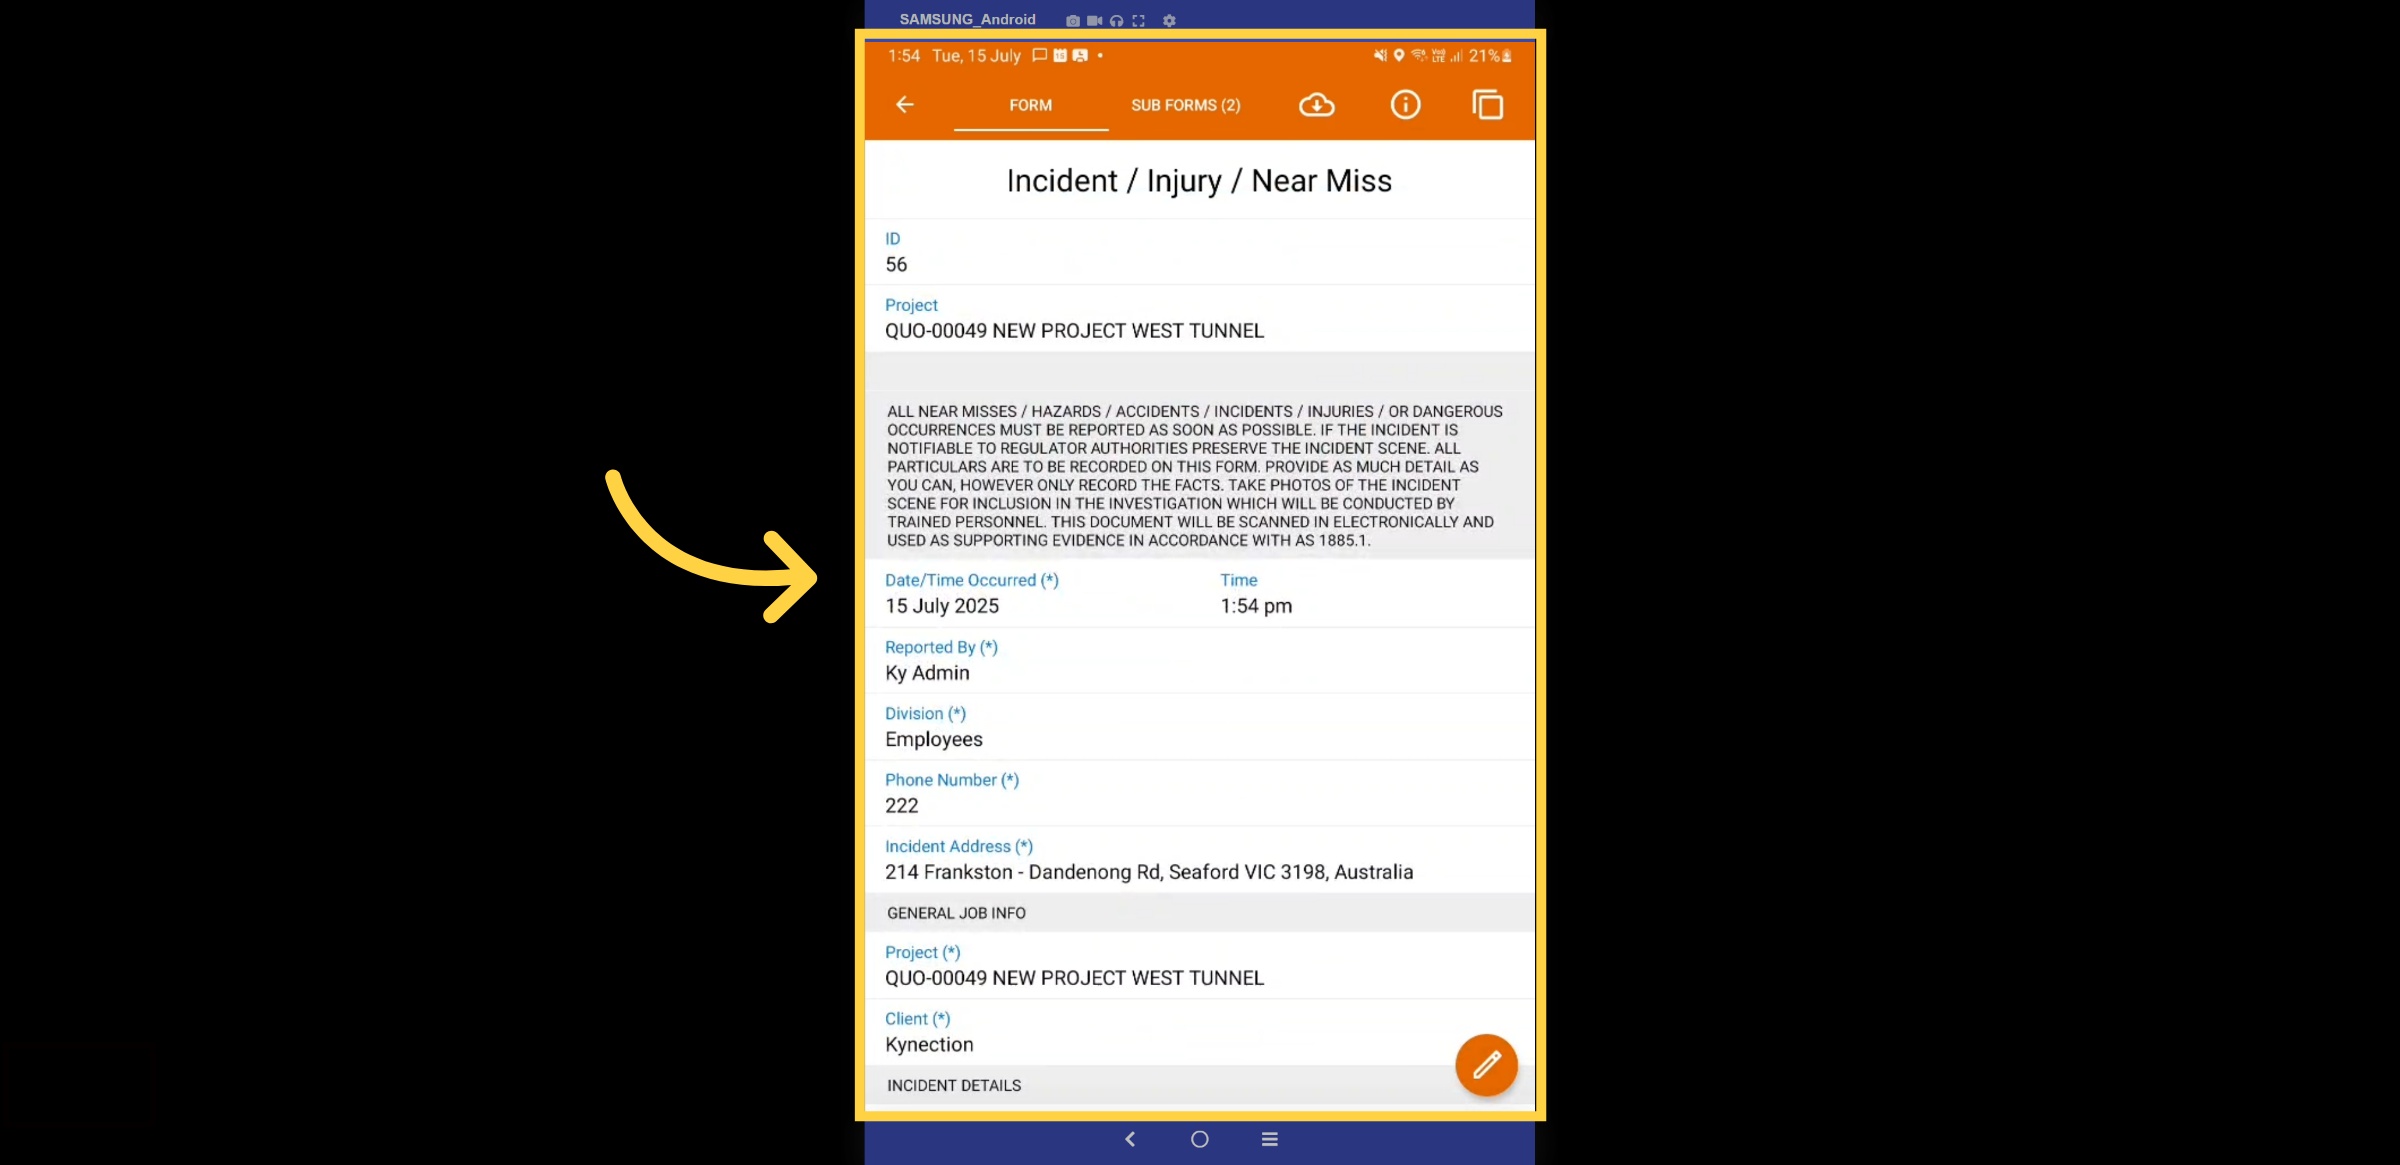
29. Fill Detsails
You must complete all fields related to the incident. Most standard fields, such as project name, employee, date, and address, will auto-populate.
30. Incident Selection
You will have the option to choose the outcome, whether it pertains to an environmental impact, a near miss, property damage, an injury, theft, and more. Based on your selection, specific questions will be displayed relevant to that outcome. For this example, we will be selecting an injury. Fill in all the required field
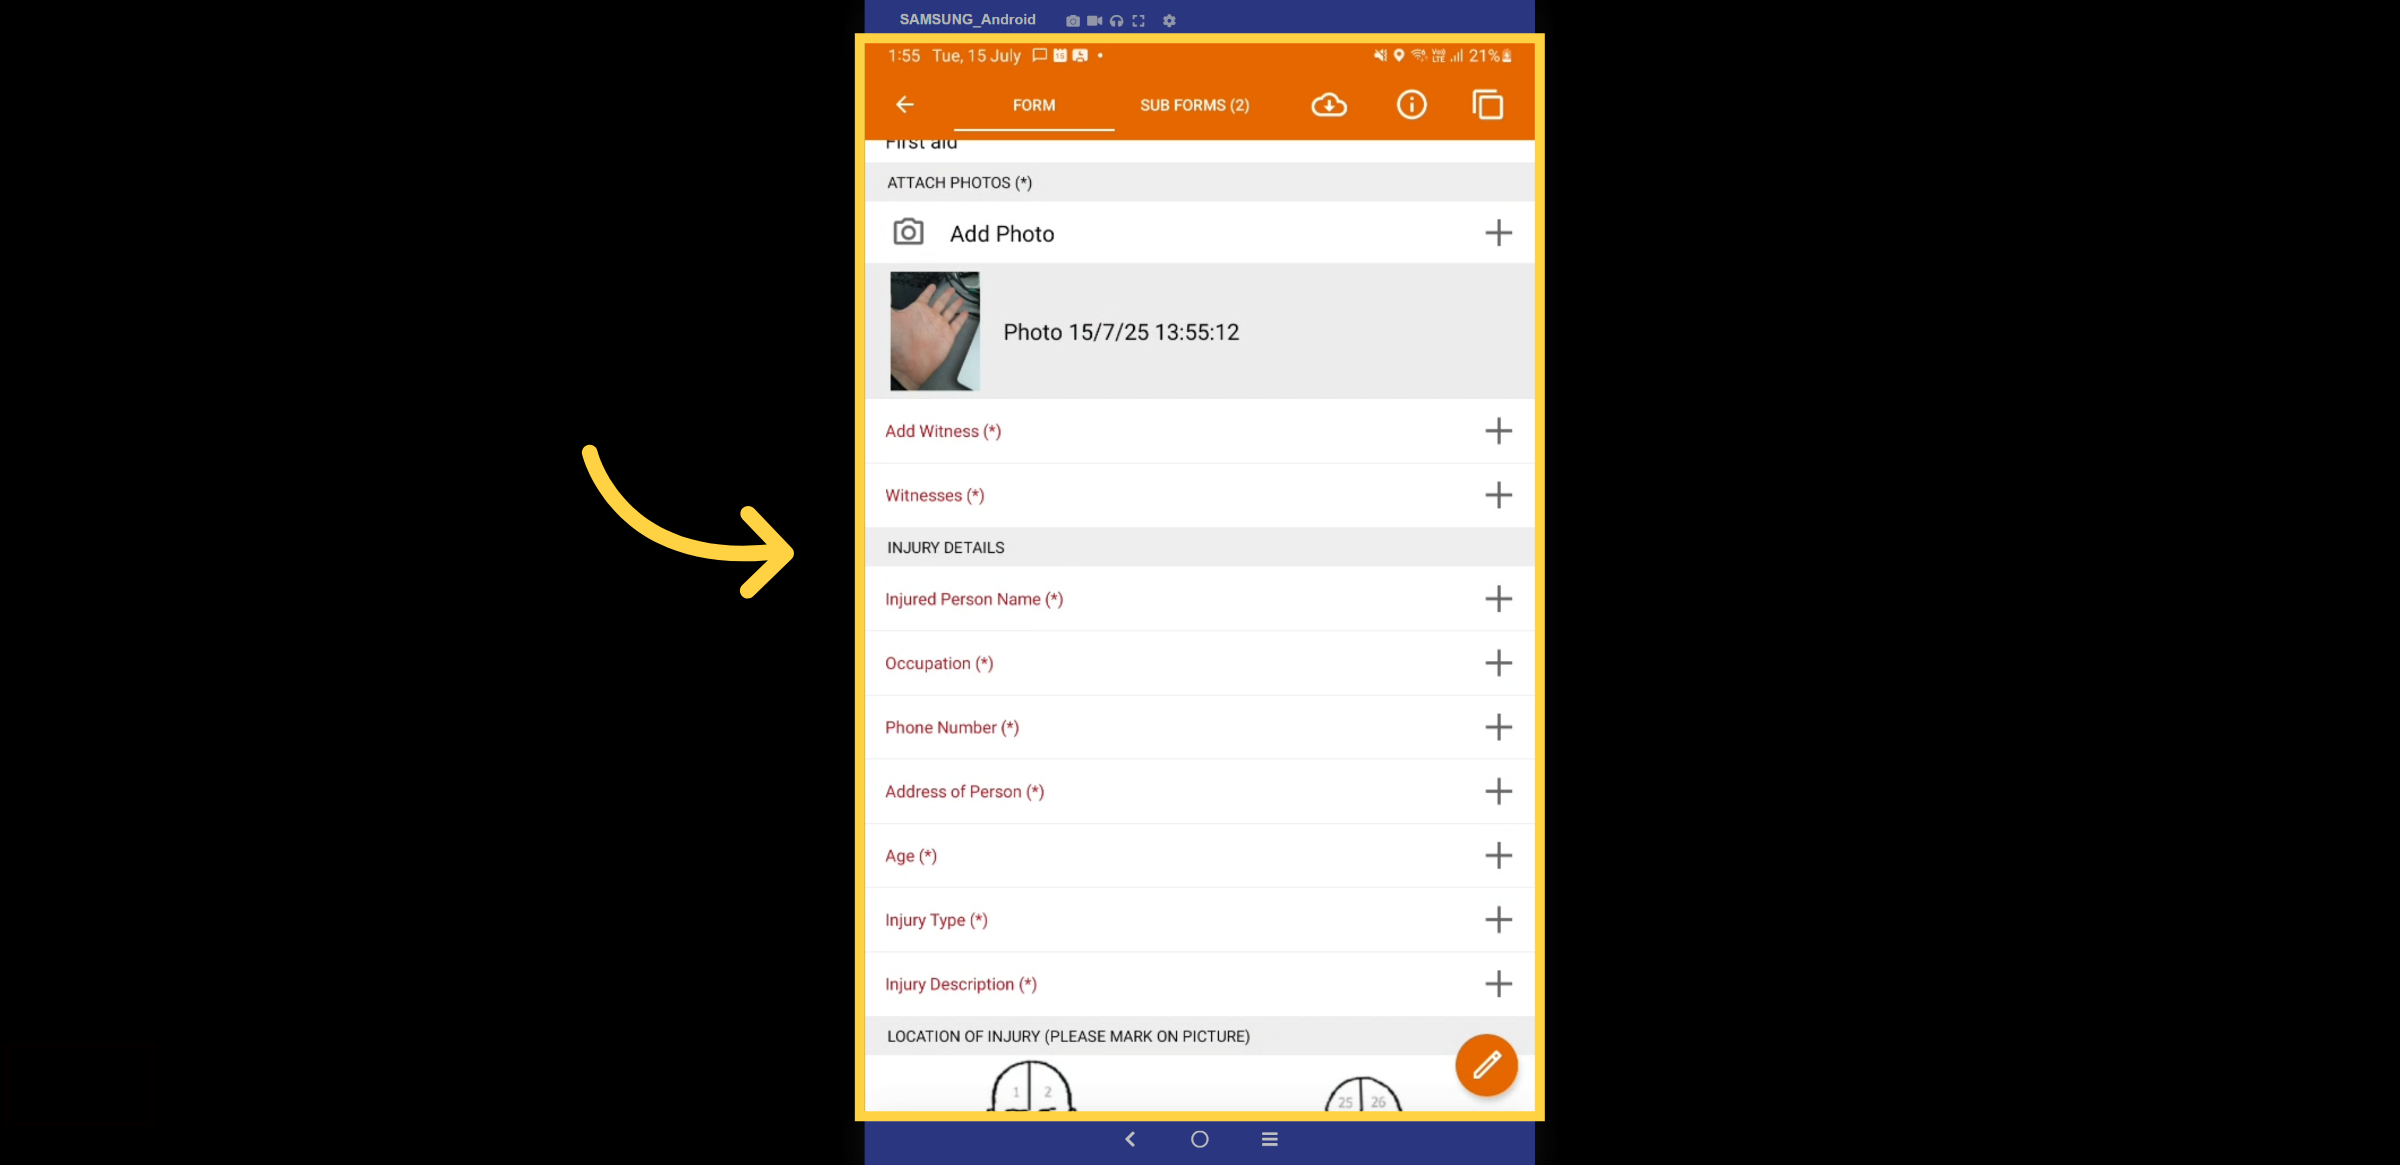
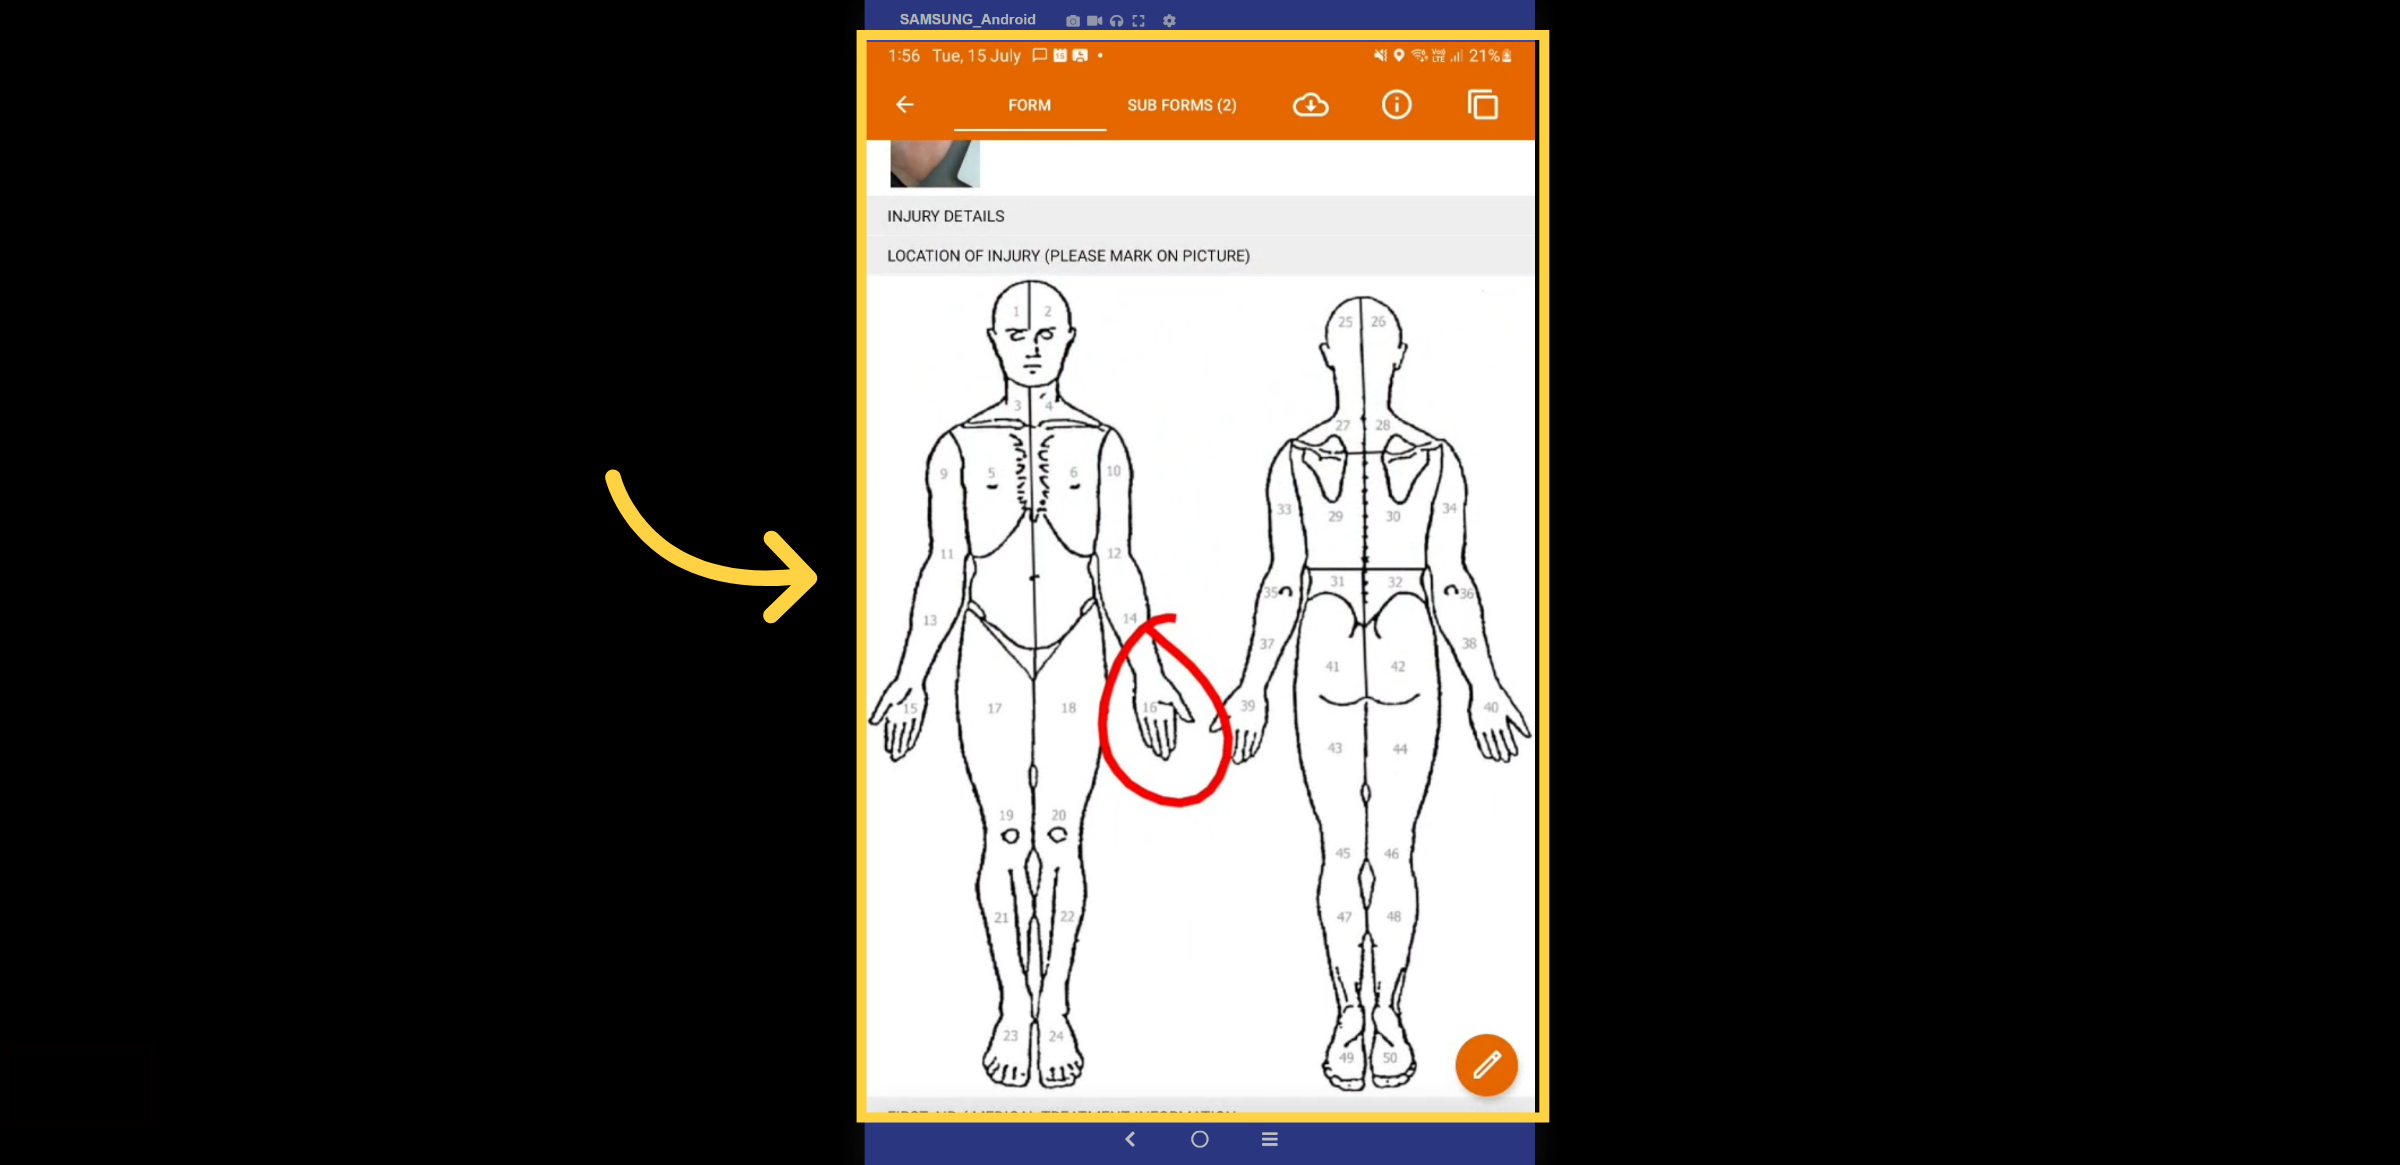
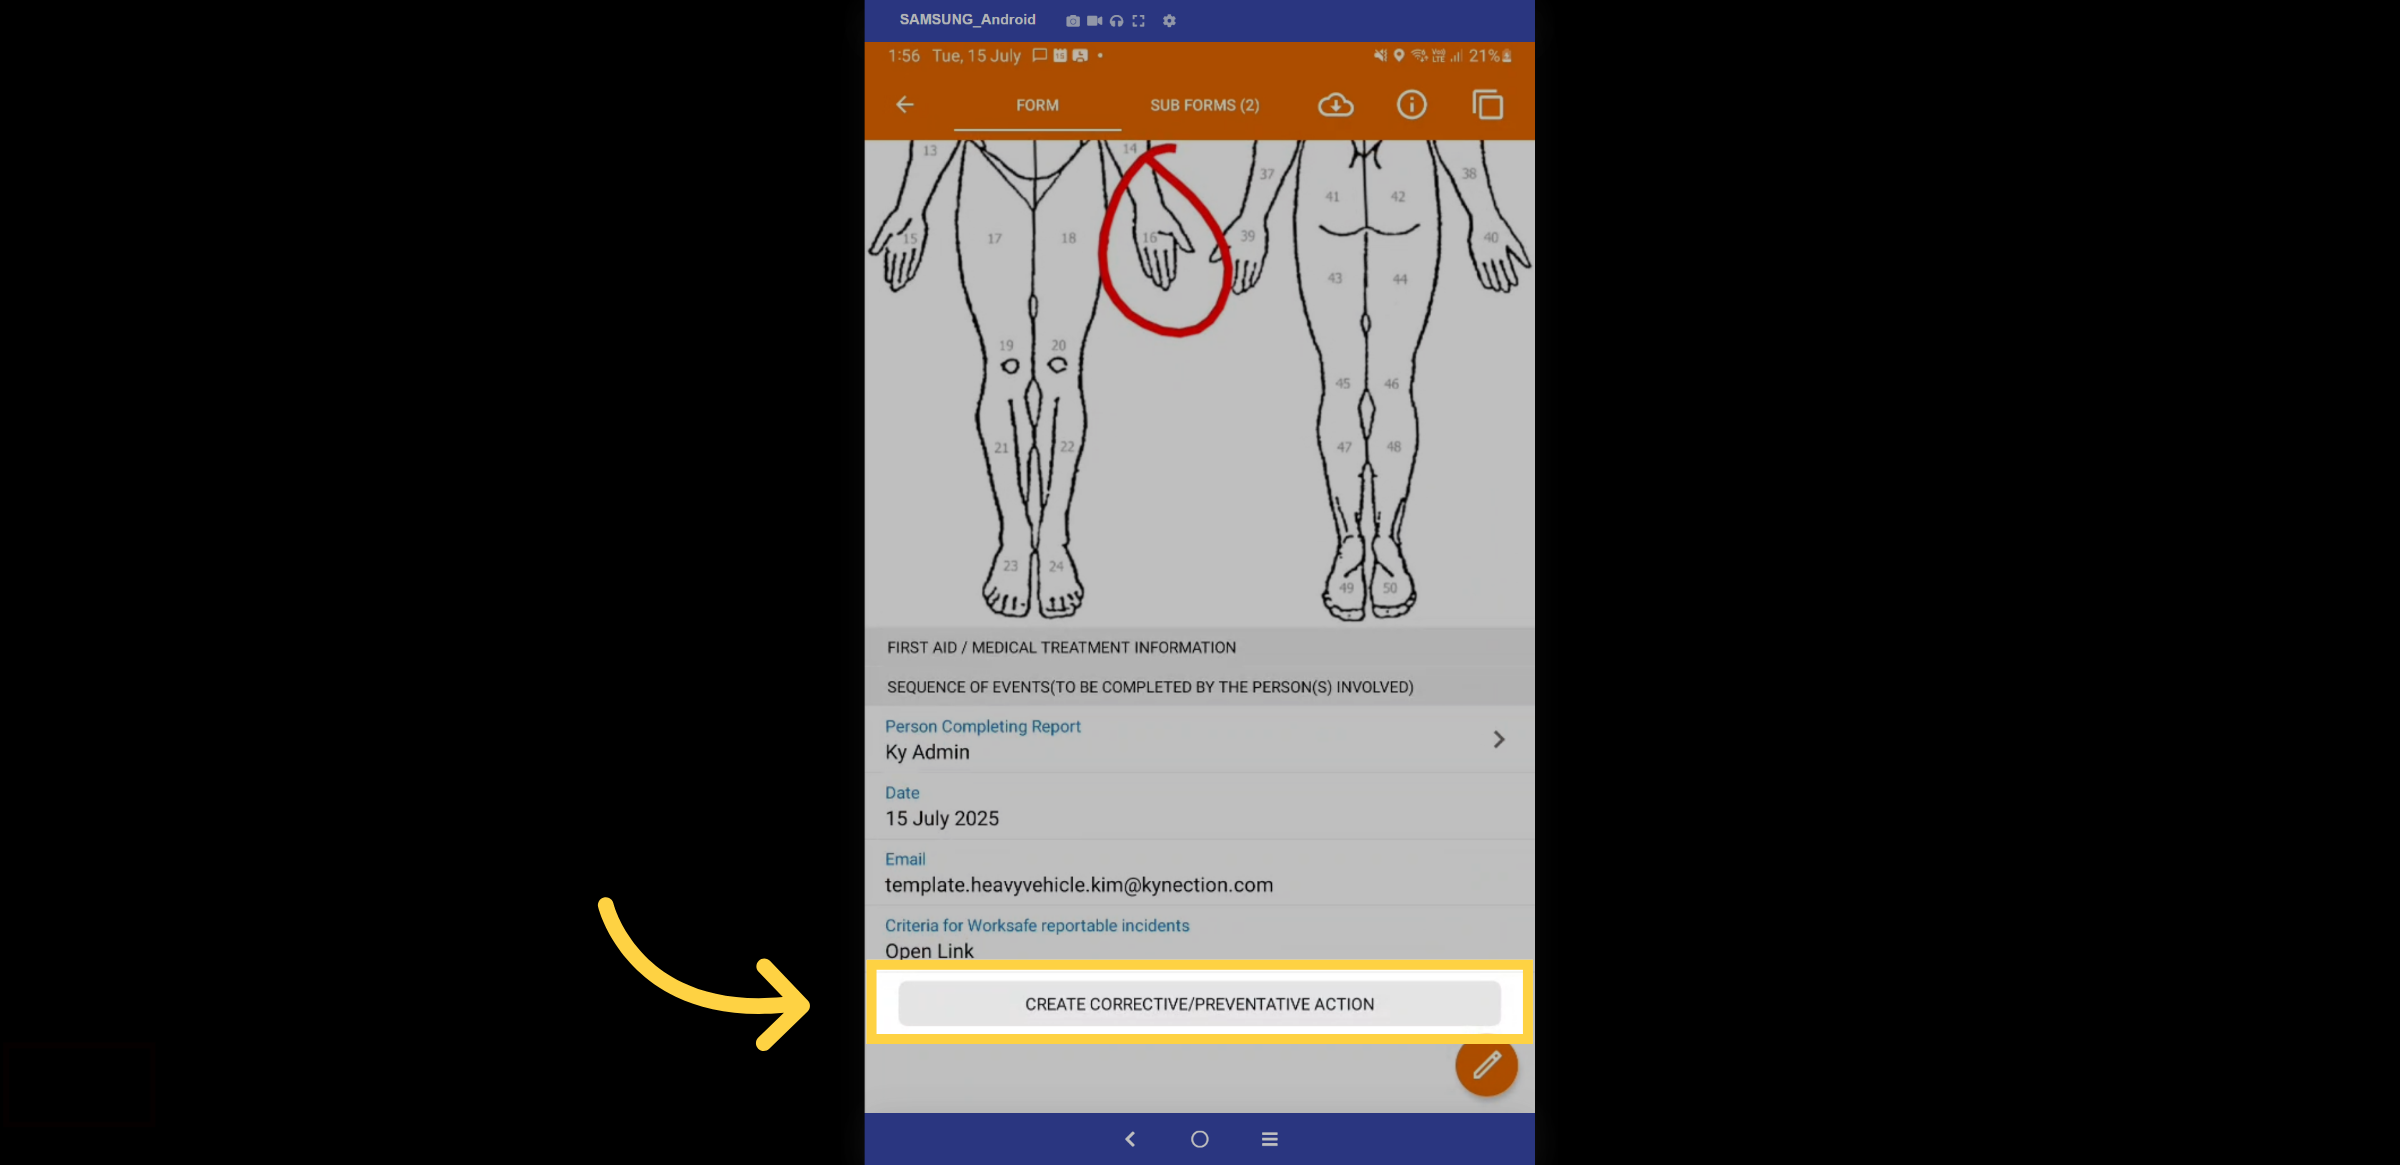
31. Photo capture
Some fields will require you to take a photo of the injury and highlight the designated area.
32. CPAR
There are also subforms available where you can complete a corrective preventive action. Once the form is submitted, it will trigger a workflow for the HSEQ officer to investigate the outcome and generate action tasks for them to complete. The status of each incident is monitored on the HSEQ Dashboard on the web.
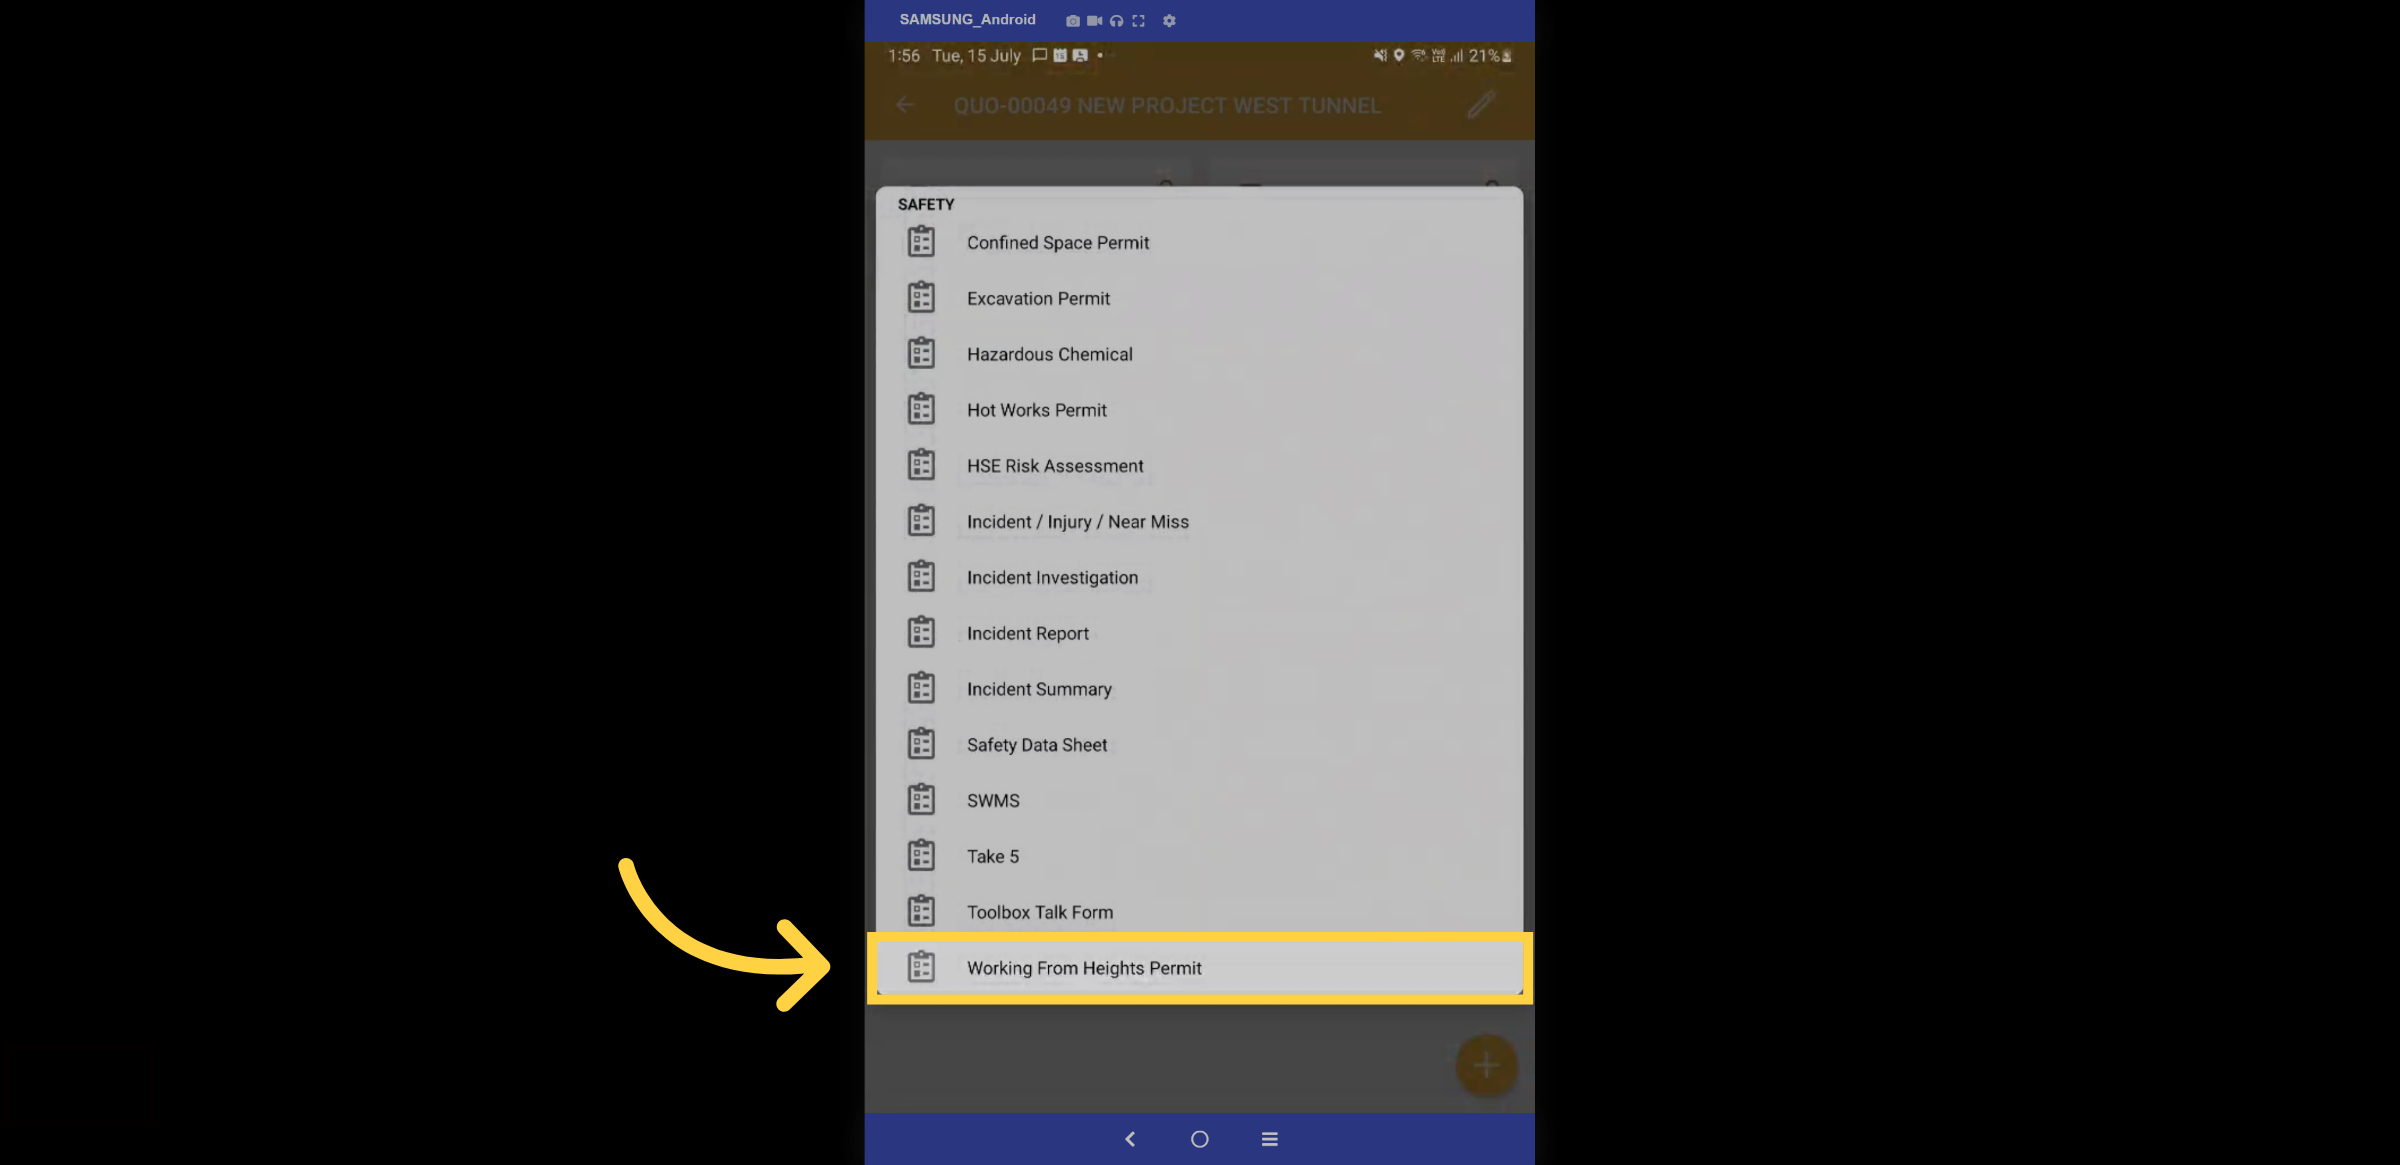
33. WFH Permit
Let's now complete a Working from Heights permit by selecting the form from the safety folder once again.
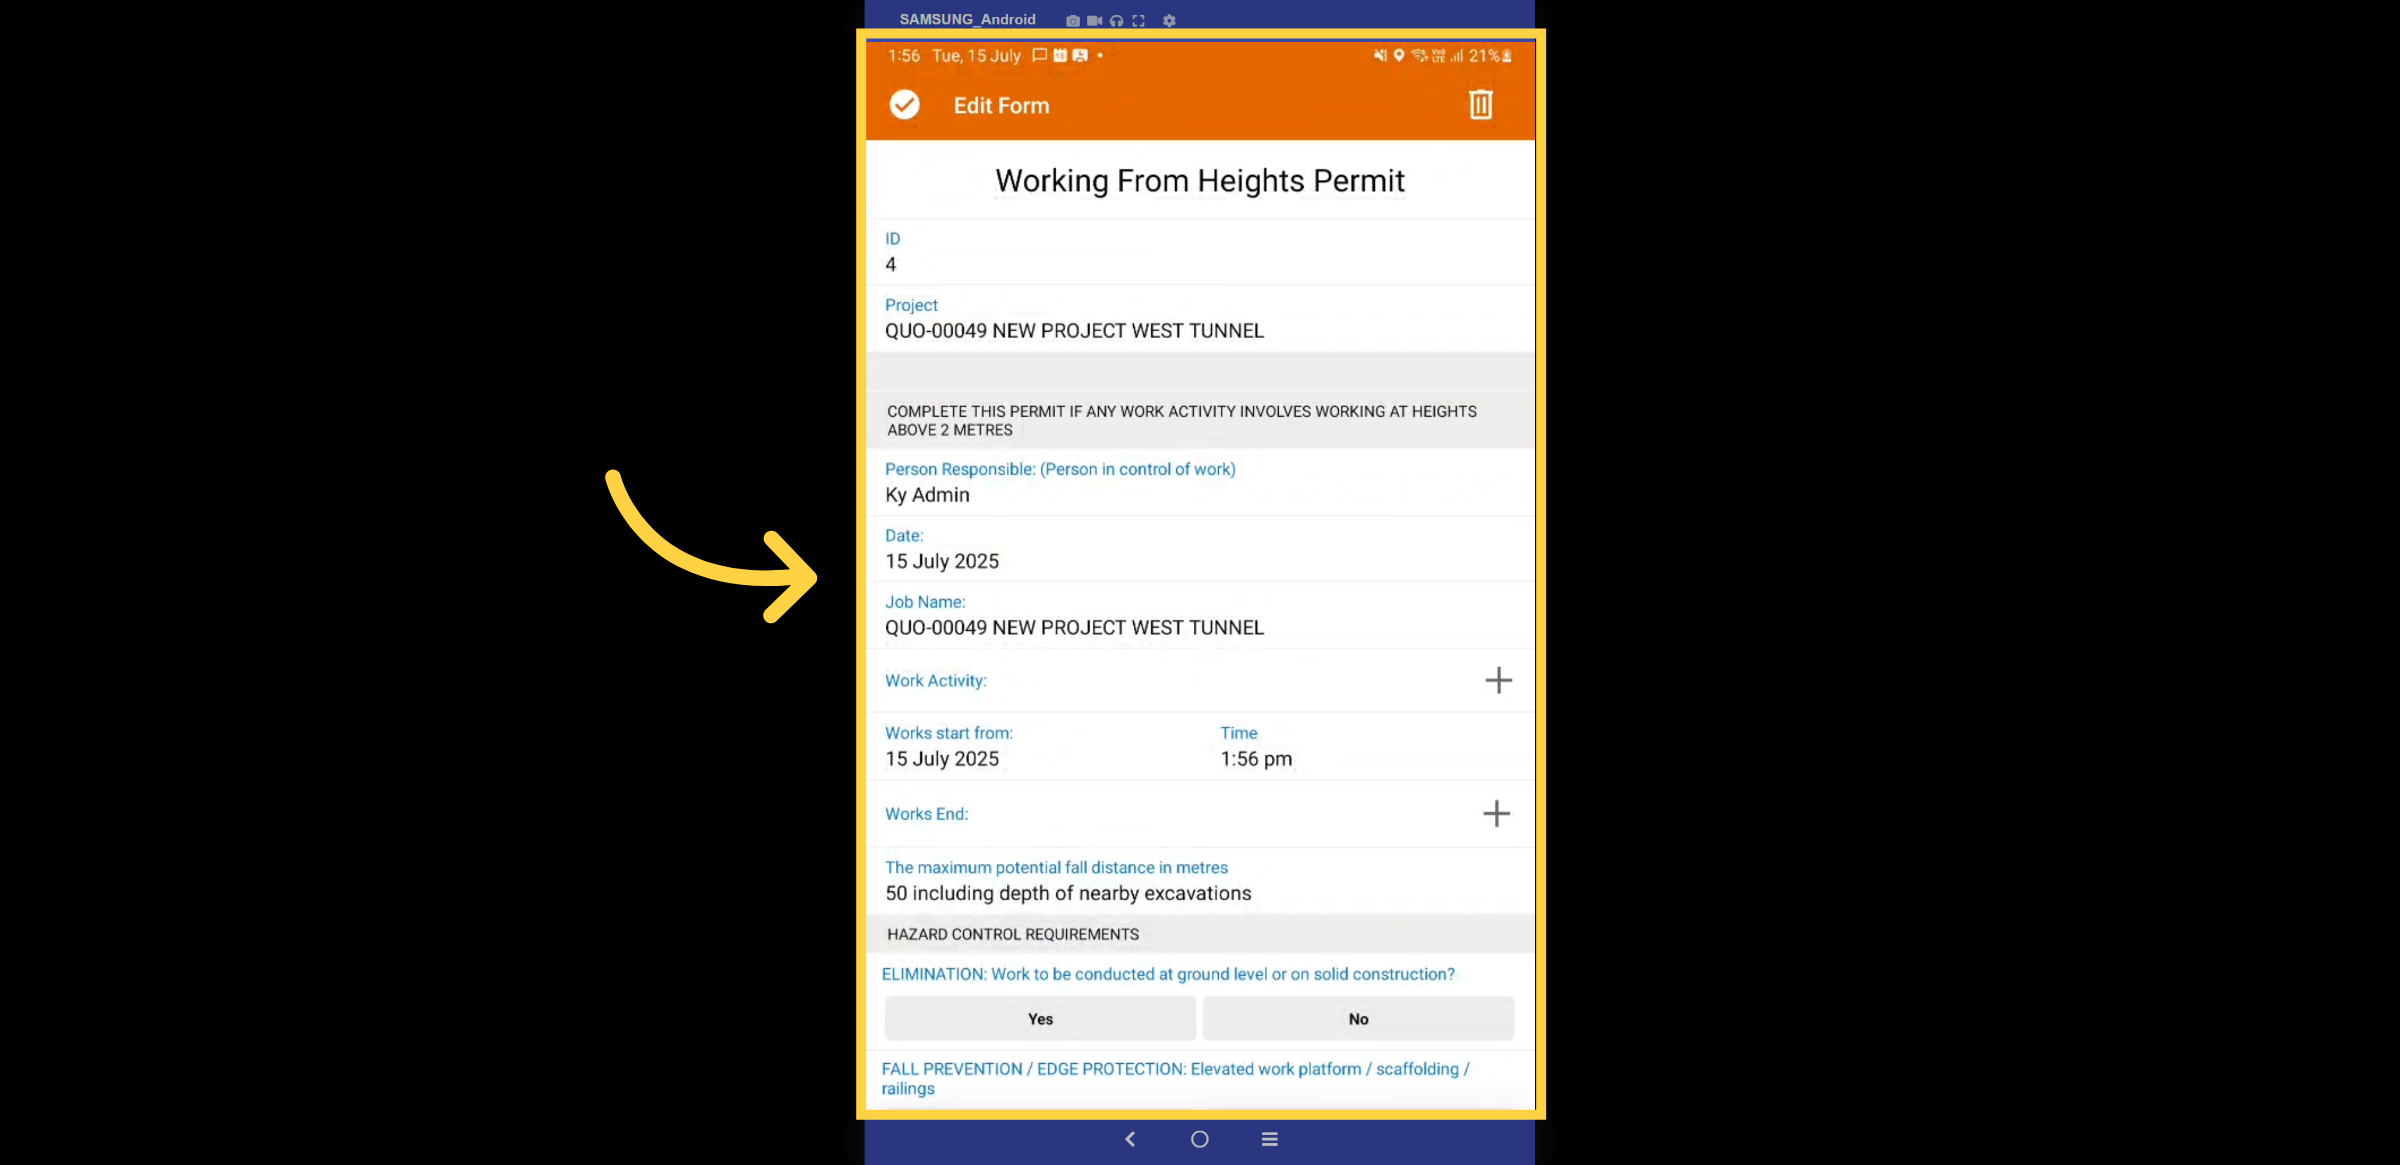
34. Fill Details WFH
As with previous forms, certain fields will auto-populate, and you will need to complete all mandatory fields related to the form.
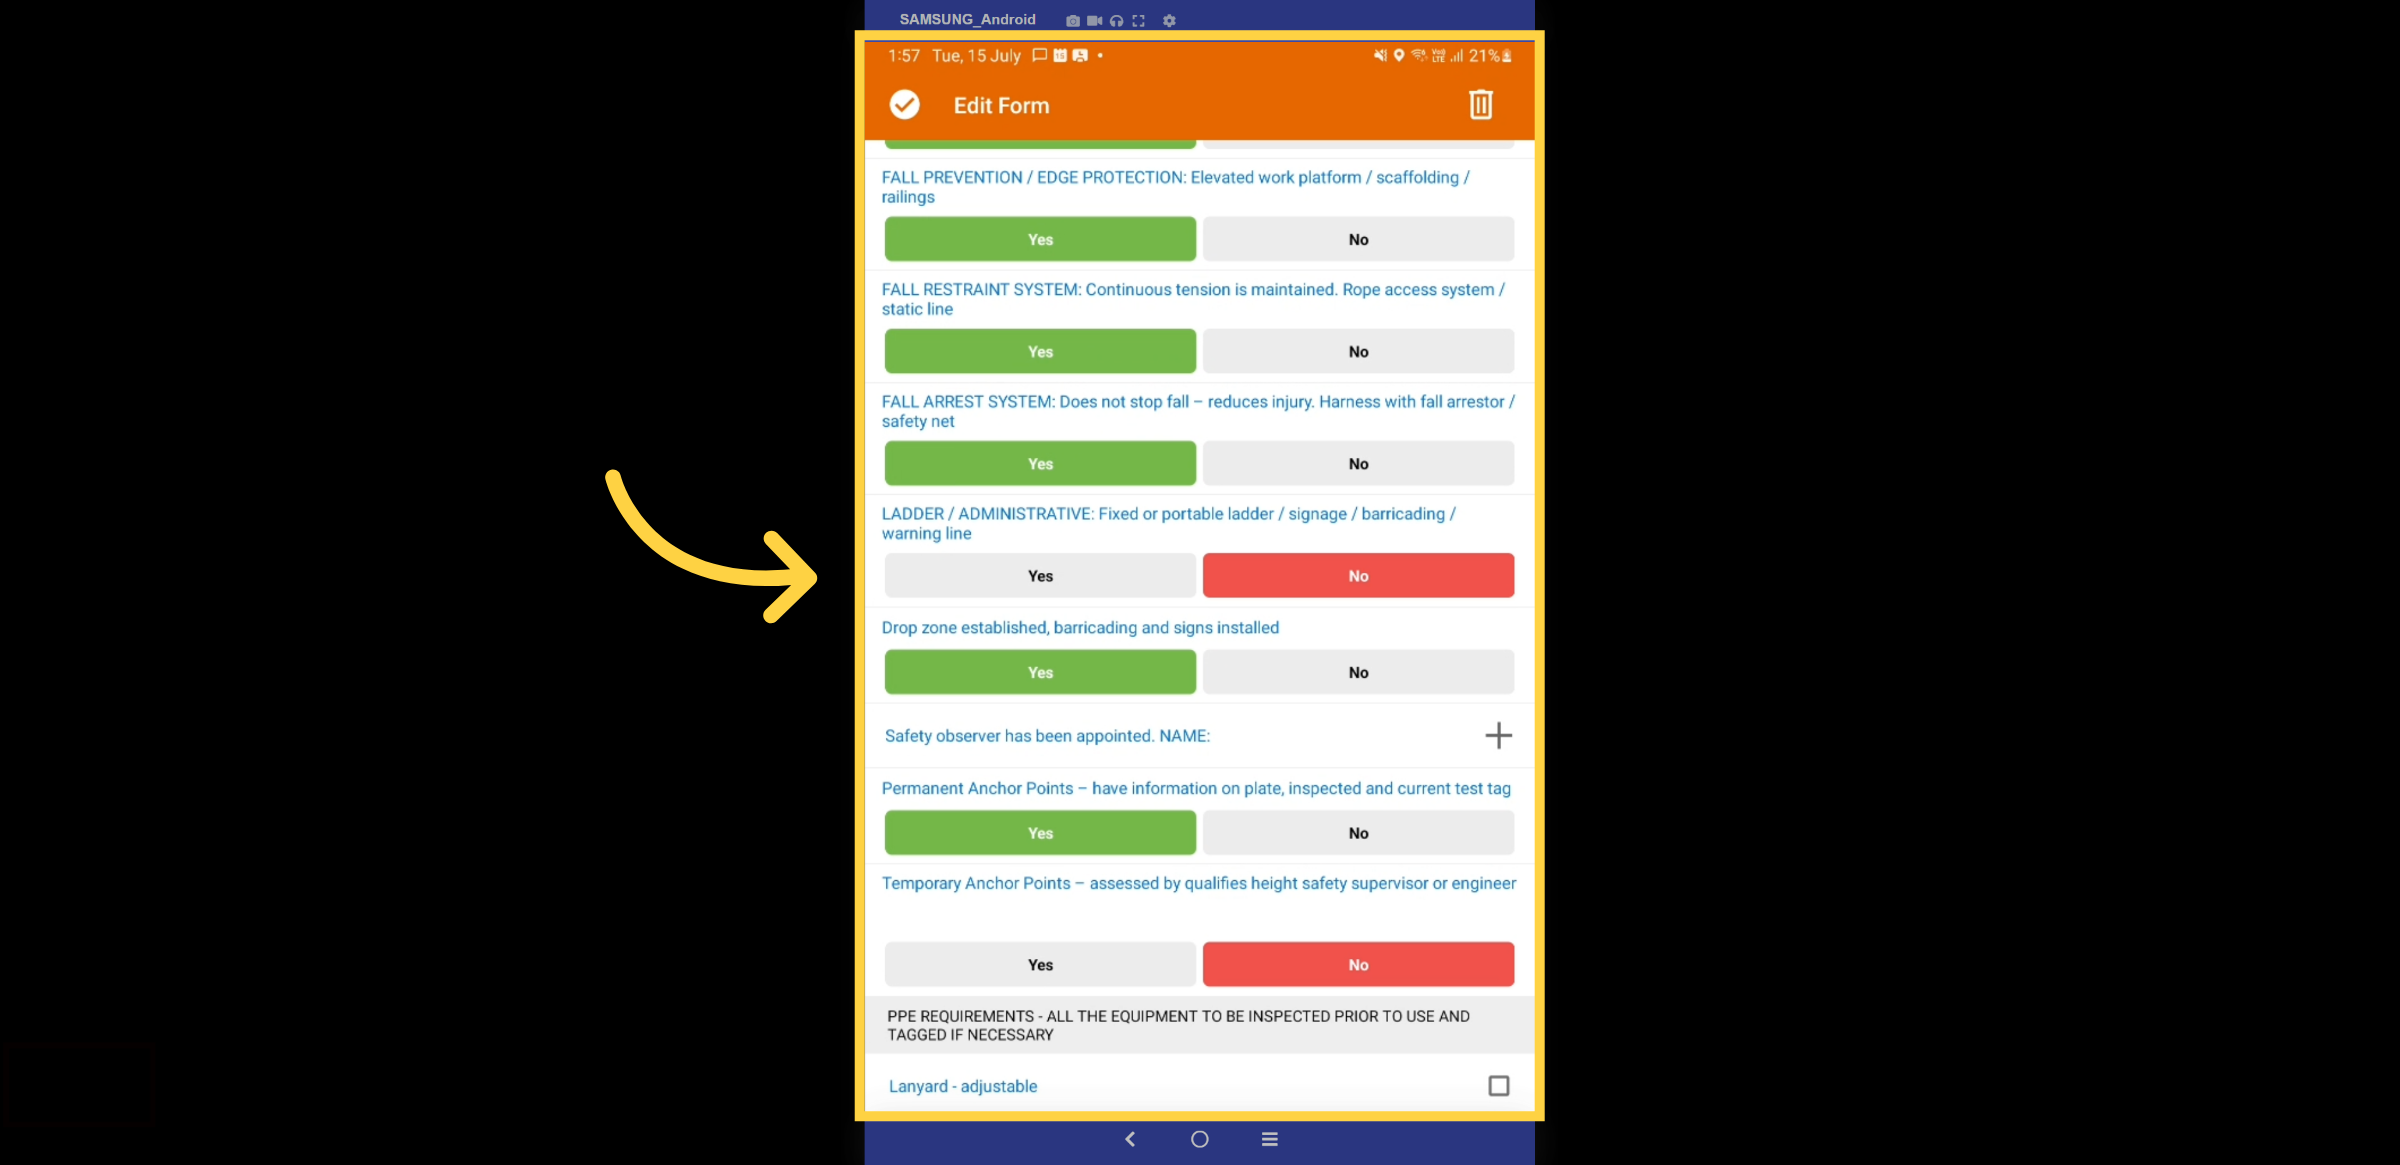
35. Checklist
Complete the checklist associated with the form.
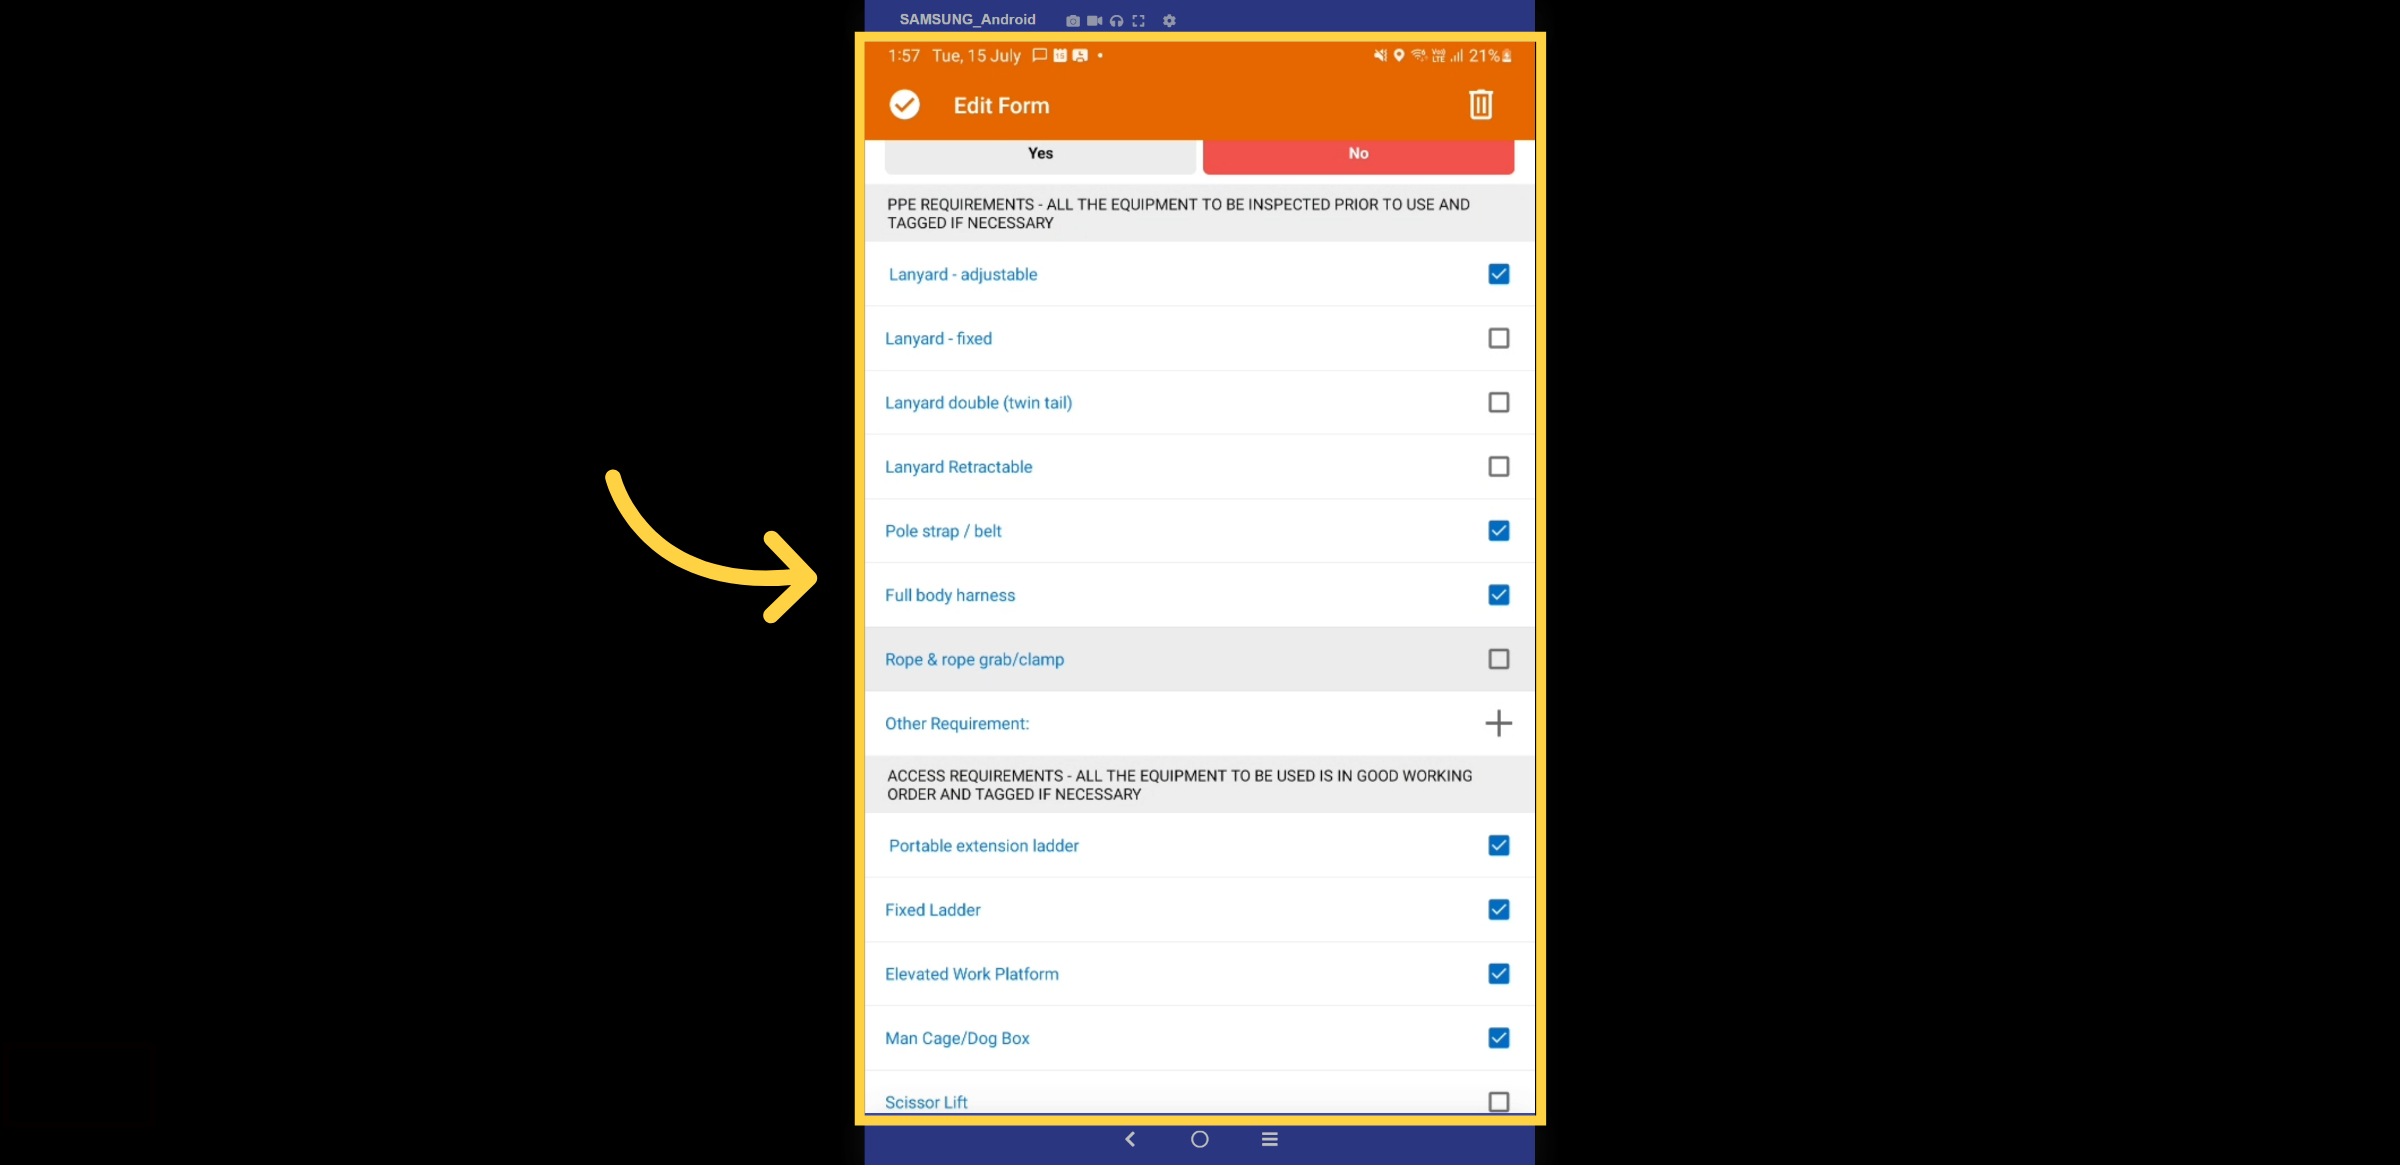
36. PPE Requirments
Check off all the PPE requirements.
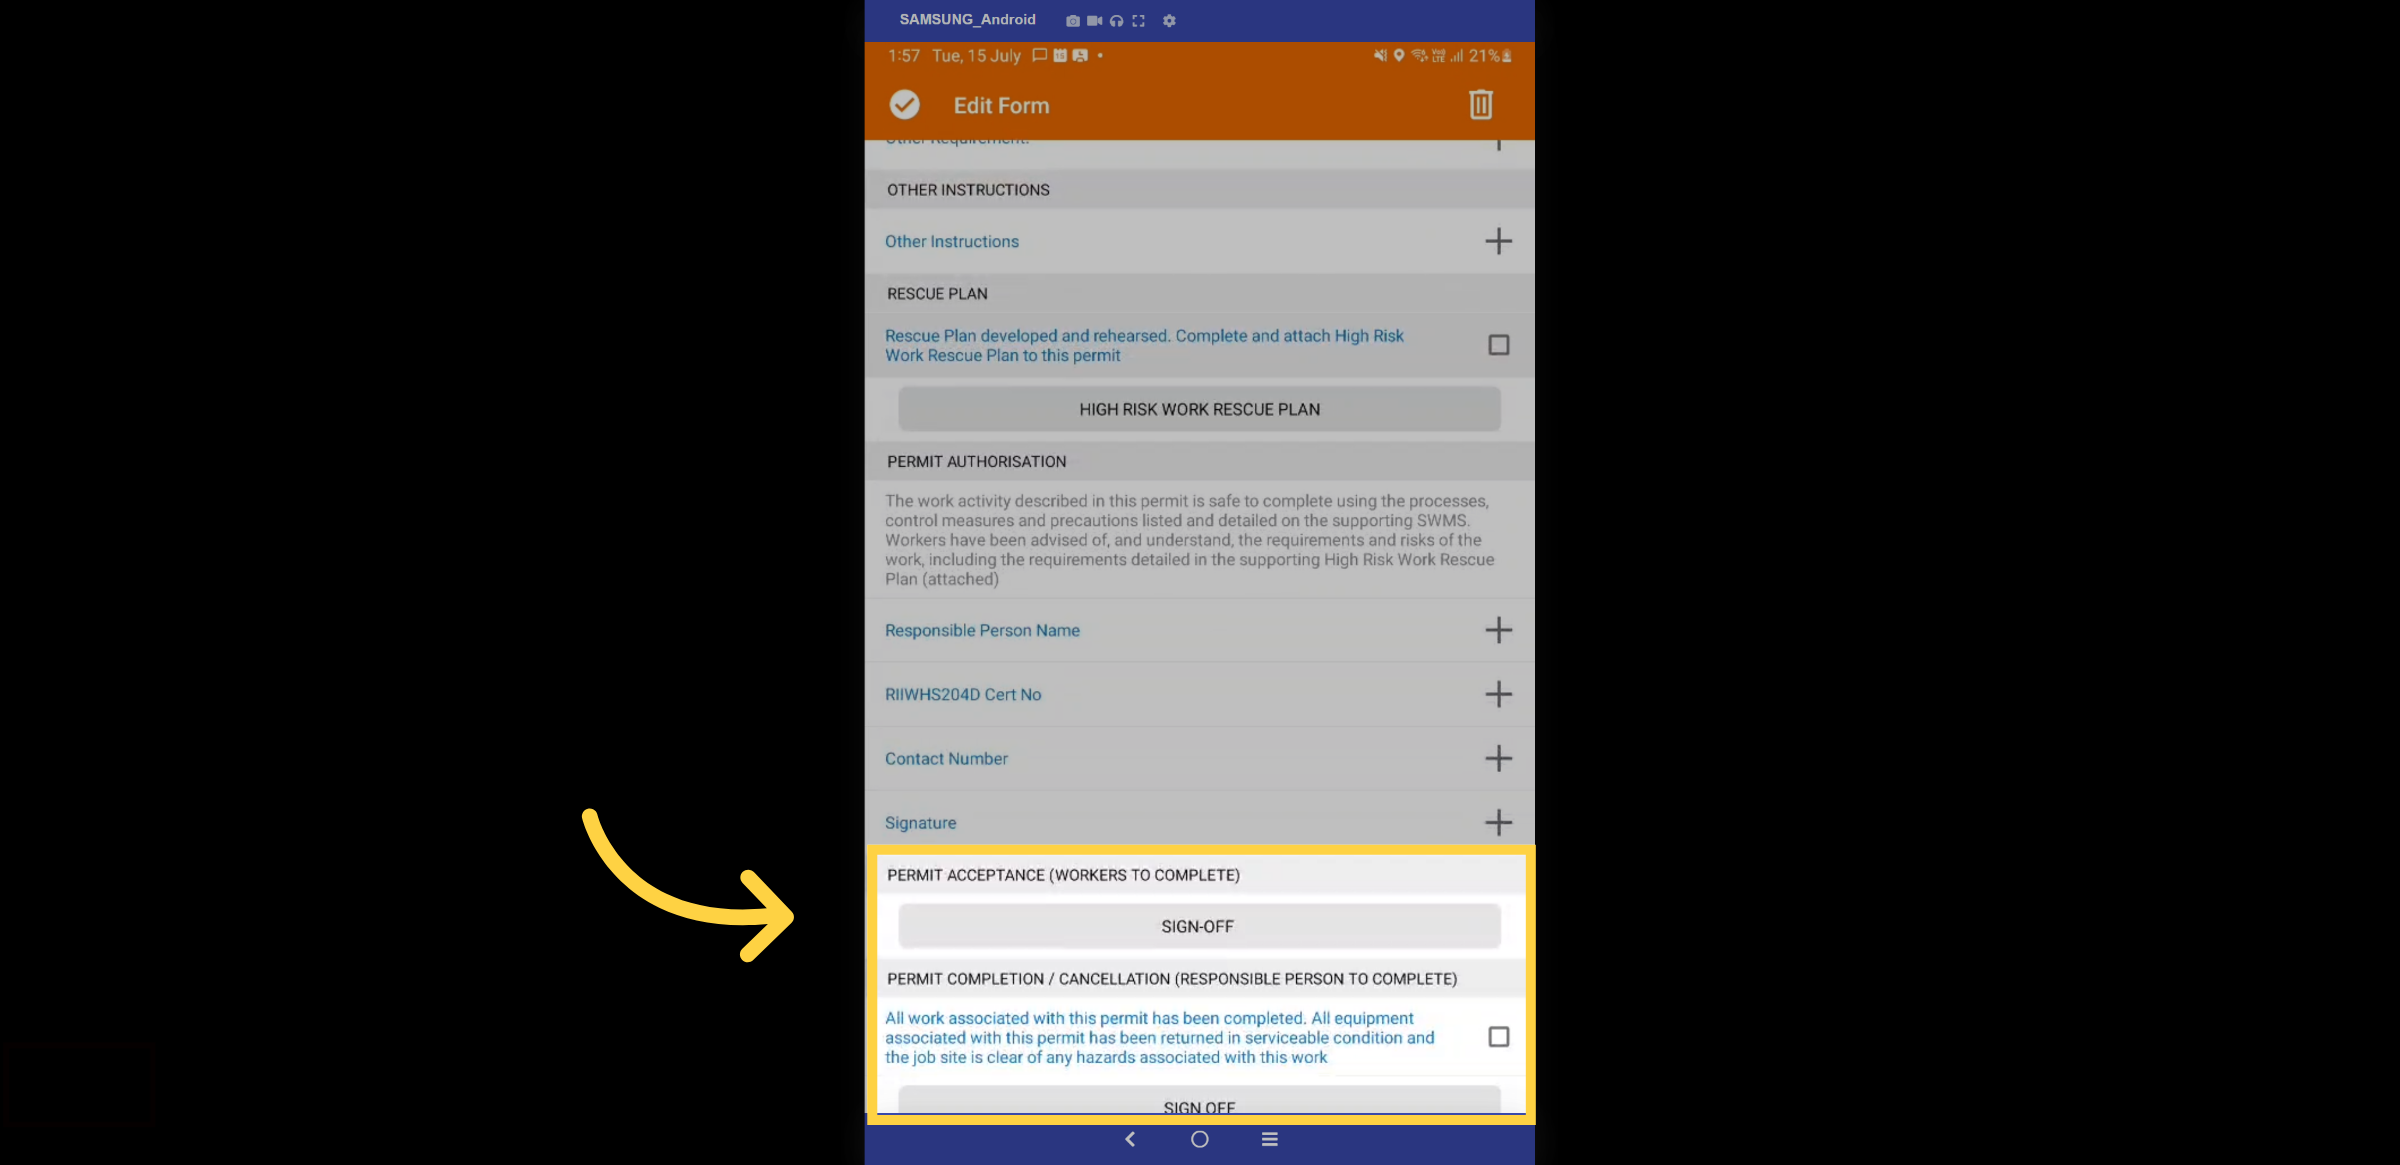
37. Sign off
Complete the majority sign-off section by entering your signature.
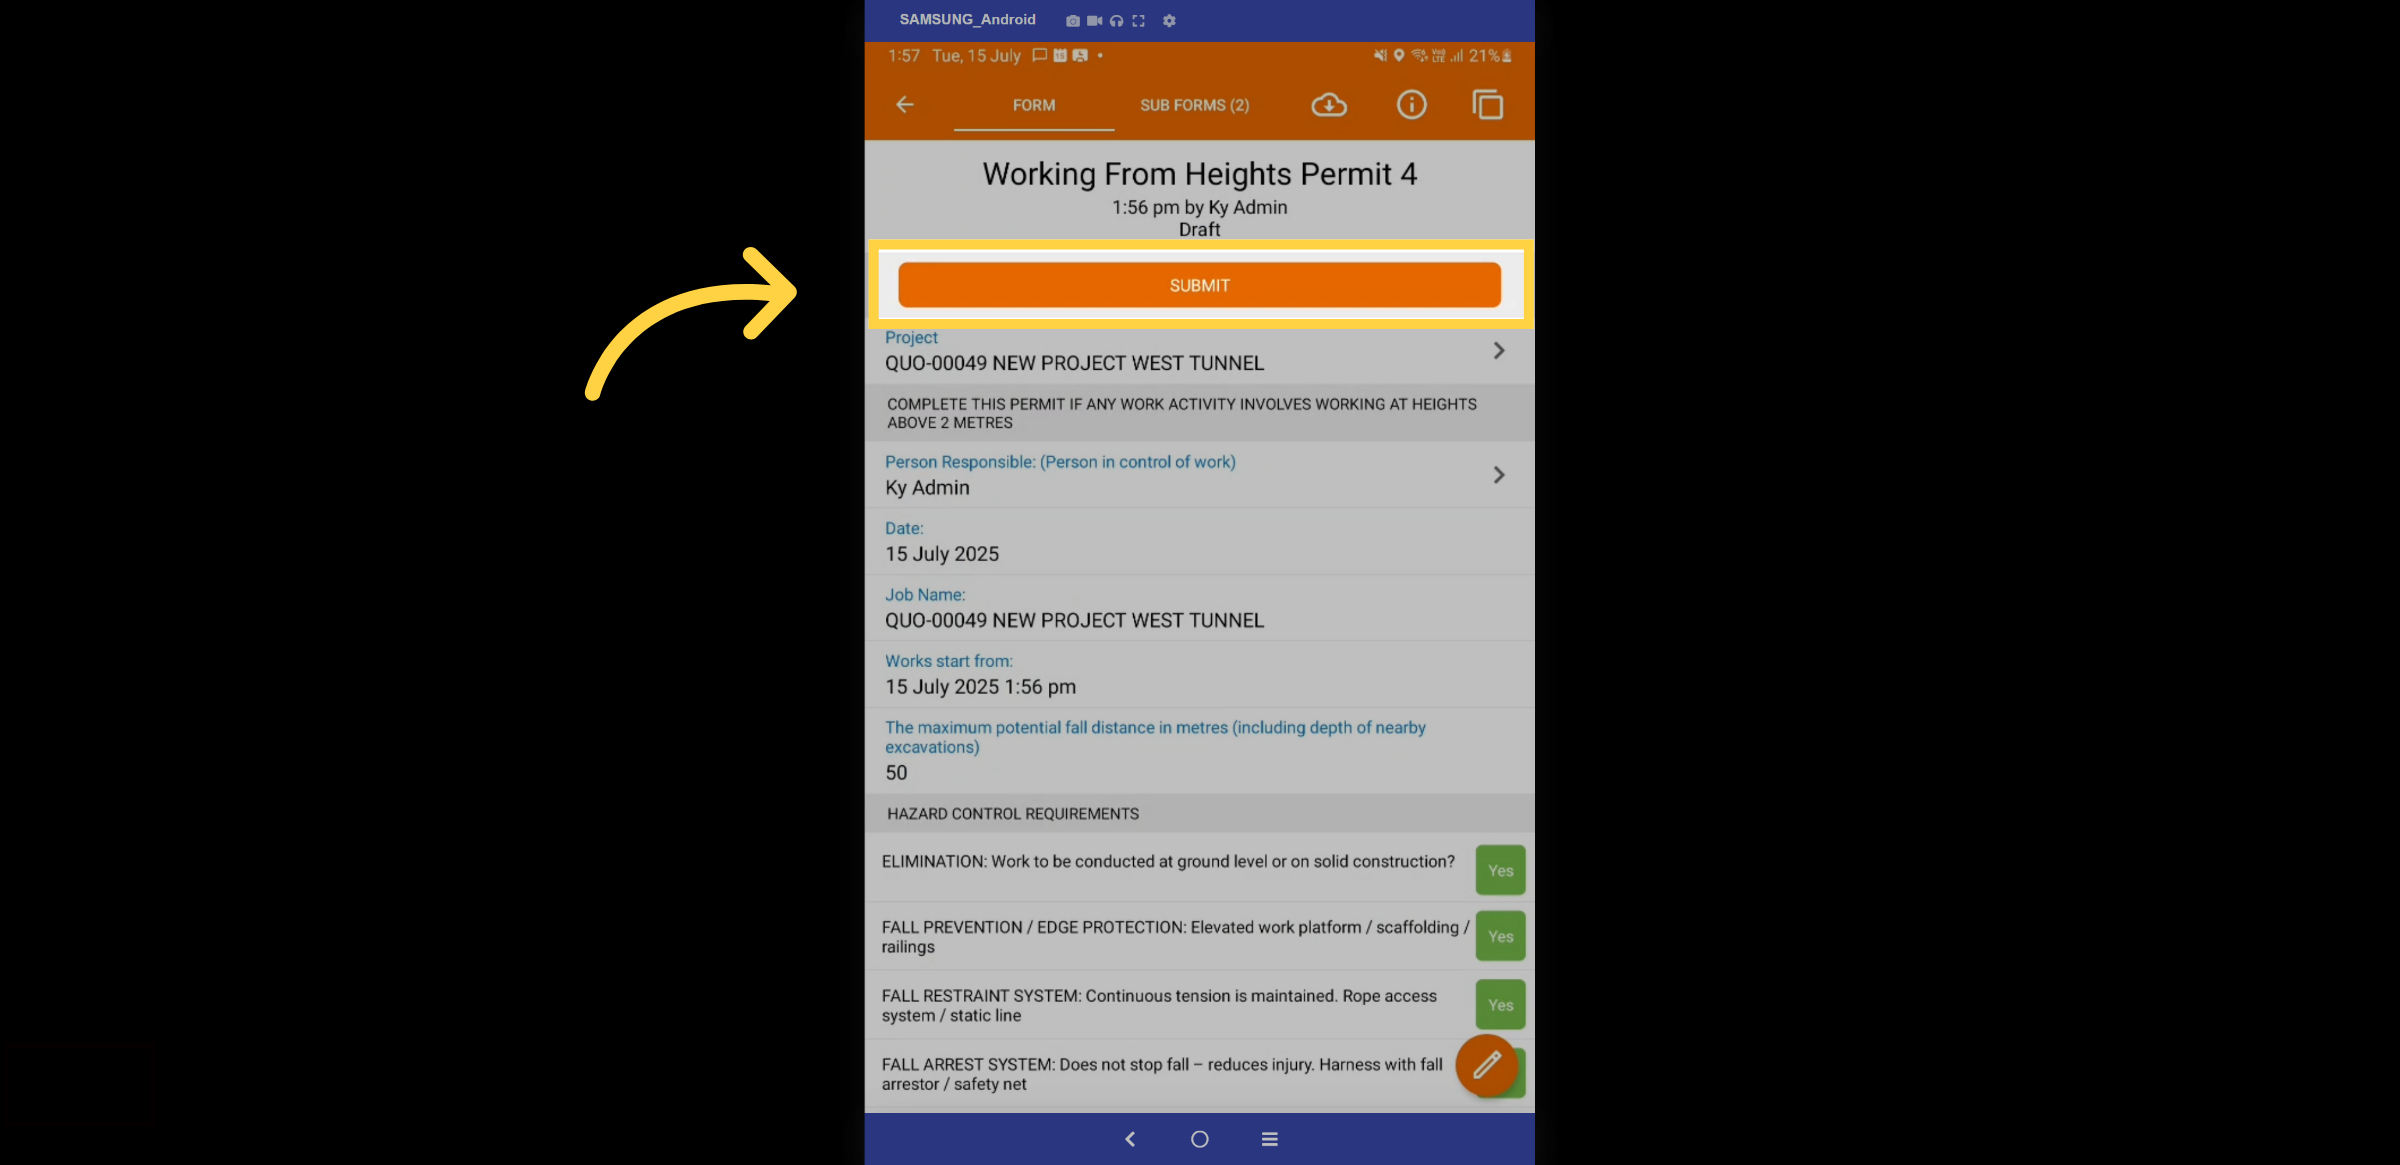
38. Submit
Once reviewed, select the submit button to save and finalise the form.
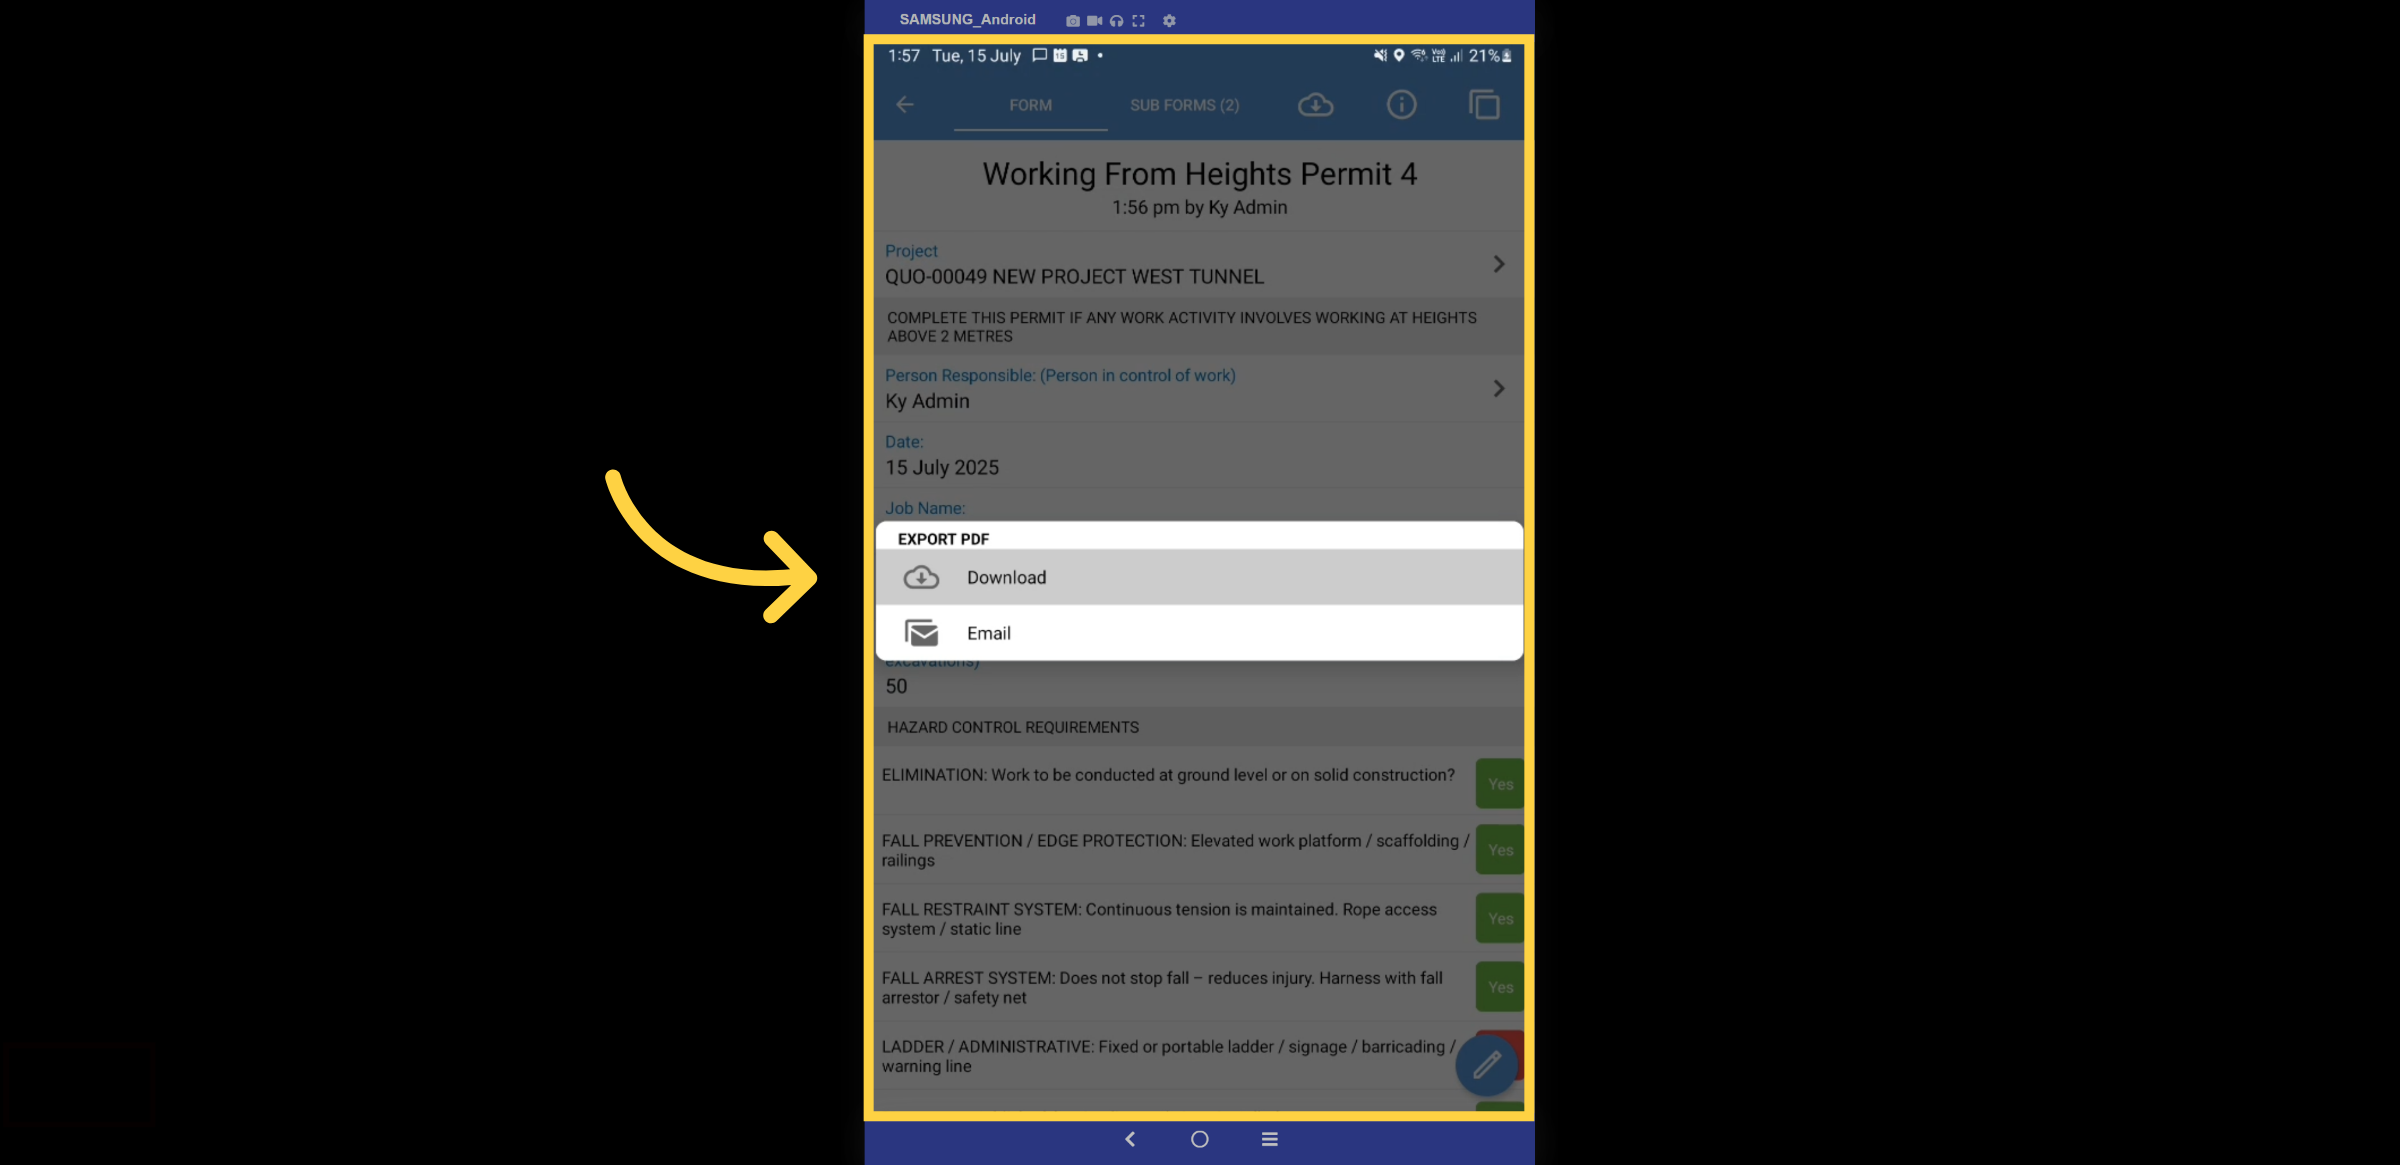
39. Completed form
Once the form has been submitted and completed, it will turn blue. Click the cloud icon to export or email it.
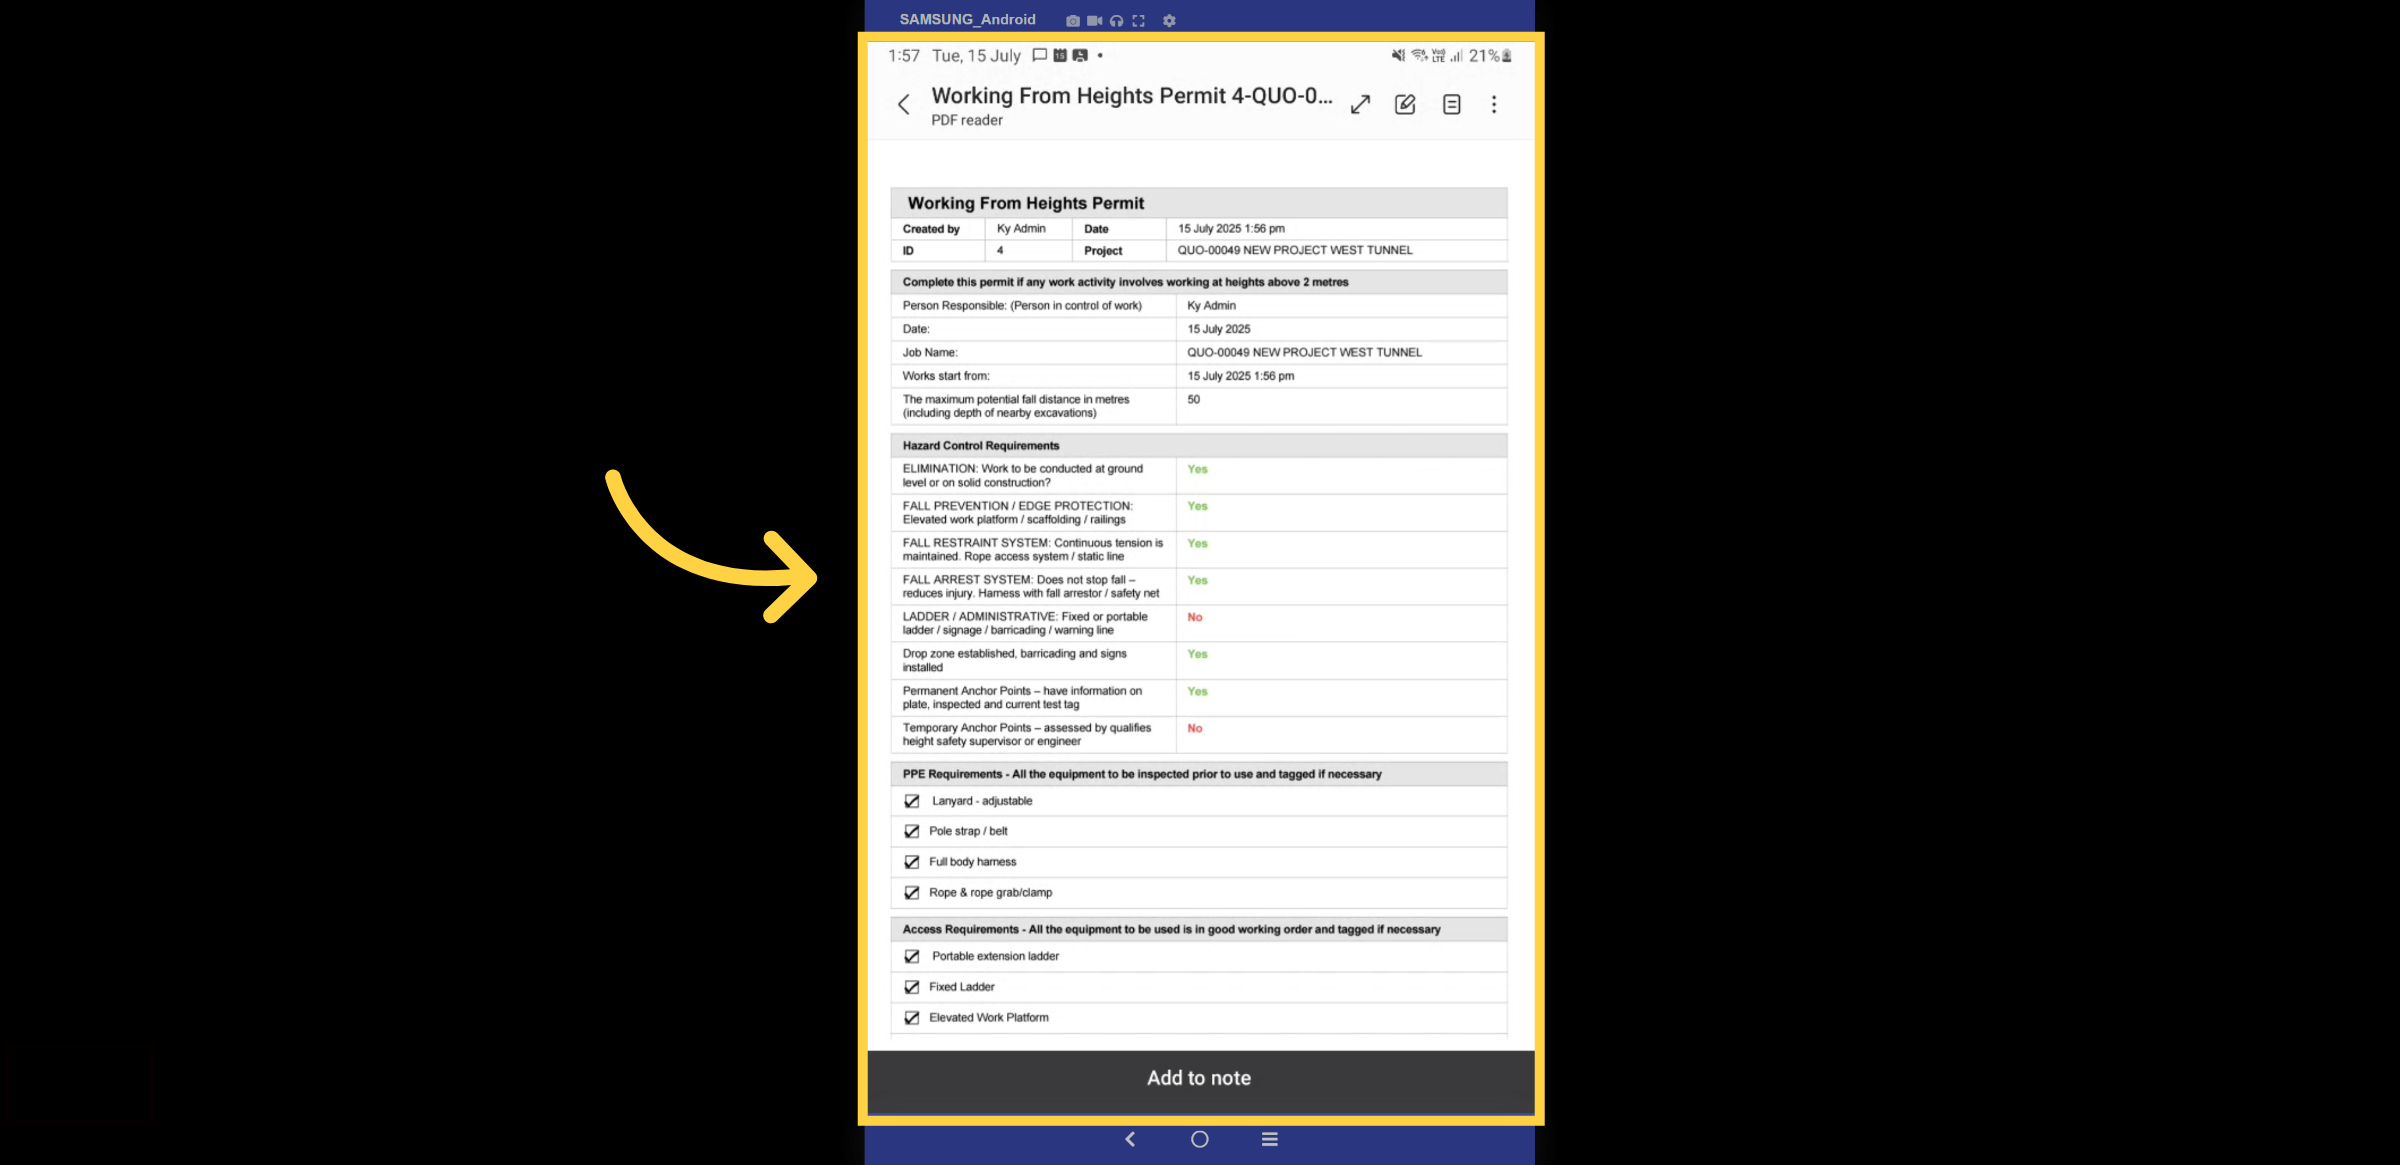
40. Export Example
Here is an example of the export.
Thanks for Watching

