Welcome to the HR Module (Team) Mobile Training Guide. This guide provides an overview of the features available in the HR Team module on mobile.
1. HR (Team)
From the home dashboard, select the HR/Pay module. If you are logged in as a standard user, a forced workflow may be enabled. This will display a button for you to start your shift and complete any mandatory forms. Once completed, the HR module will be available for you to select.
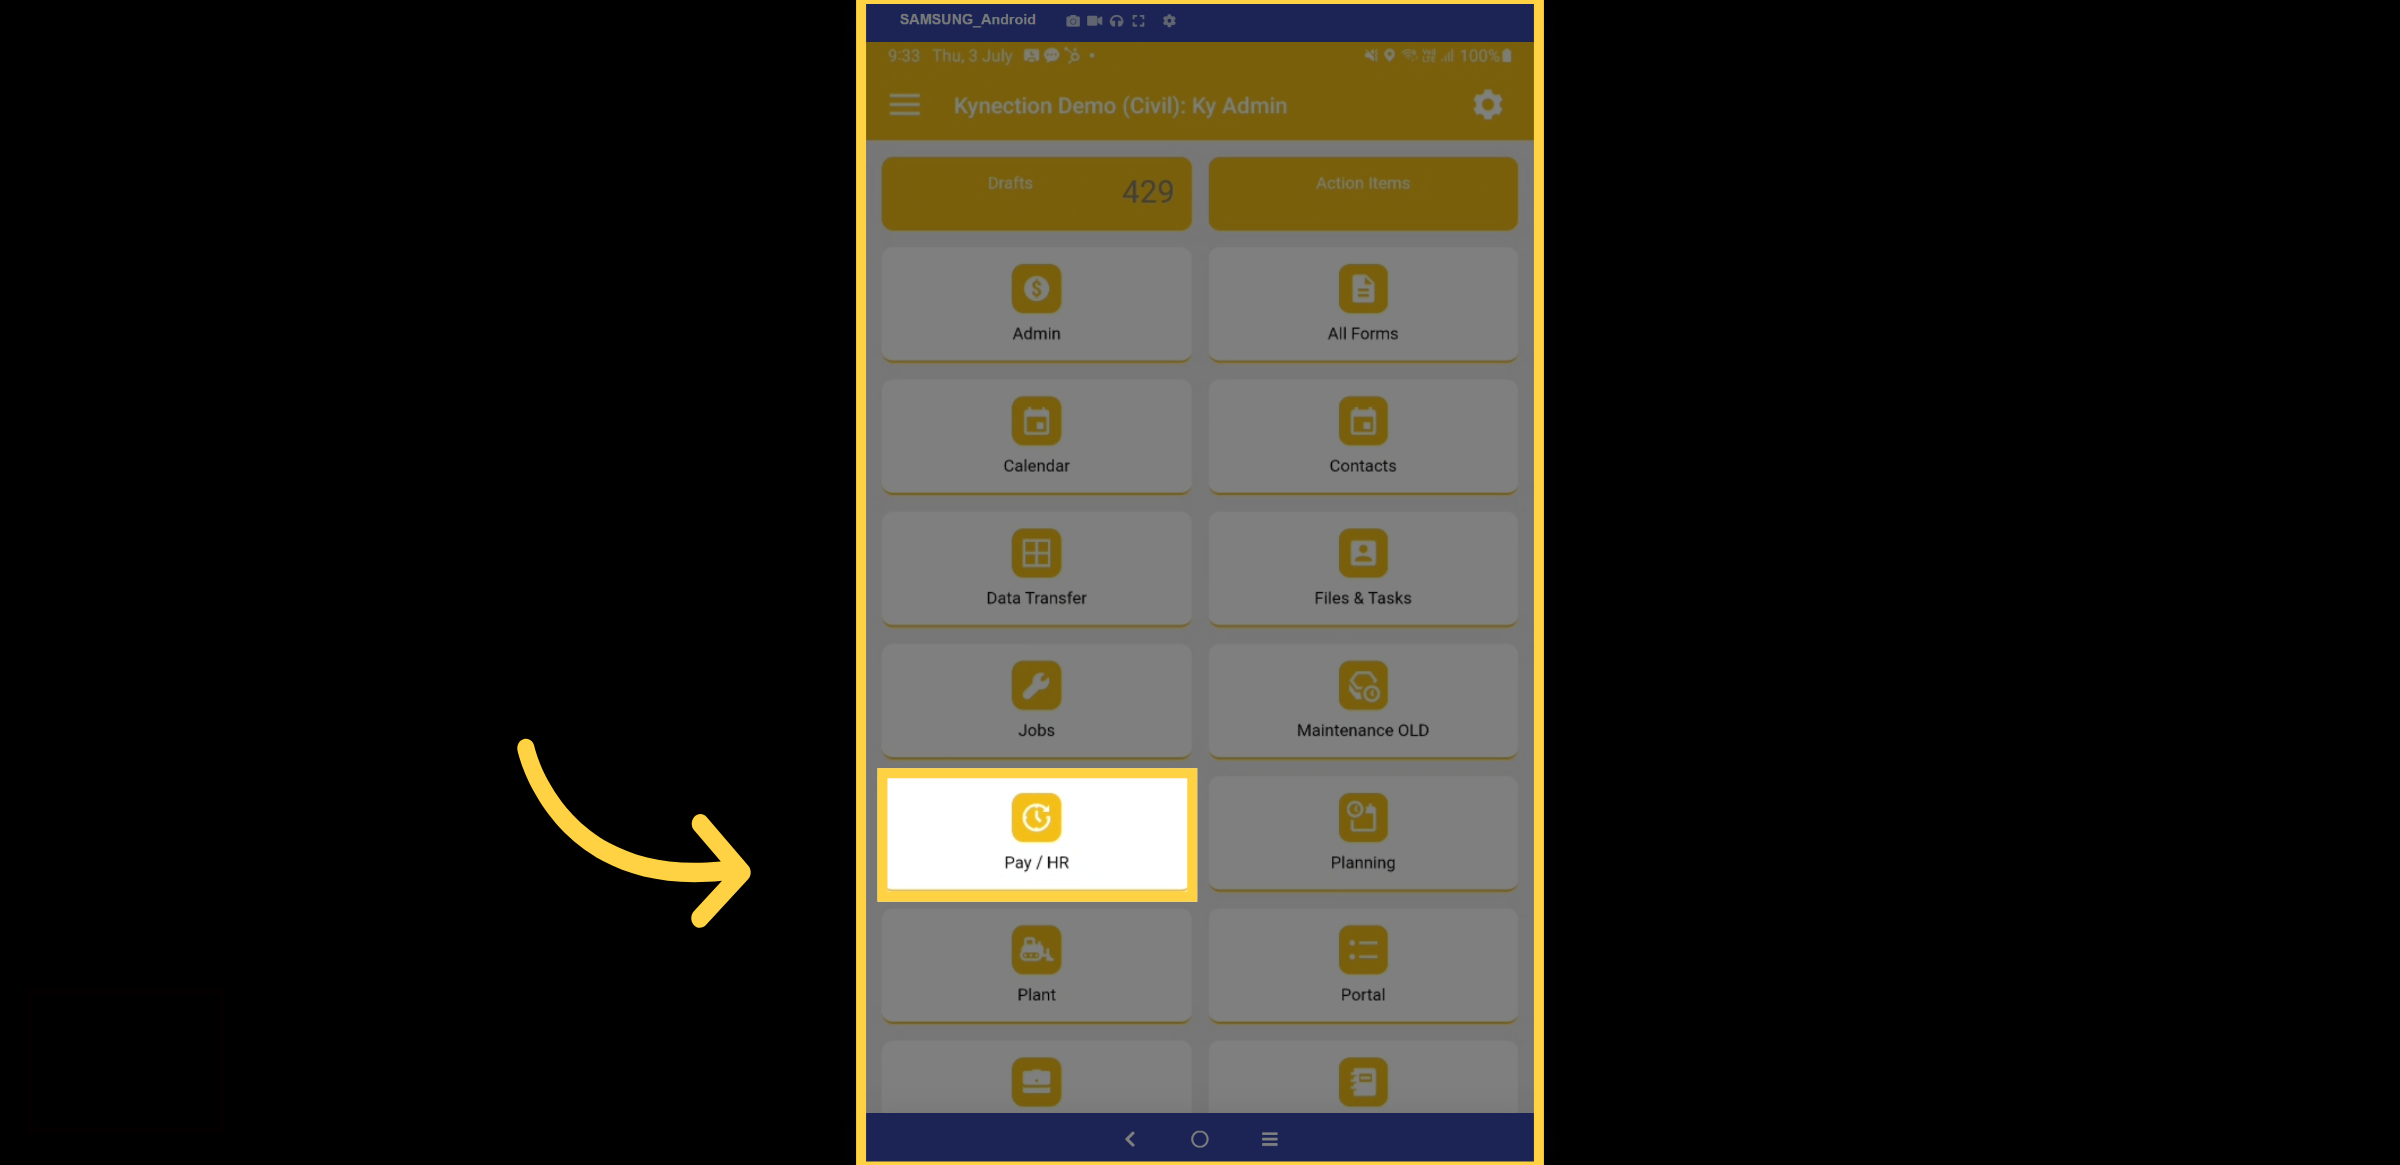
2. Induction Process
In this initial example, we will walk you through the induction process. To start, select the "Complete Induction" button. Additionally, this form can be linked to a QR code for users to complete it easily.
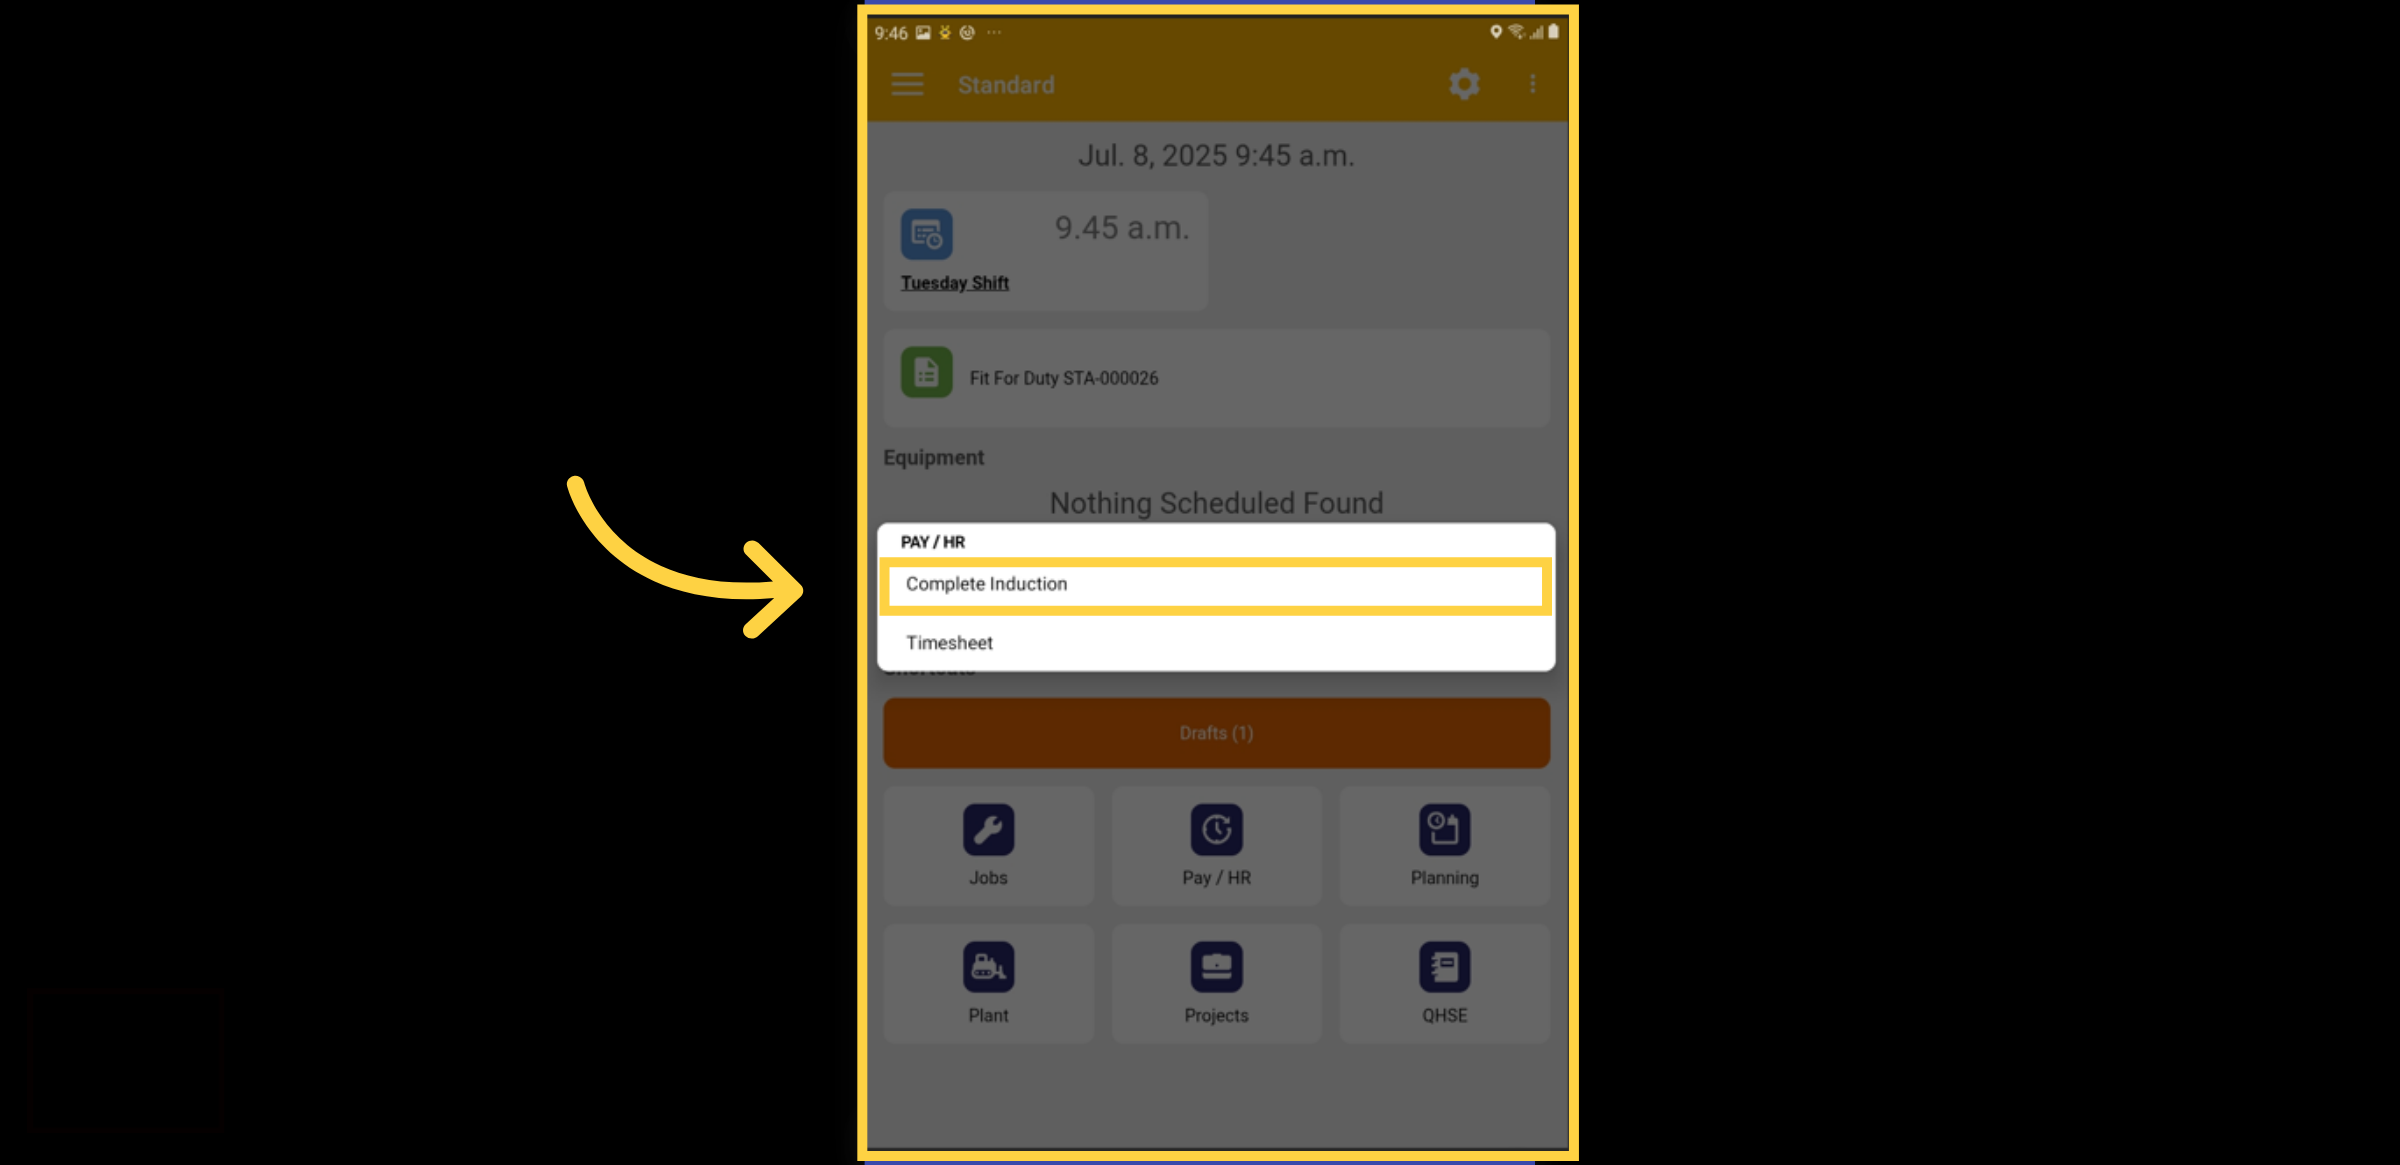
3. Training Log Dashboard
Welcome to your comprehensive training logs dashboard. Here, you will find a collection of training logs, license competencies, articles, and files that require your review and sign-off. You have the flexibility to designate specific forms as mandatory, ensuring that essential tasks are prioritized. Additionally, users can upload extra certificates to enhance their profiles.
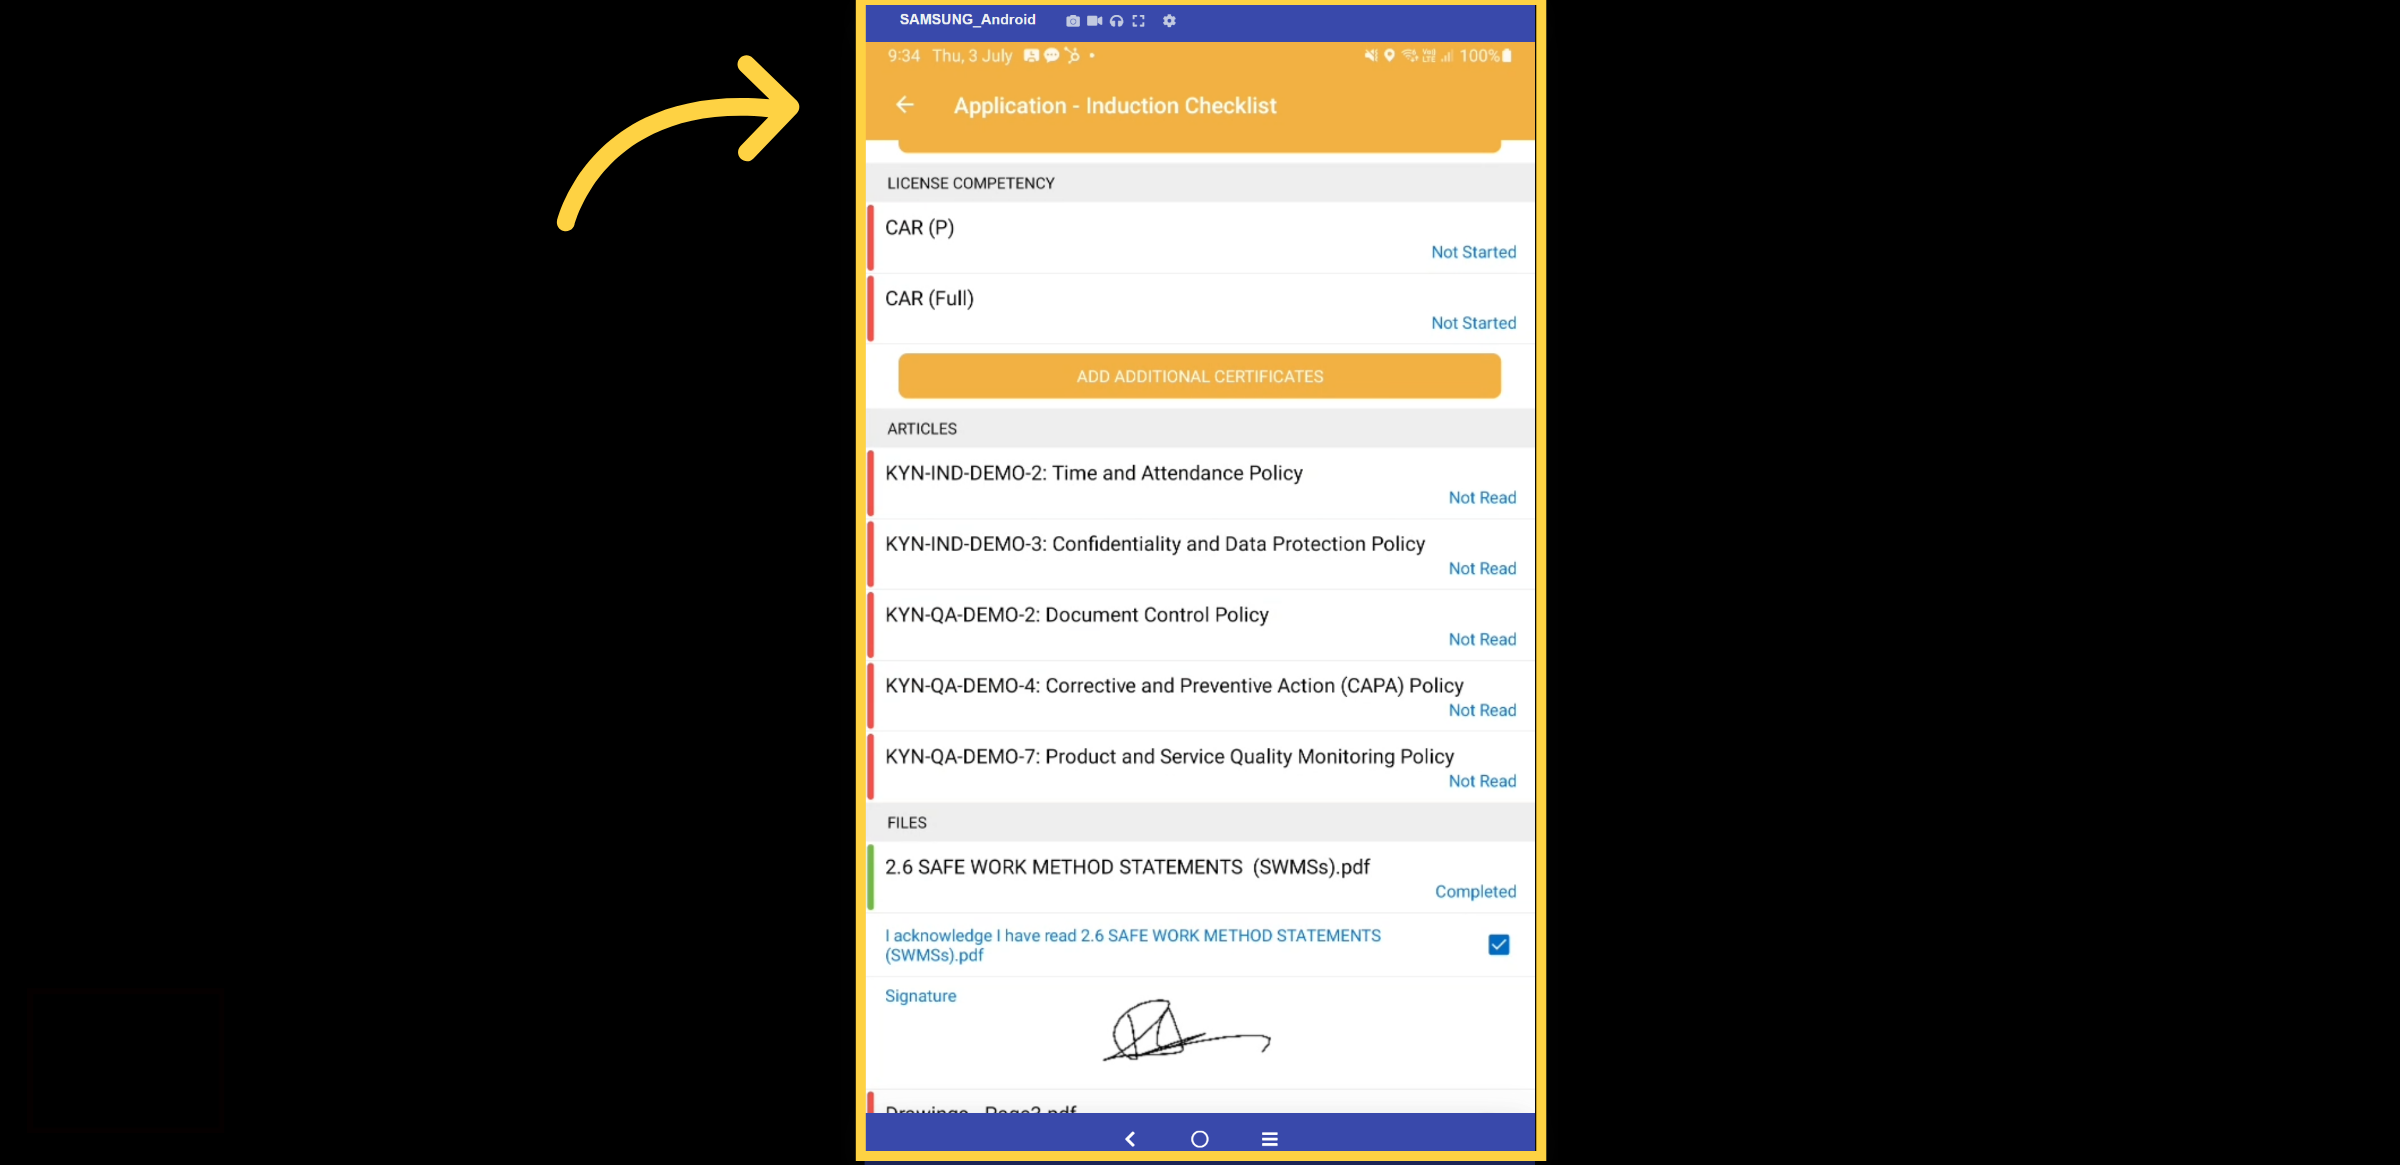
4. Progress Bar
To help you track your progress, we employ a color-coded system on the left side of the interface: red indicates tasks that have not been started, yellow signifies that work is in progress, and green shows completed items. This intuitive system allows for quick visual assessments of your training status.
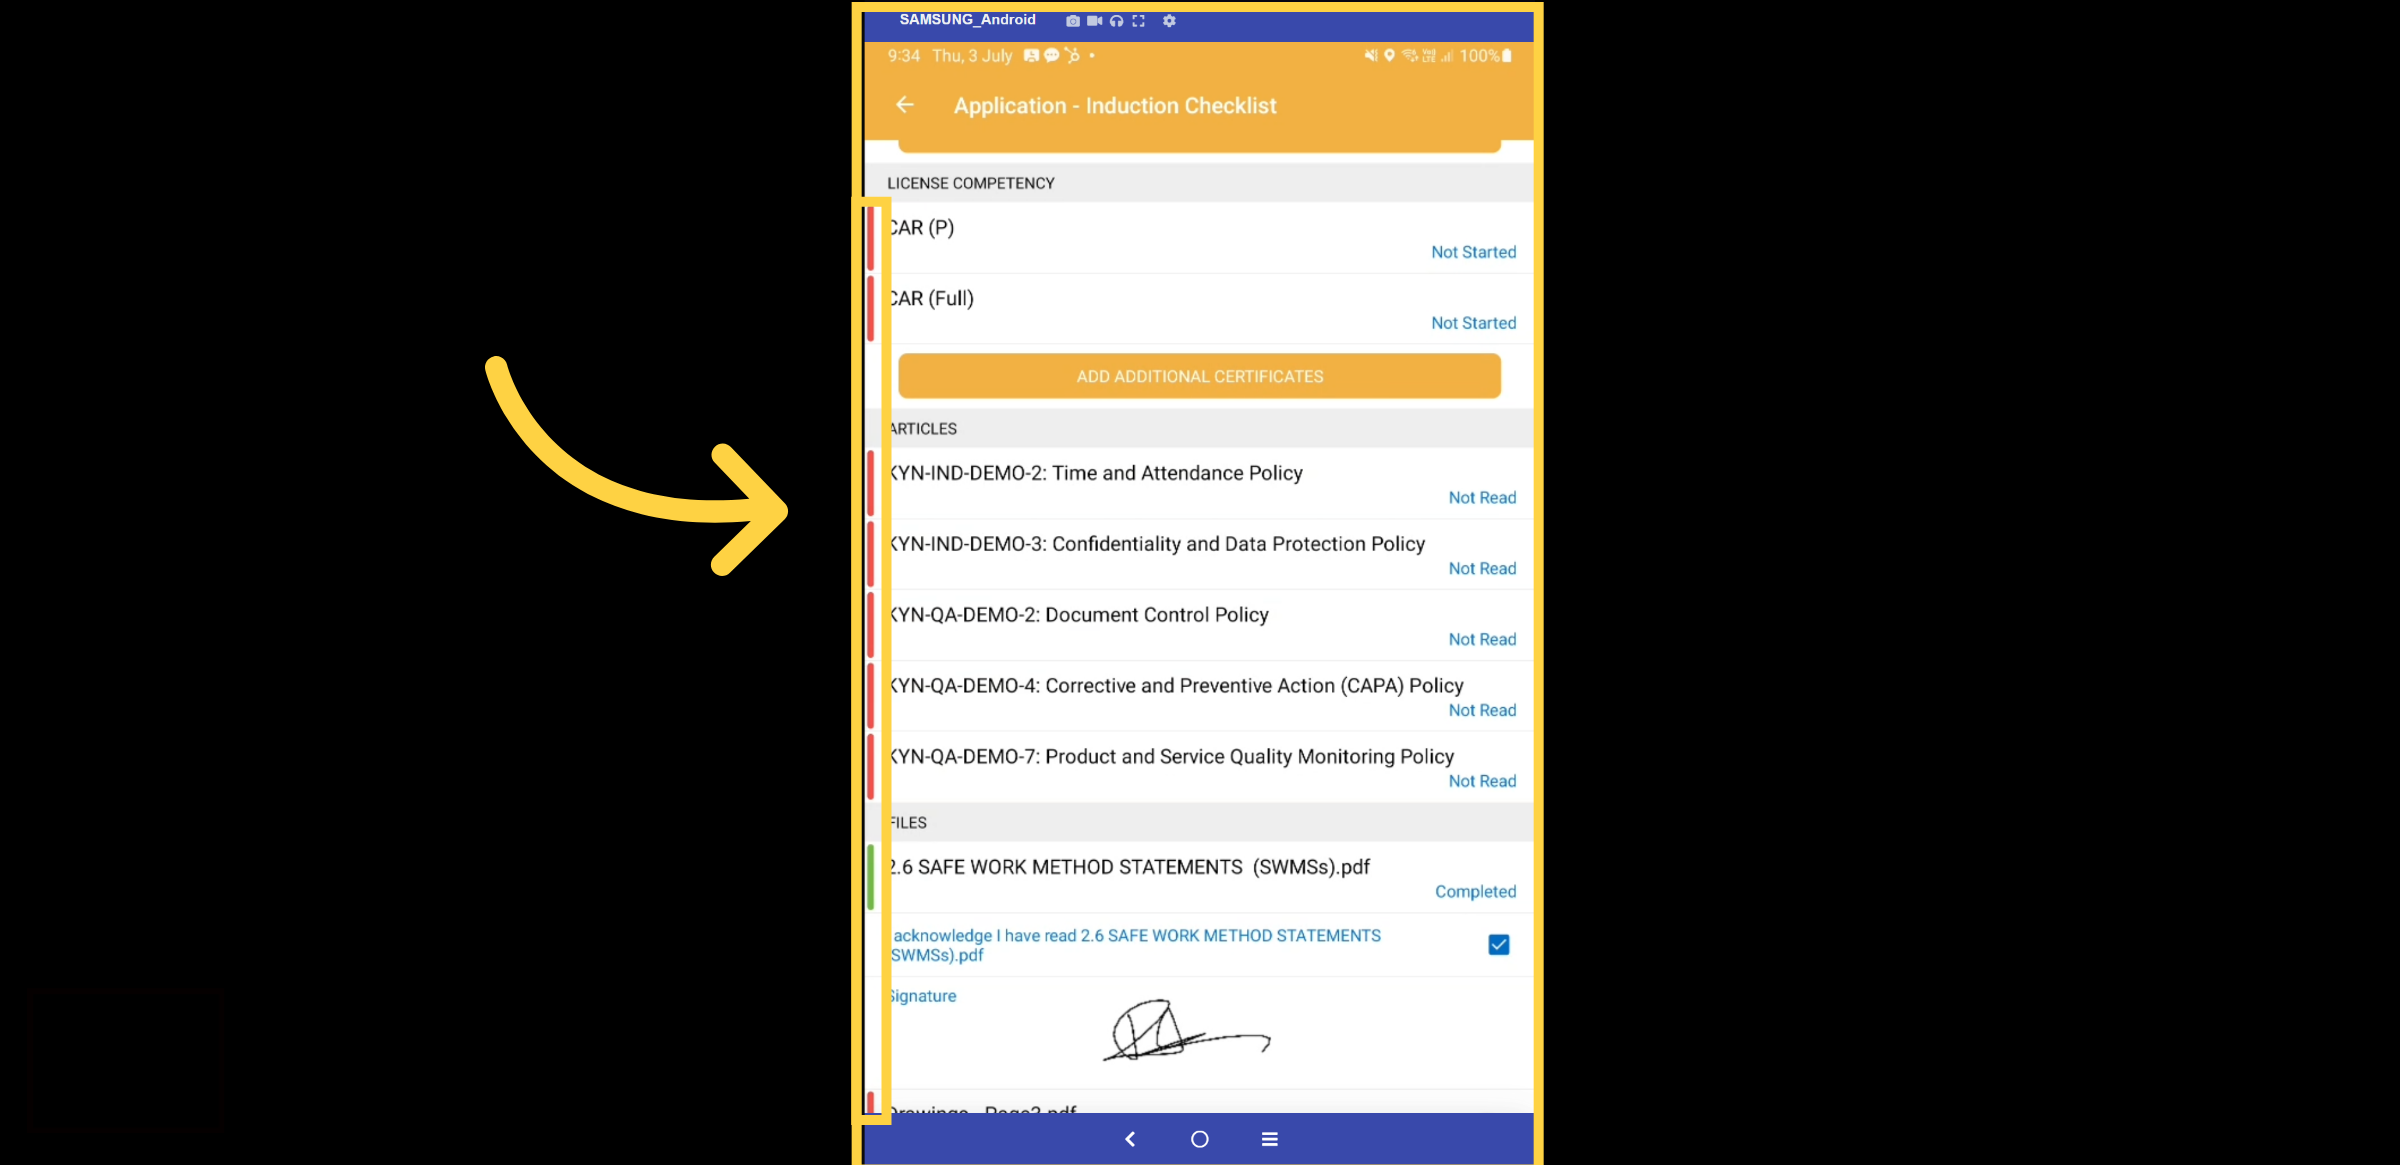
5. Expiry date
In this example, we will guide you through the process of completing a forklift license application. To begin, please enter the expiration date. Note that mandatory fields are indicated with red text.
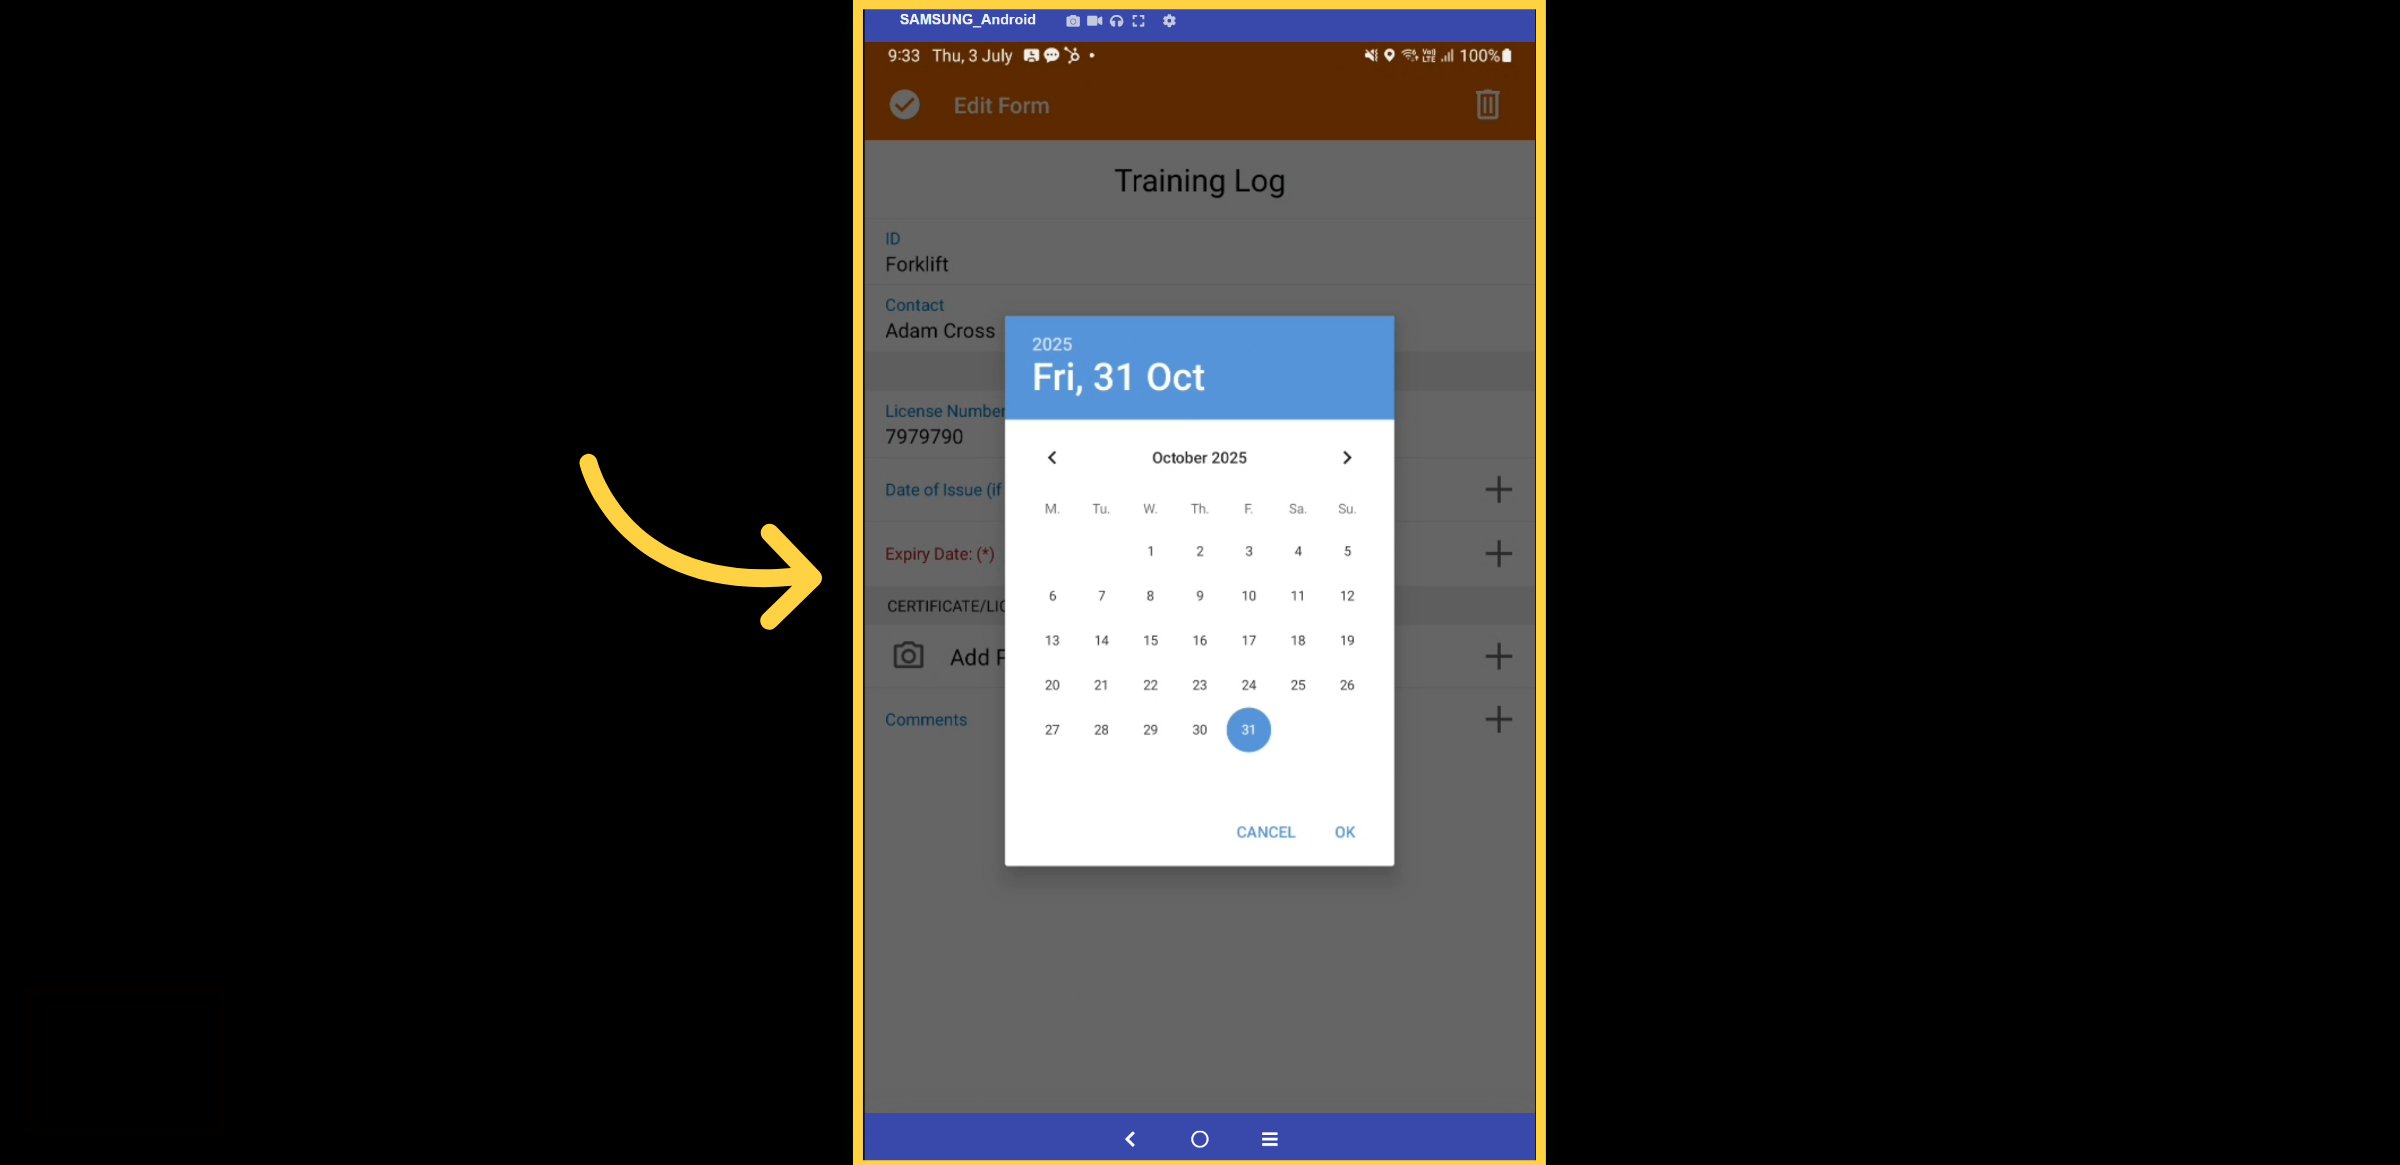
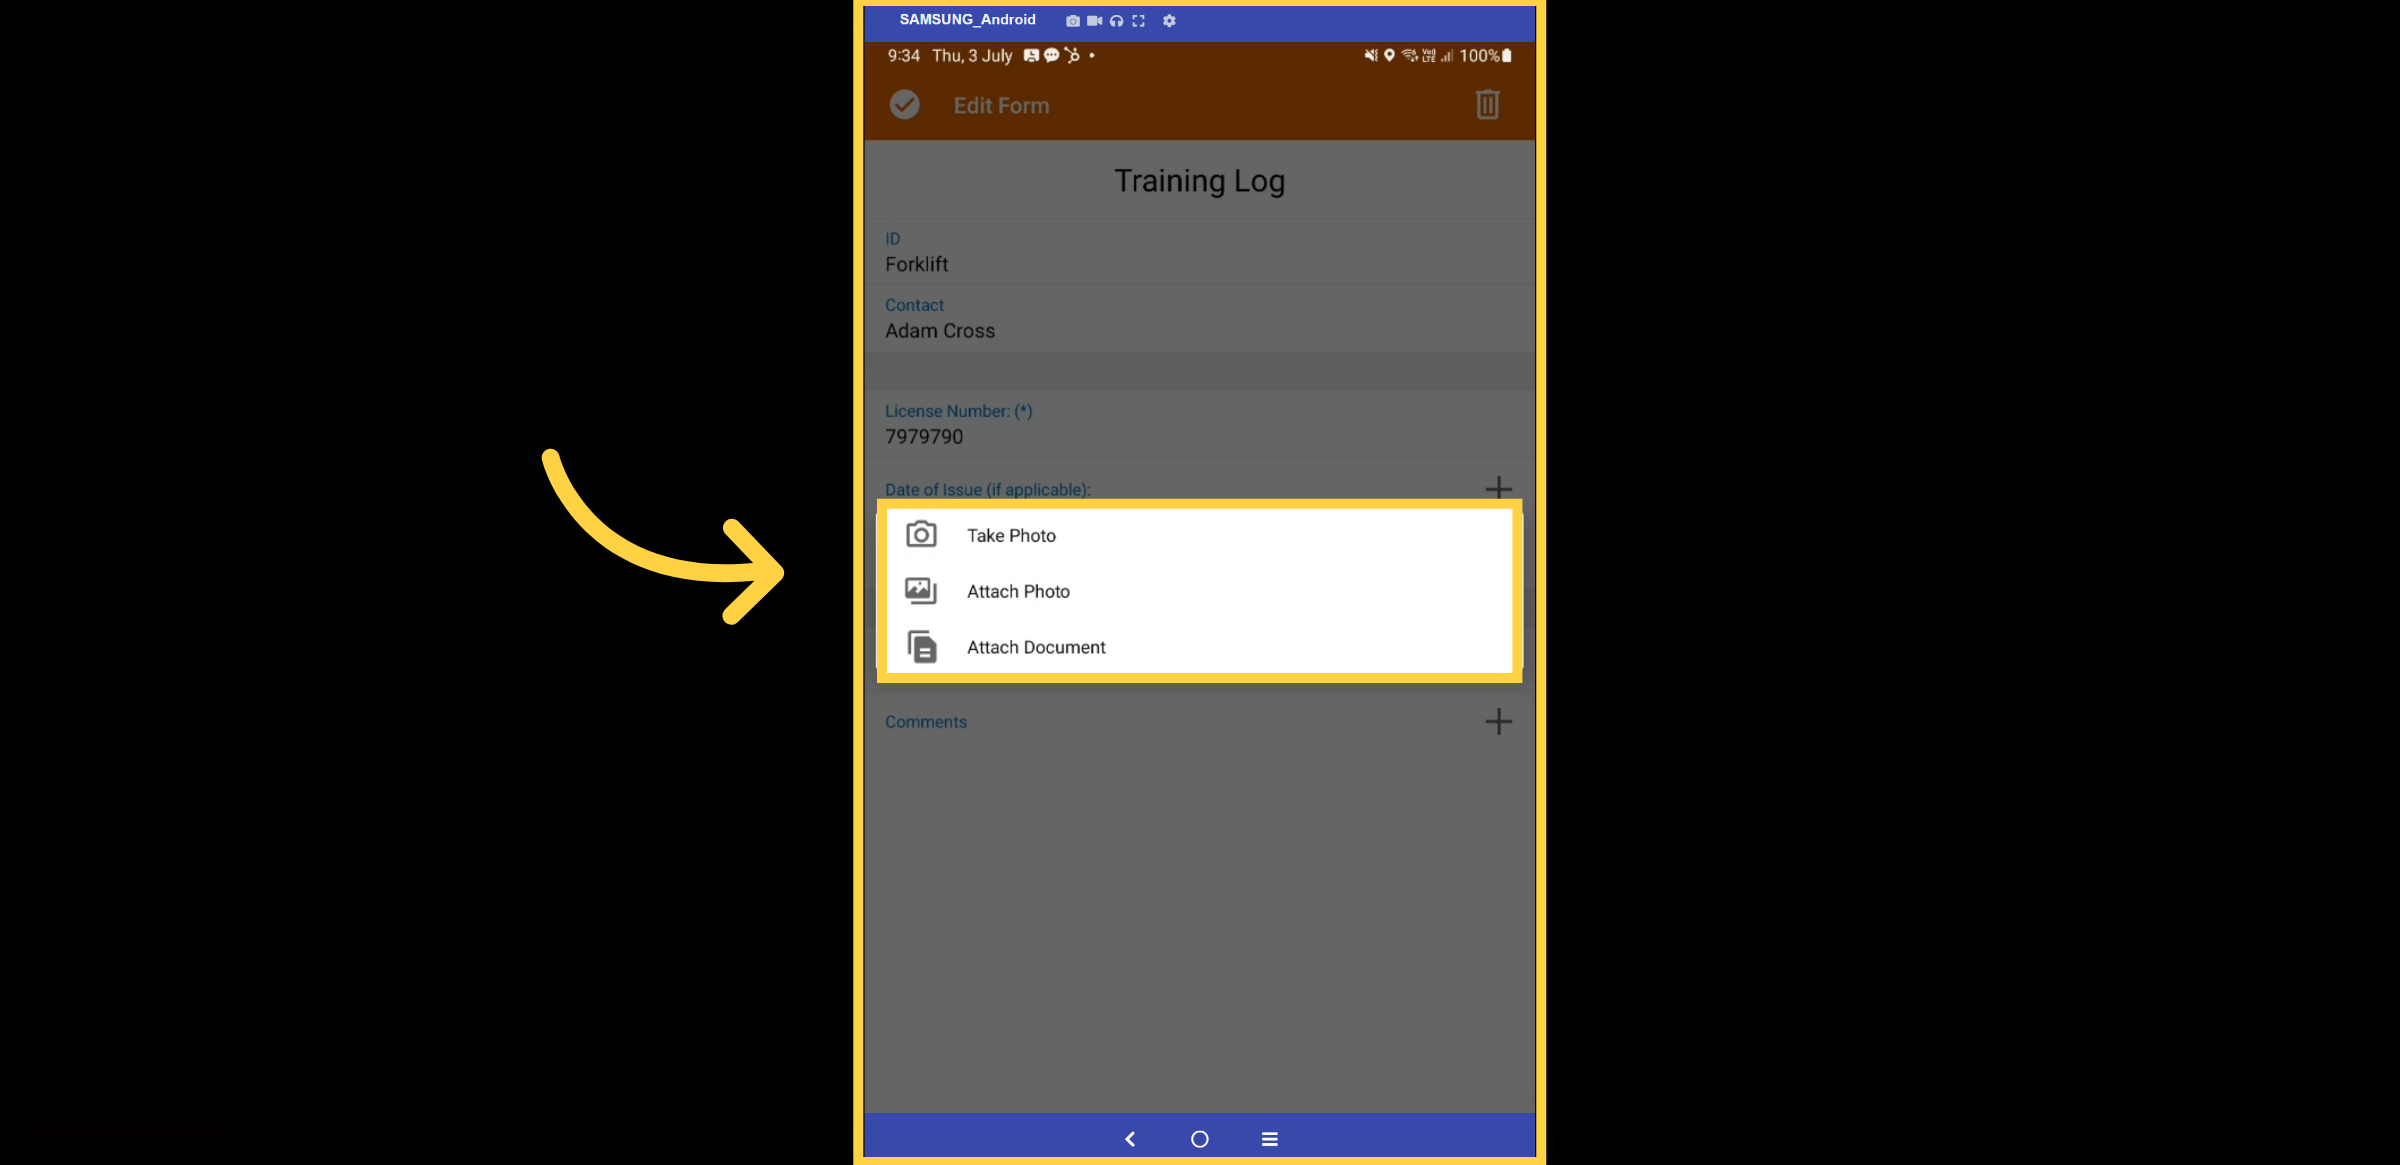
6. Take Photo
You can upload both the front and back photos of the physical license or certificate. Capture a photo and press OK.
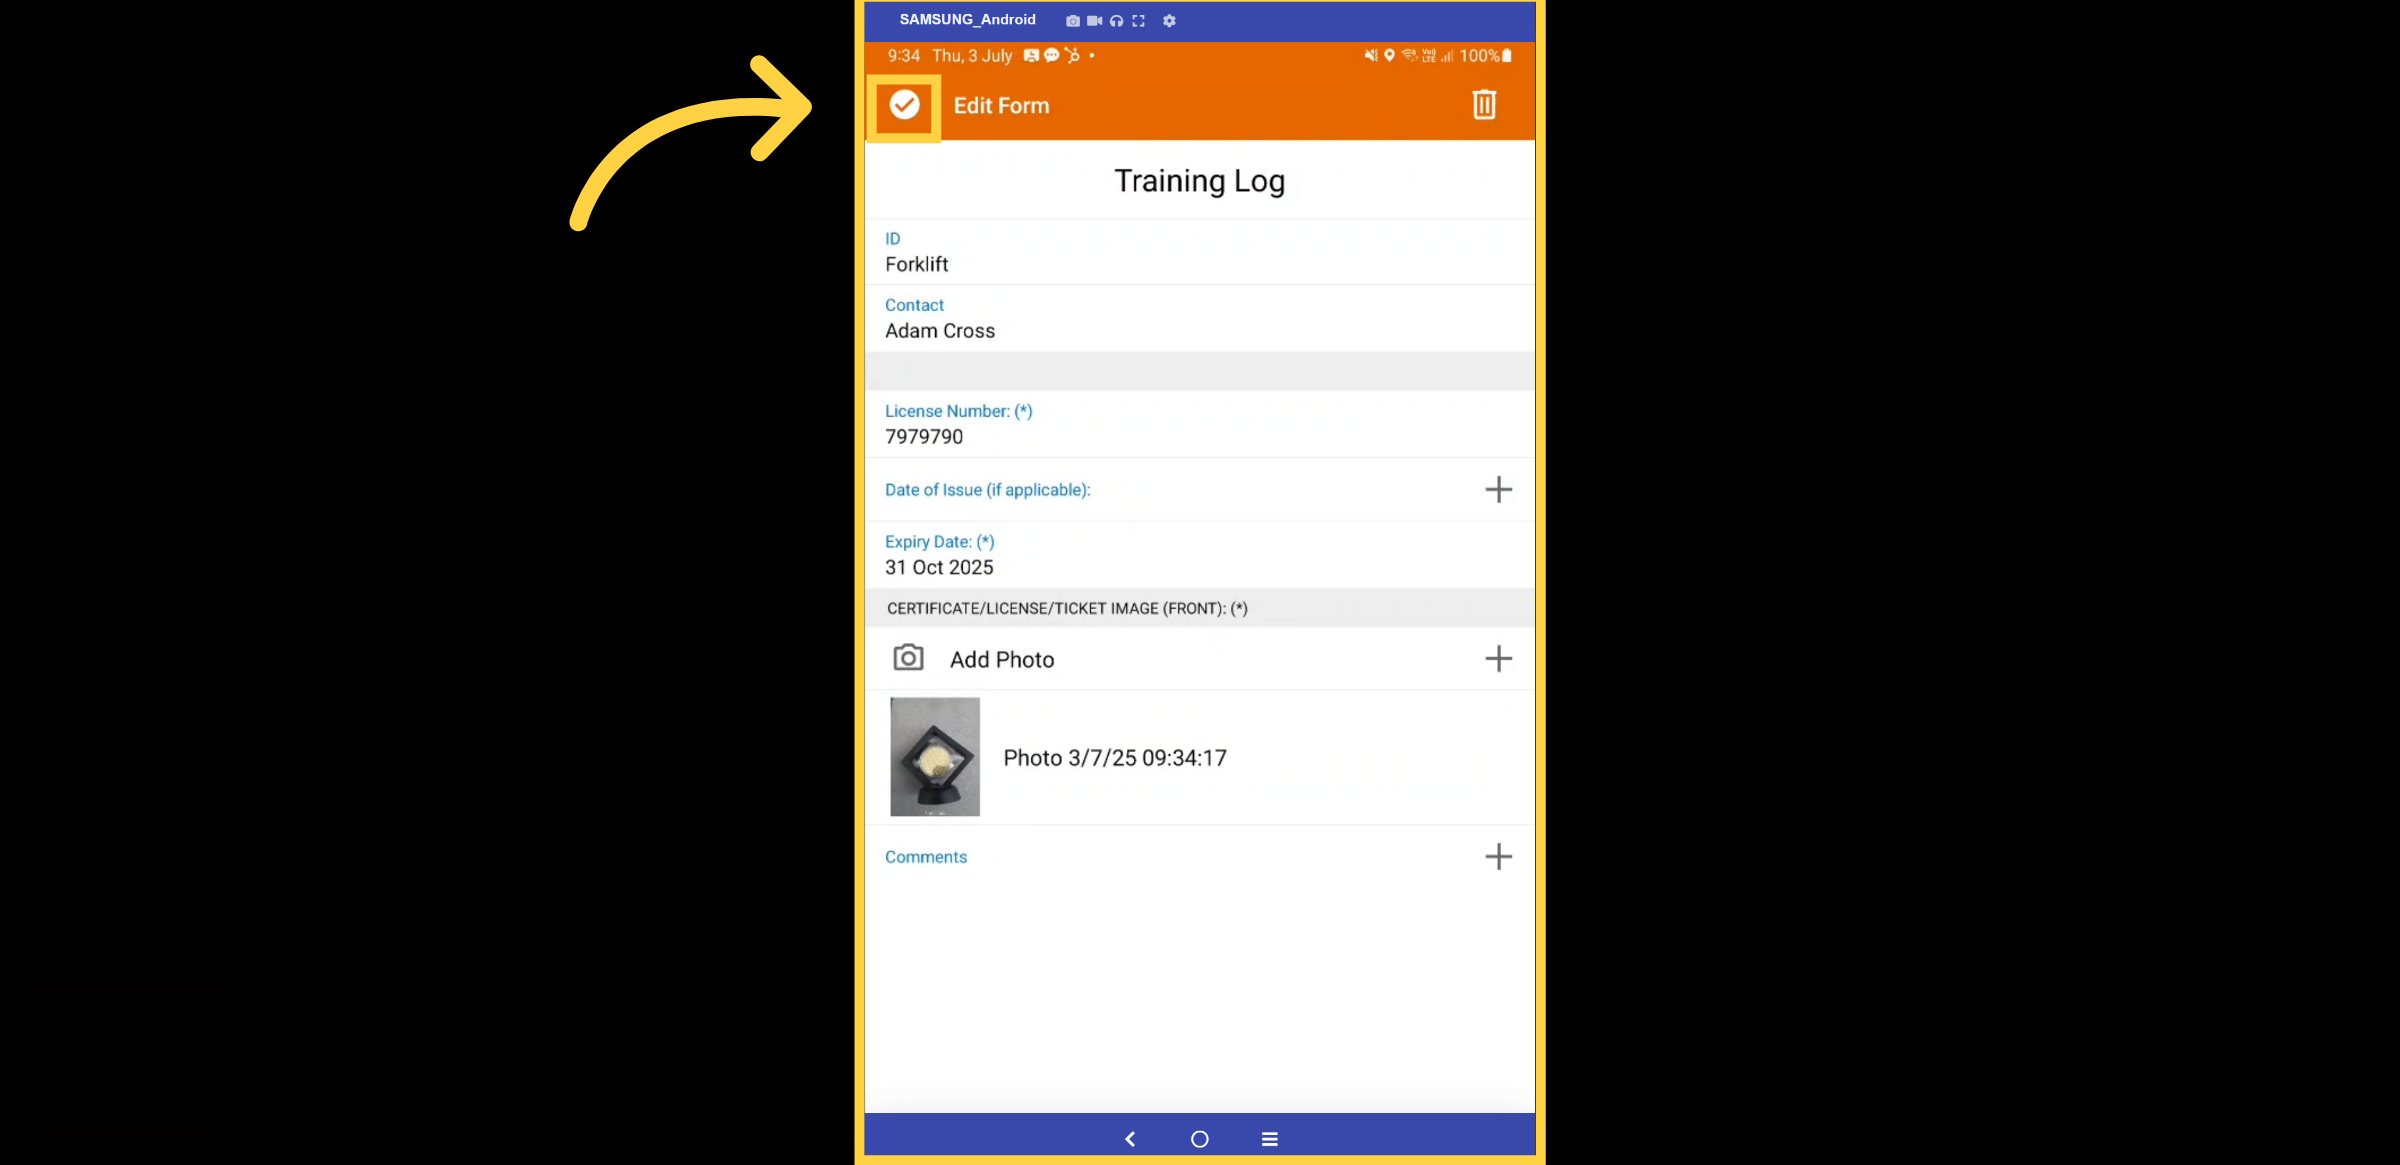
7. Enter Details & Save
Enter your license number, review the form for accuracy and select the tick icon to save, or select Done if using an Apple device, and submit your submission.
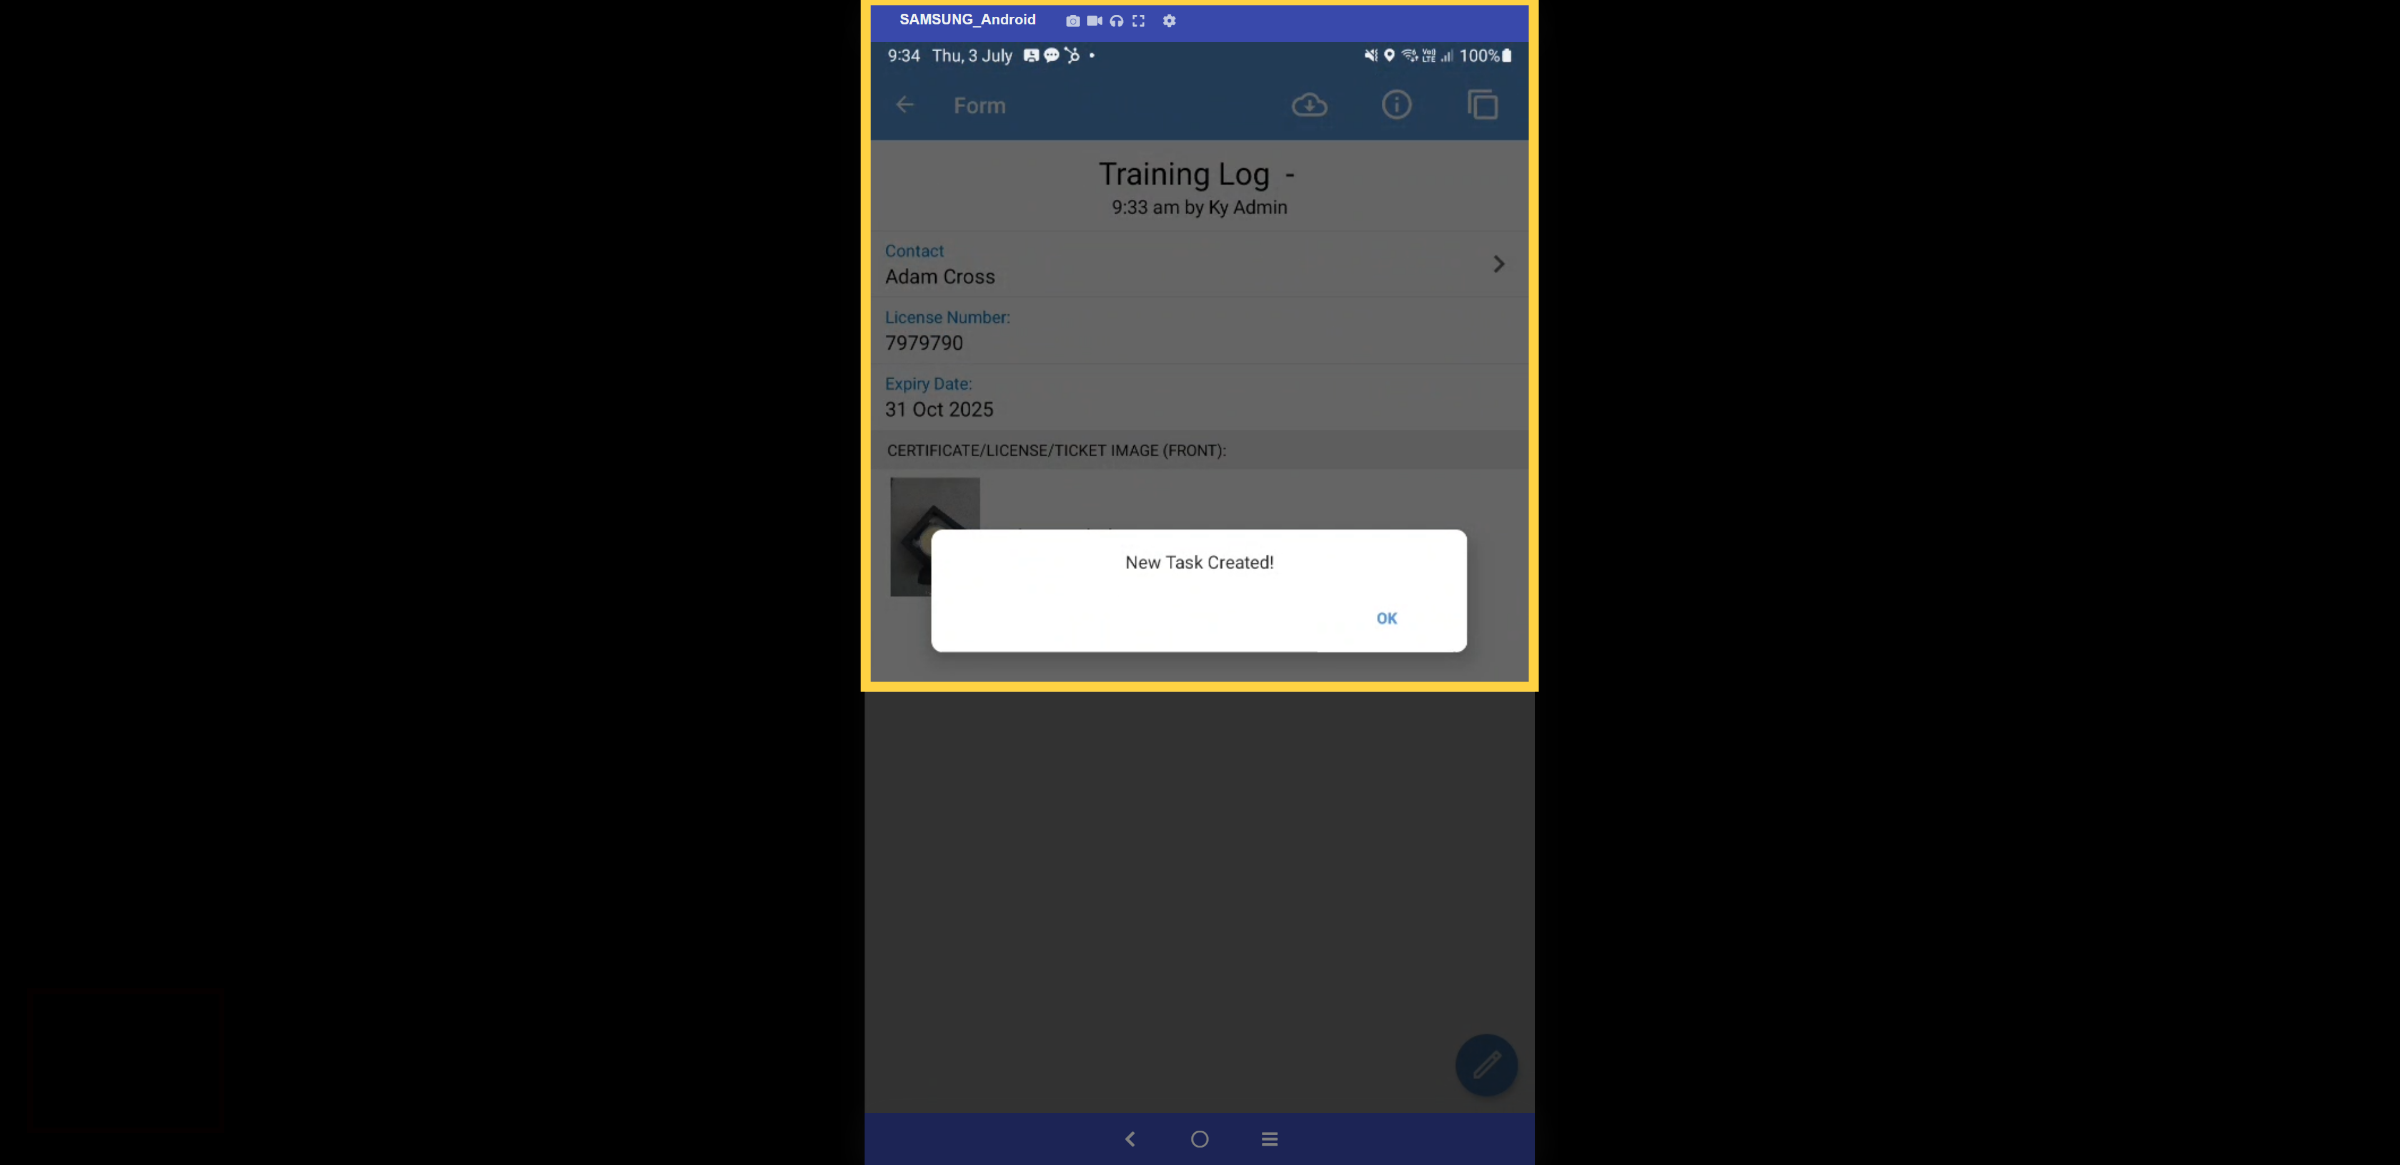
8. Form Completed
The form will now change to blue, and a task has been generated for HR to review and approve.
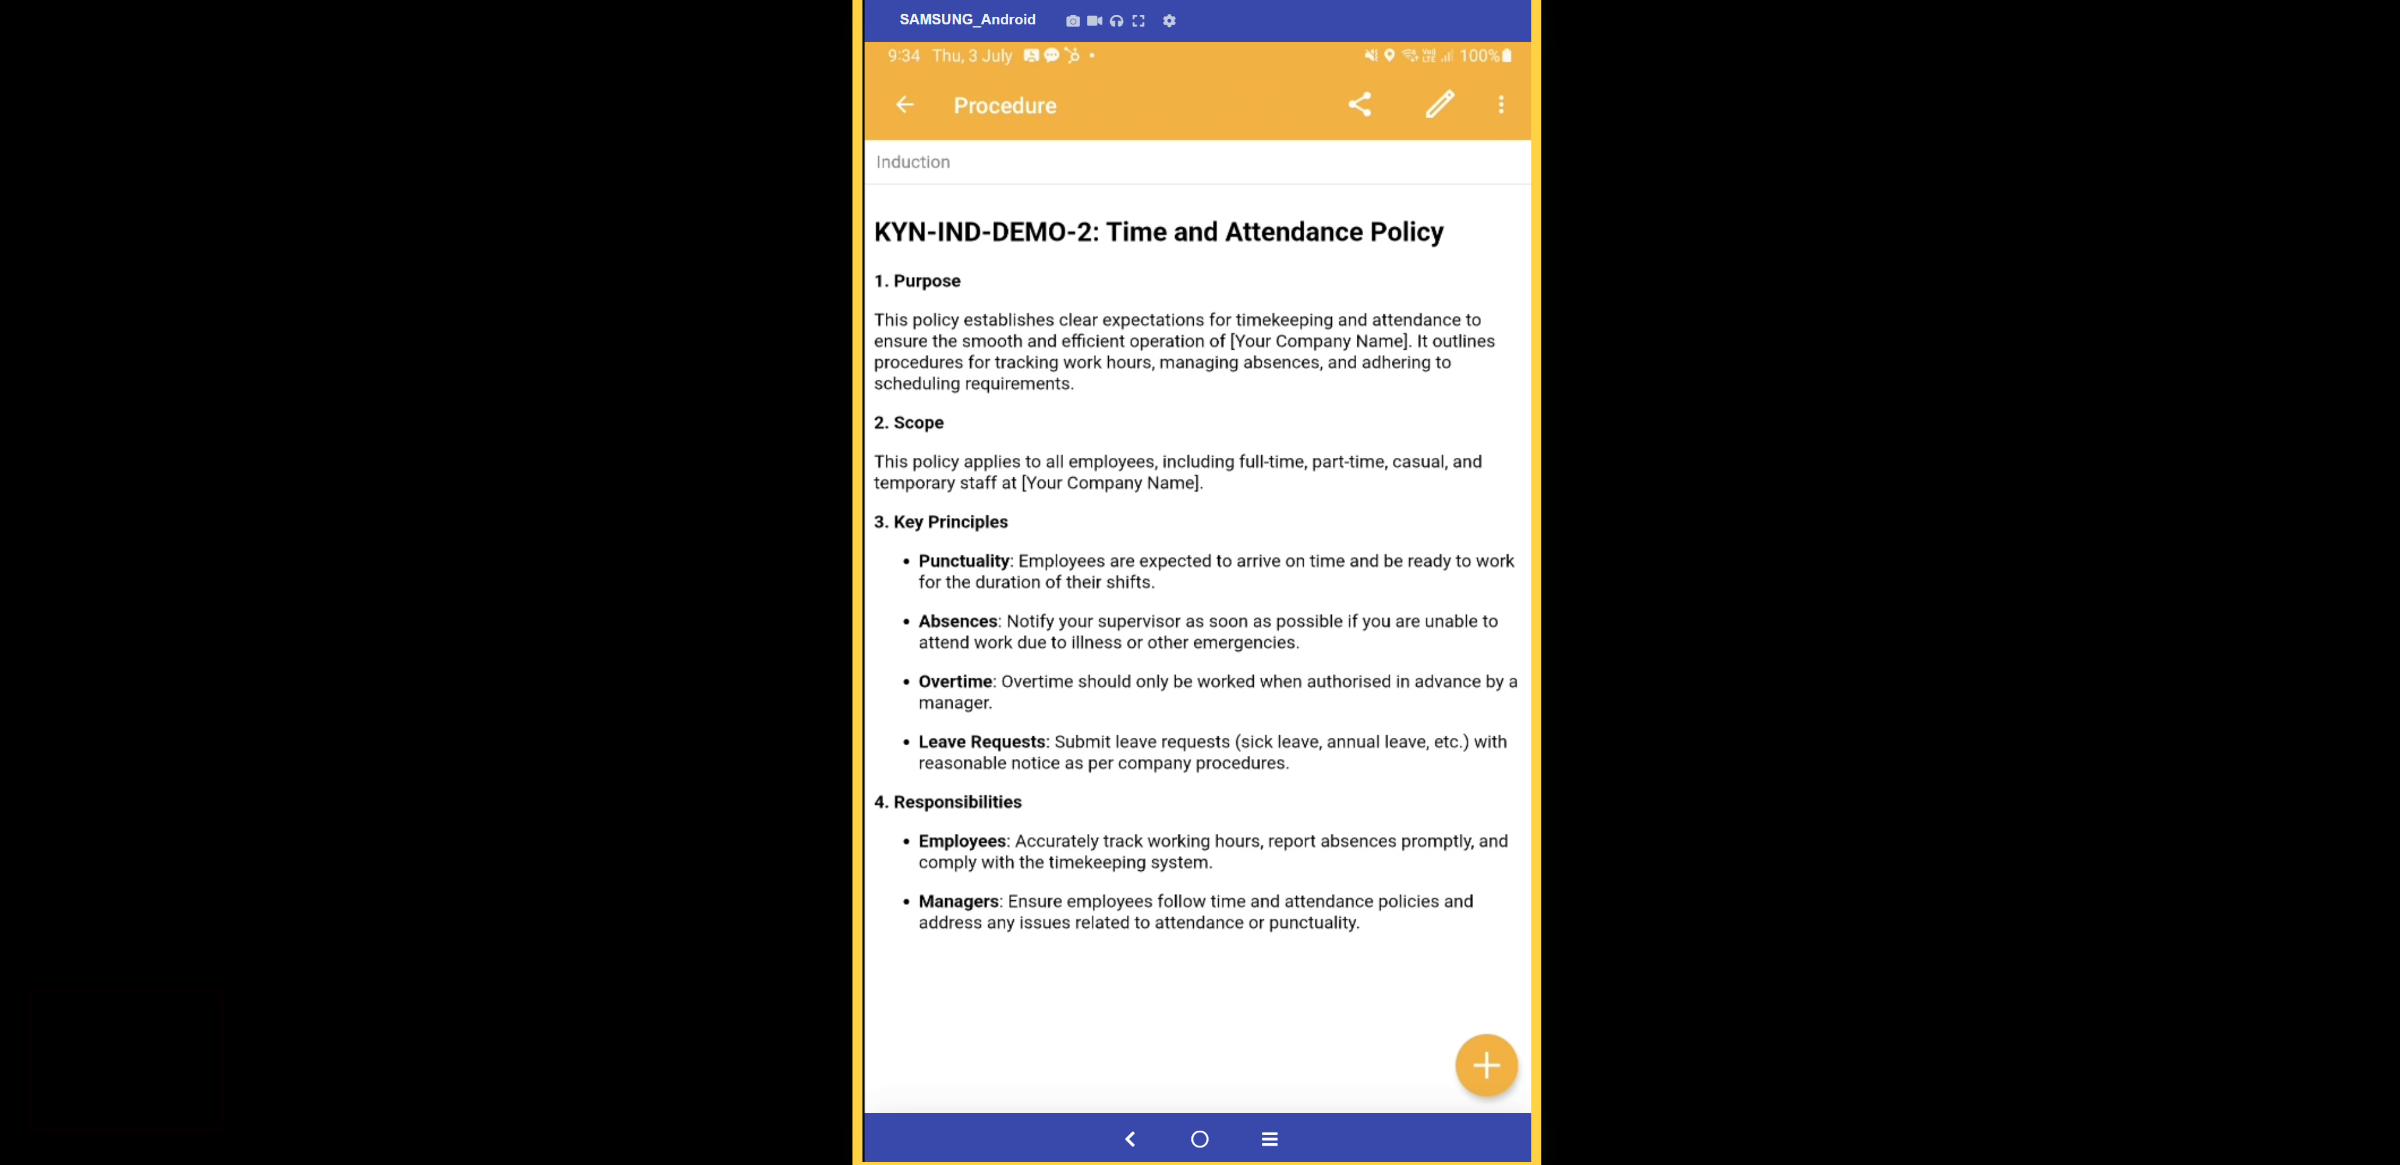
9. Articles
Kynection offers the capability to present mandatory articles for employees to review, acknowledge, and sign.
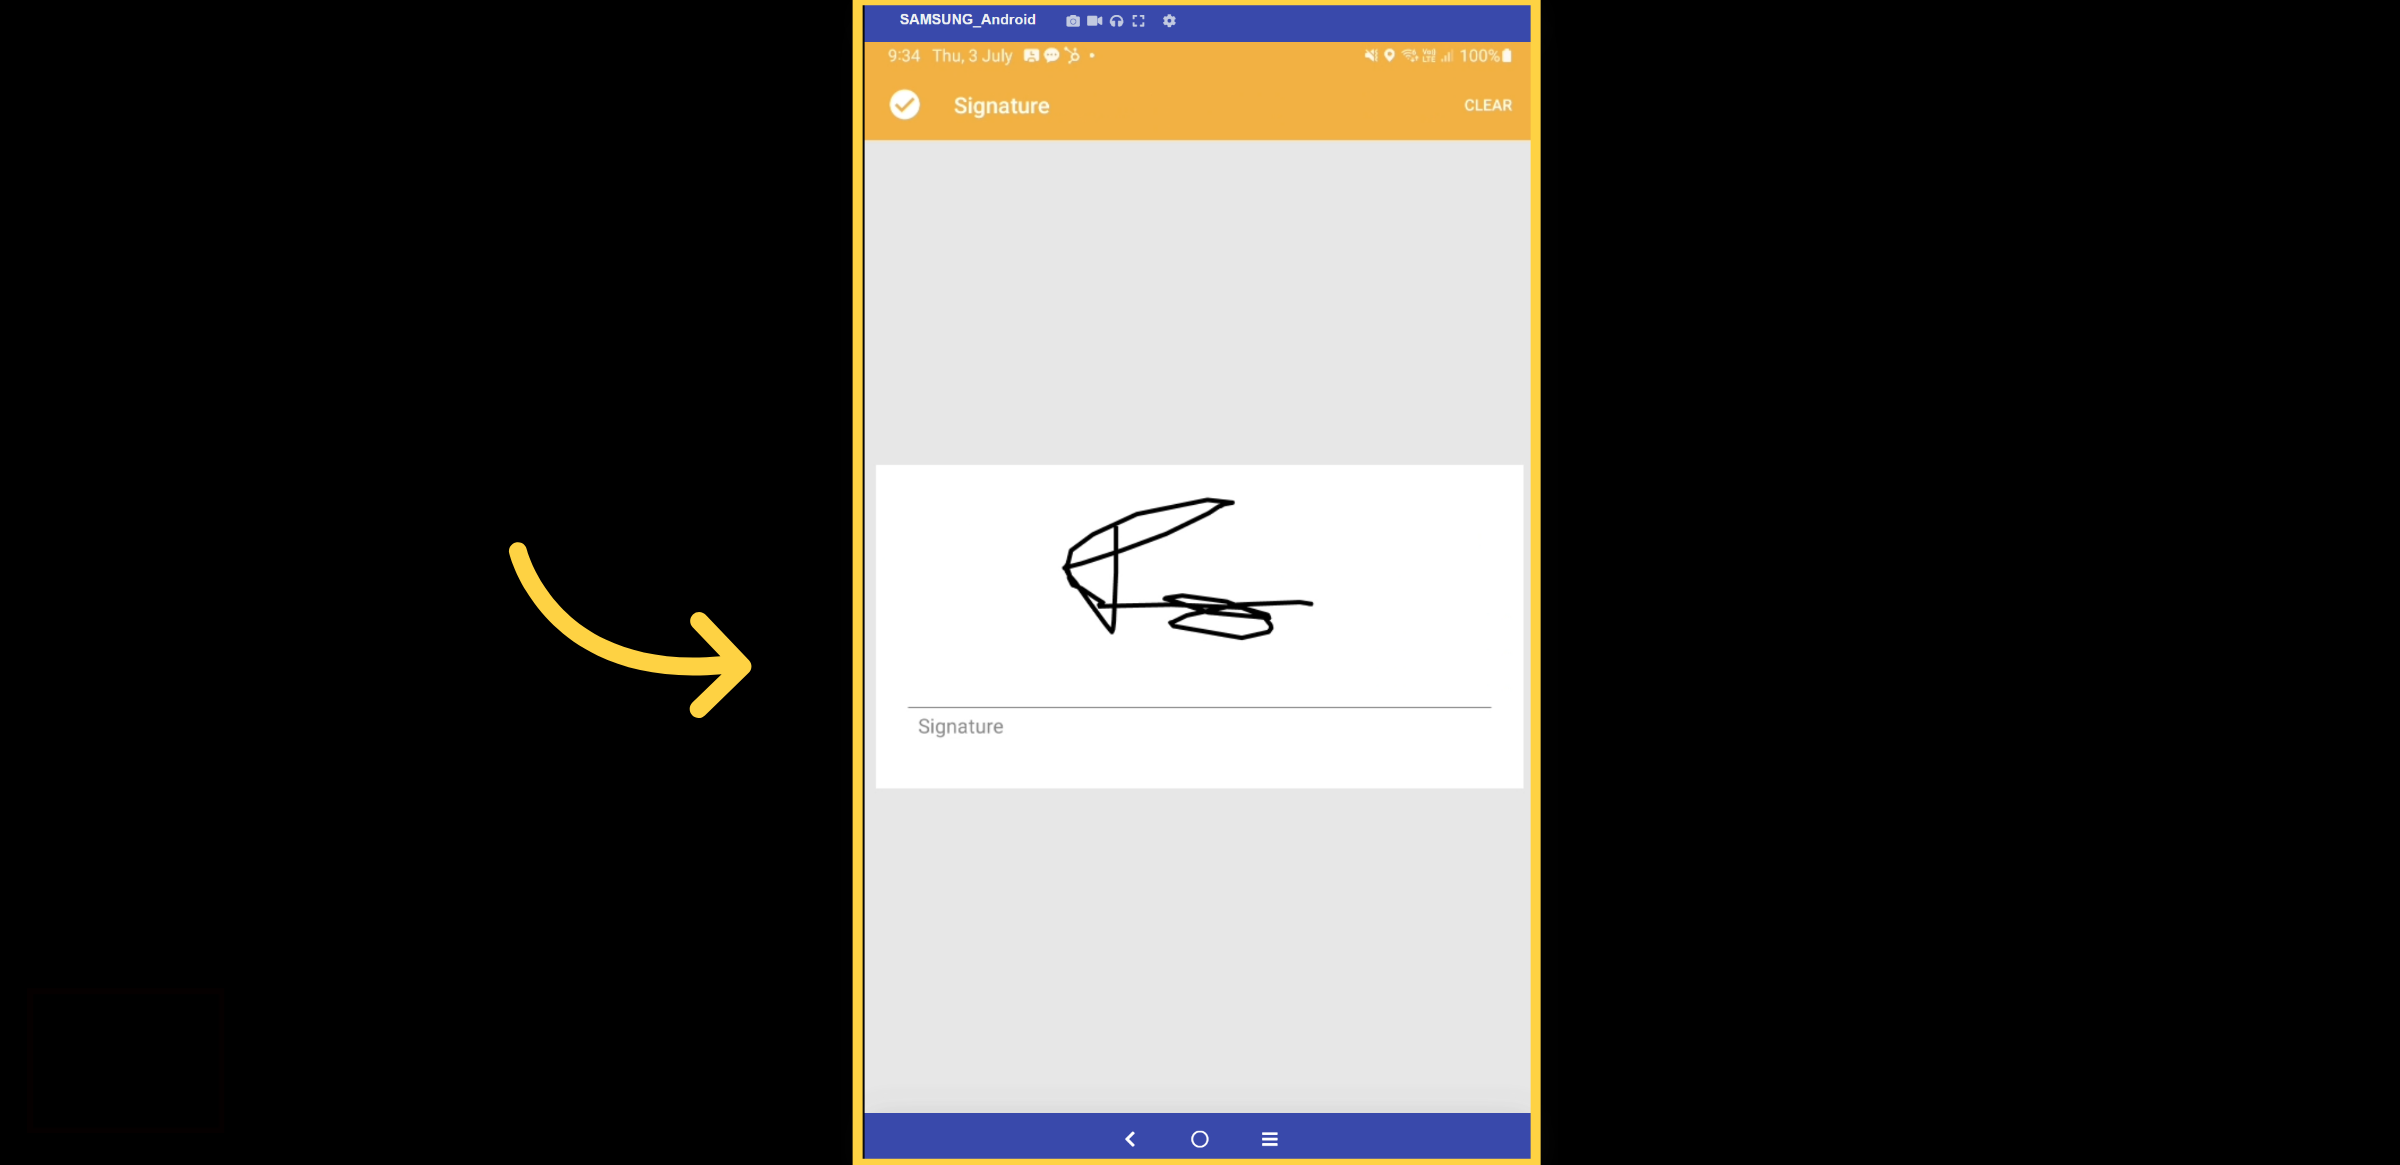
10. Insert Signature
Verify your consent to the article or policy by adding your signature.
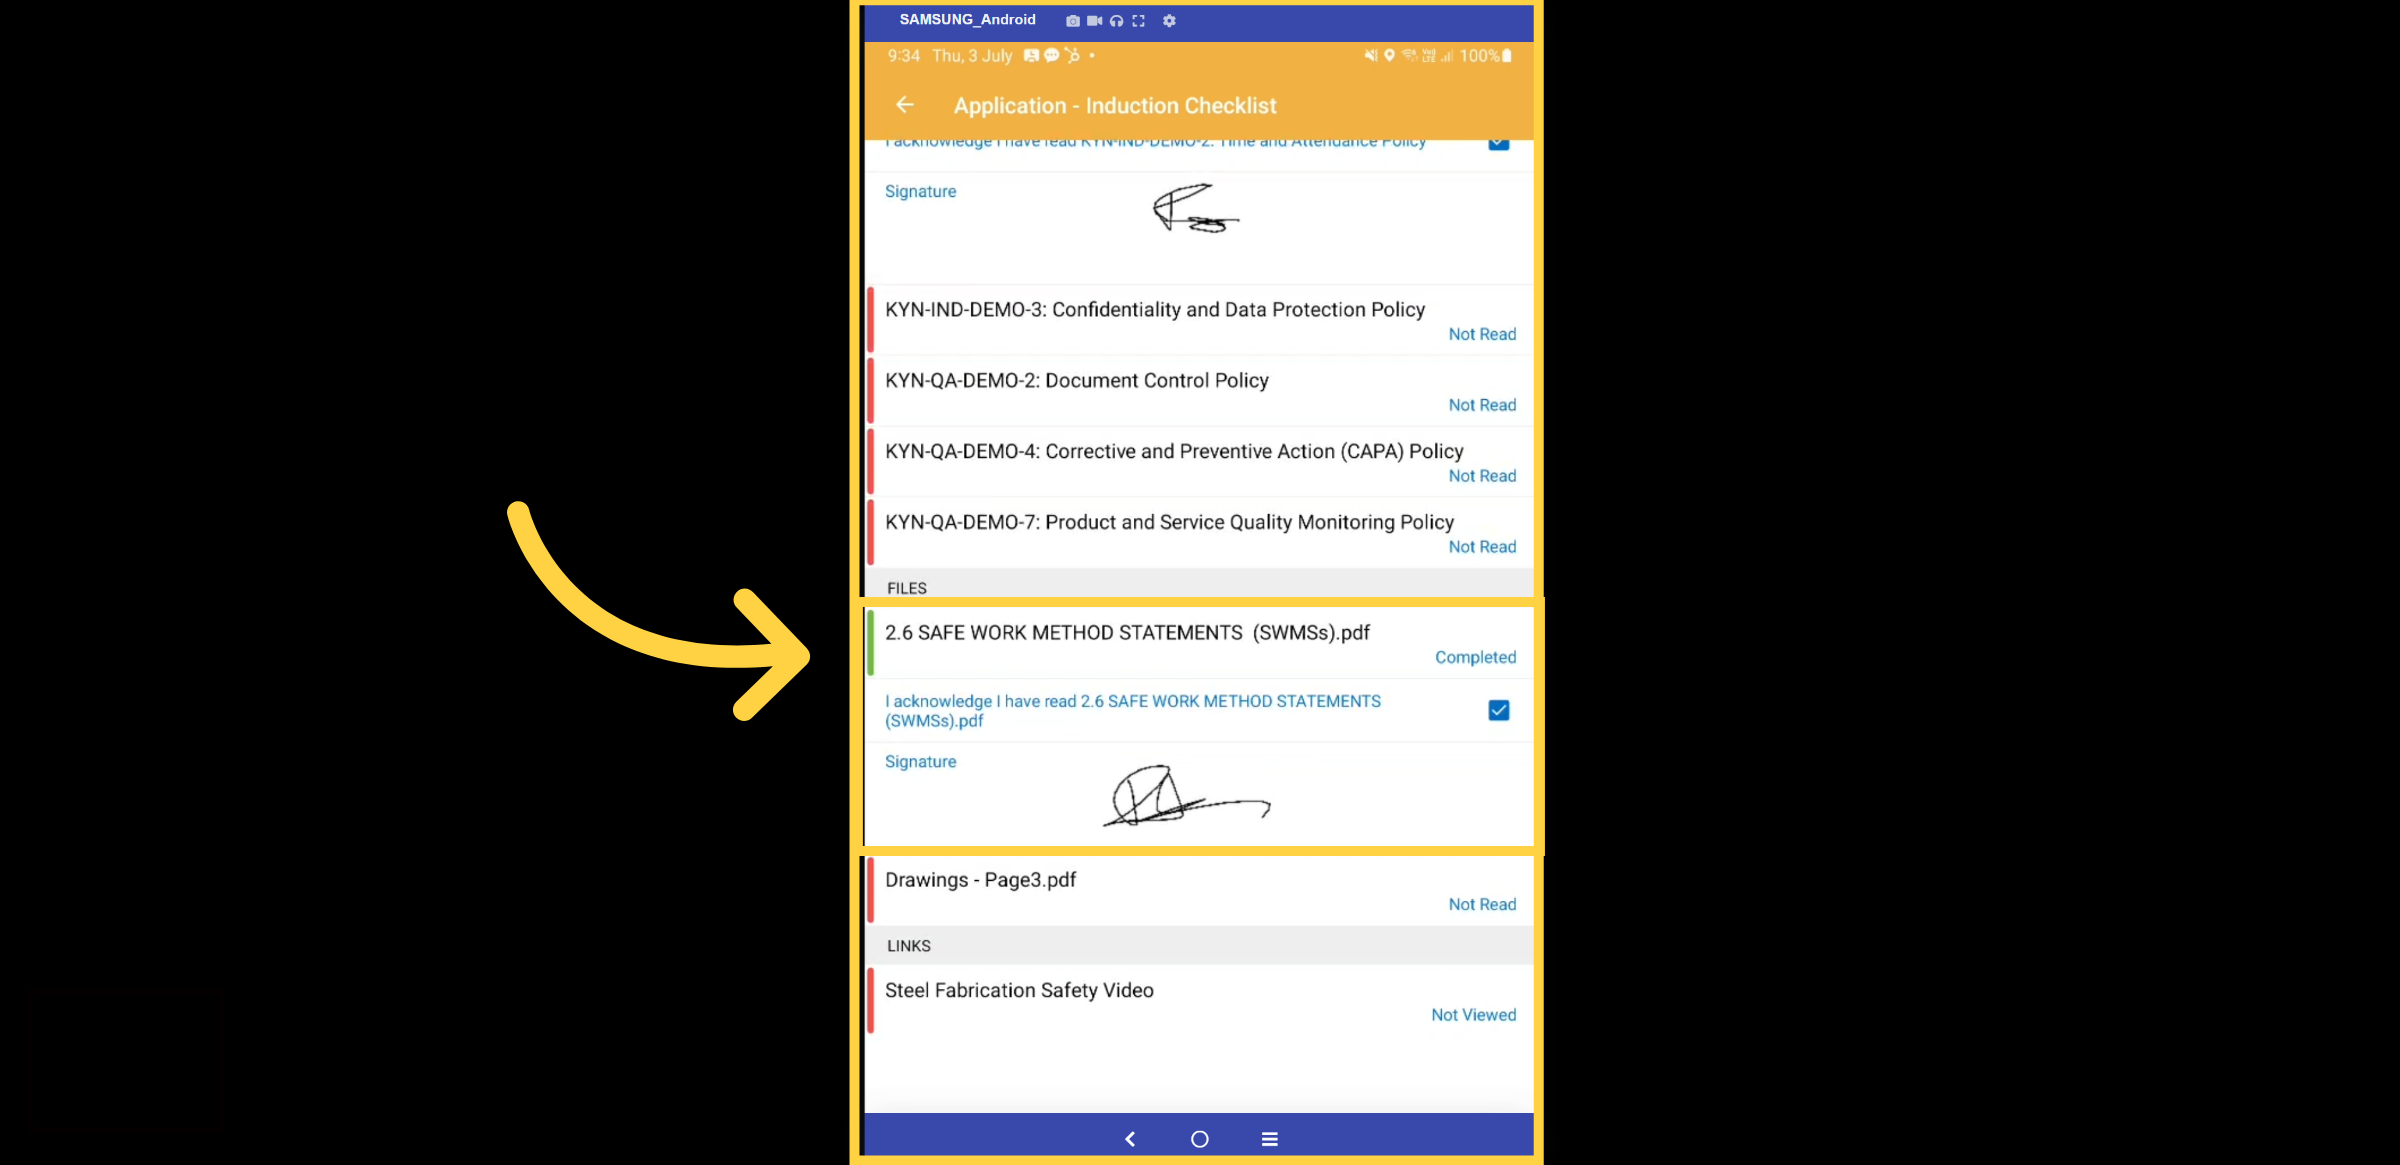
11. Marked as Complete
The article has now been marked as completed and turned green in the Progress Bar.
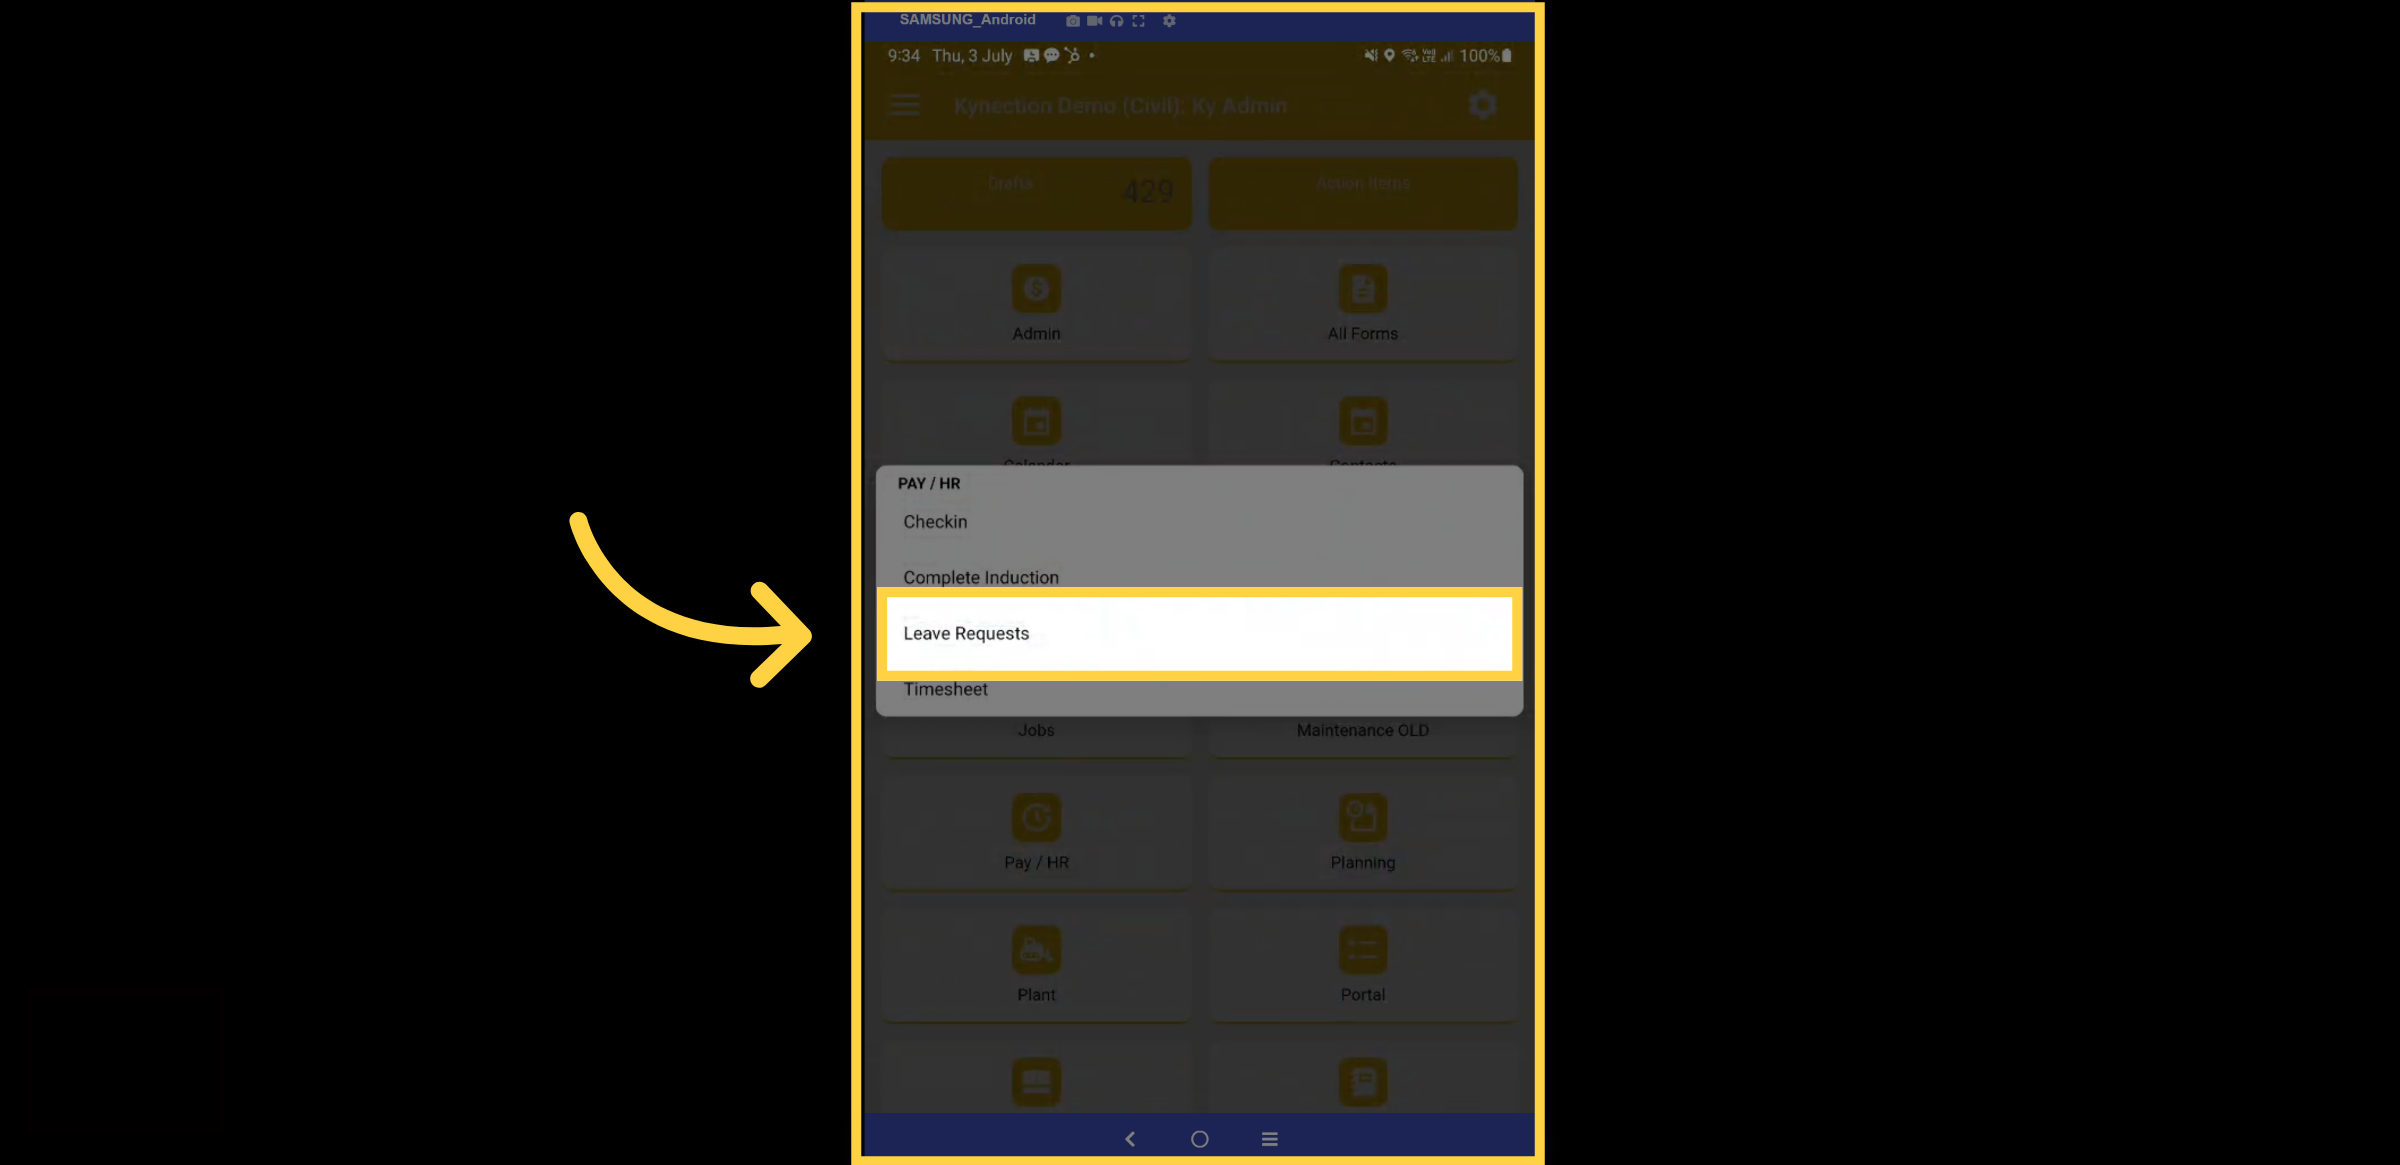
12. Leave Request
Let's delve into the process of submitting a leave request. Return to the HR module and select Leave Requests to get started. If you are not signed into a shift, Leave Requests is also available from the Start Shift screen.
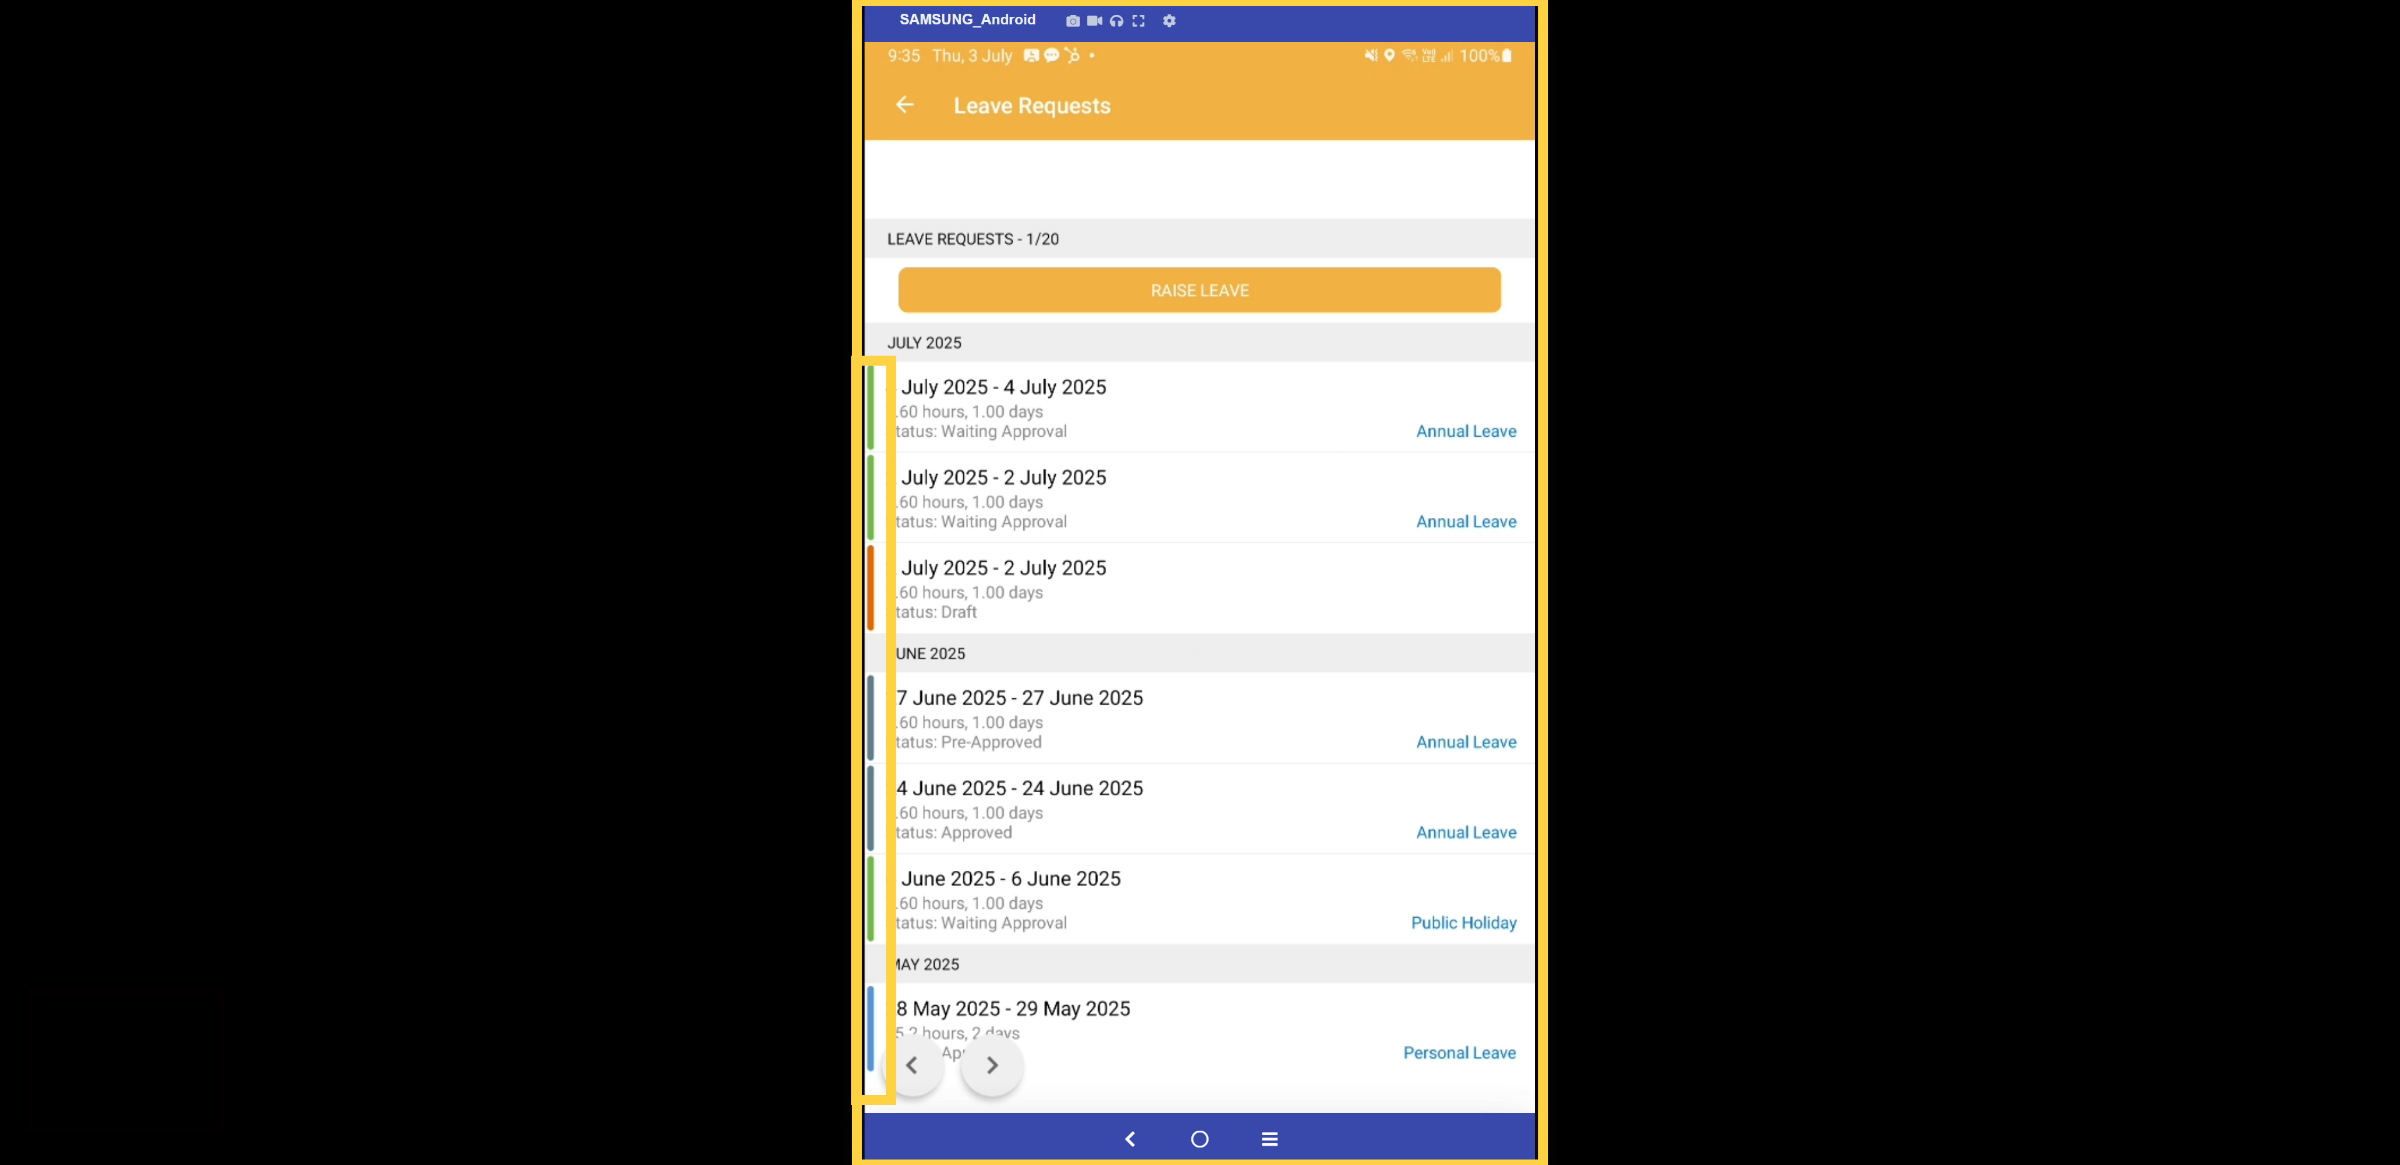
13. Leave Dashboard
Welcome to your leave request dashboard! Here, you'll find an overview of all your leave requests. The color-coded progress bar indicates the status of your leave. To initiate a new leave request, simply click the Raise Leave button to start the process.
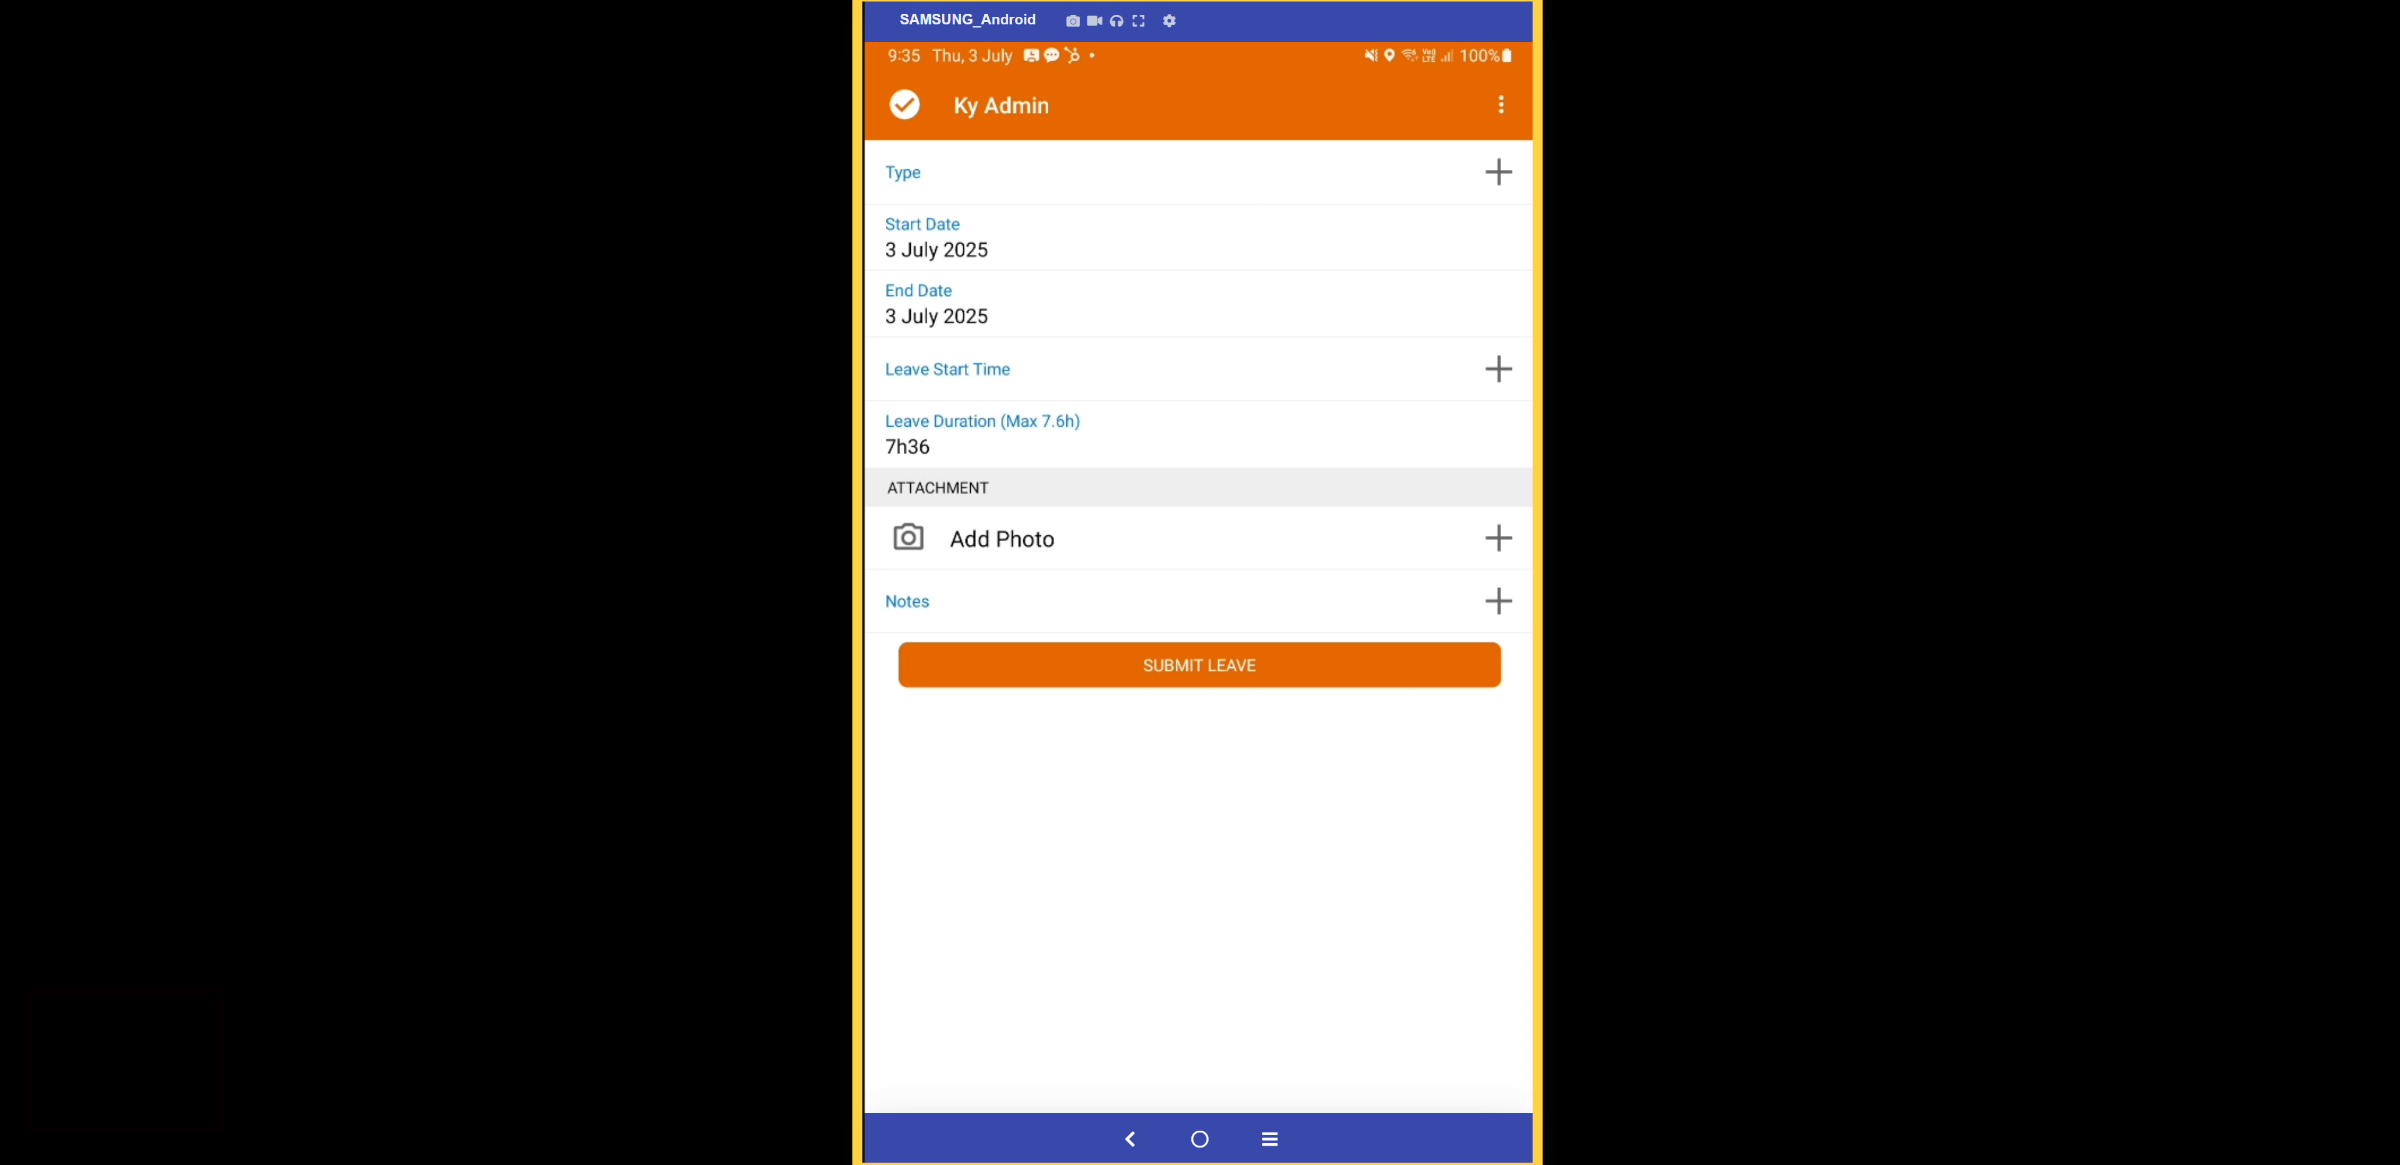
14. Leave Request form
This our standard leave request form.
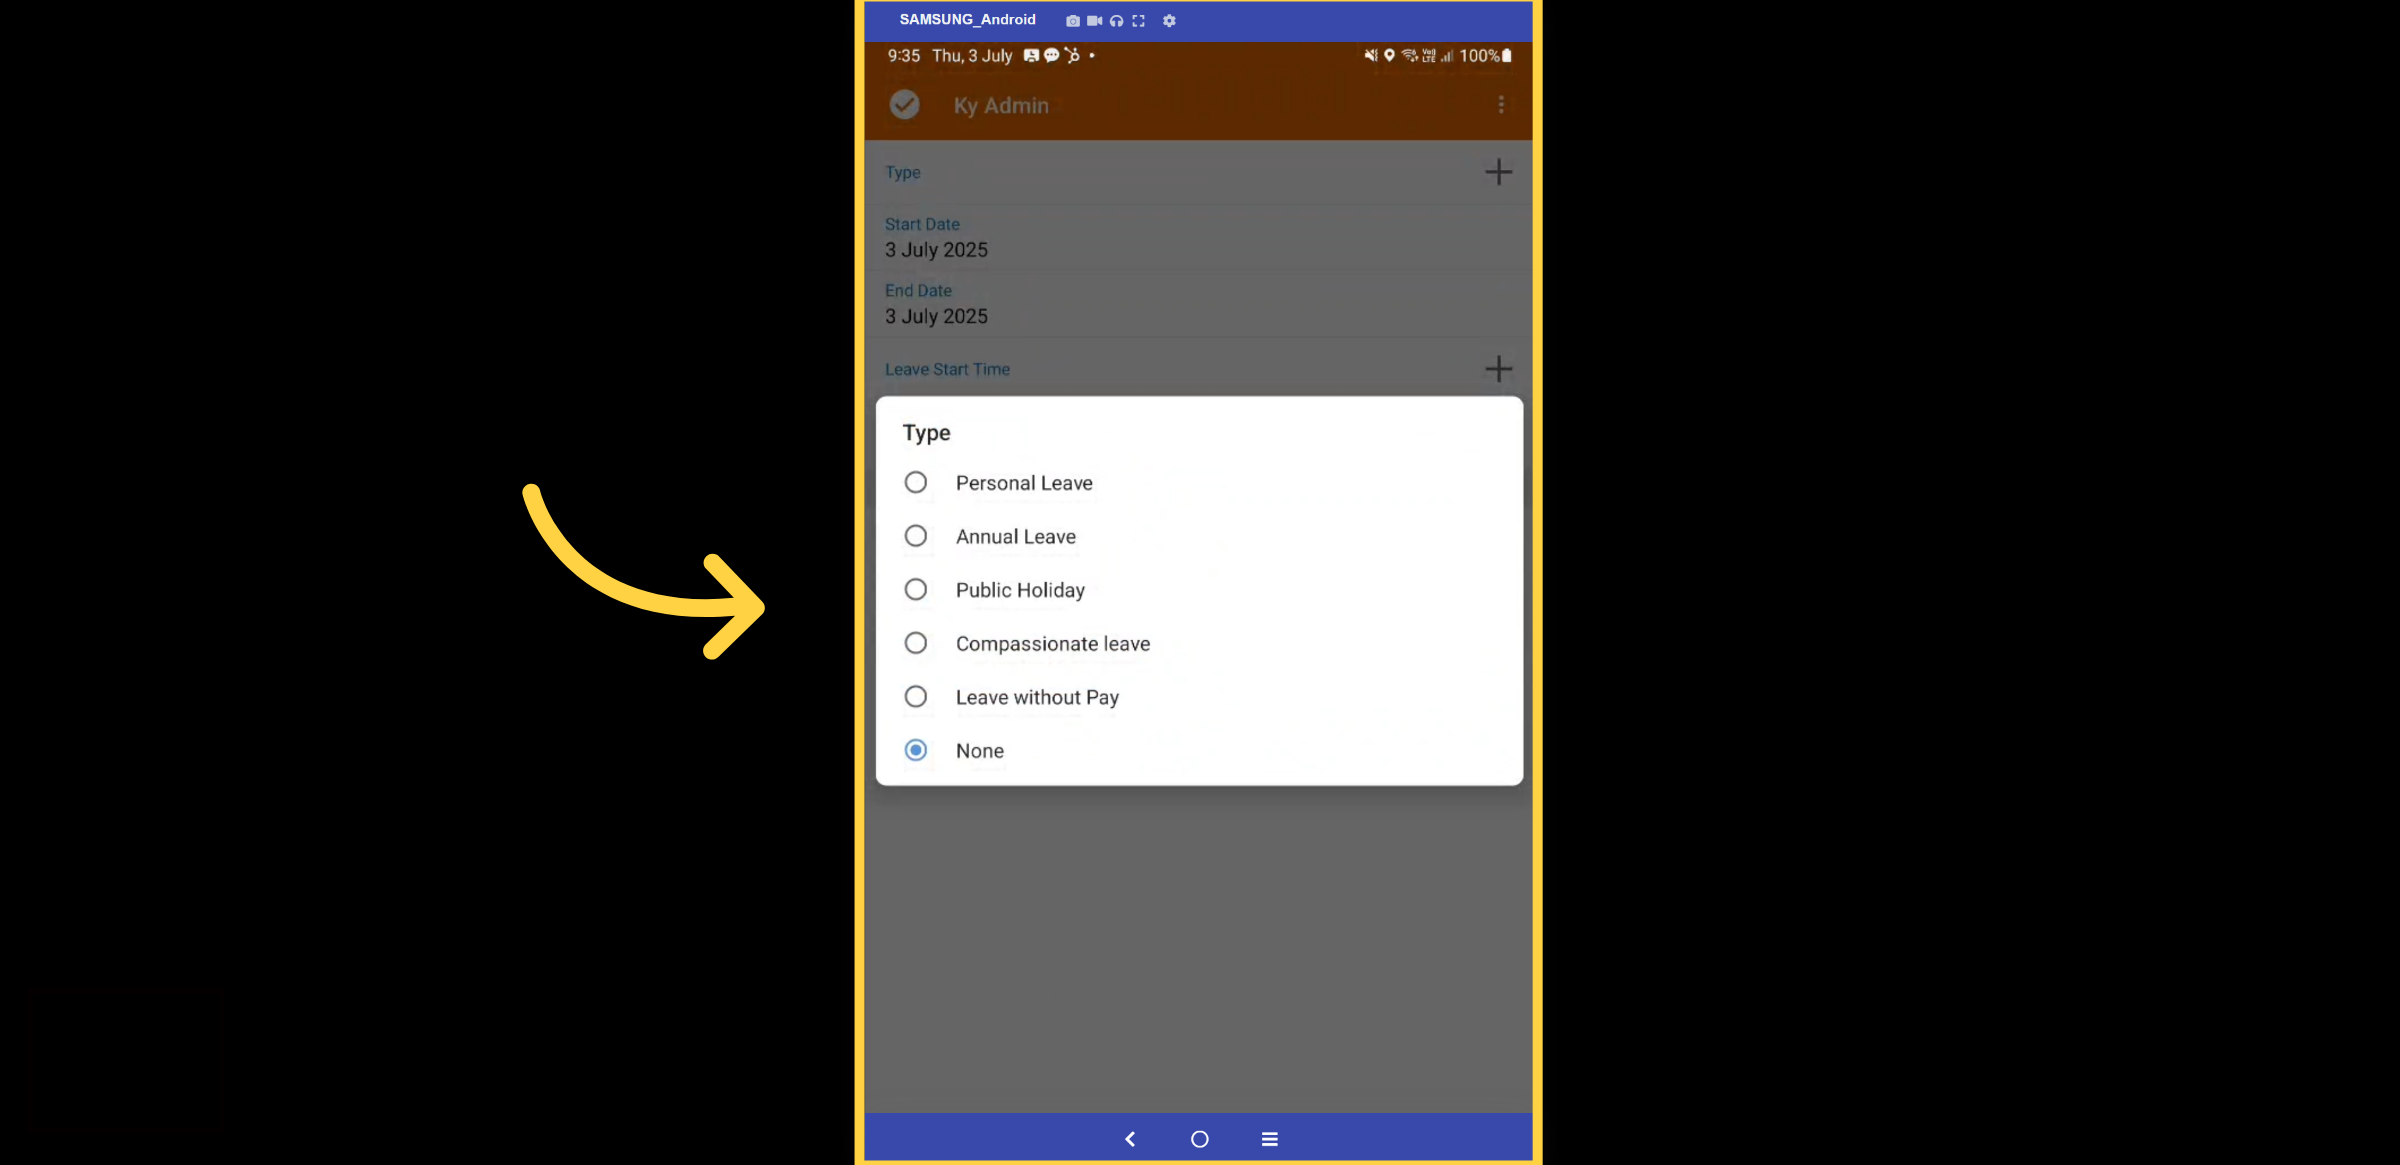
15. Leave Type
To get started, please select the type of leave you wish to request. The available options can be tailored to meet your organization's needs.
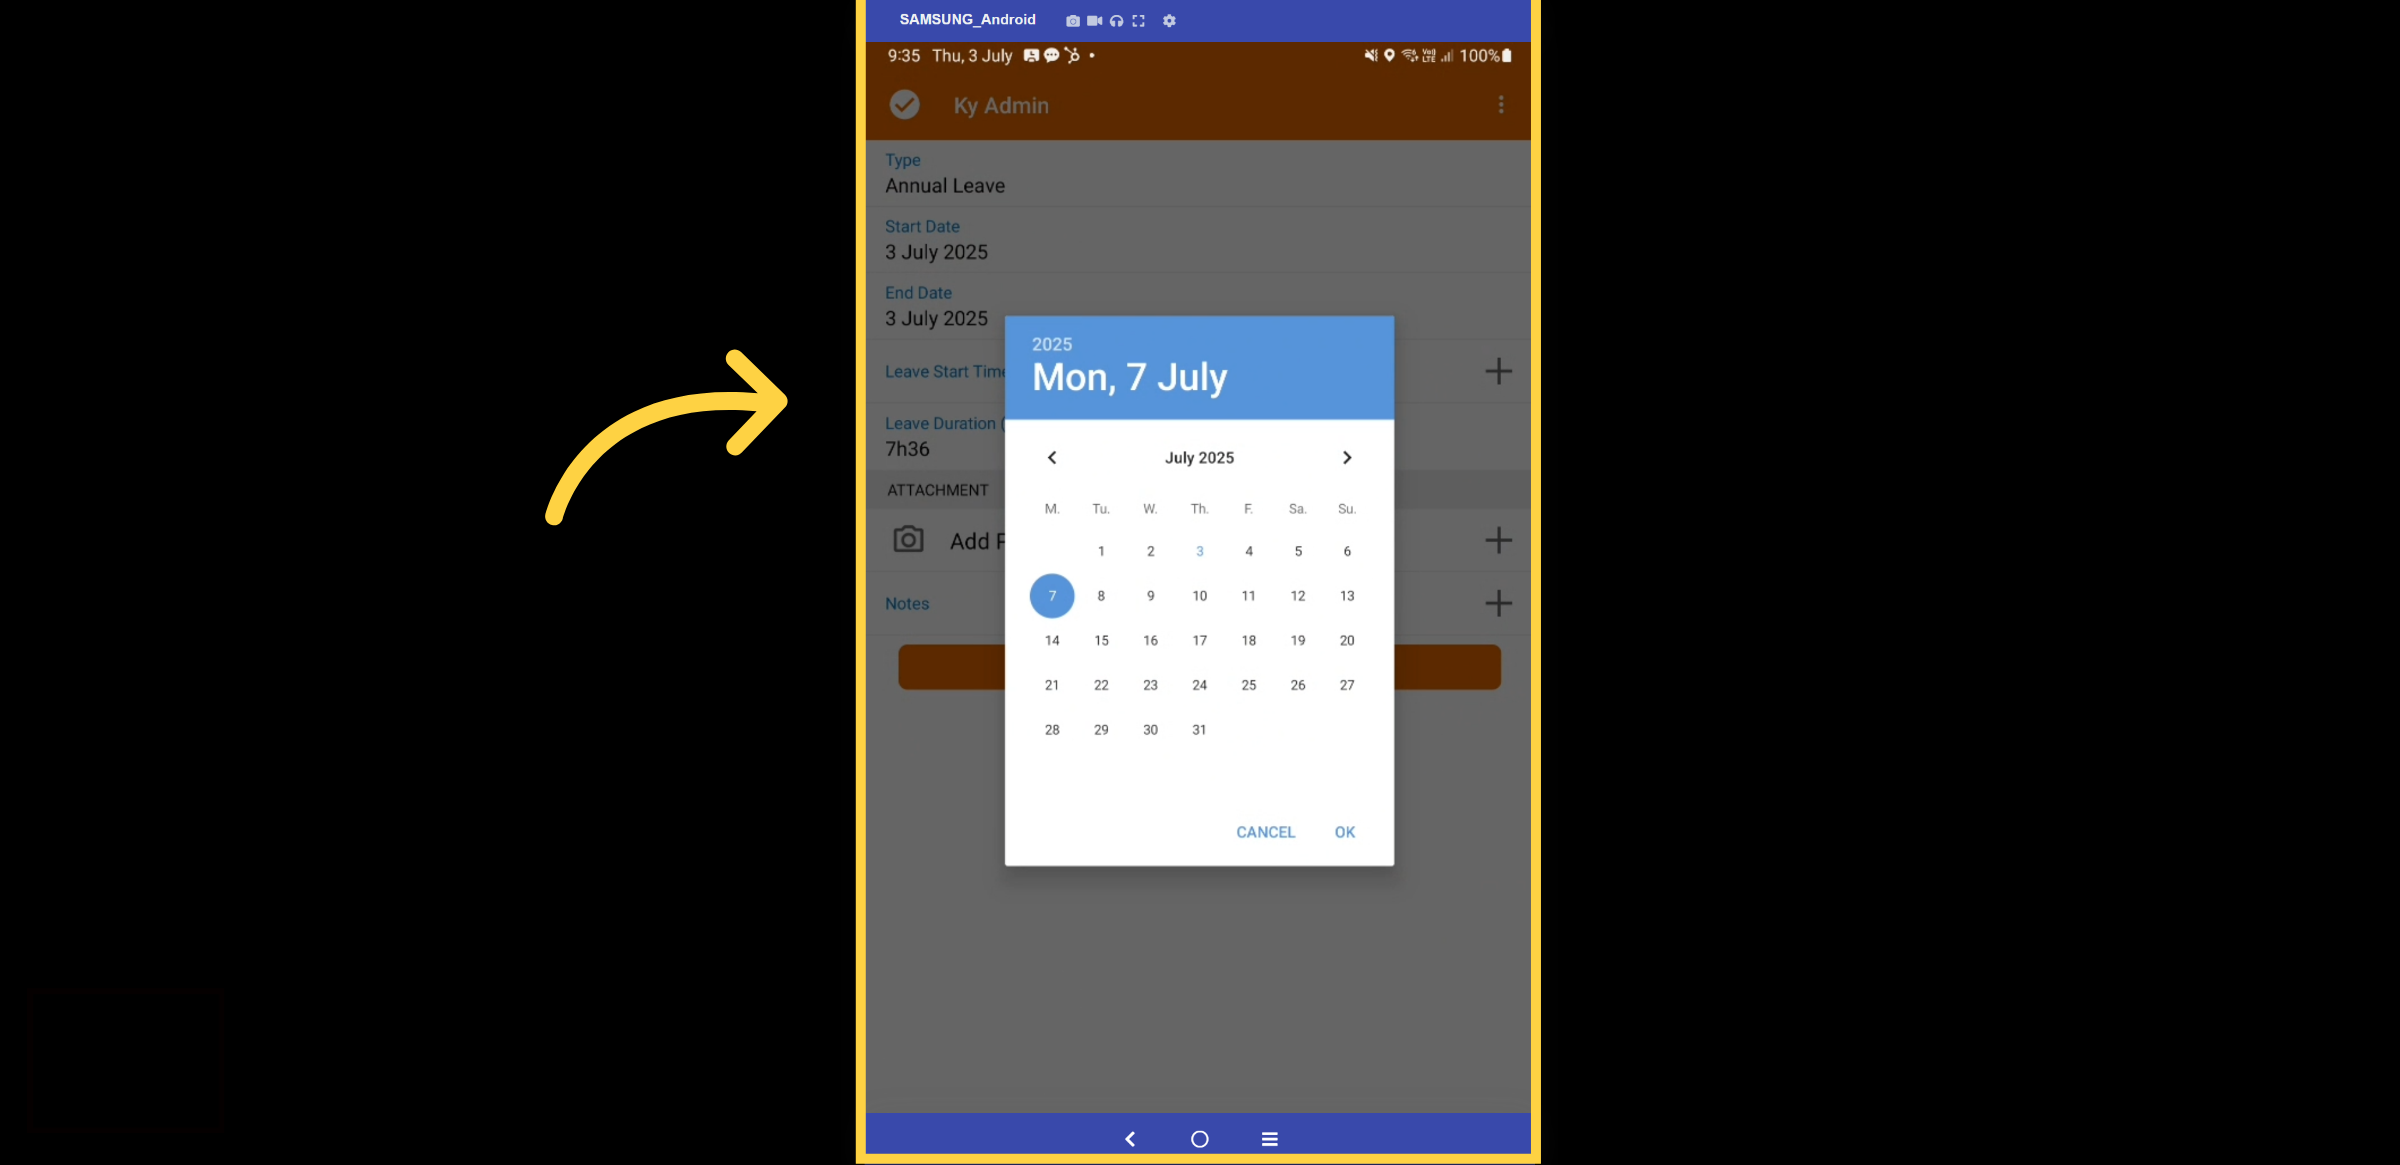
16. Leave Dates & Duration
Please enter the start date for your leave request. For half-day leave, only fill in the Start Time and Duration, as your EBA or Award will automatically calculate this field if applicable.
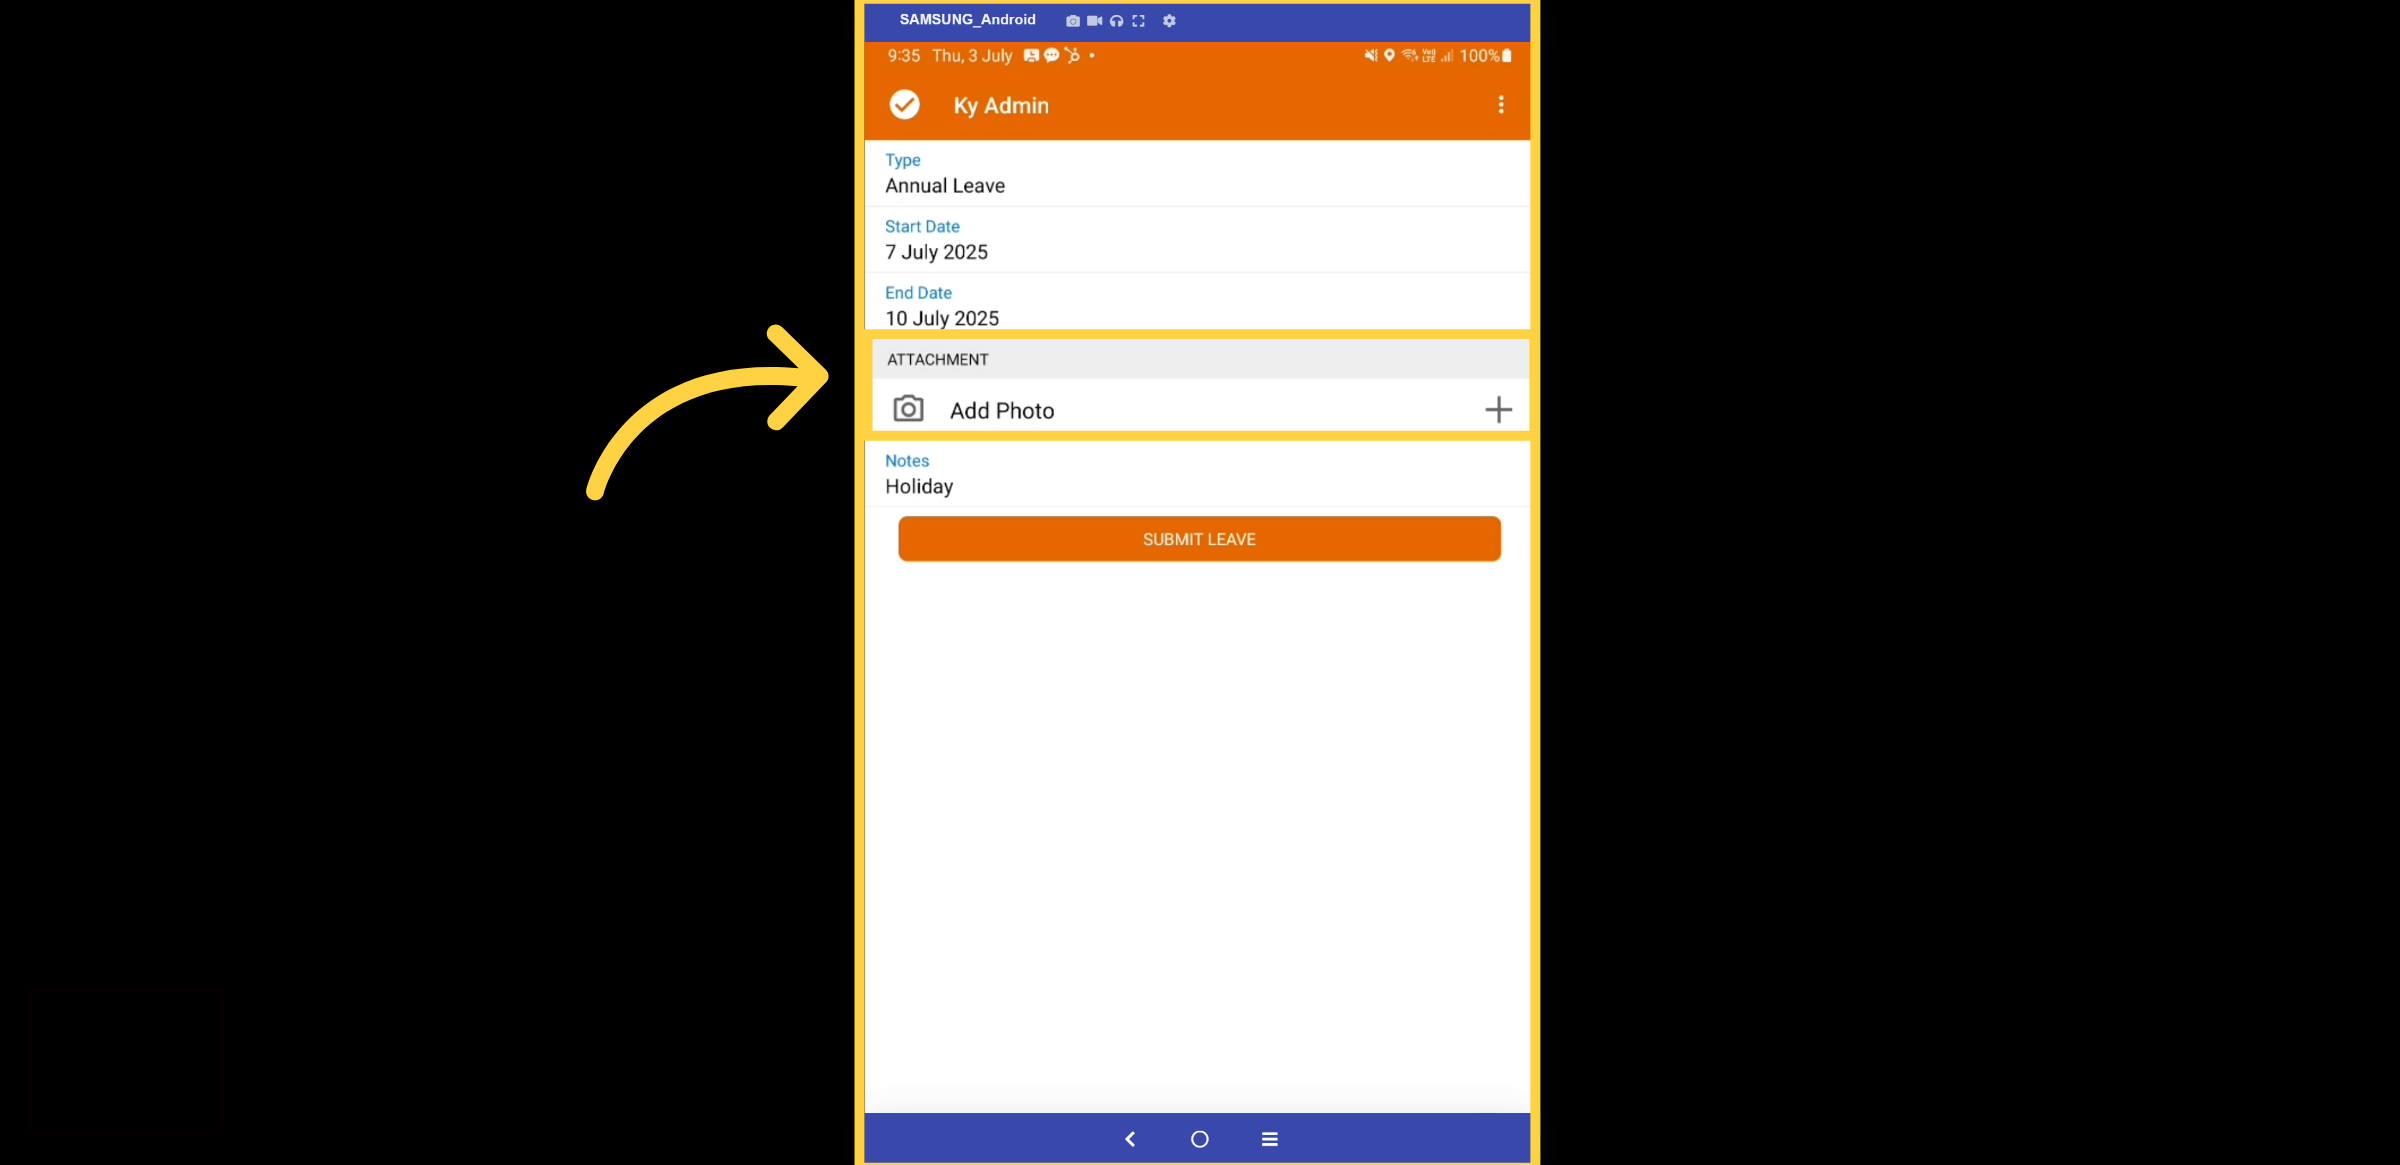
17. Attach Forms
If necessary, upload any required medical certificates or photographs and add notes. Once you've completed this, select Submit Leave. Your request will then be sent for approval.
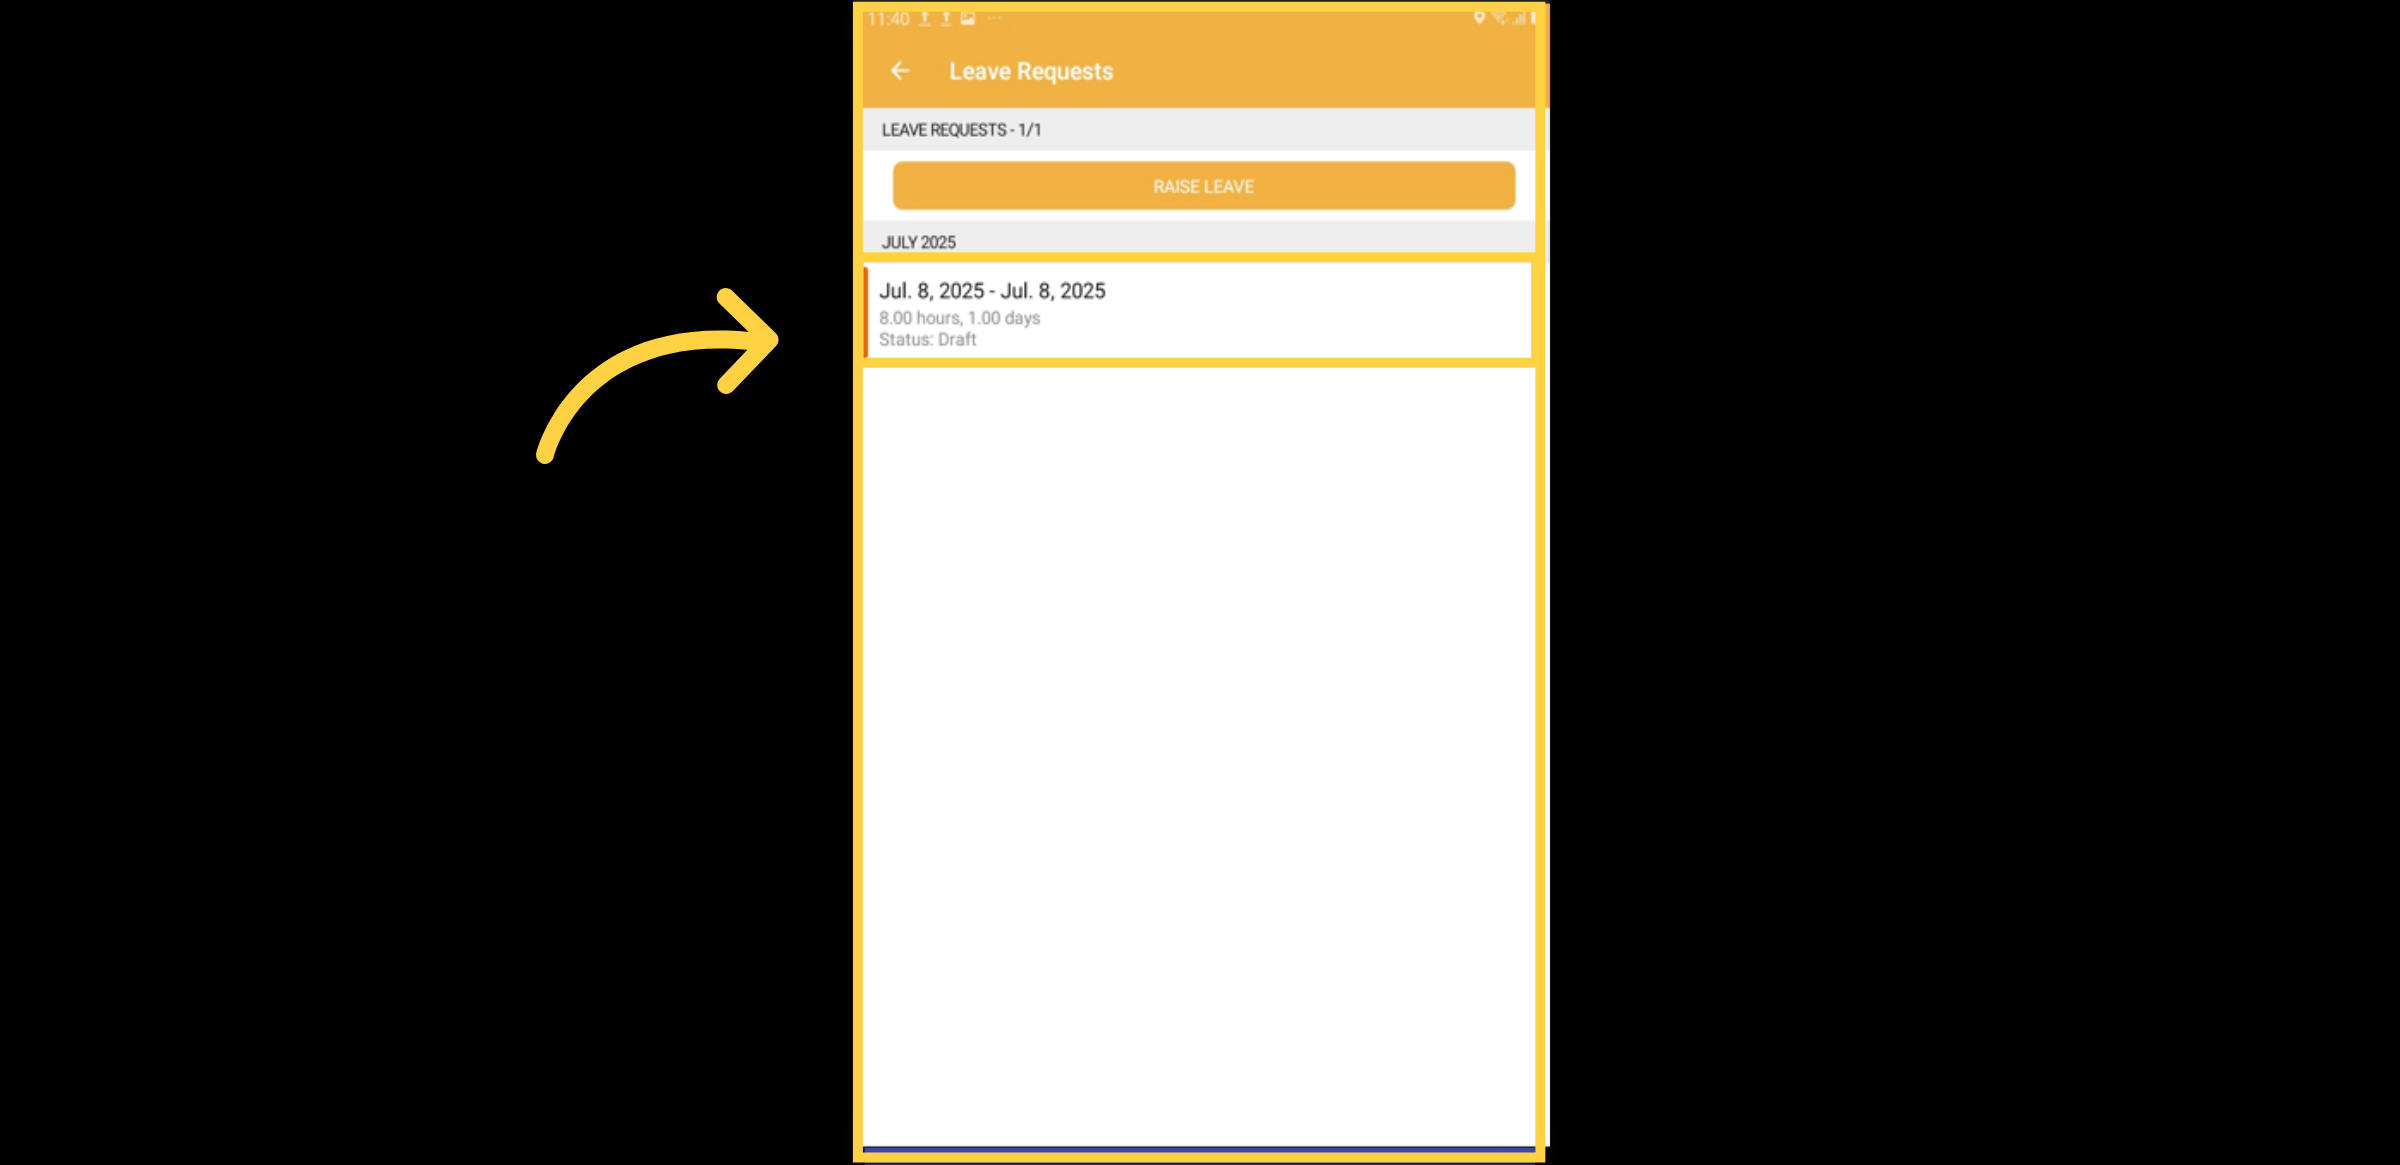
18. Leave Status
Leave requests will display a history of your absences and update their status as it transitions from draft to approved. Additionally, the option to include your leave balance from the accounting package is also available.
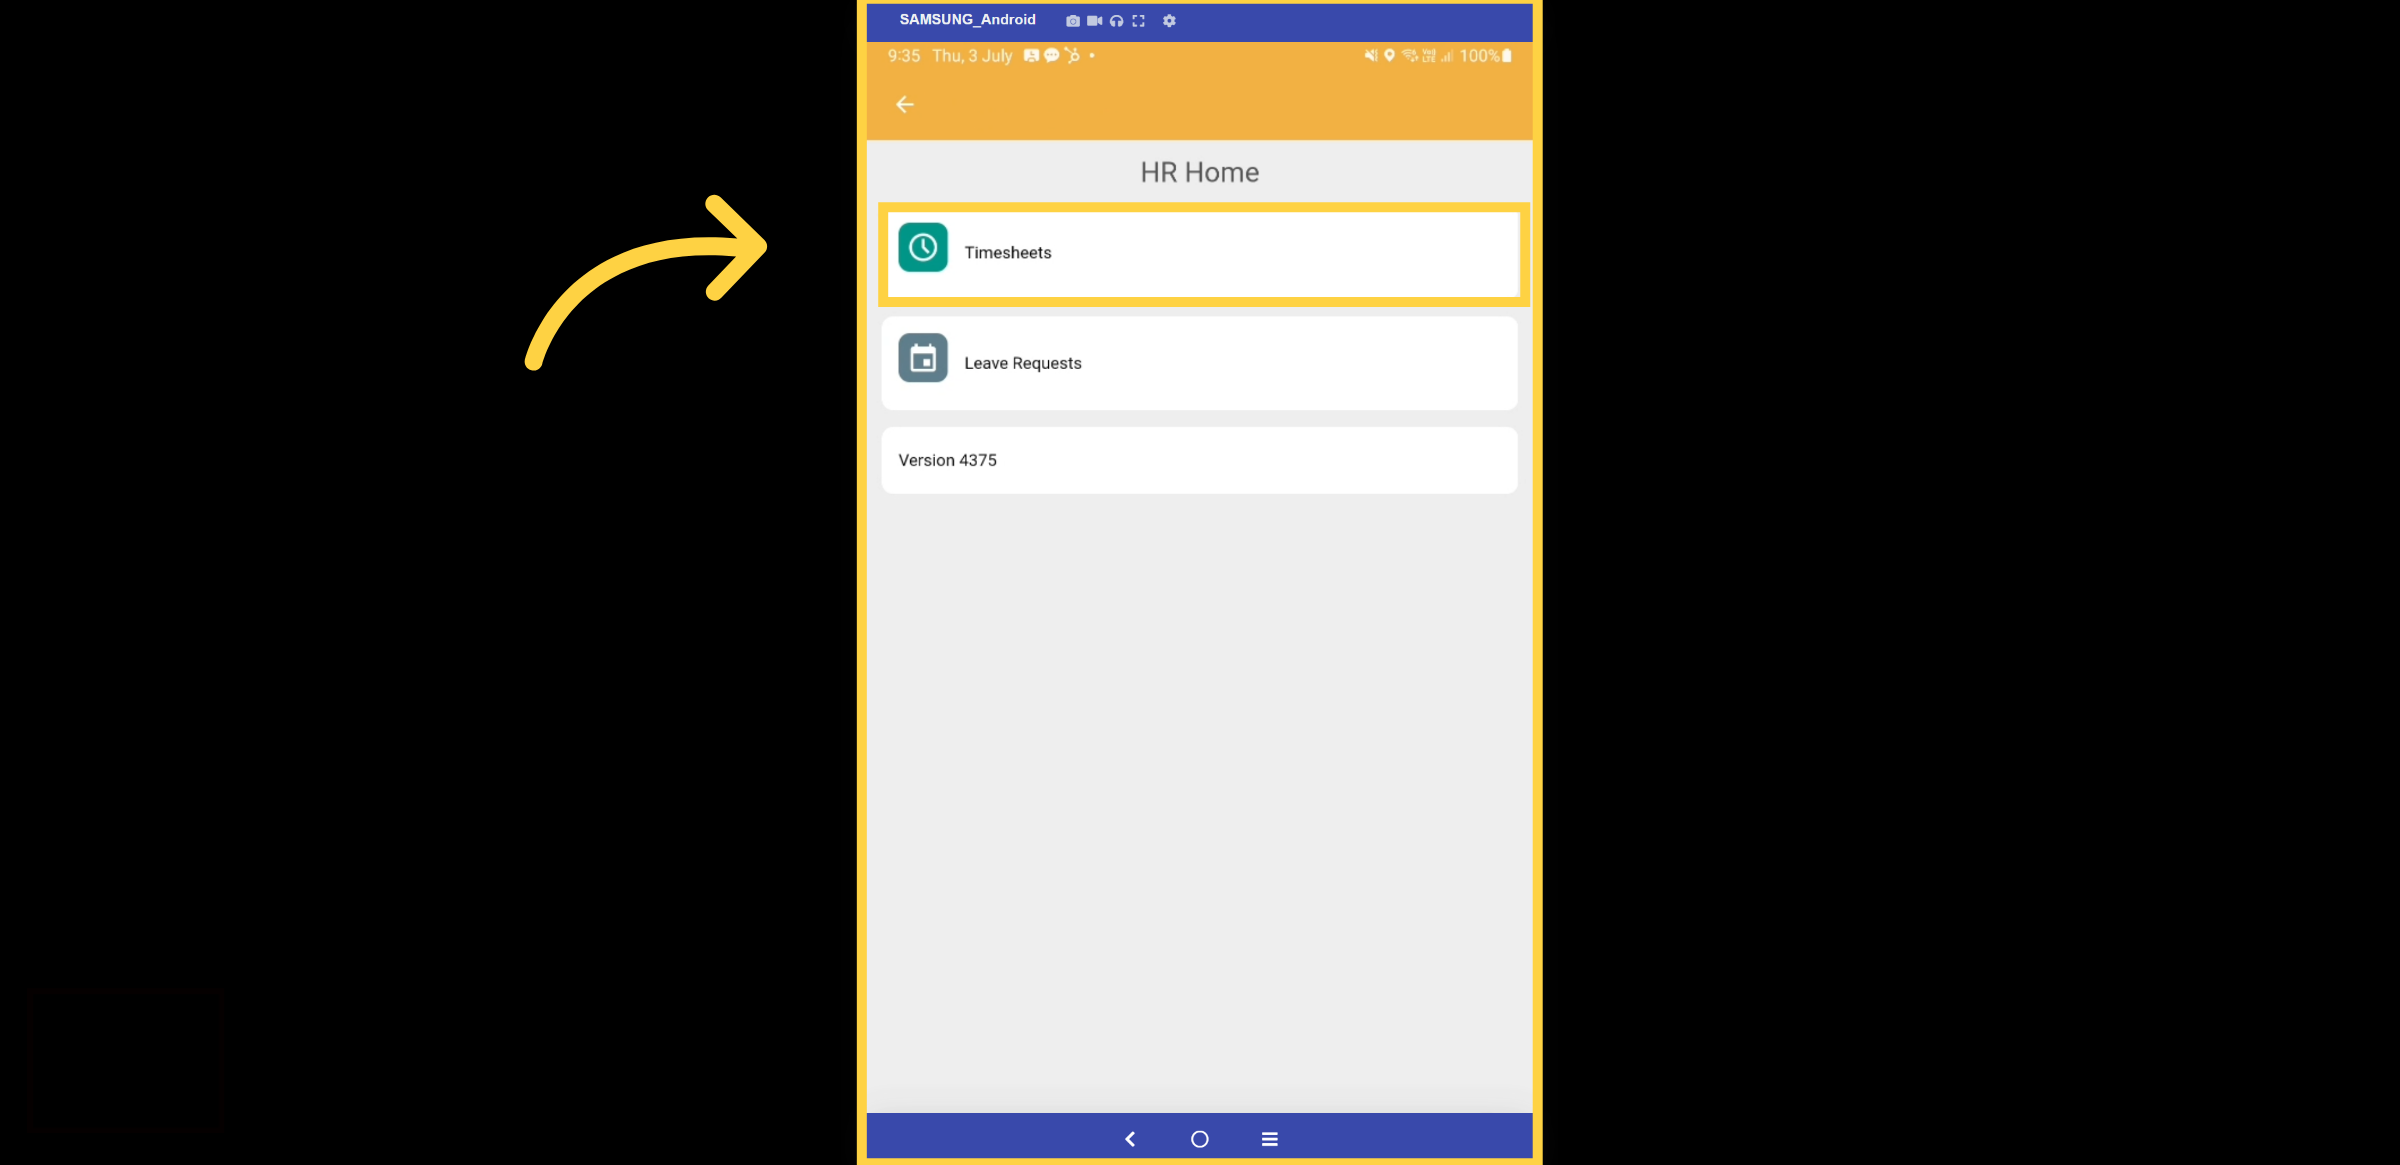
19. Timesheets
Return to the HR Module and select Timesheets.
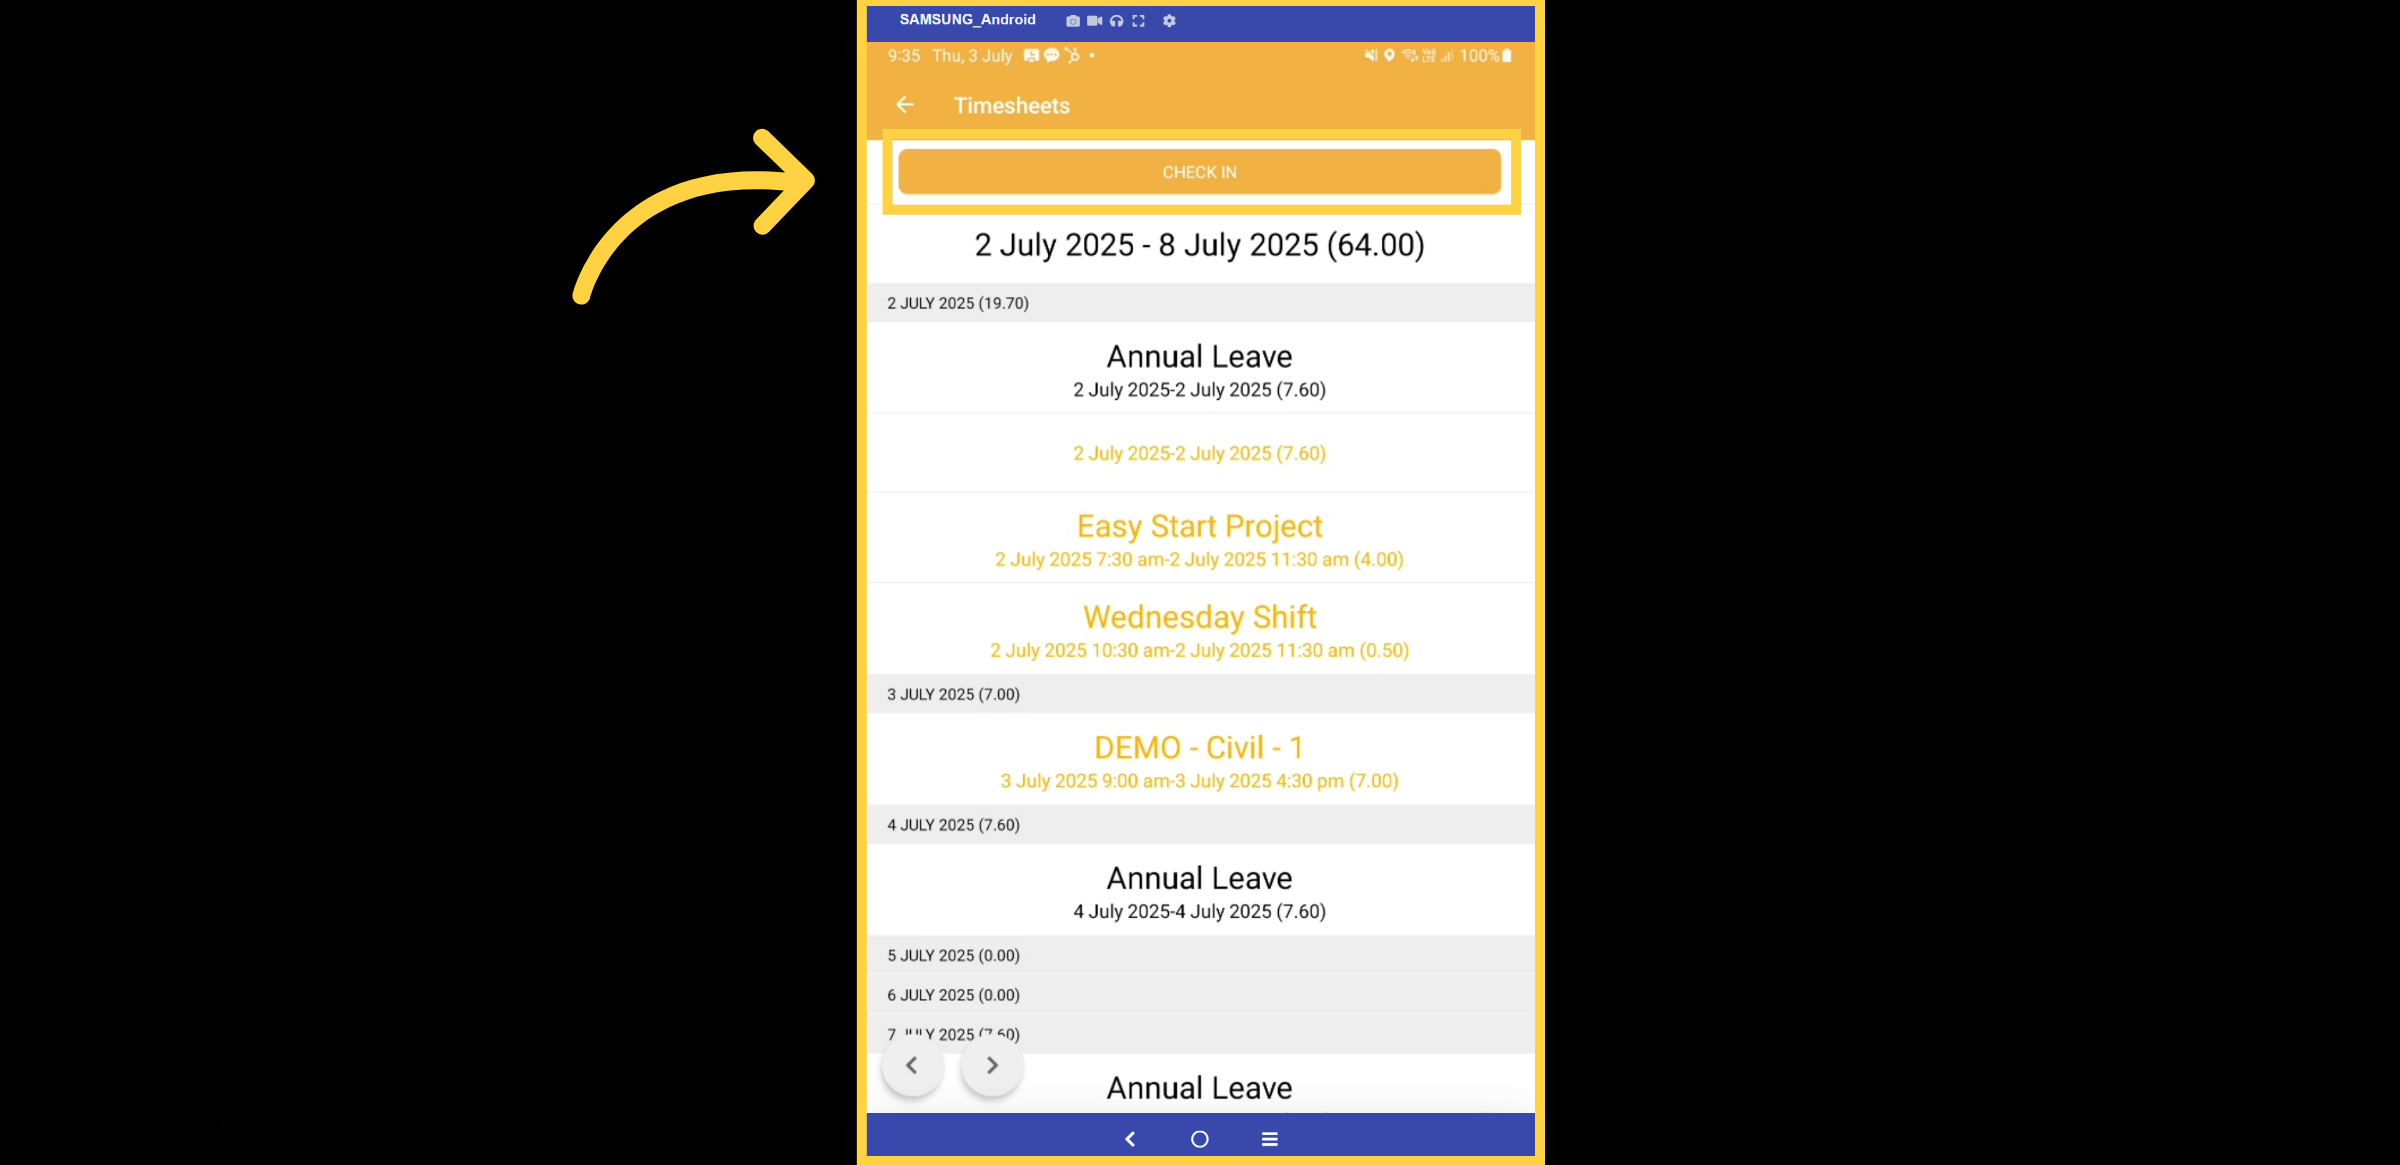
20. Timesheet Log
The timesheet dashboard displays all your shifts, timesheets, and leave information on a single page. There are multiple different ways Kynection cancapture Time and attences, from Check in and check of a kisot to a manager completing and submitting your time or by completing a timesheet youreslef which is this exampleTo get started, simply click the Check In button.
21. Select Work Location
Select the job or project for which you want to log your time. To simplify this process, the system can automatically display only the projects you have been assigned to.
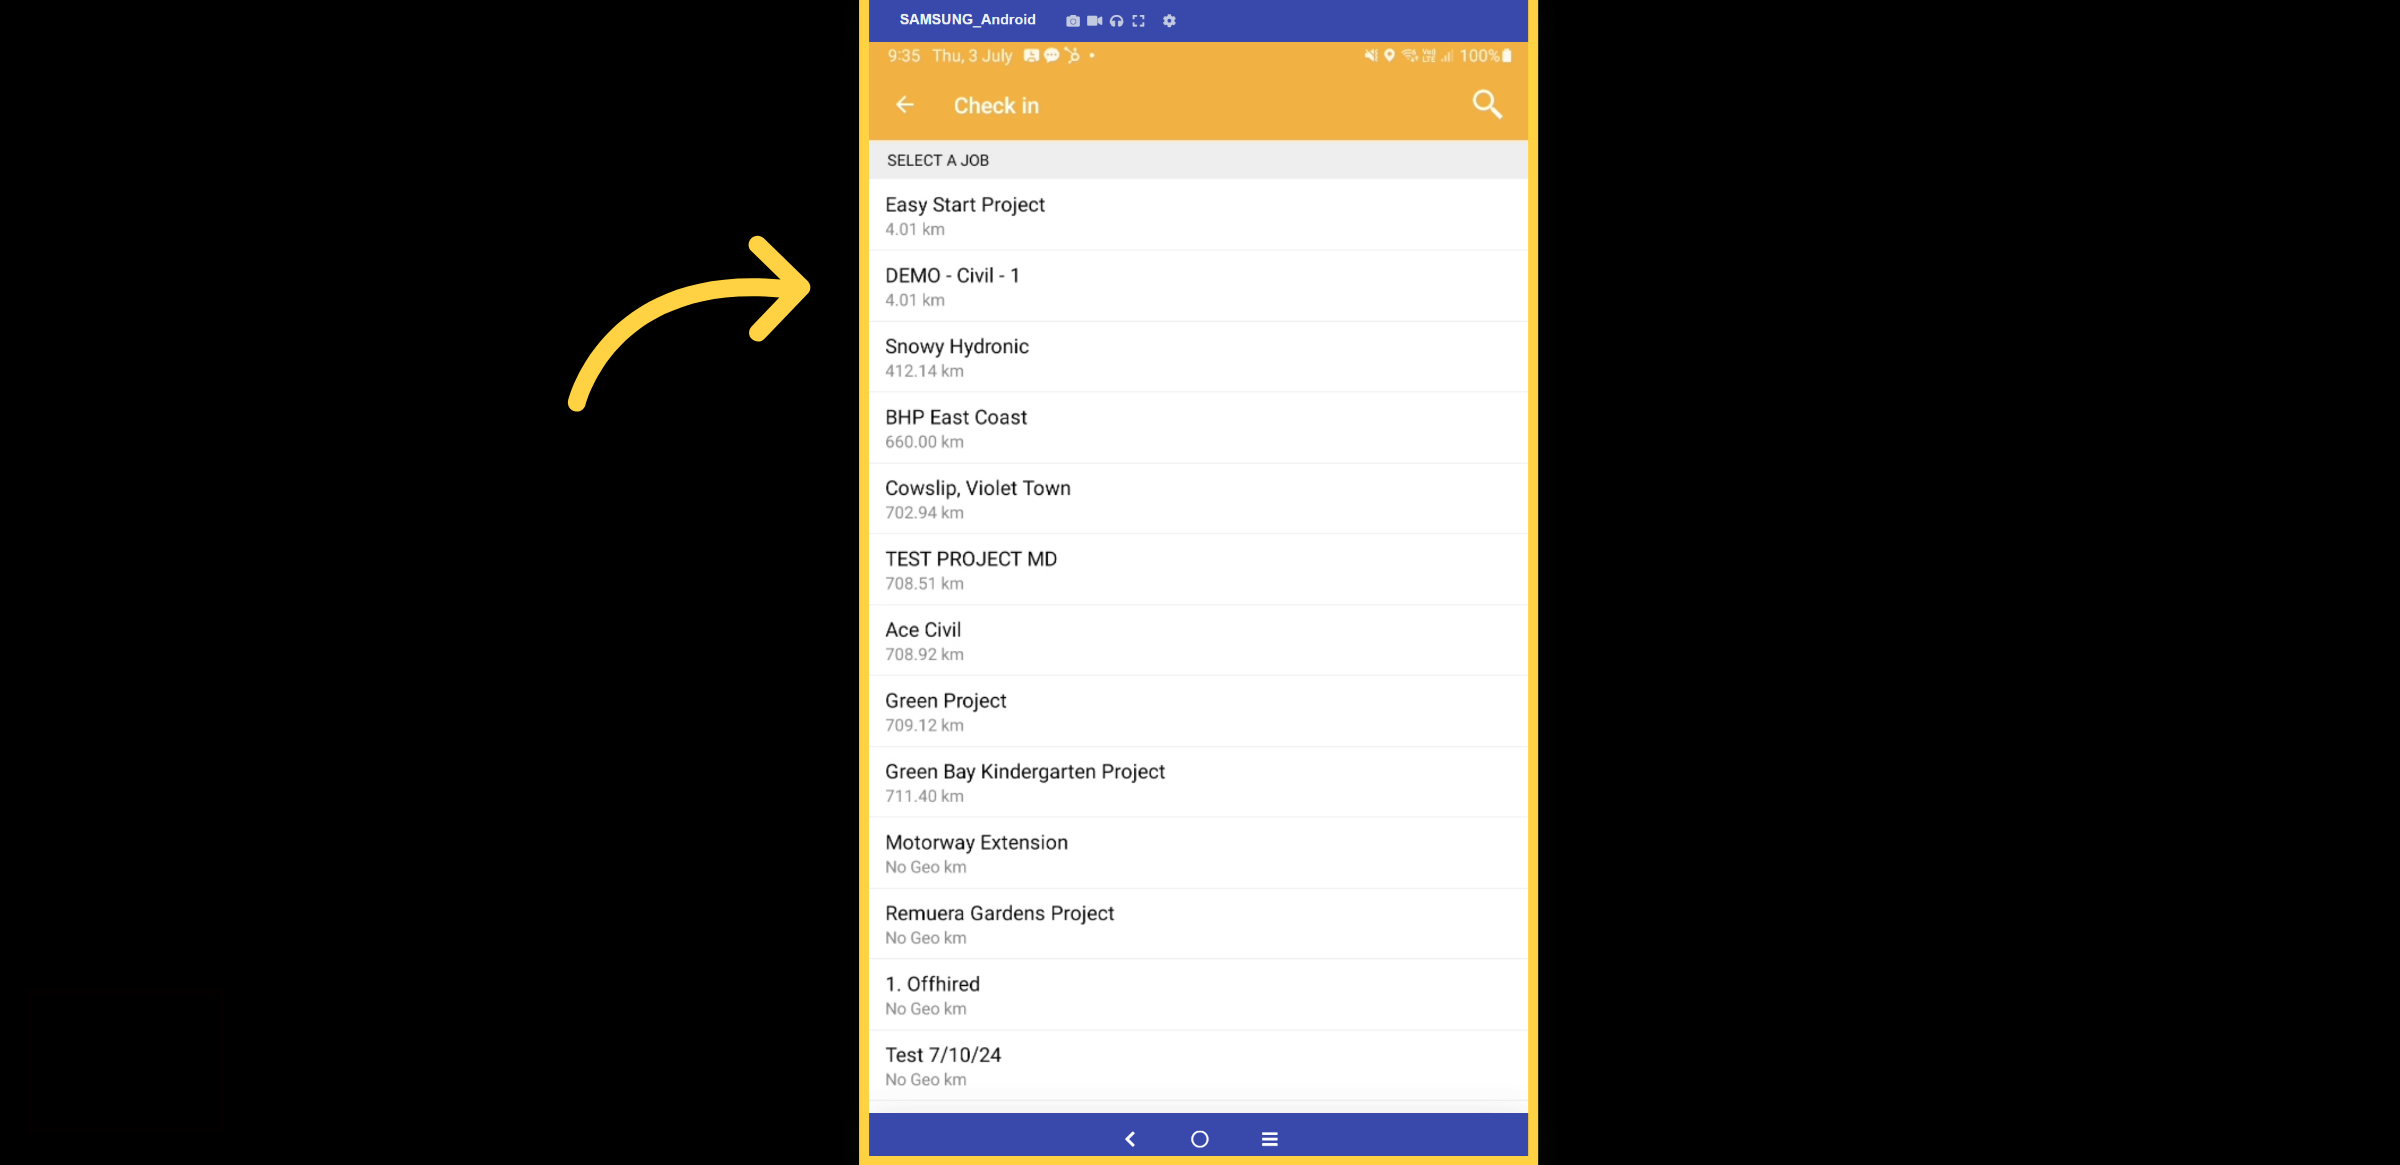
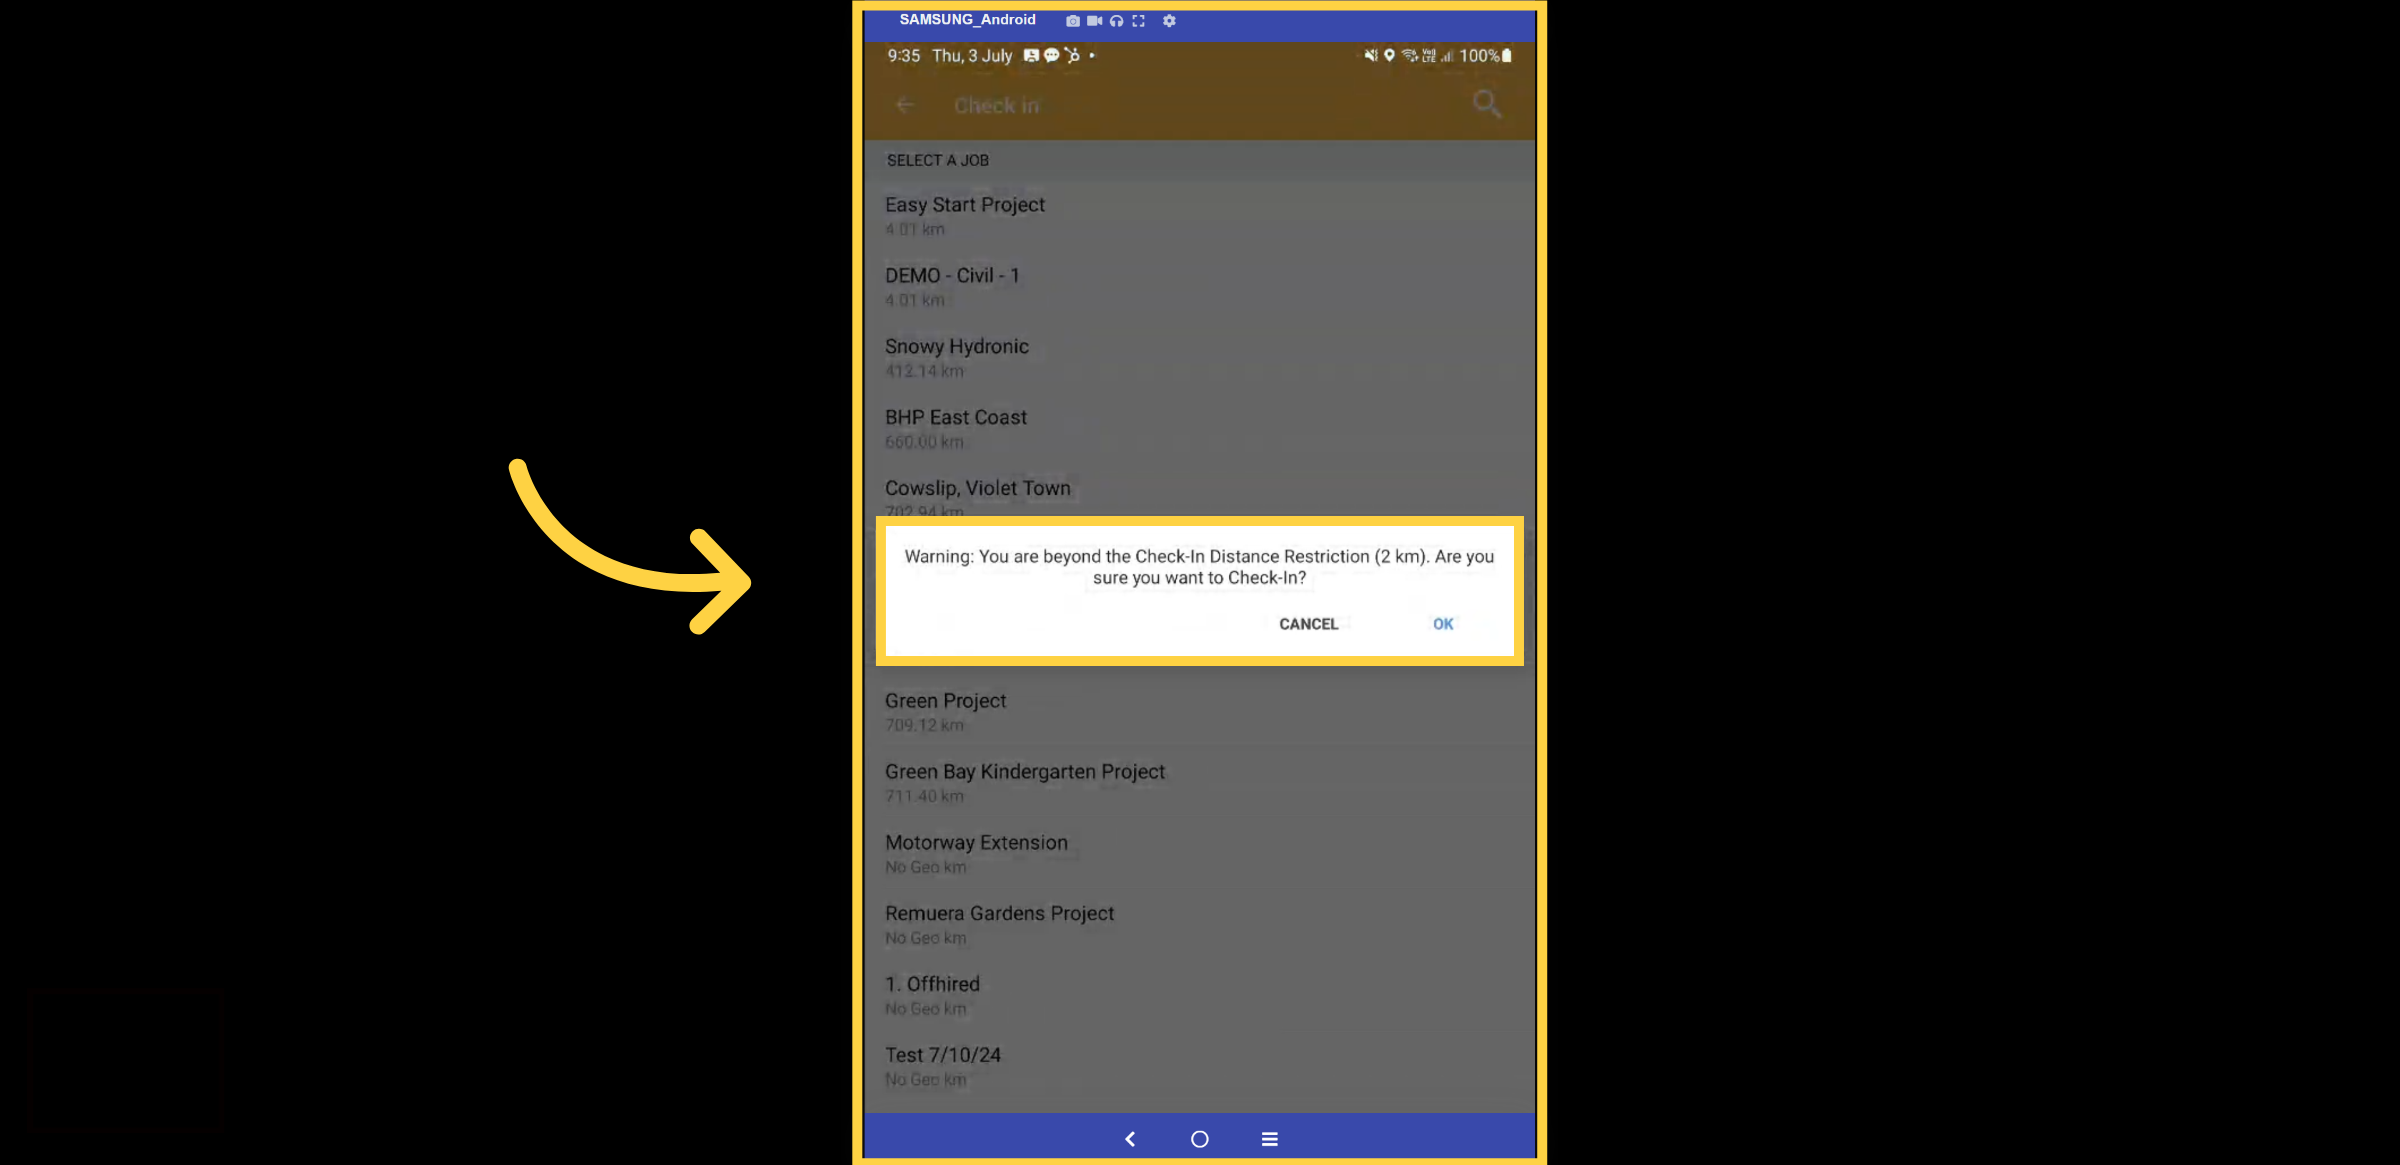
22. Geofencing
Kynection offers the capability to establish a geofencing boundary around a project. This feature ensures that workers can only check in to the project when they are in close proximity, enhancing both security and accountability.
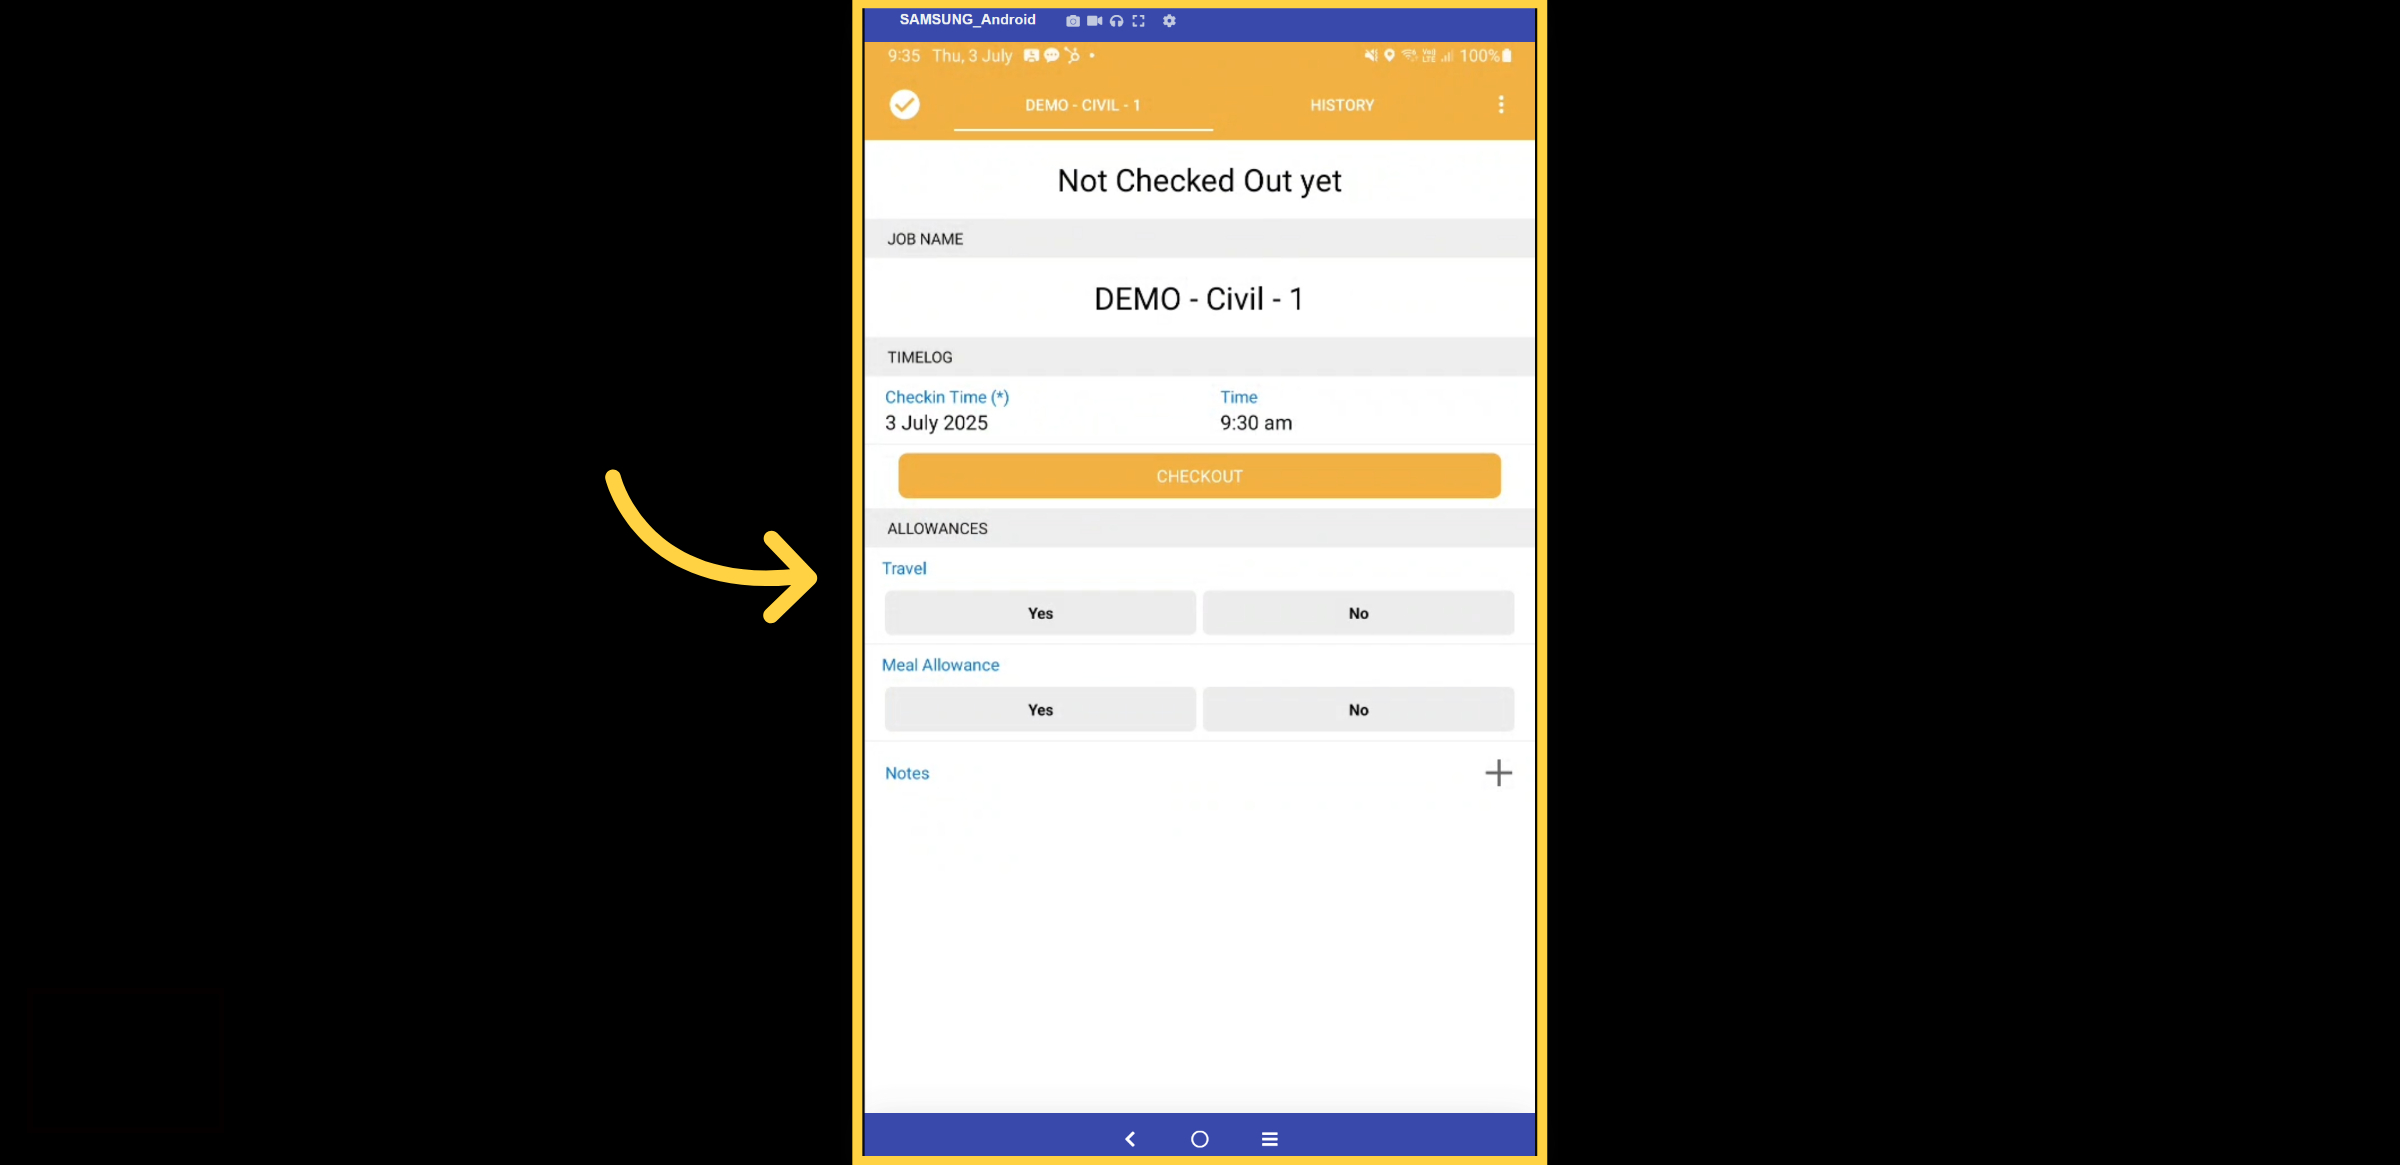
23. Check in Form
Managers can customize the number of required fields according to the worker's needs. Besides providing the project name, you can also choose the relevant milestone or task for the project, along with options for selecting allowances or having these applied automatically. Complete the fields to submit your information.
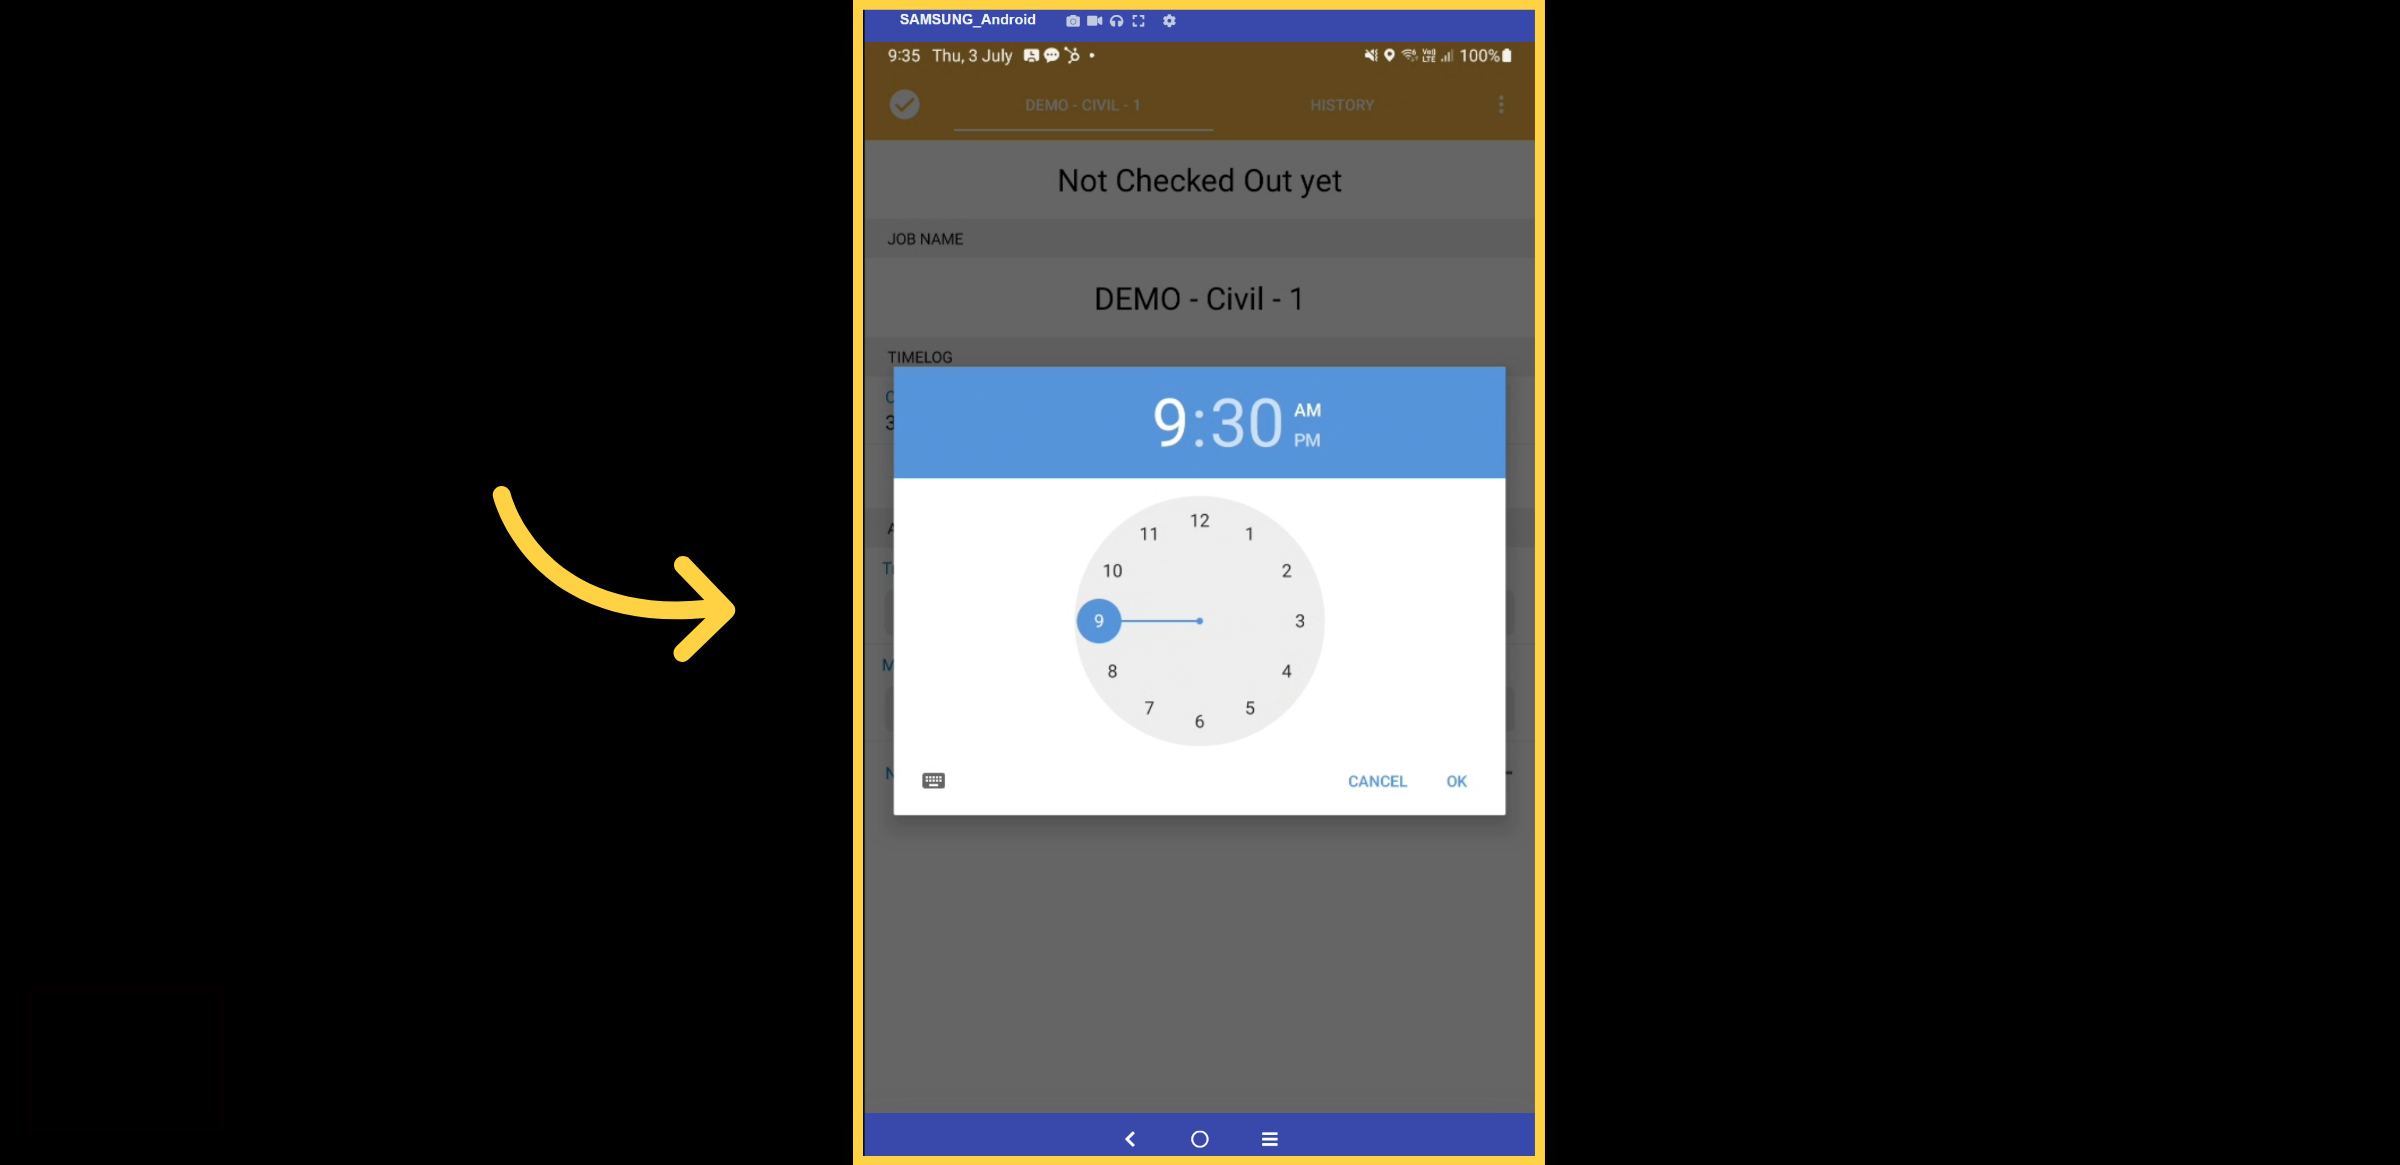
24. Start Time
Begin by entering the start time.
25. Allowances
The Worker can indicate whether multiple allowances are required, and this process can also be automated based on the Project.
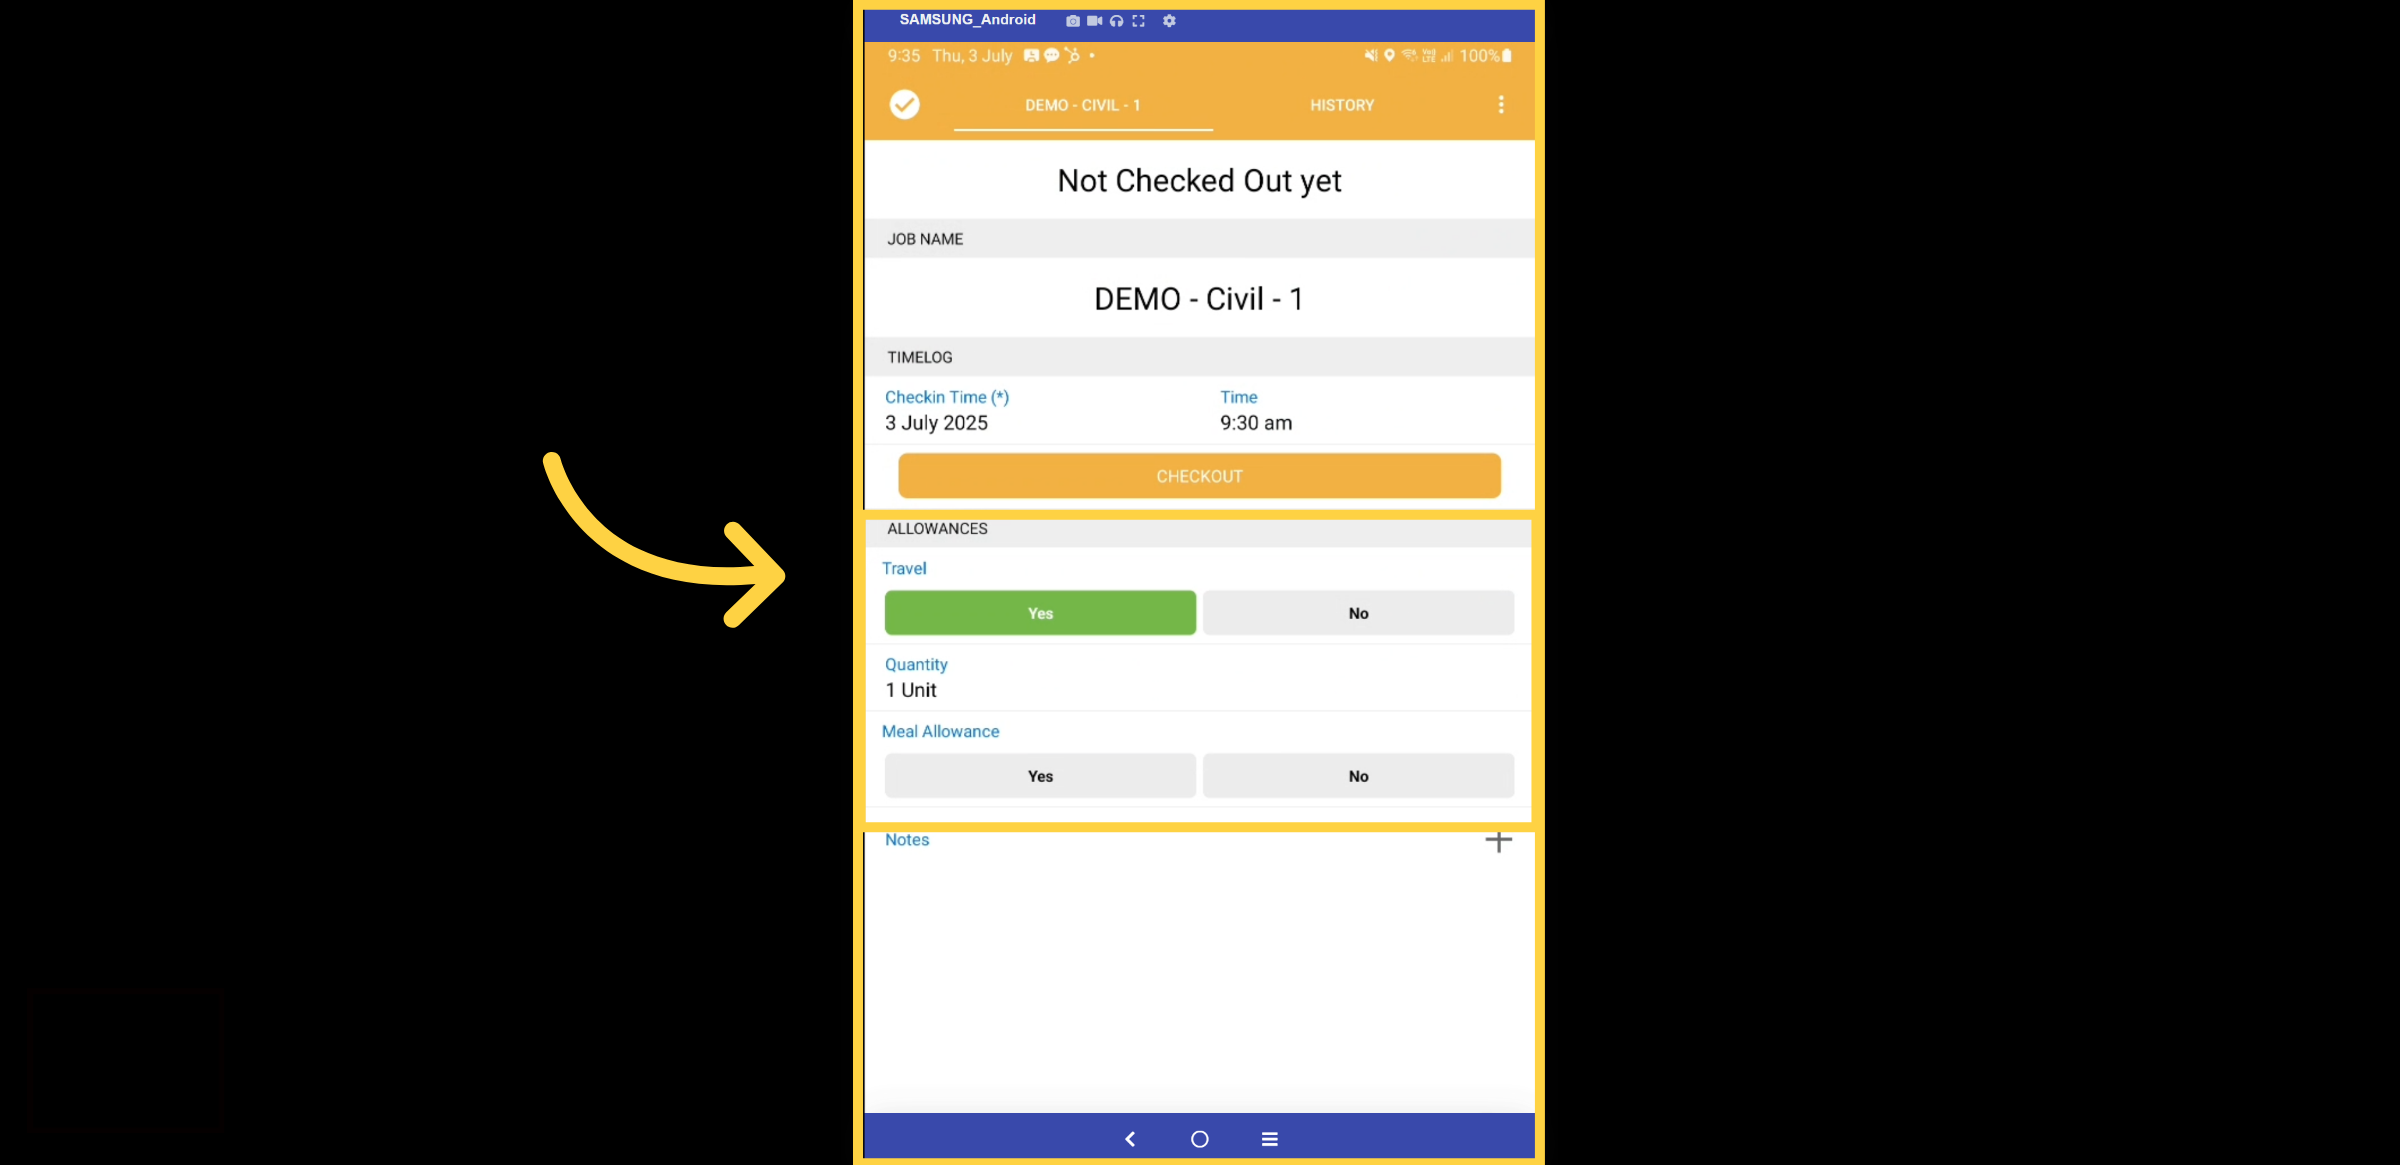
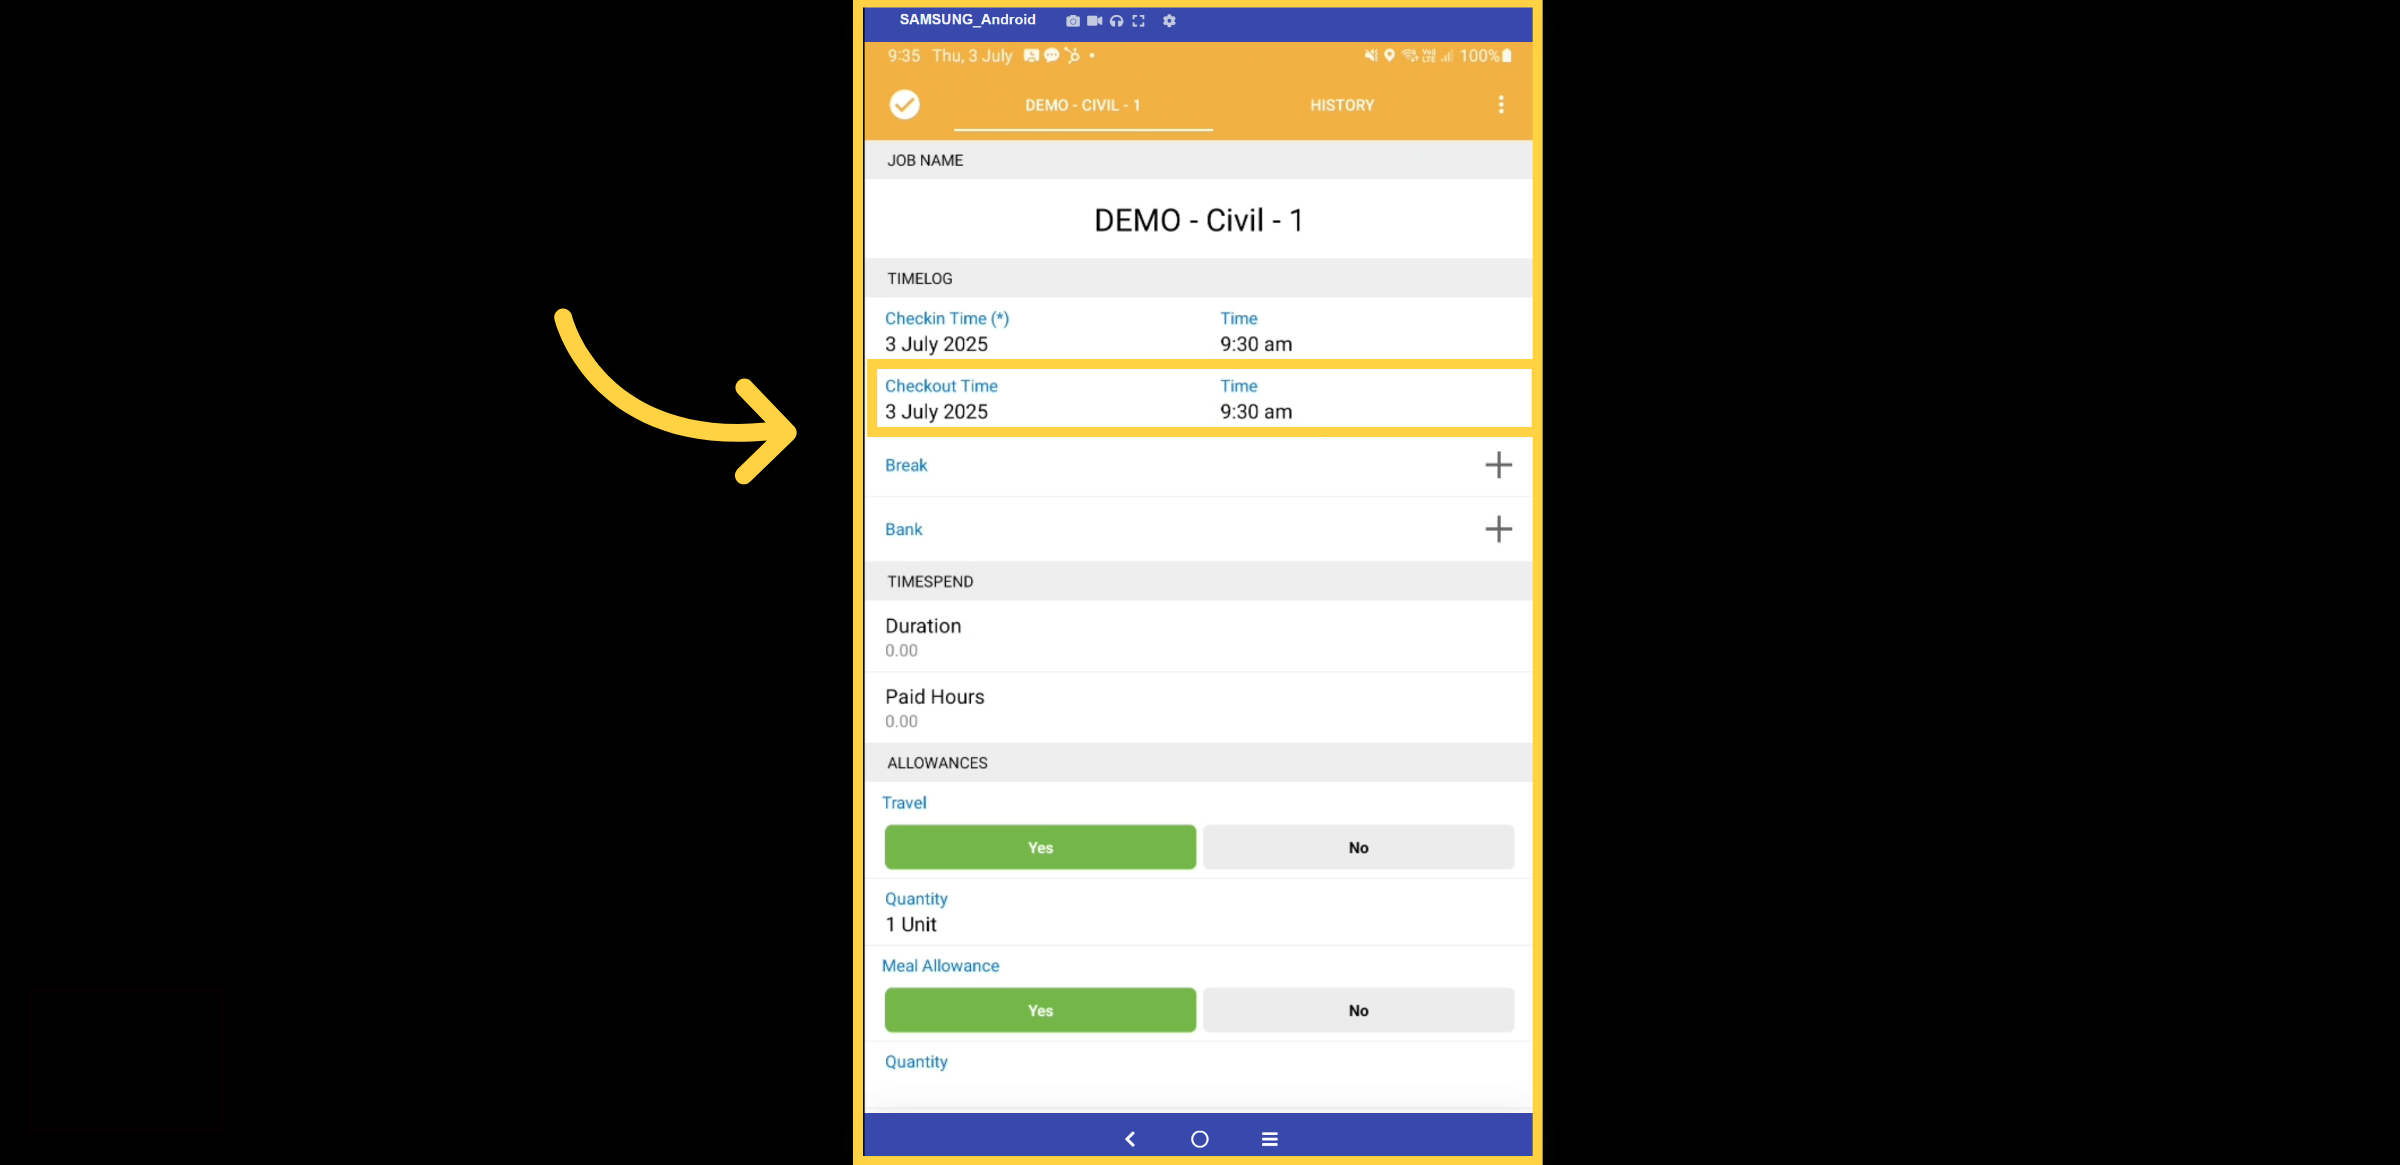
26. Check Out
Specify the checkout time.
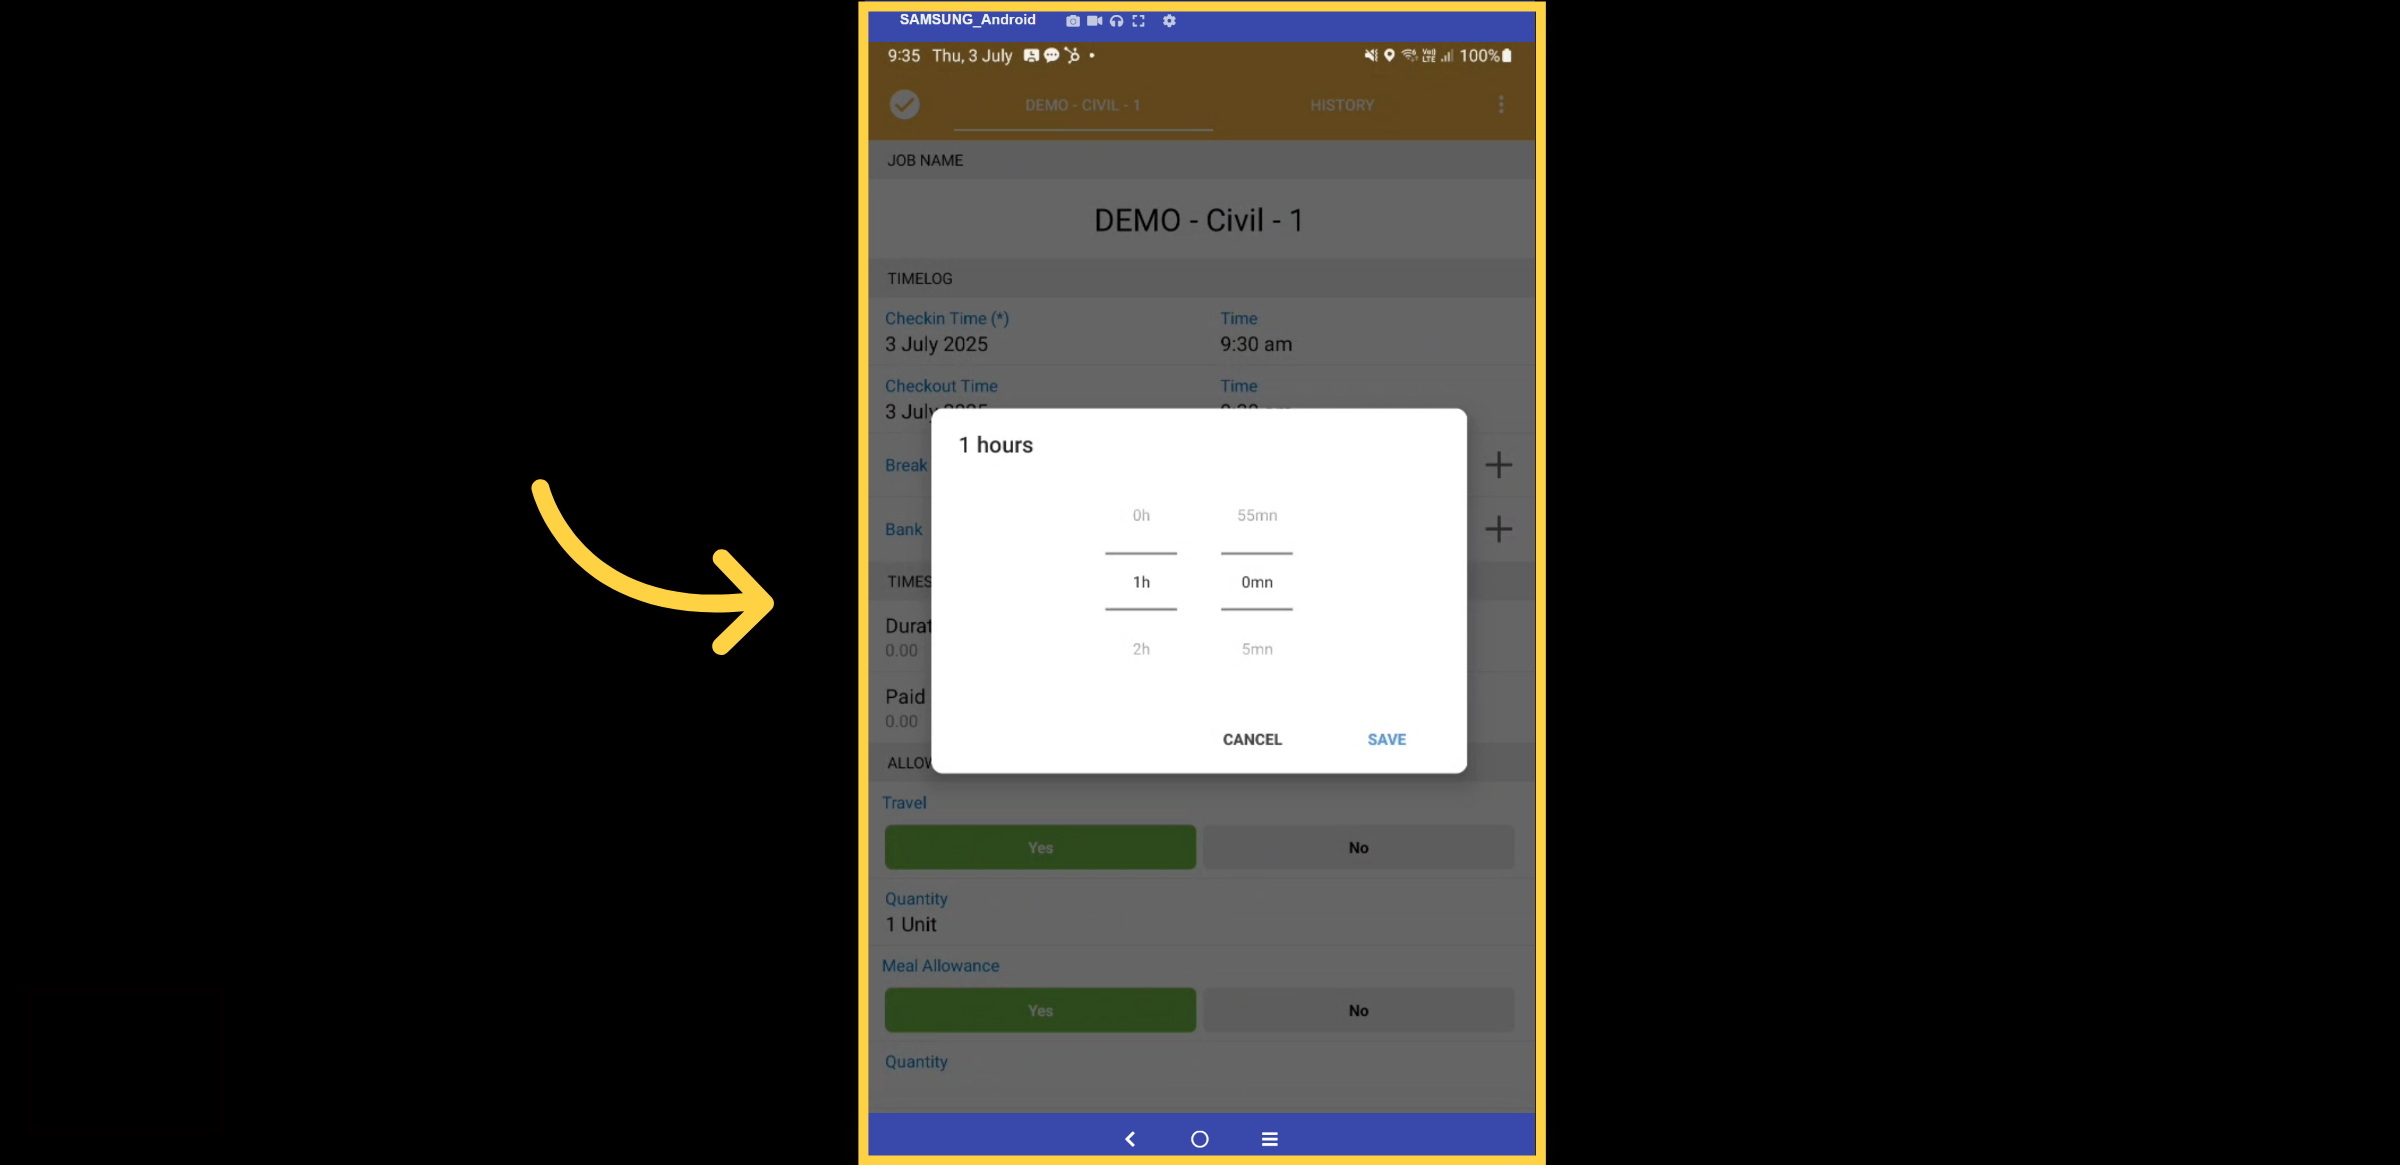
27. Break
Enter the duration of the break.
28. Notes
Click on the notes to add additional information.
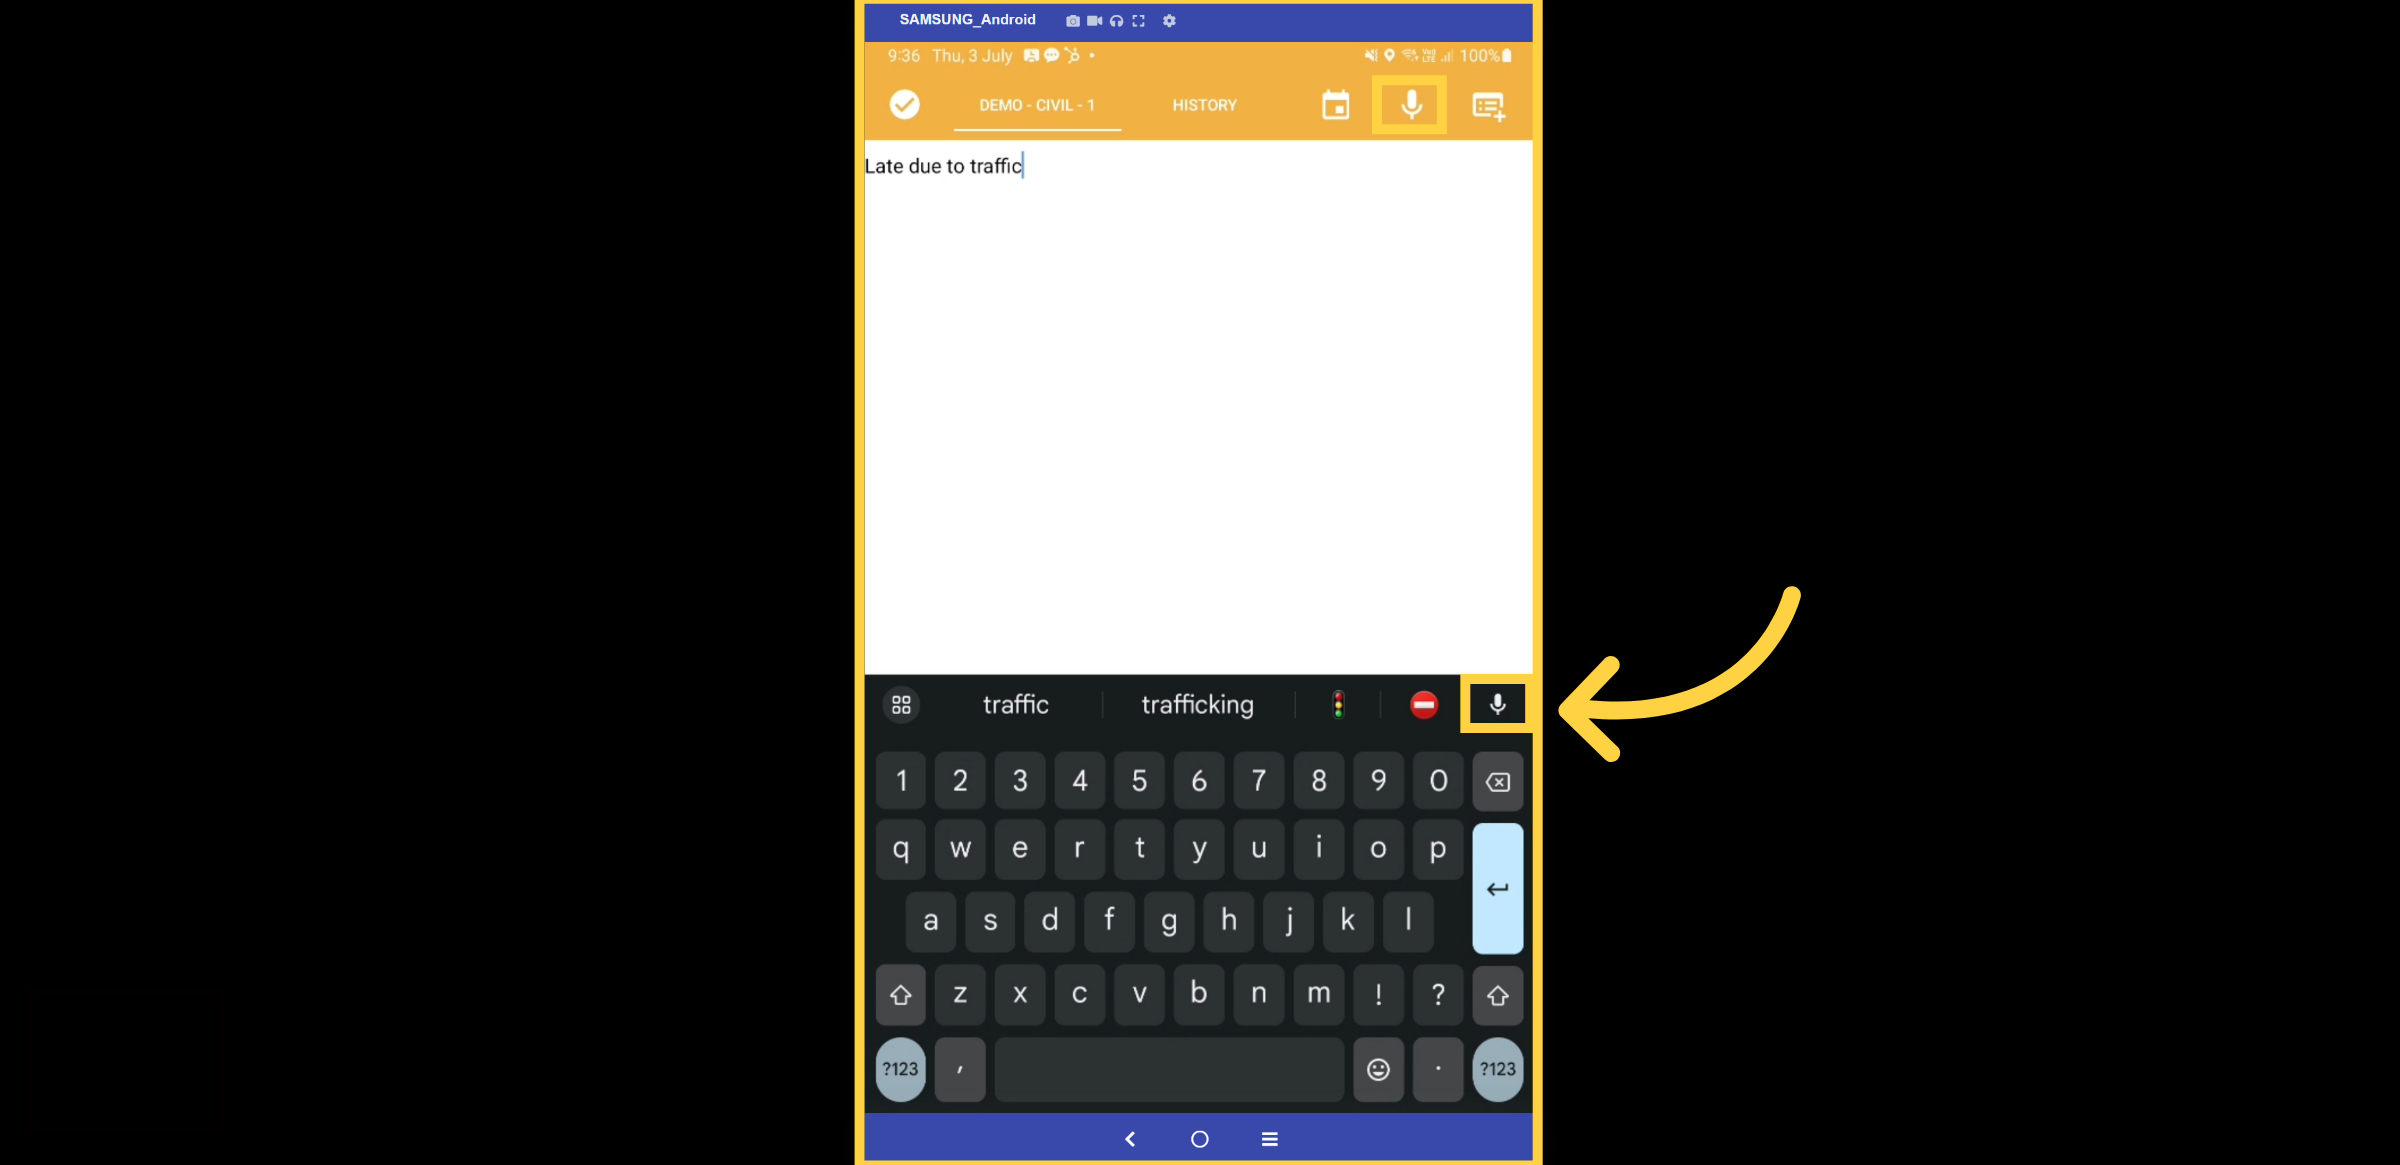
29. Notes Input
Type in your text or use the voice capture feature for convenience.
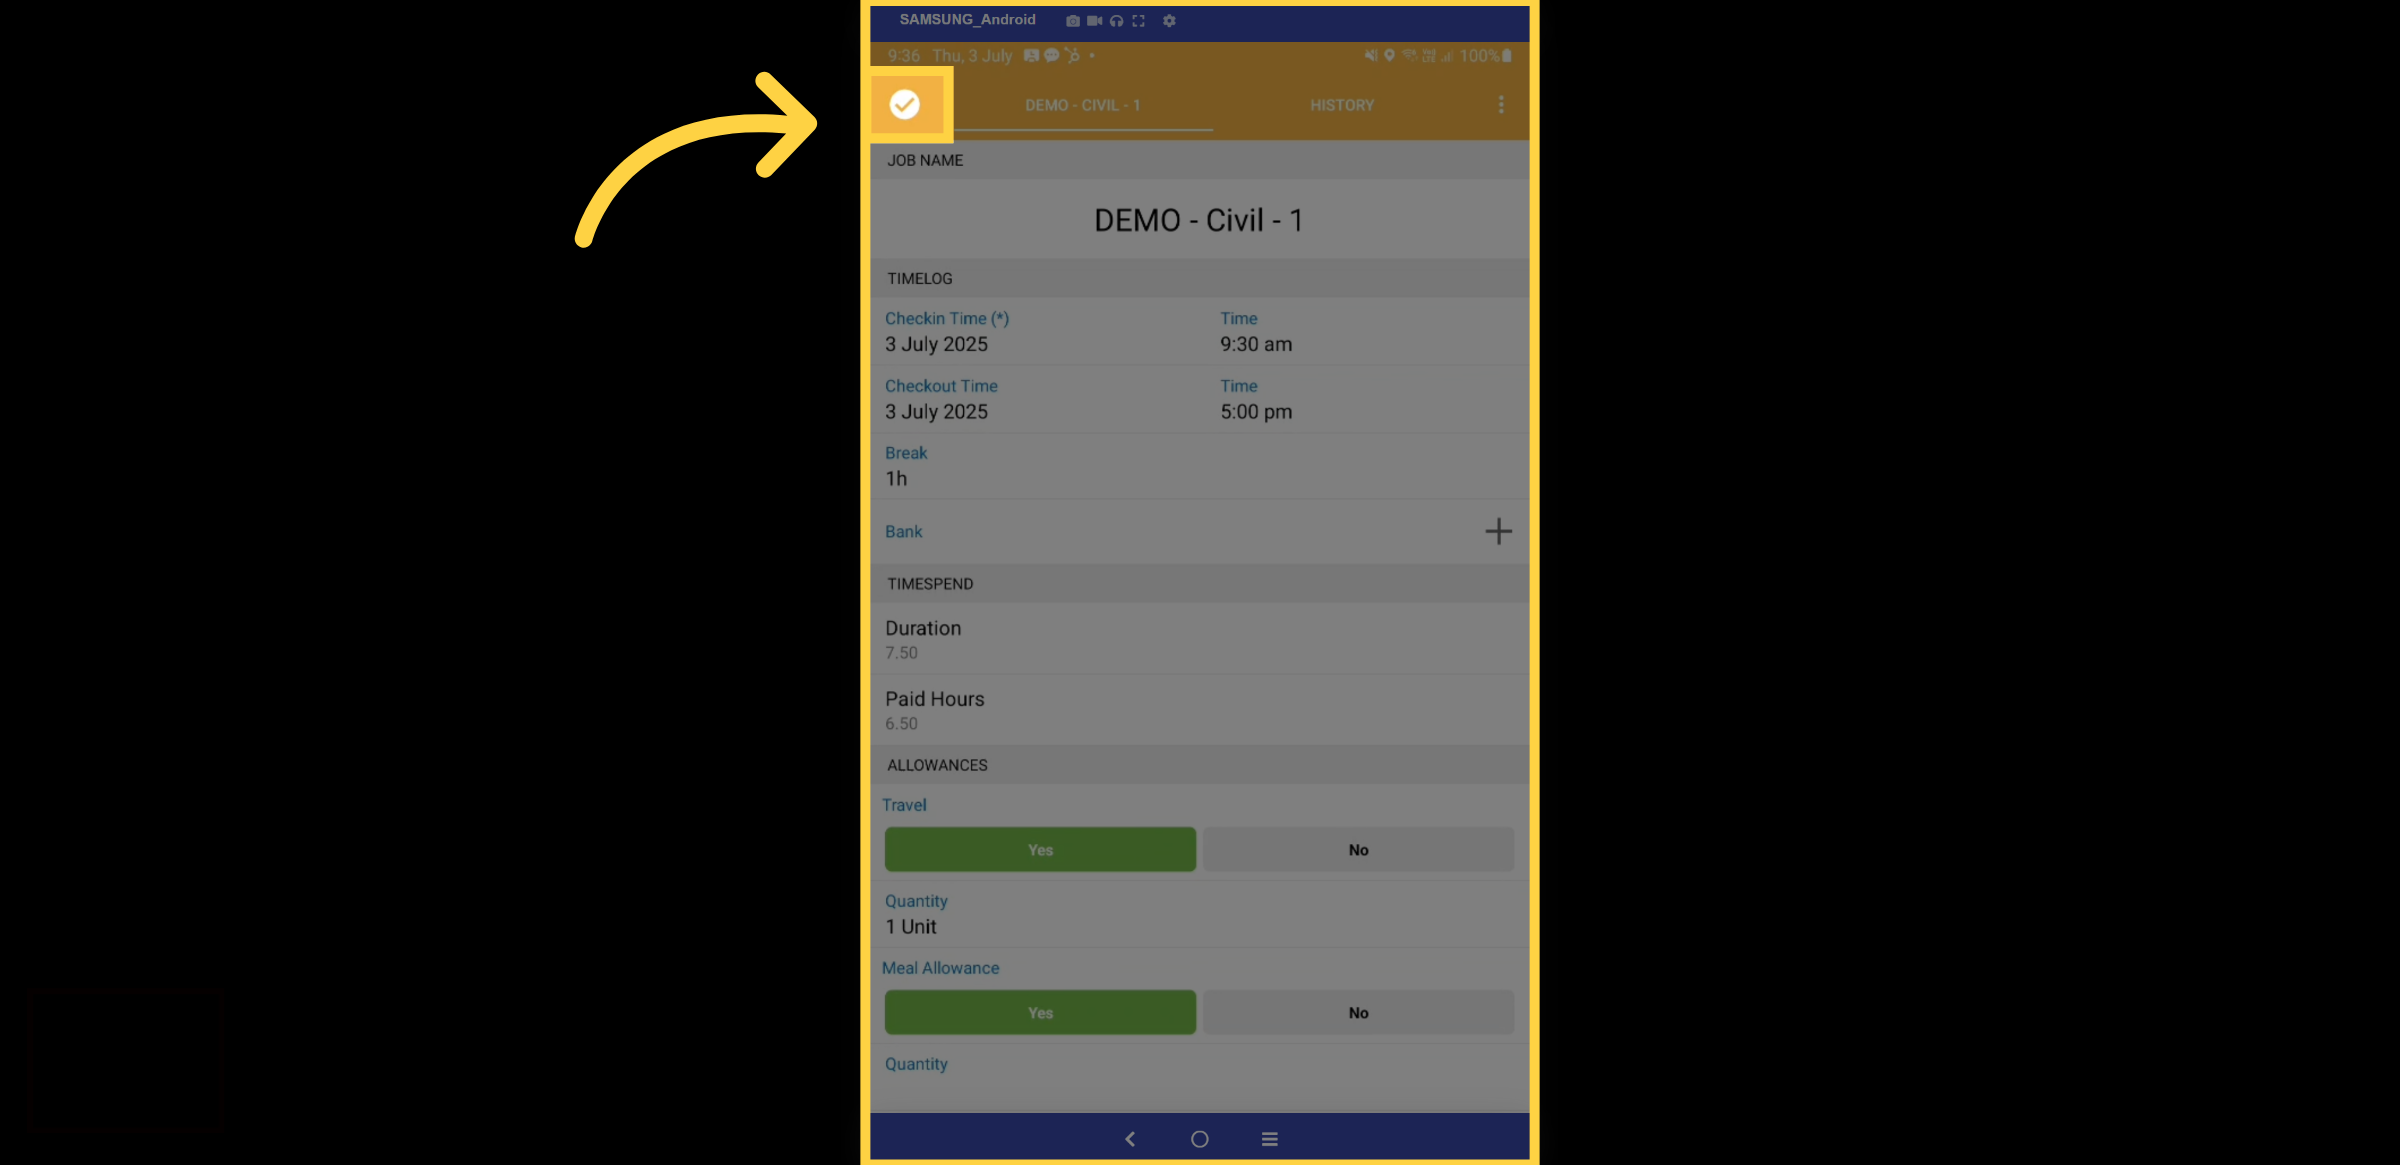
30. Save and Submit
Save and submit by selecting the tick icon, or select Done if using an Apple device. Once submitted, your timesheet will appear on the Timesheet Approval Dashboard within the HR module for management review and approval.
Thanks for watching

