This training guide equips managers with the necessary skills to create and edit forms, enabling your organisation to remain agile in response to changing business demands. All data recorded and submitted within Kynection is facilitated through forms.
Go to kynection.upvise.com
1. Admin Forms
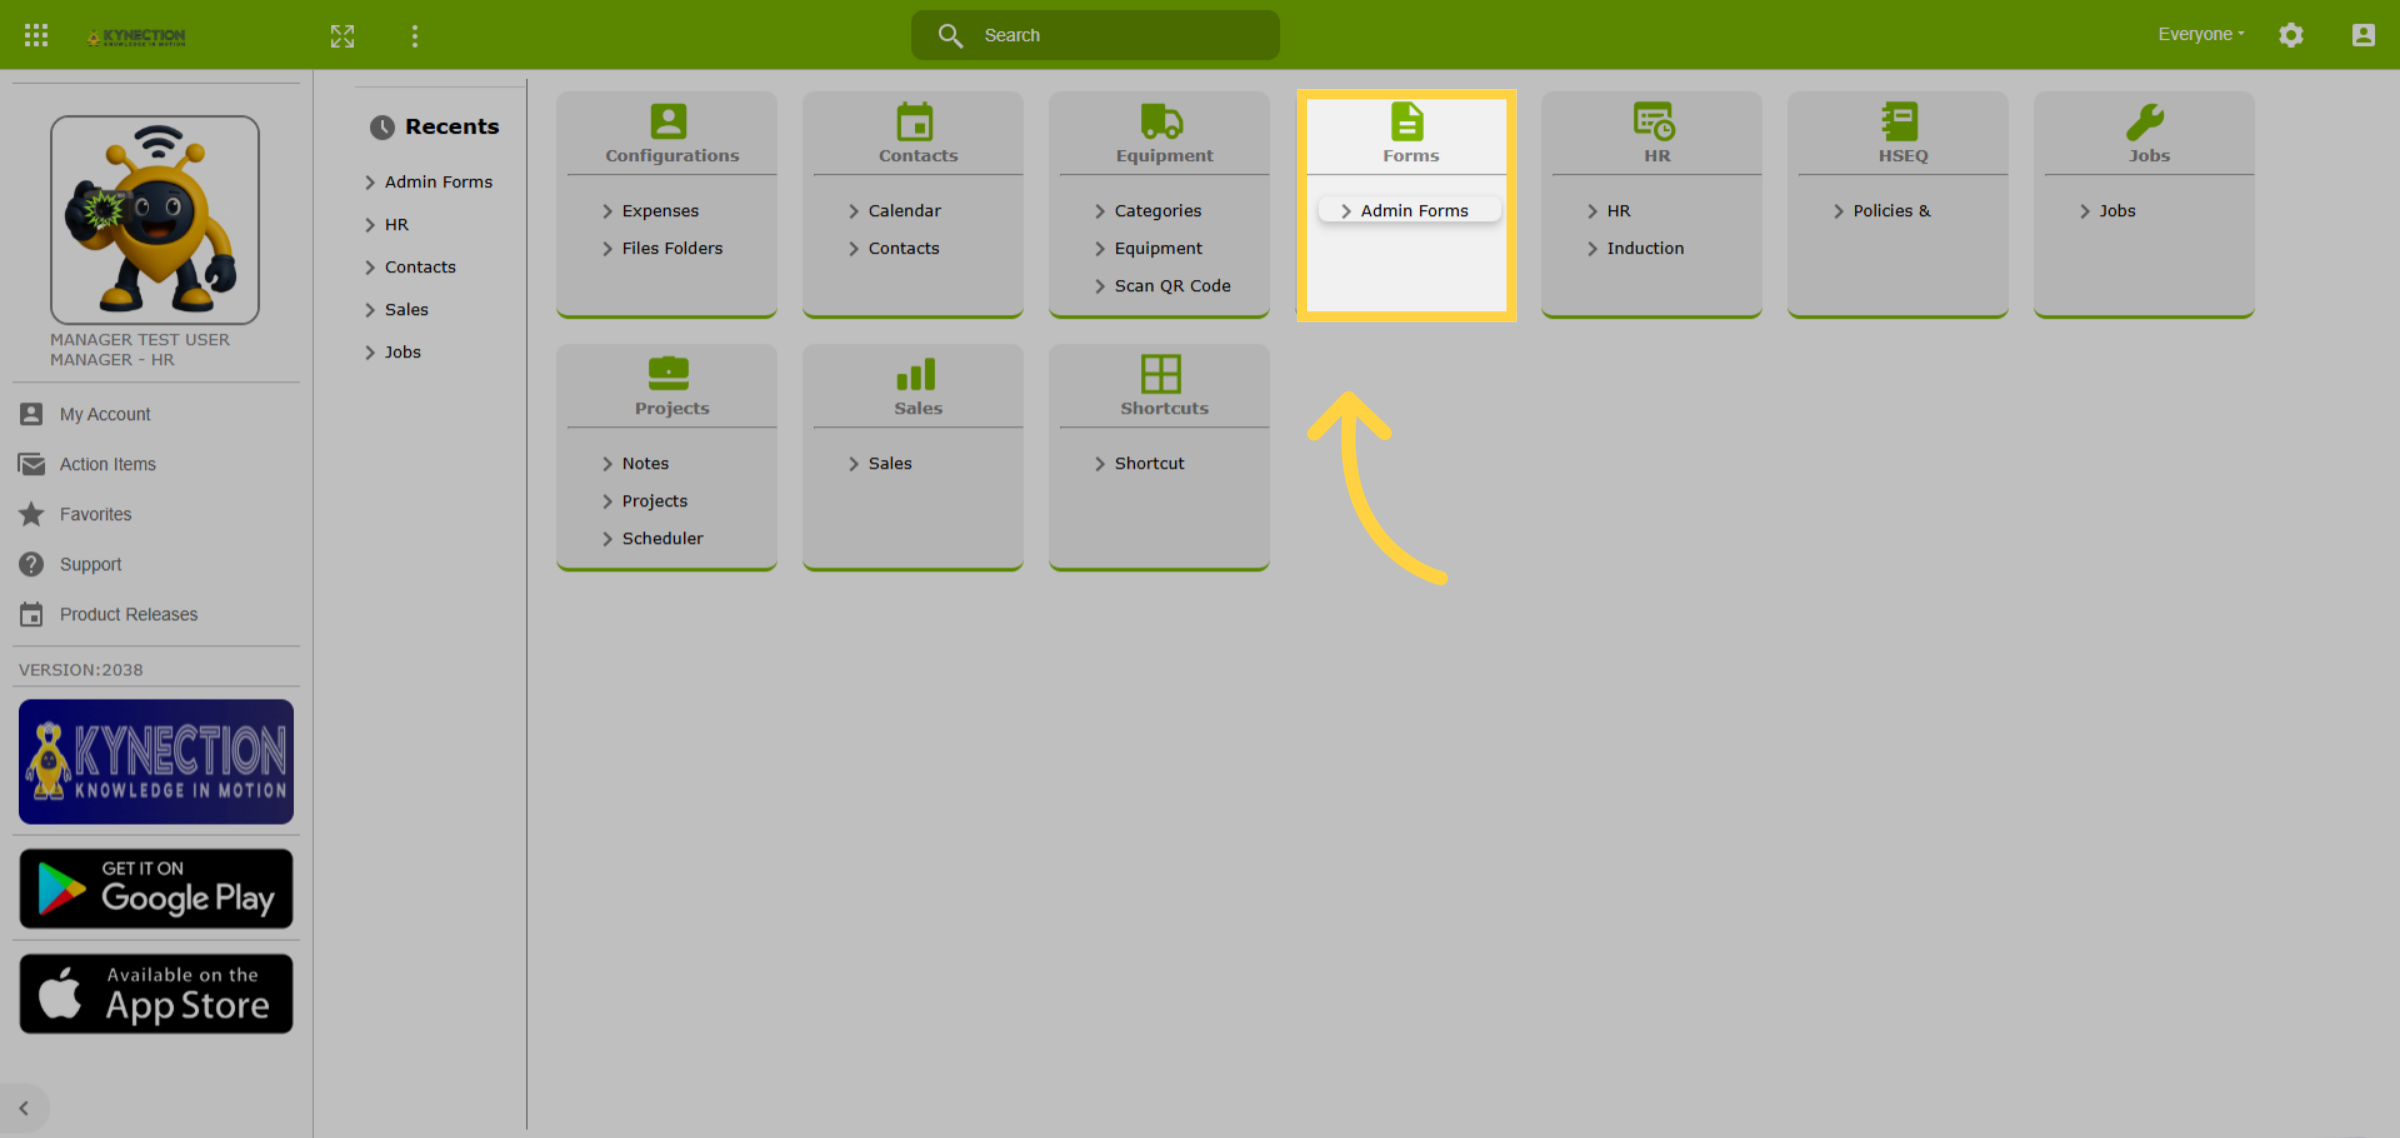
Forms are found on the Home Dashboard within the "Forms" module. Click to begin.
2. Dashboard
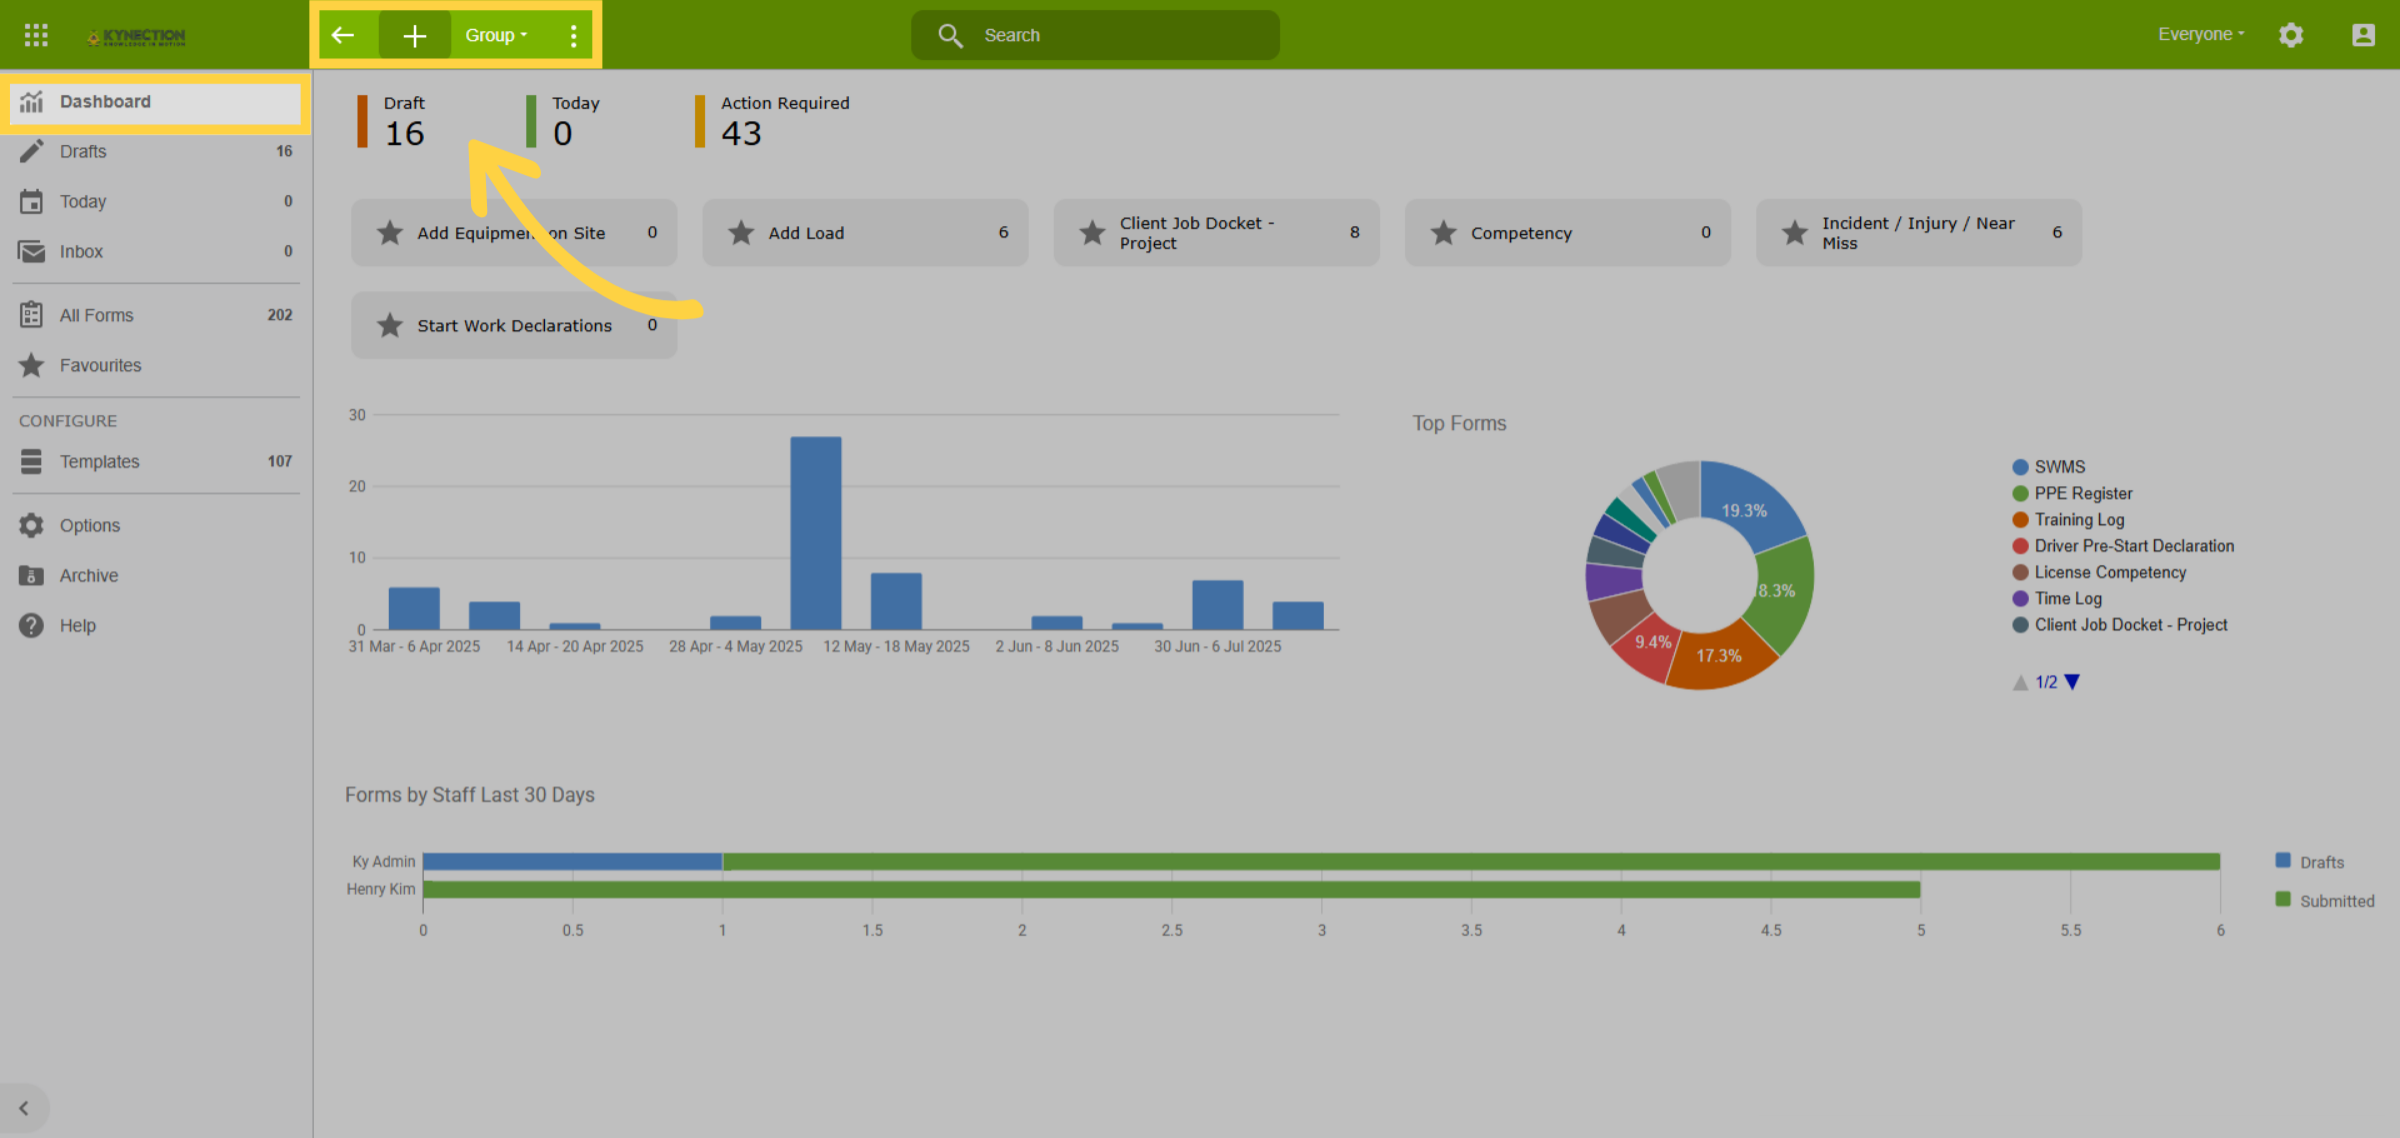
The Forms dashboard provides quick access to favourites and analysis of raised forms. Create a new form by selecting the Plus icon from the toolbar.
3. Chart Filter
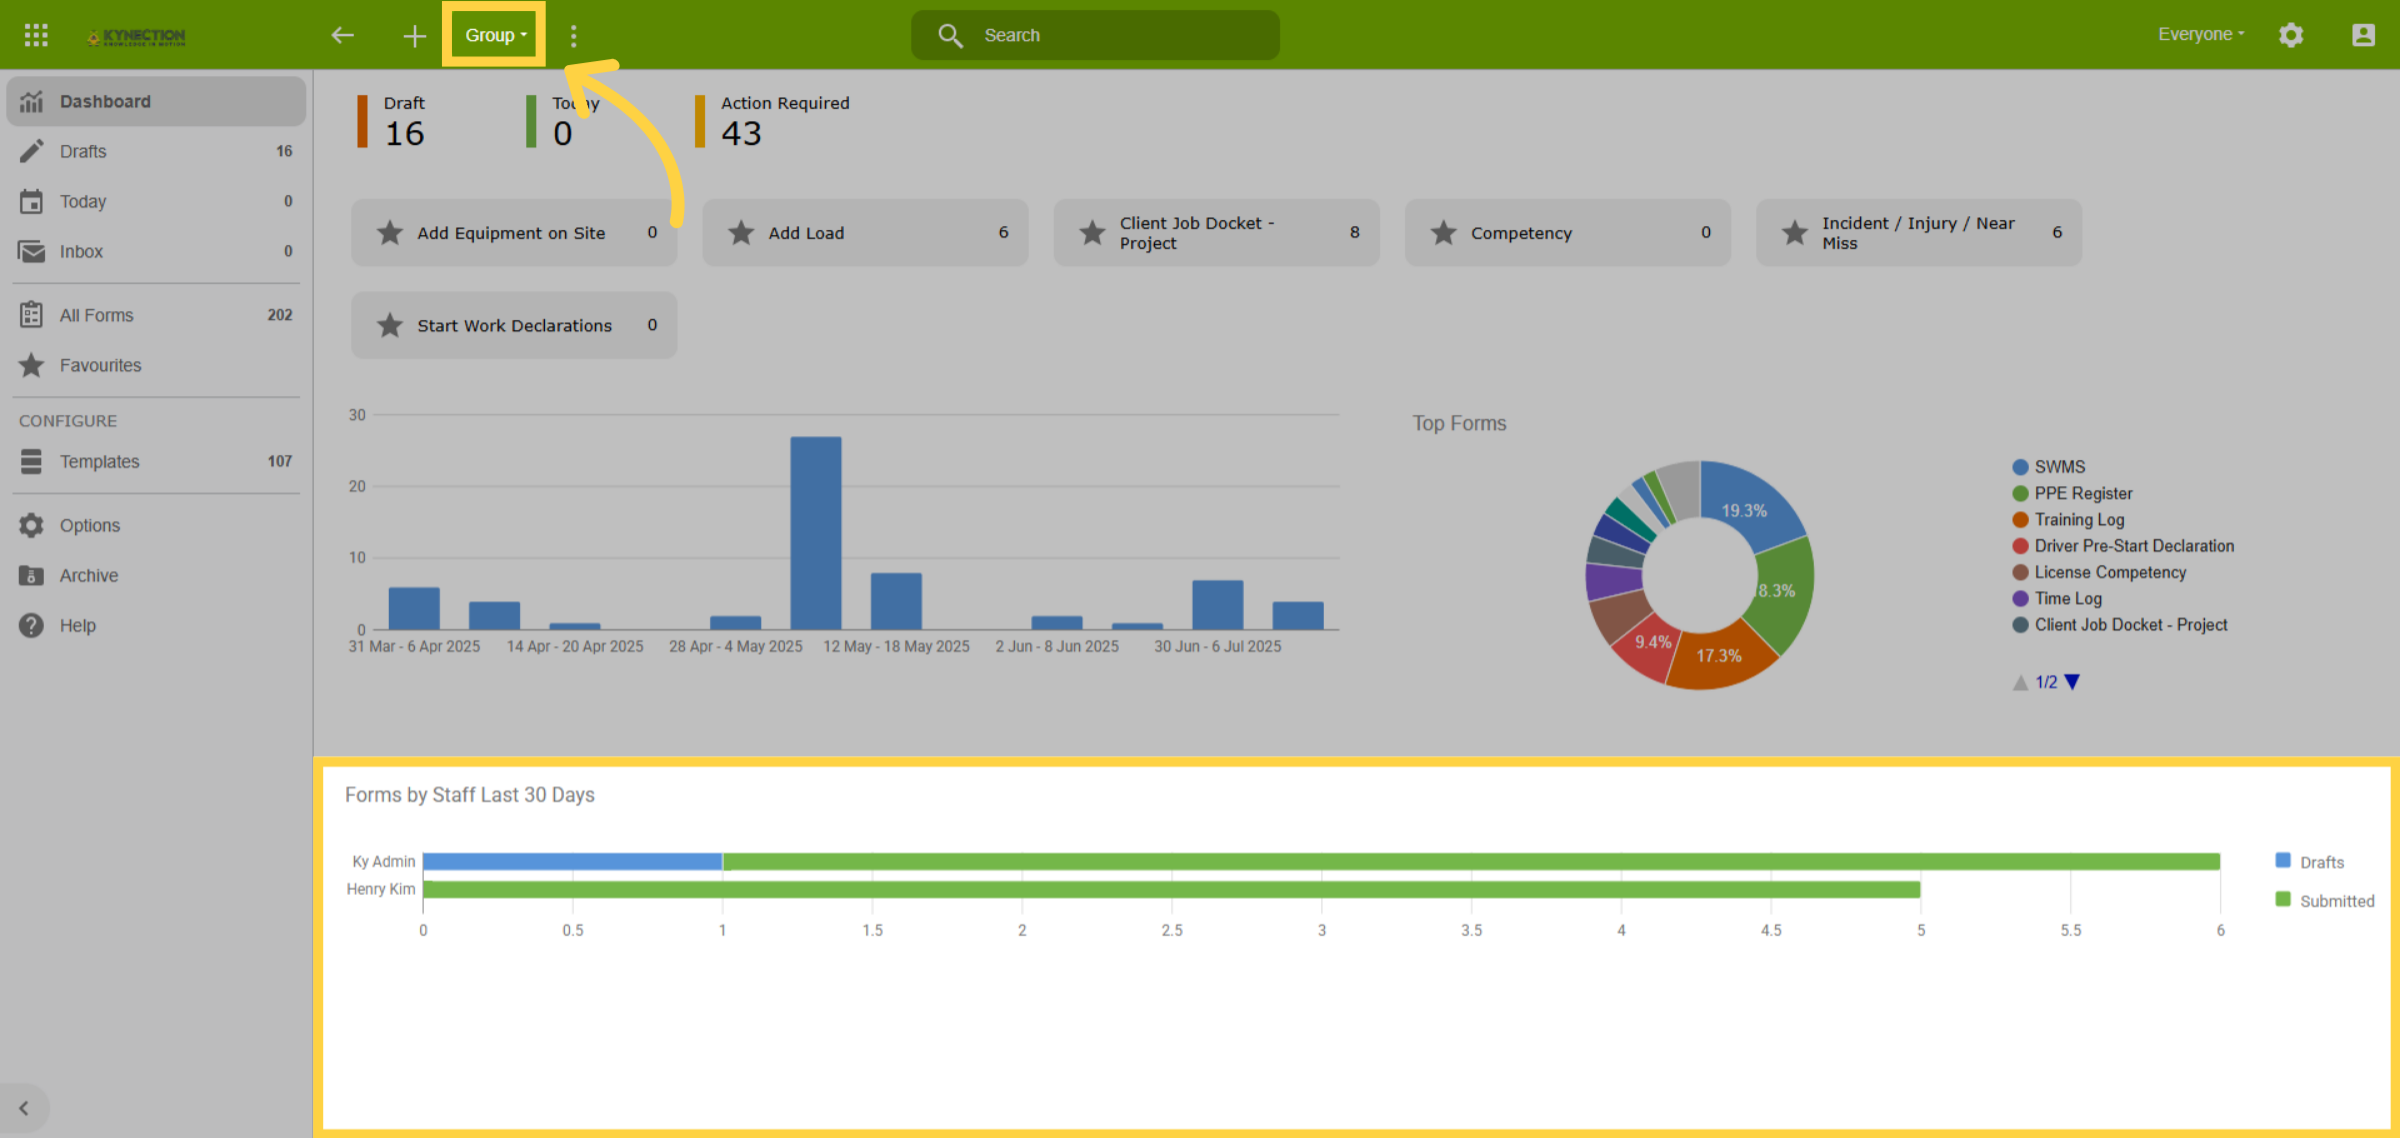
The dashboard's form submission chart offers insights into staff activity. Filter results using the toolbar group drop-down list for targeted reporting.
4. Forms by Status
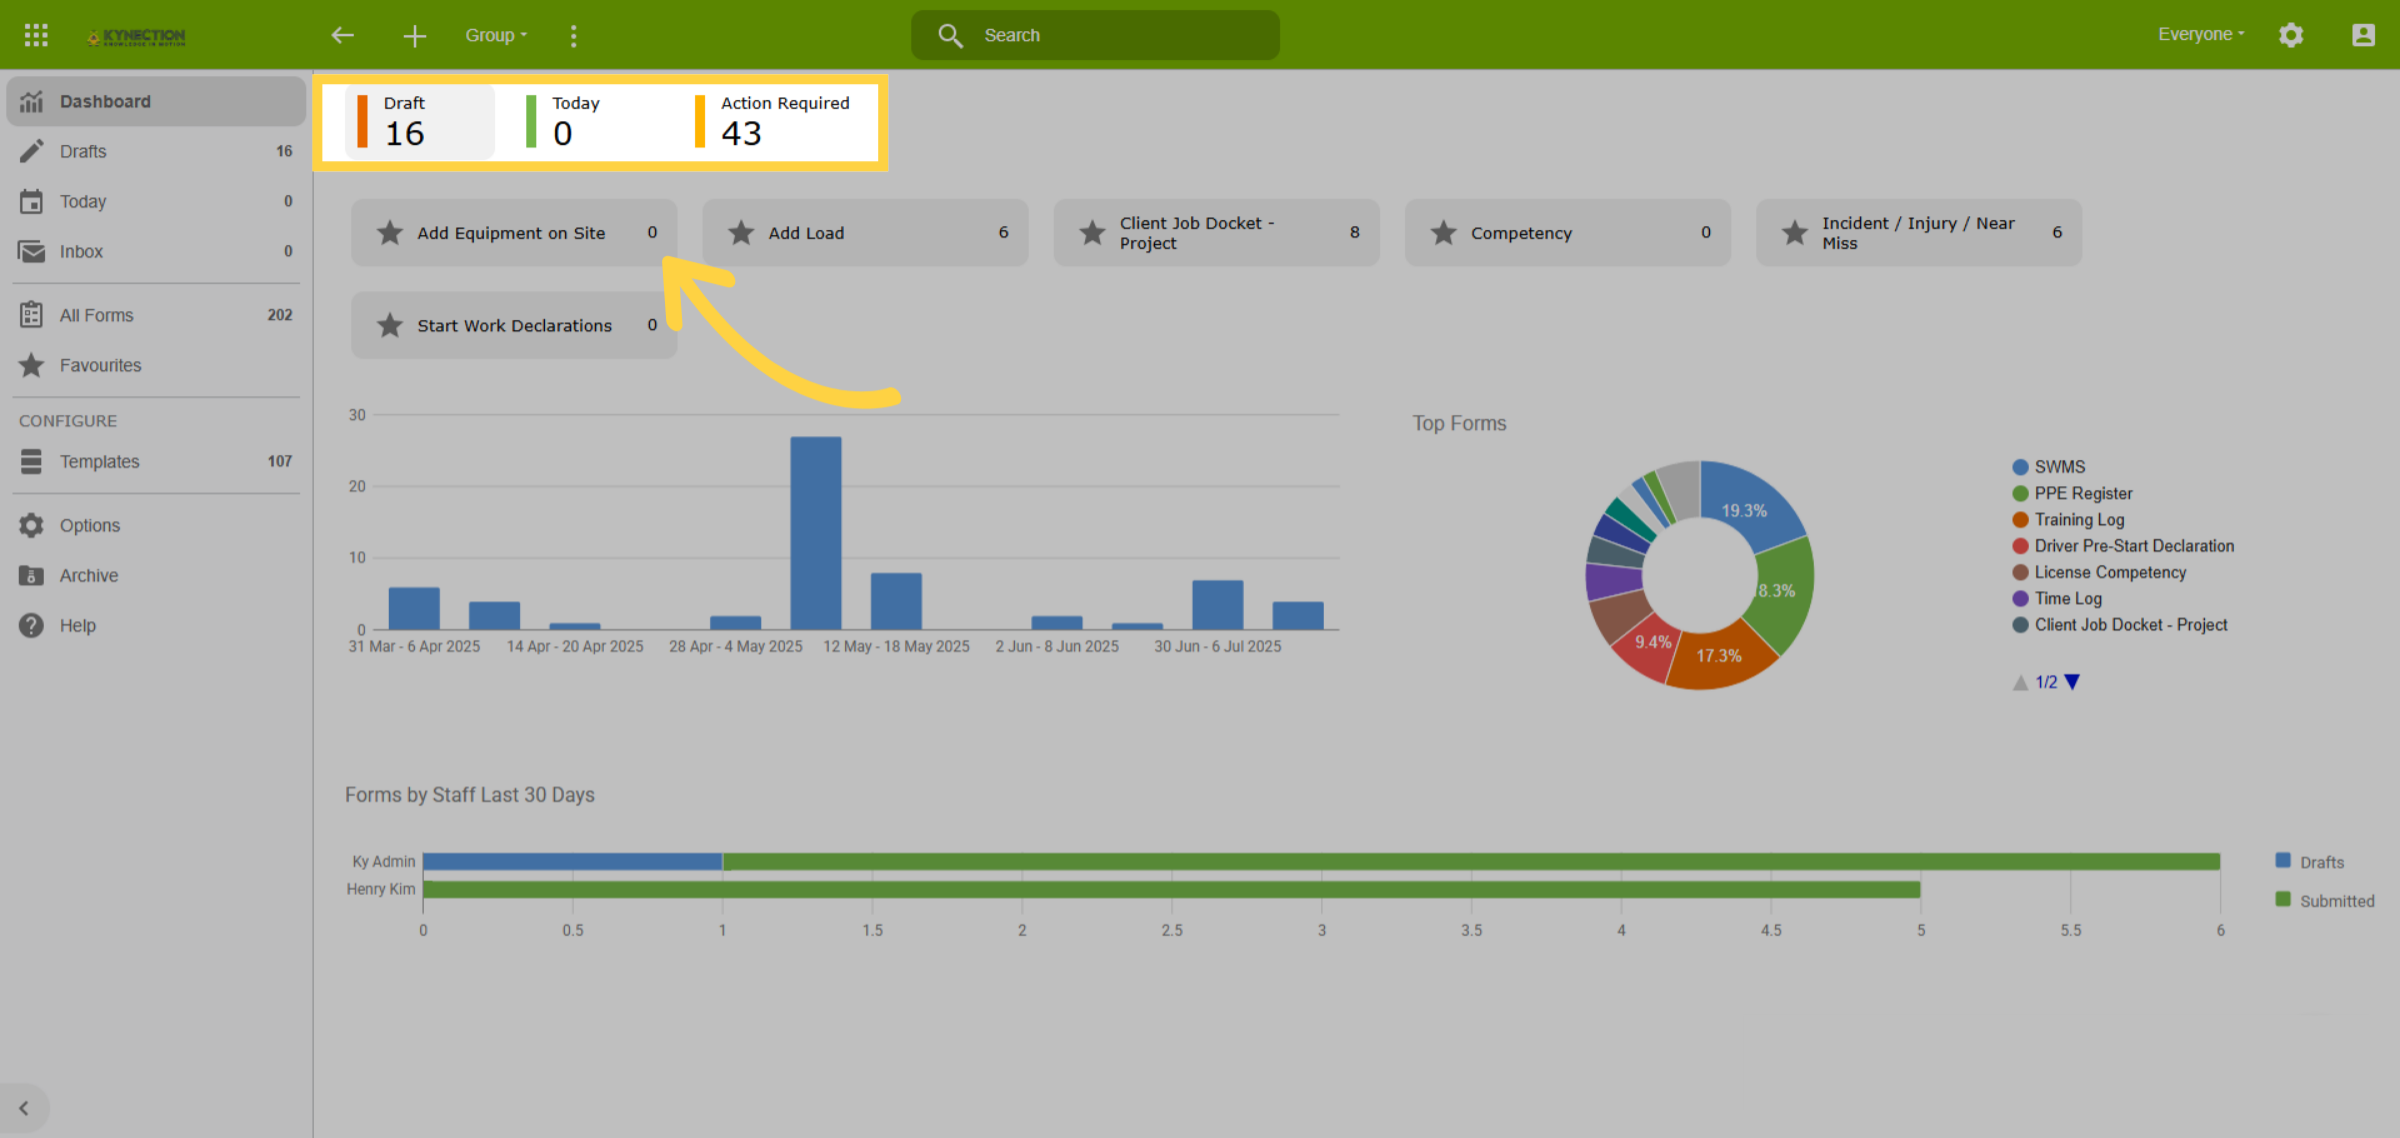
The dashboard summarises forms by status, colour-coded for quick identification. Select Draft to manage unfinalised forms.
5. Drafts
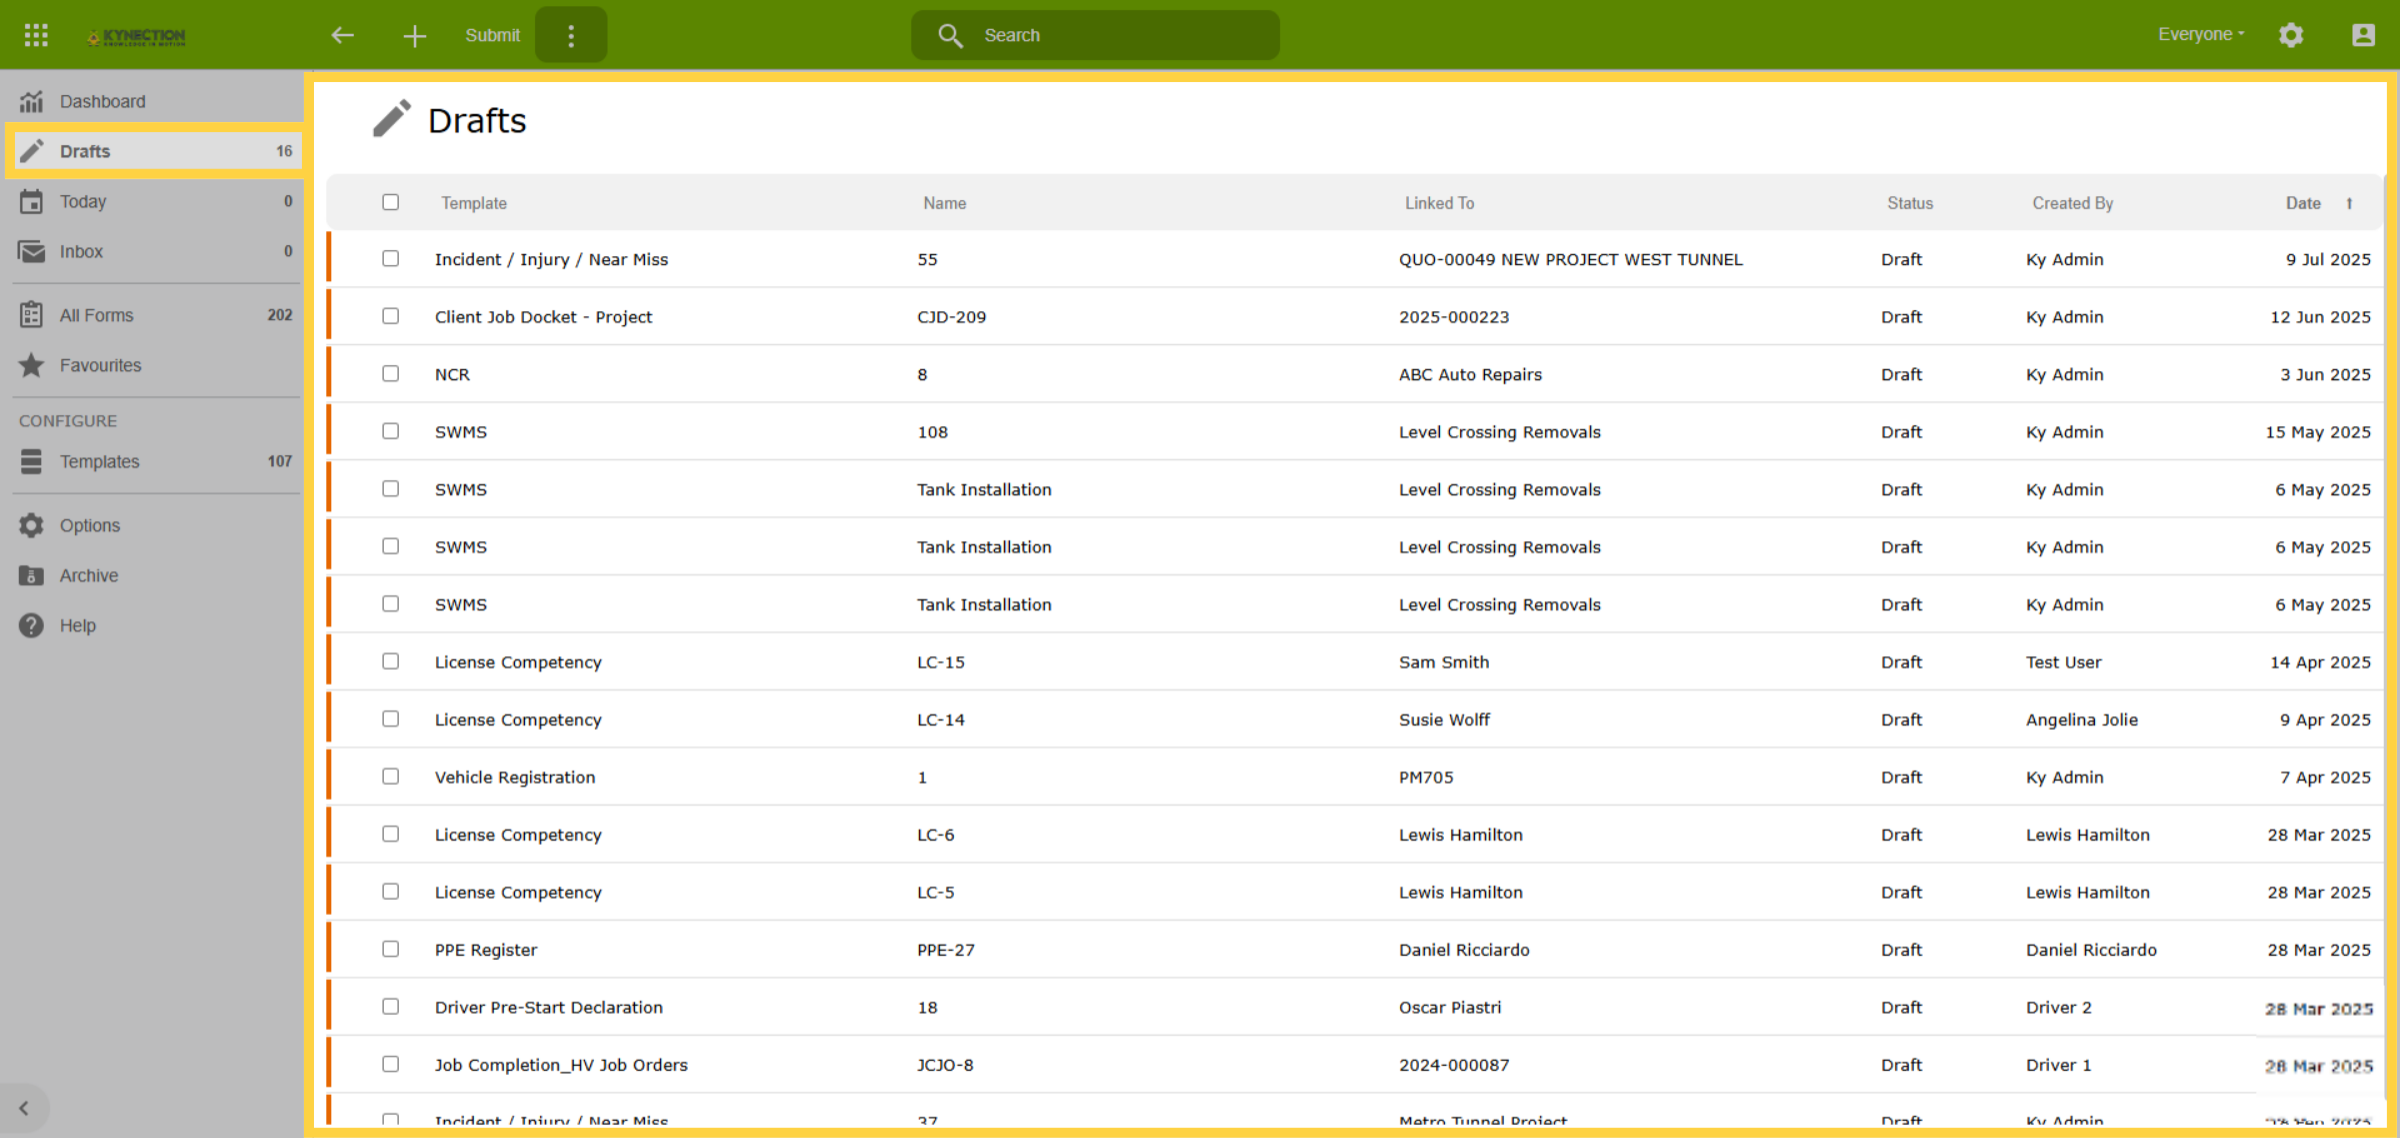
The Drafts table provides a comprehensive list of all unsubmitted forms and is a shortcut to the Drafts section in the left-hand pane.
6. Bulk Actions
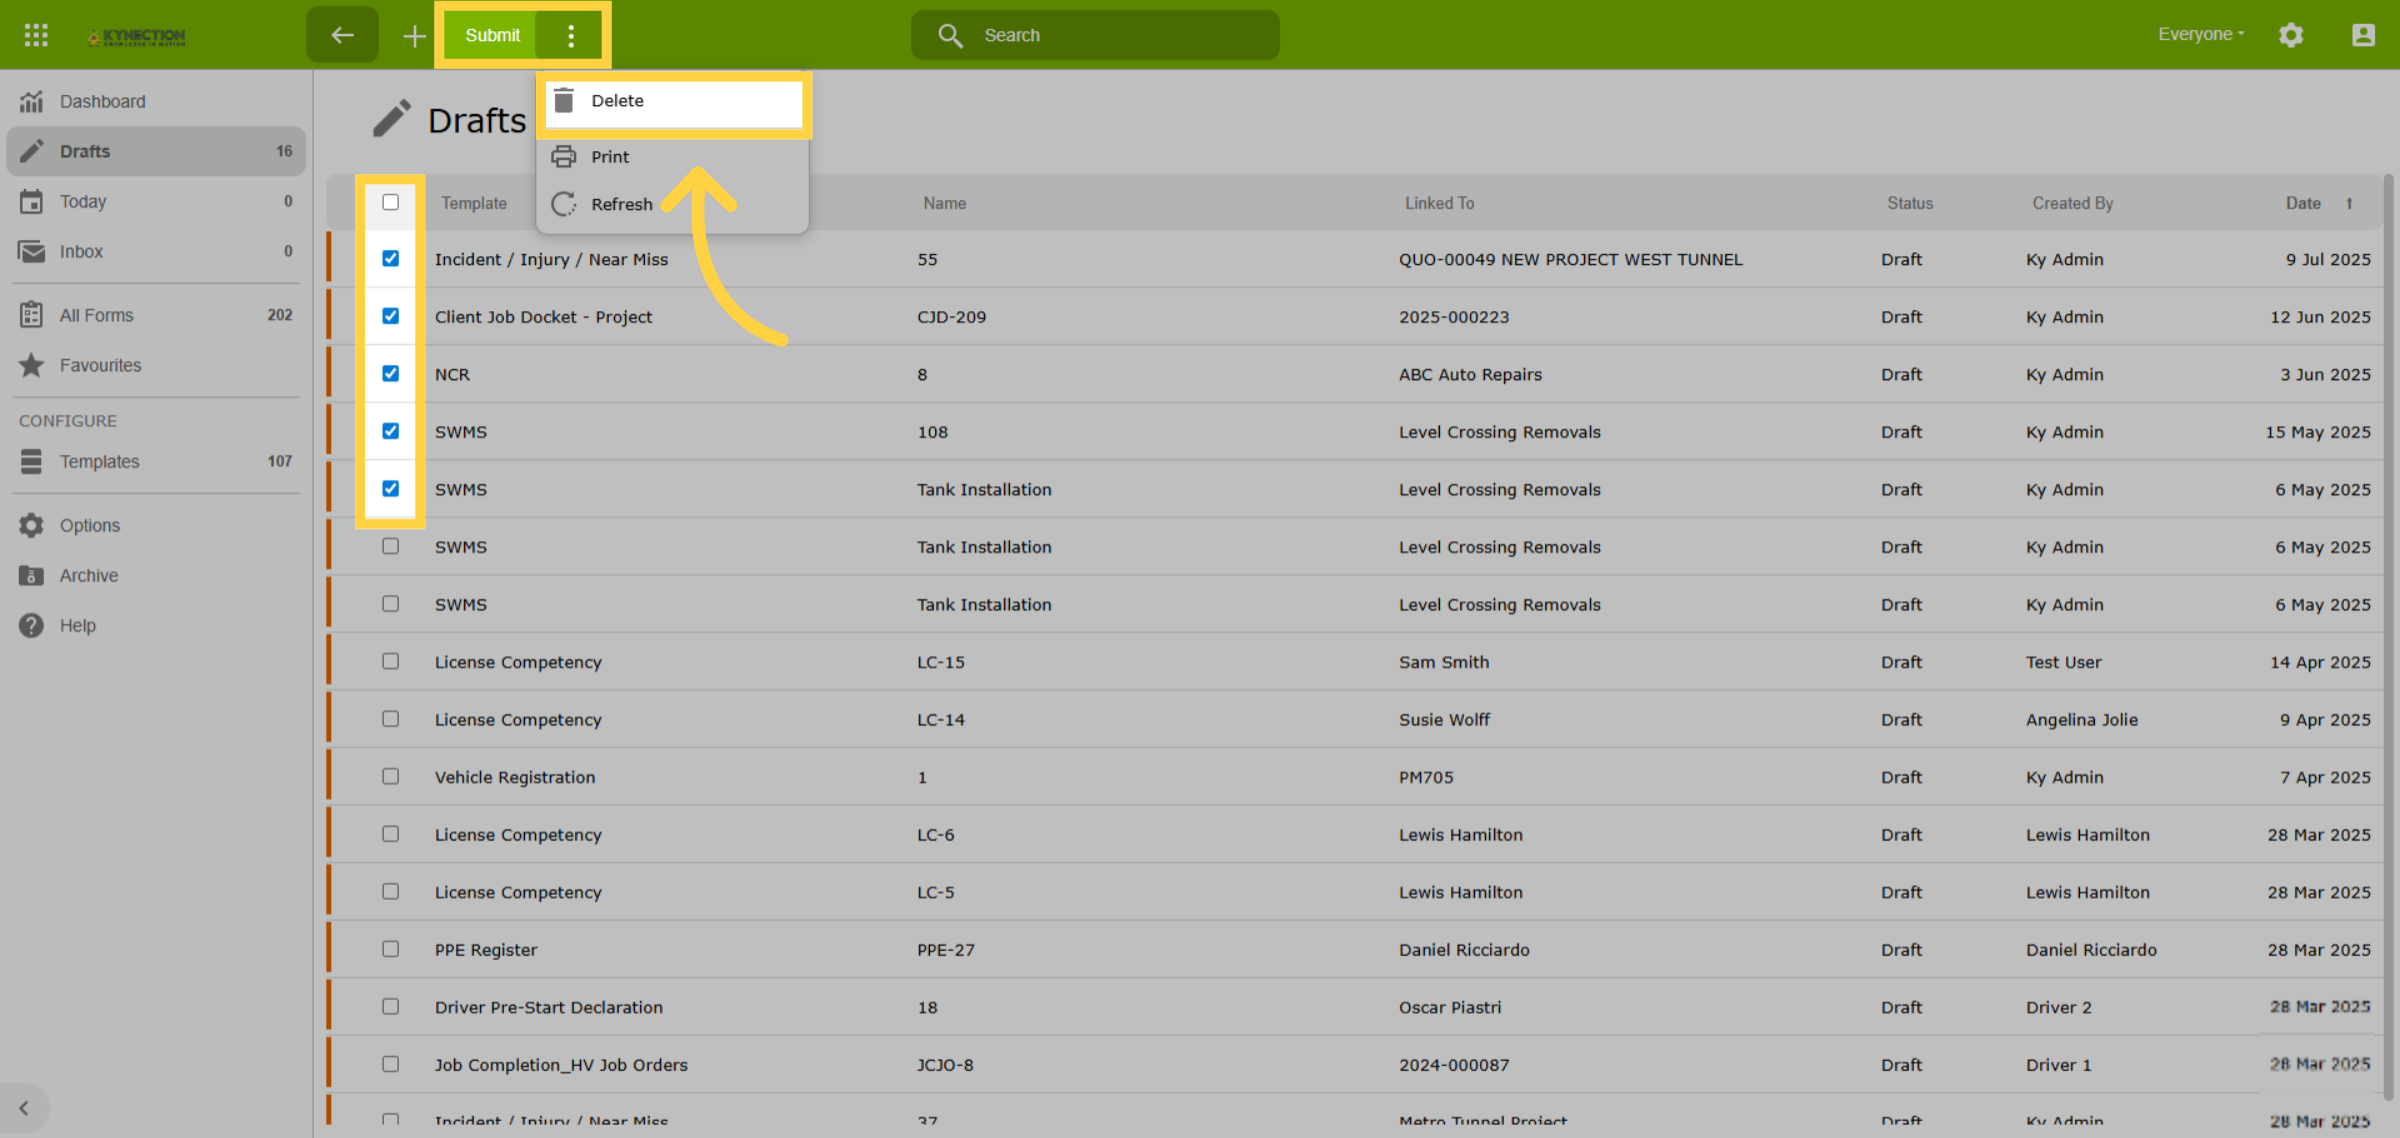
Streamline workflow with bulk actions. Use the checkbox to select multiple forms to submit or delete via the top toolbar.
7. Edit Forms
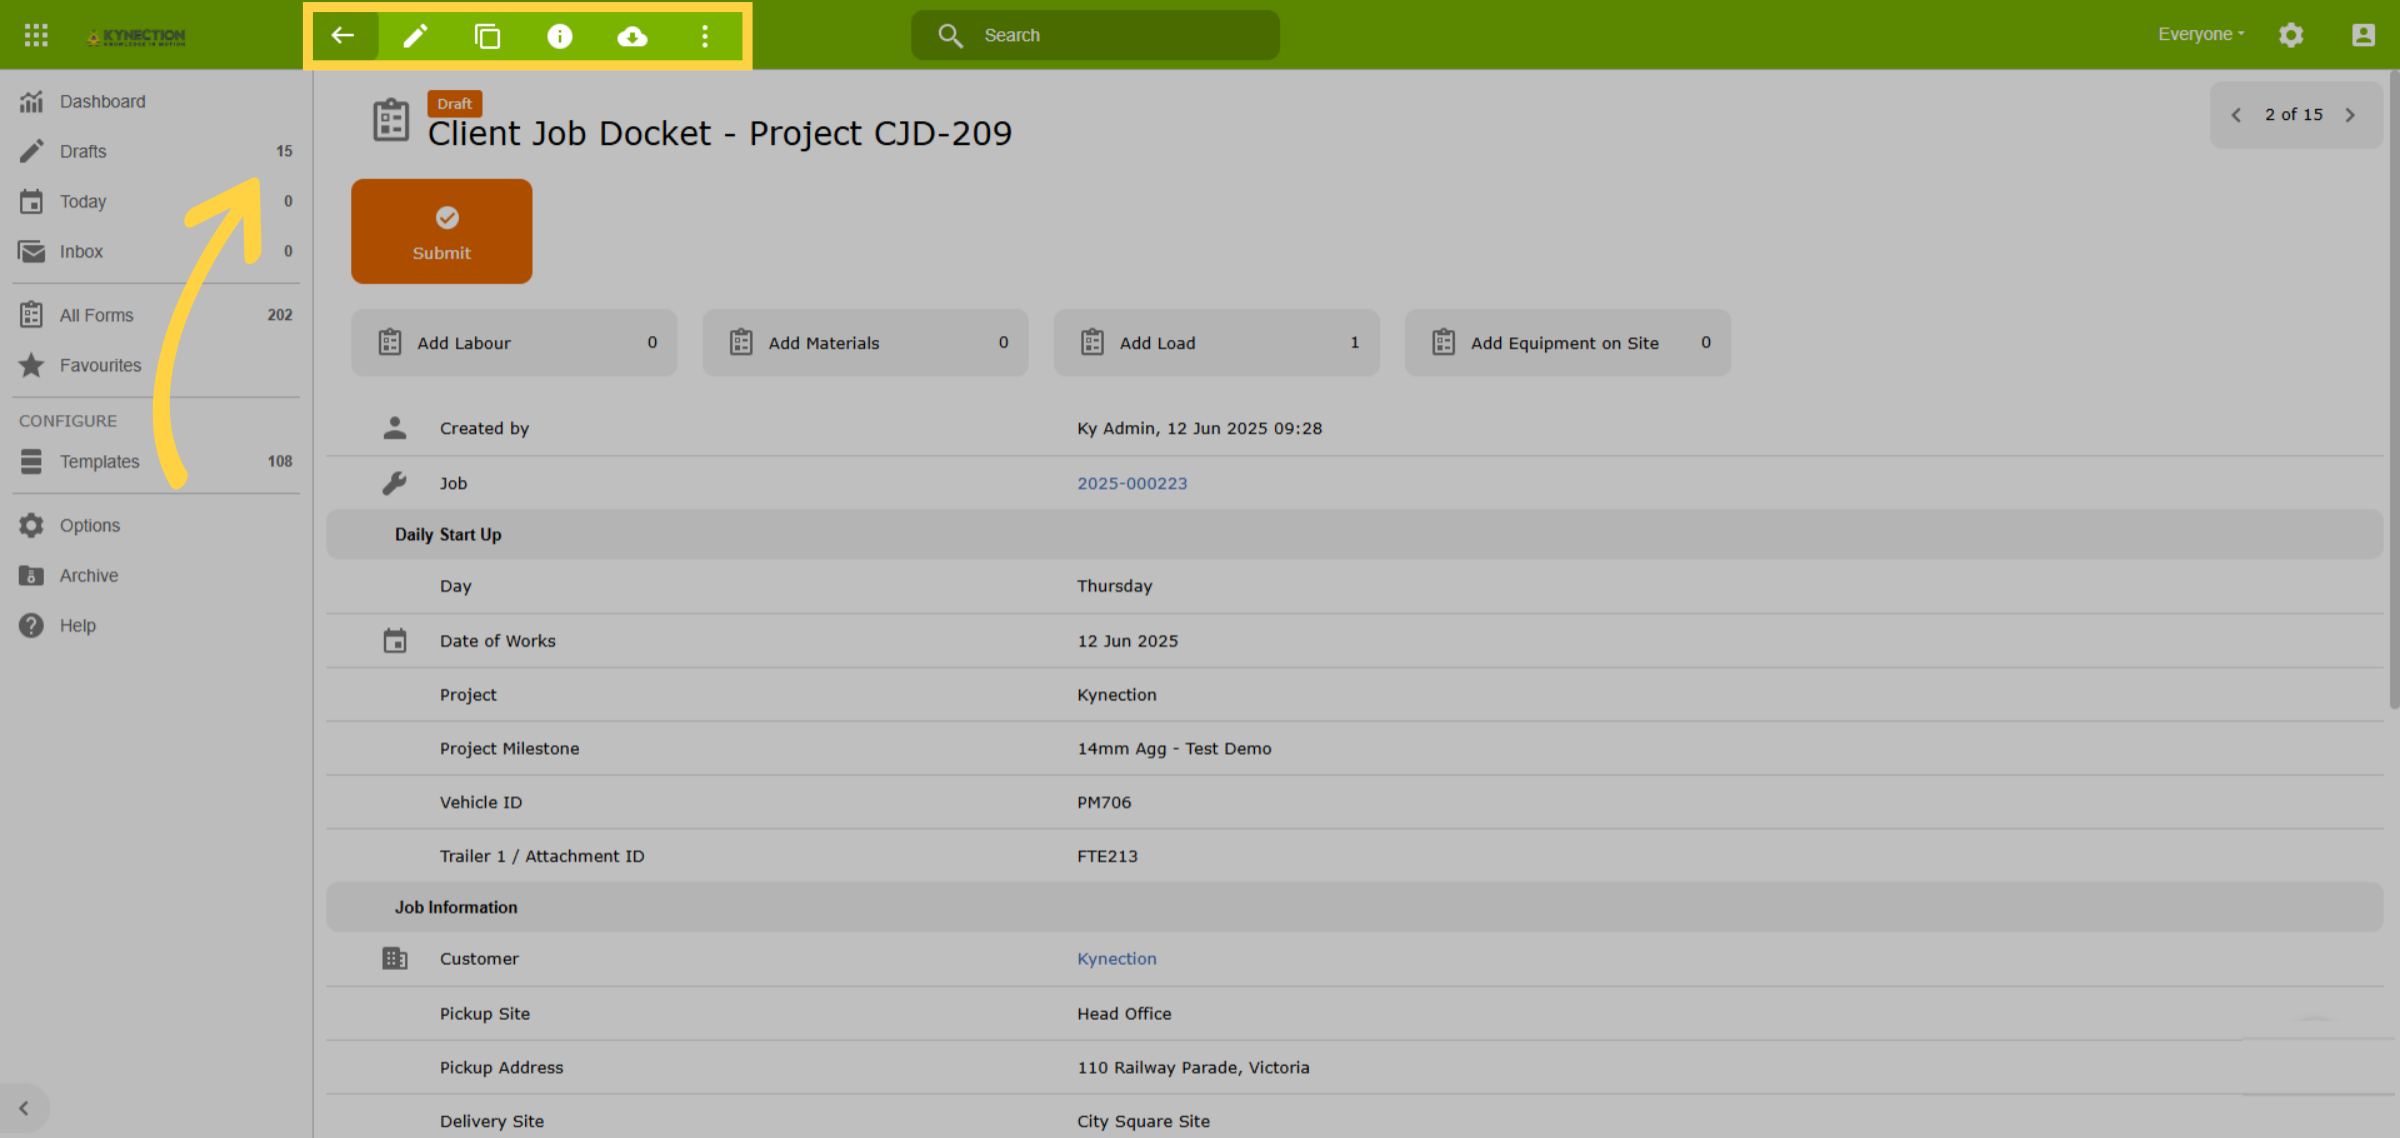
A full suite of functions to review and edit forms are available from the toolbar, with permissions set up in role config. Return to the dashboard by selecting the back arrow.
8. Action Required
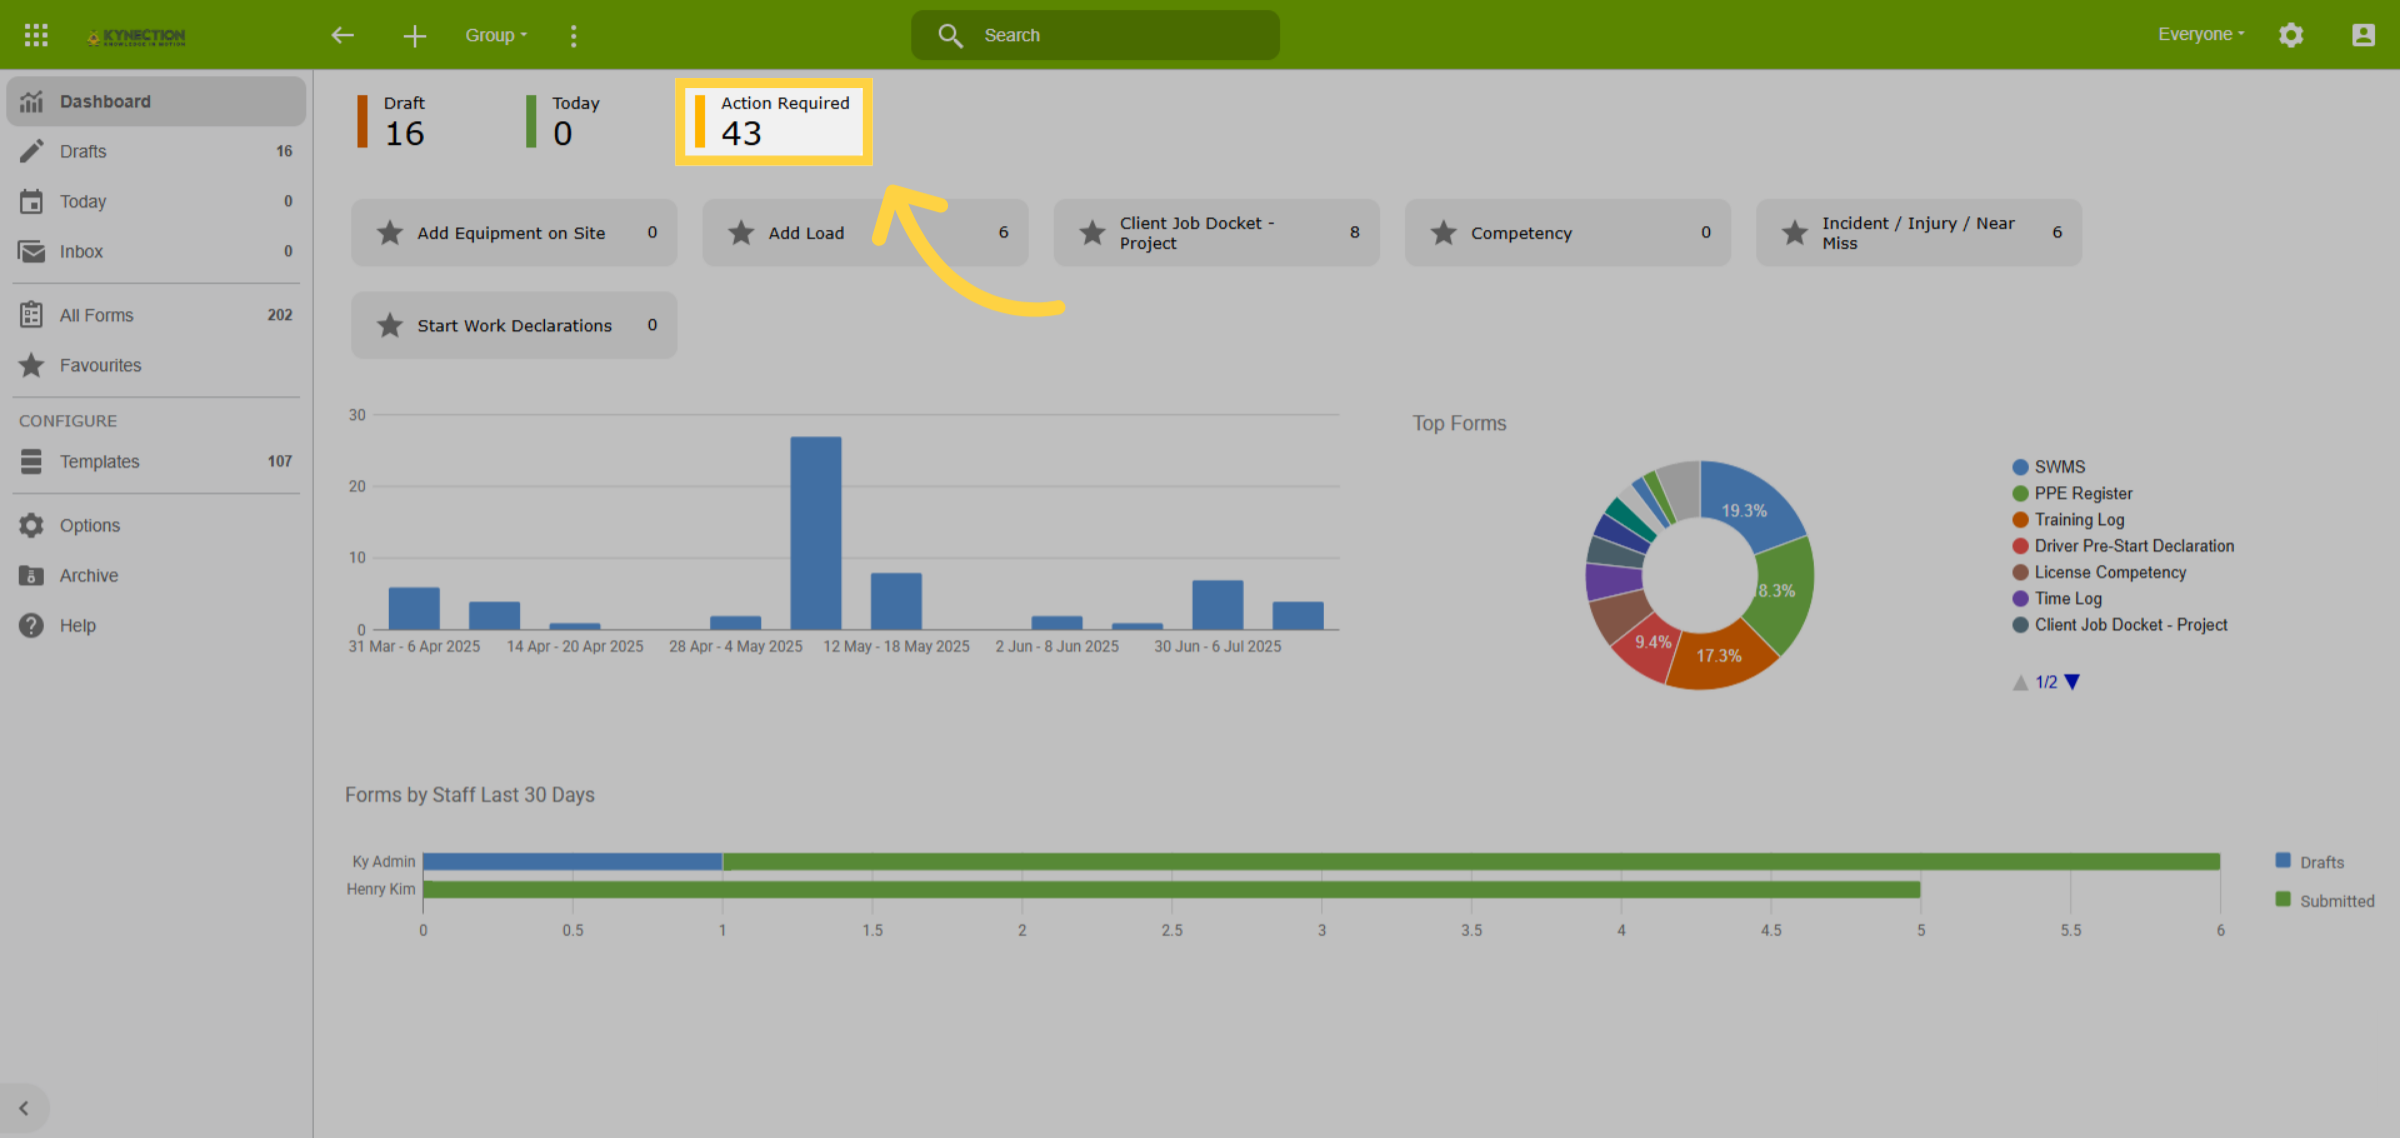
Action Required forms await activities, approvals, or other items before finalisation, ensuring no task is overlooked.
9. Favourites
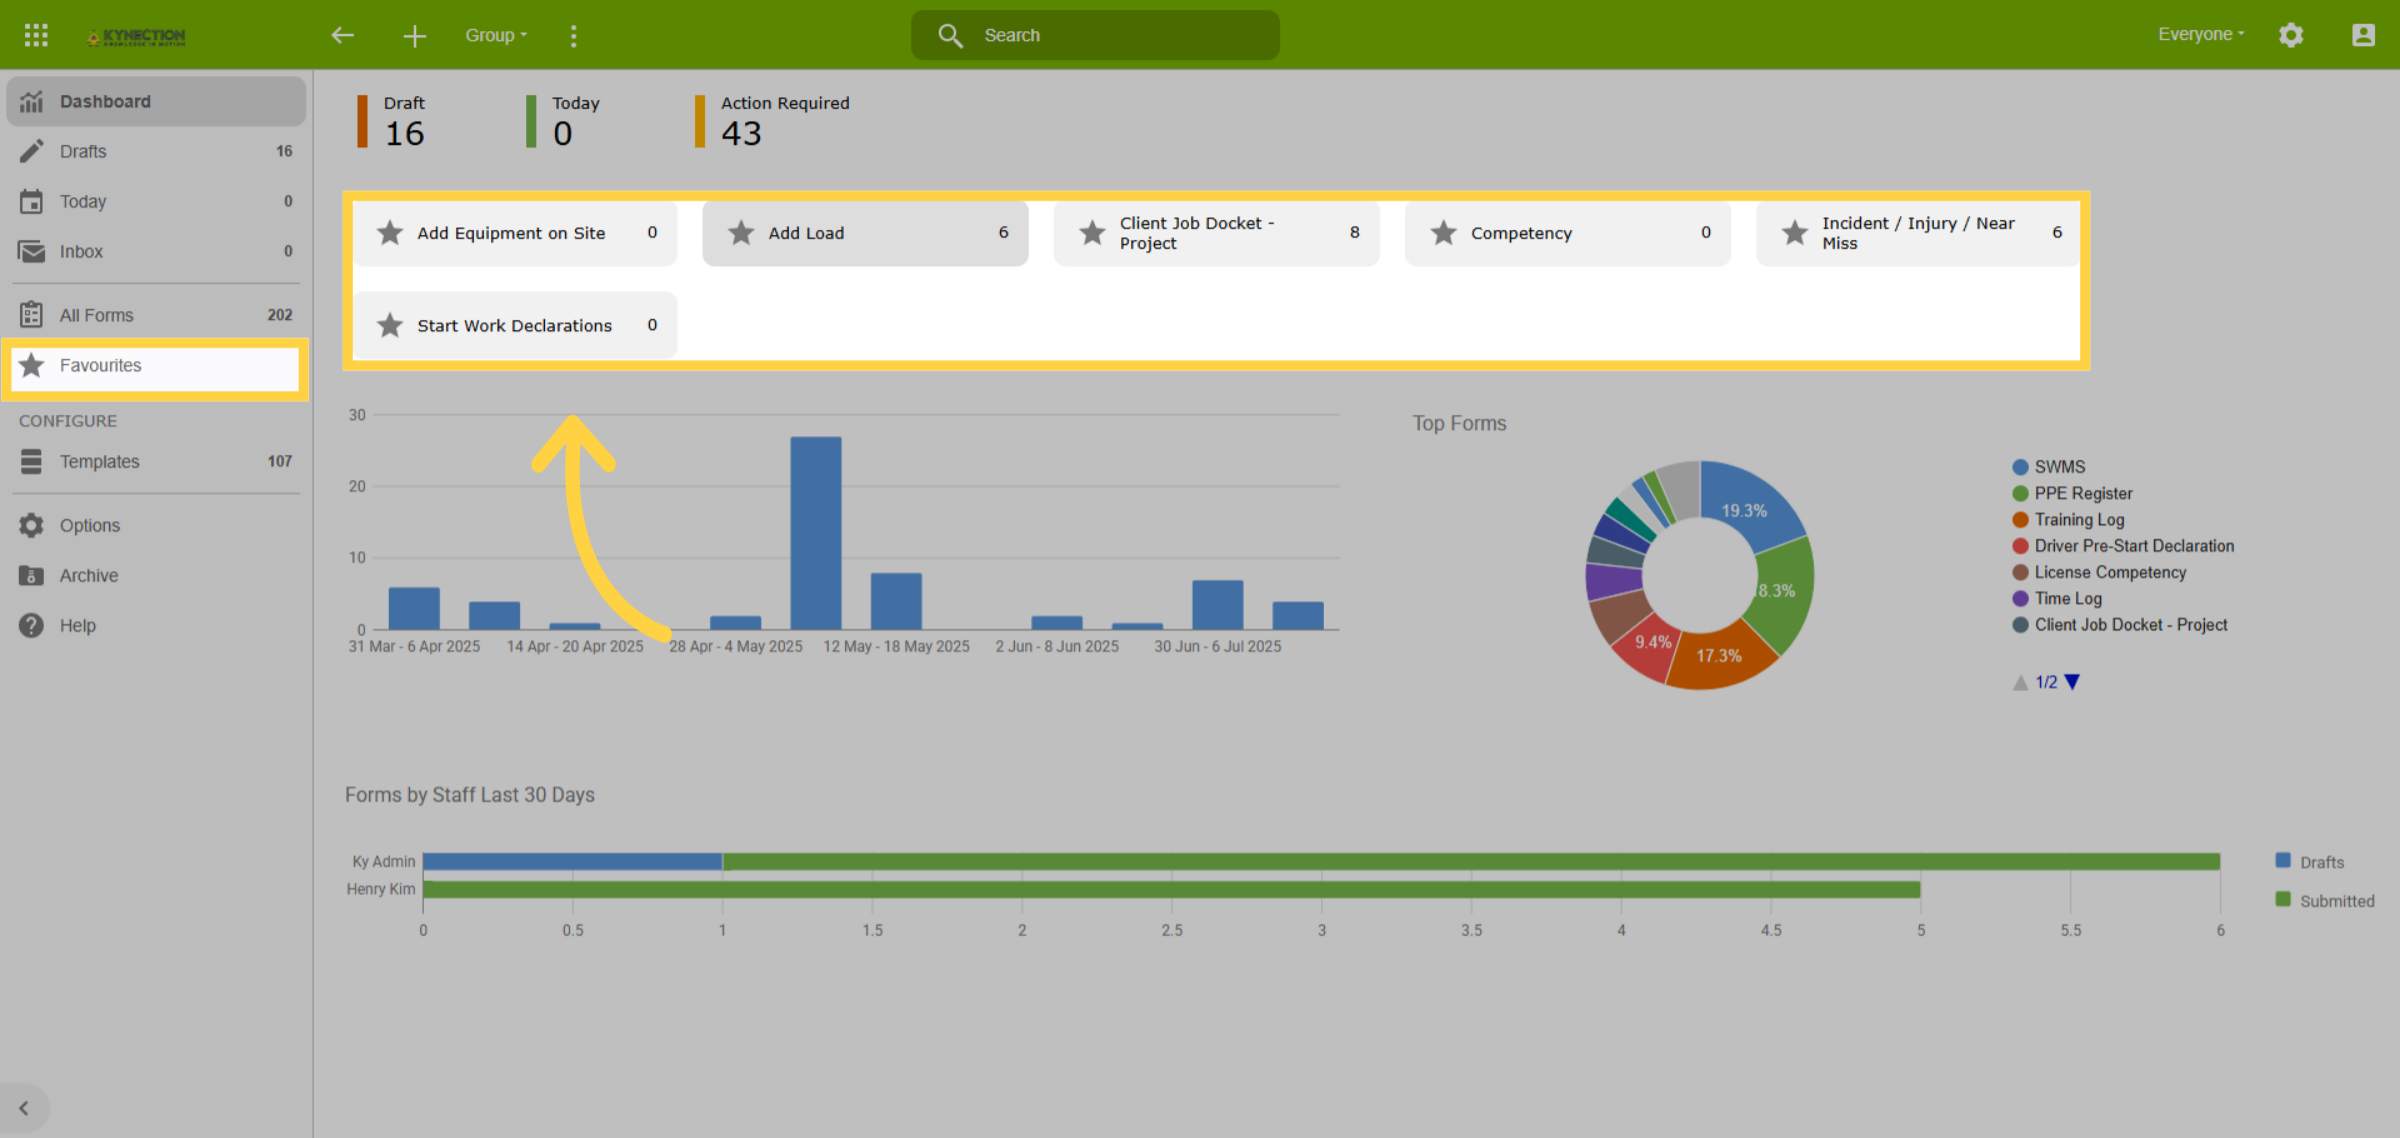
The dashboard's top folders are shortcuts to Favourites. Forms can be favourite selected as on the form template as we will discover in a later step.
10. Form Folder
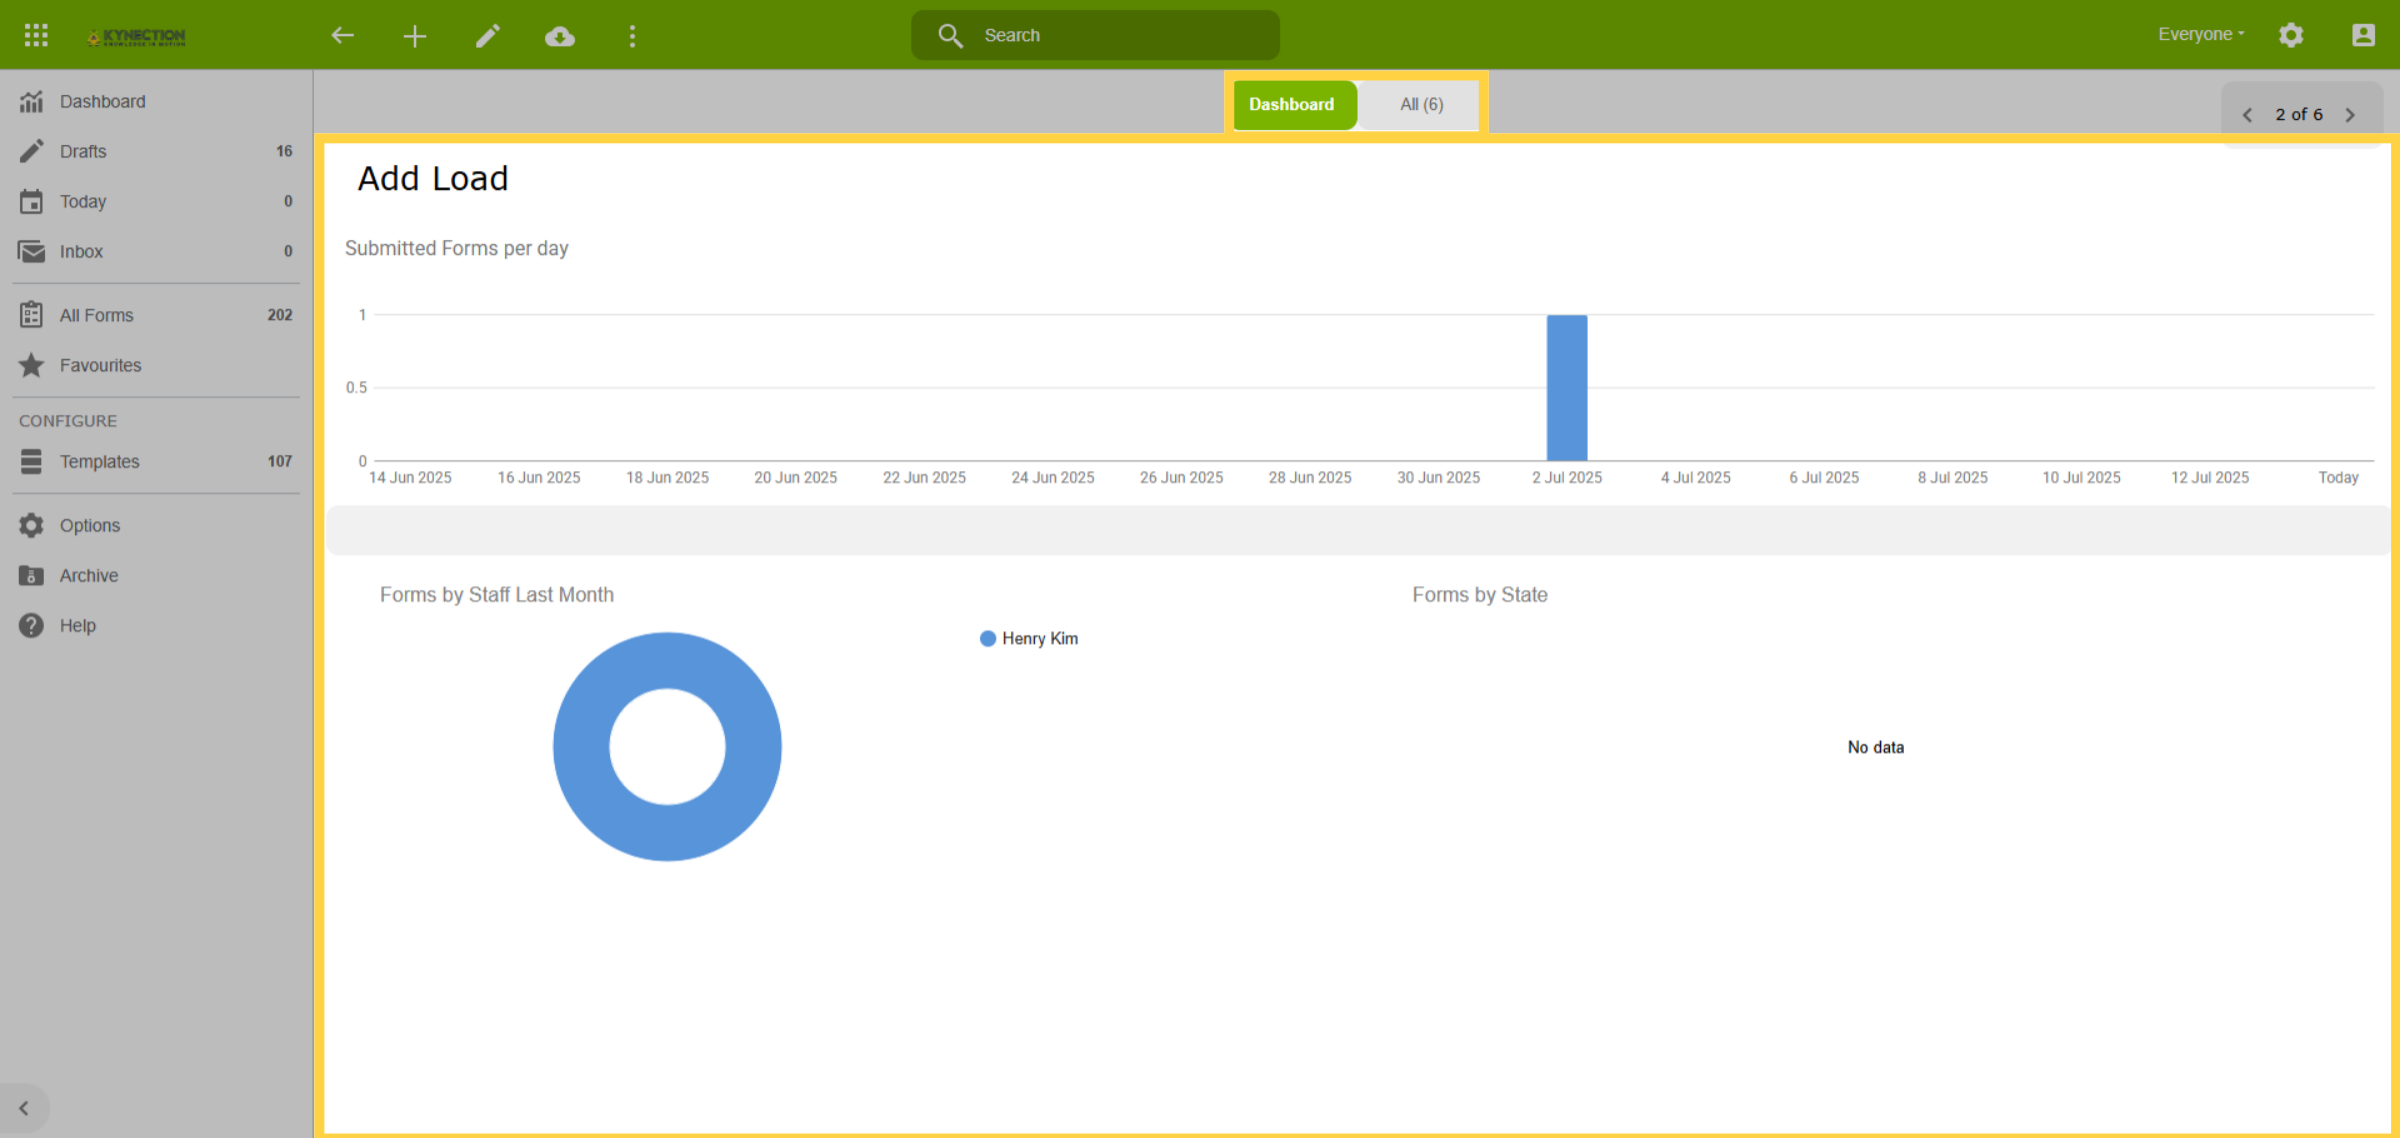
Each form has its own folder, which opens to a dashboard displaying daily, staff, and status-based form submissions. Tabs at the top allow for quick selection based on form status.
11. Form Data Tables
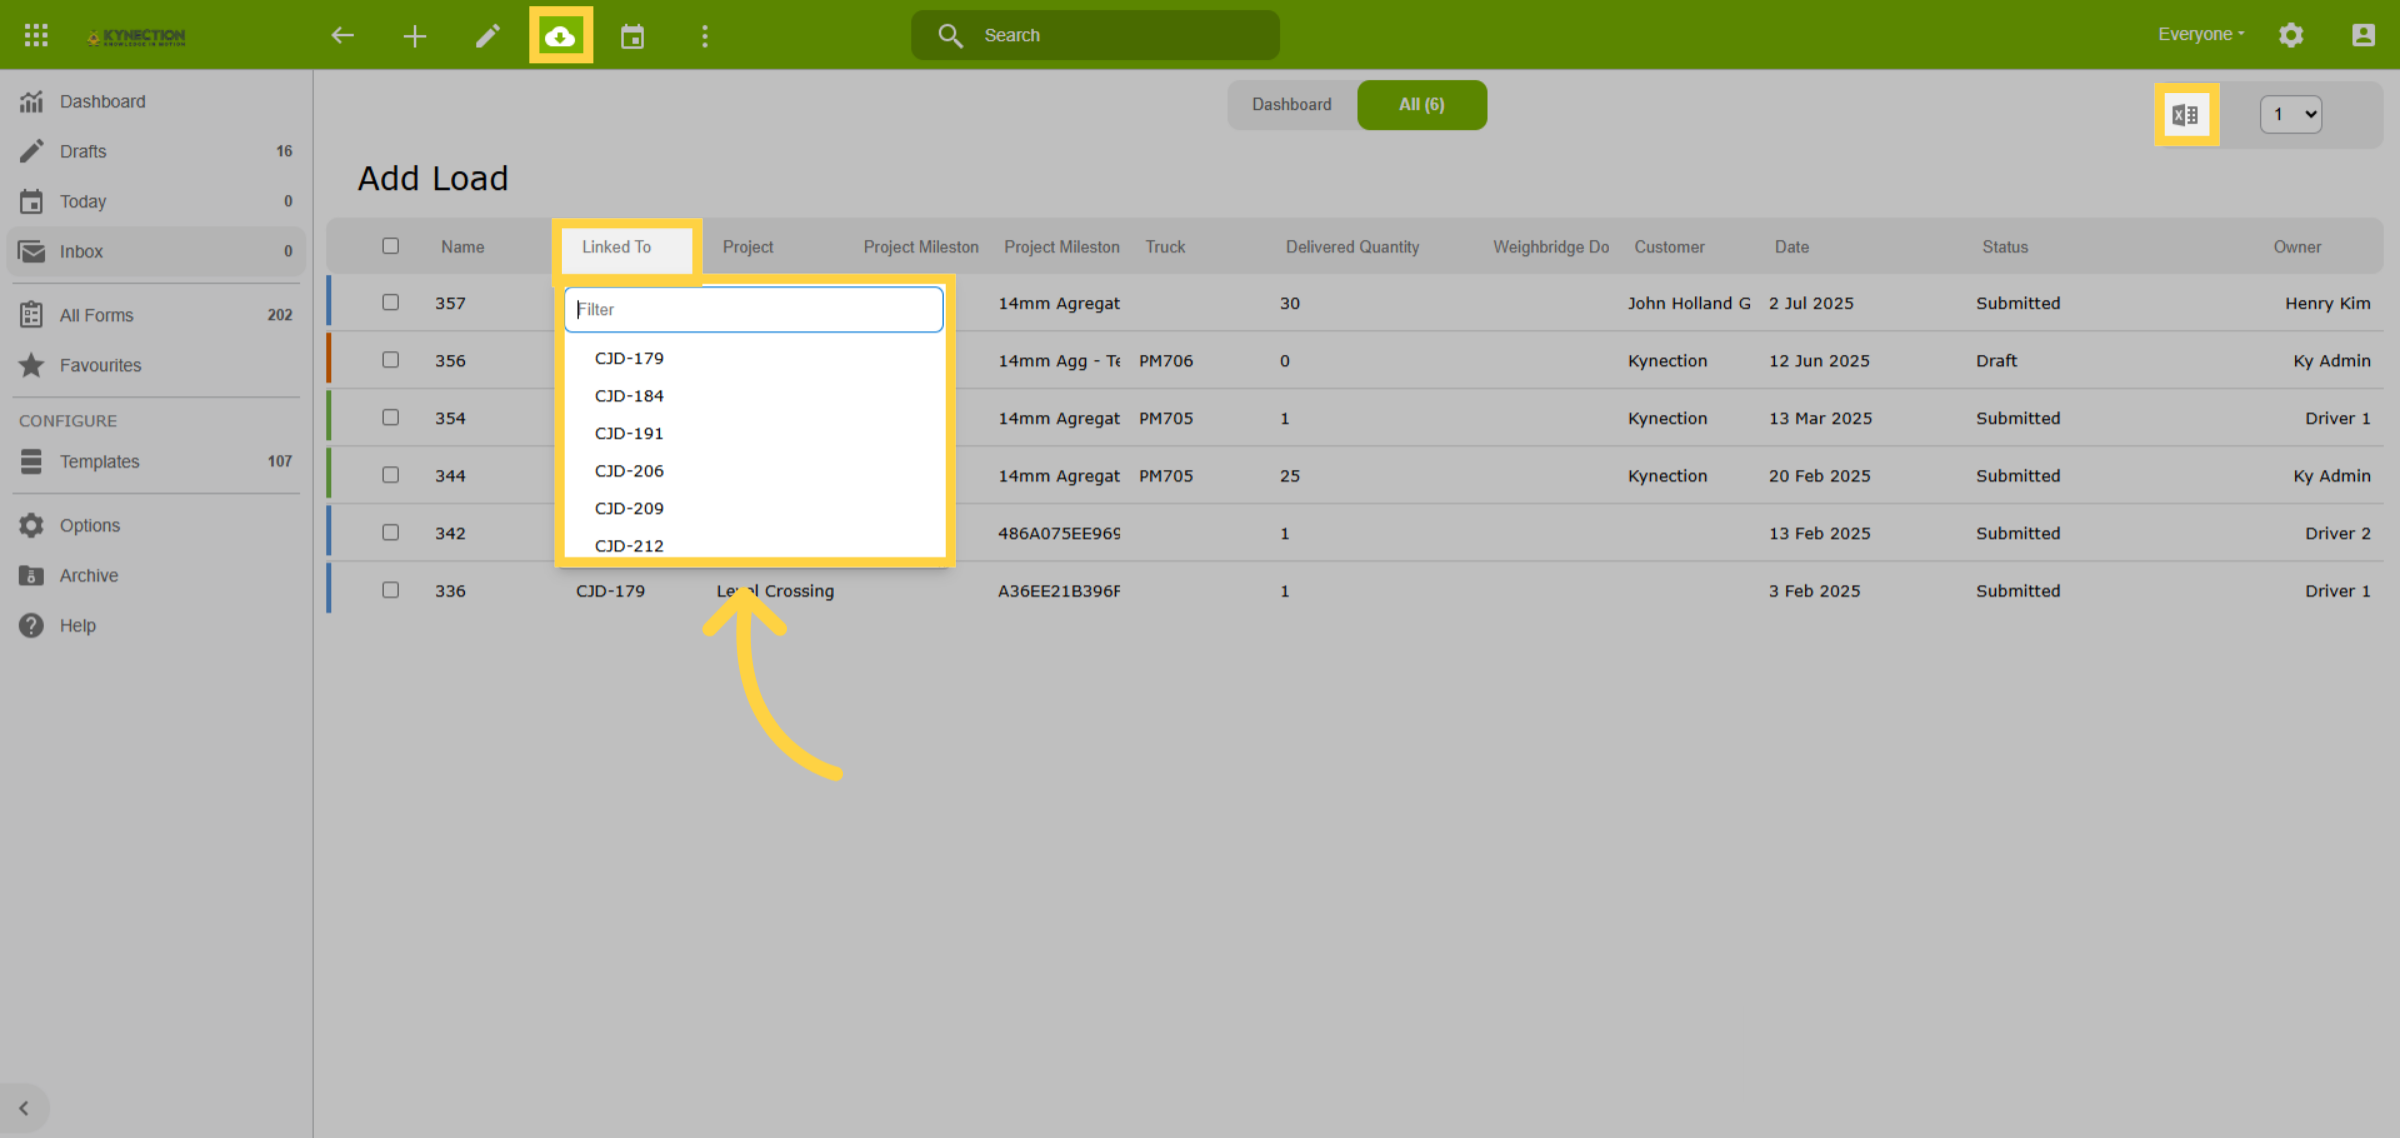
All Kynection tables offer filter and sort capabilities by clicking the column header or arrow. Export options include filtered data to Excel or all data via the cloud icon, ensuring data flexibility.
12. Inbox
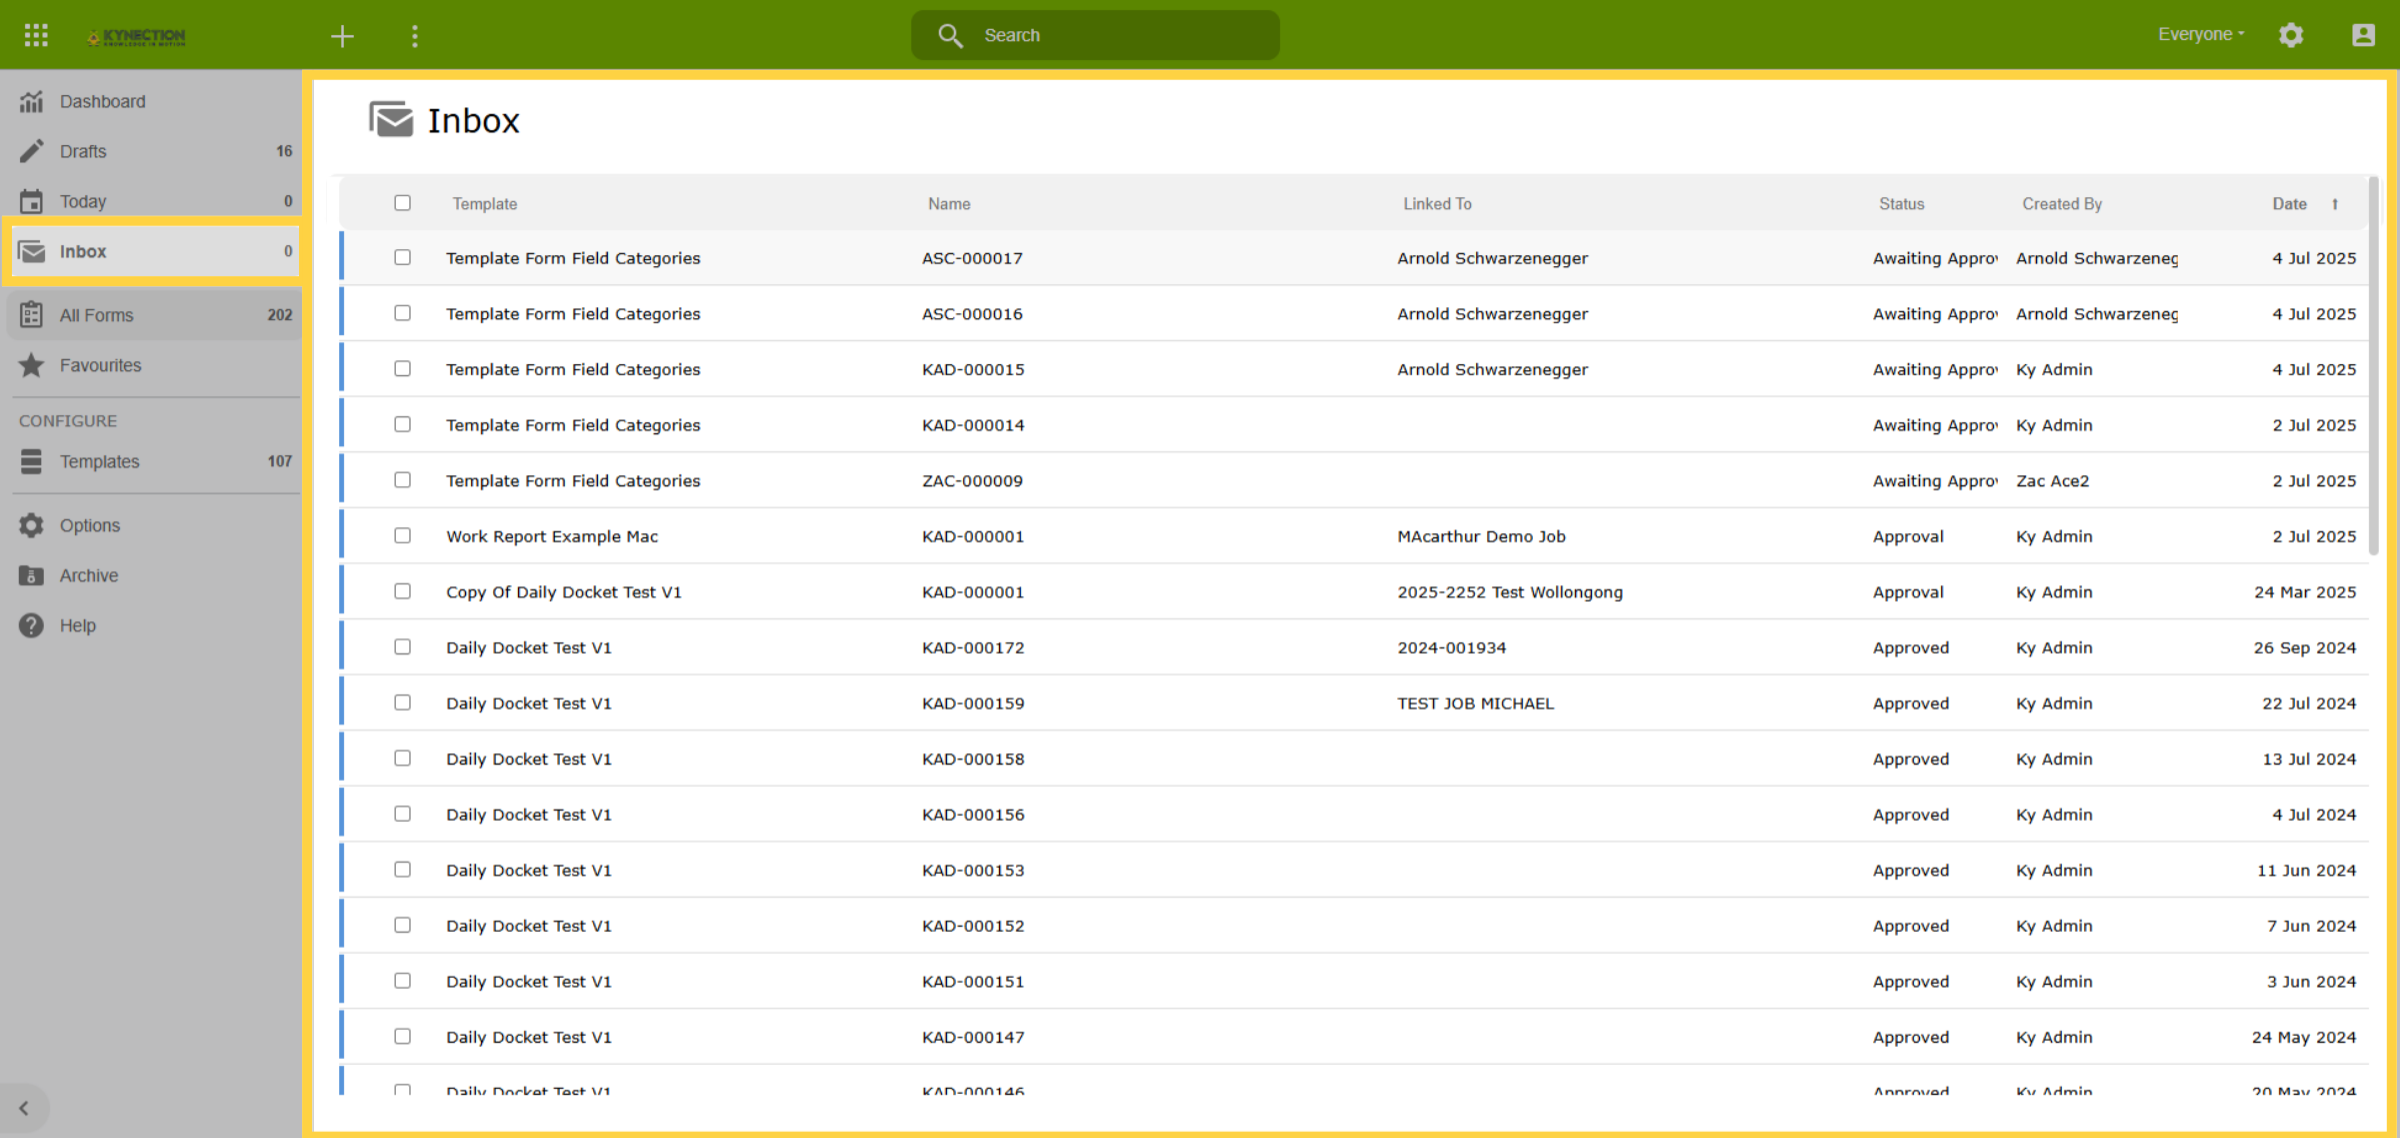
Forms requiring action appear in the inbox, acting as a management tool for workflow tasks.
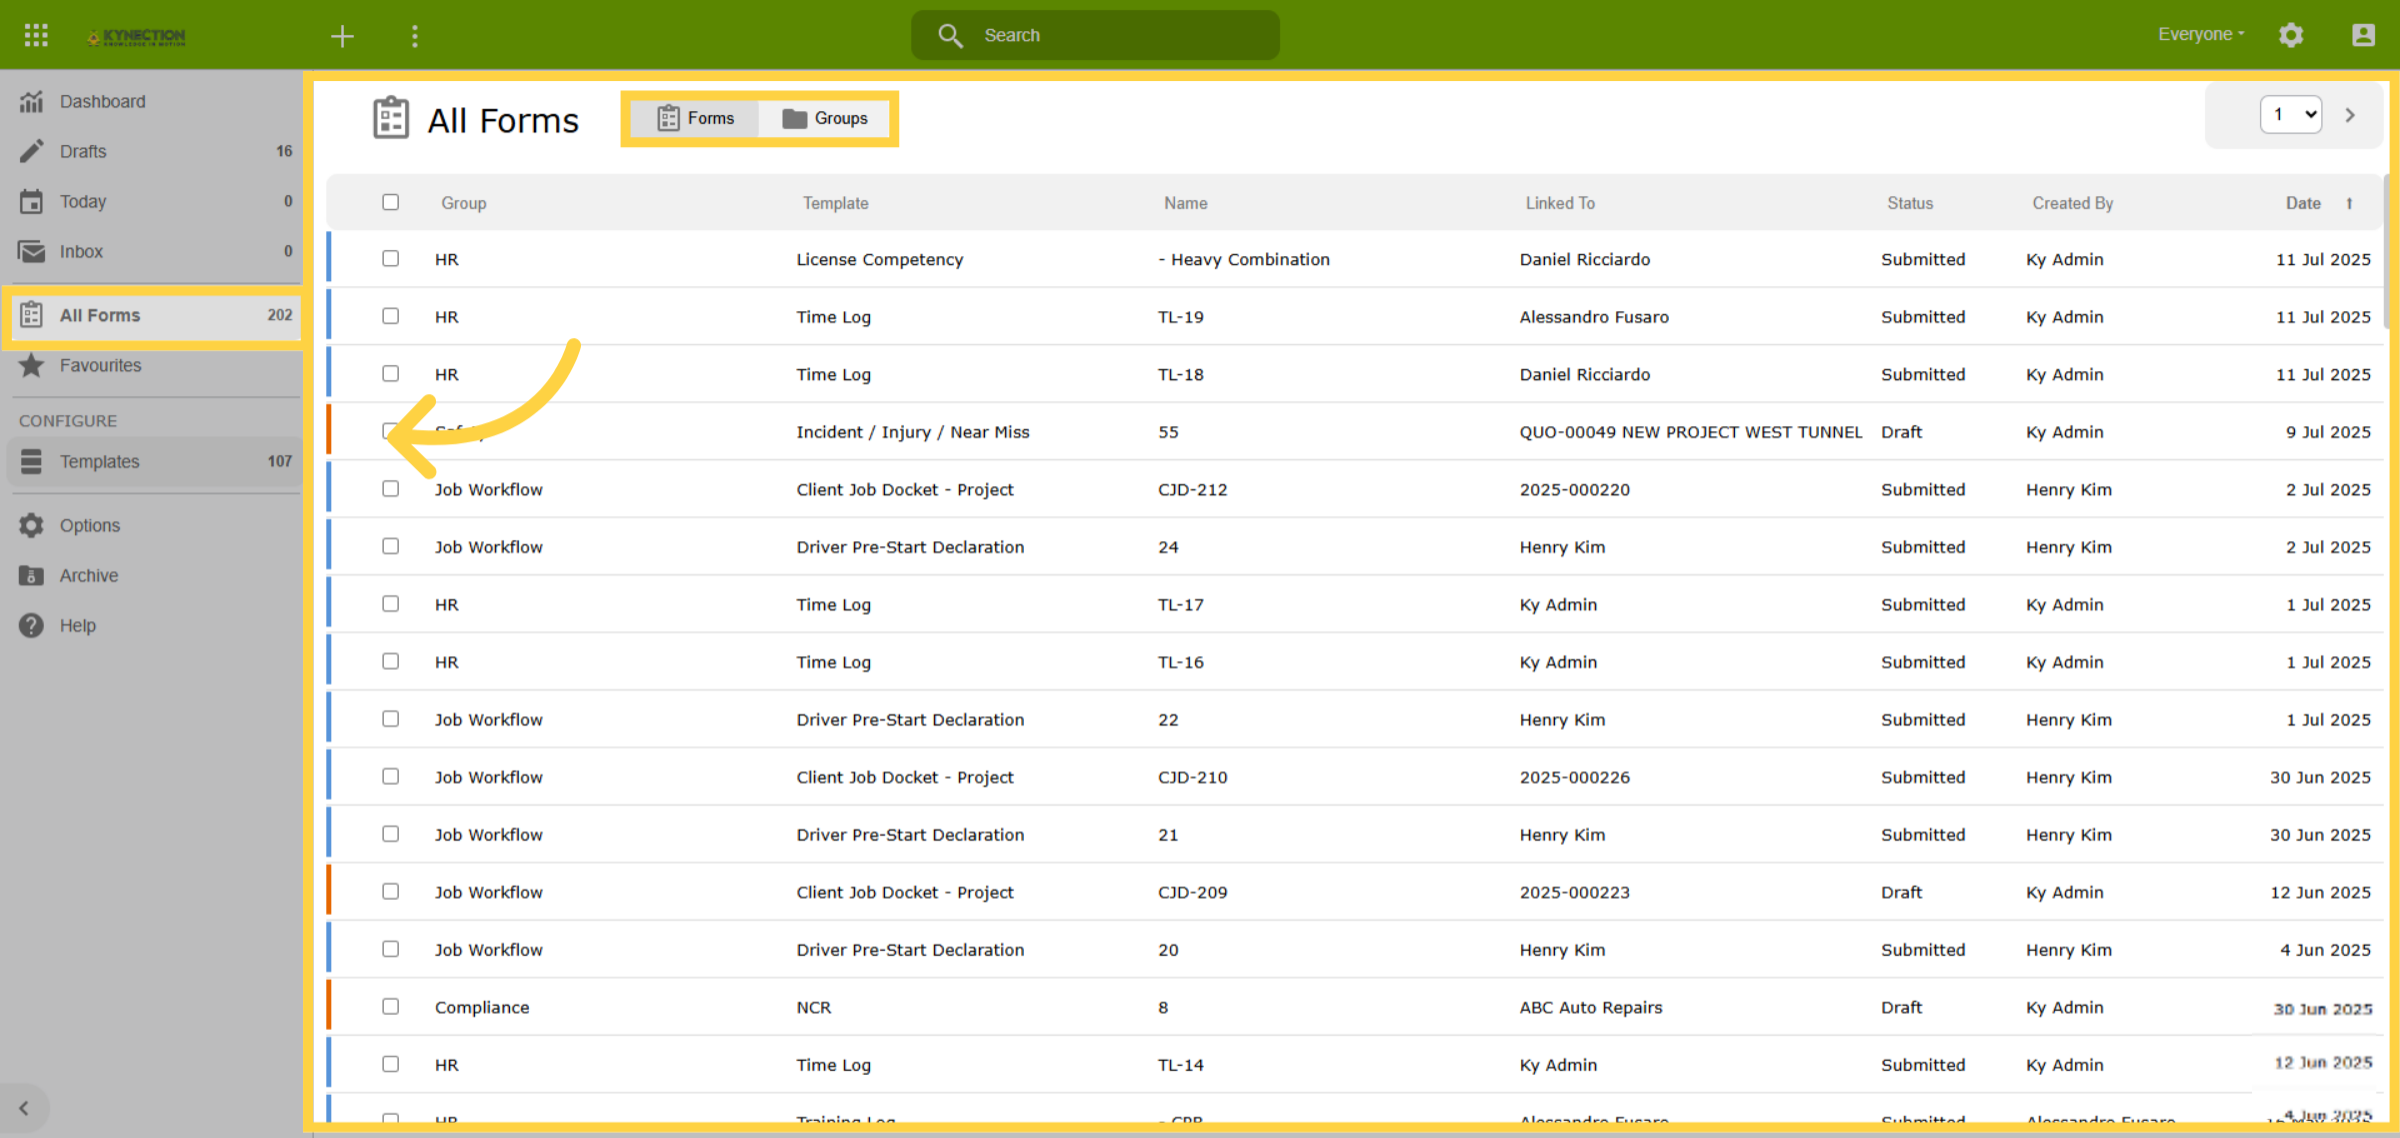
13. All Forms
All Forms consolidates submissions from all modules. Views can be switched to Groups for categorised insights.
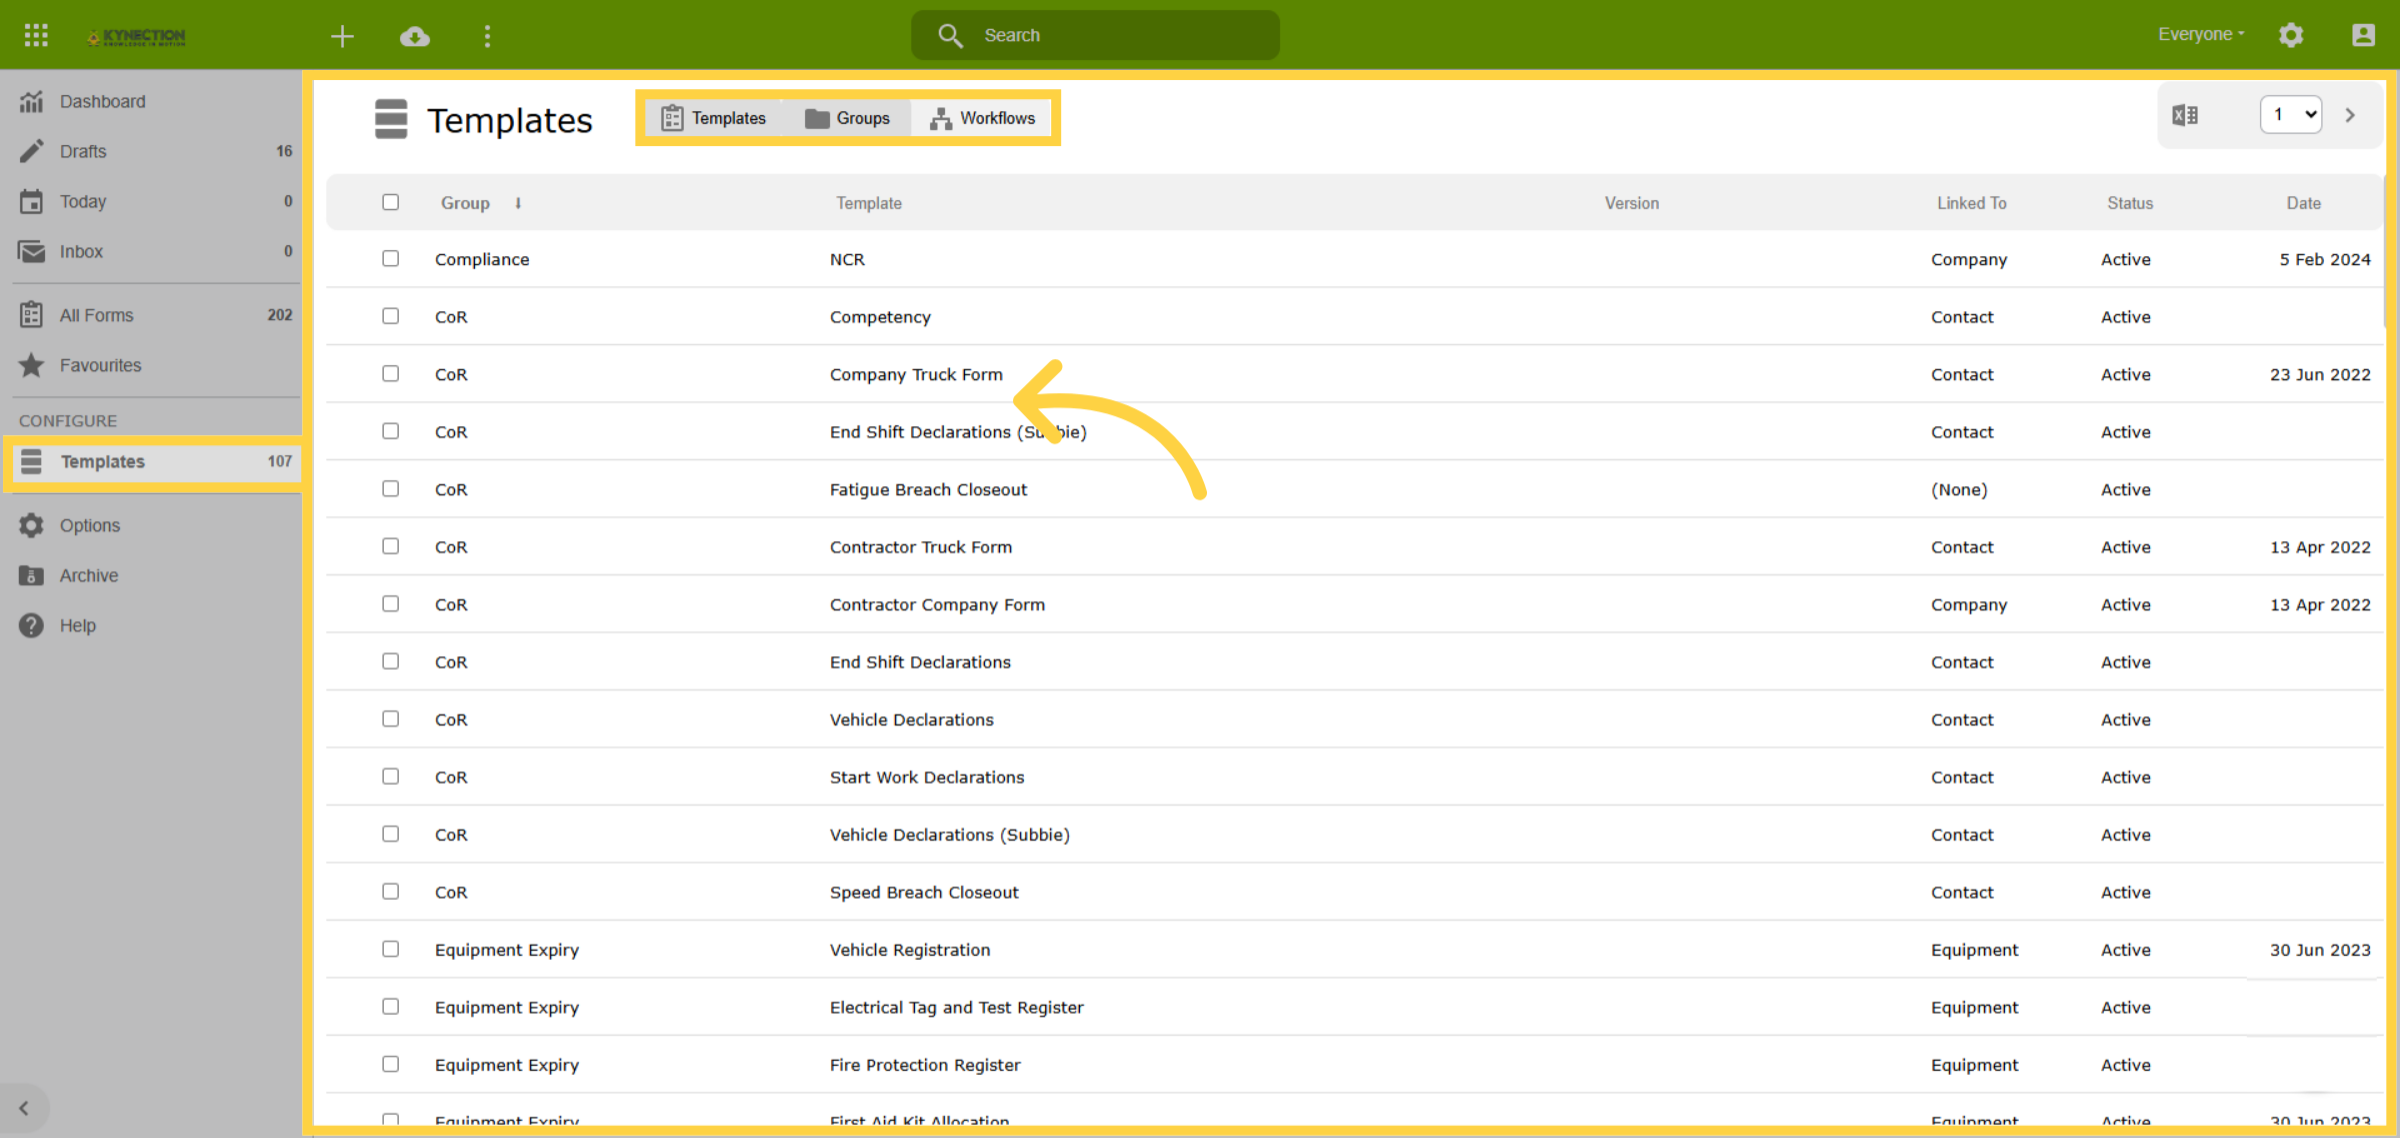
14. Templates
Templates are used to build forms, with permissions restricted to admin and possibly manager roles. They can be filtered by categories using the top filters, which indicate groups or actions linked to the form. The first tab lists all templates sorted by name.
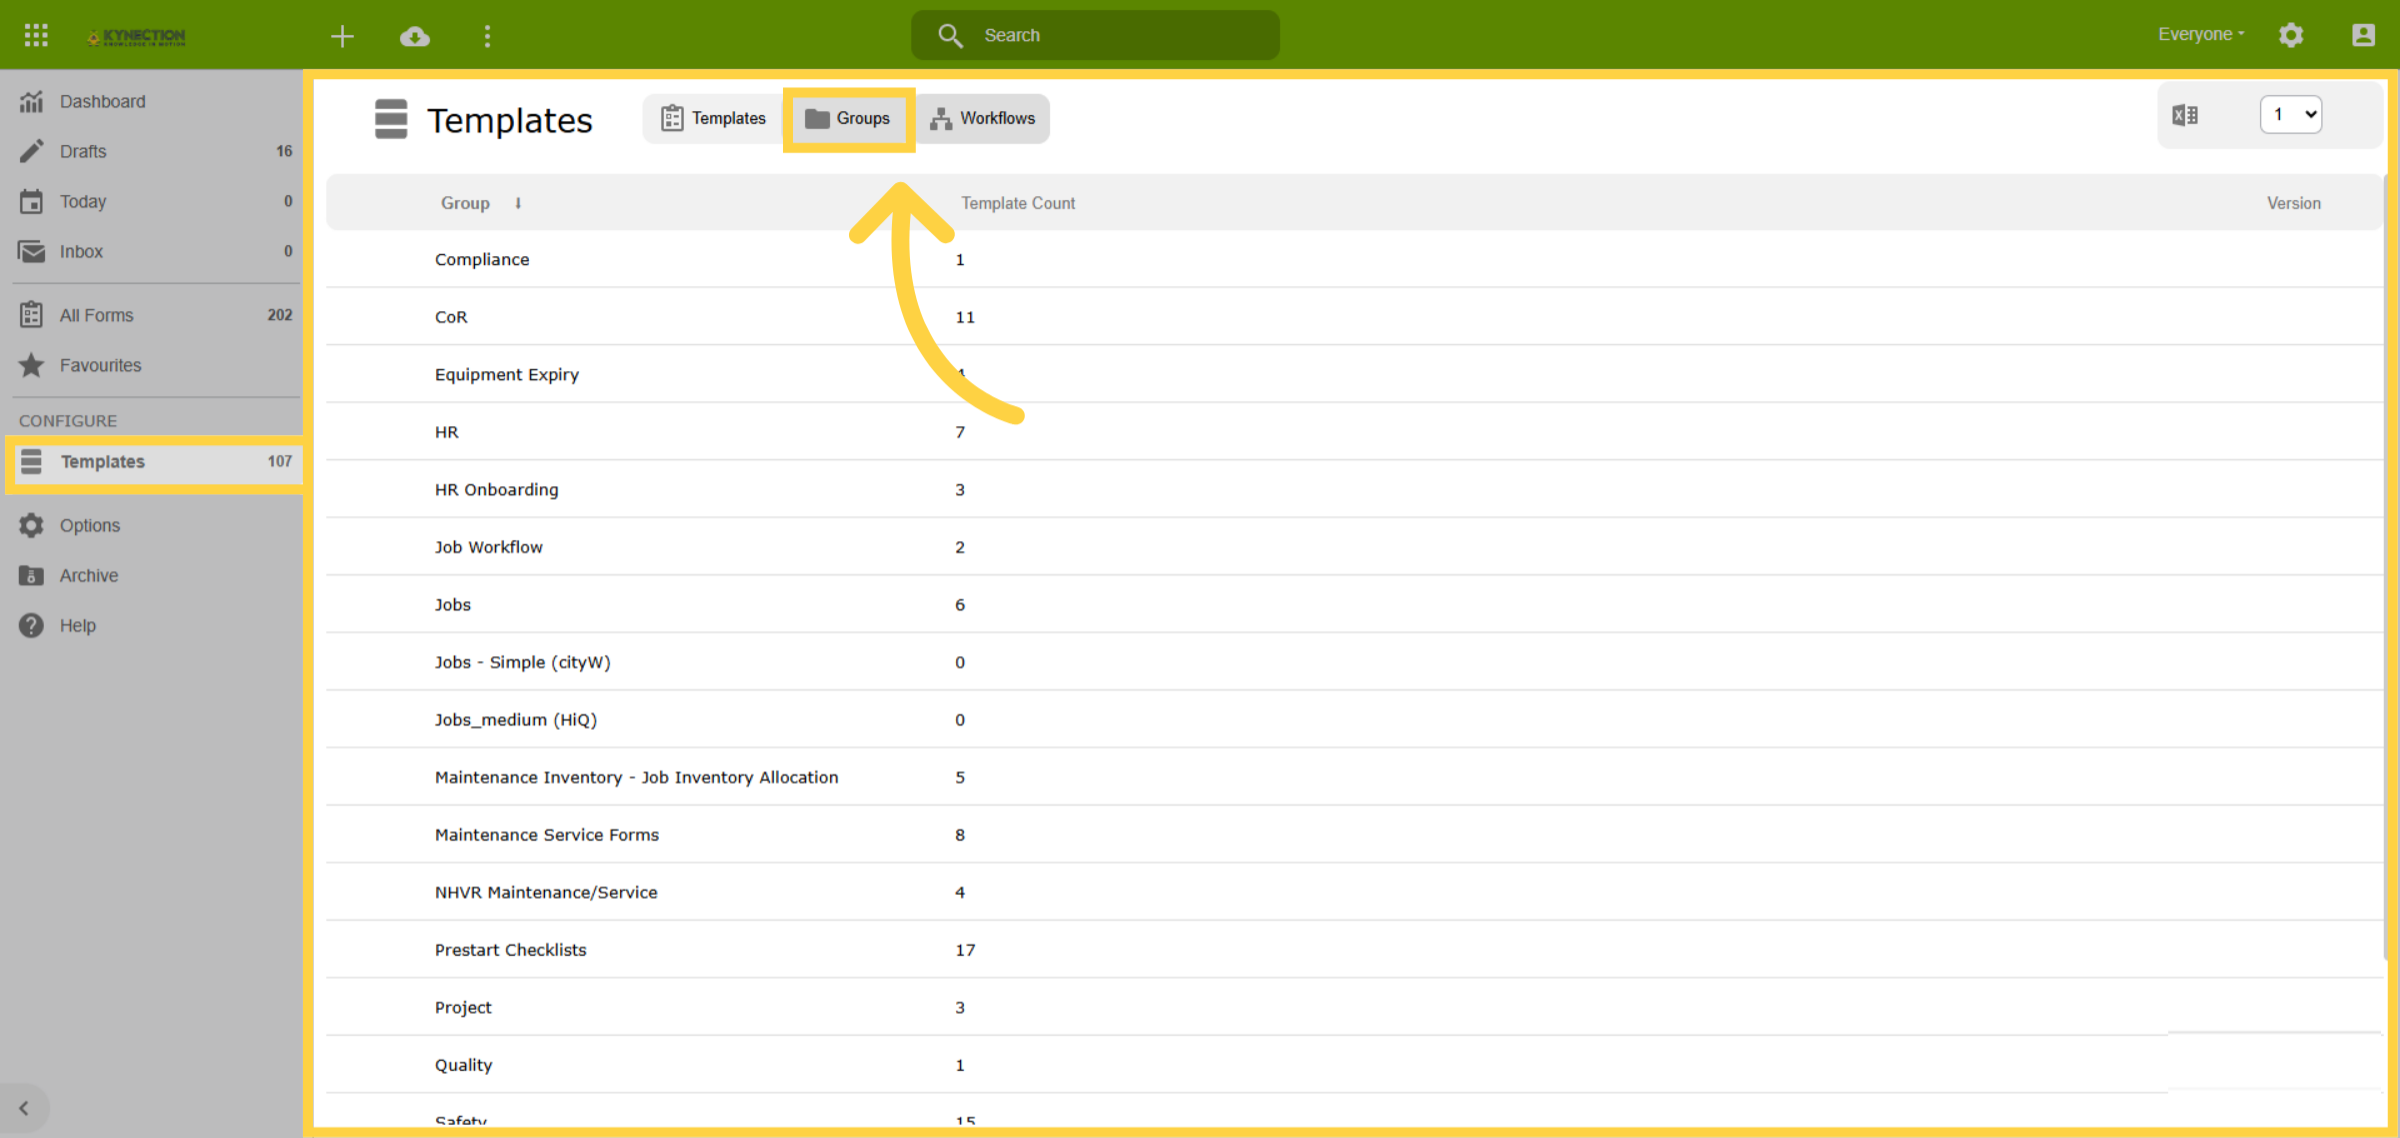
15. Template Groups
Linking templates to a group assists with identifying forms related to a particular department or activity (for example, HR or Pre-starts).
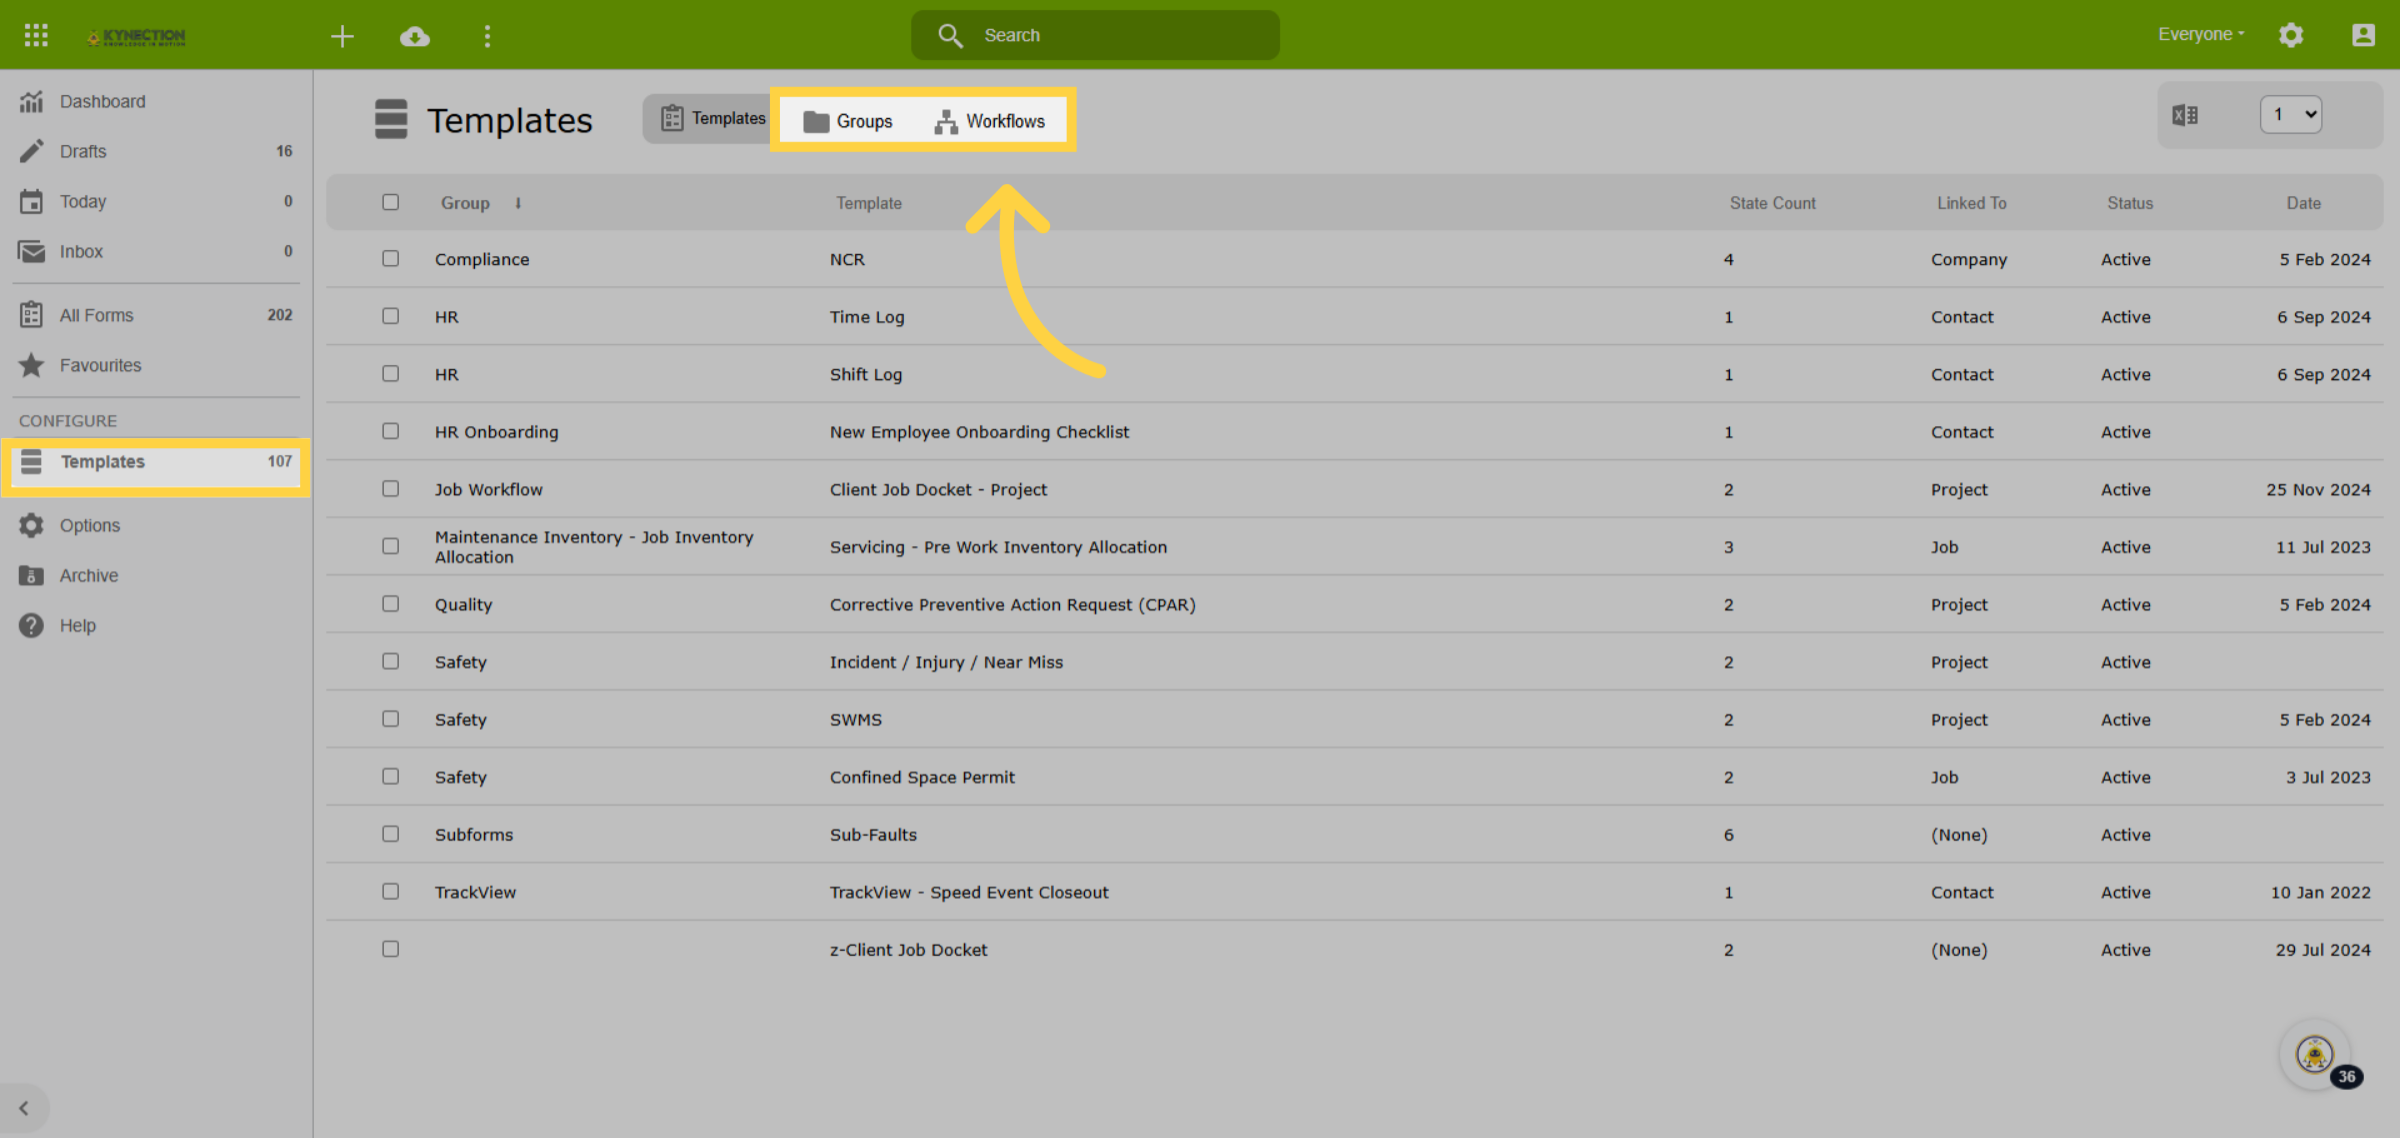
16. Template Actions
Workflows can be added to forms to incorporate steps such as tasks or activities before finalisation. This may be as simple as a review and approval by a manager. Forms can also be set up to be shared with the public. Templates that have these actions are listed under the relevant tab.
17. Edit Template
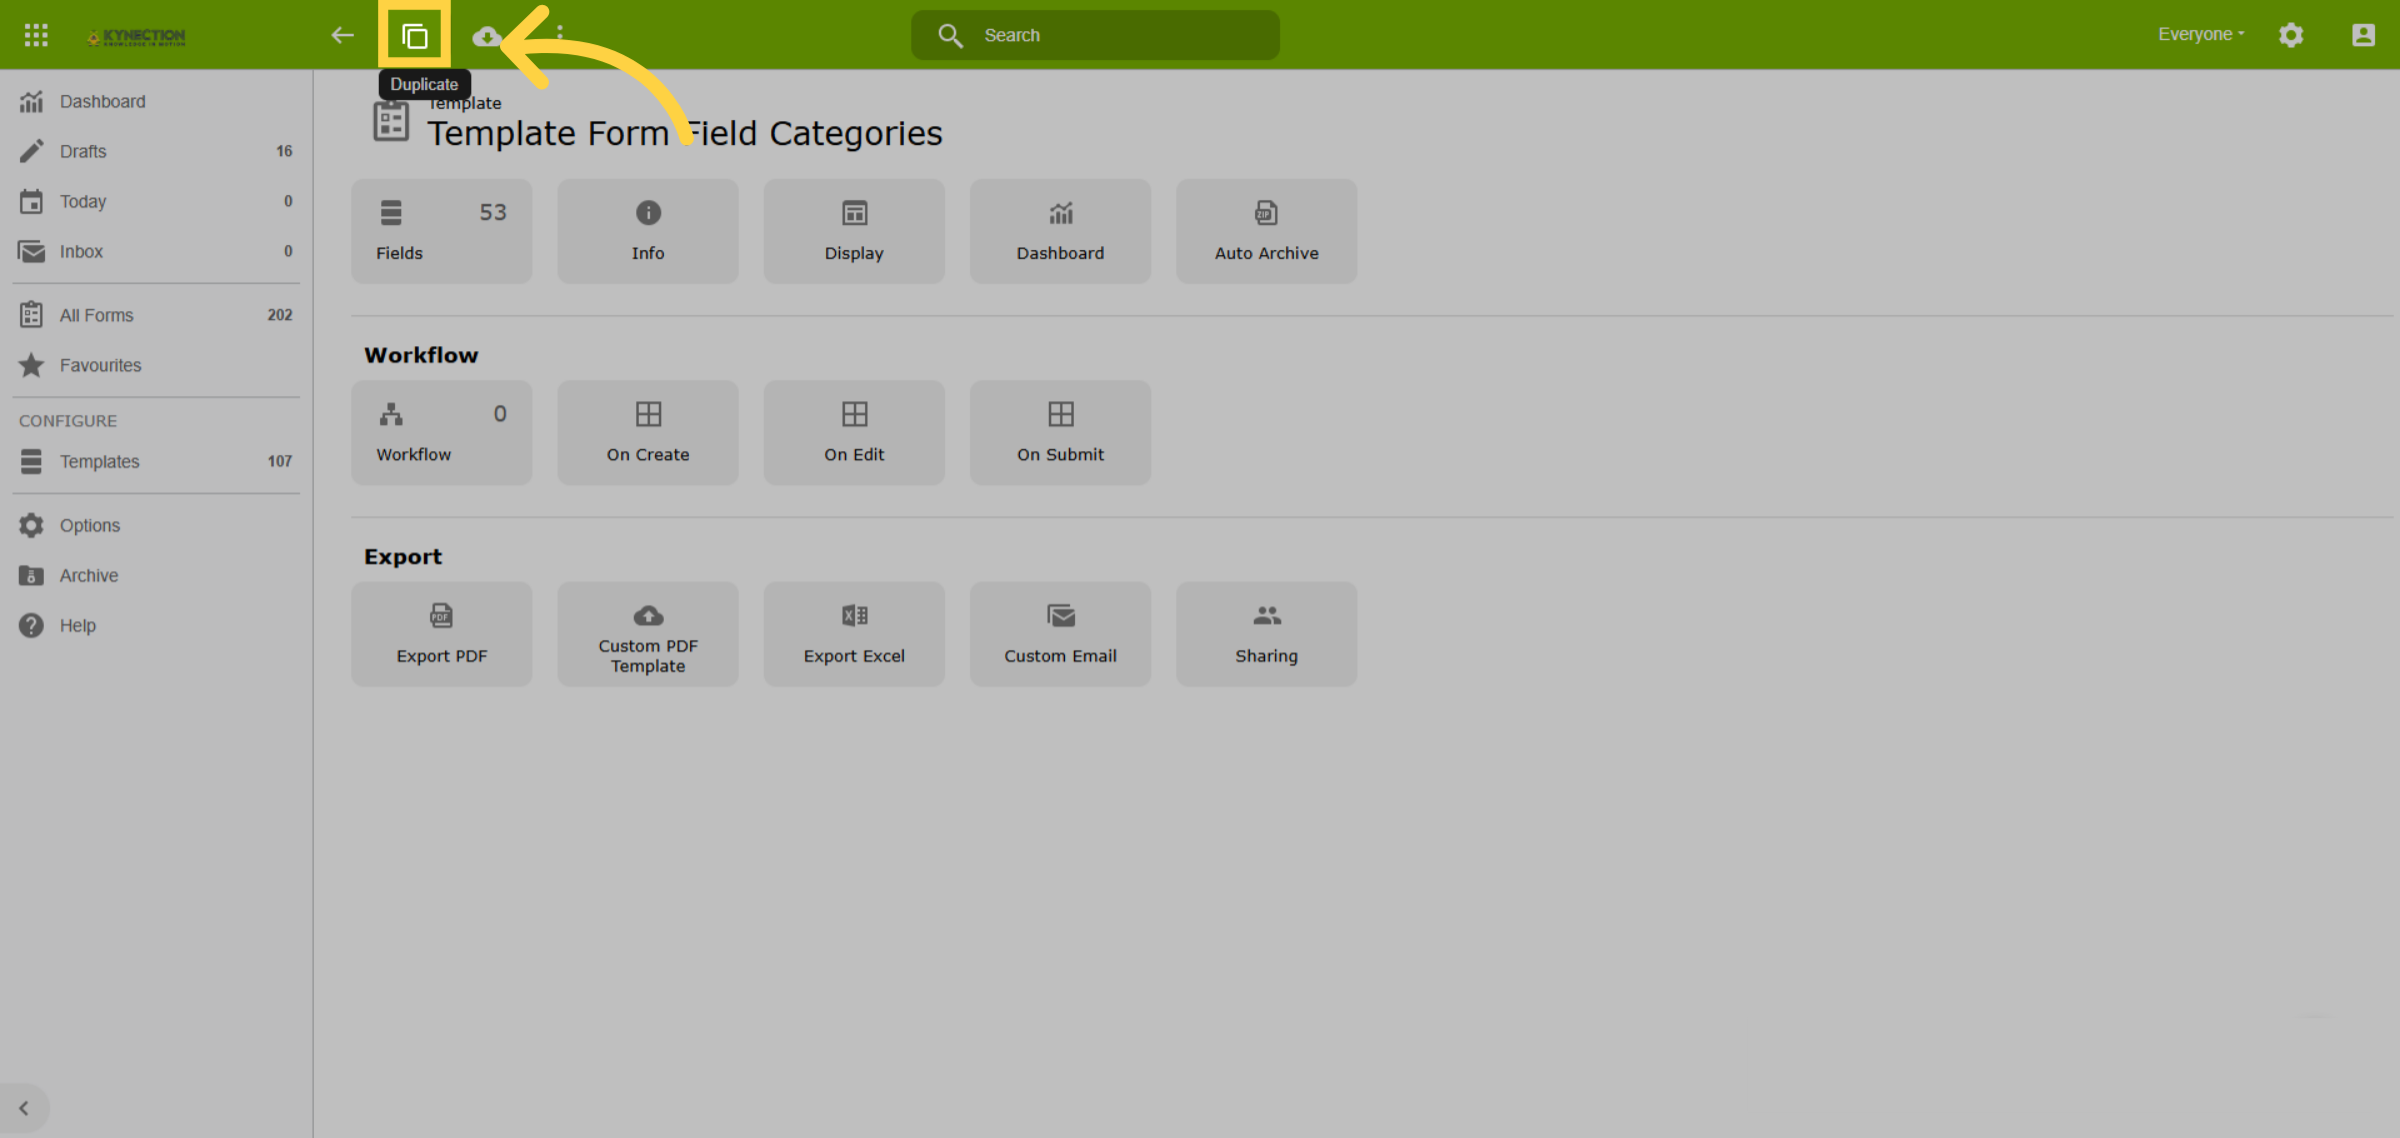
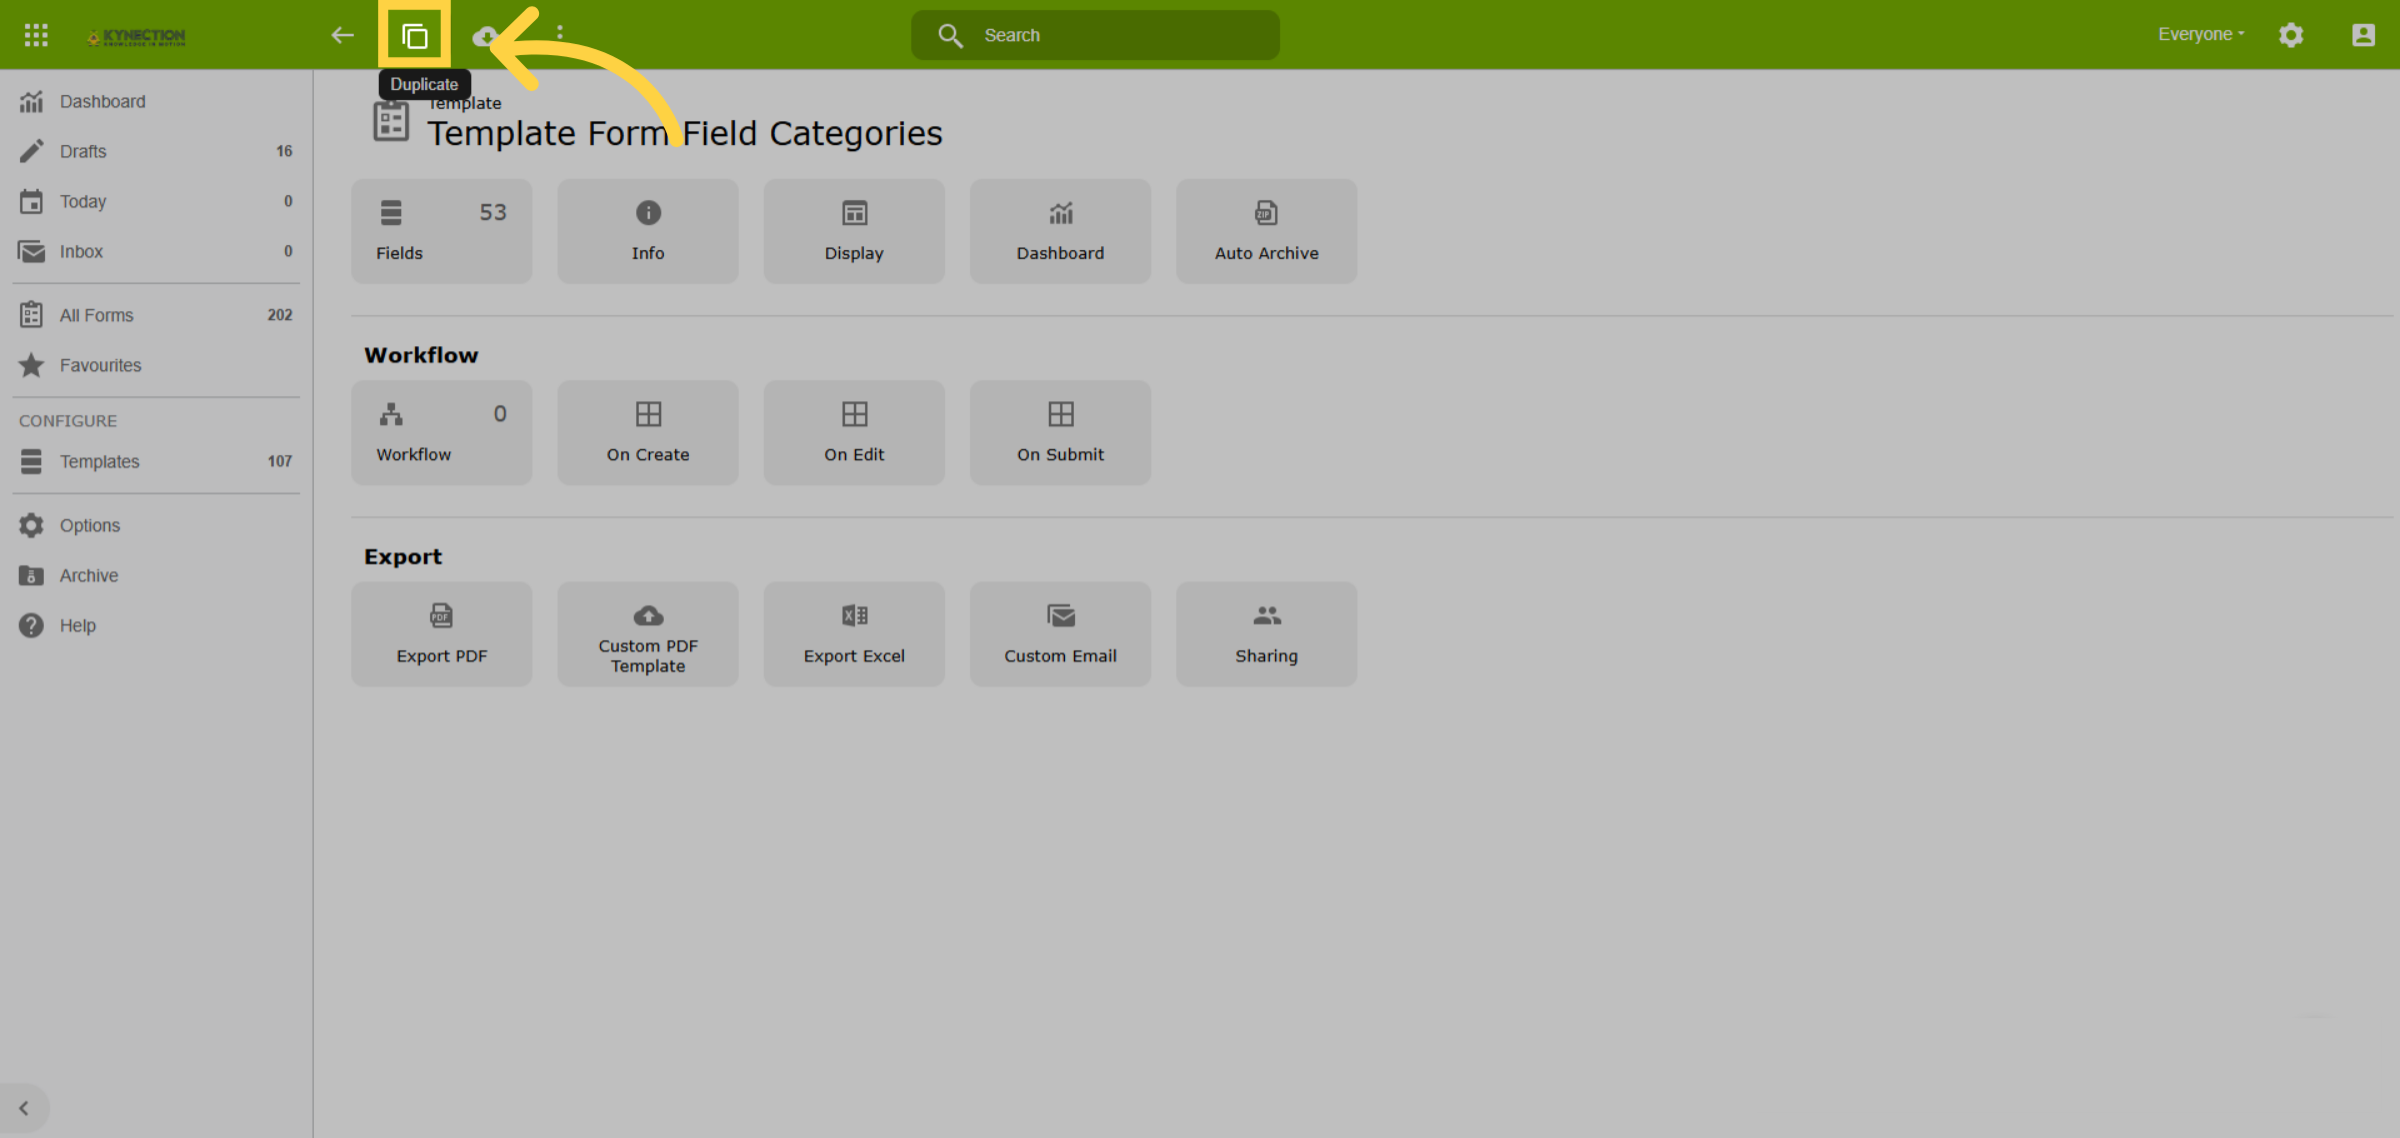
To edit a template, always duplicate the template and edit the copy. This prevents changes to historic data and possible errors. Open a template and use the shadowed square from the toolbar to duplicate.
18. Create New Template
Add a new template use the plus icon from the top toolbar, or open a similar template and use the toolbar duplicate function. This is an easy way to copy workflows or scripted fields.
19. Template Name
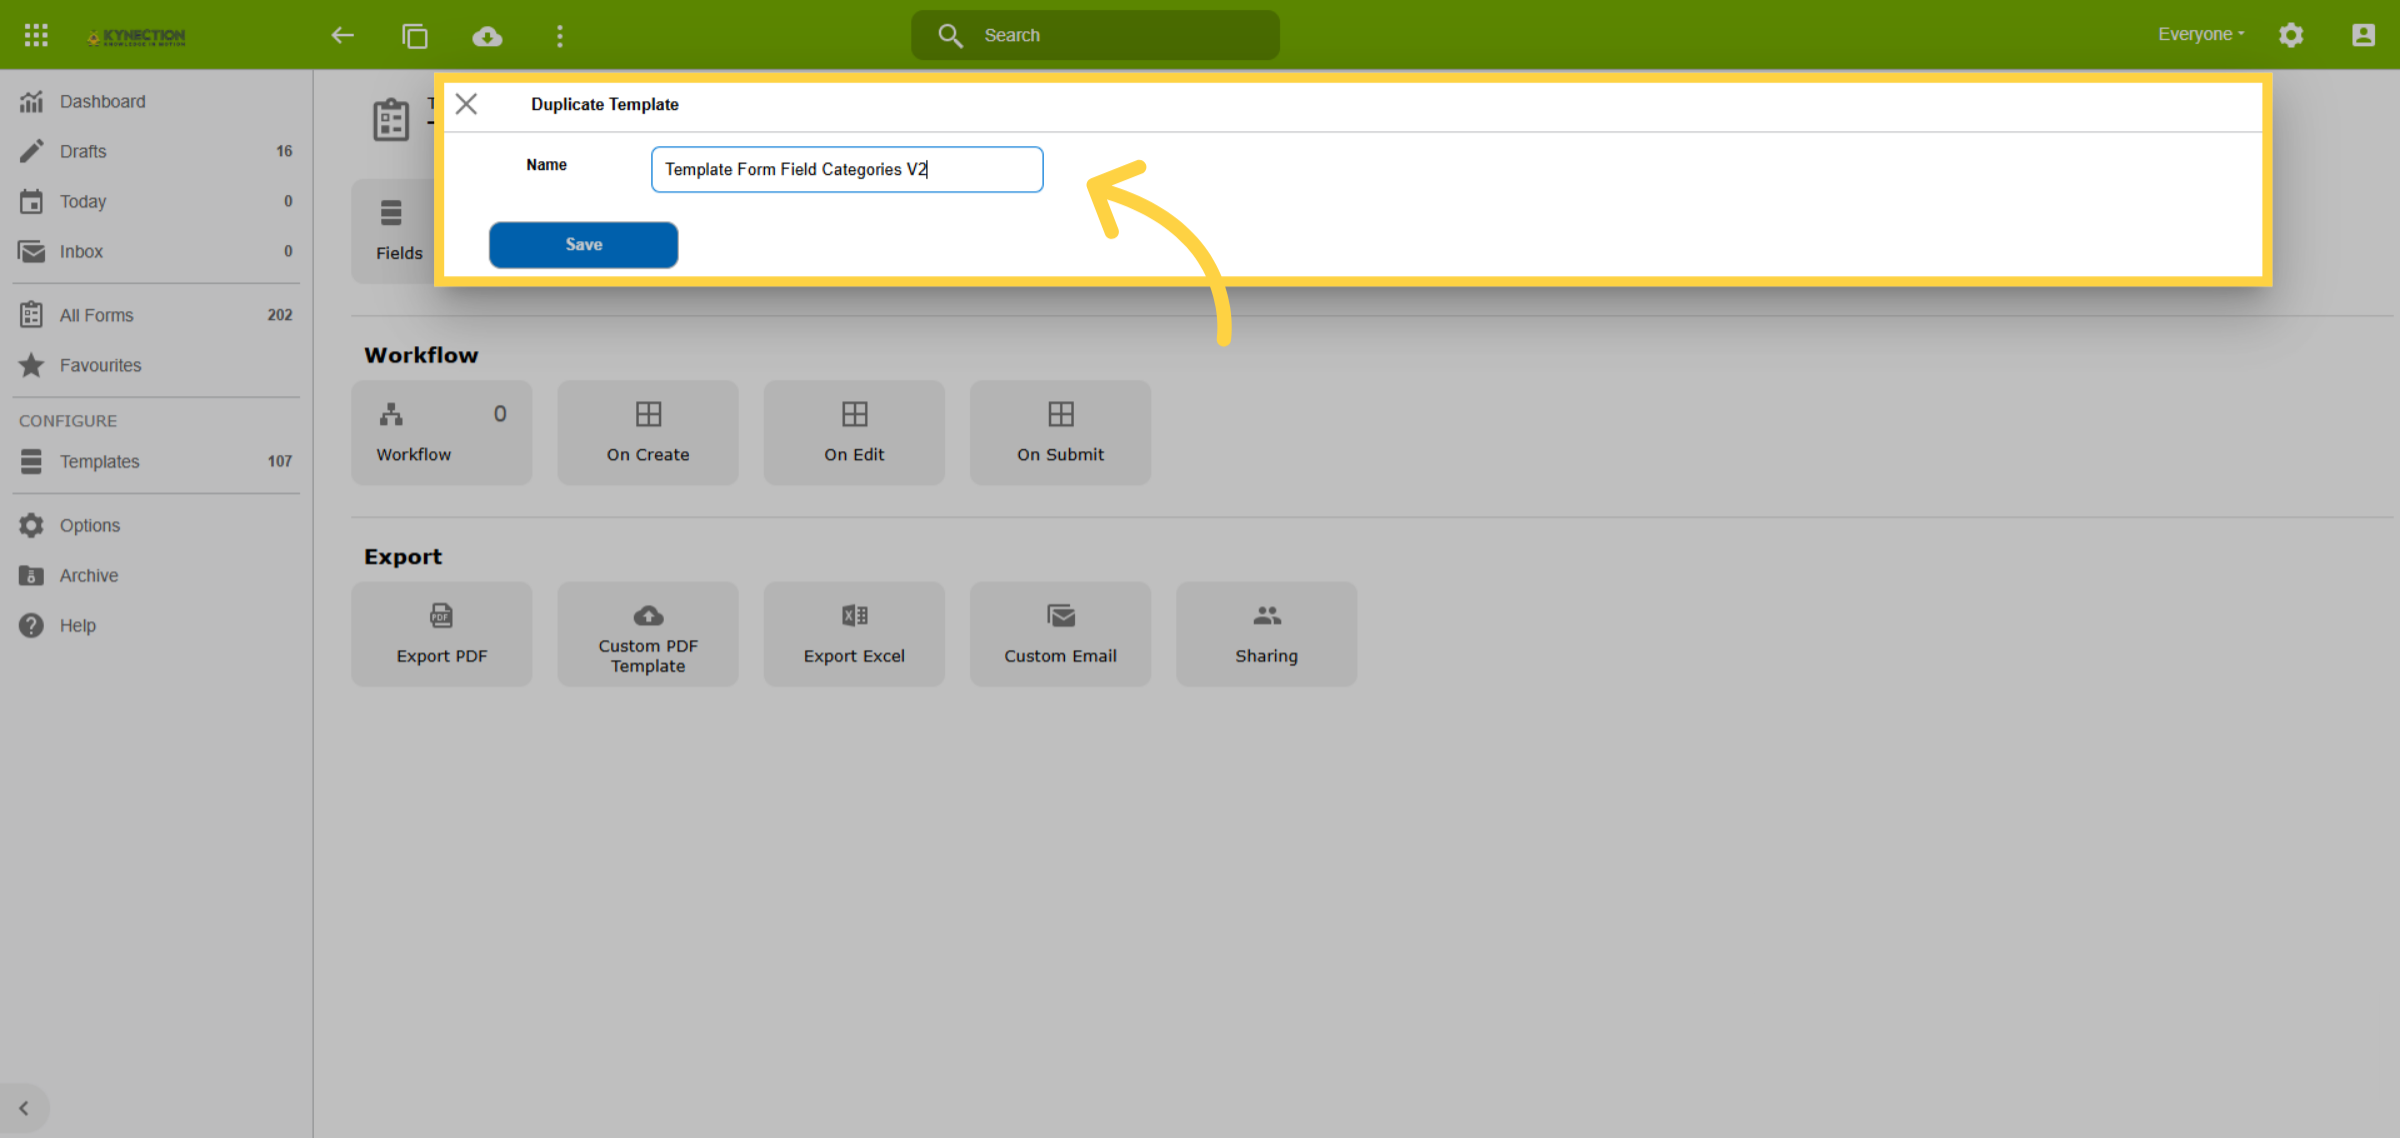
Add the name of the template. If duplicating, rename the copy for version control (for instance, V2 has been added to the name in this example). Select Save to begin customising the form.
20. Form Fields
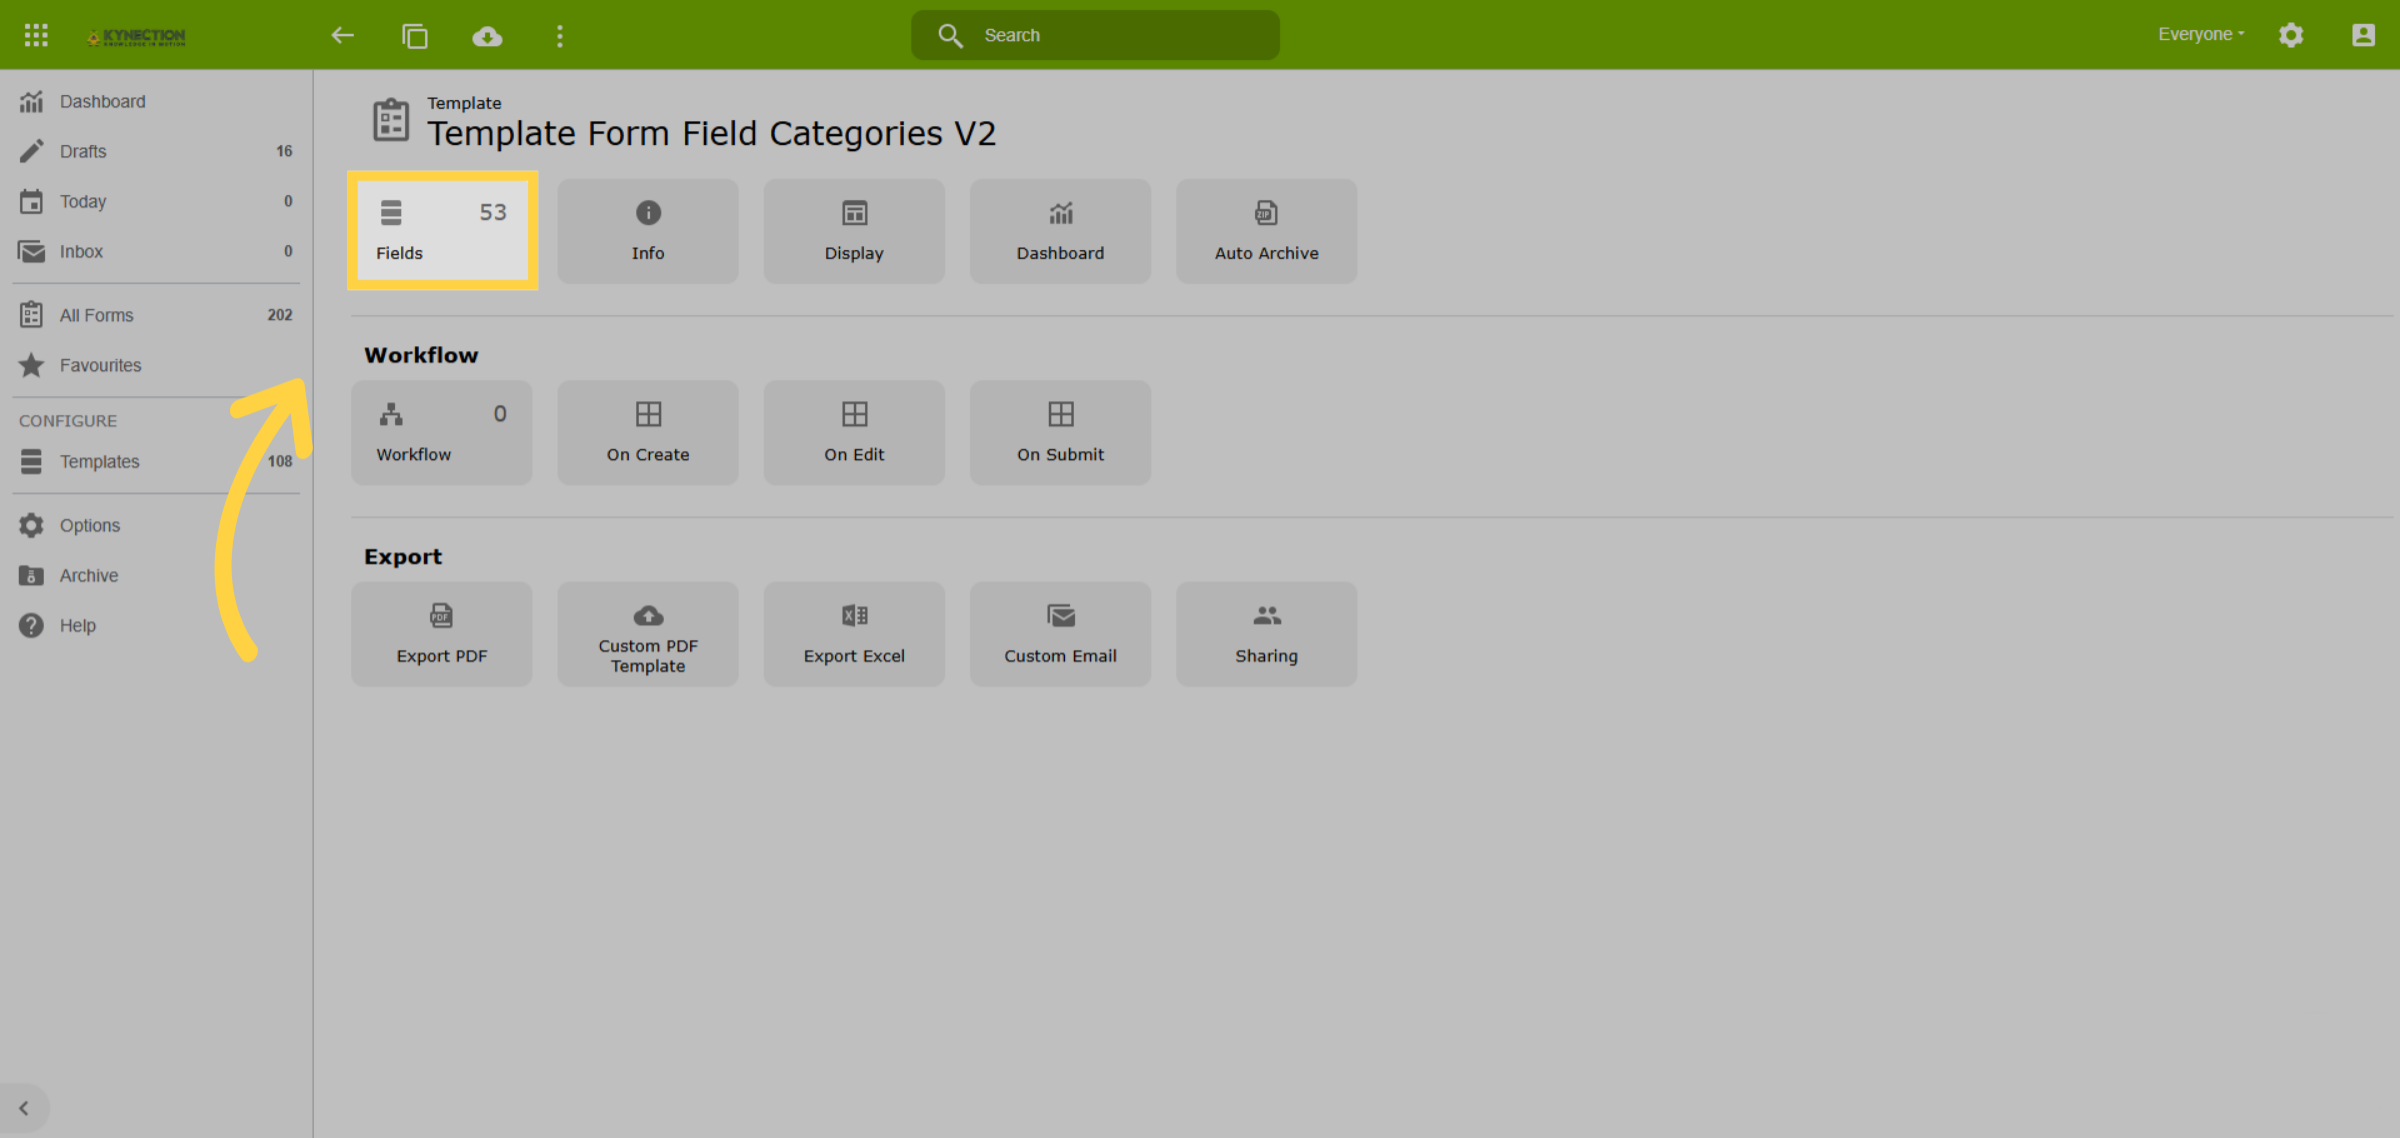
Access the Fields section to create form content using field categories to add questions.
21. Form Field Categories
Form field categories are located at the top, with your chosen fields visible below. Use the 3 dots beside the Name to change position, duplicate, or delete. Dragging fields is also a quick option to change position.
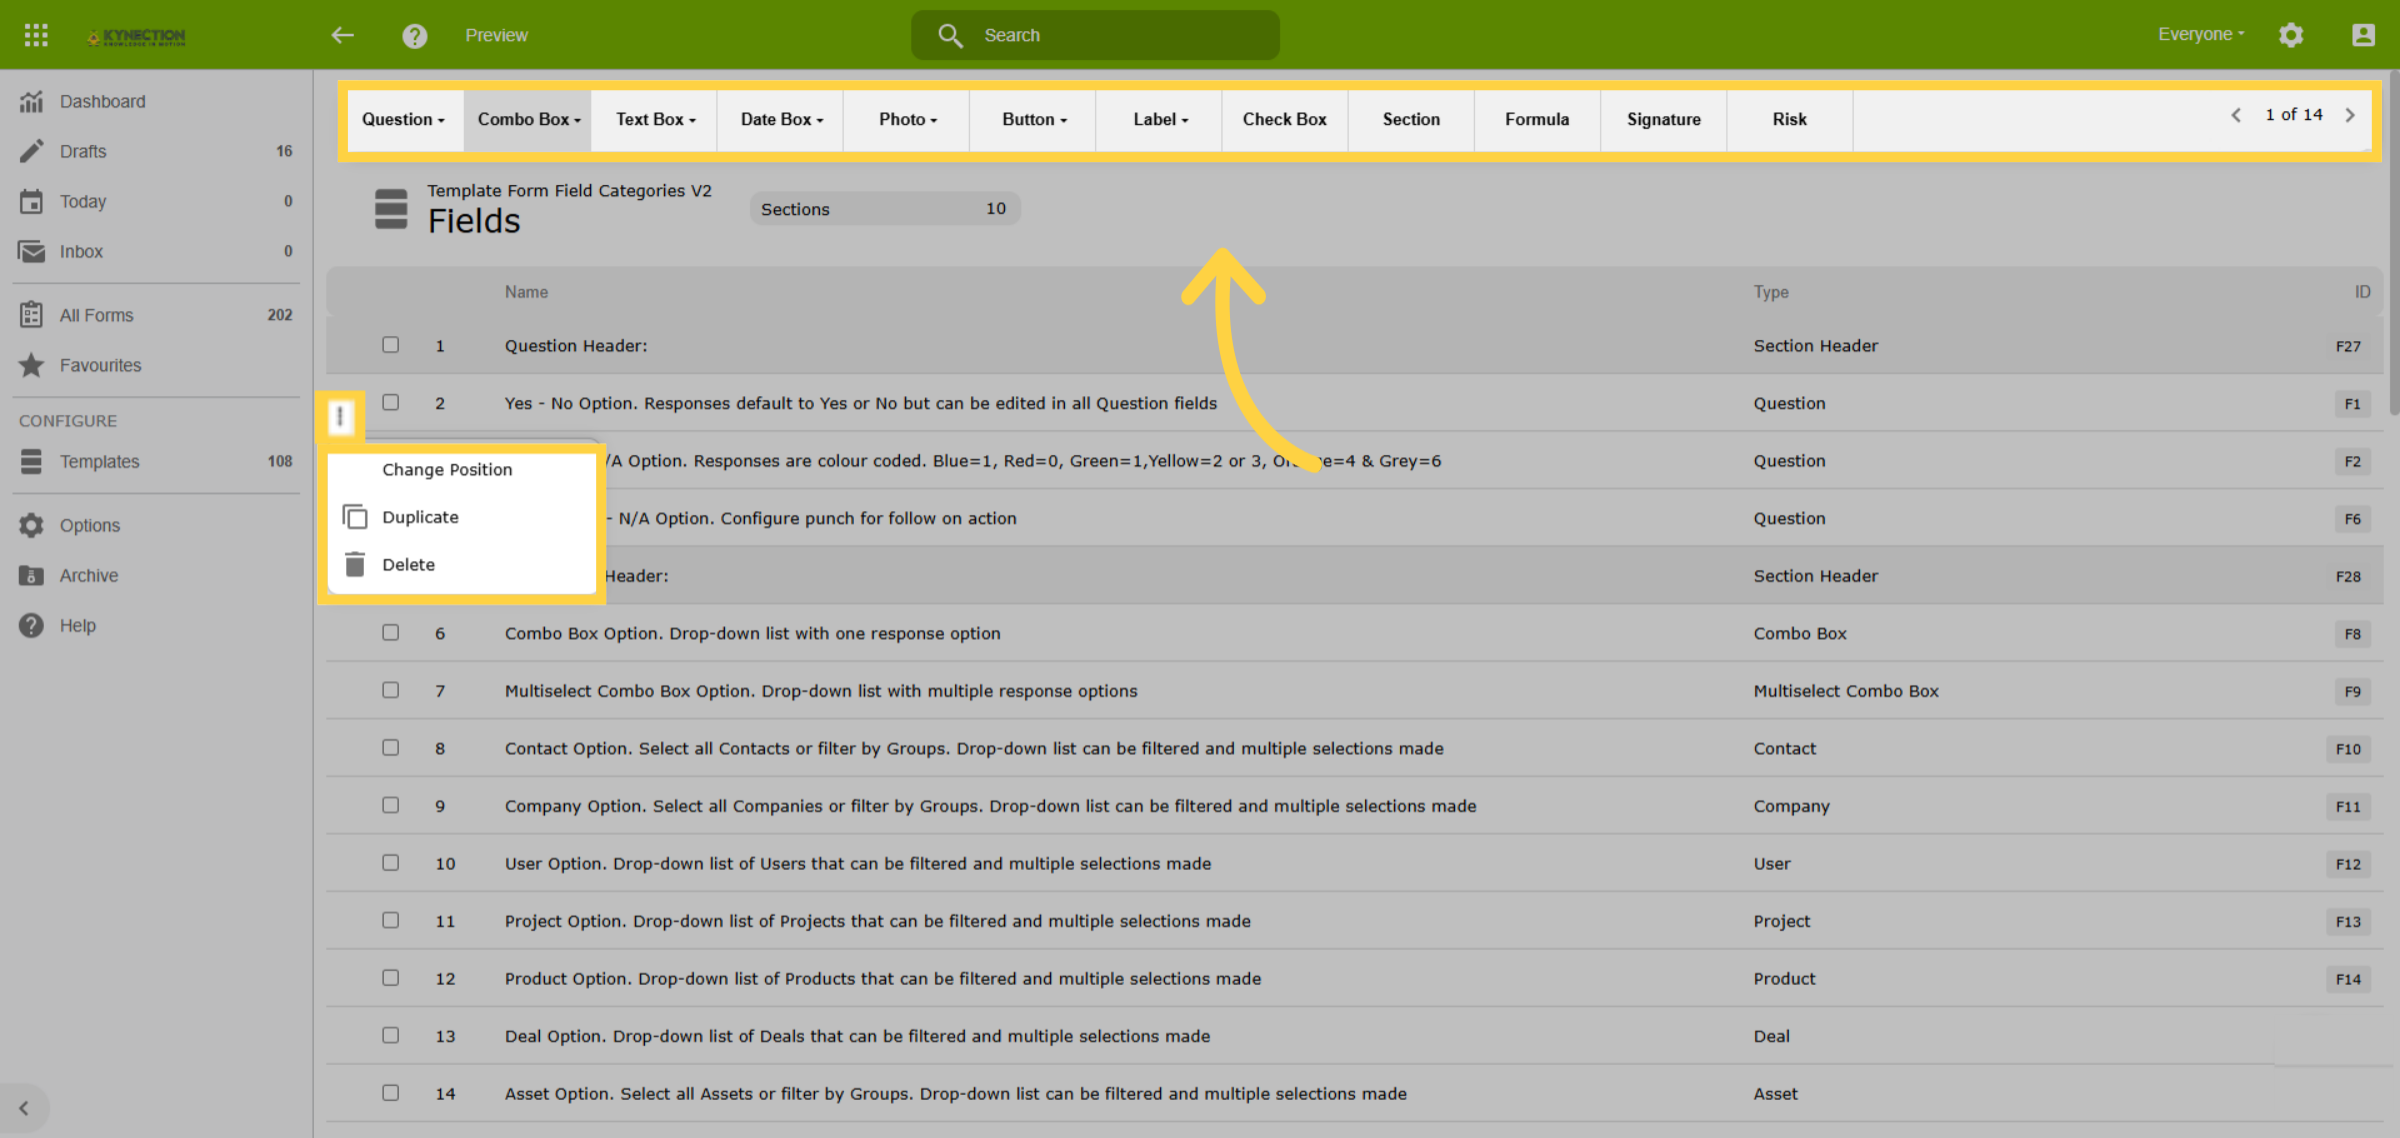
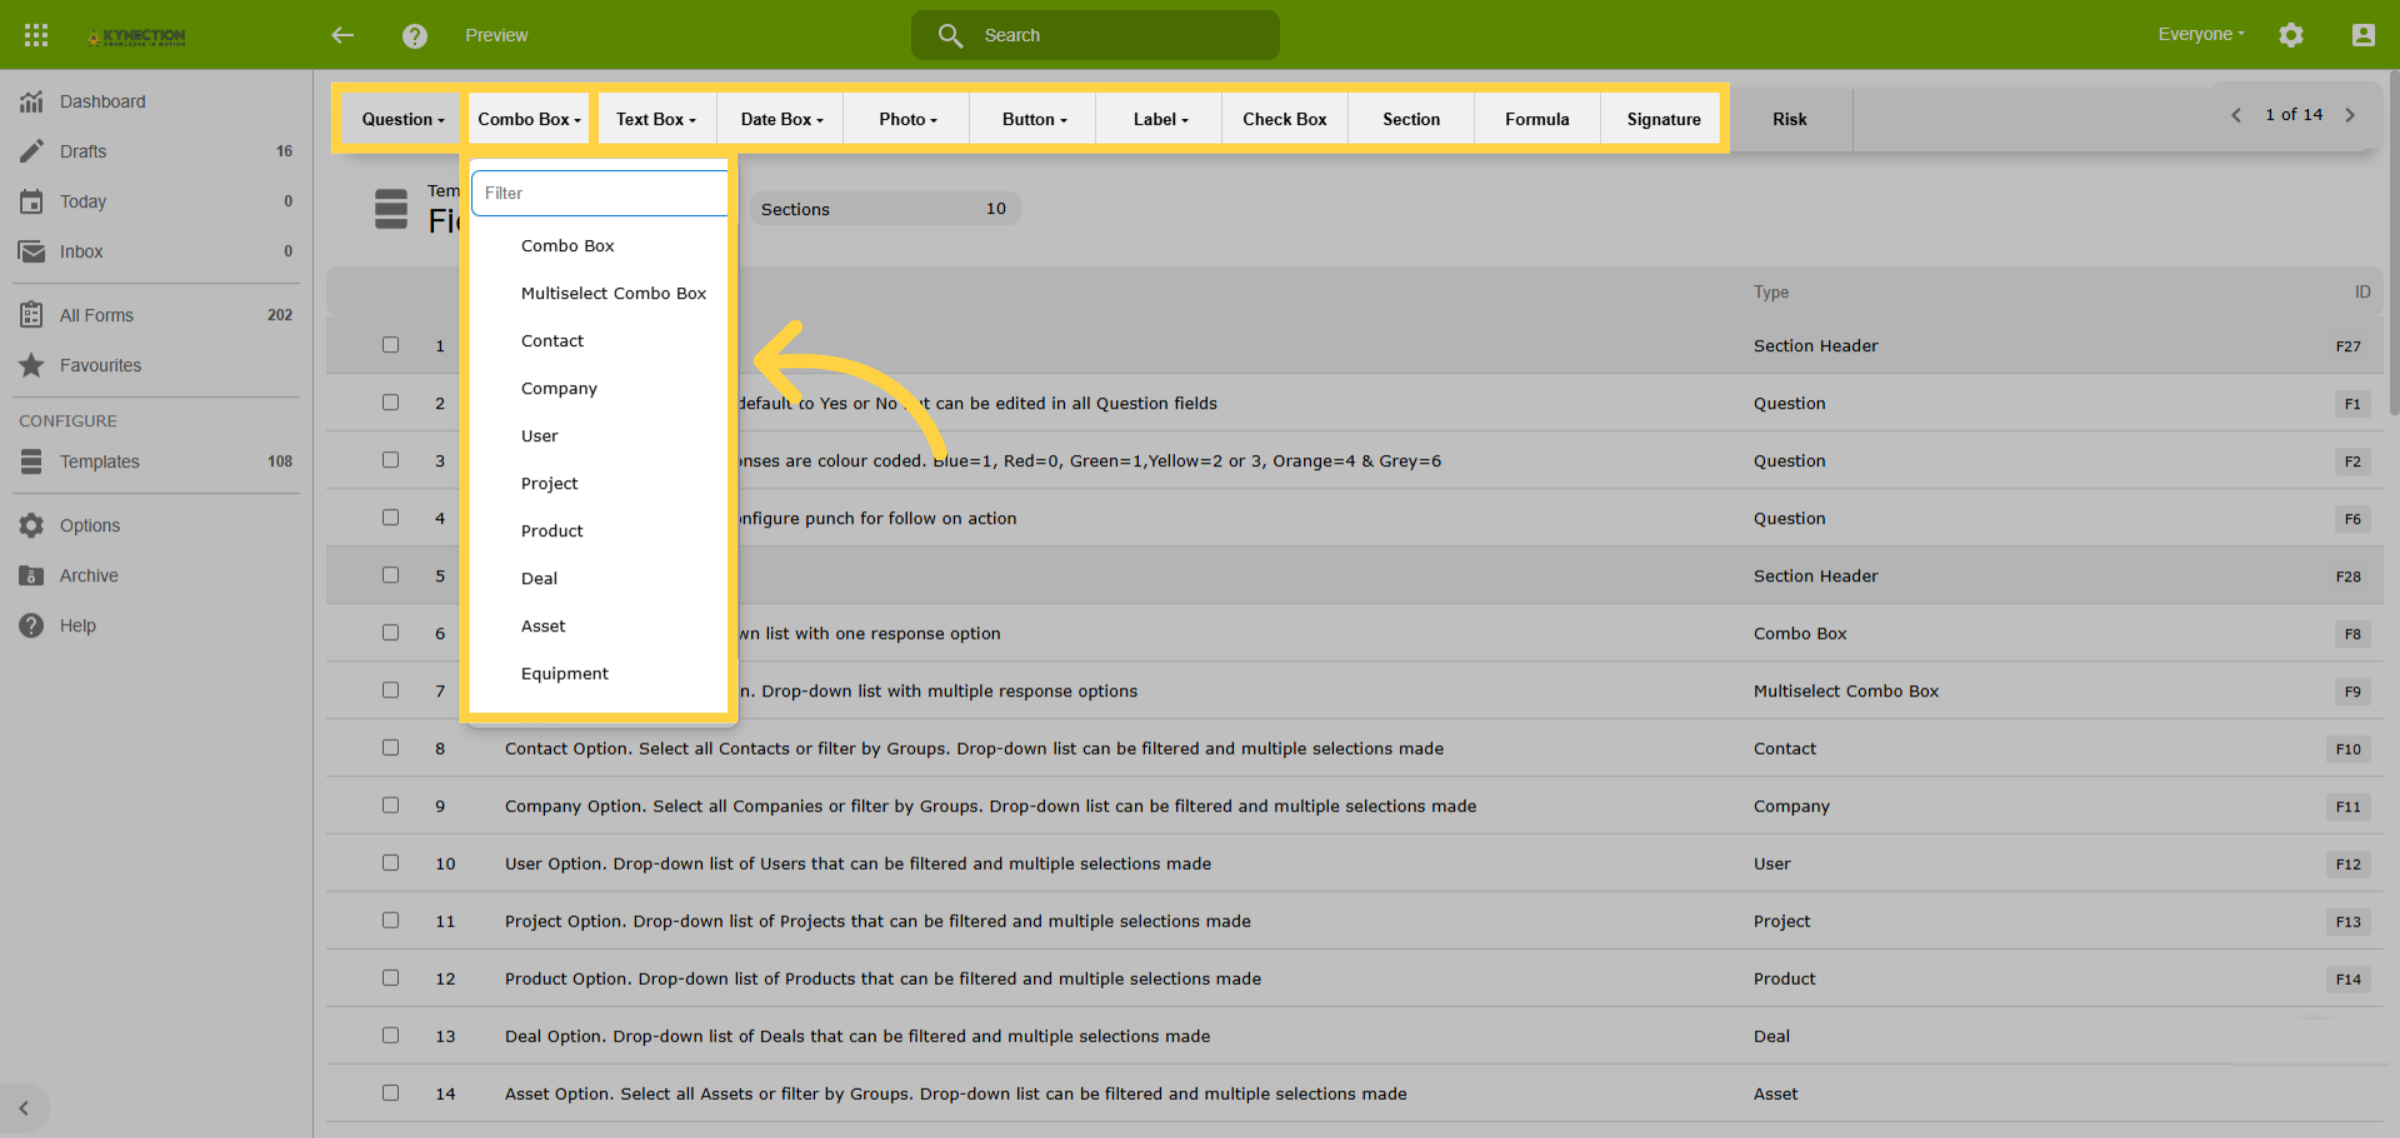
22. Form Field Options
Each field category offers multiple functions to build form content. Let the response type dictate which field to choose. For instance, the Question category displays multiple-choice answers, while a combo box uses a drop-down menu suitable for a large array of data.
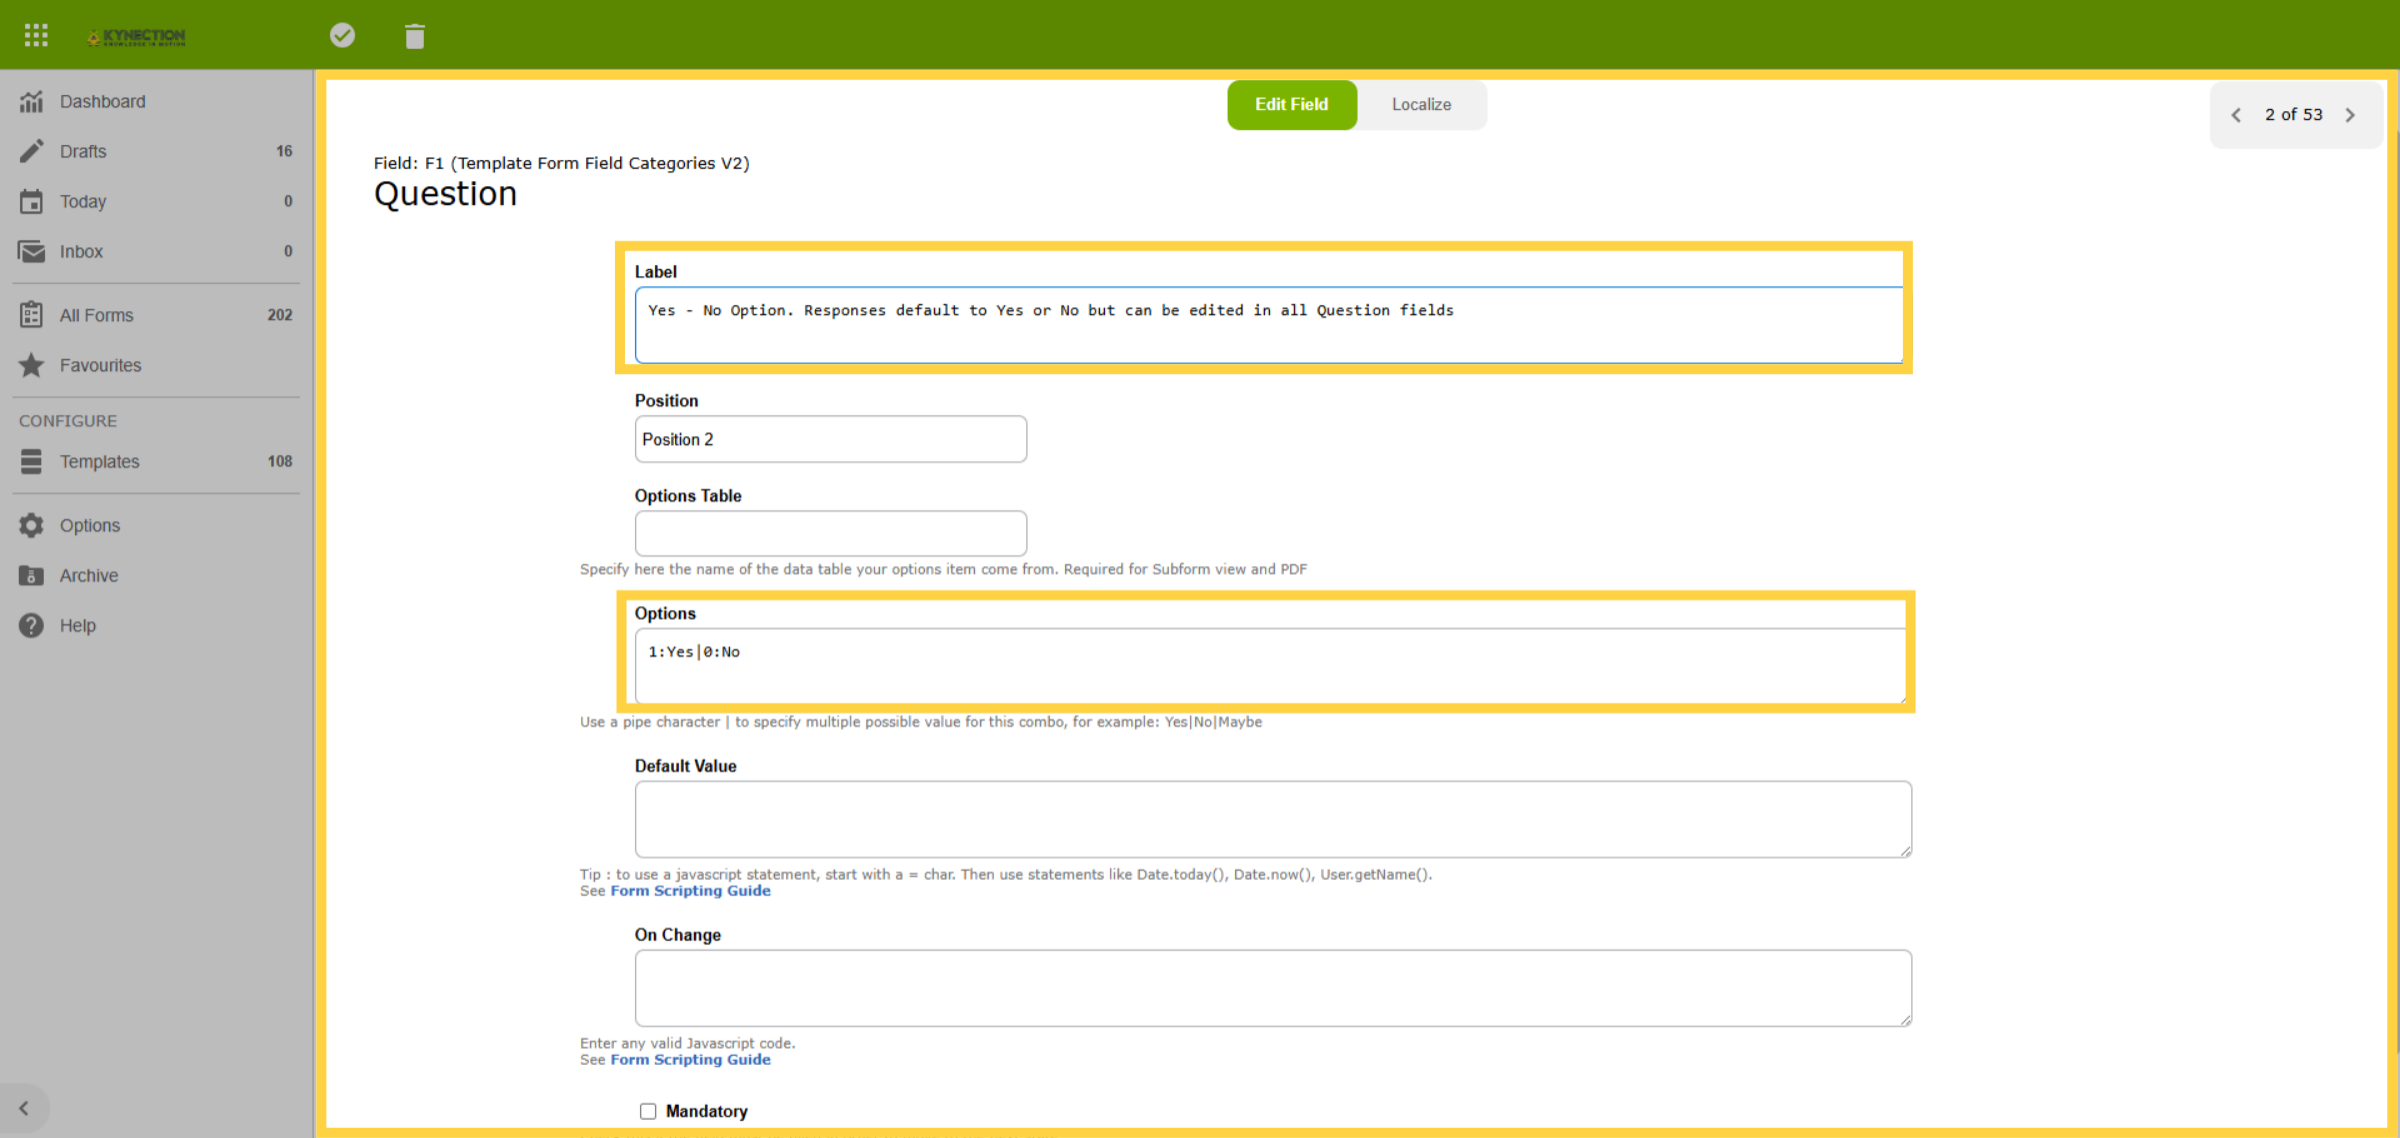
23. Edit Field Screen
Once your field is chosen, use the Edit Field Screen to record the content. This example shows the Yes/No option has been selected from the Question category. The Label field is used to record your question and the Options field is the value. The Pipe character, which is the straight up and down line, is used to separate multiple values.
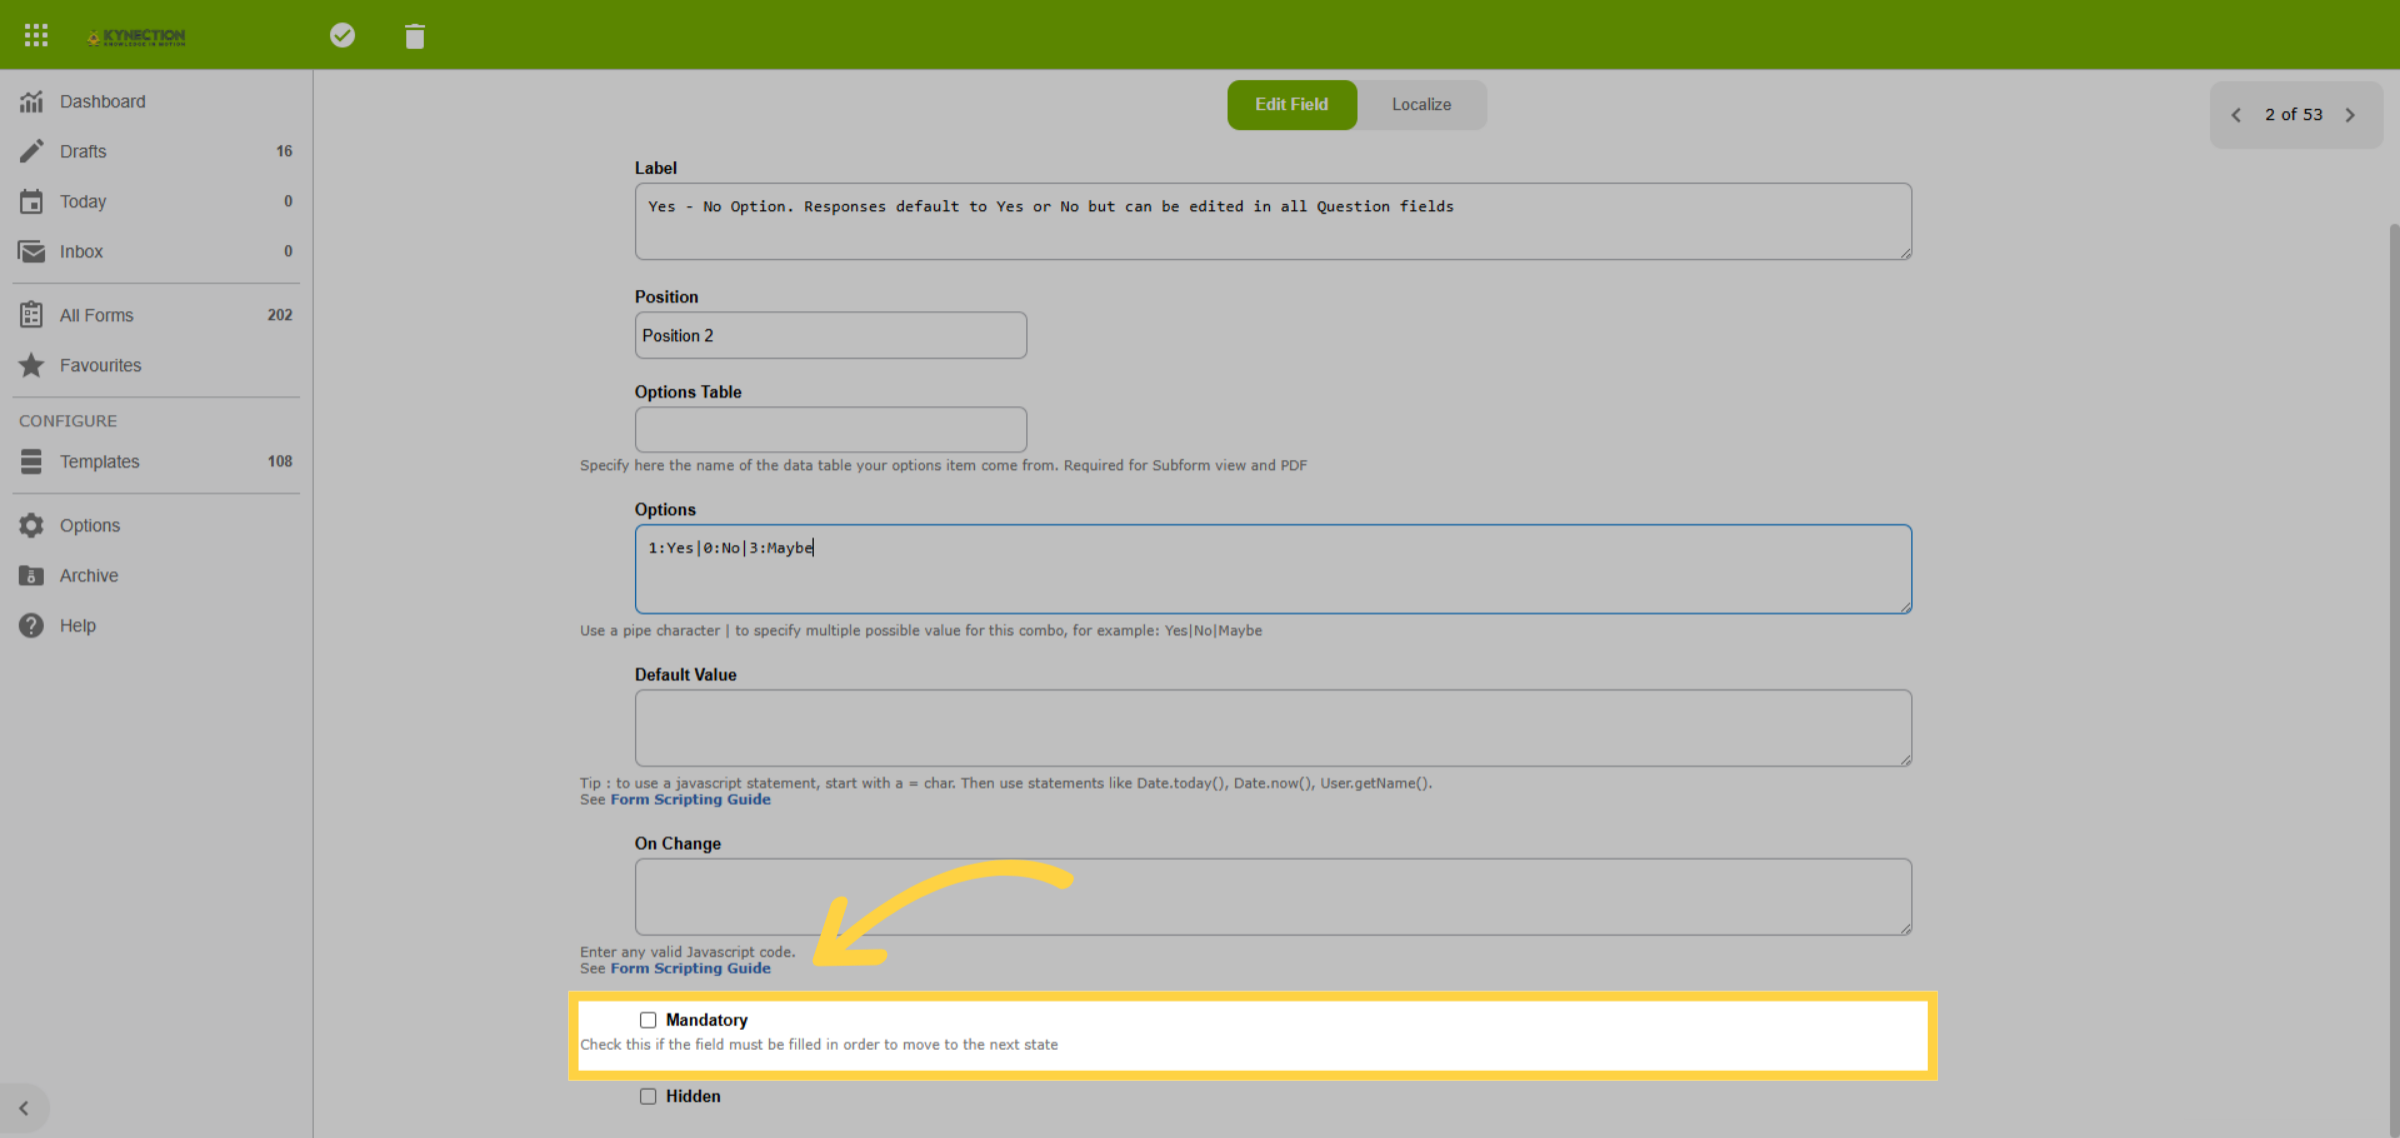
24. Mandatory Fields
Ensure essential data is captured by selecting the mandatory checkbox, located at the bottom of the Edit Field Screen. Mandatory fields are indicated on the mobile app with red text, requiring completion before form submission.
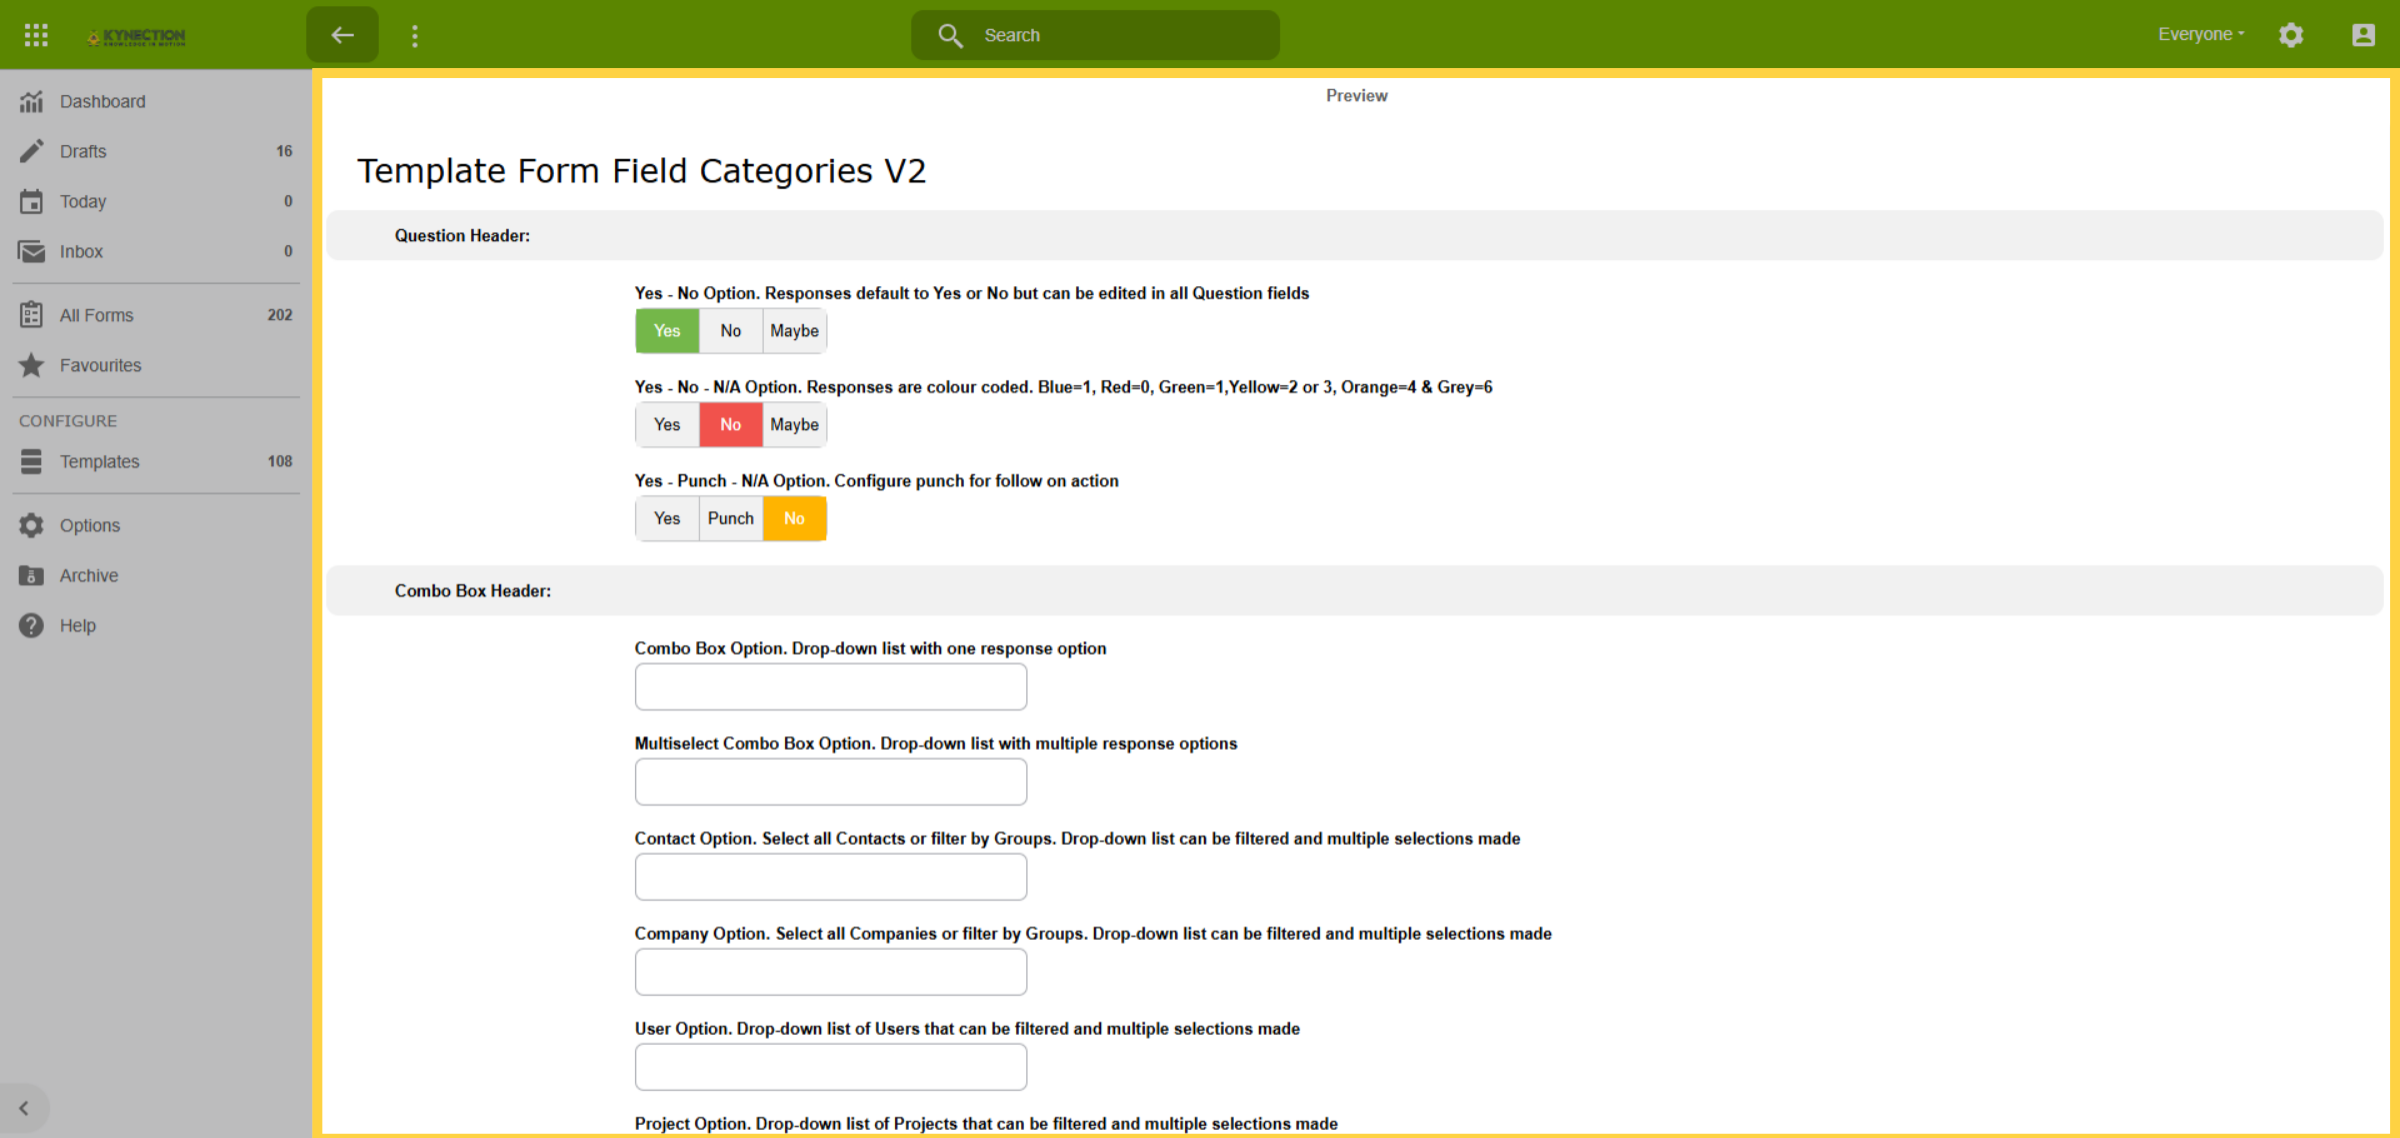
25. Form Preview
The preview button in the toolbar lets you view how the fields appear on web based forms. Please ask for a copy of our Form Fields Template that shows how each of the fields display.
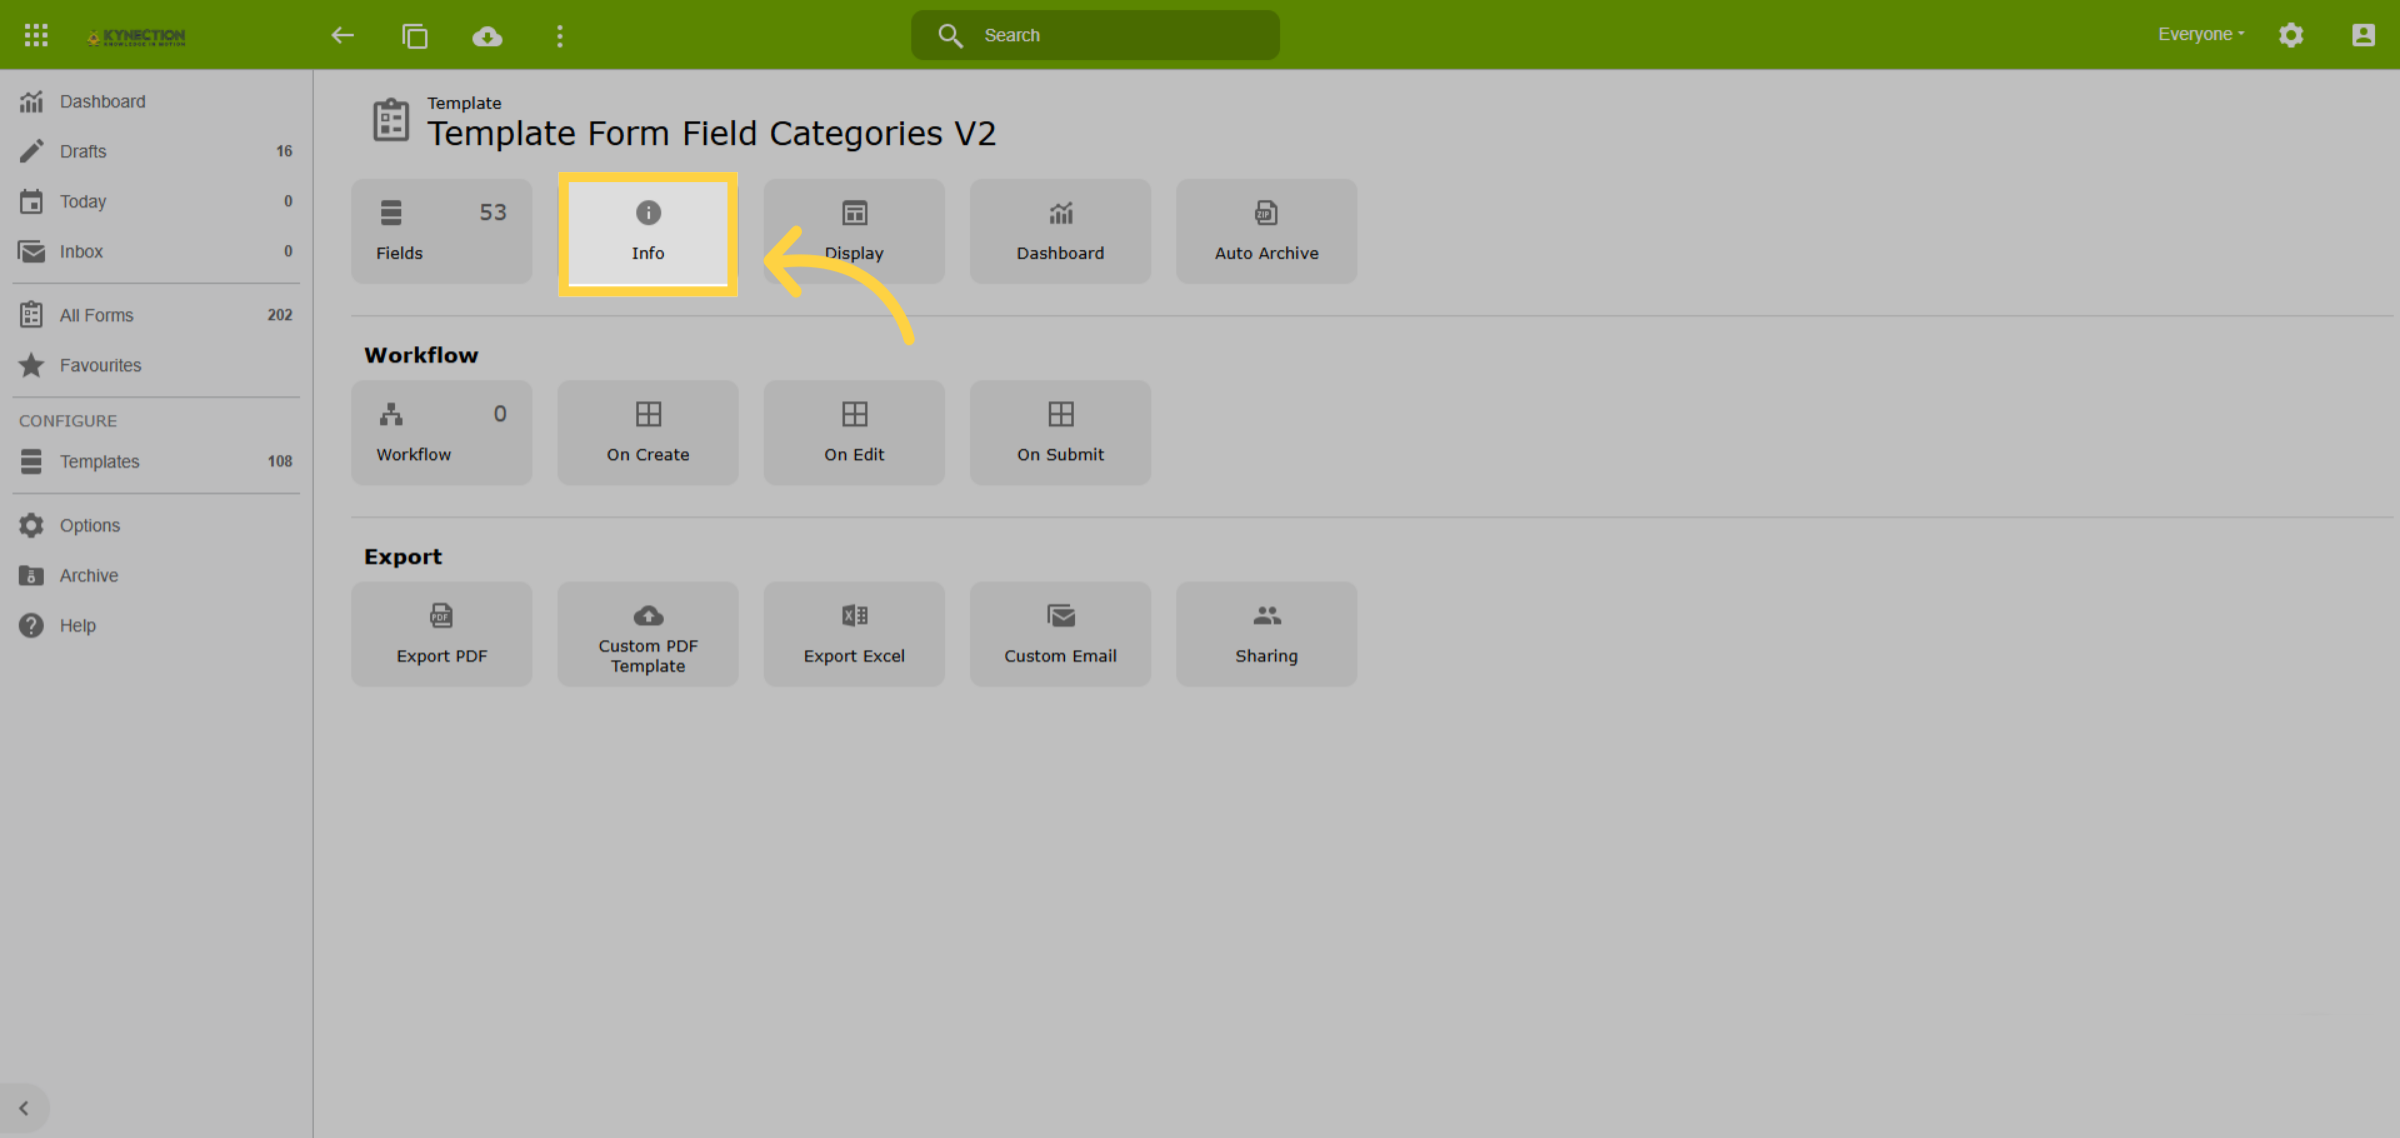
26. Info
Now that the form content is created, let's look at the template configuration and settings. Arrow back to the form template and select Info.
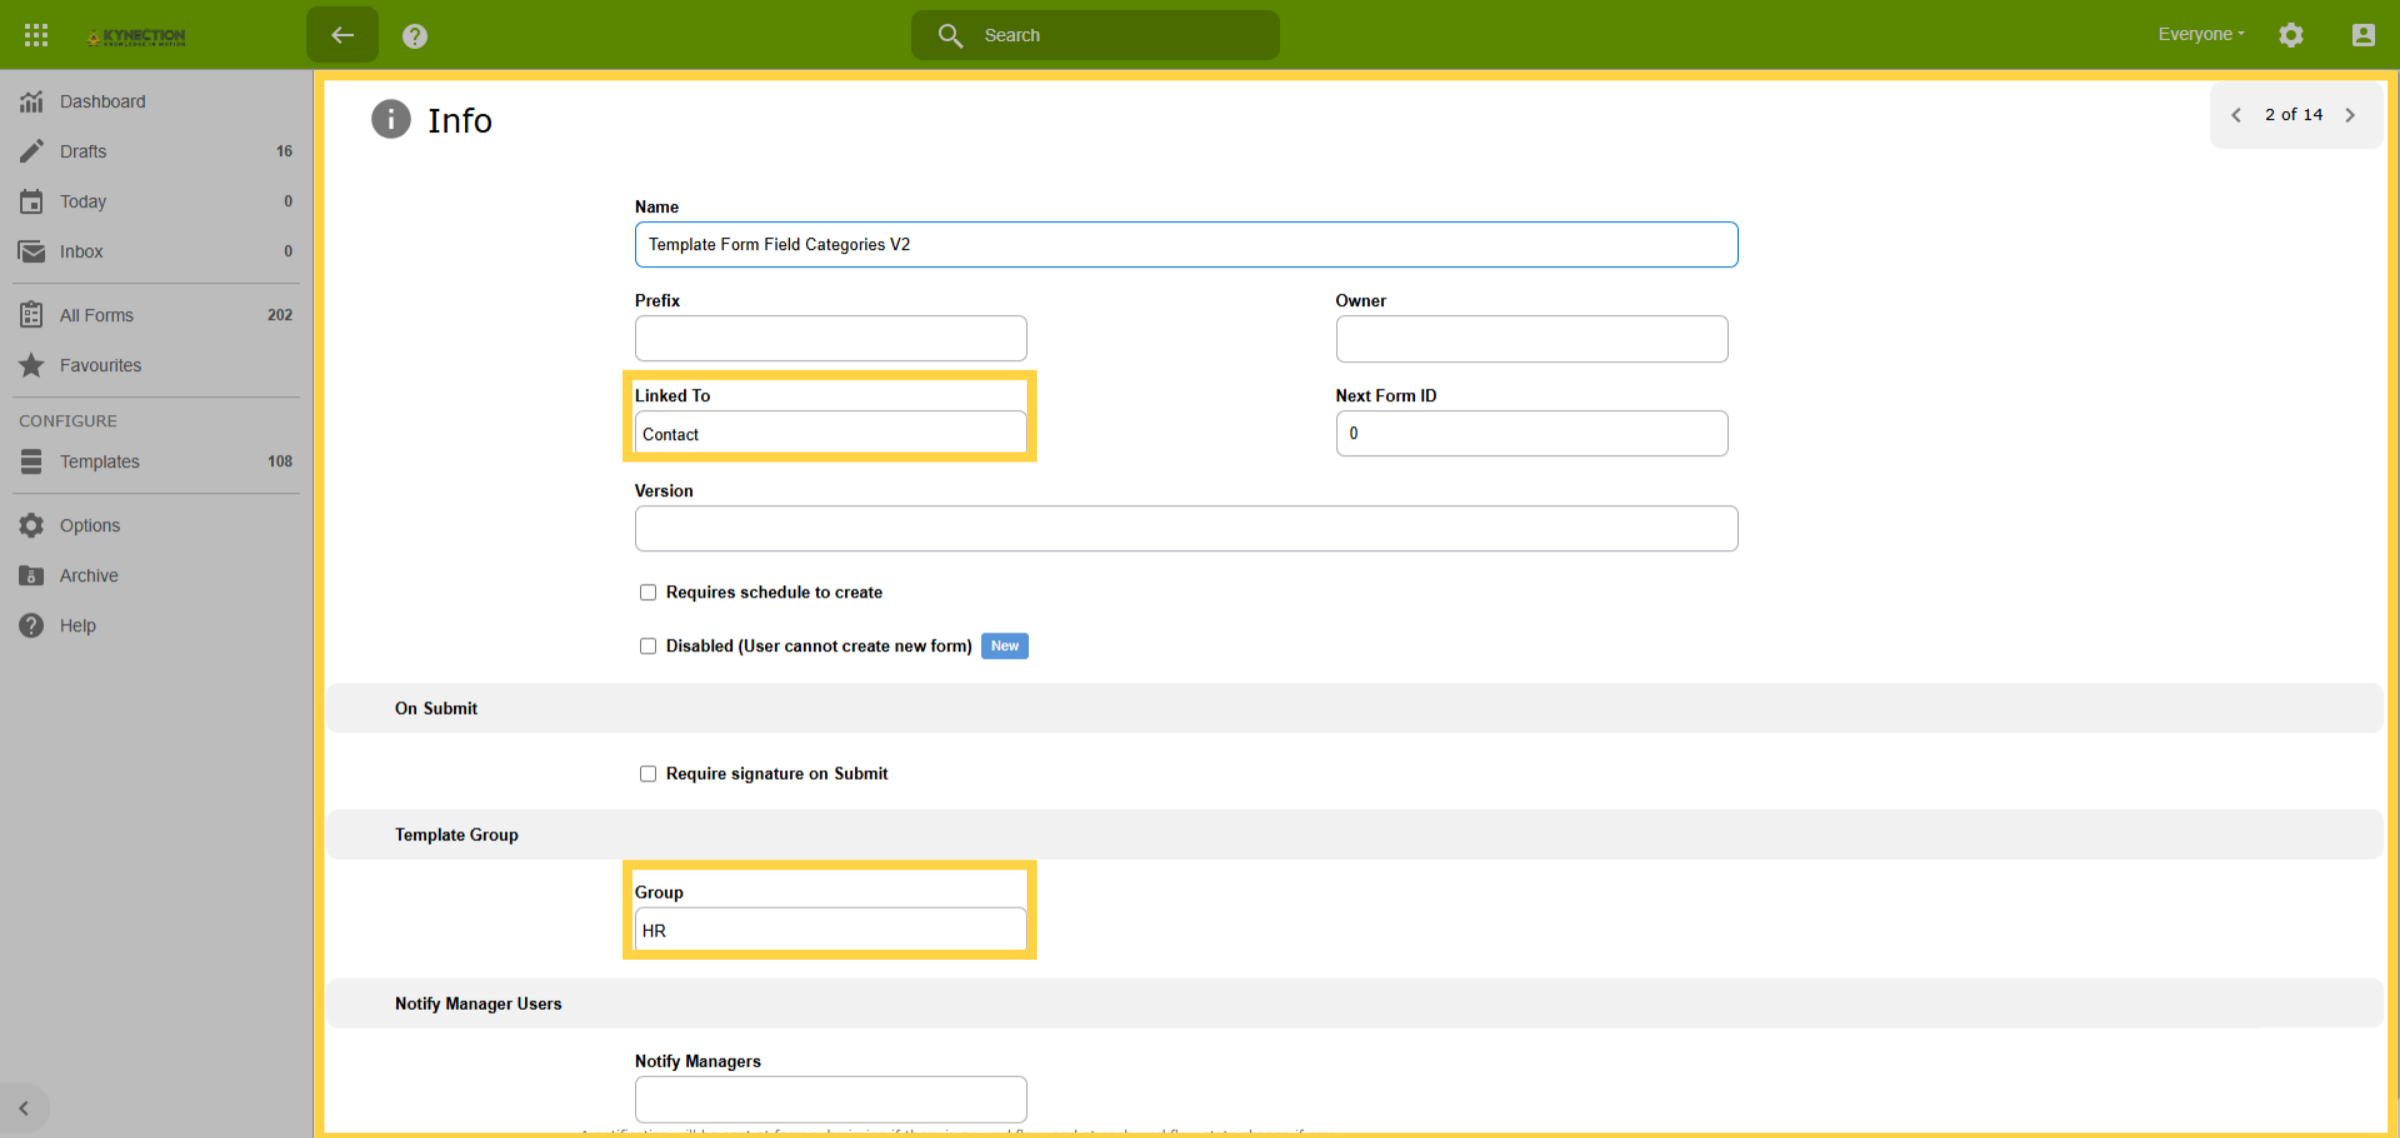
27. Info Tab Details
The Info tab records the template group and module the form is linked to. Forms can only be linked to one location. It also includes options such as notifying managers on submission, adding a prefix to the form name, and requiring a signature.
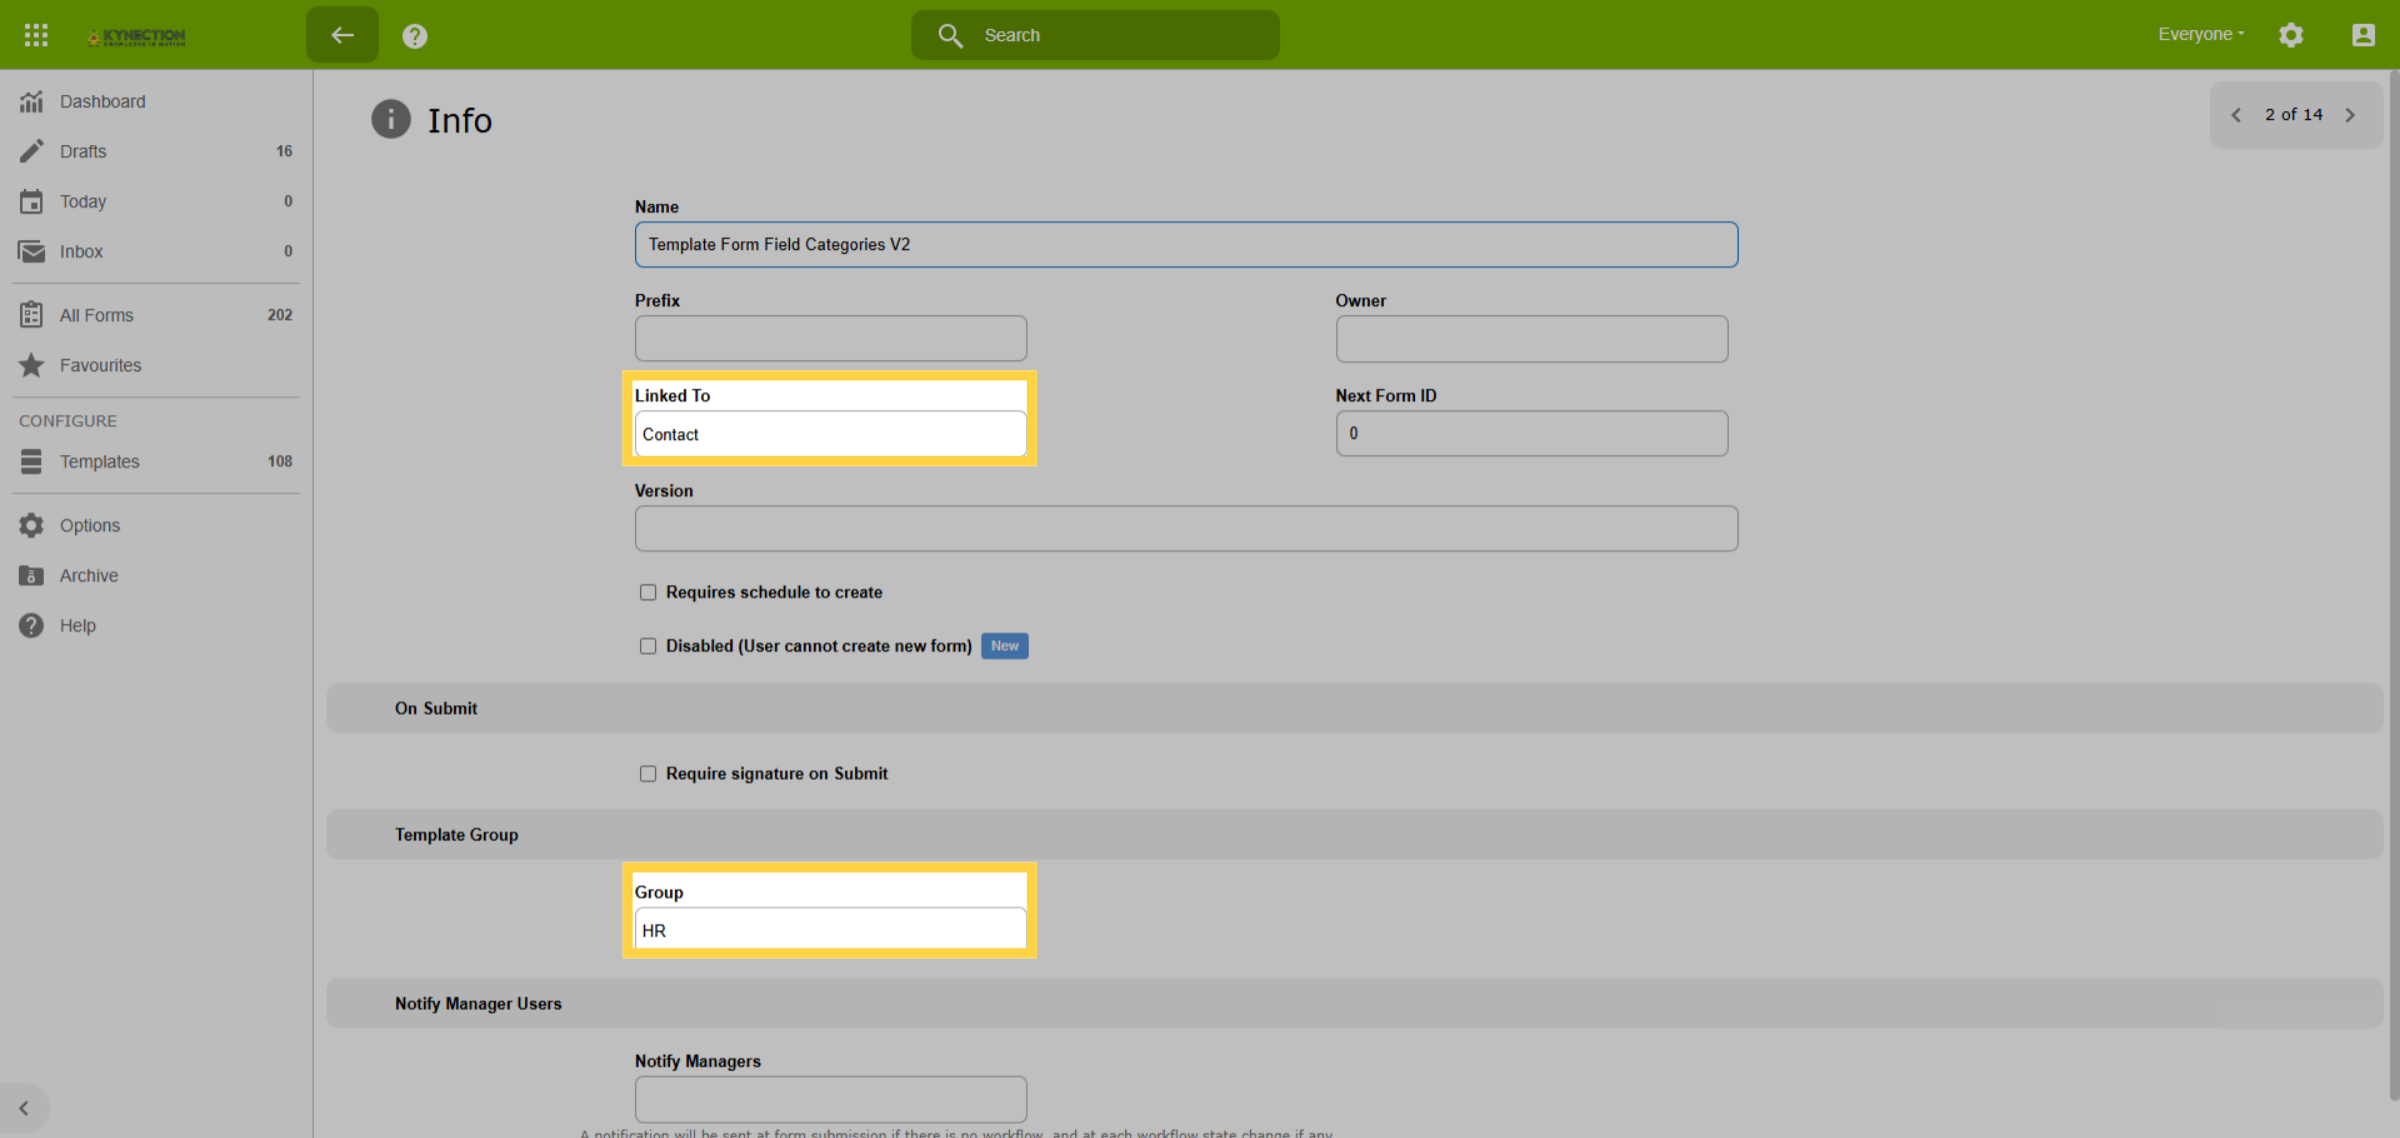
28. Replace Existing Form
To replace a form, access the original template, go to the info tab, and delete the Link To and Group fields. Duplicated forms will already contain the links. Then, navigate to the module Options to select the new template. For example, when replacing a prestart, go to Equipment, Options, Category (child), and choose the new form.
29. Select Display
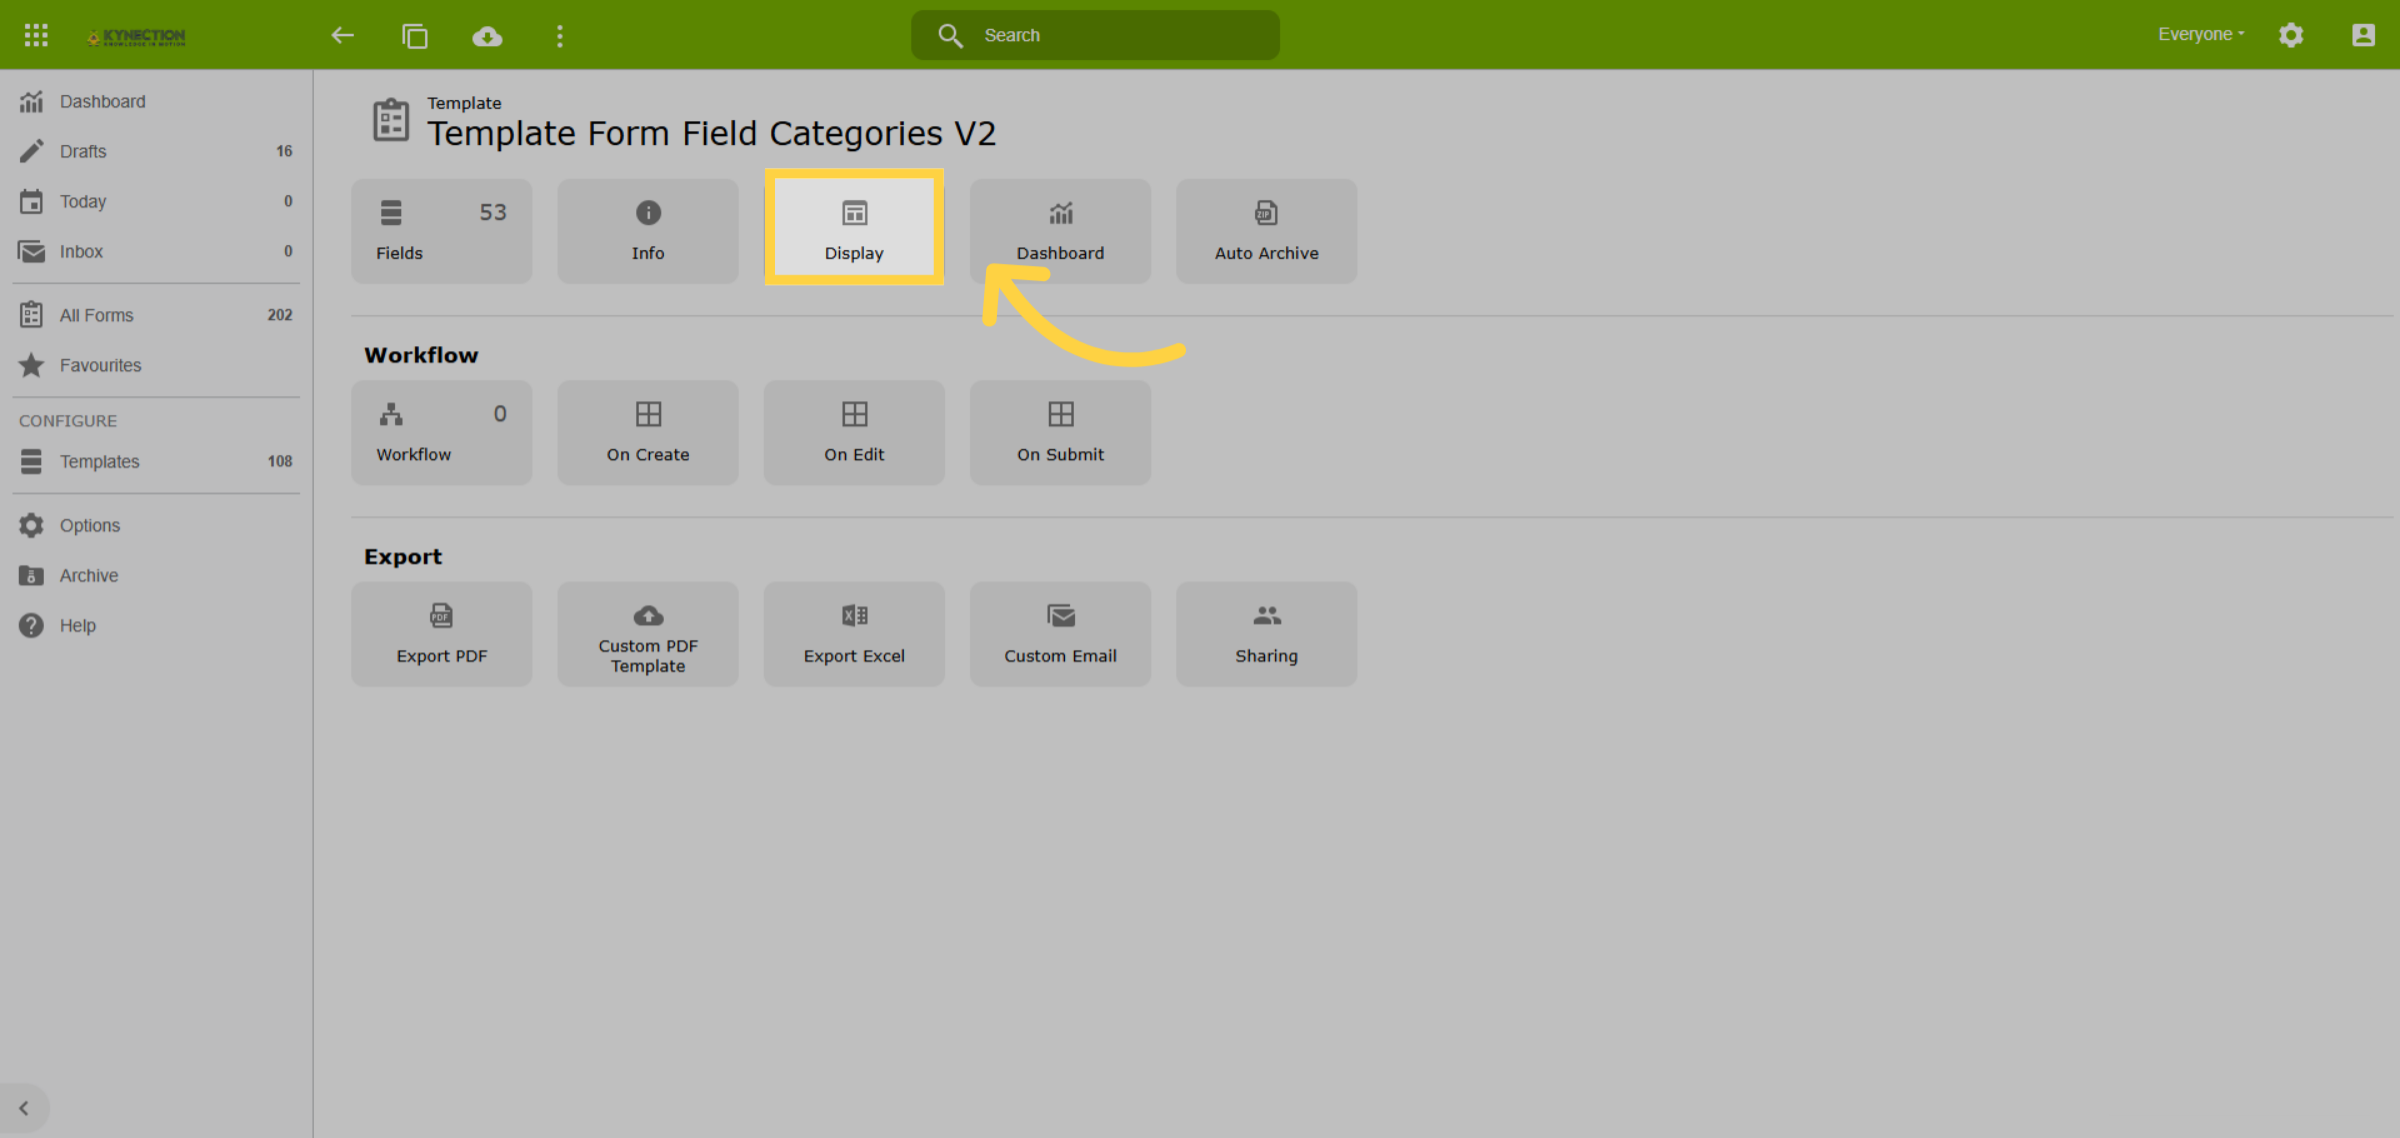
Select Display to customise the form folder.
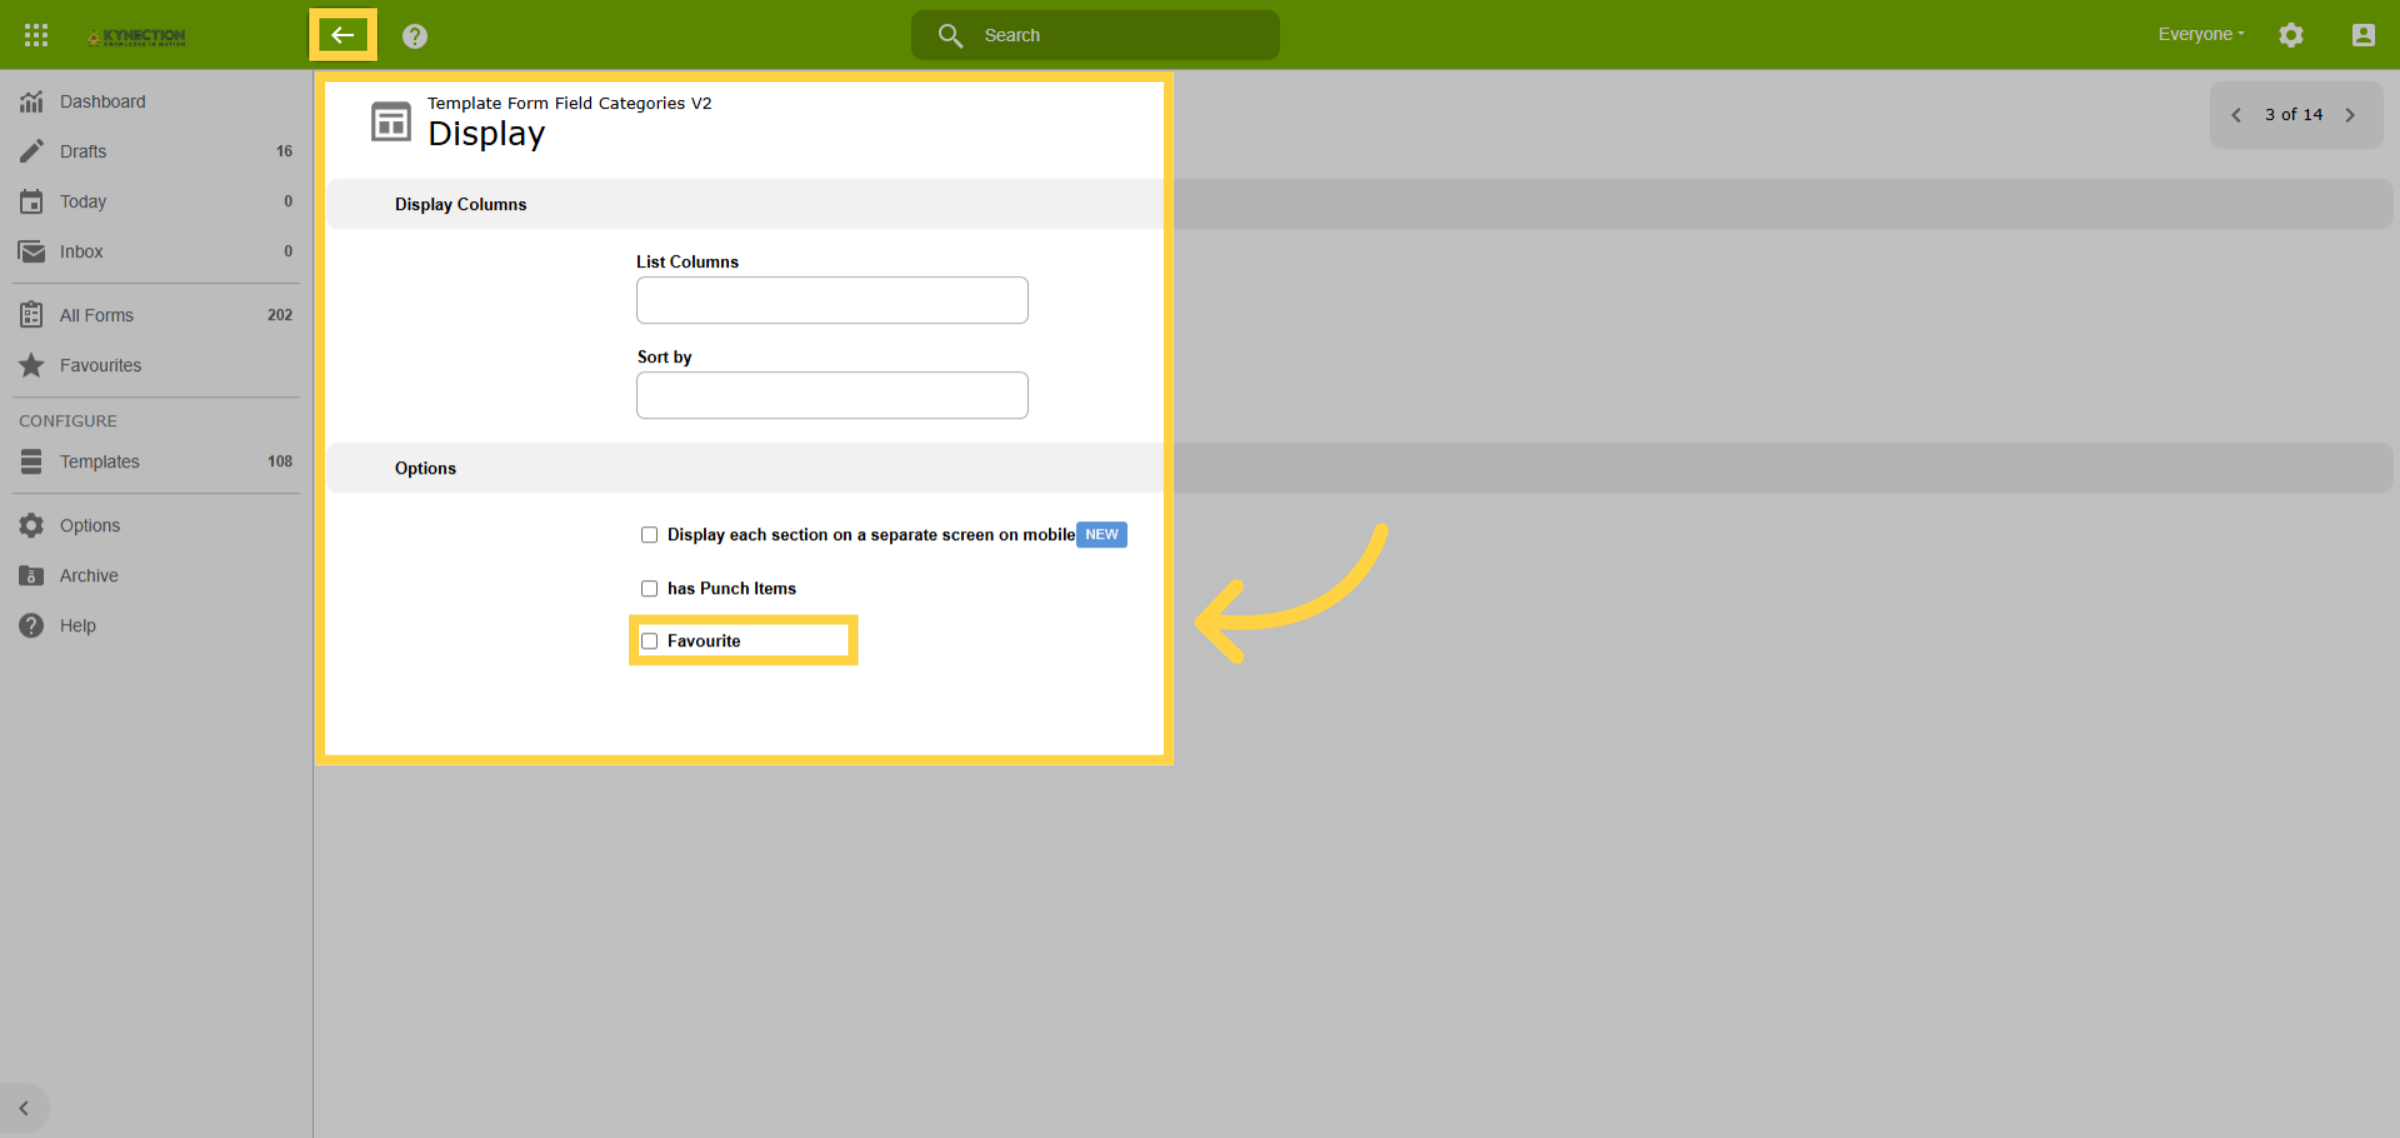
30. Display Config
Customise the table in the form folder by selecting the columns to display and the default sort order. Options also include adding the form to favourites and mobile app display.
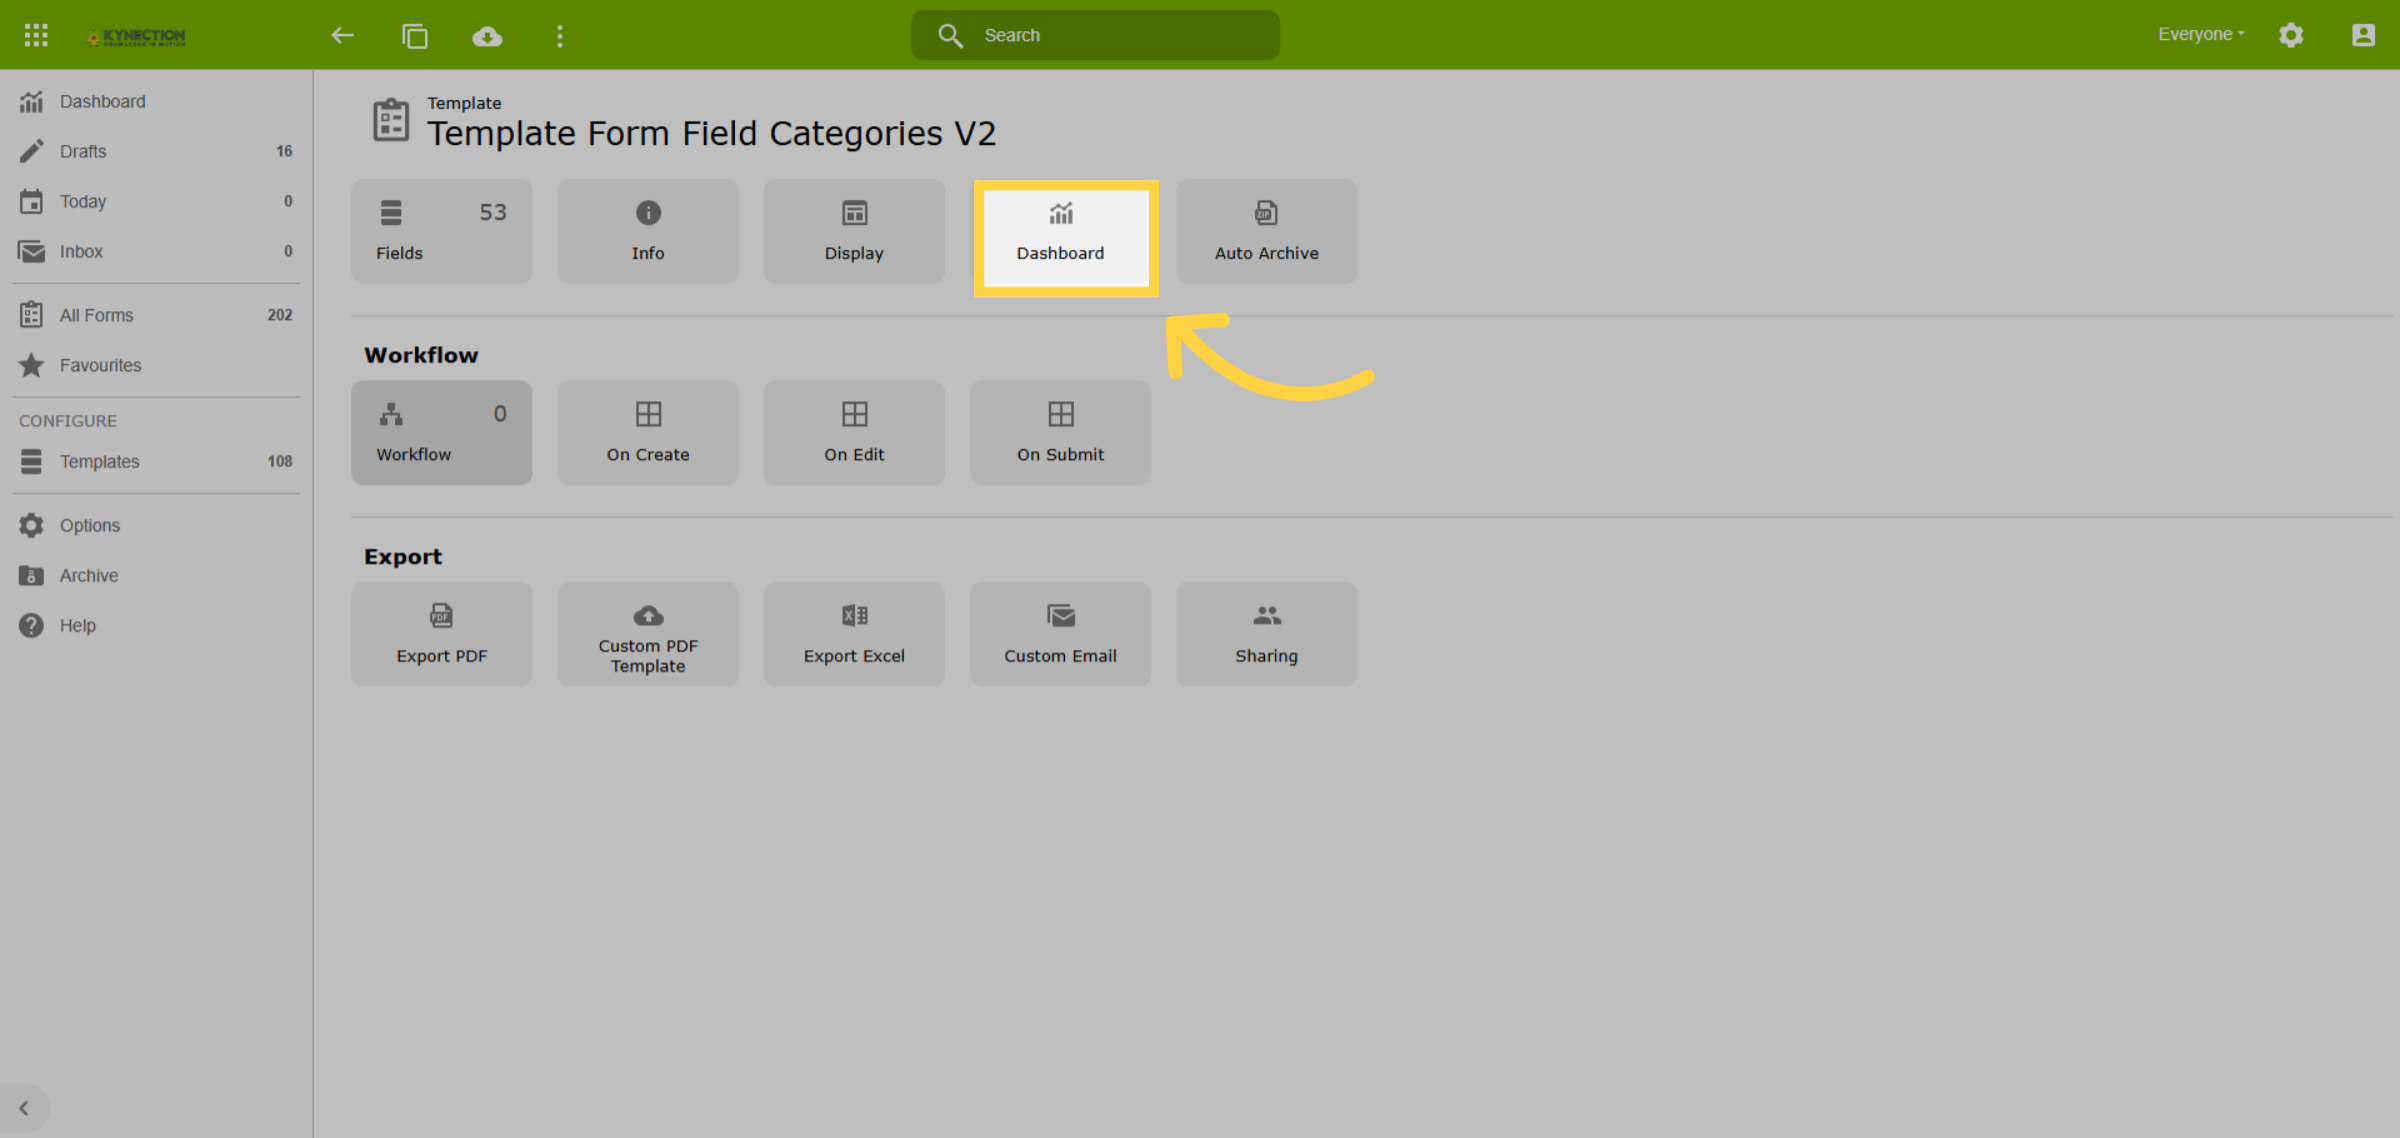
31. Dashboard
Kynection developers can customise dashboard views for form folders based on customer requests.
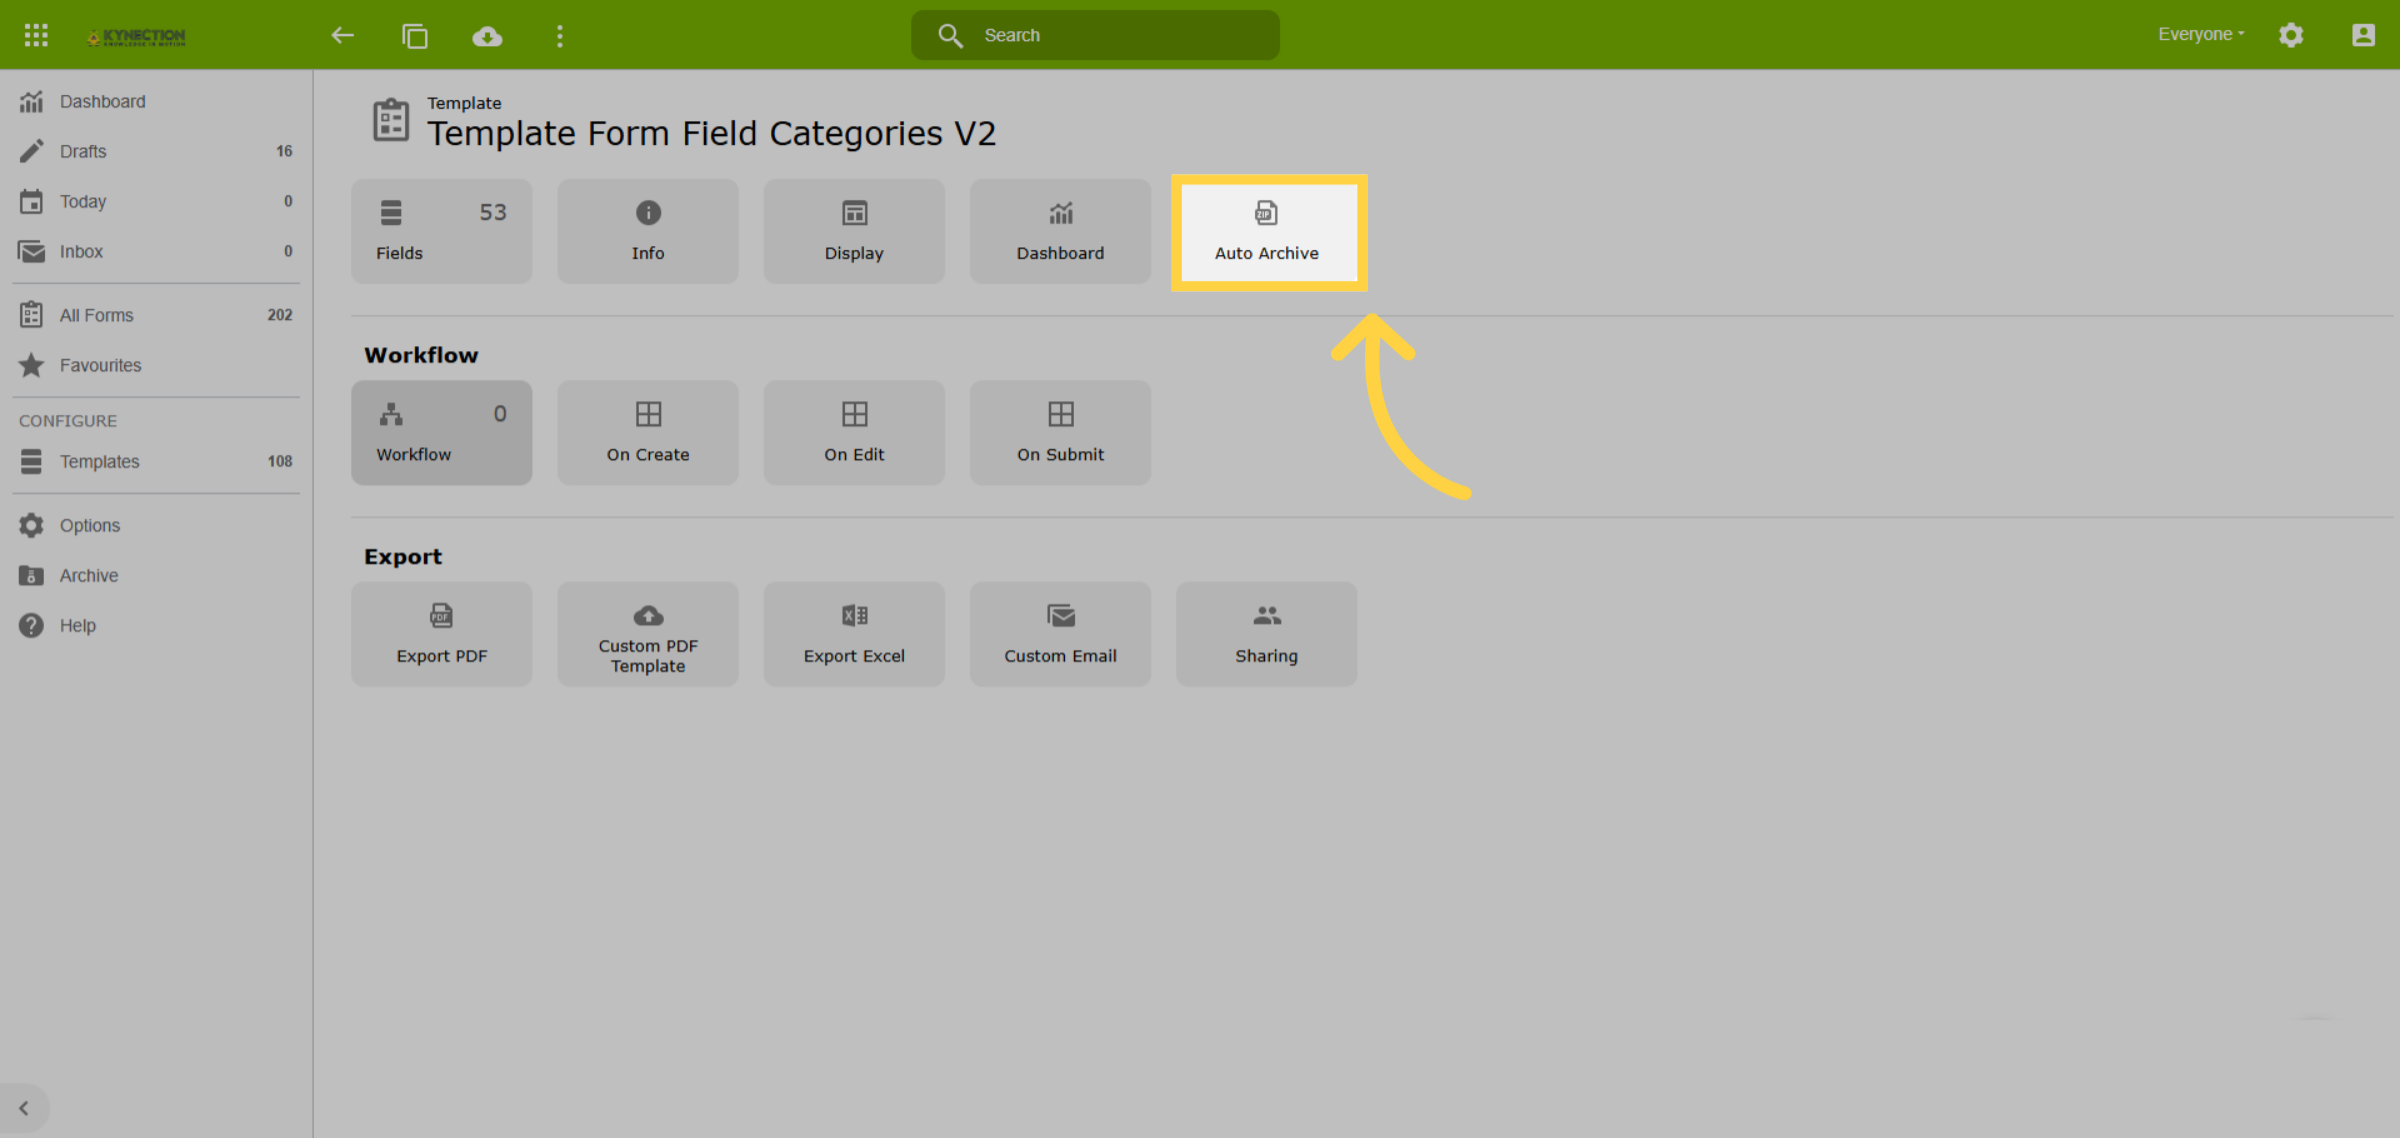
32. Auto Archive
The Archive feature manages database size. Enable auto-archiving by setting the retention period for forms.
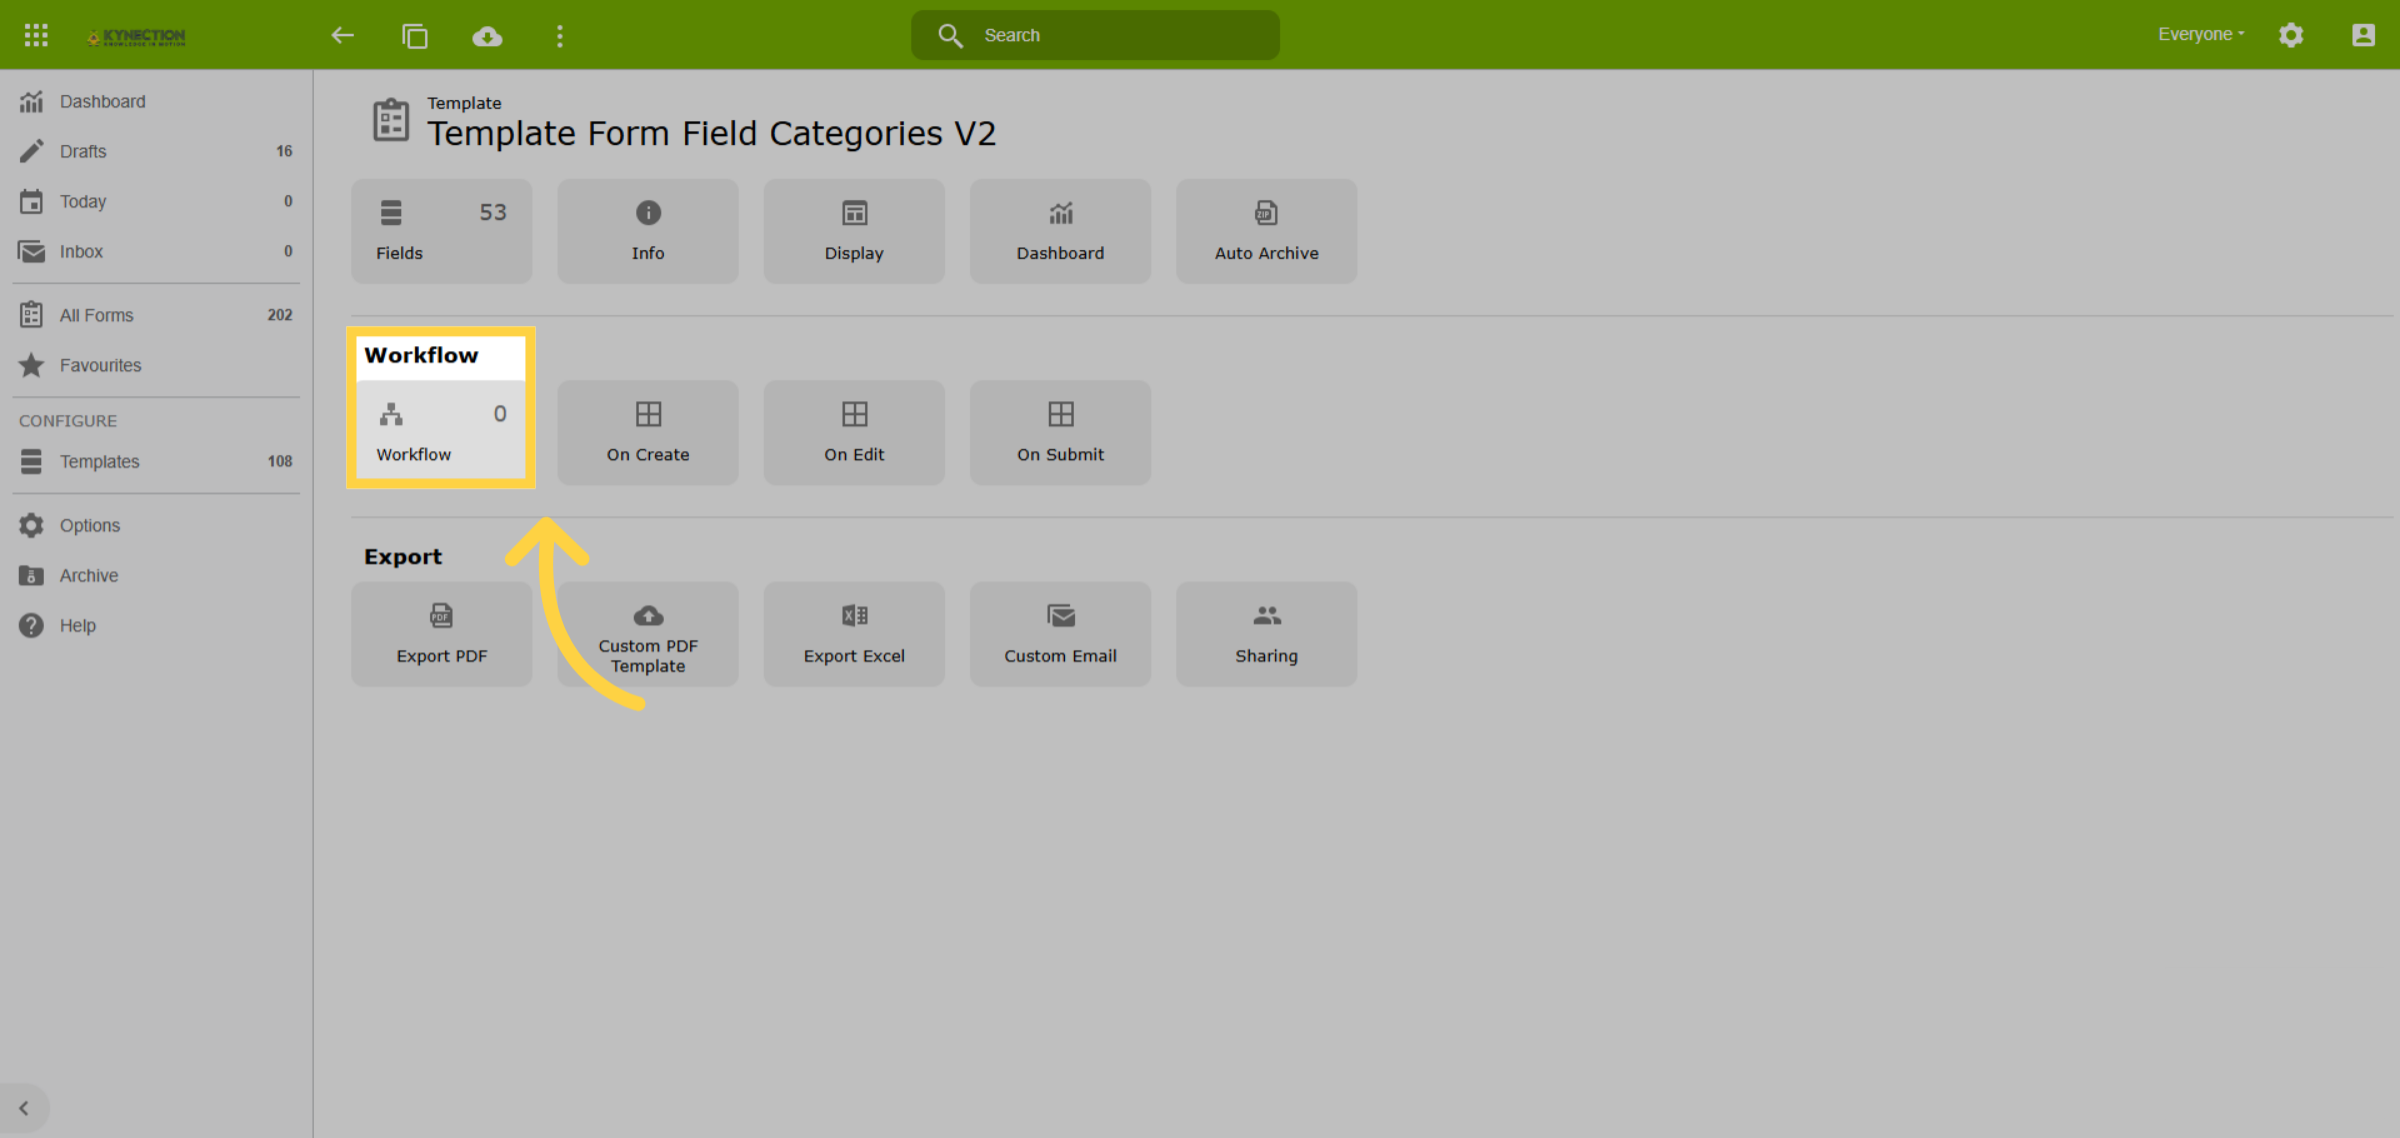
33. Workflow
Select Workflow when a follow-up or additional step is required on a form. Workflows are triggered by form status.
34. Add Workflow Step
All forms are submitted from draft, so workflows begin after this step. To add a new step to the workflow select the plus icon. In this example, we will add an approval by progressing the form through the stages of Submitted to Awaiting Approval, and finally to Approved.
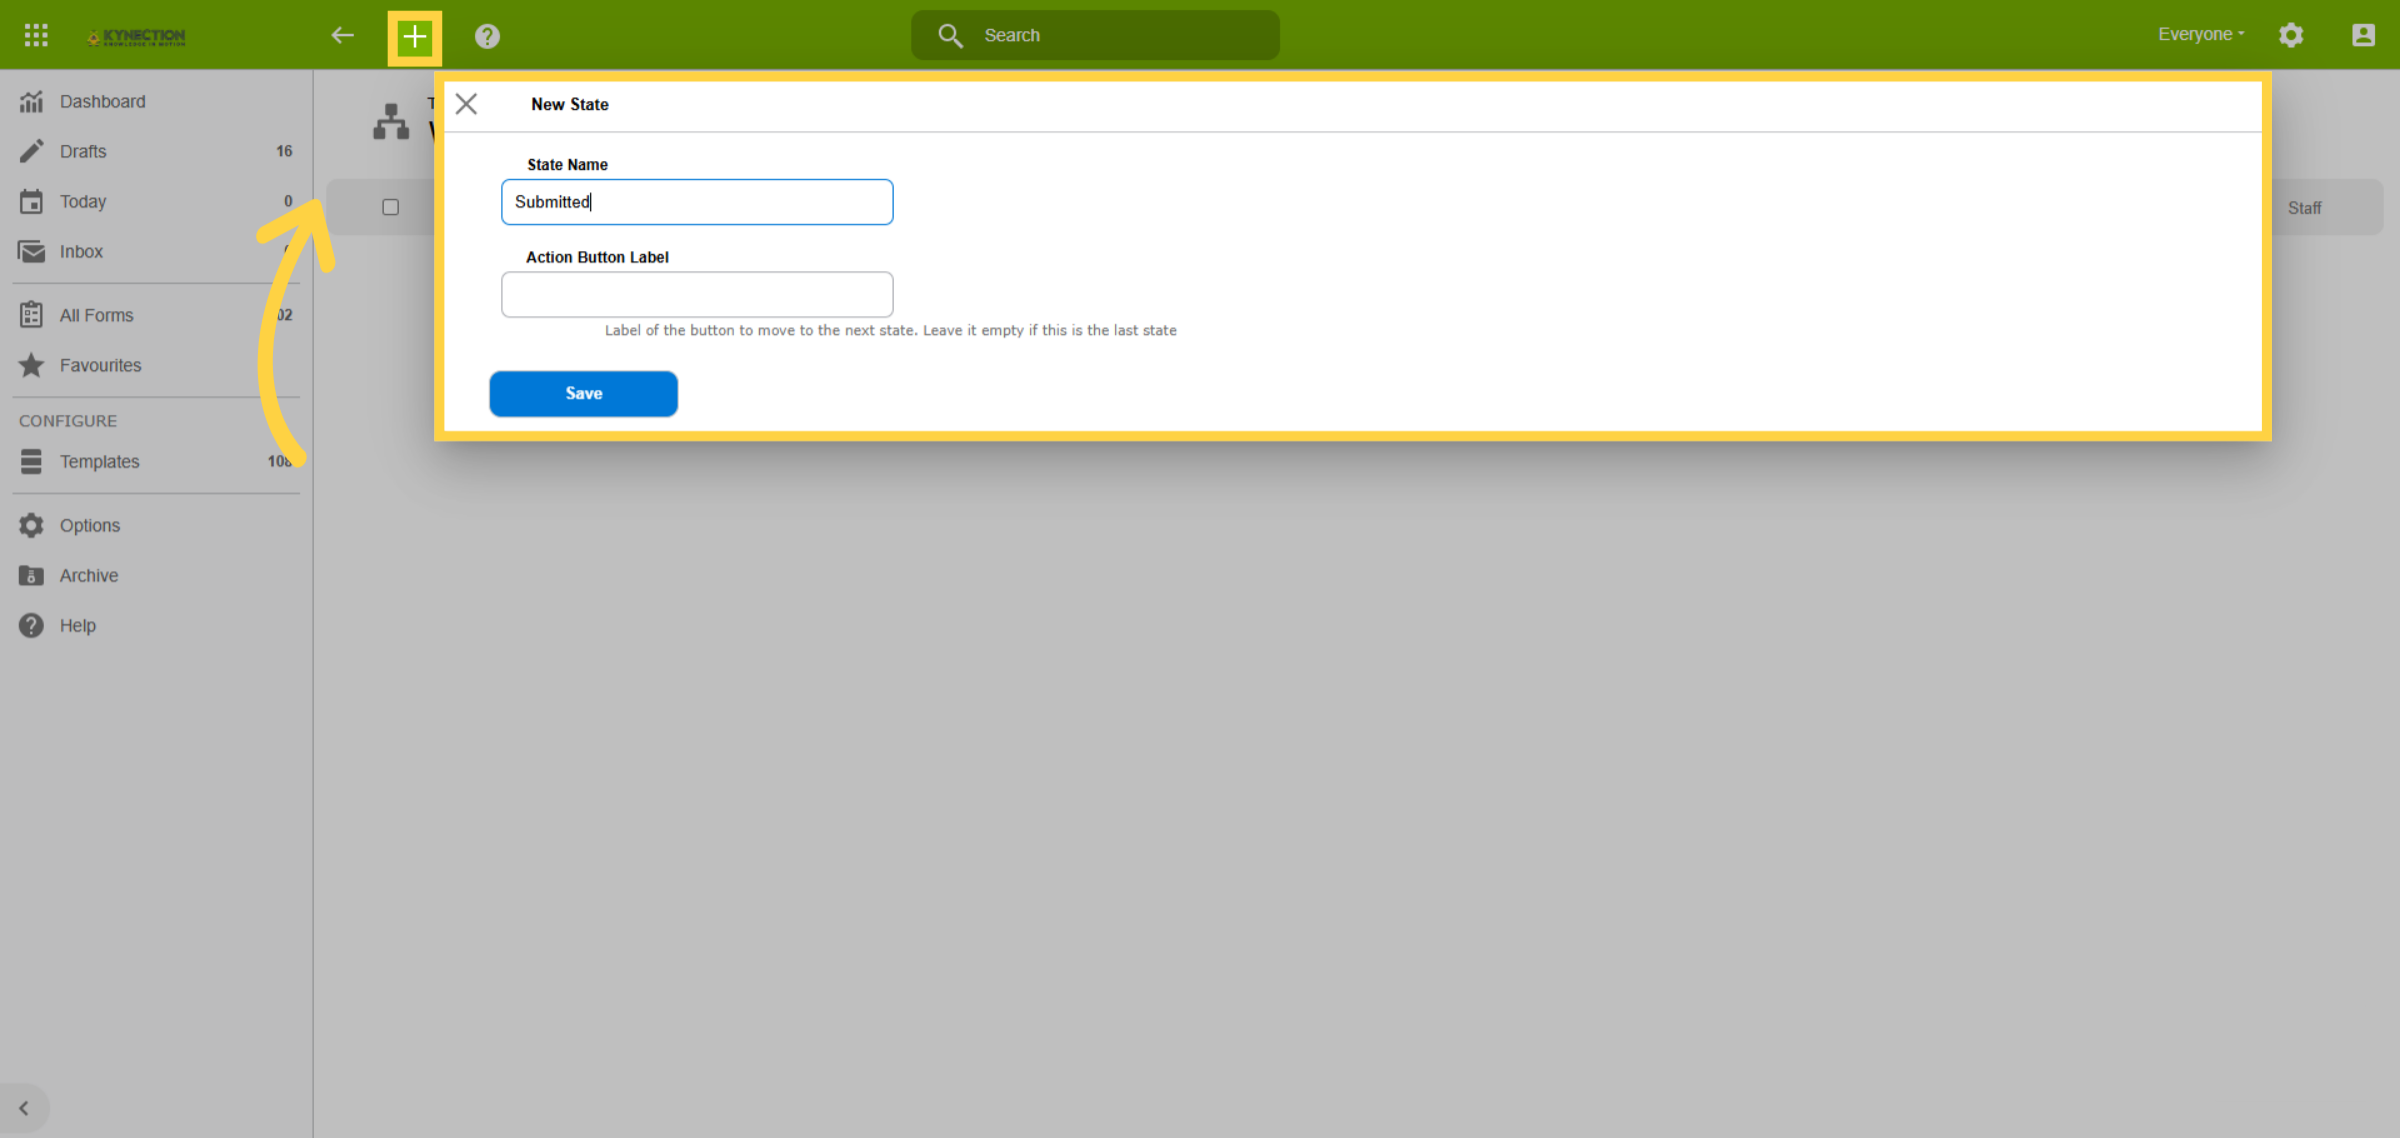
35. Status on Submit
The Status Name field becomes the form status once submitted from Draft, indicating the next step, or action, is required. Then add another status to the Action Button Label field to signal the second step is complete. Roles can be added to nominate those responsible.
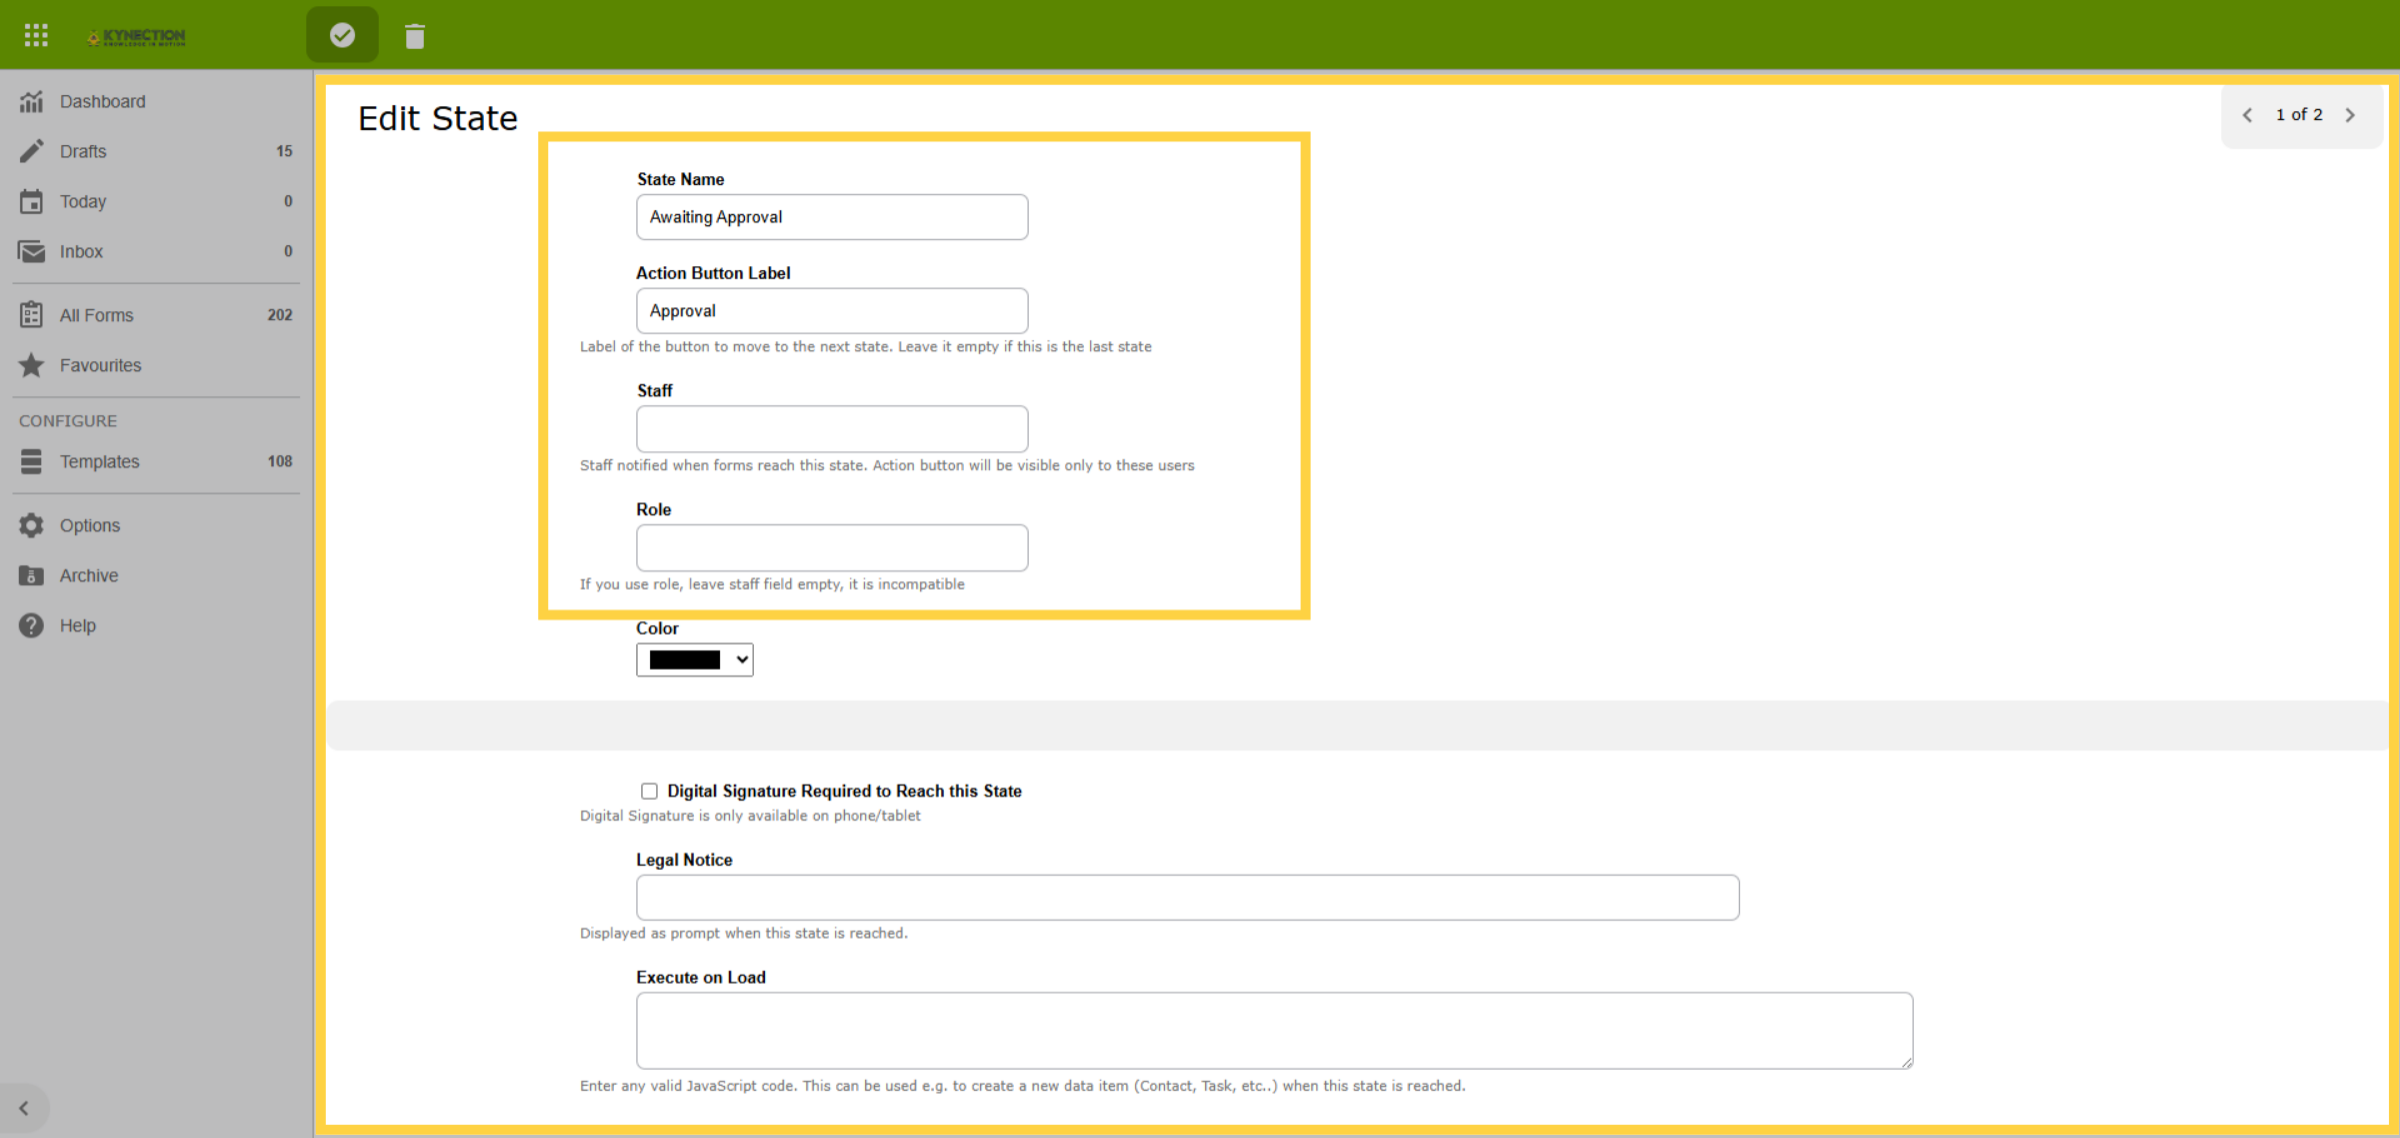
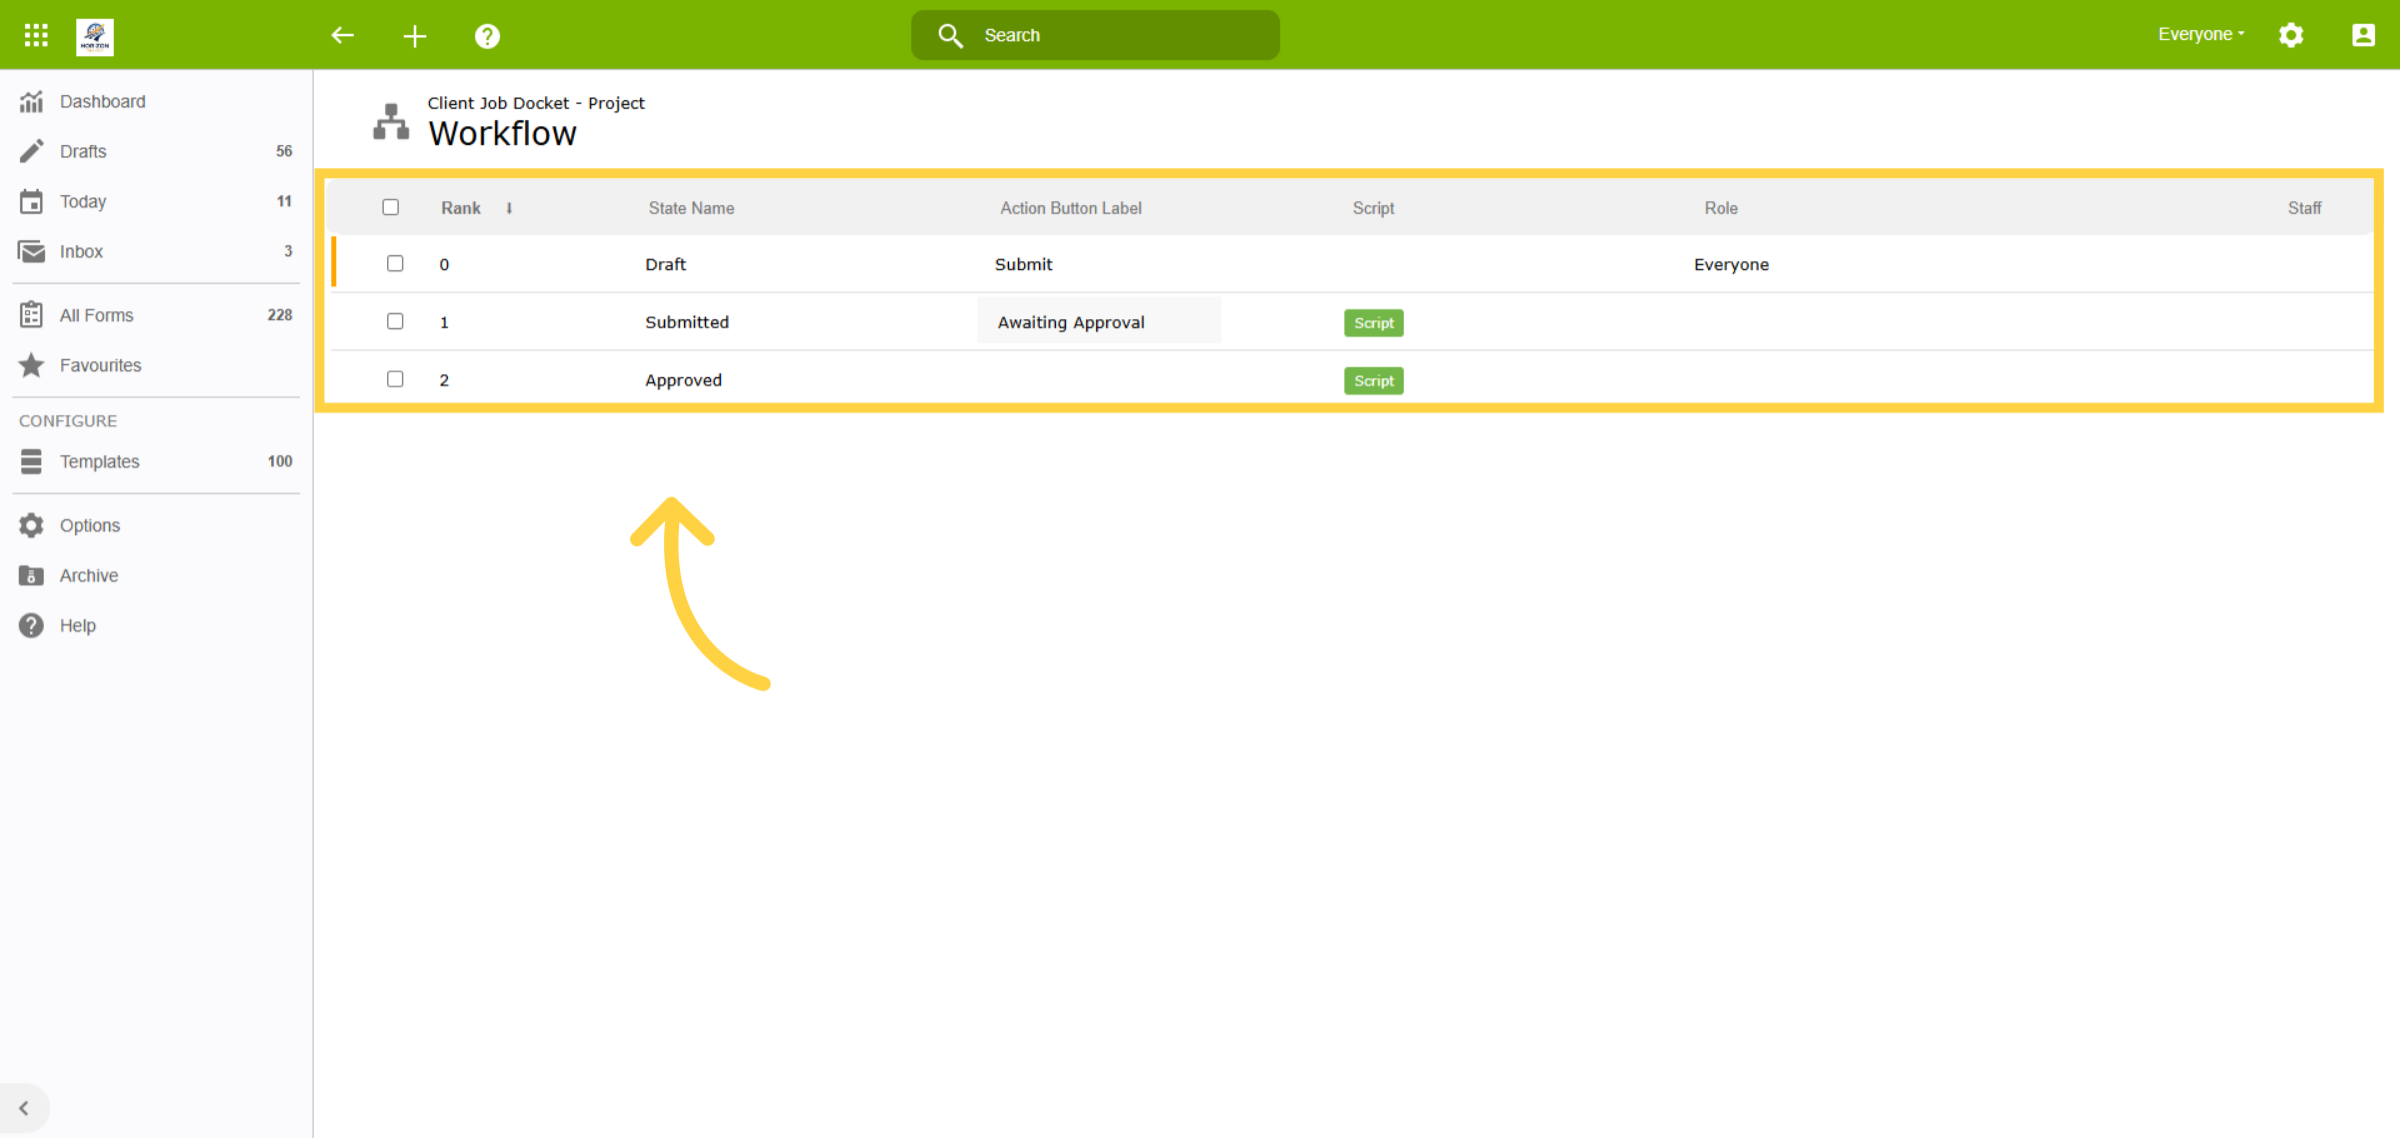
36. Approval Workflow
This example shows the form status will change to Awaiting Approval once it has been submitted from Draft, and will then change to Approved.. The third step doesn't have an Action Button Label, indicating no further steps and the form has been finalised.
37. Fields by State
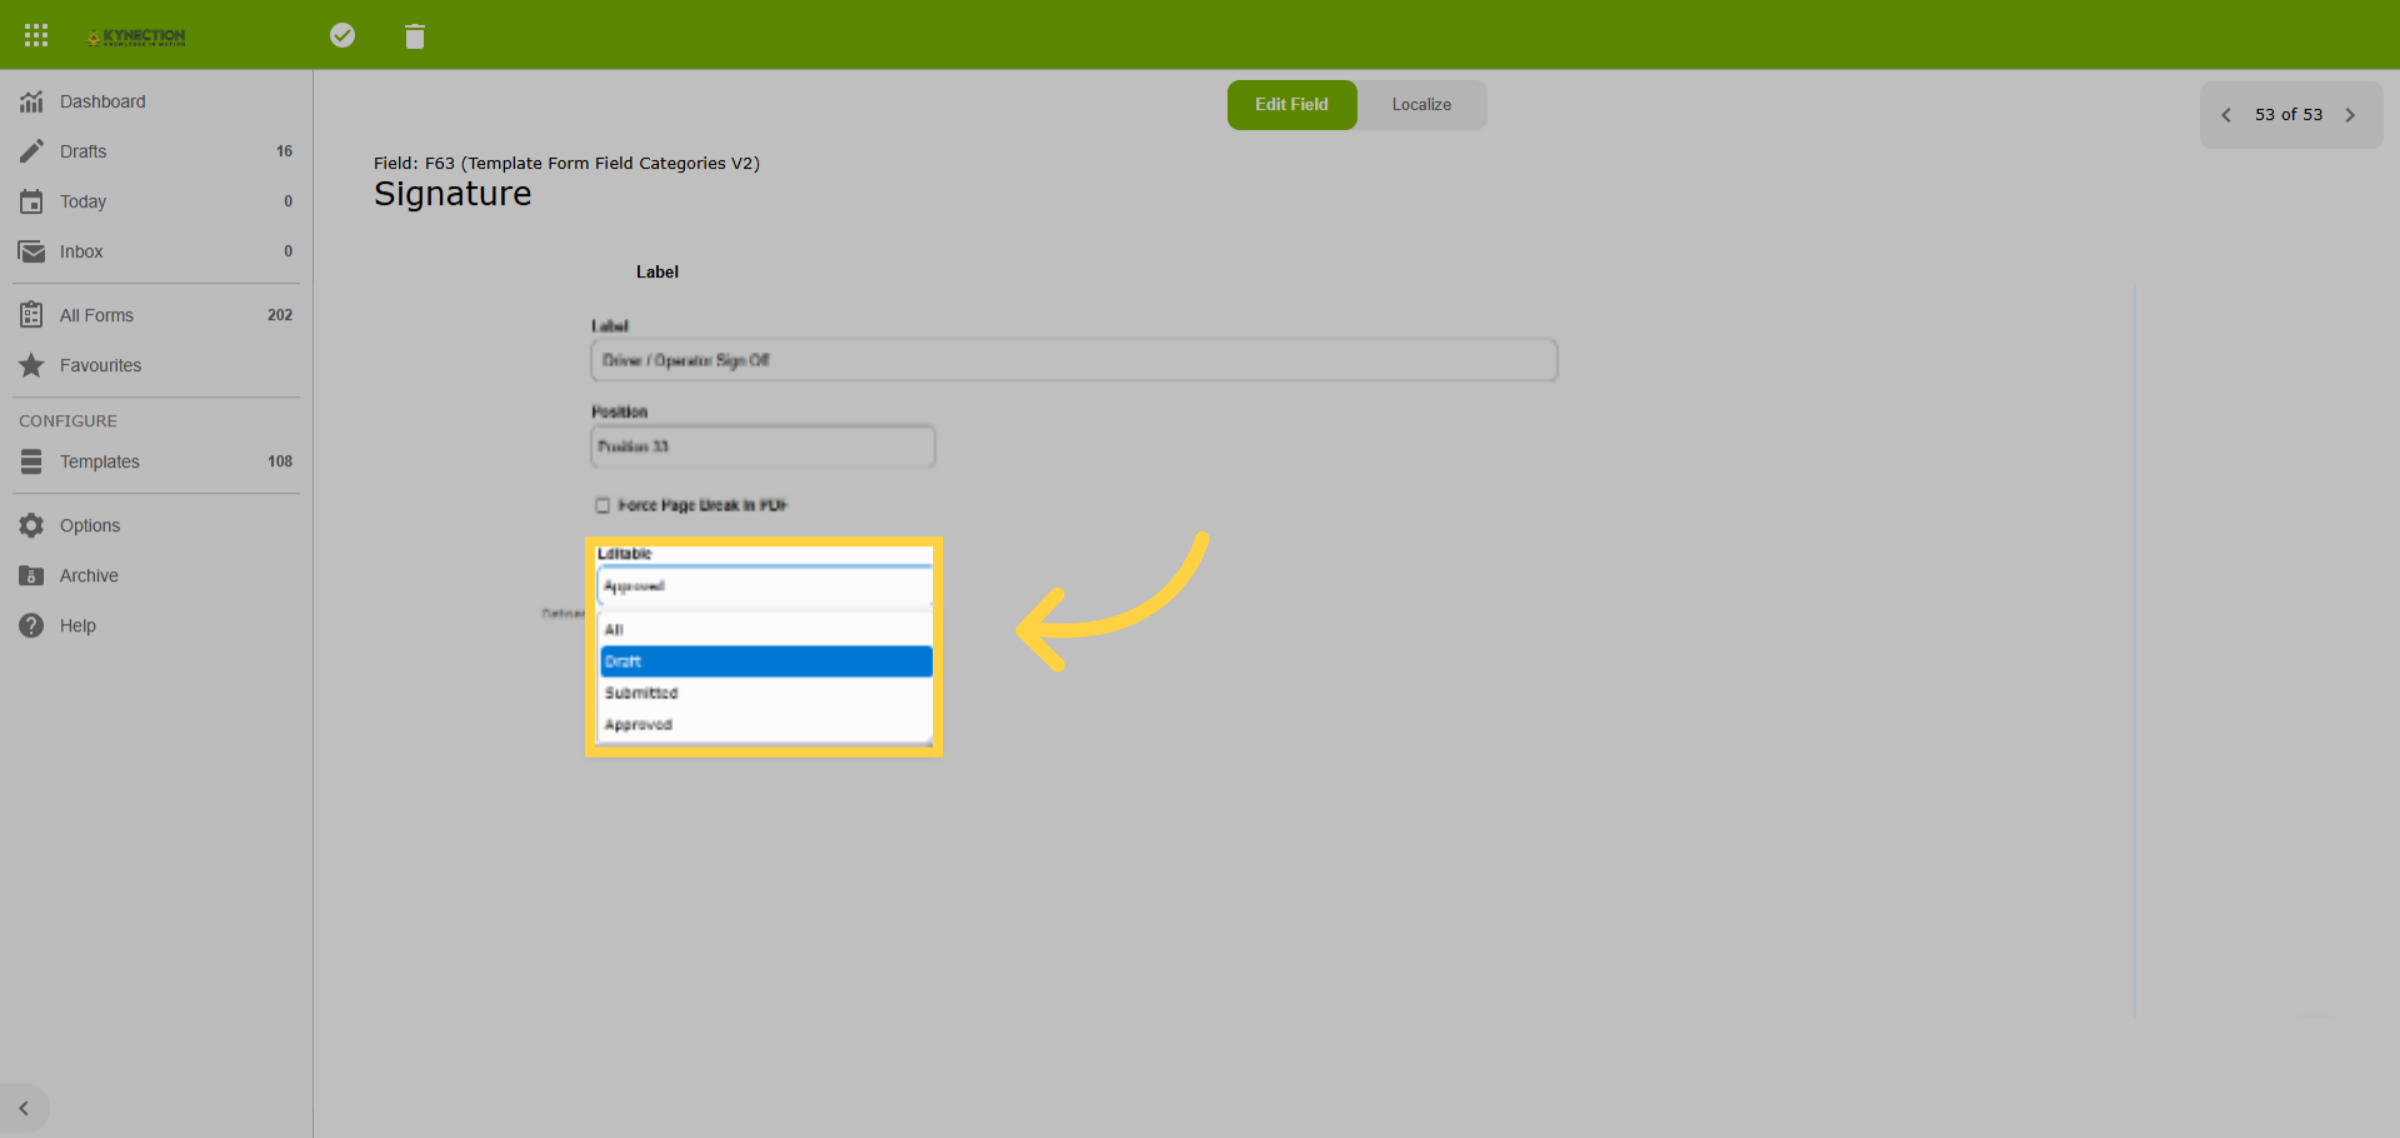
Once the workflow is set up, fields can be allocated according to the workflow state. Select the Editable option on the Form Field and the use the drop down list to add the field to the relevant stage of completion.
38. Workflow Scripting
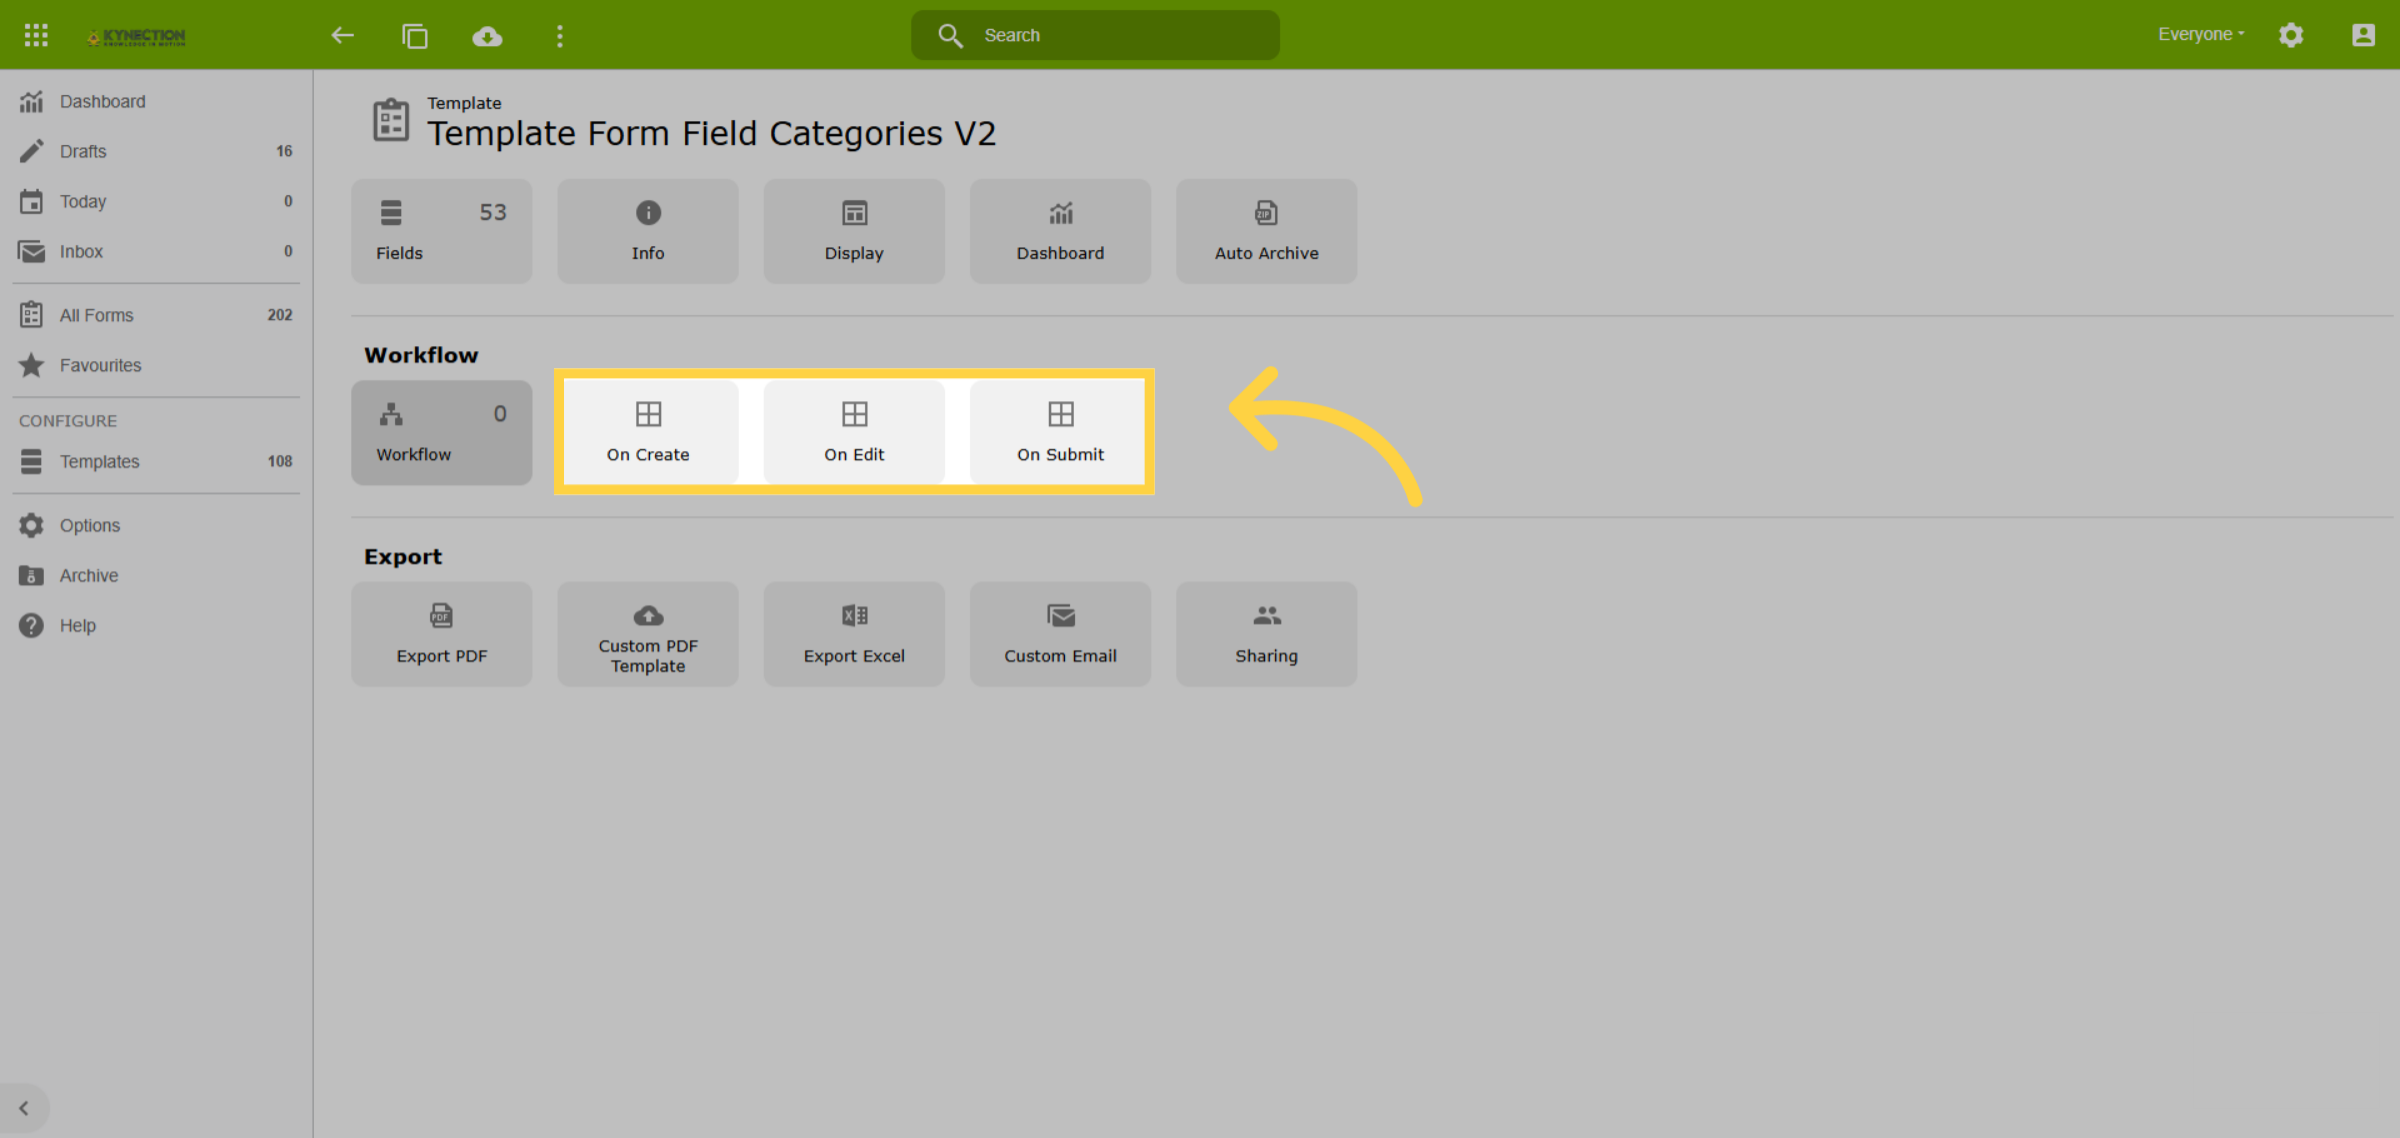
The Workflow Create, Edit and Submit buttons are used to specify a new event that links to these actions. These fields require scripting. If a form already has the action you require try copying the scripting to your new template, otherwise speak to our Team.
39. Template Export
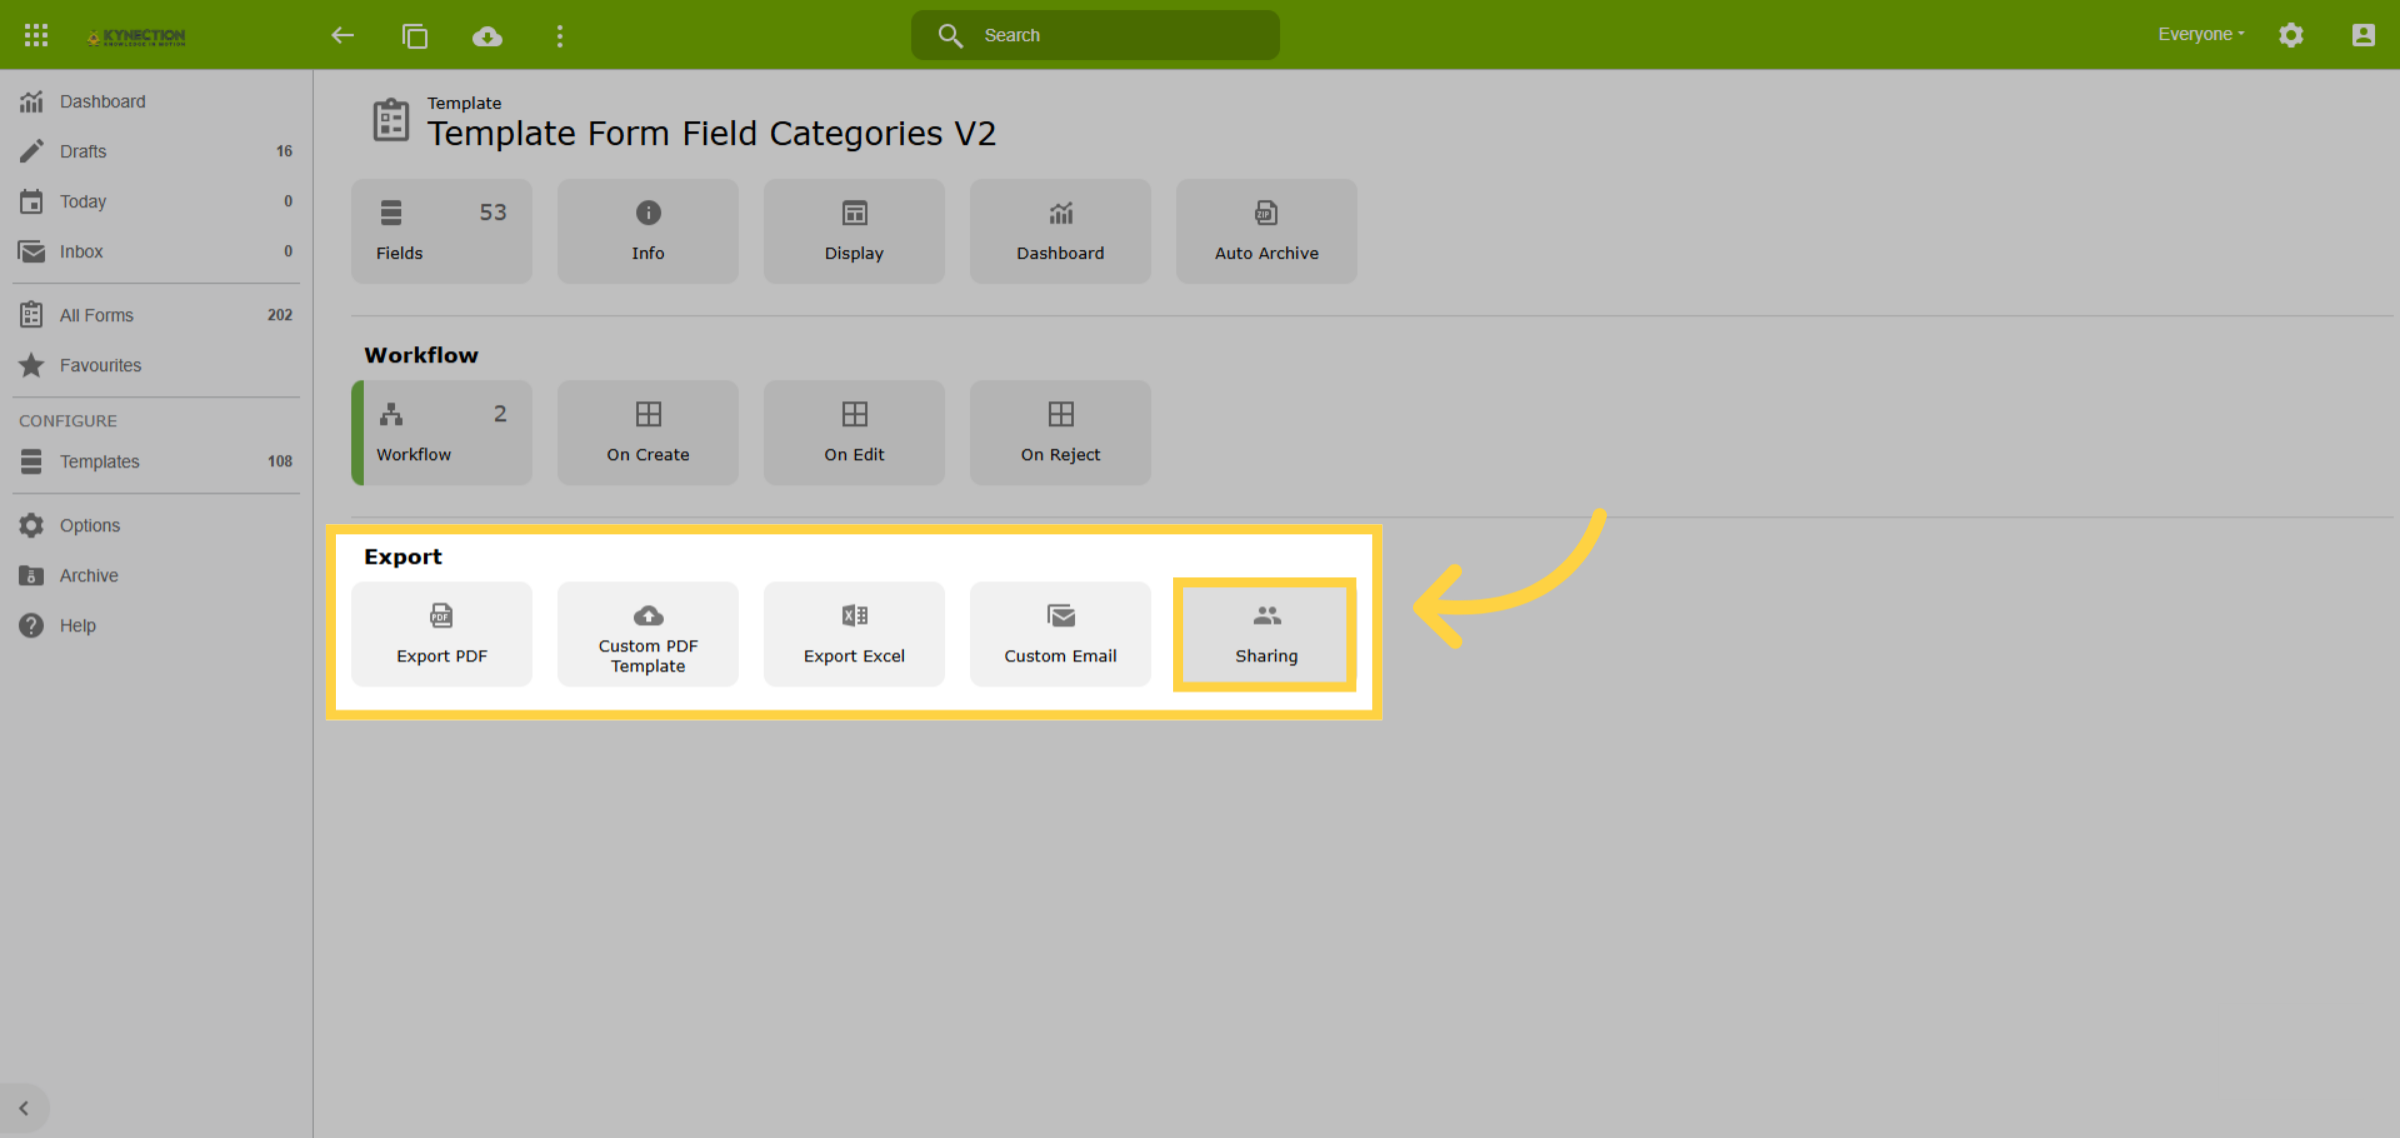
The outputs for PDF, Excel and Automated Emails can be can be configured for the form. Please speak with our team to discuss. Let's look at Sharing.
40. Export Sharing
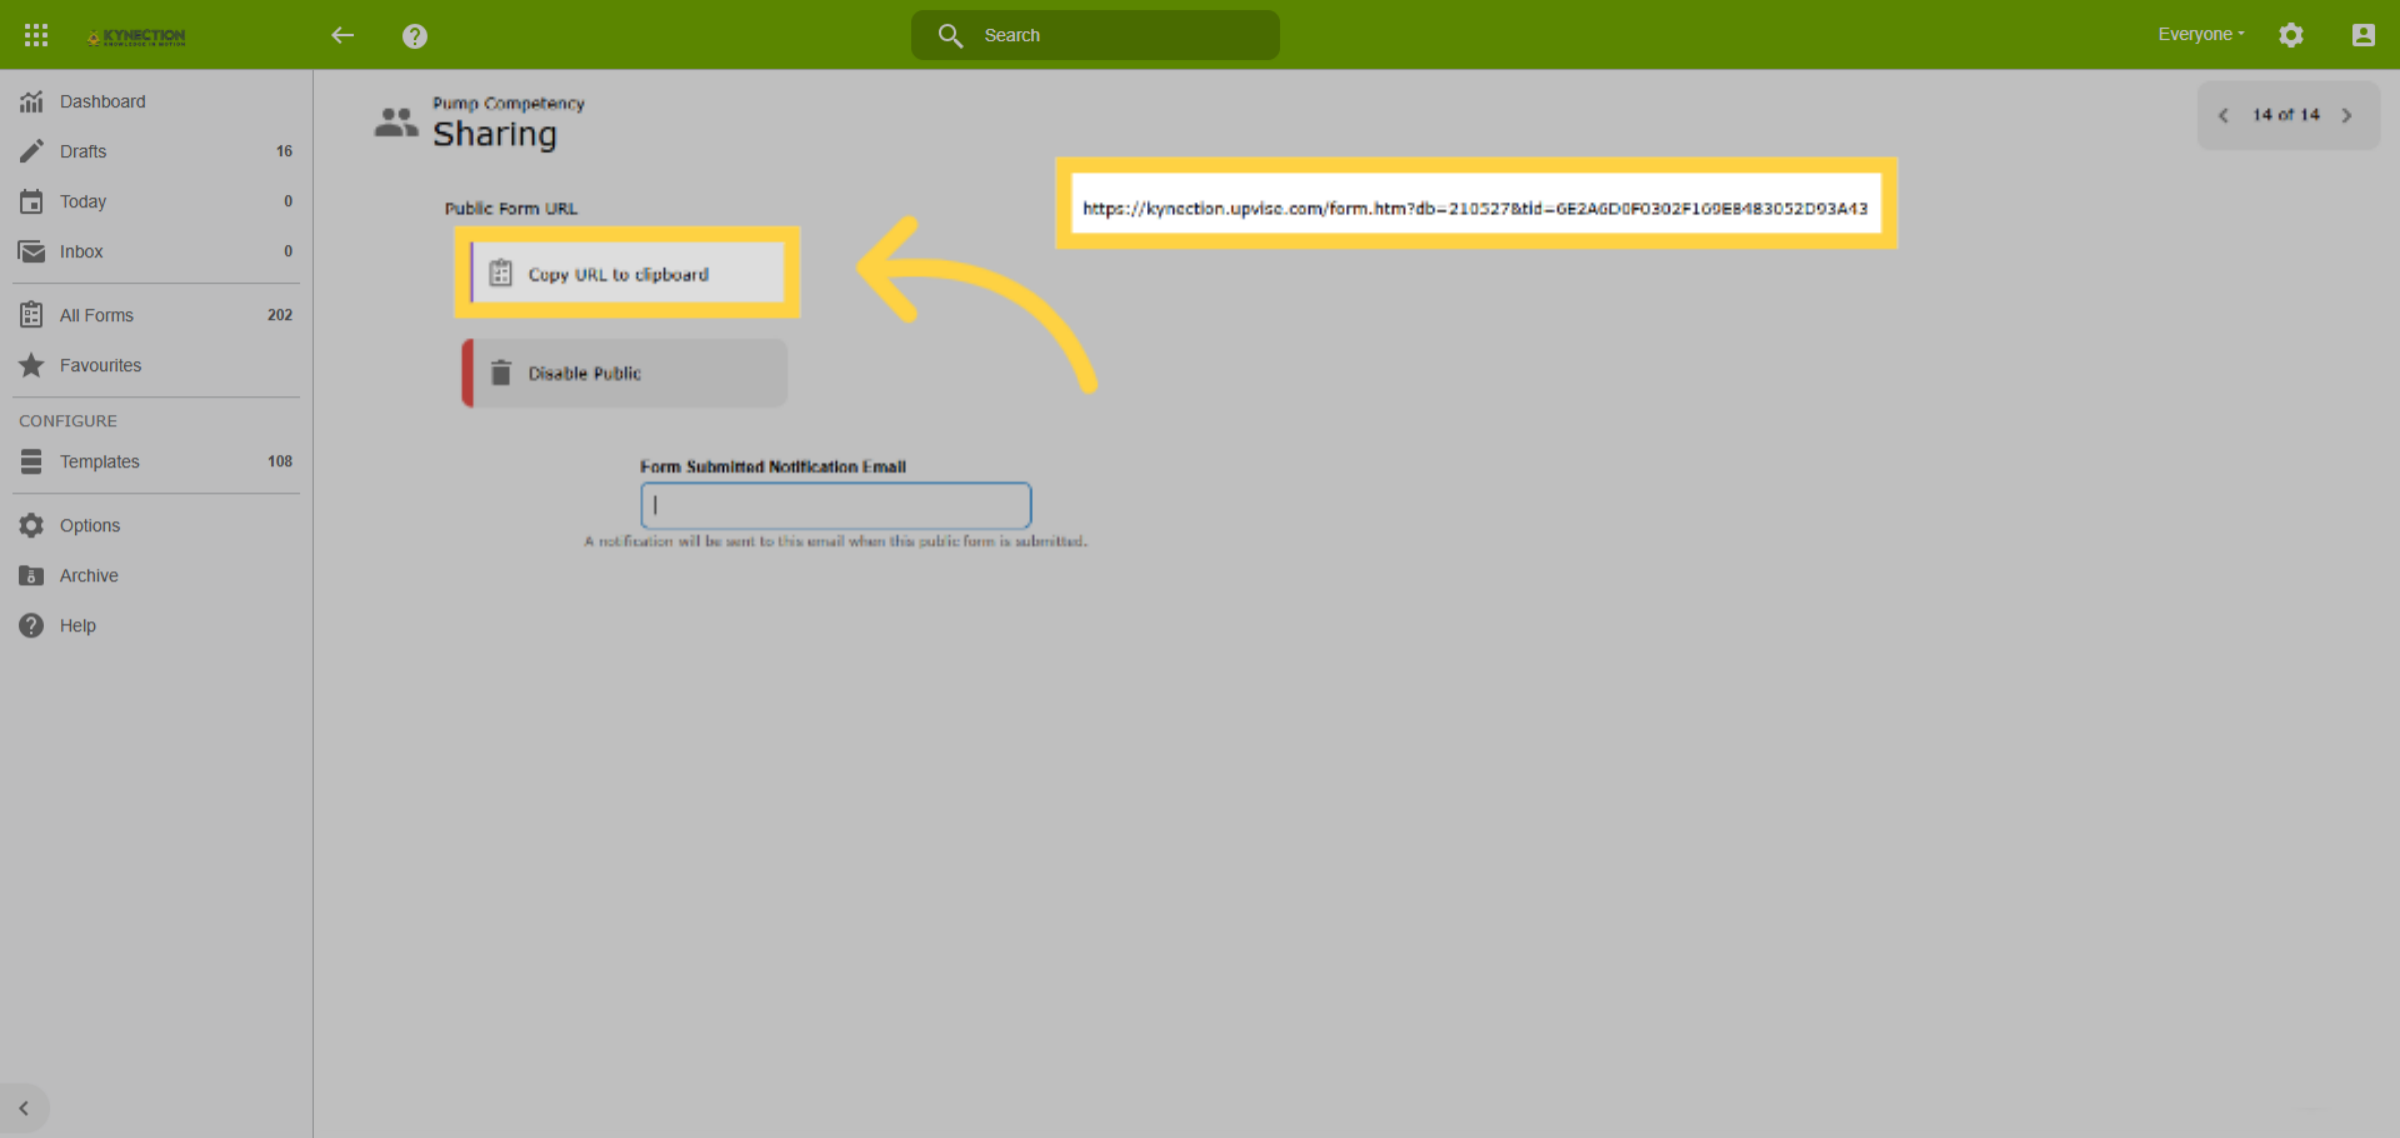
To share the form publicly, select Sharing from the Export menu of the template, then enable Public. This generates a browser link allowing the form to be completed by non-Kynection users.
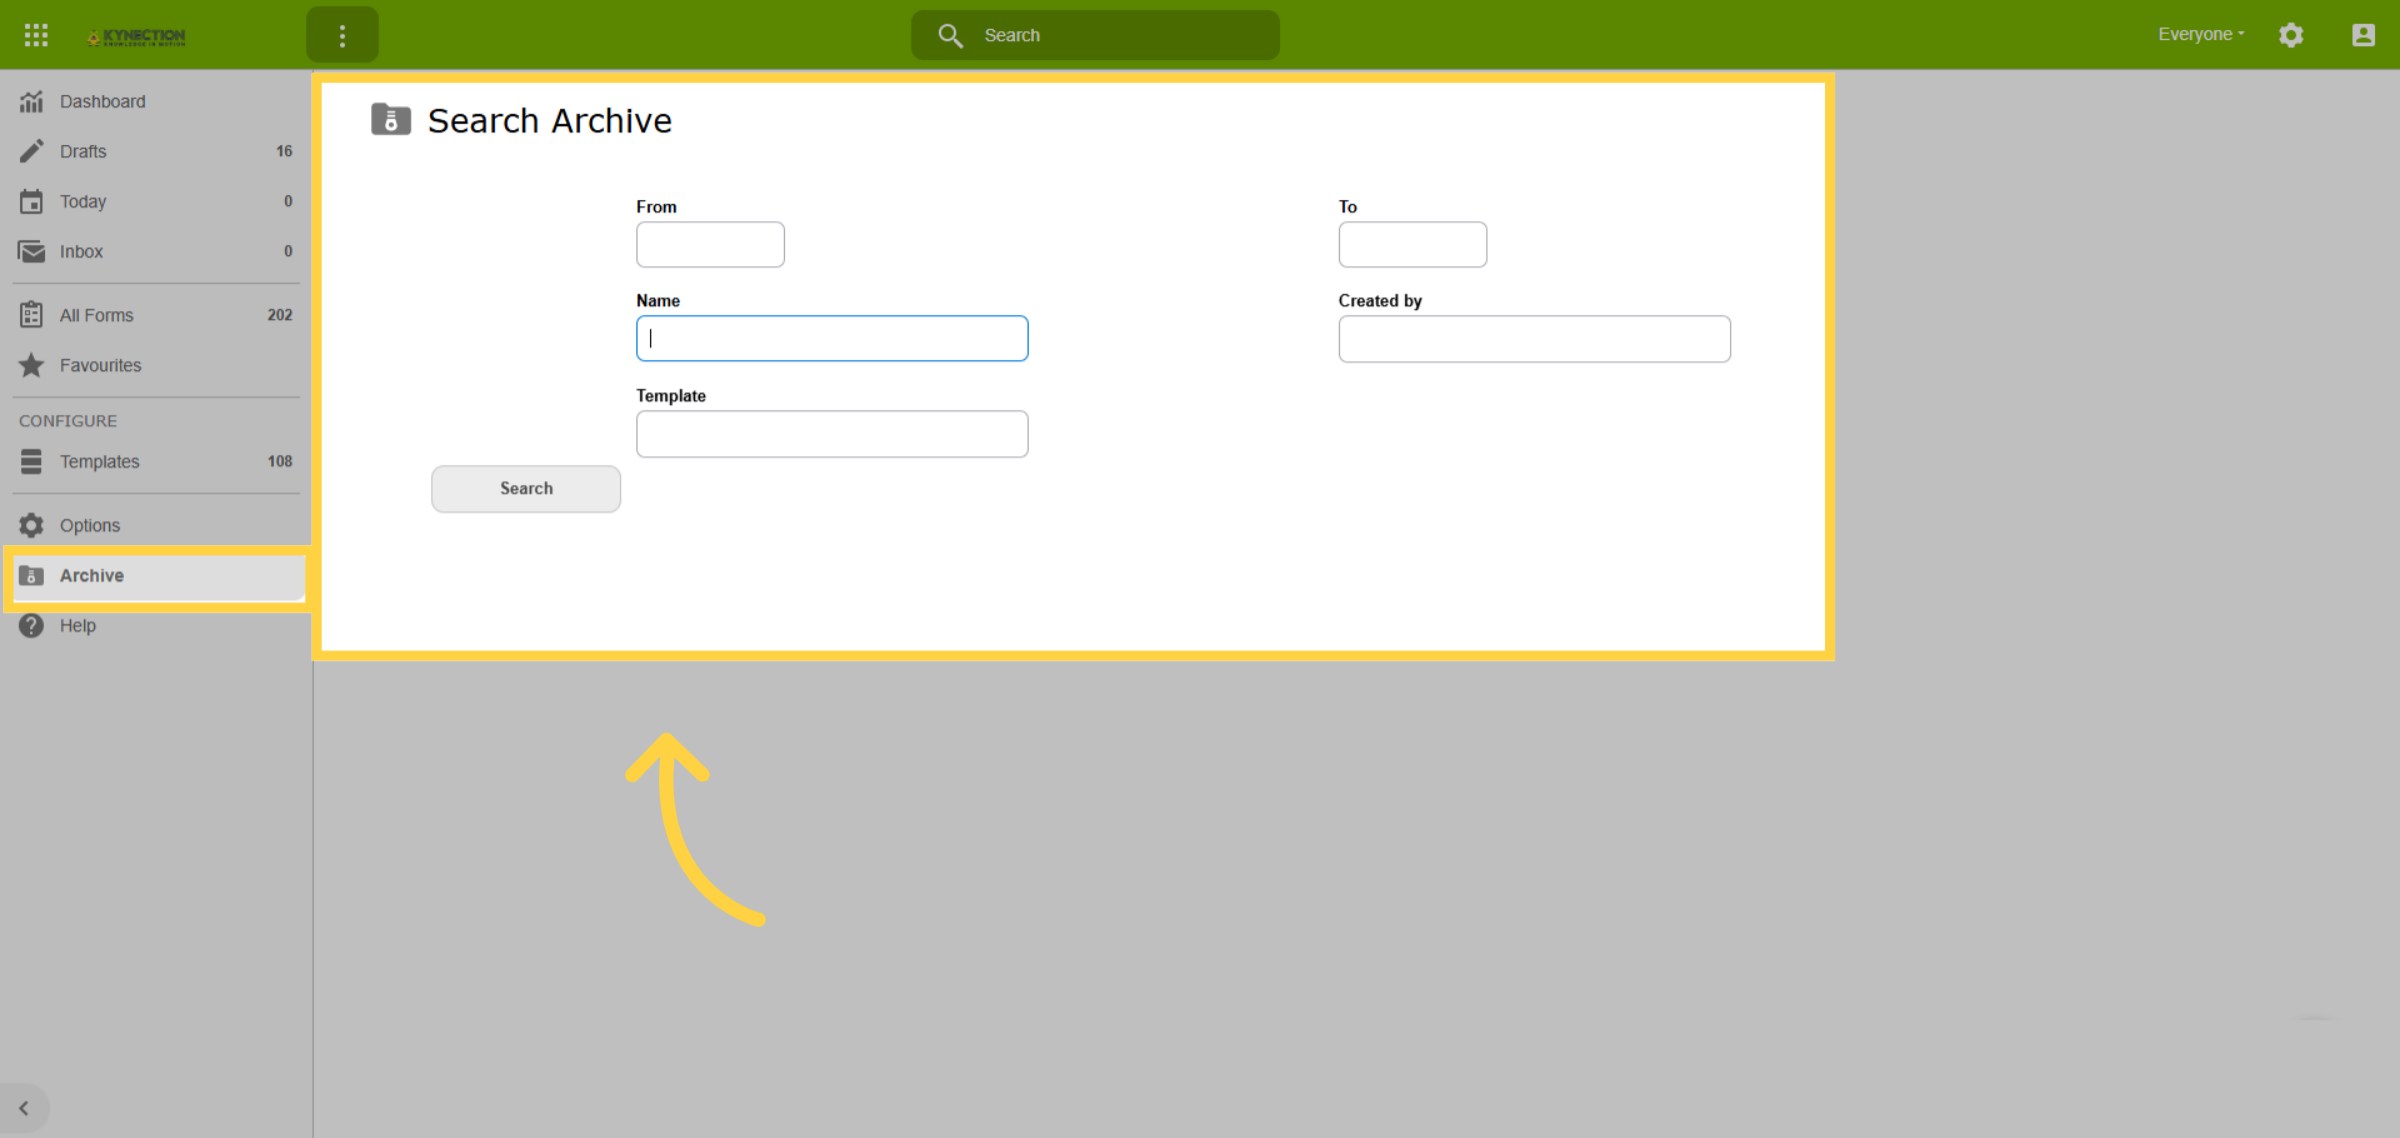
41. Search Archive
Select Archive from the left-hand pane. This area allows searching for auto-archived forms. The Configure option in the toolbar, available for Admin roles only, configures archiving for all forms.
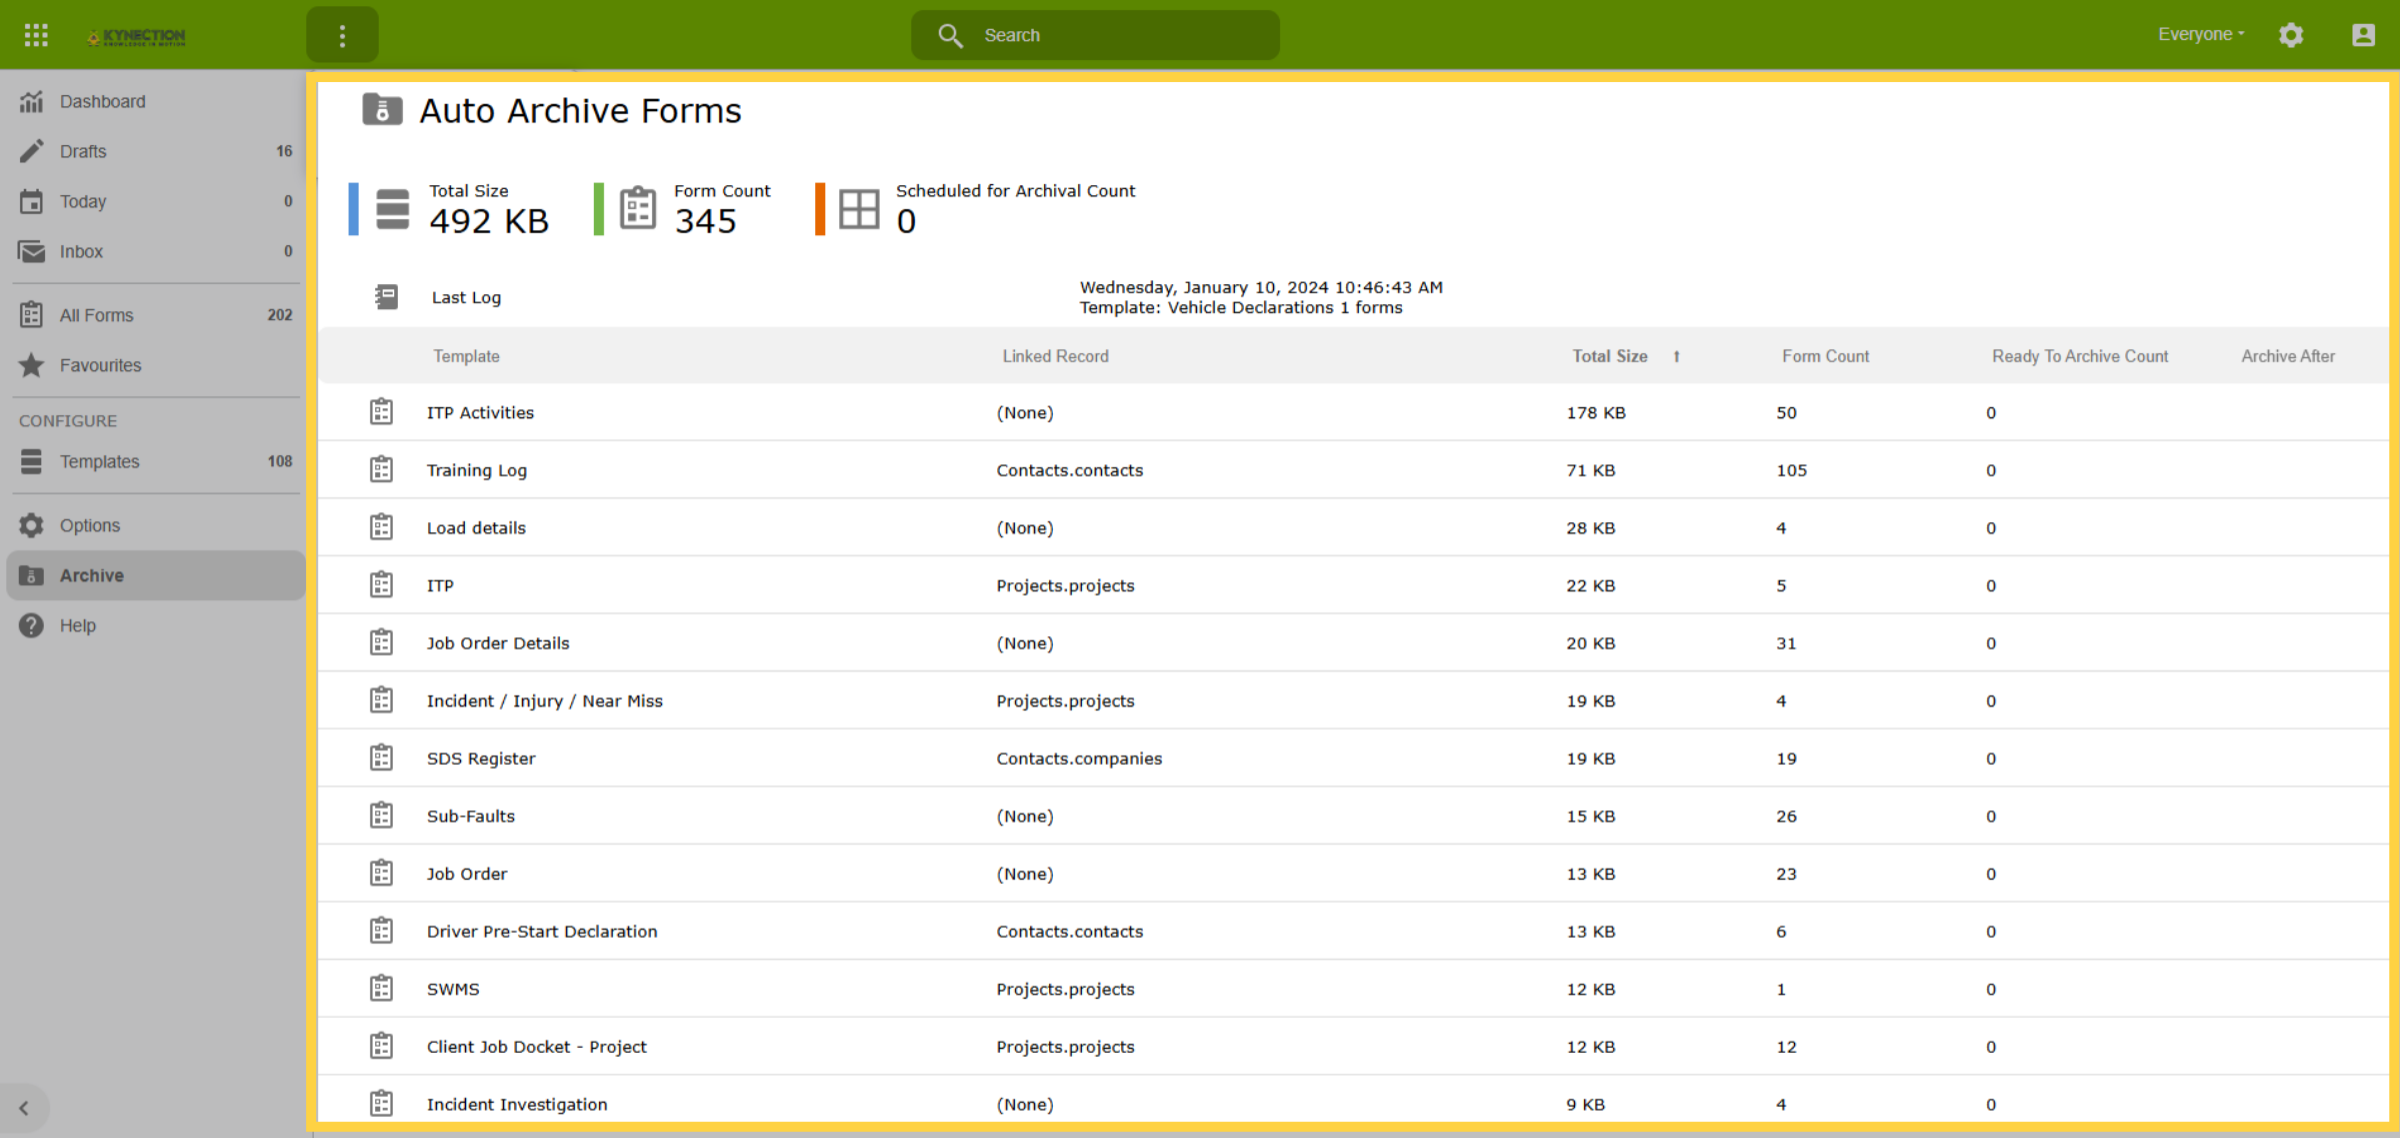
42. Configure Archive
Forms are organied by database size for your convenience. Choose a form to enable auto-archiving. Archiving forms is crucial for managing database size and ensuring that Kynection operates at peak performance.
This guide covered navigating forms, templates, and managing submissions effectively, offering a comprehensive walk-through for enhanced data management within Kynection. Thanks for watching.

