This guide provides a comprehensive overview of the Kynection inventory module, designed to help you efficiently navigate its various sections, including Warehousing, Catalog, Stock Takes, and stock assignment.
1. Sales
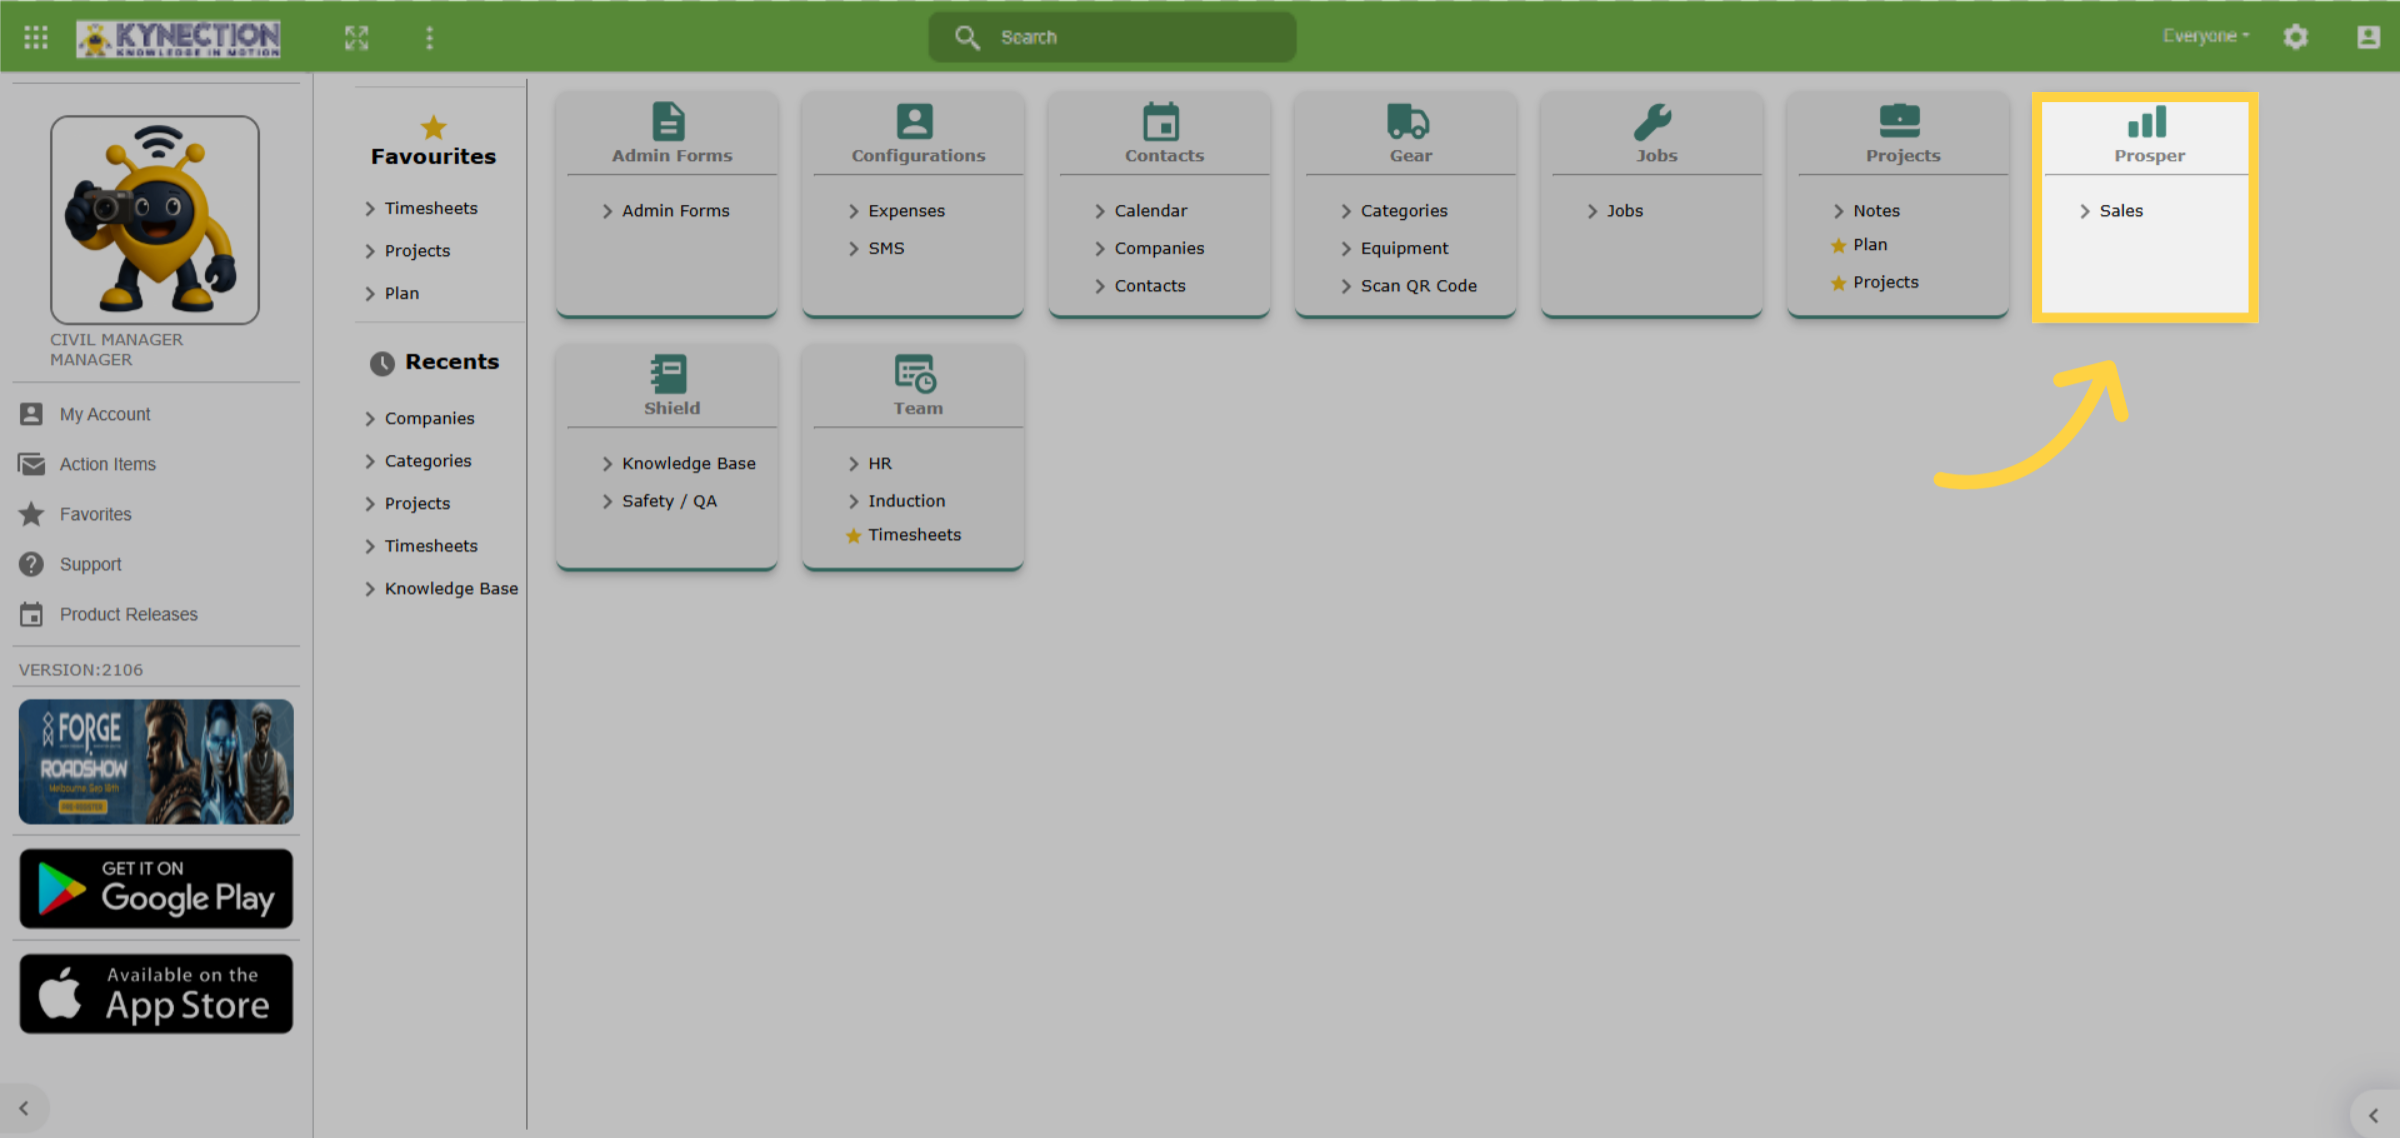
From the home dashboard, navigate to the Prosper module and click Sales.
2. Catalog
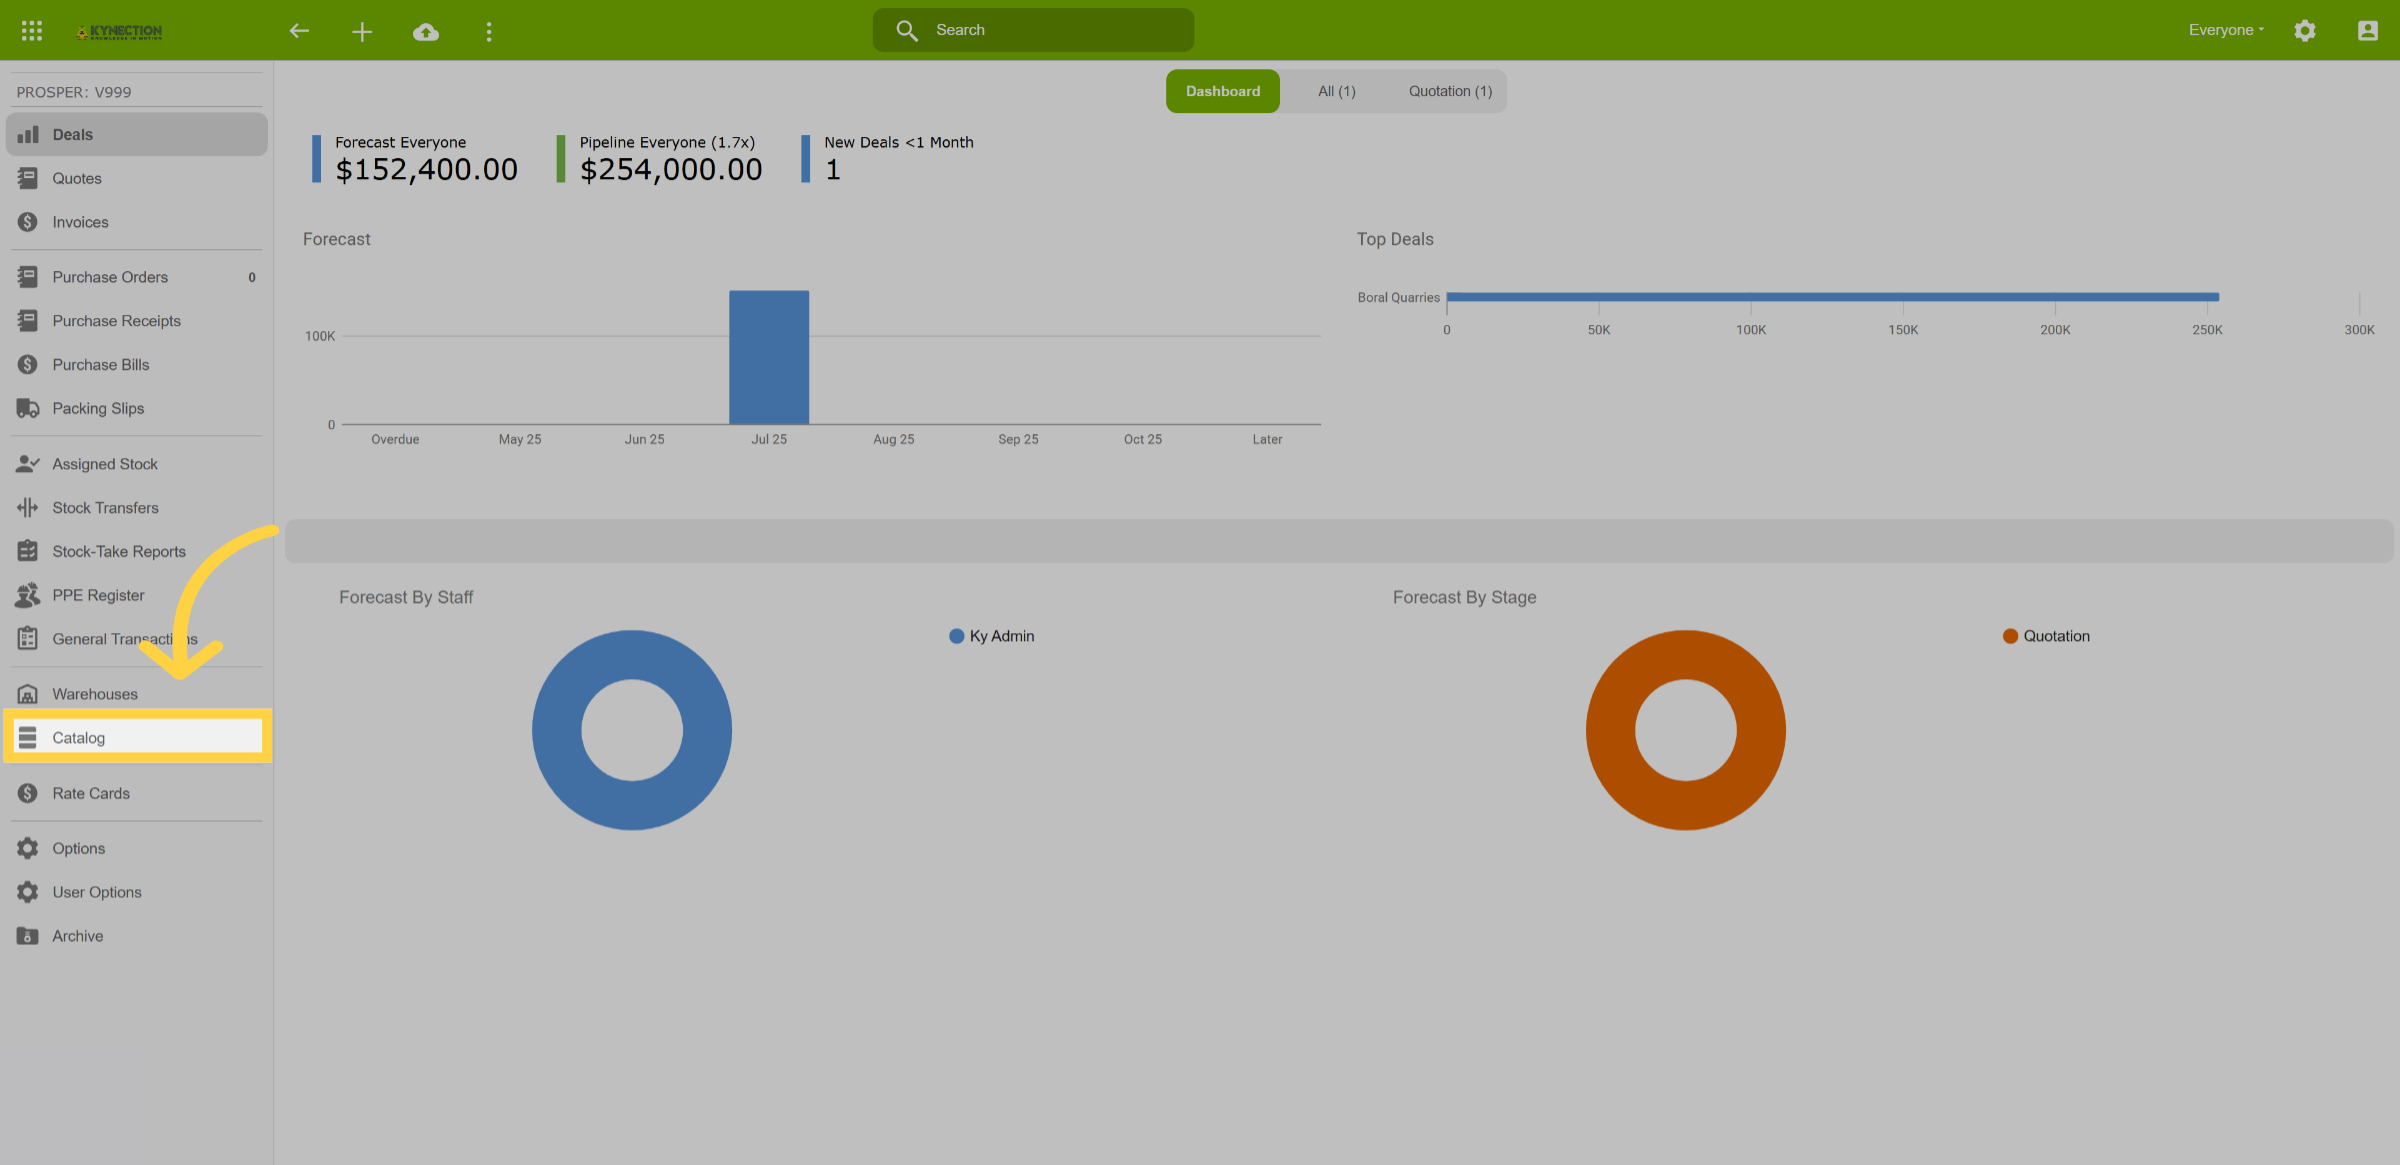
On the left-hand panel, select the Catalogue tab to continue.
3. Stock Items
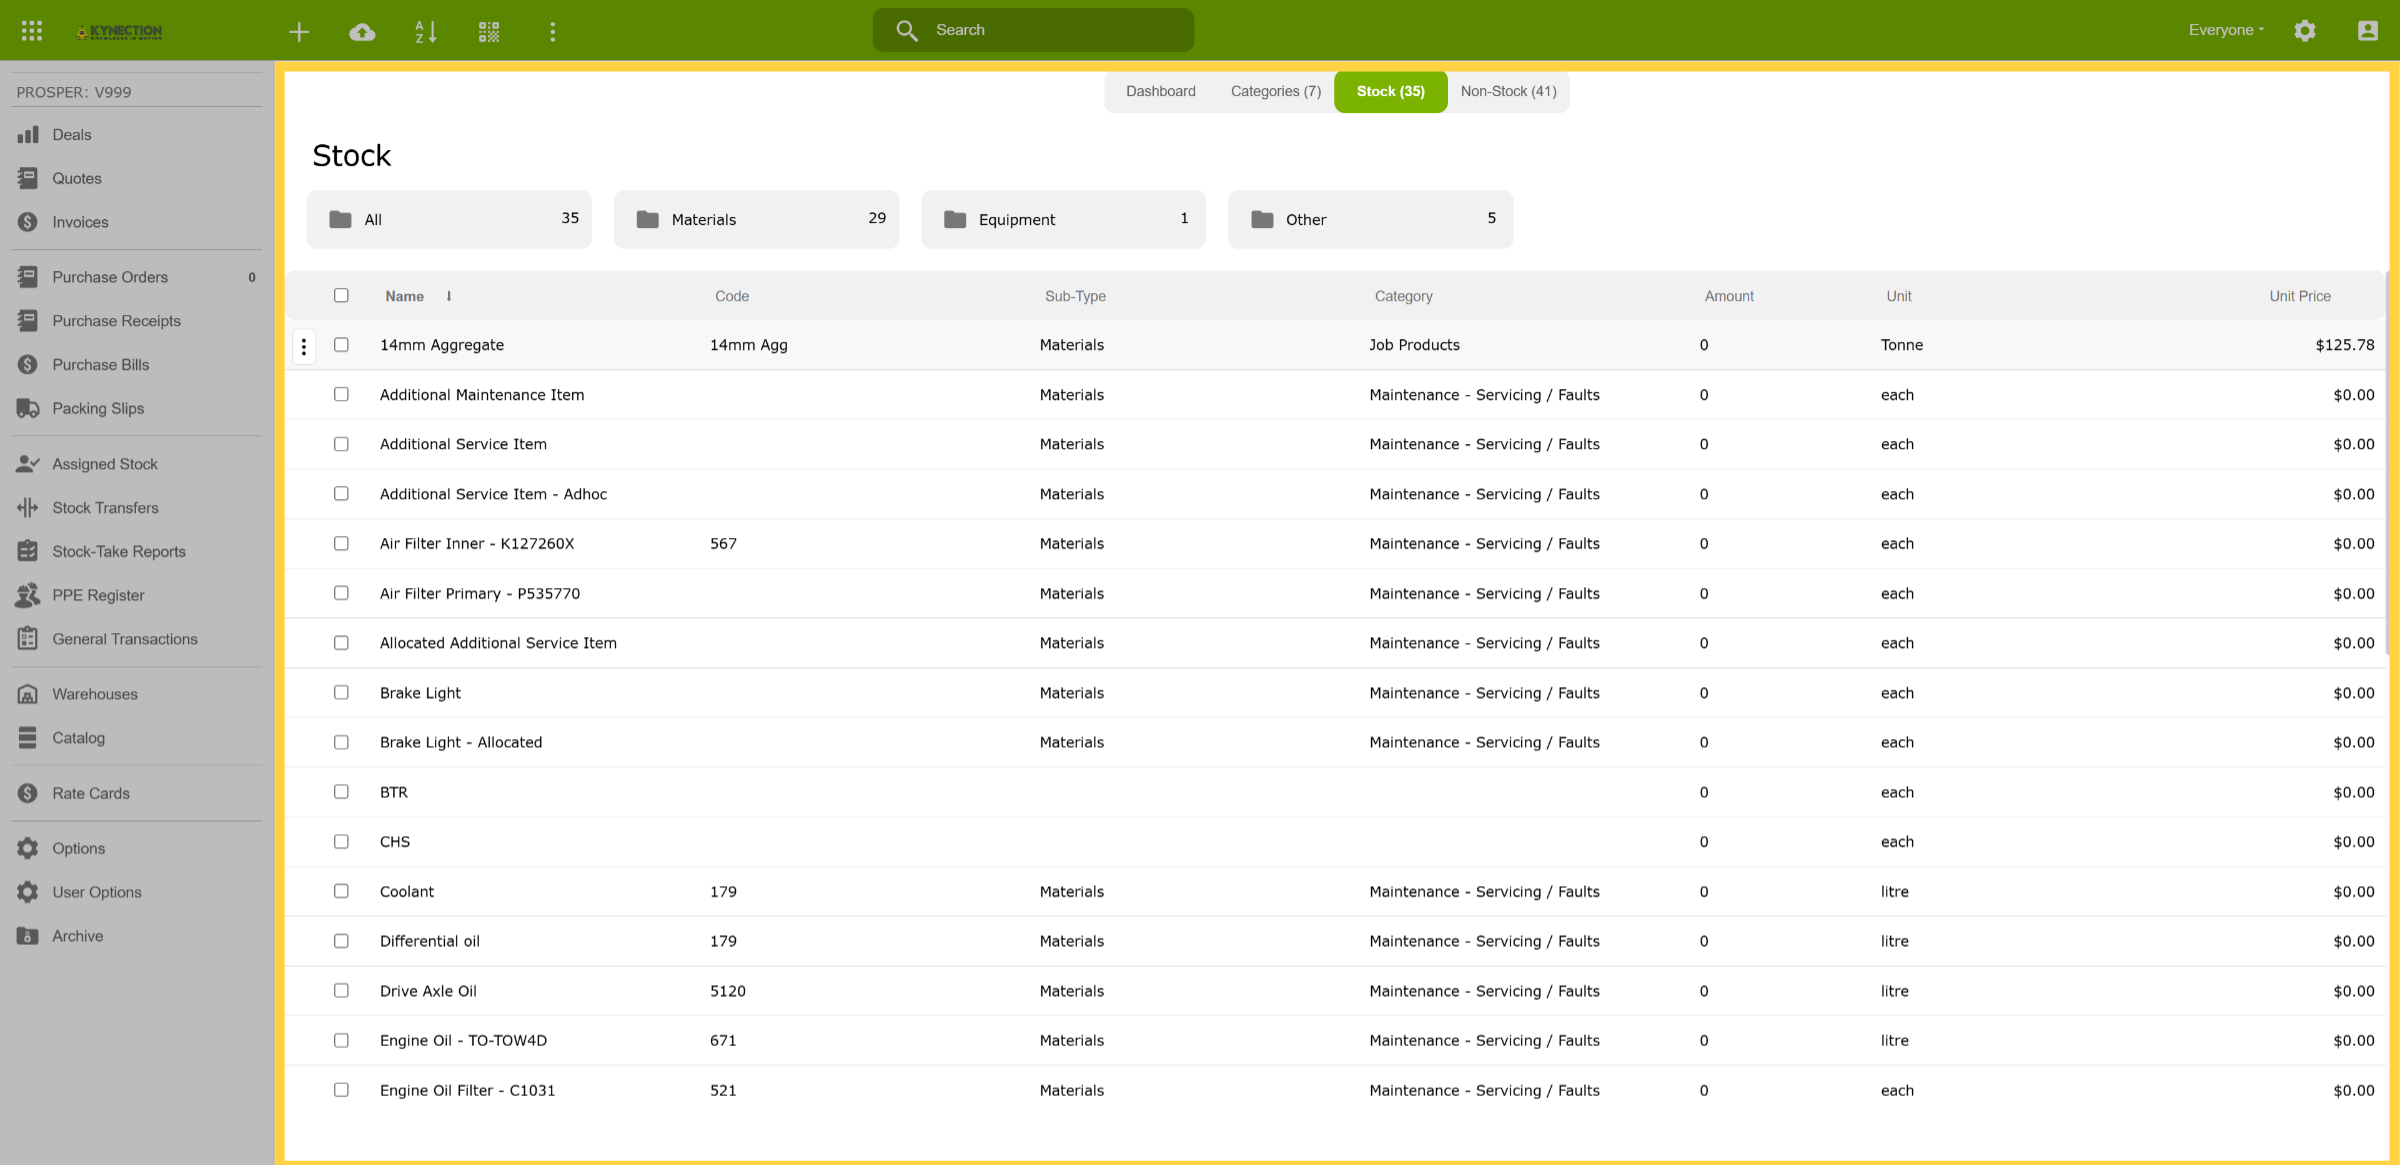
Here, you'll see a list of all your stock items. In this example, all items have been automatically pulled from the accounting package via API integration.
4. Stock Details
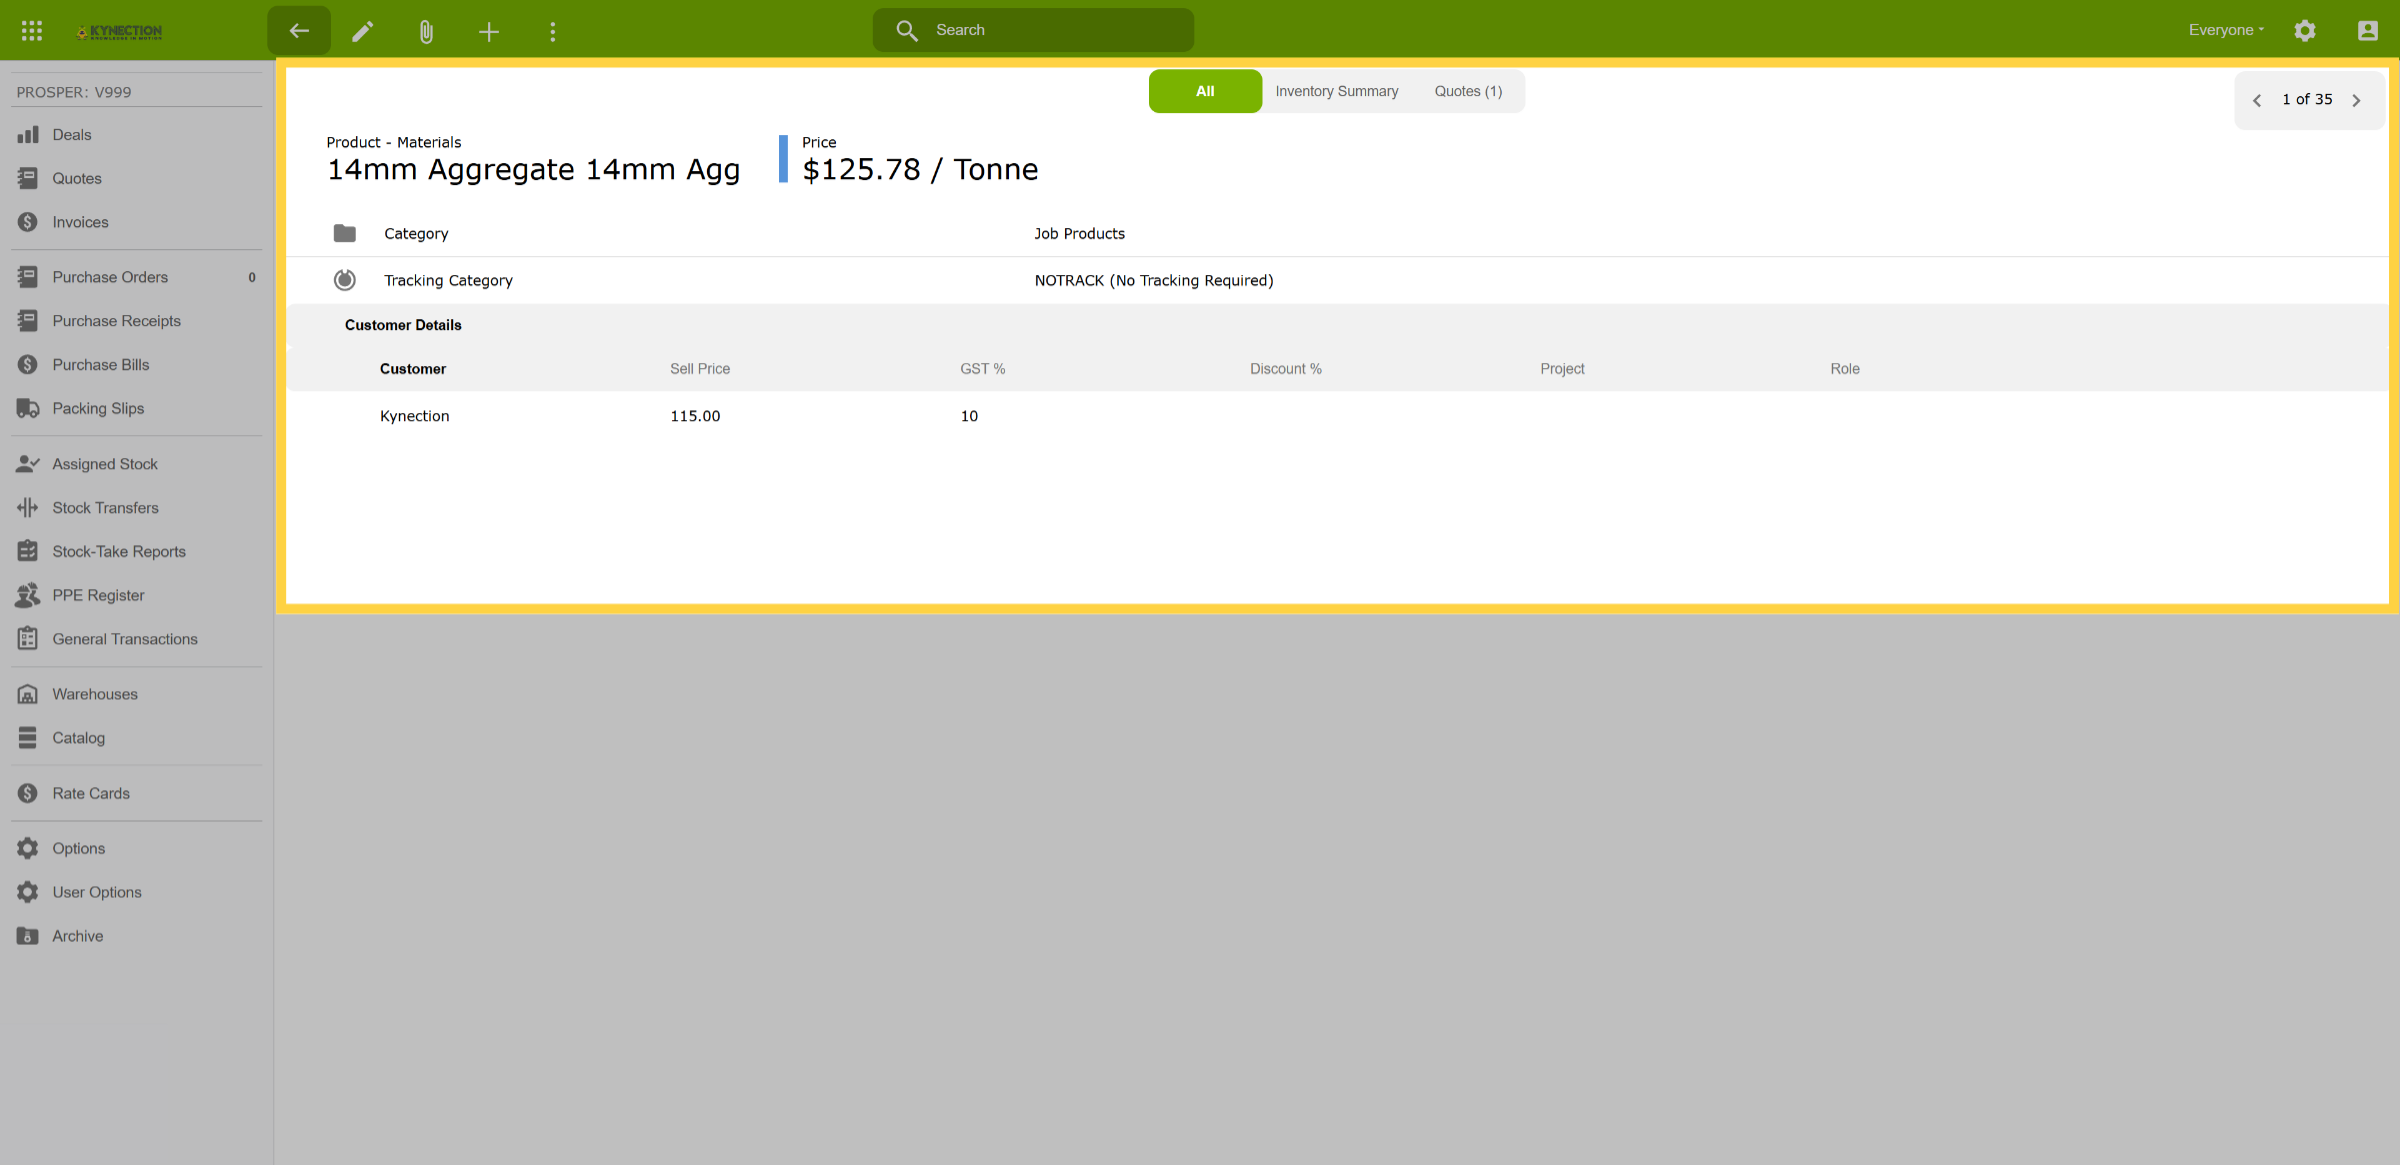
Click a stock item to view all its associated details.
5. Folder Sub-Types
Multiple folders with different sub-type categories can be created to organie stock items more effectively.
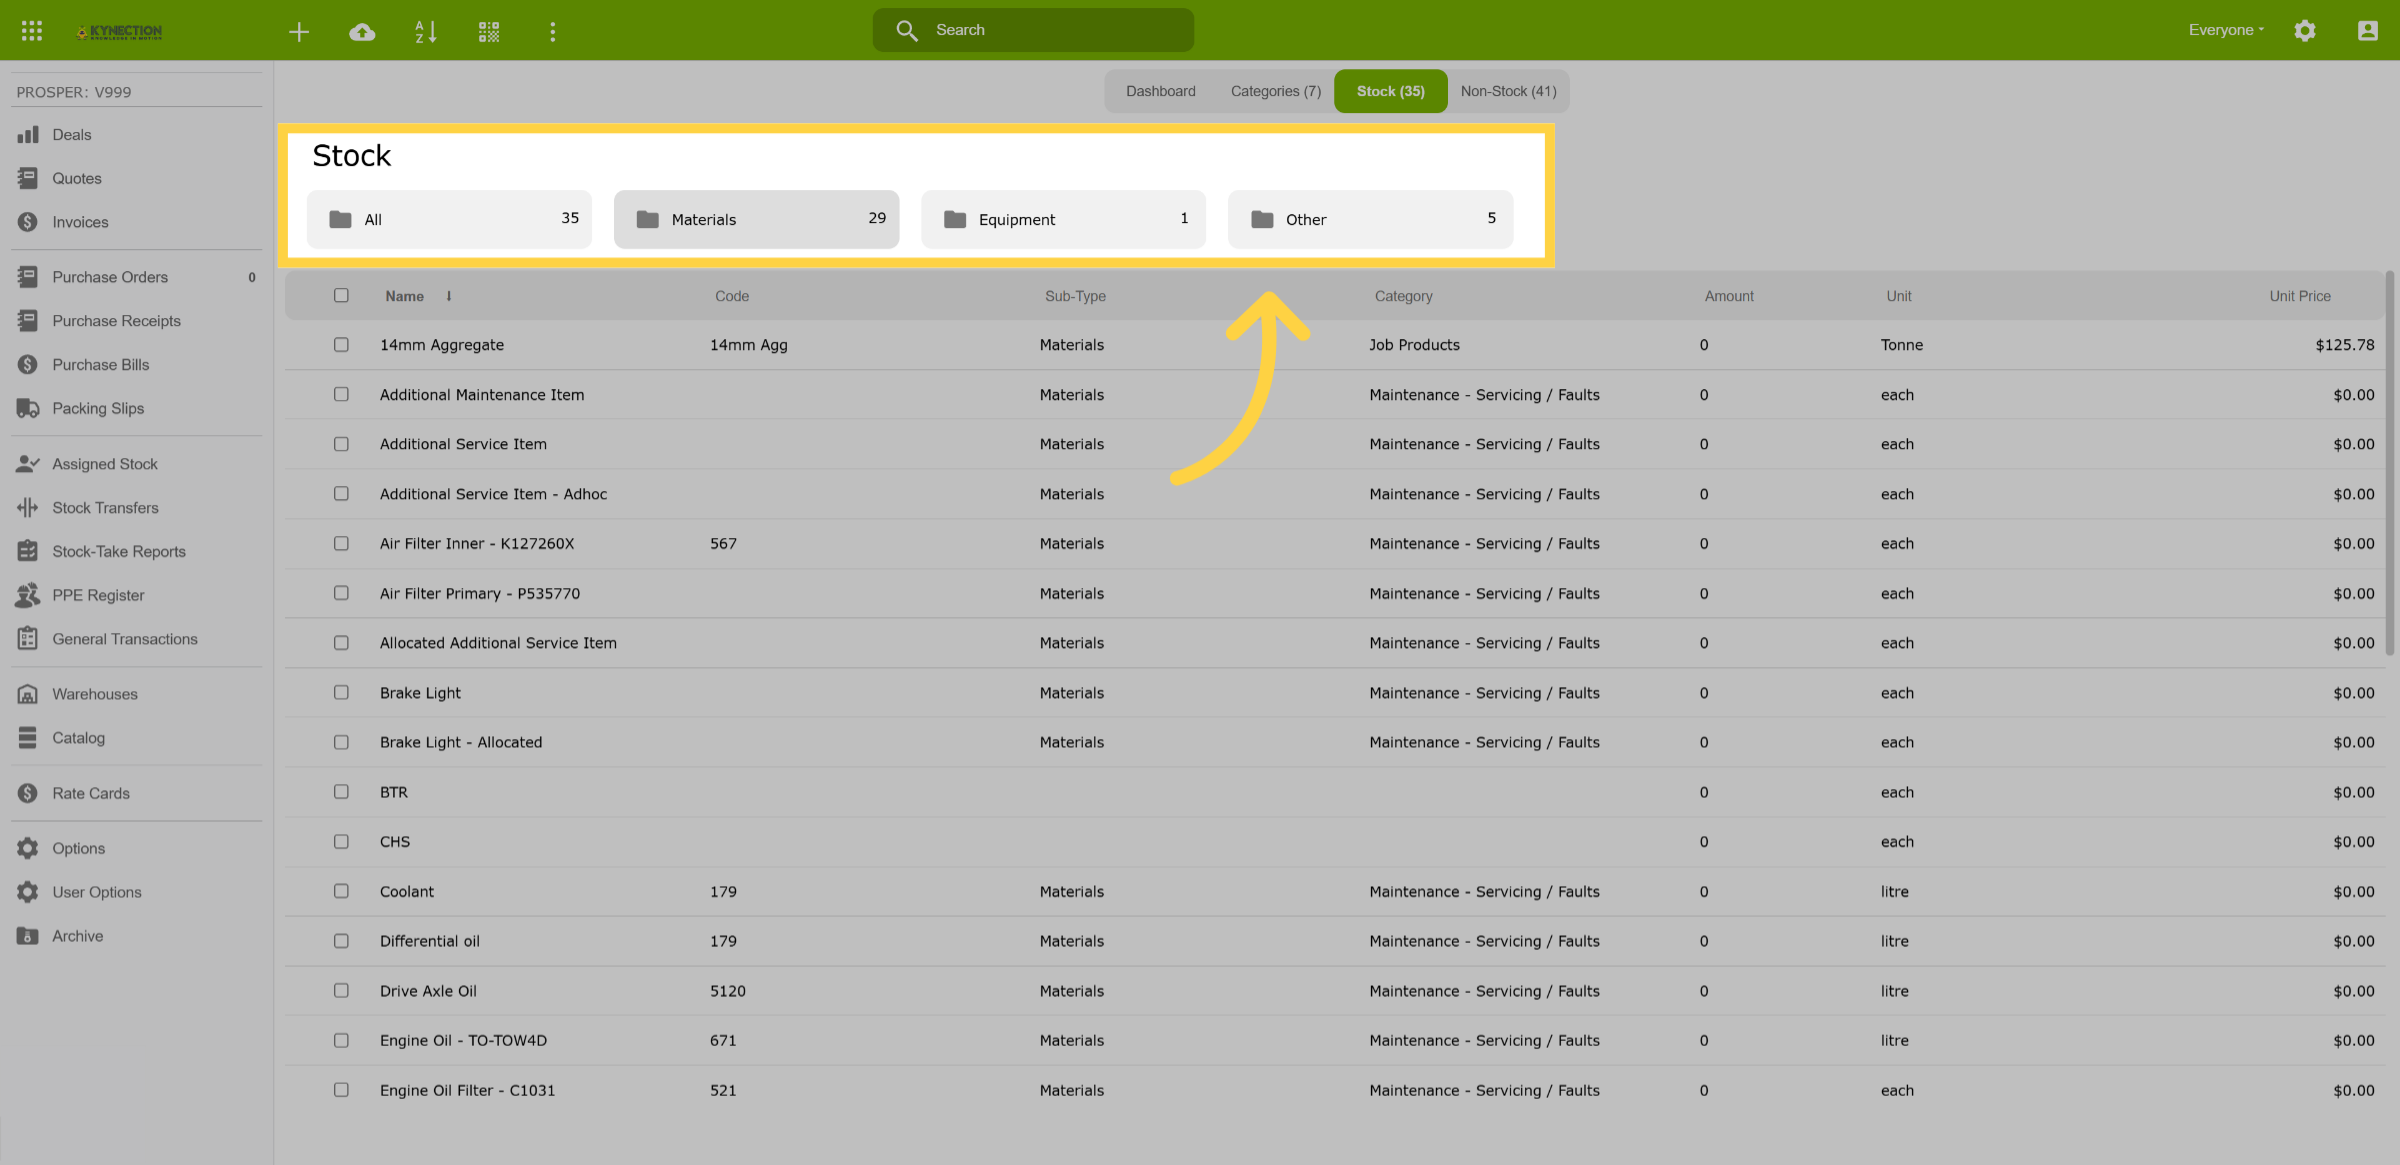
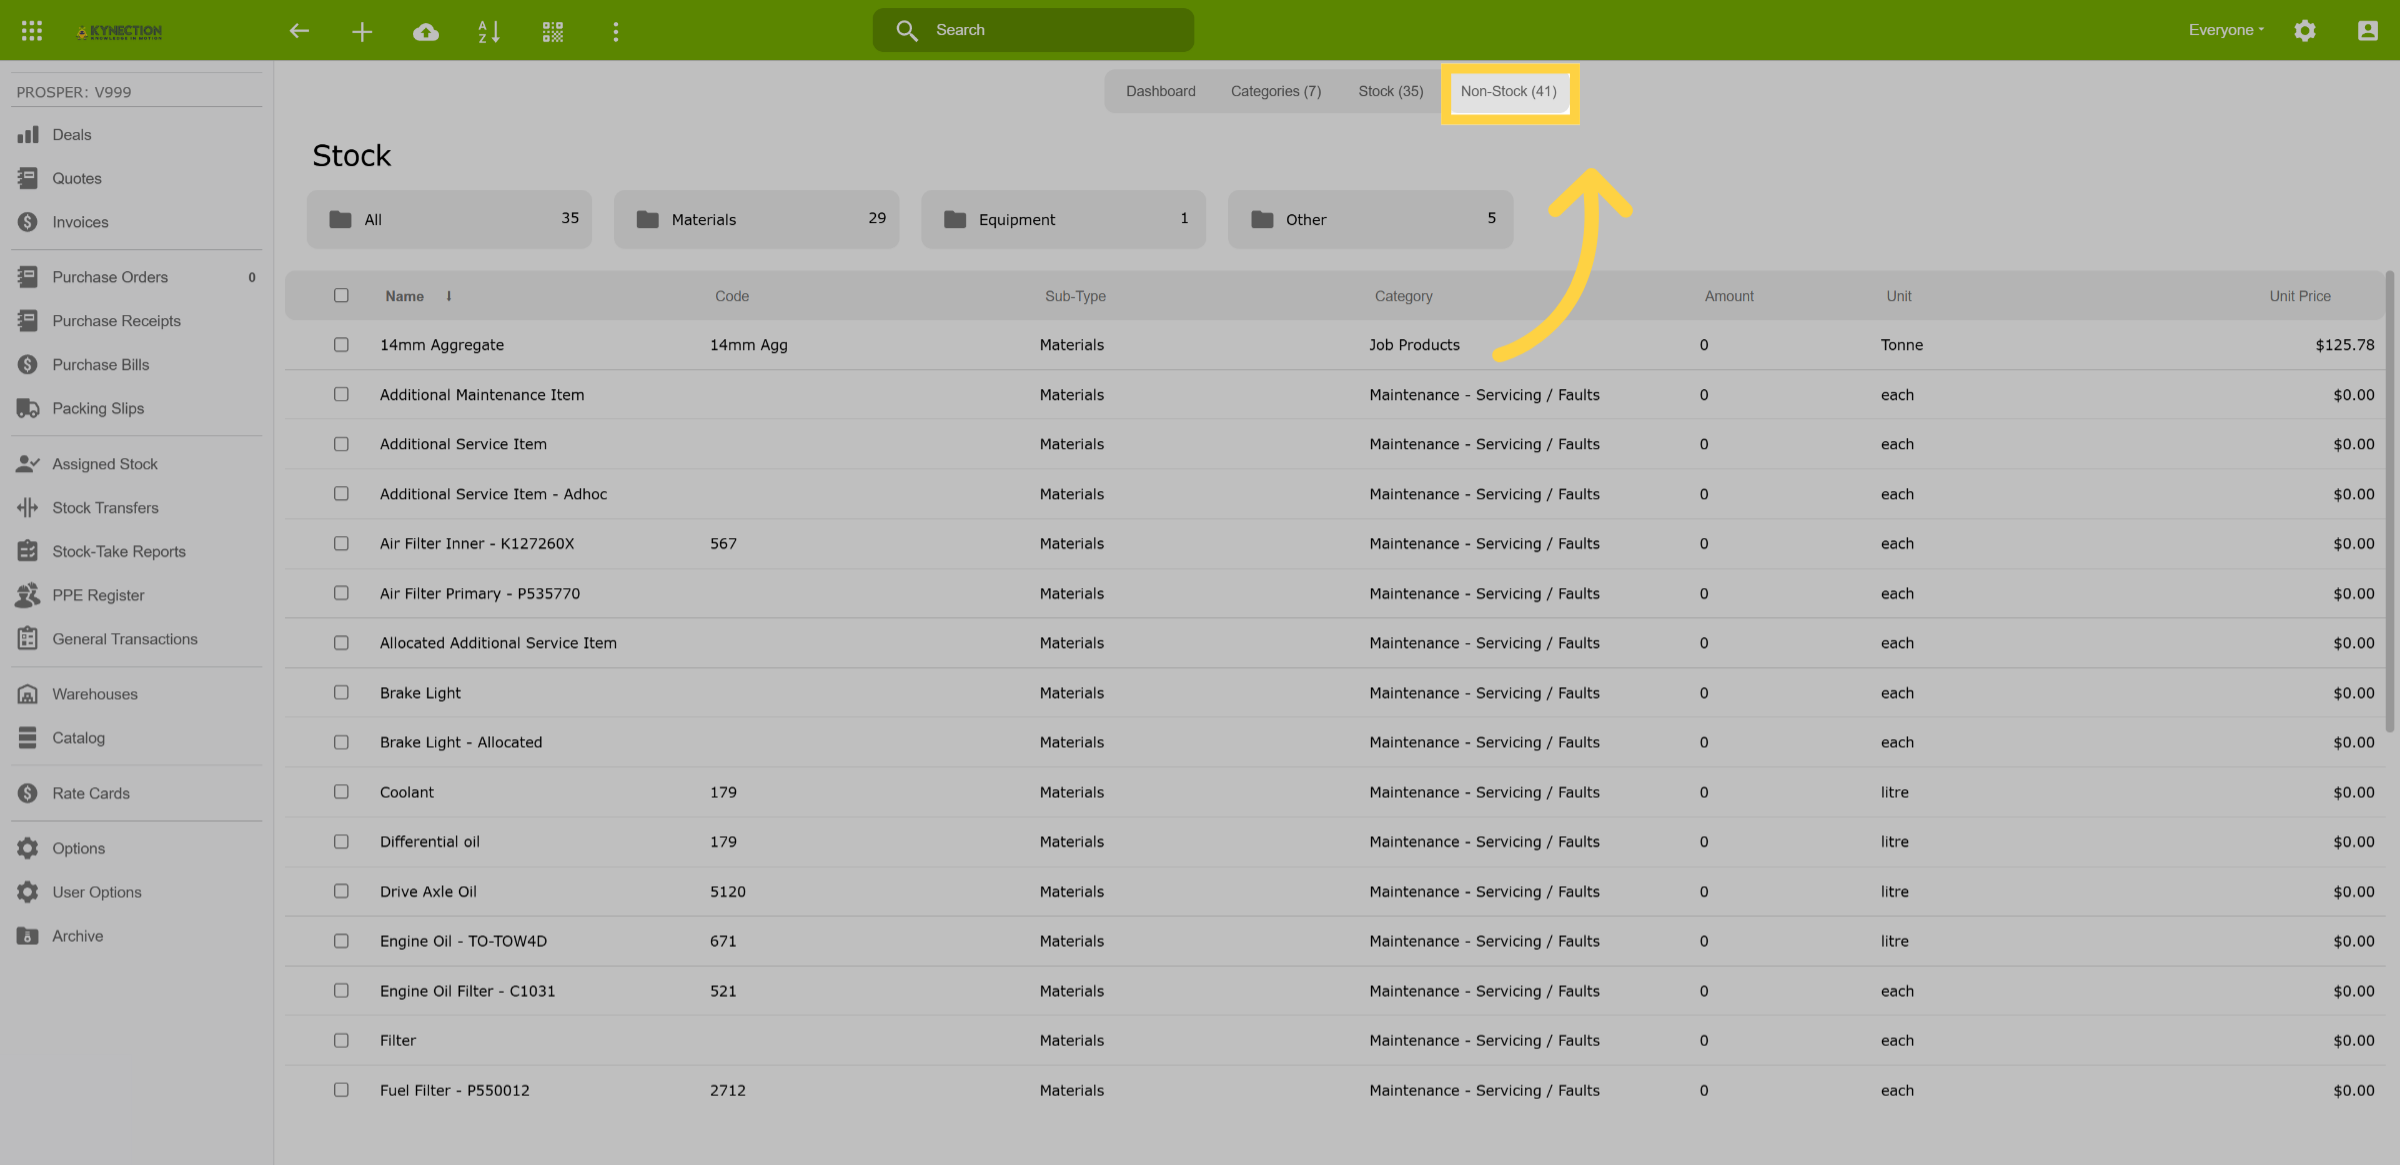
6. Non-Stock
Let’s take a look at the Non-Stock tab.
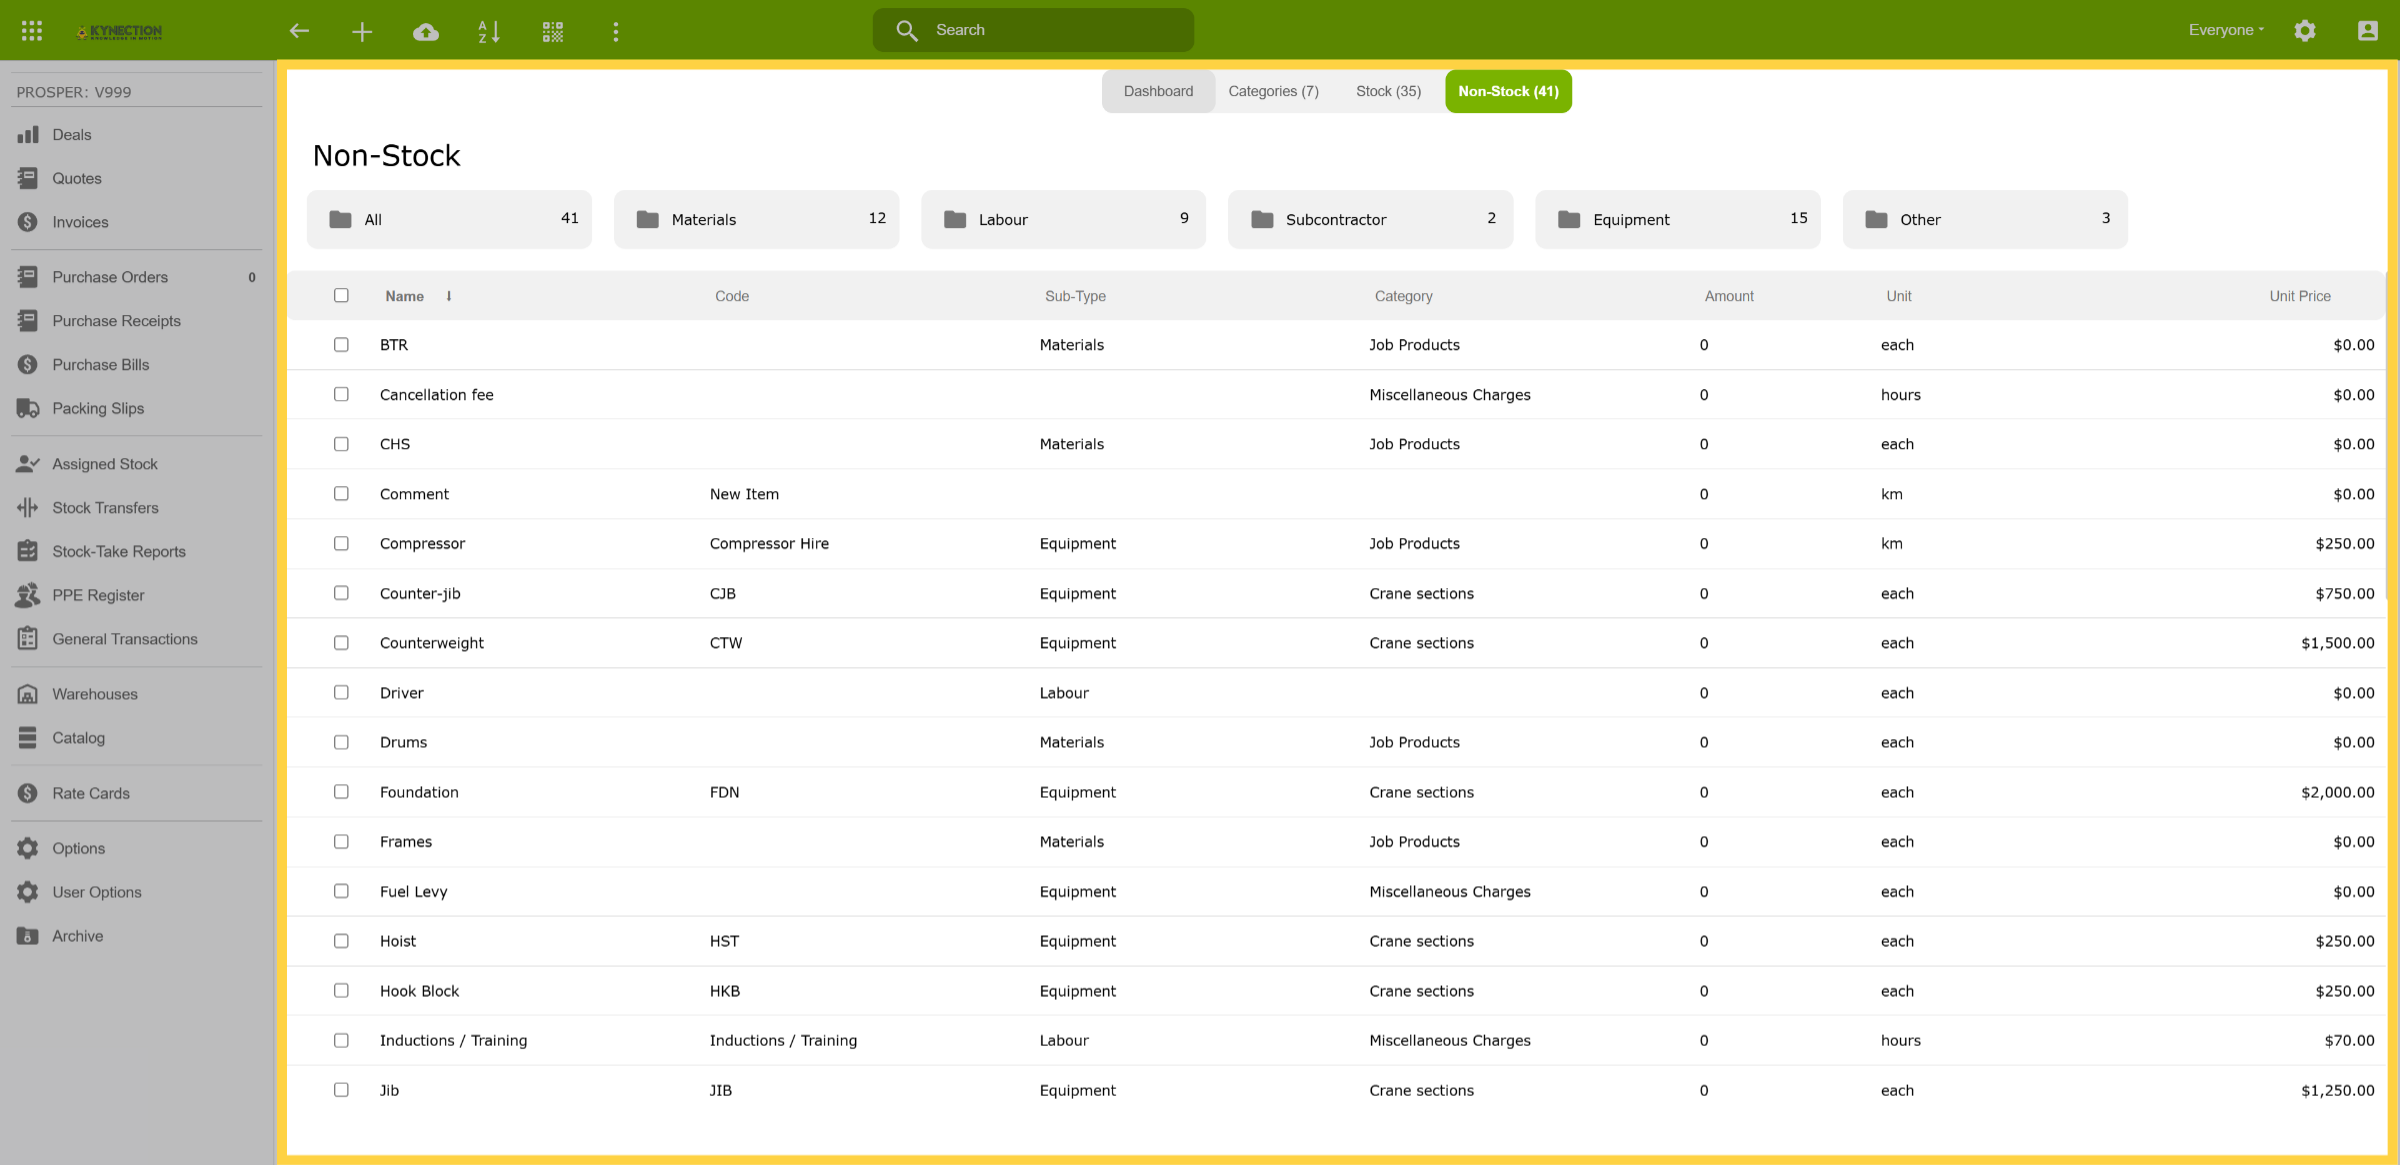
7. List of Non-Stock items
Here, you’ll find a list of all non-stock items which can be viewed by sub category using the sub-type folders located above the table.
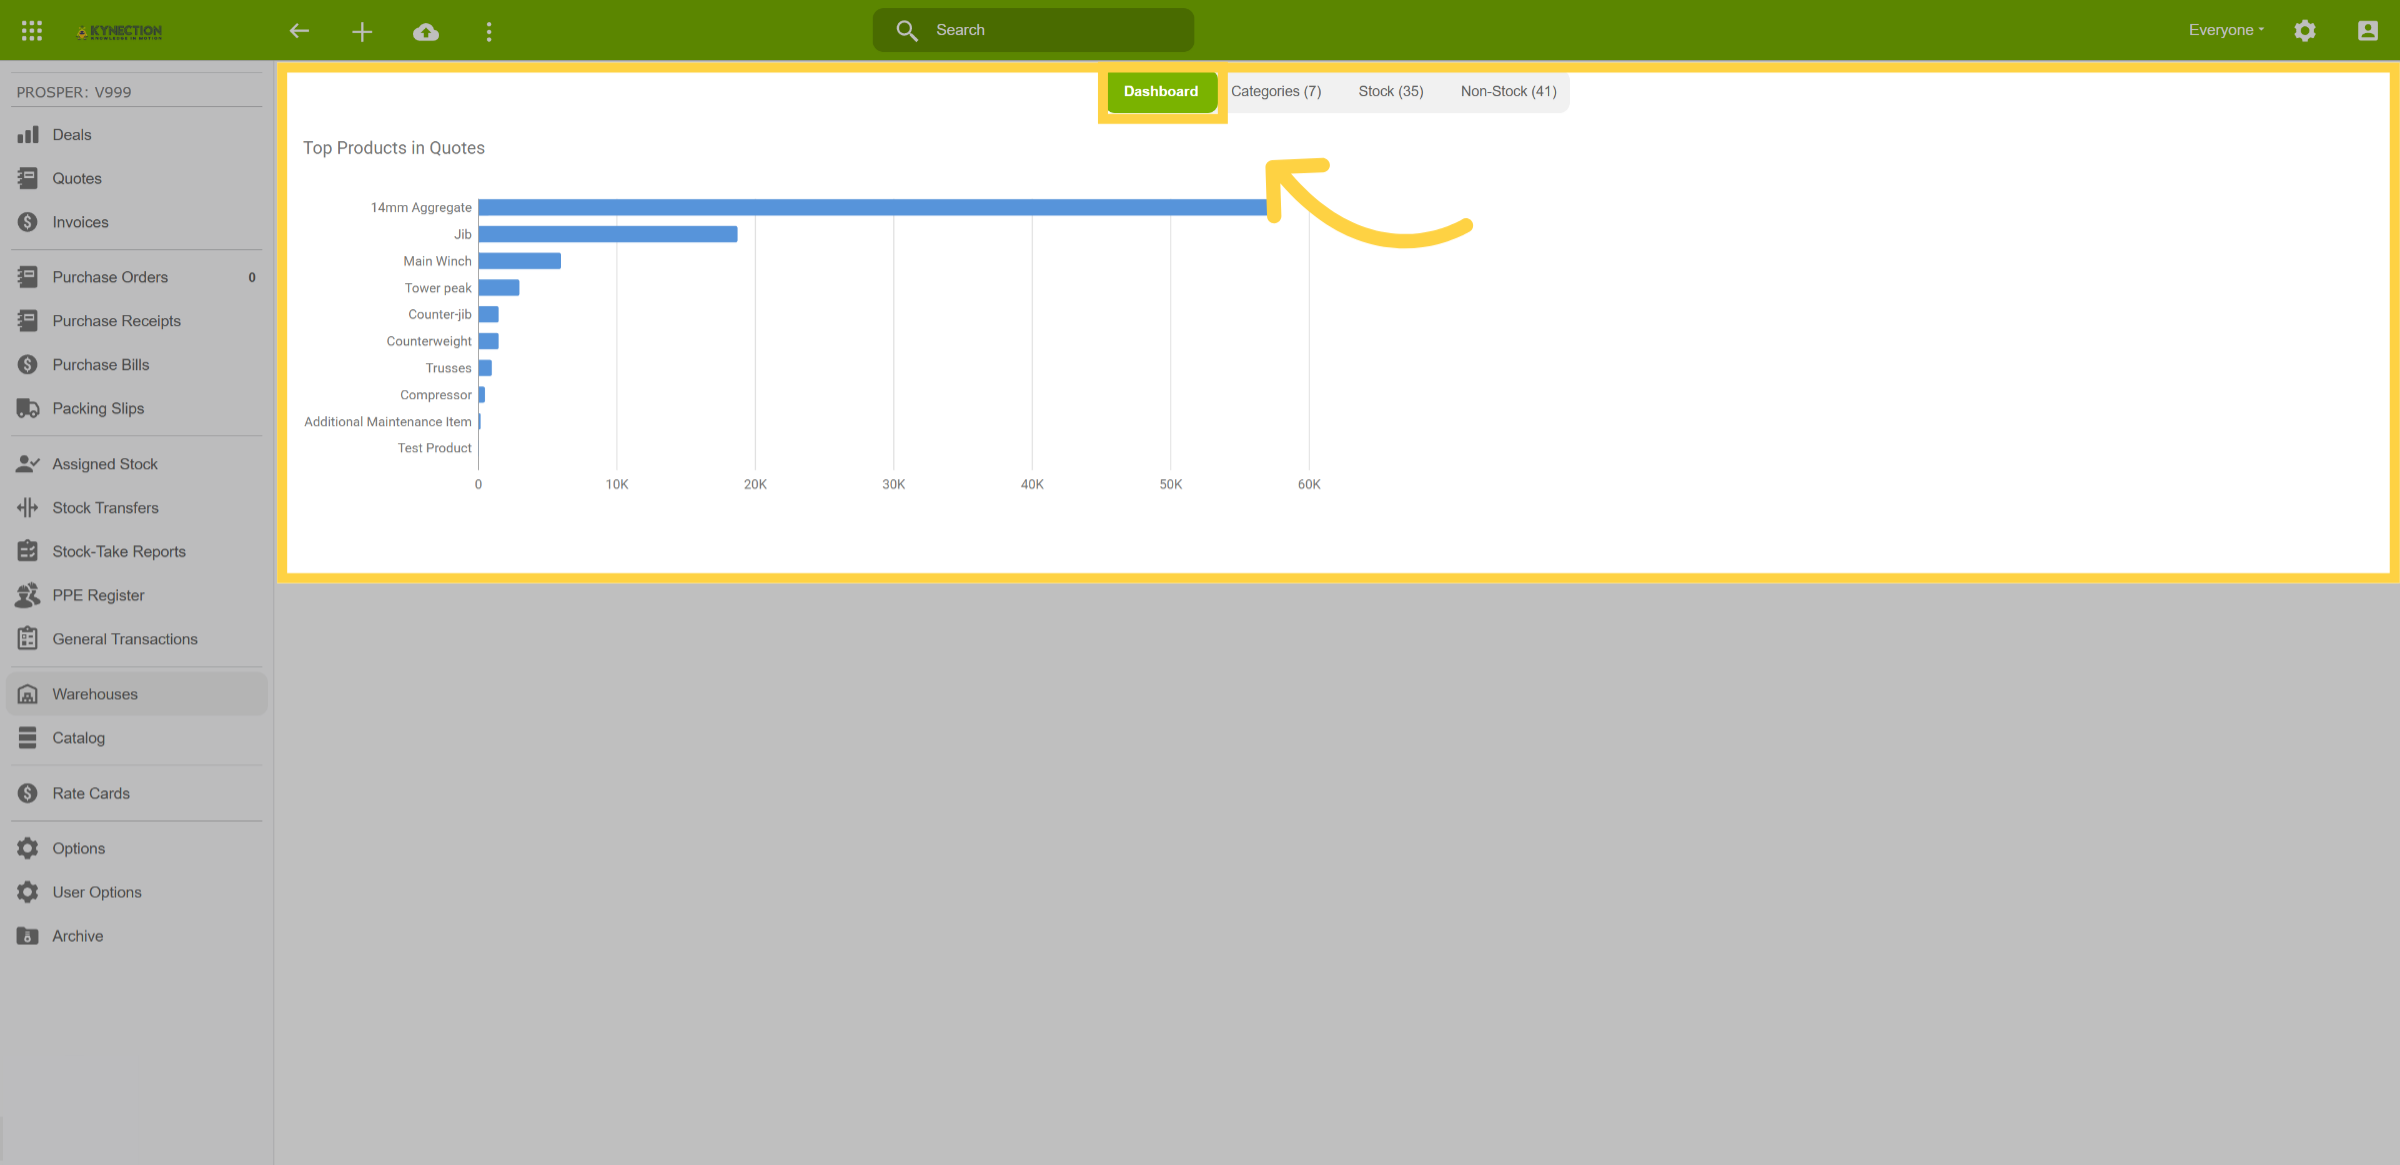
8. Dashboard
On the dashboard, available from the top menu bar, you can view the top products across all the quotes you’ve created.
9. Create a Warehouse
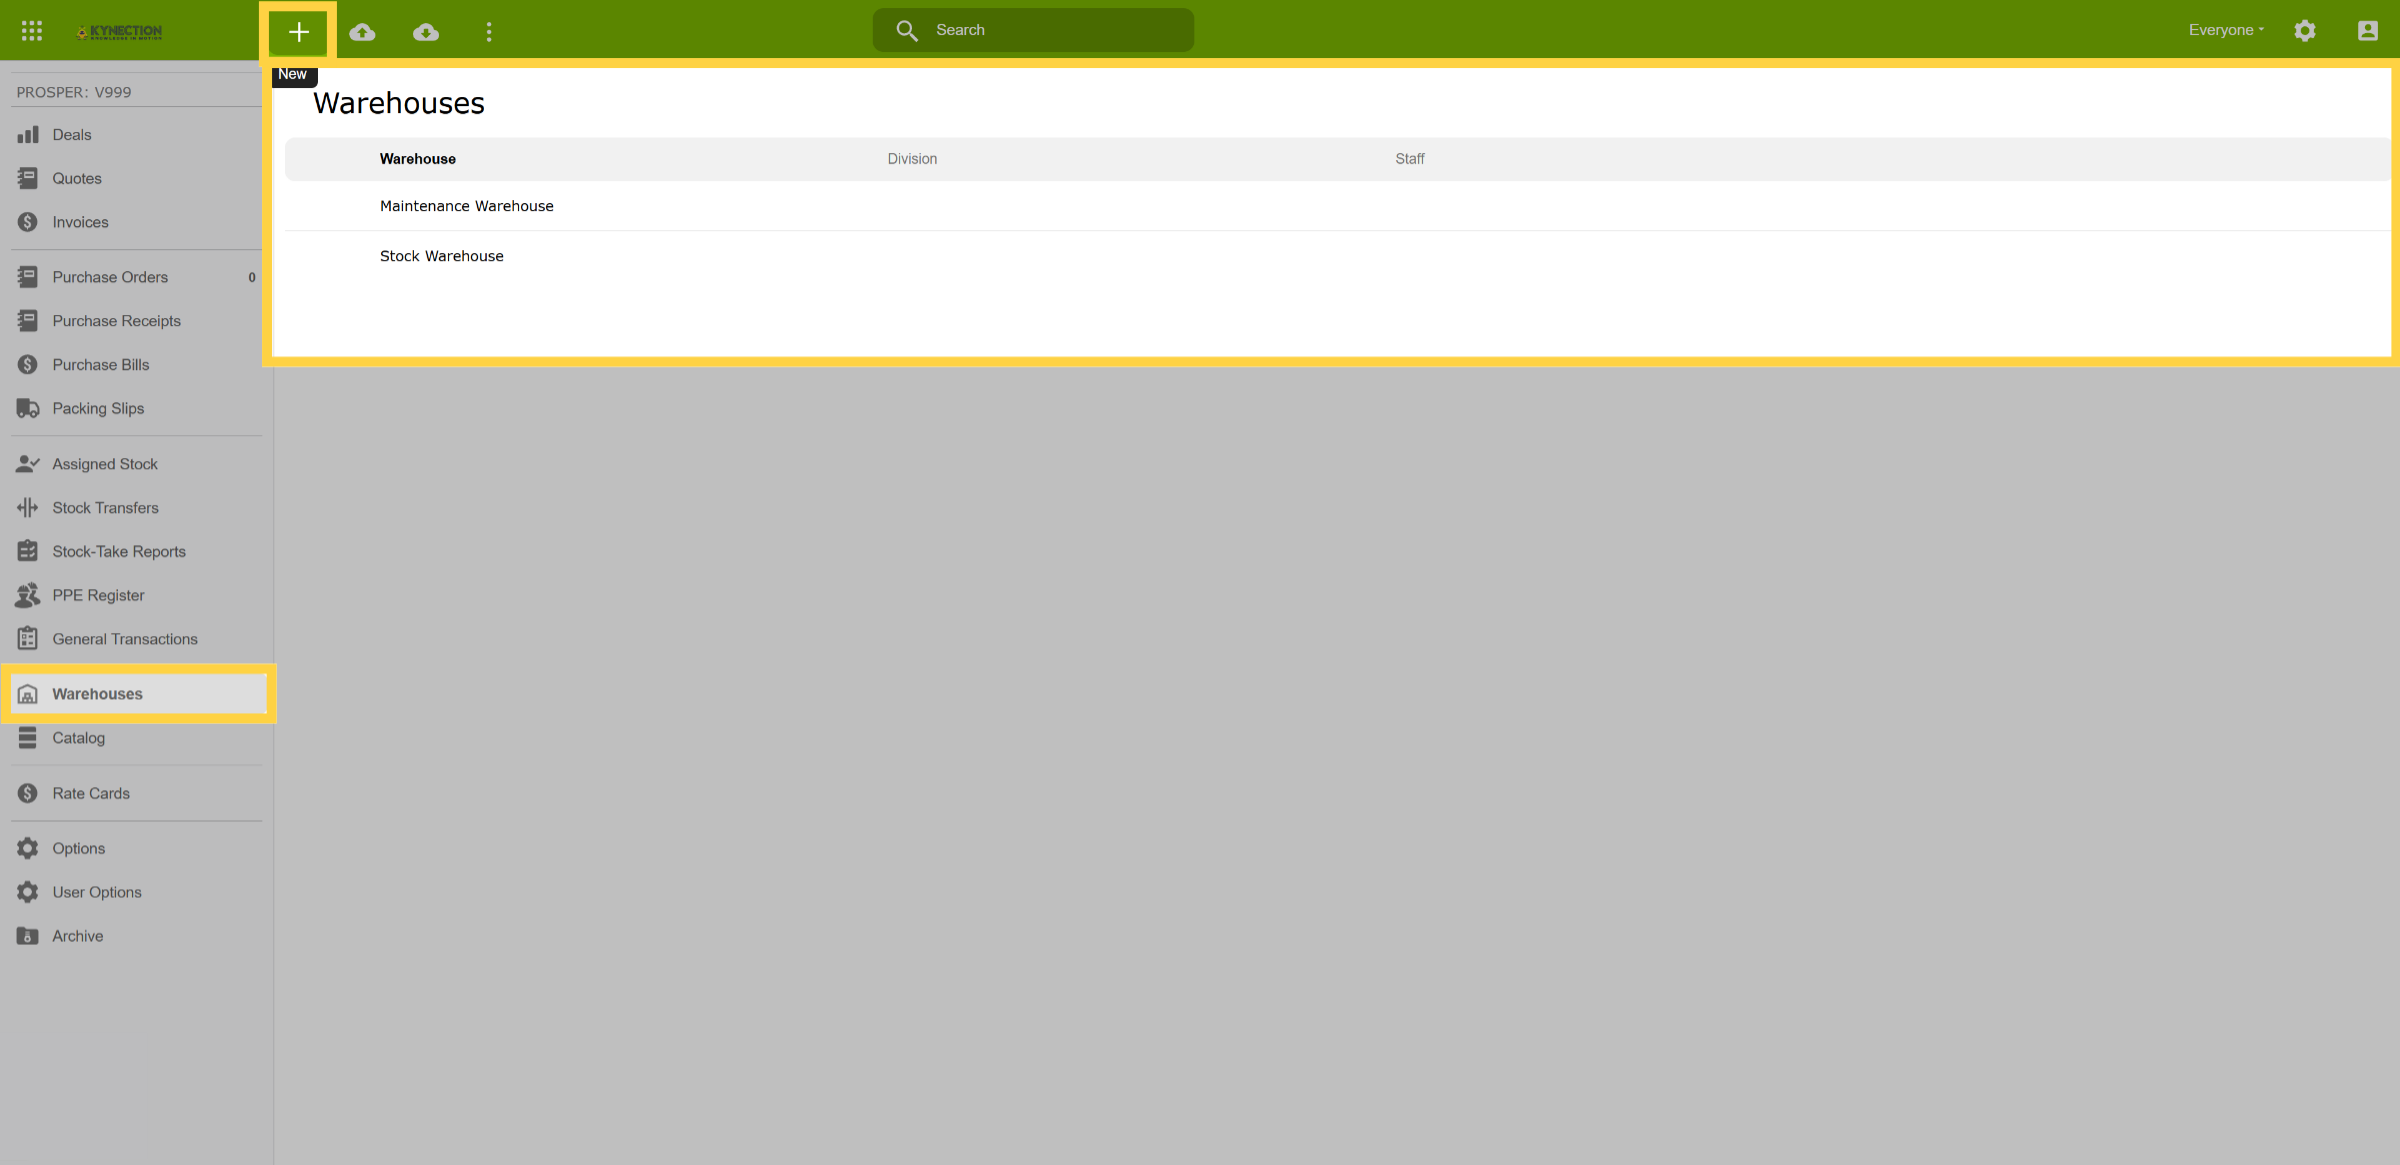
Select Warehouses from the left hand pane. Here, multiple warehouses can be created by clicking the plus icon from the toolbar.
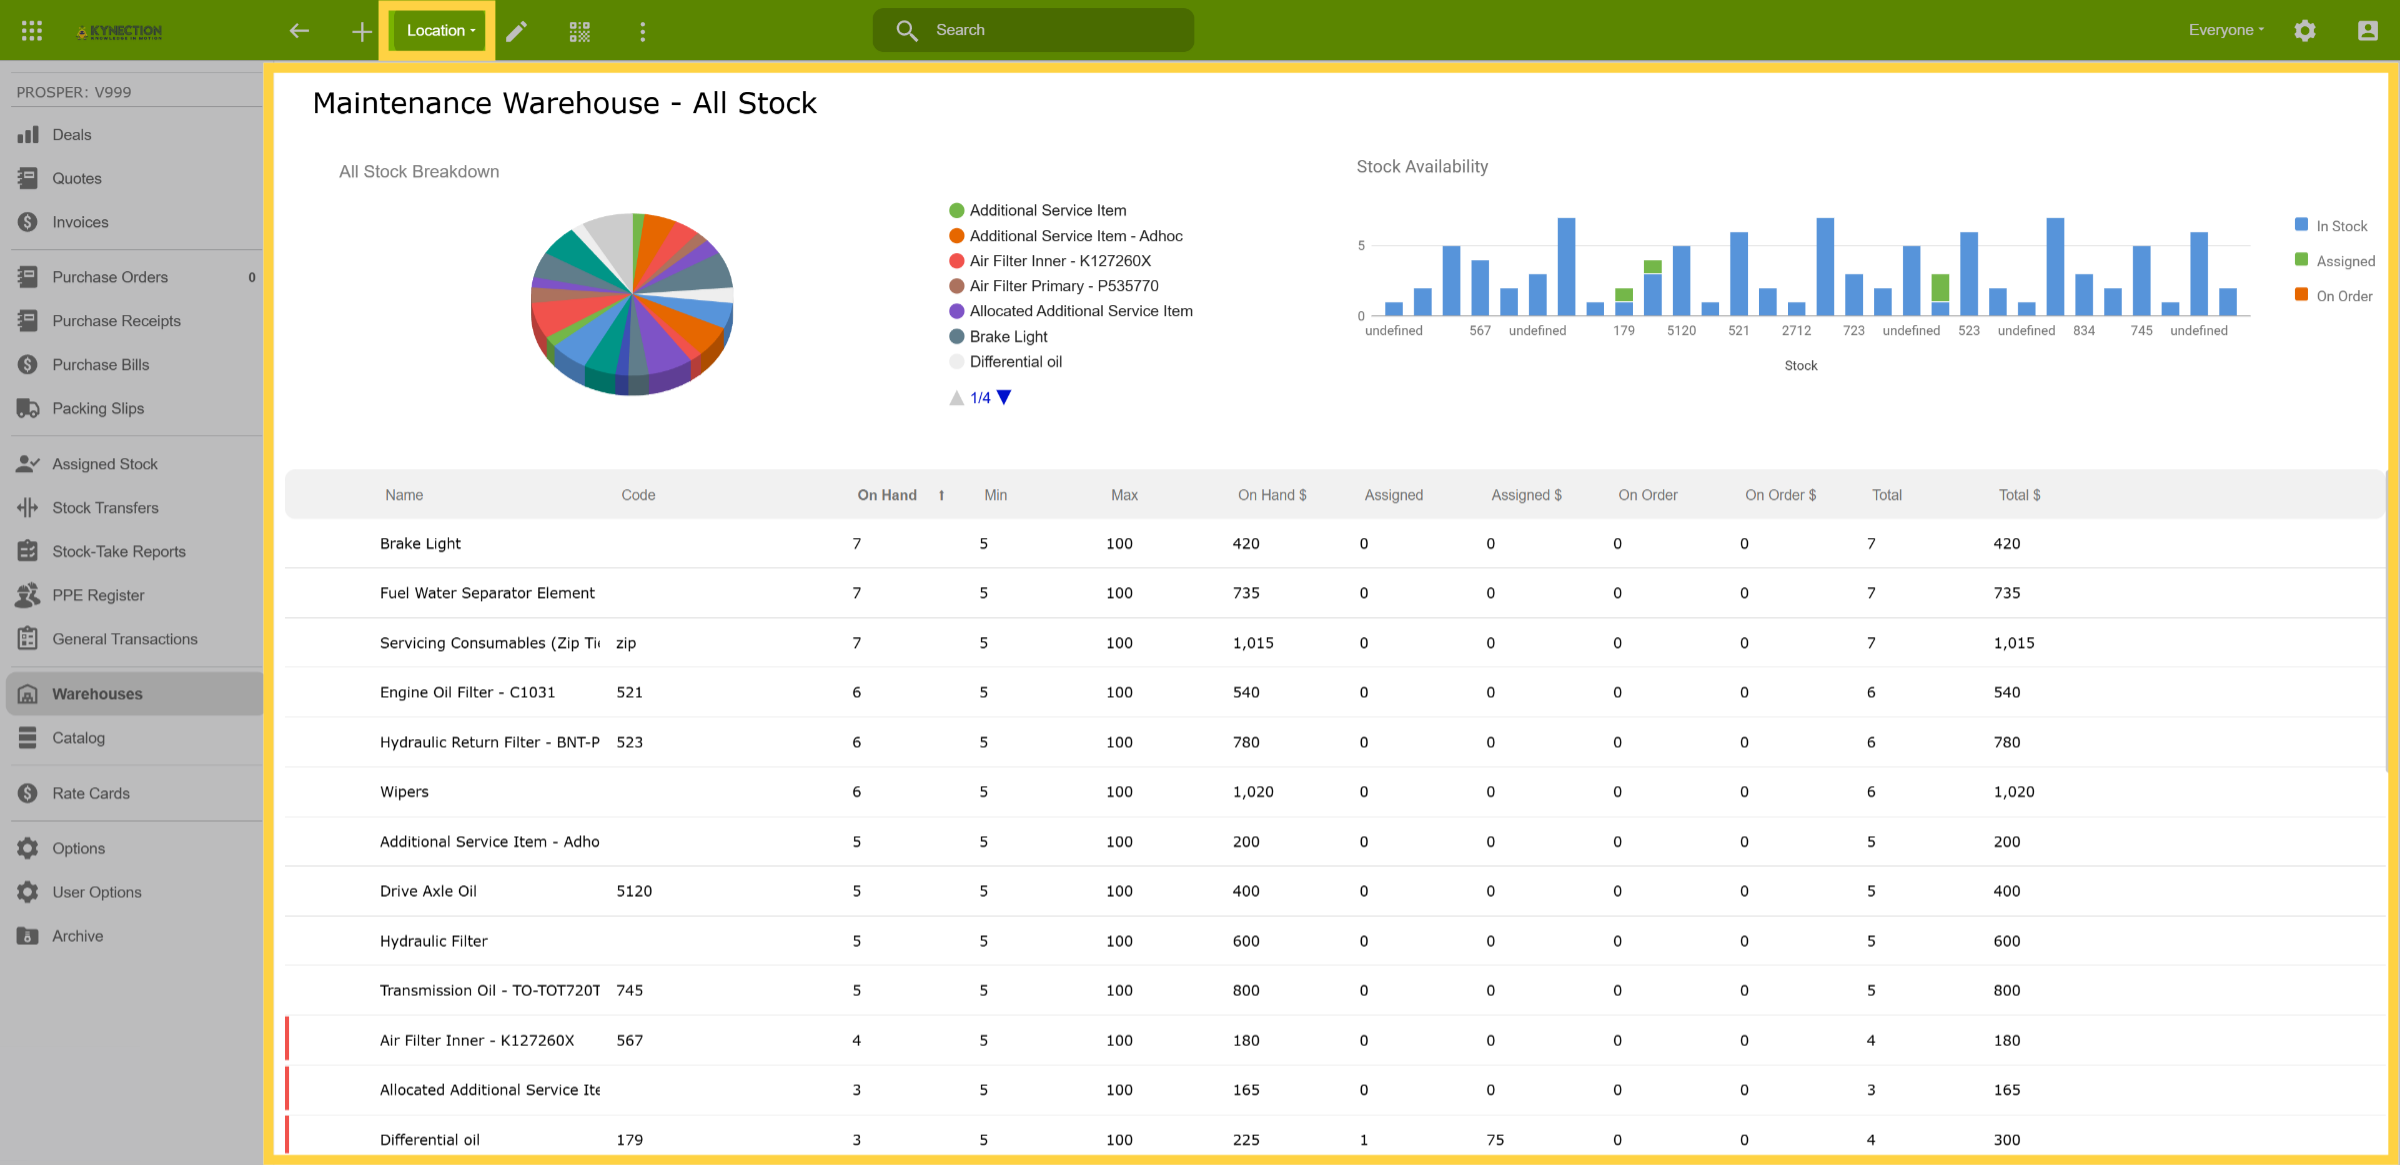
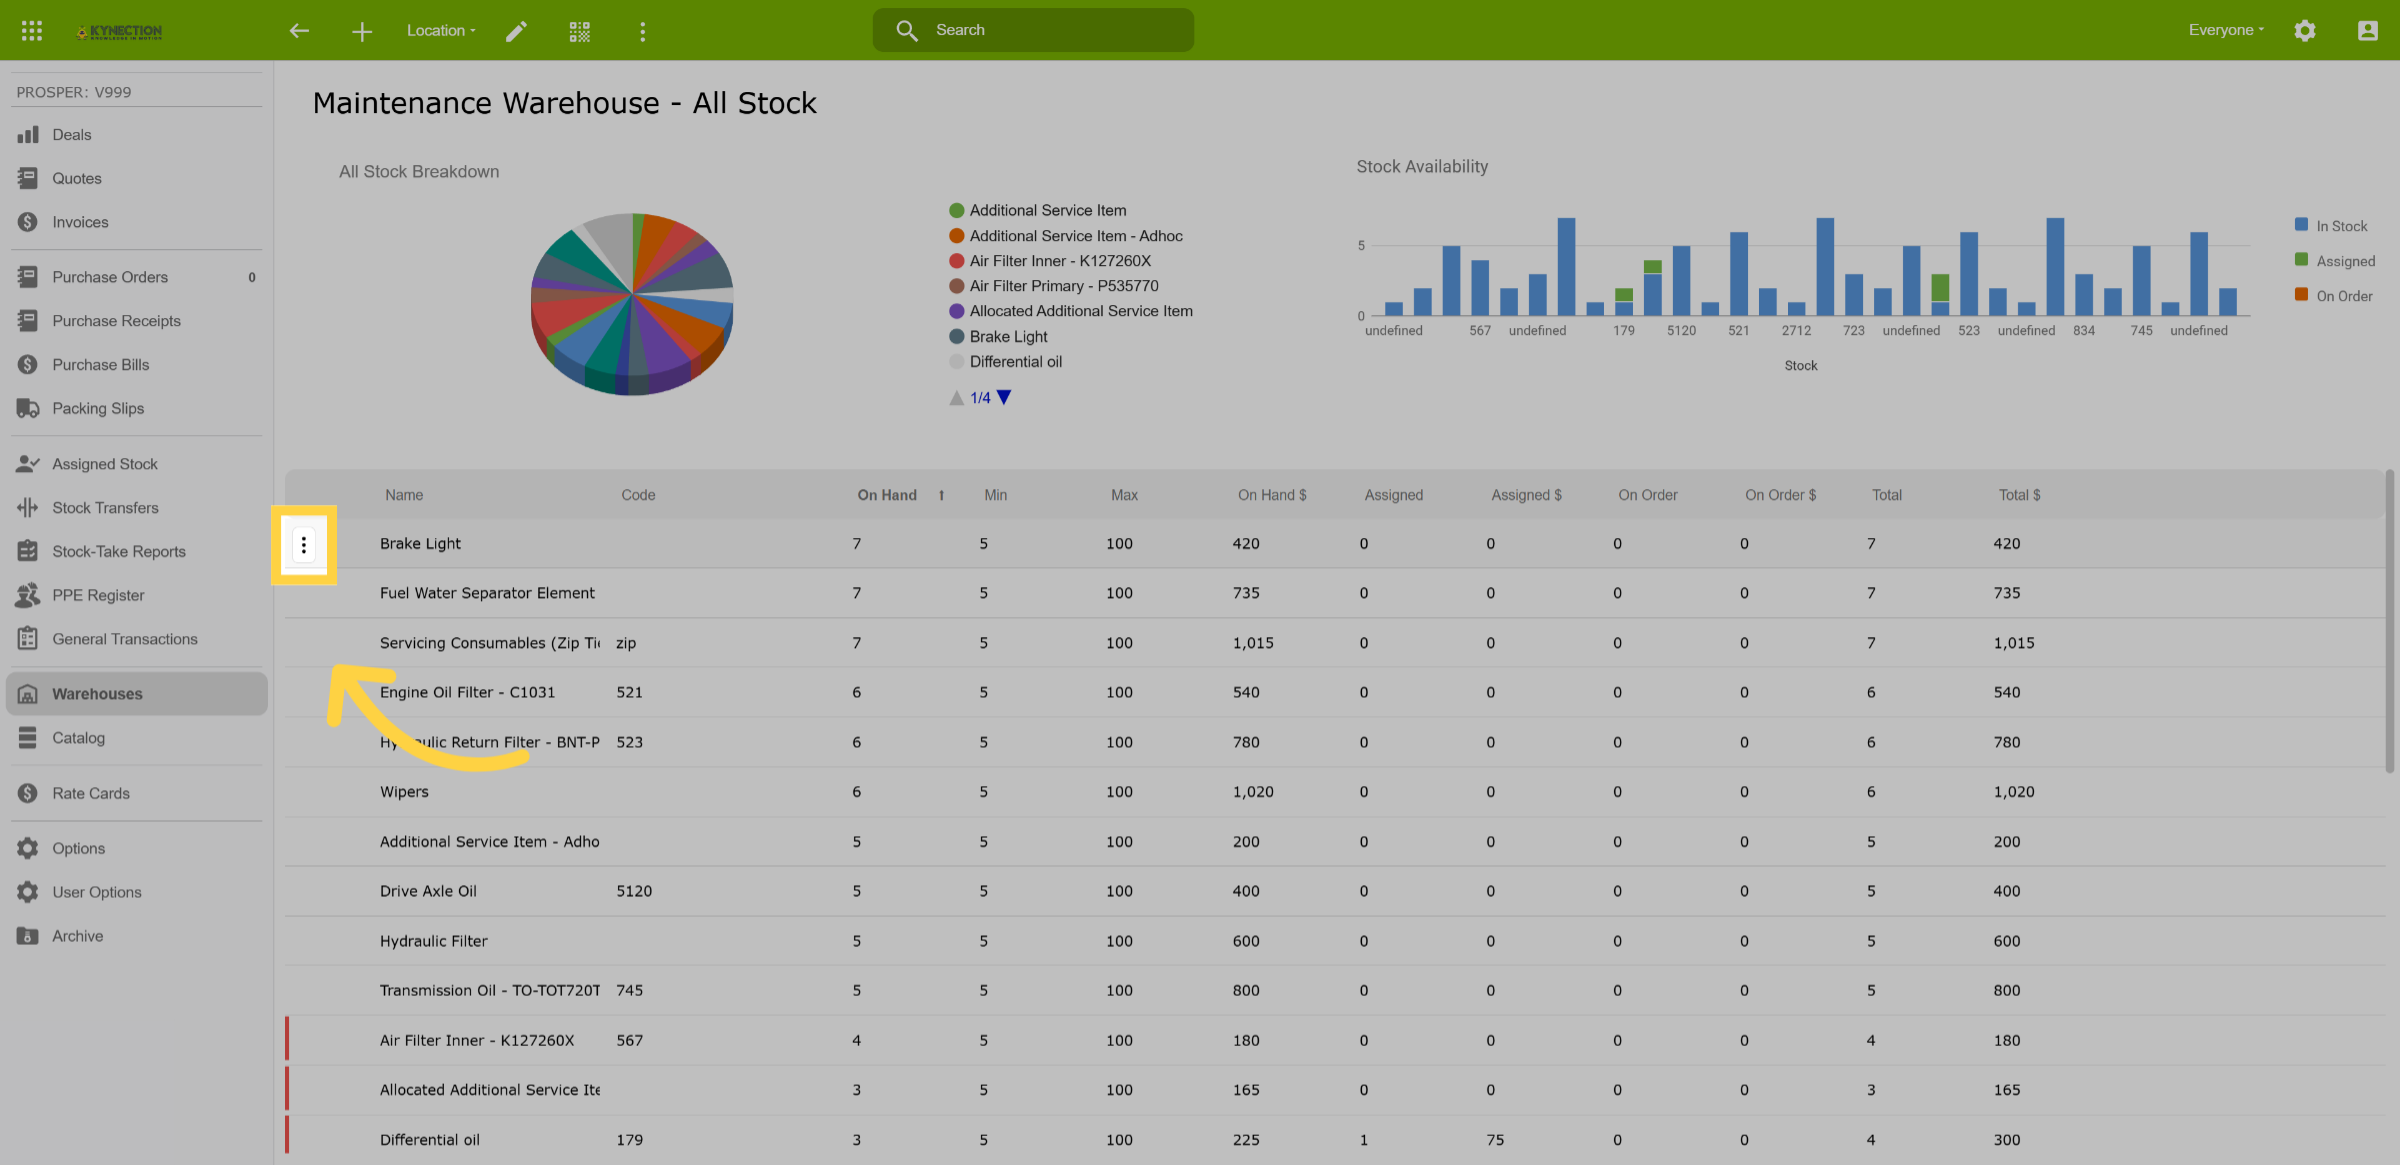
10. All Stock
The dashboard landing page for each warehouse presents essential information, including stock levels, minimum and maximum thresholds, on-hand quantities, assigned stock, stock on order, total stock value, and associated costs. Additionally, a bar graph illustrates stock availability.
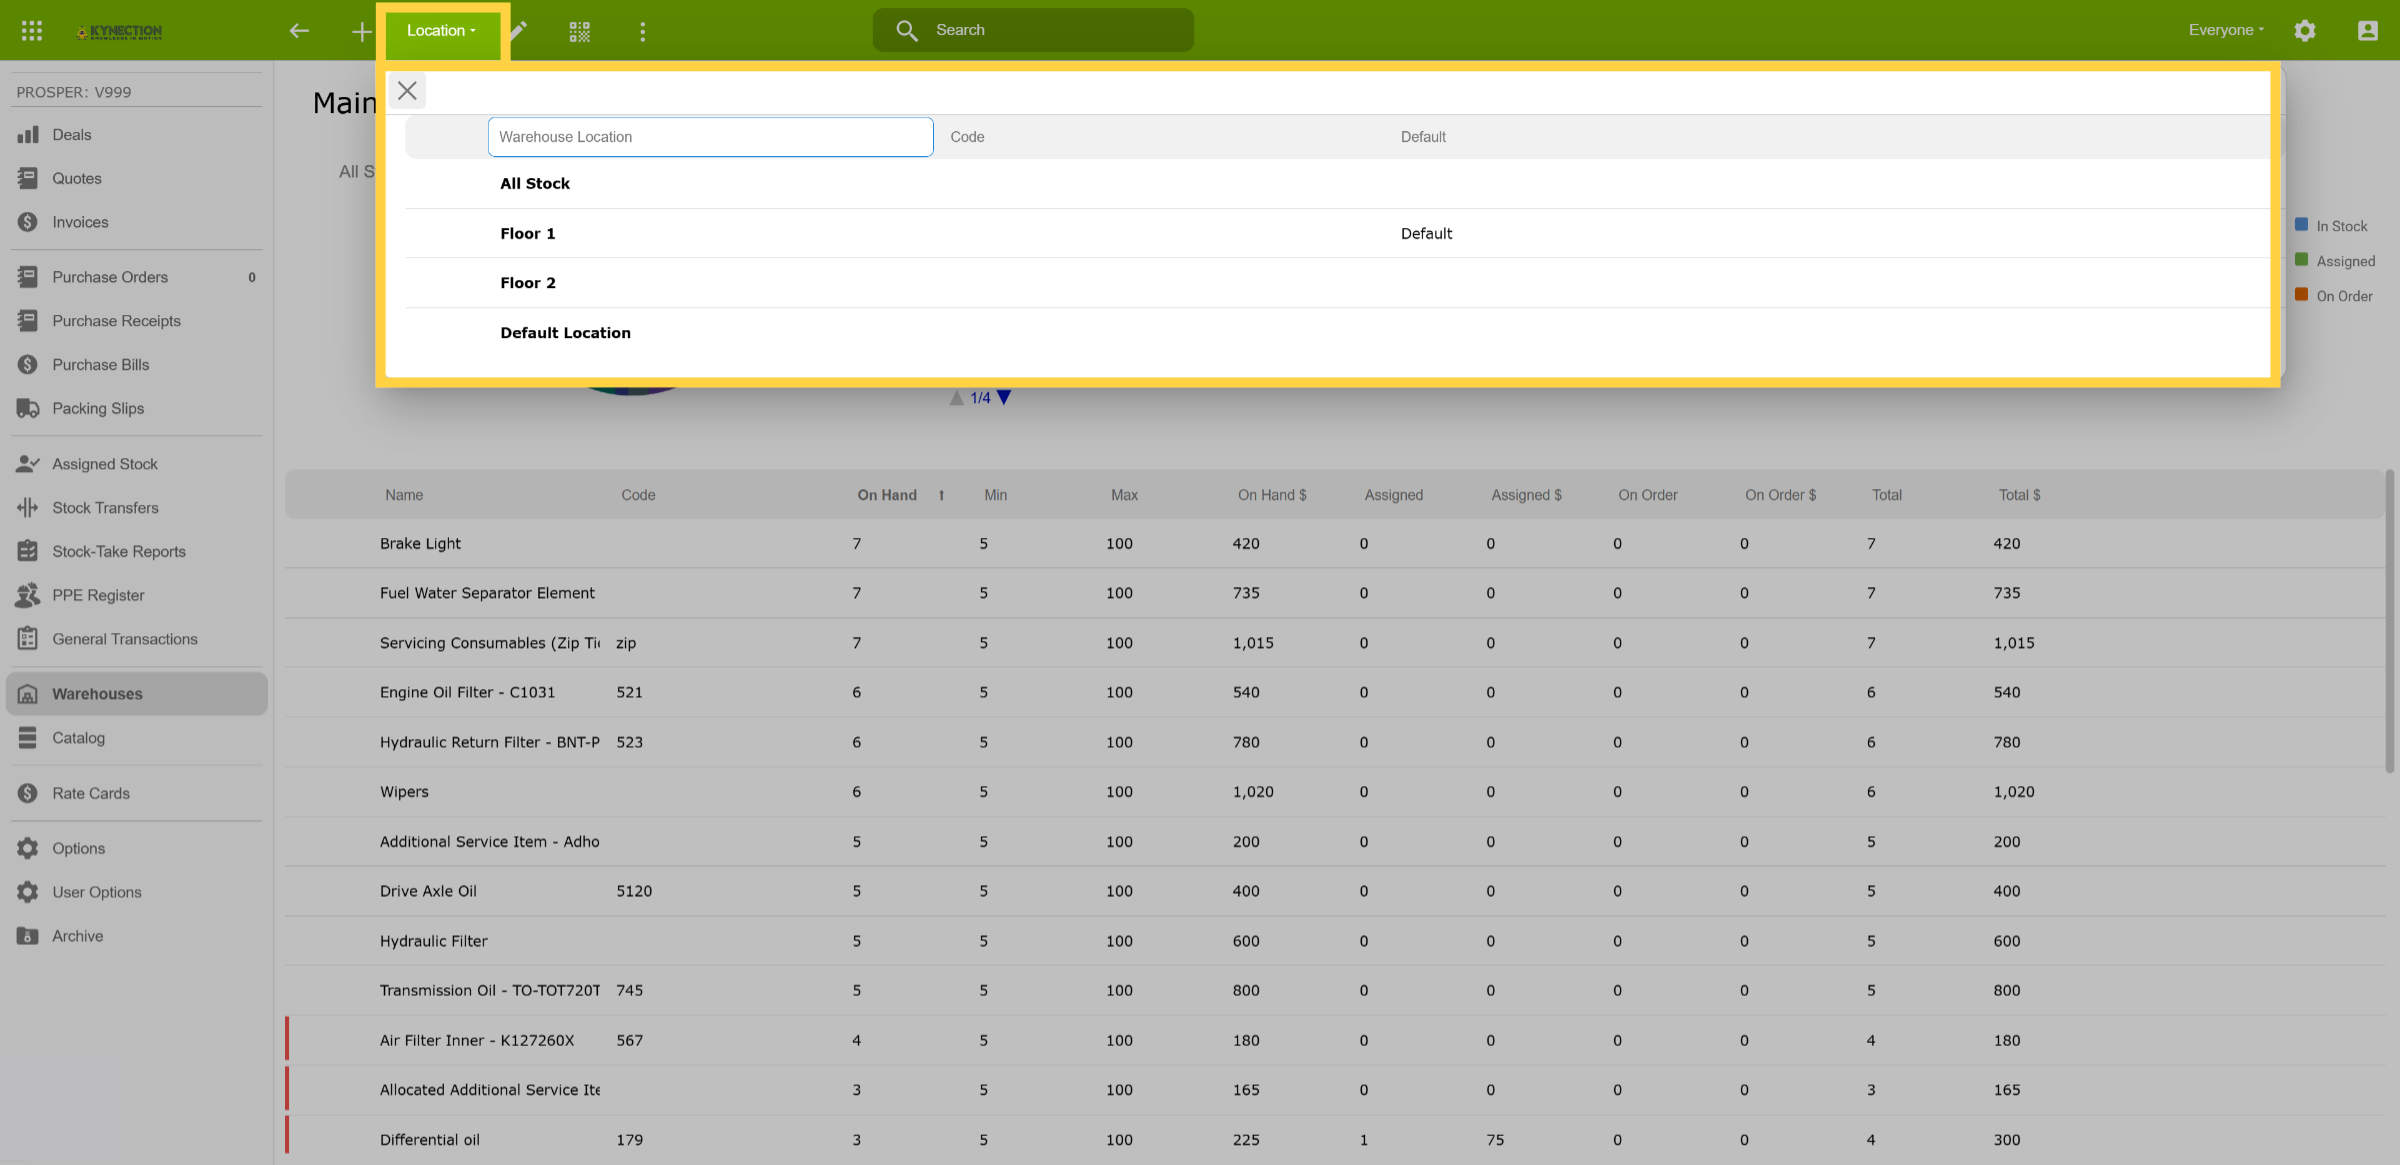
11. Location
The Location tab, available from the toolbar, provides management of stock locations across different floors, bays, or shelves for better organisation.
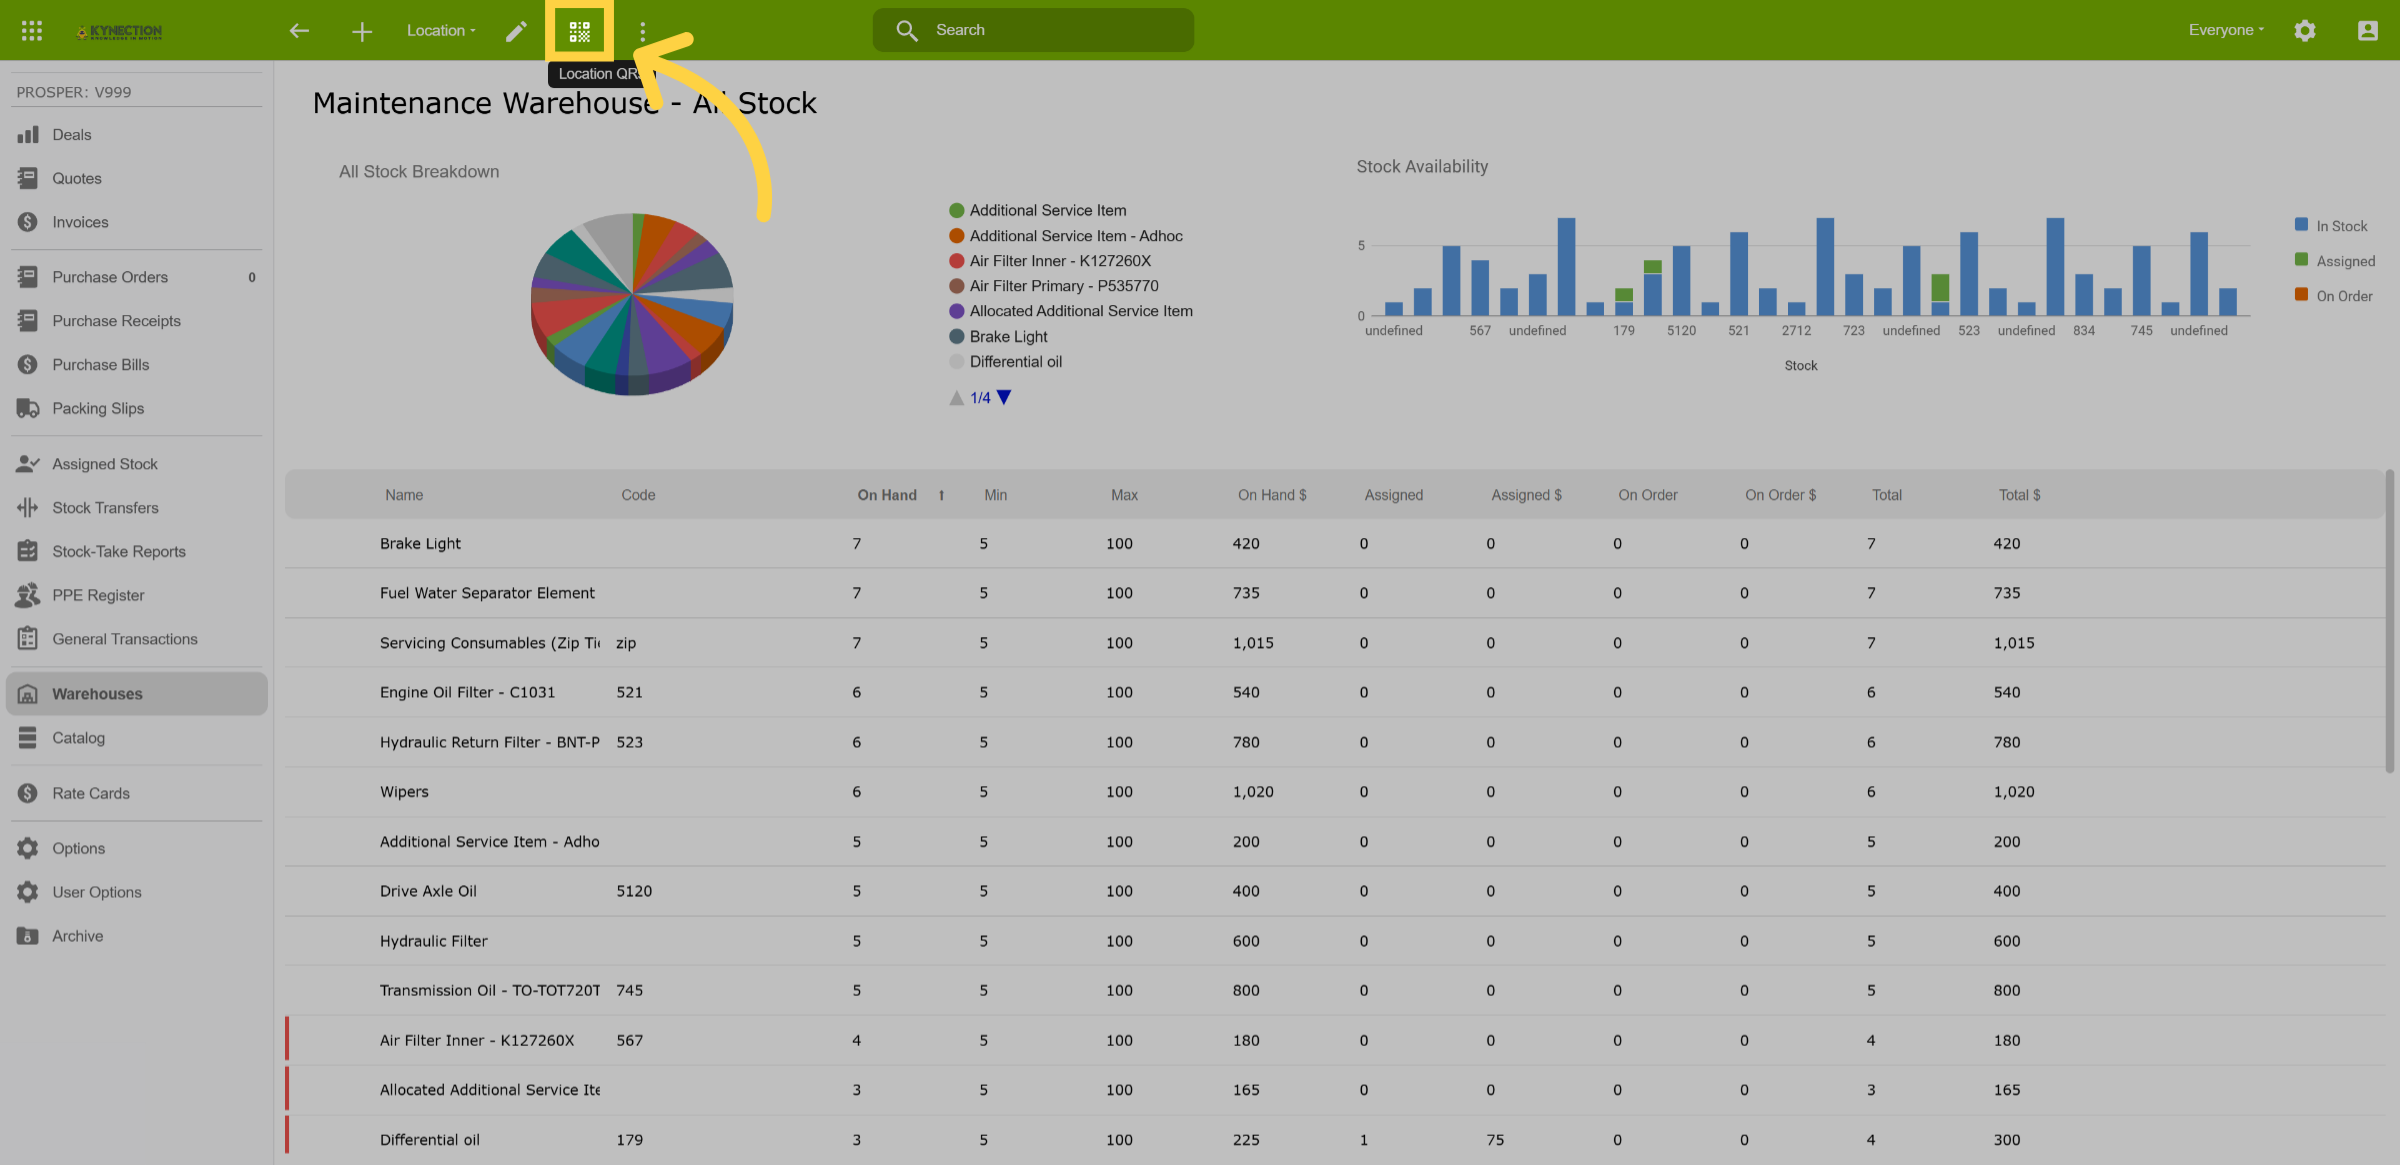
12. QR Print Out
QR codes for each stock item can be printed by clicking the QR icon.
13. Edit Stock Item
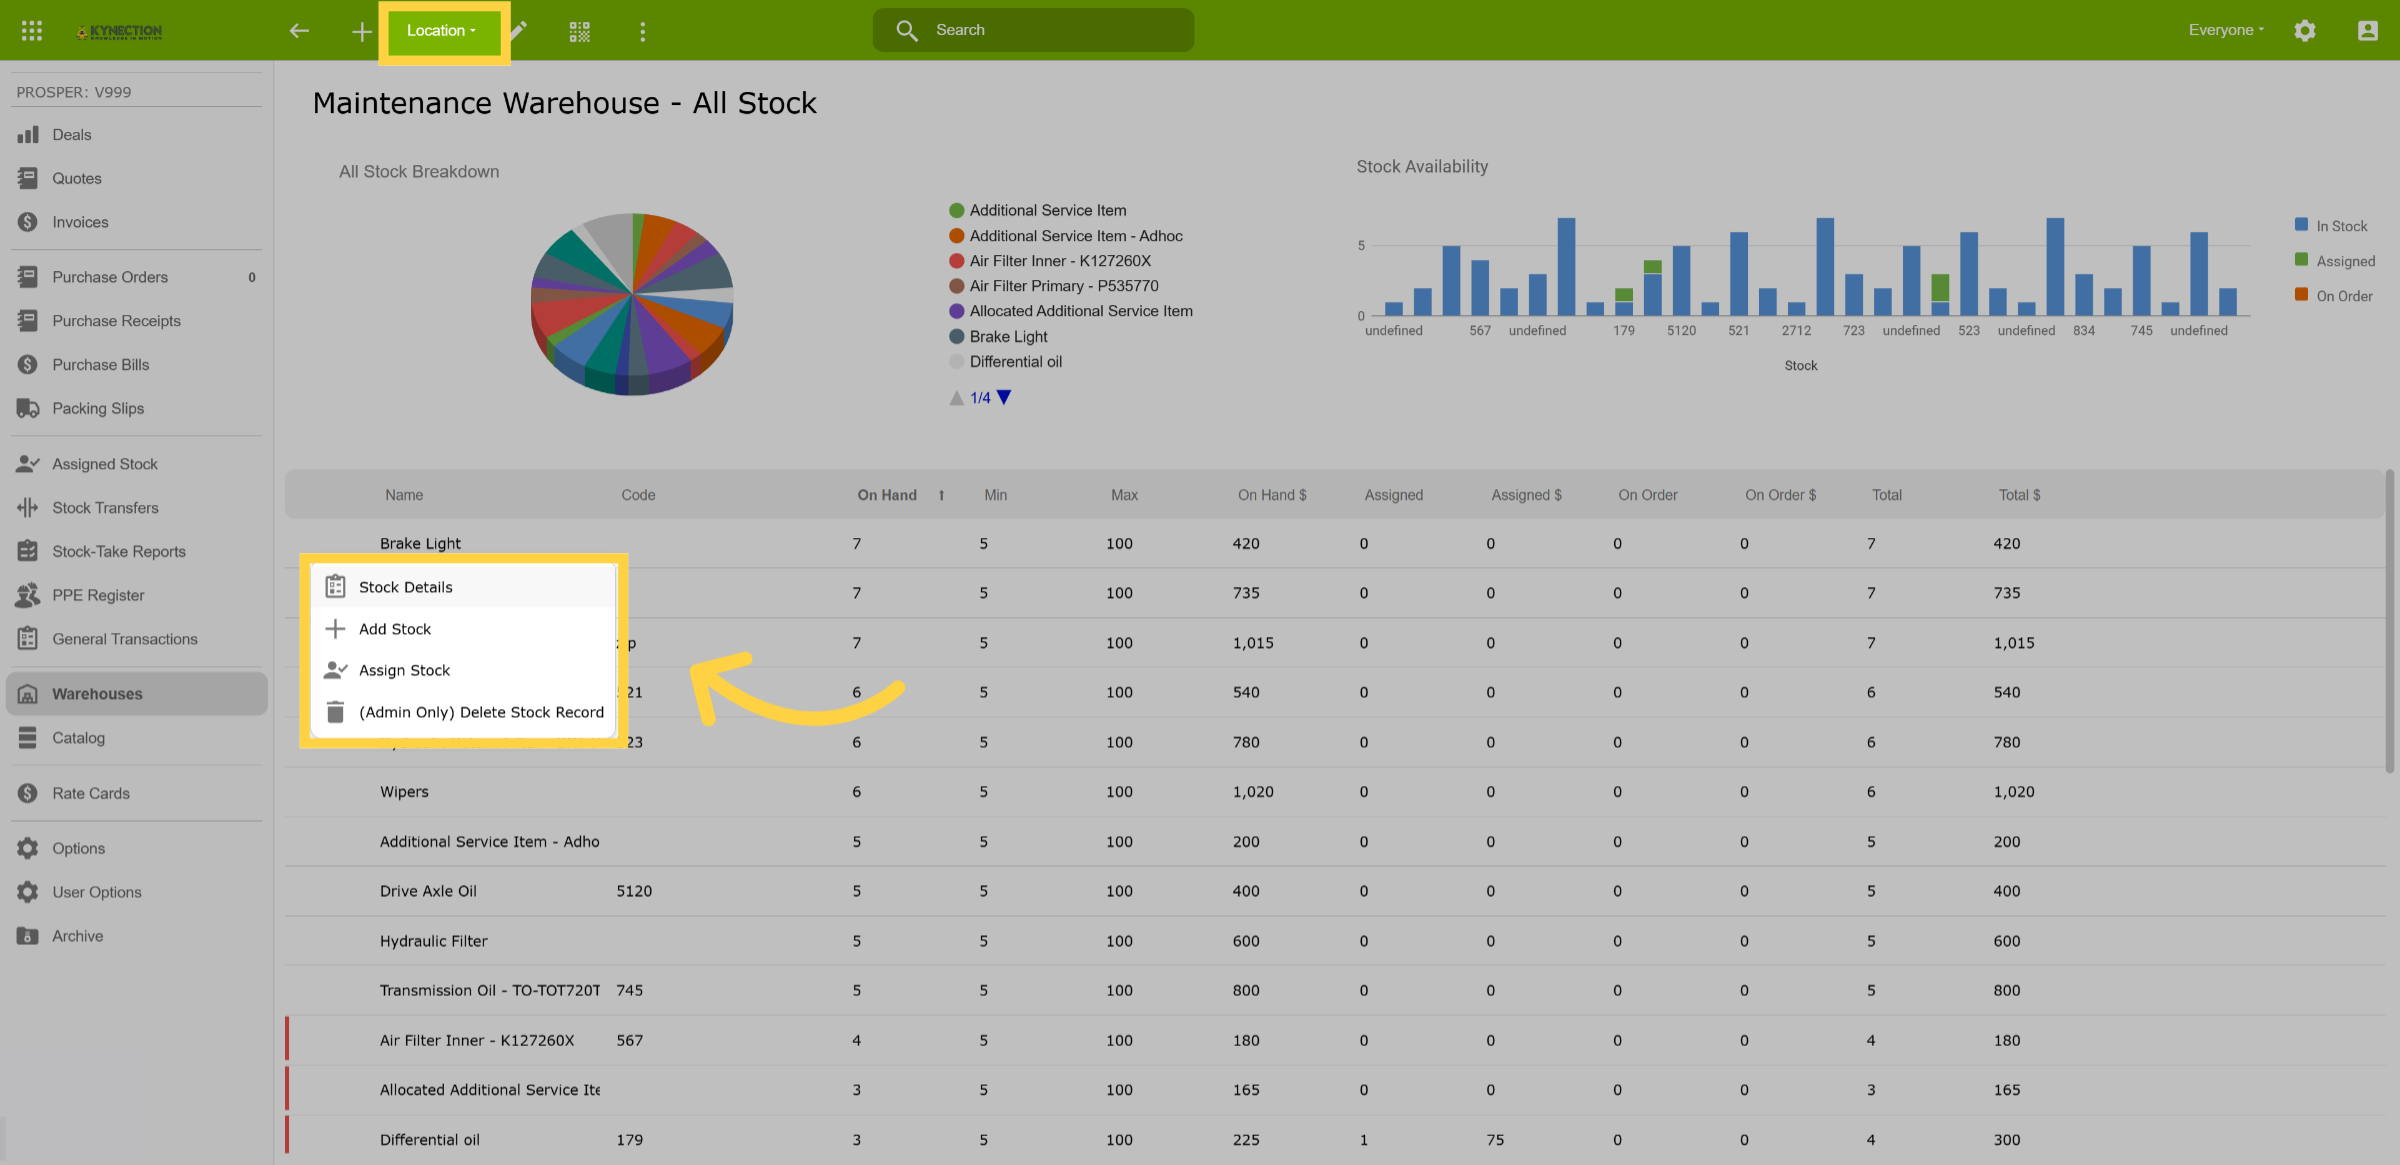
Hover your mouse to the left of the stock item name to reveal 3 dots. Click the 3 dots for editing options.
14. Stock Details
Editing options allow you to view stock details, add new stock, assign stock, or delete stock items as required.
15. Stock Details
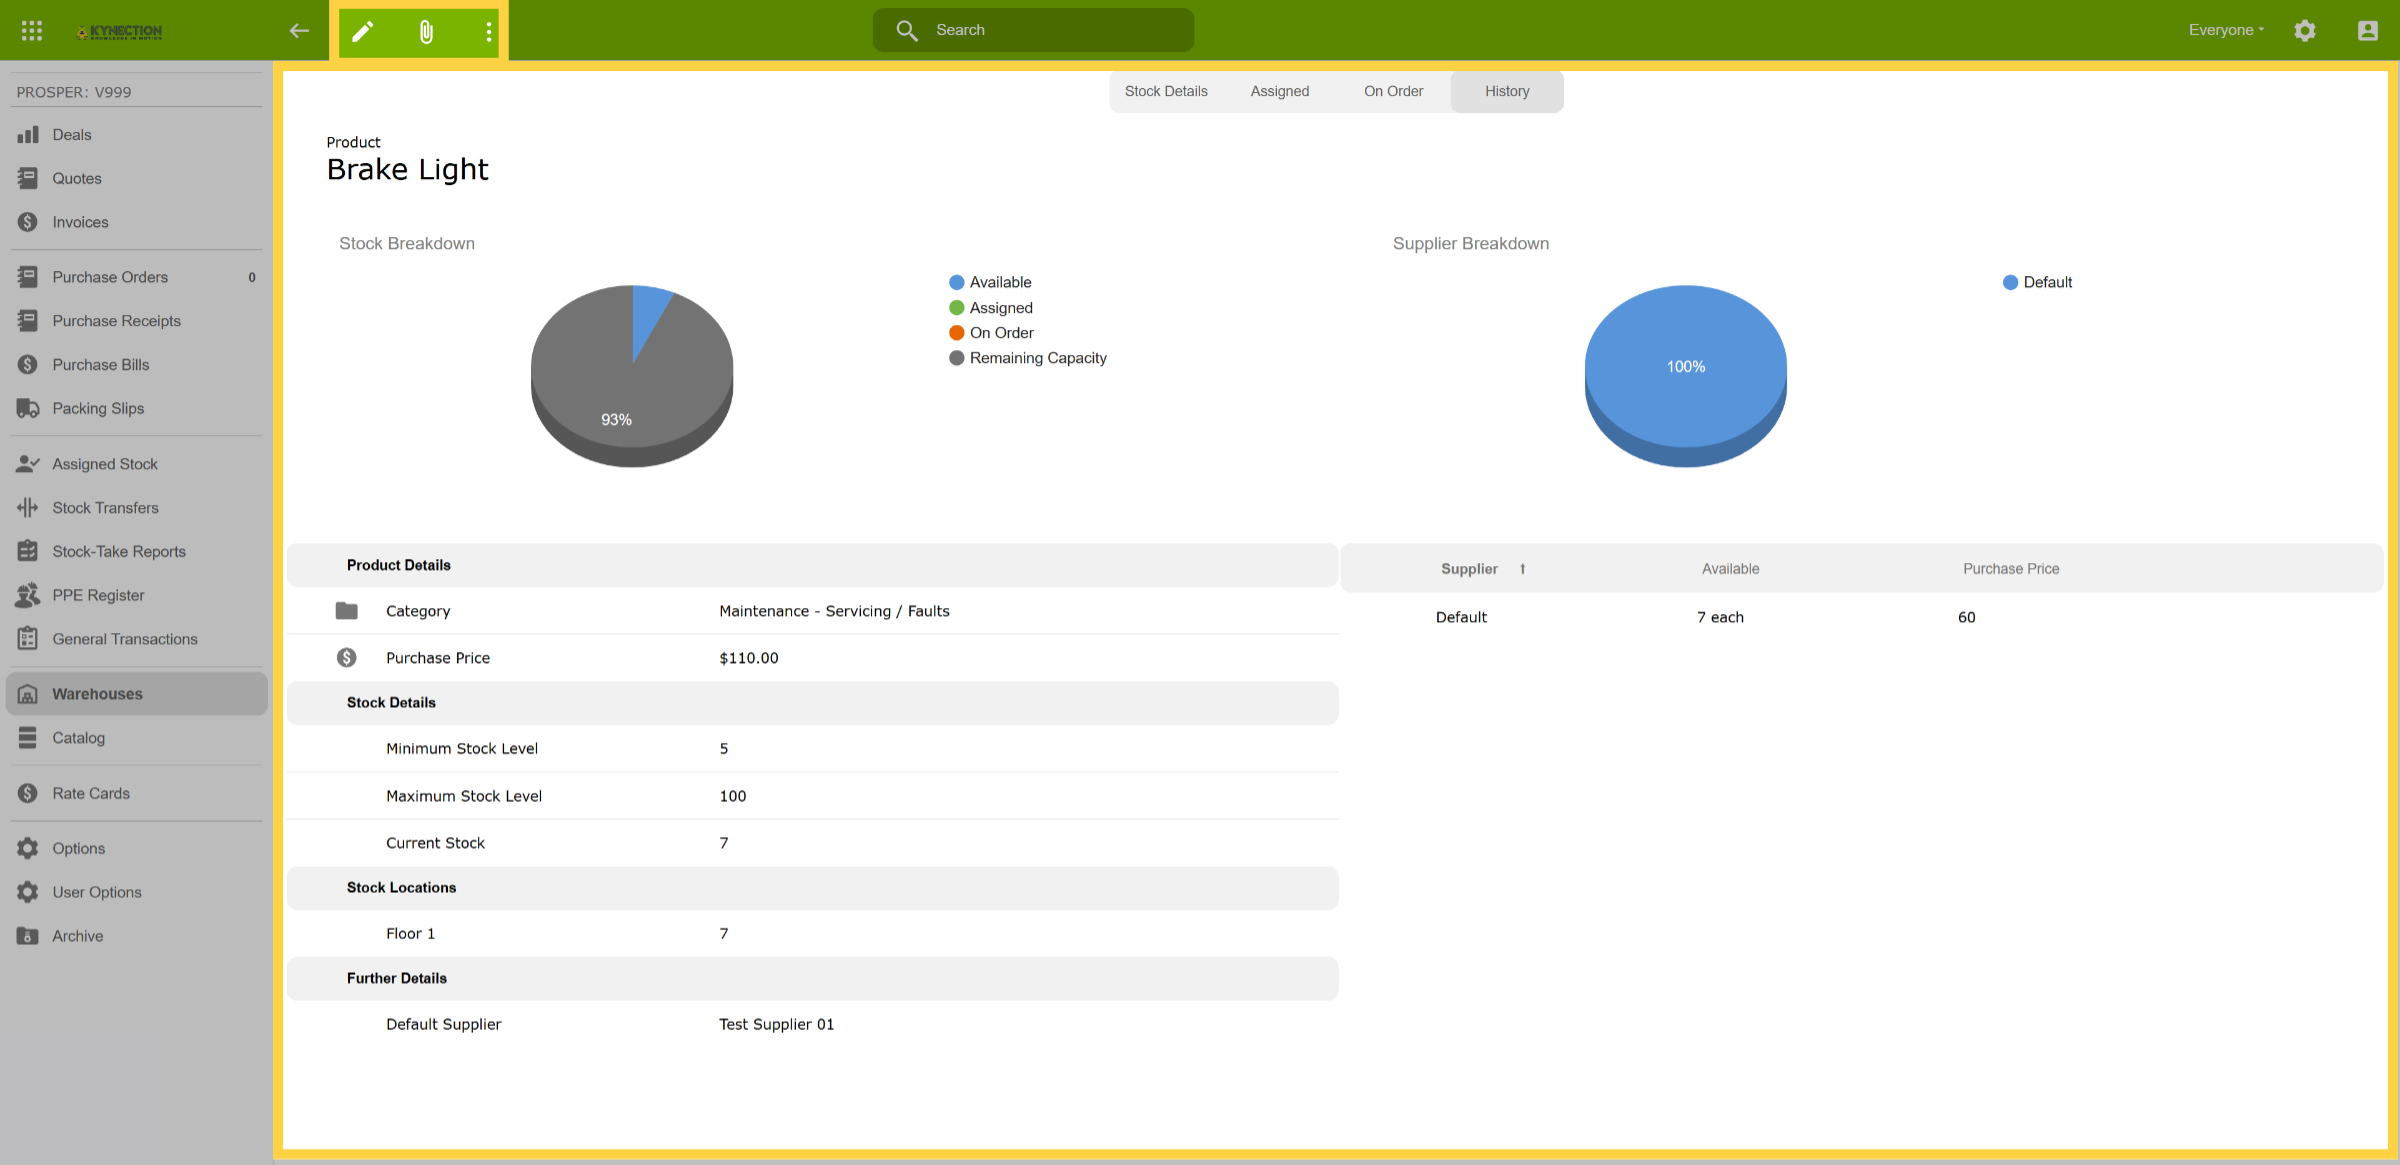
Within the stock details, information such as stock and supplier breakdowns, minimum and maximum stock levels, purchase price, supplier details, and the stock’s location can be viewed or edited using the toolbar functions.
16. History of Stock
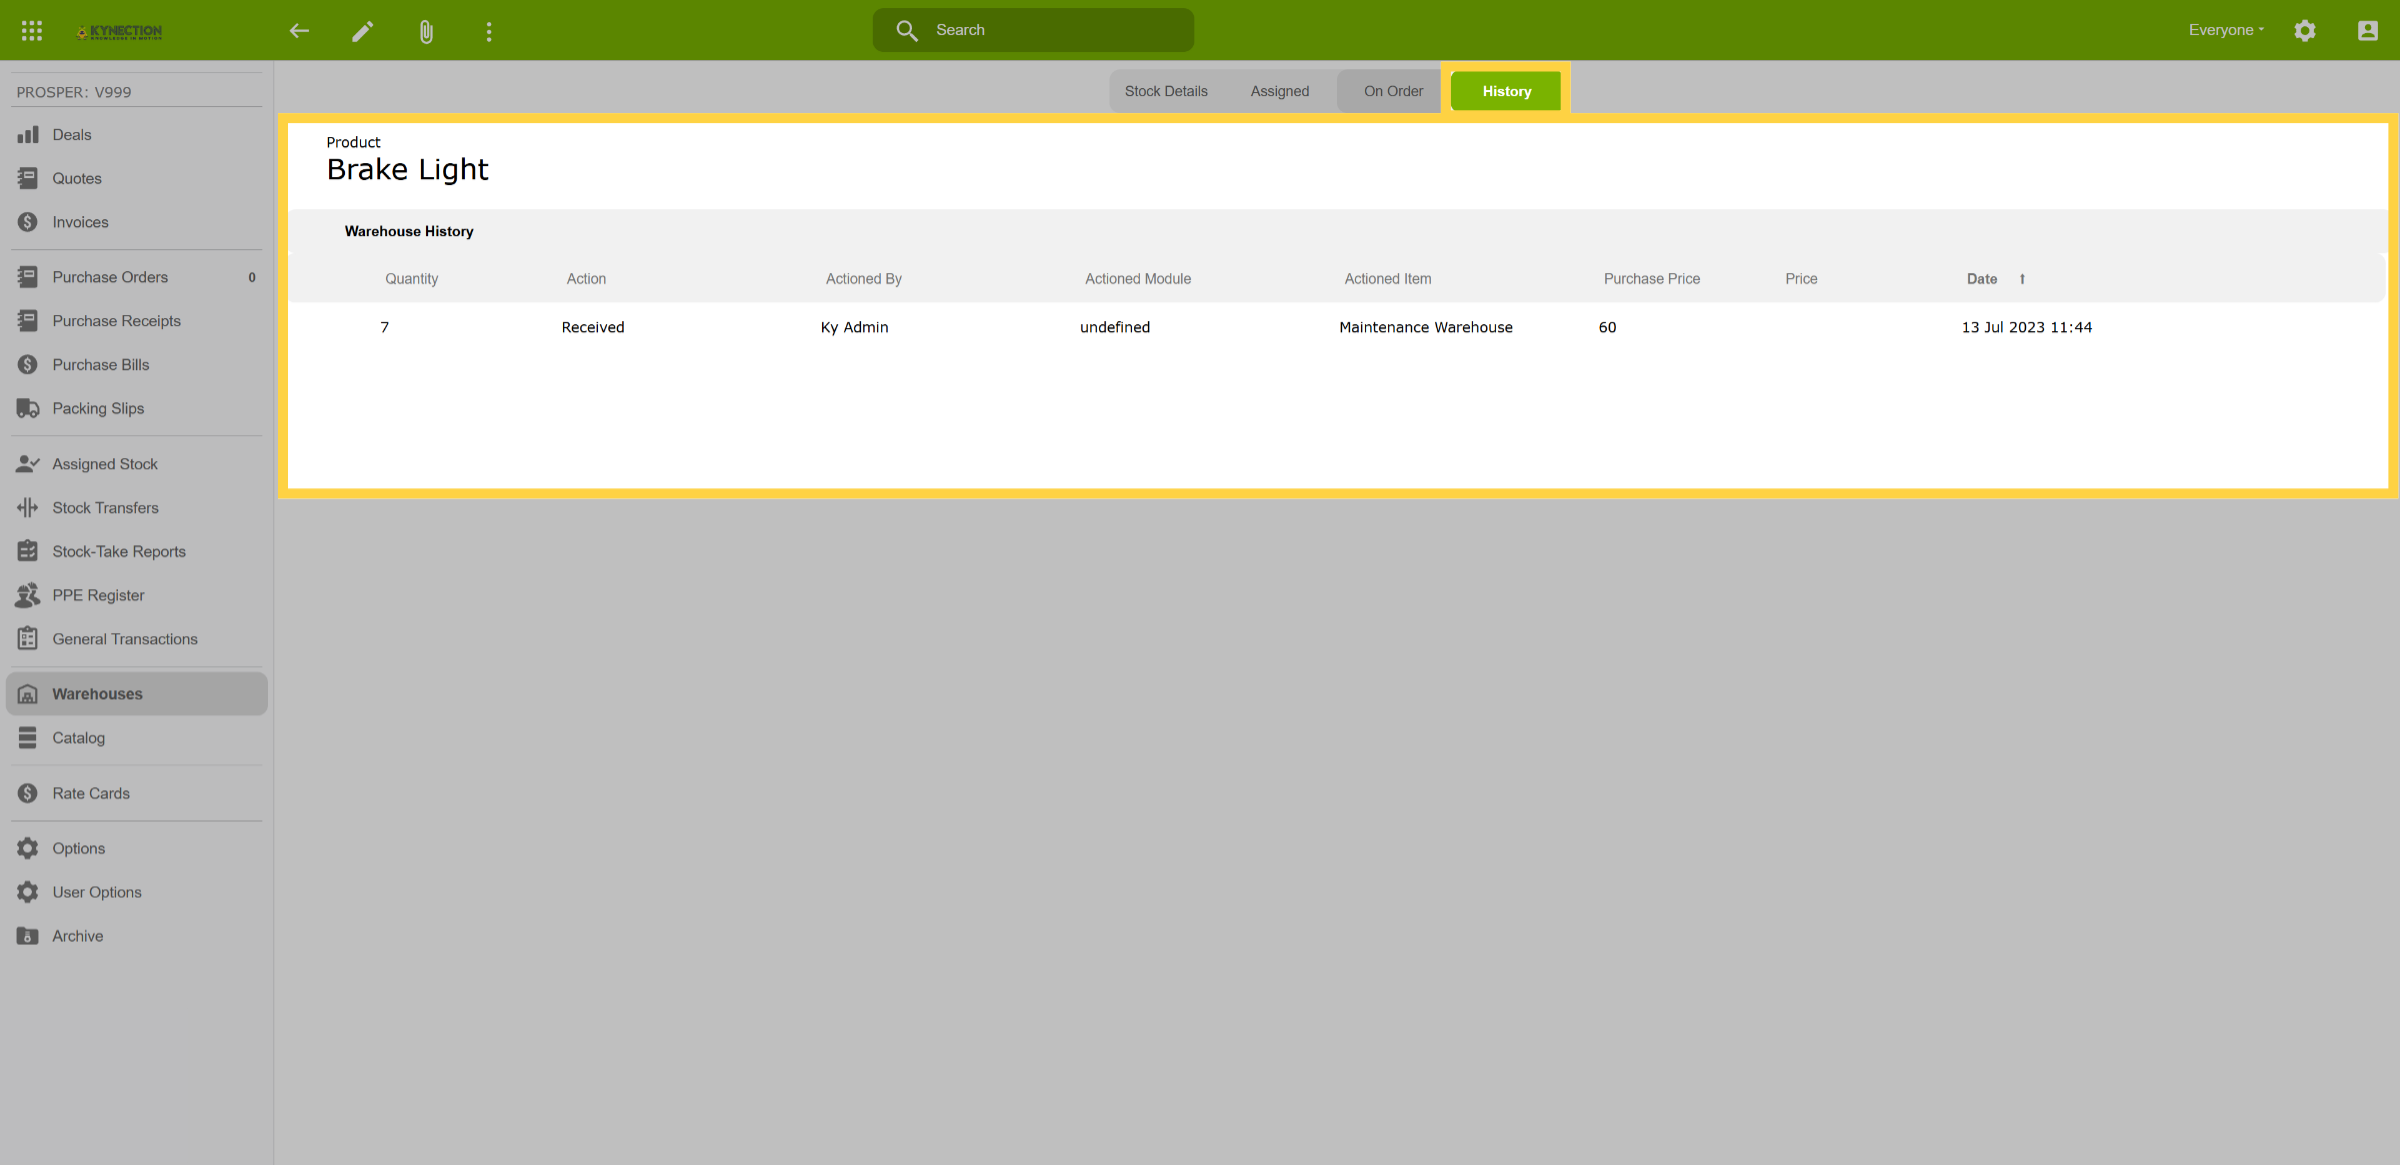
The History tab, available from the top menu, displays all activity related to a selected stock item.
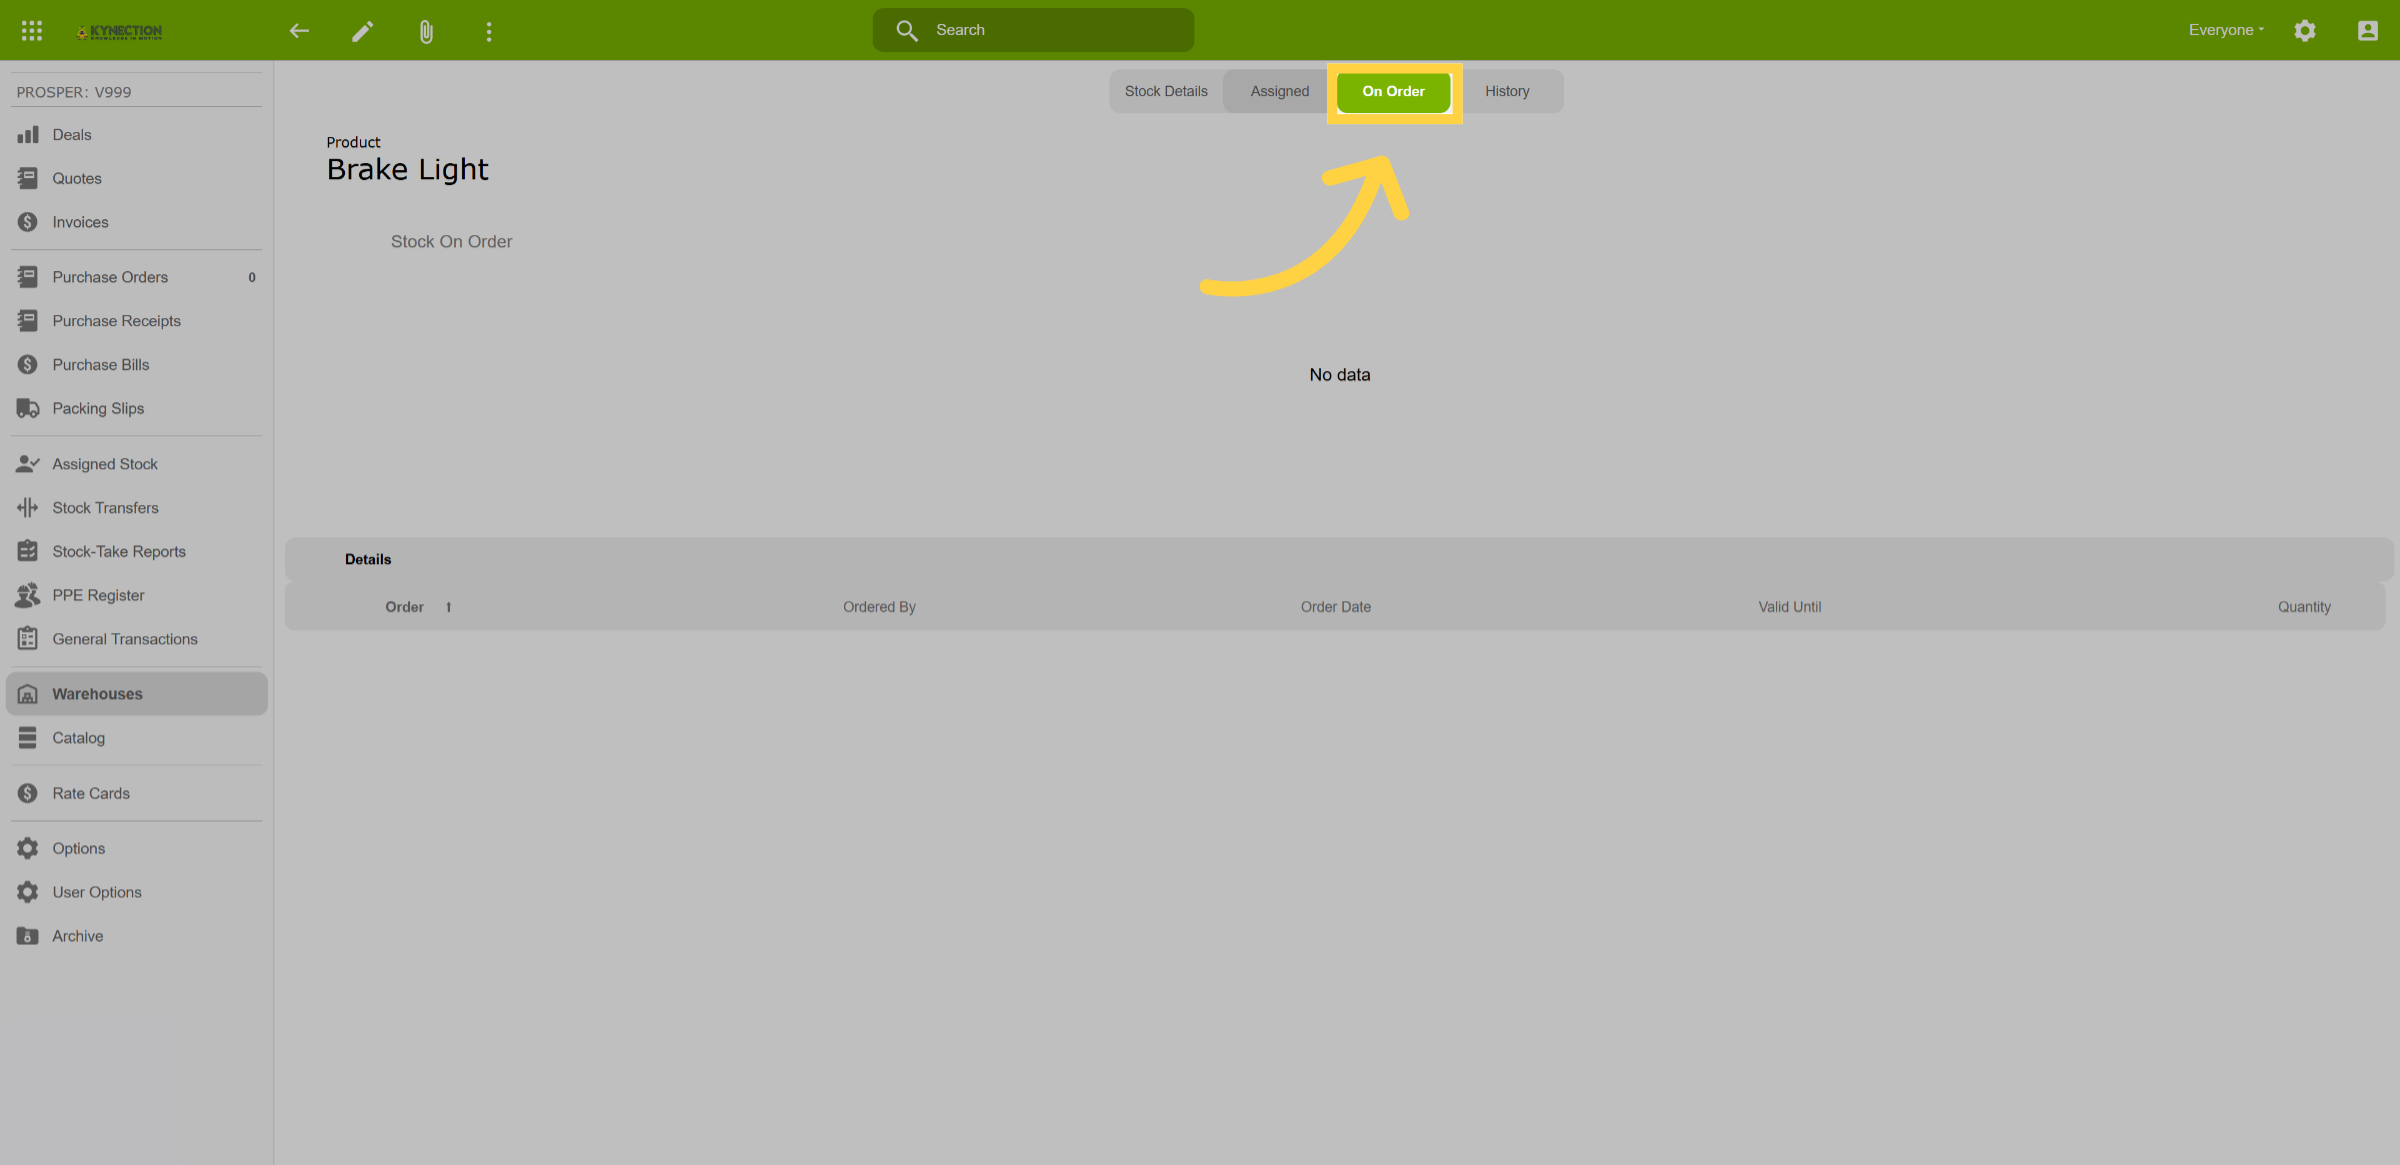
17. On Order
The "On Order" tab shows which stock items are currently on order.
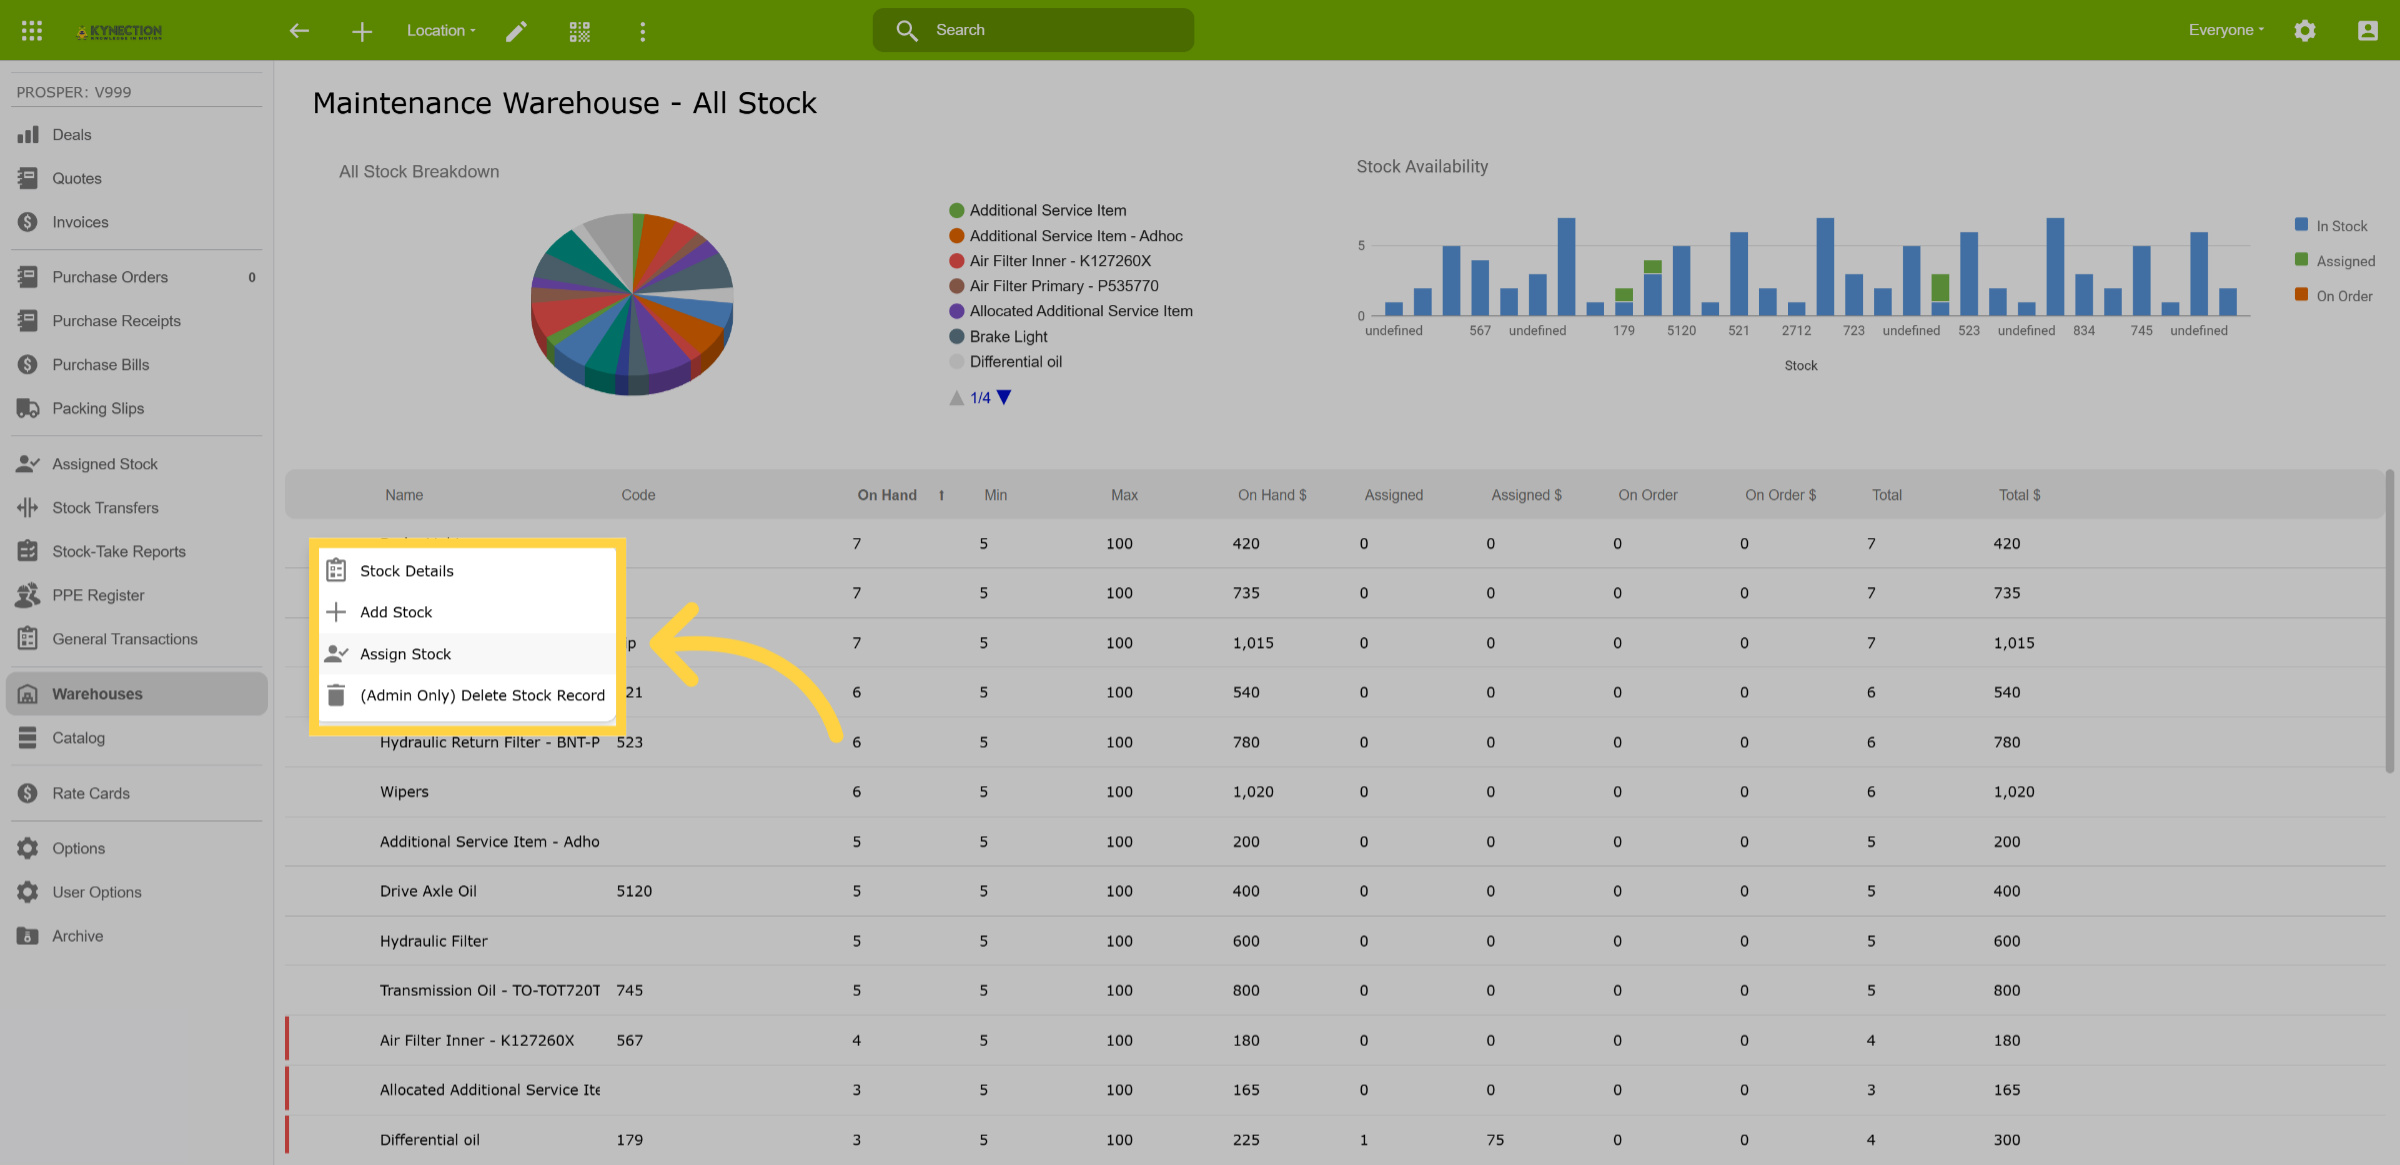
18. Assign Stock
To assign stock, click the 3 dots next to the stock item name, and then select the Assign Stock tab from the edit menu.
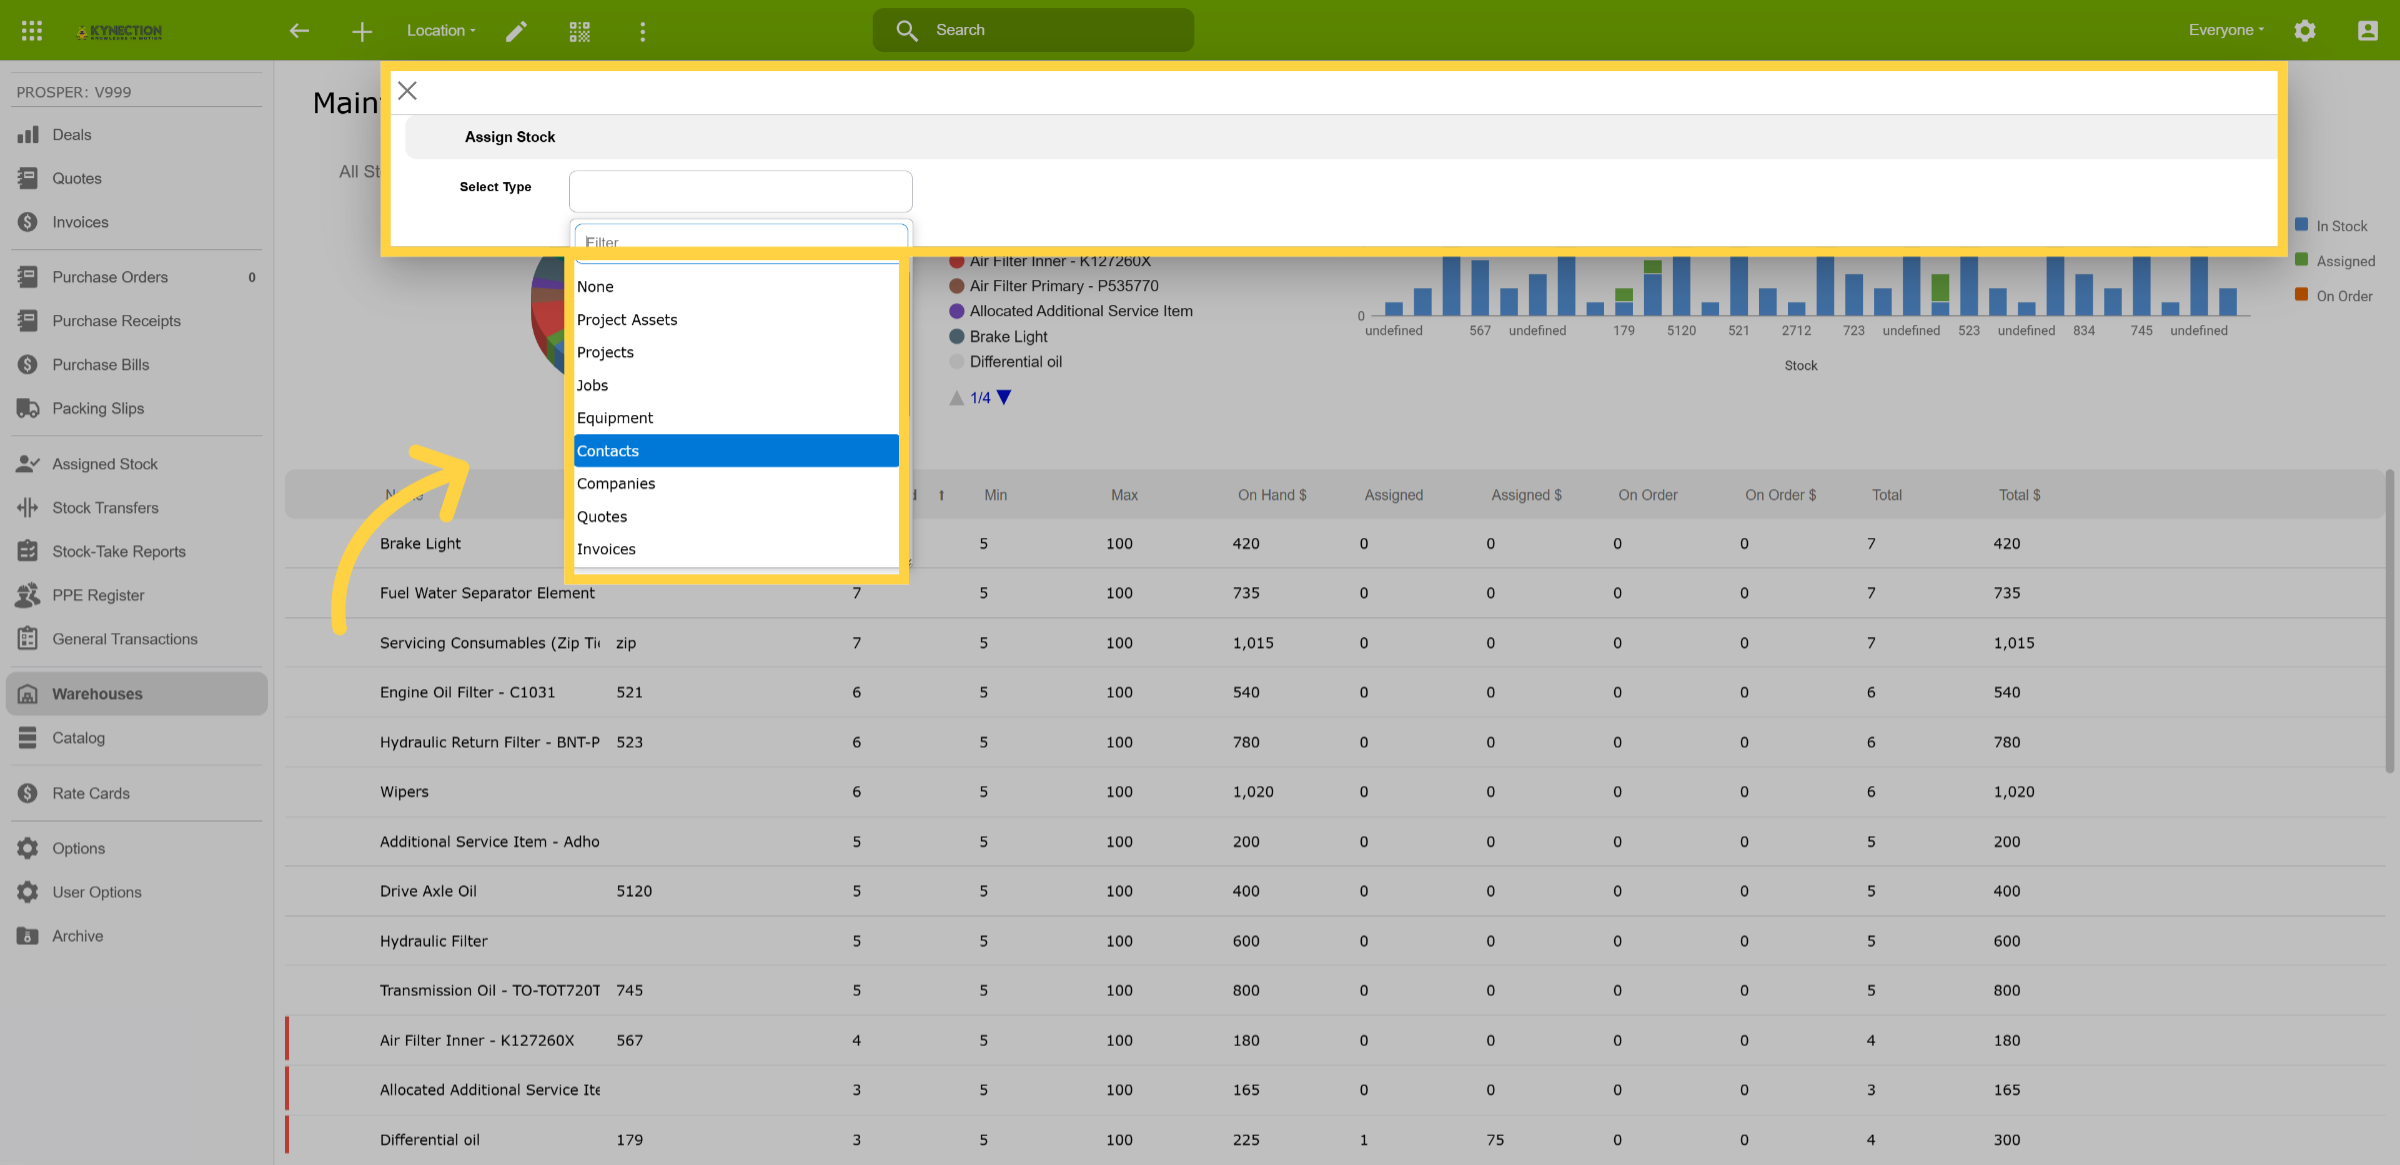
19. Assign Stock Options
Stock can be assigned to multiple departments, such as Projects, Jobs, Equipment, and more.
20. Assign to a Contact
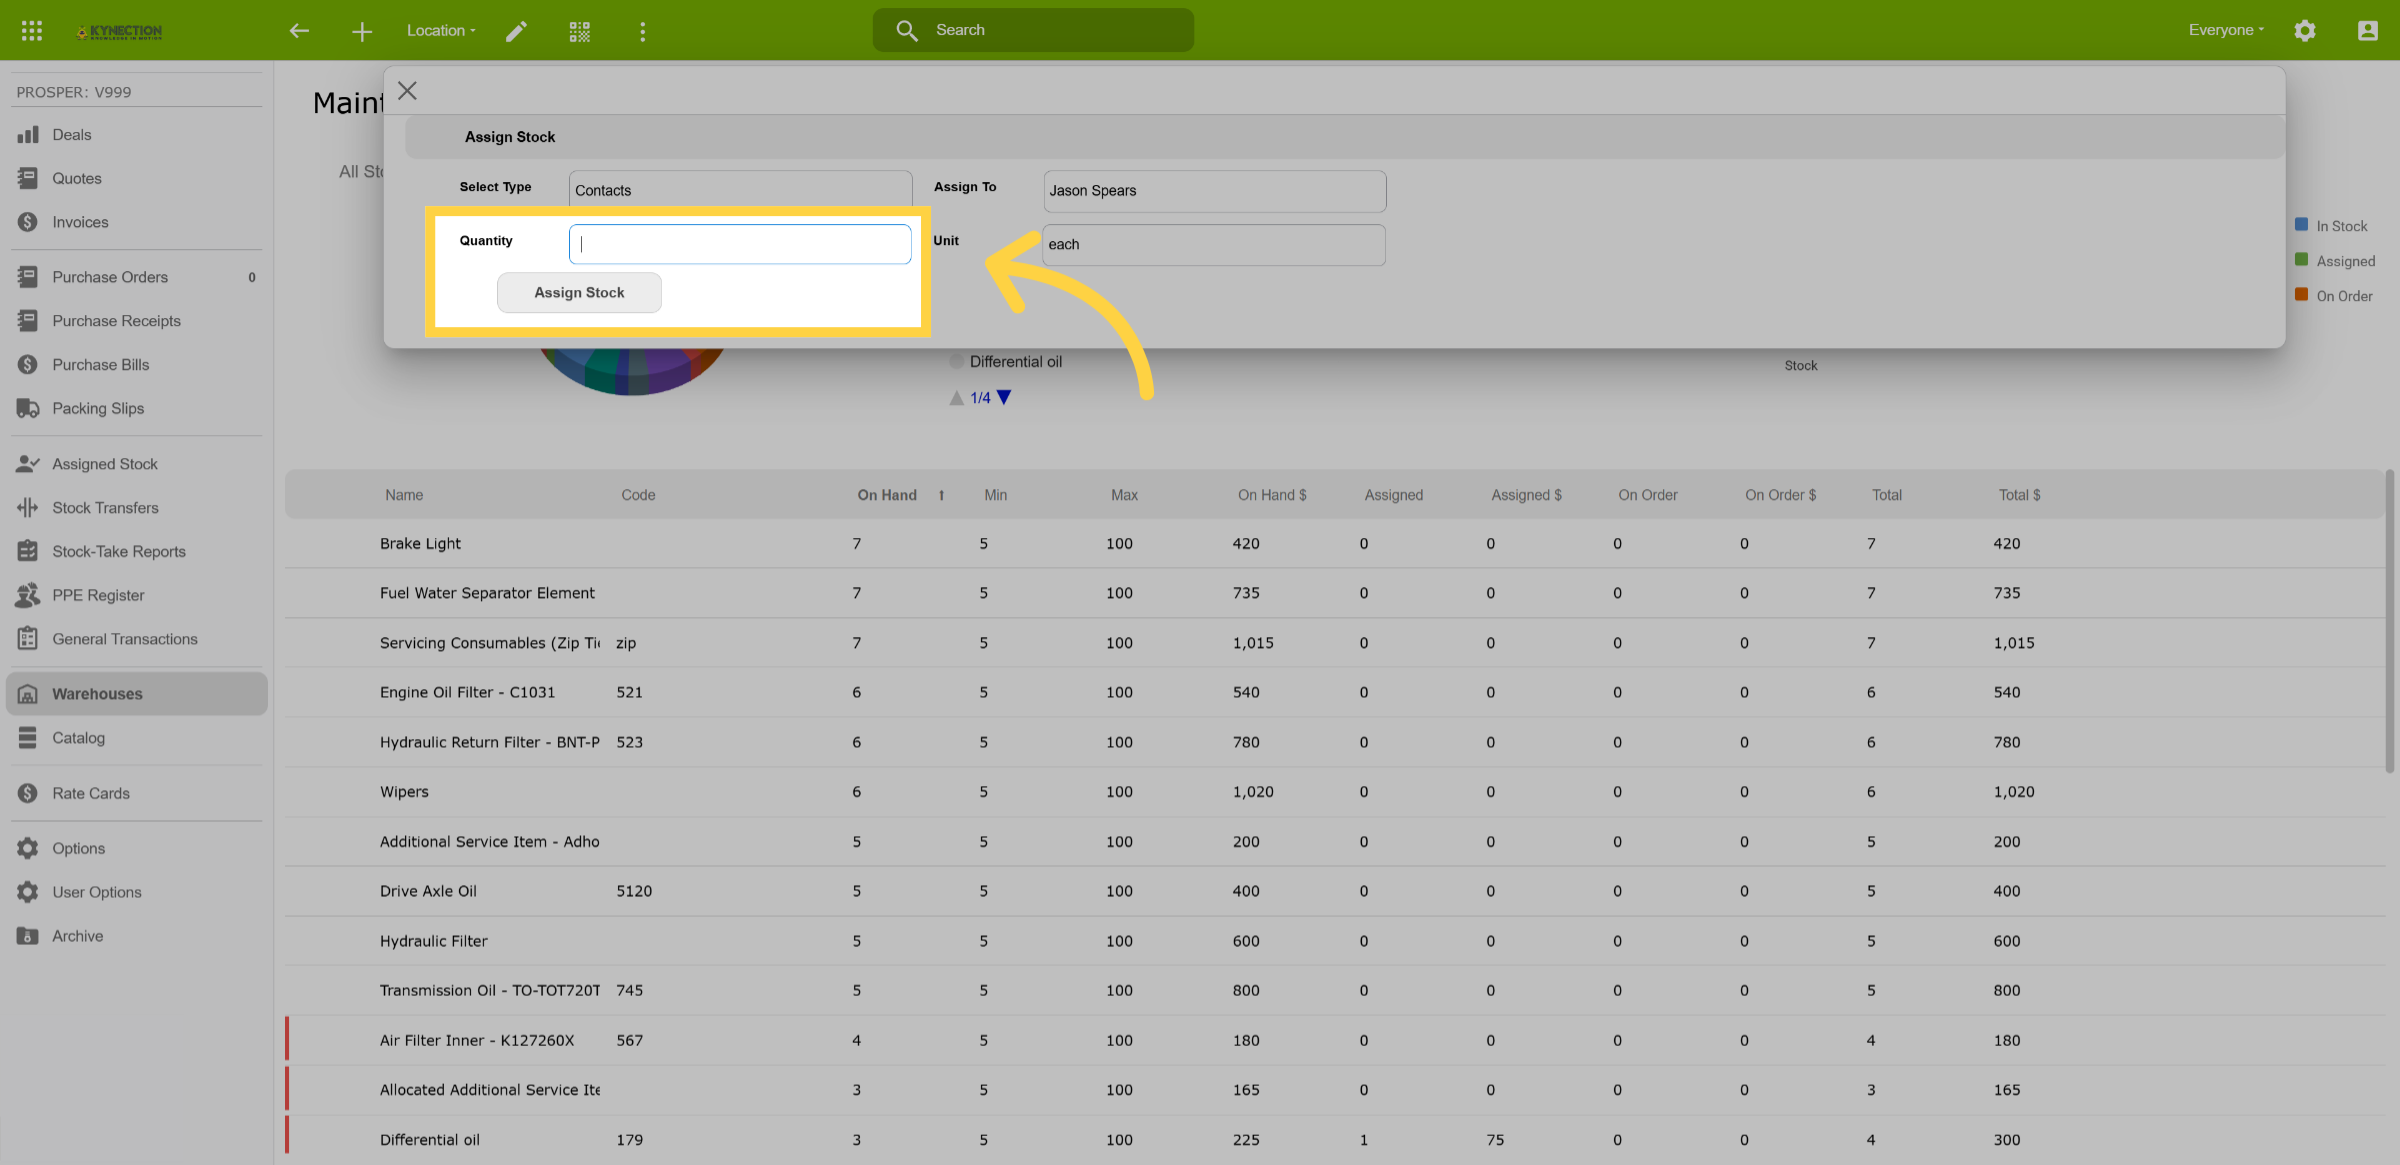
When stock is assigned to Contacts, another field becomes available to assign the name of the contact.
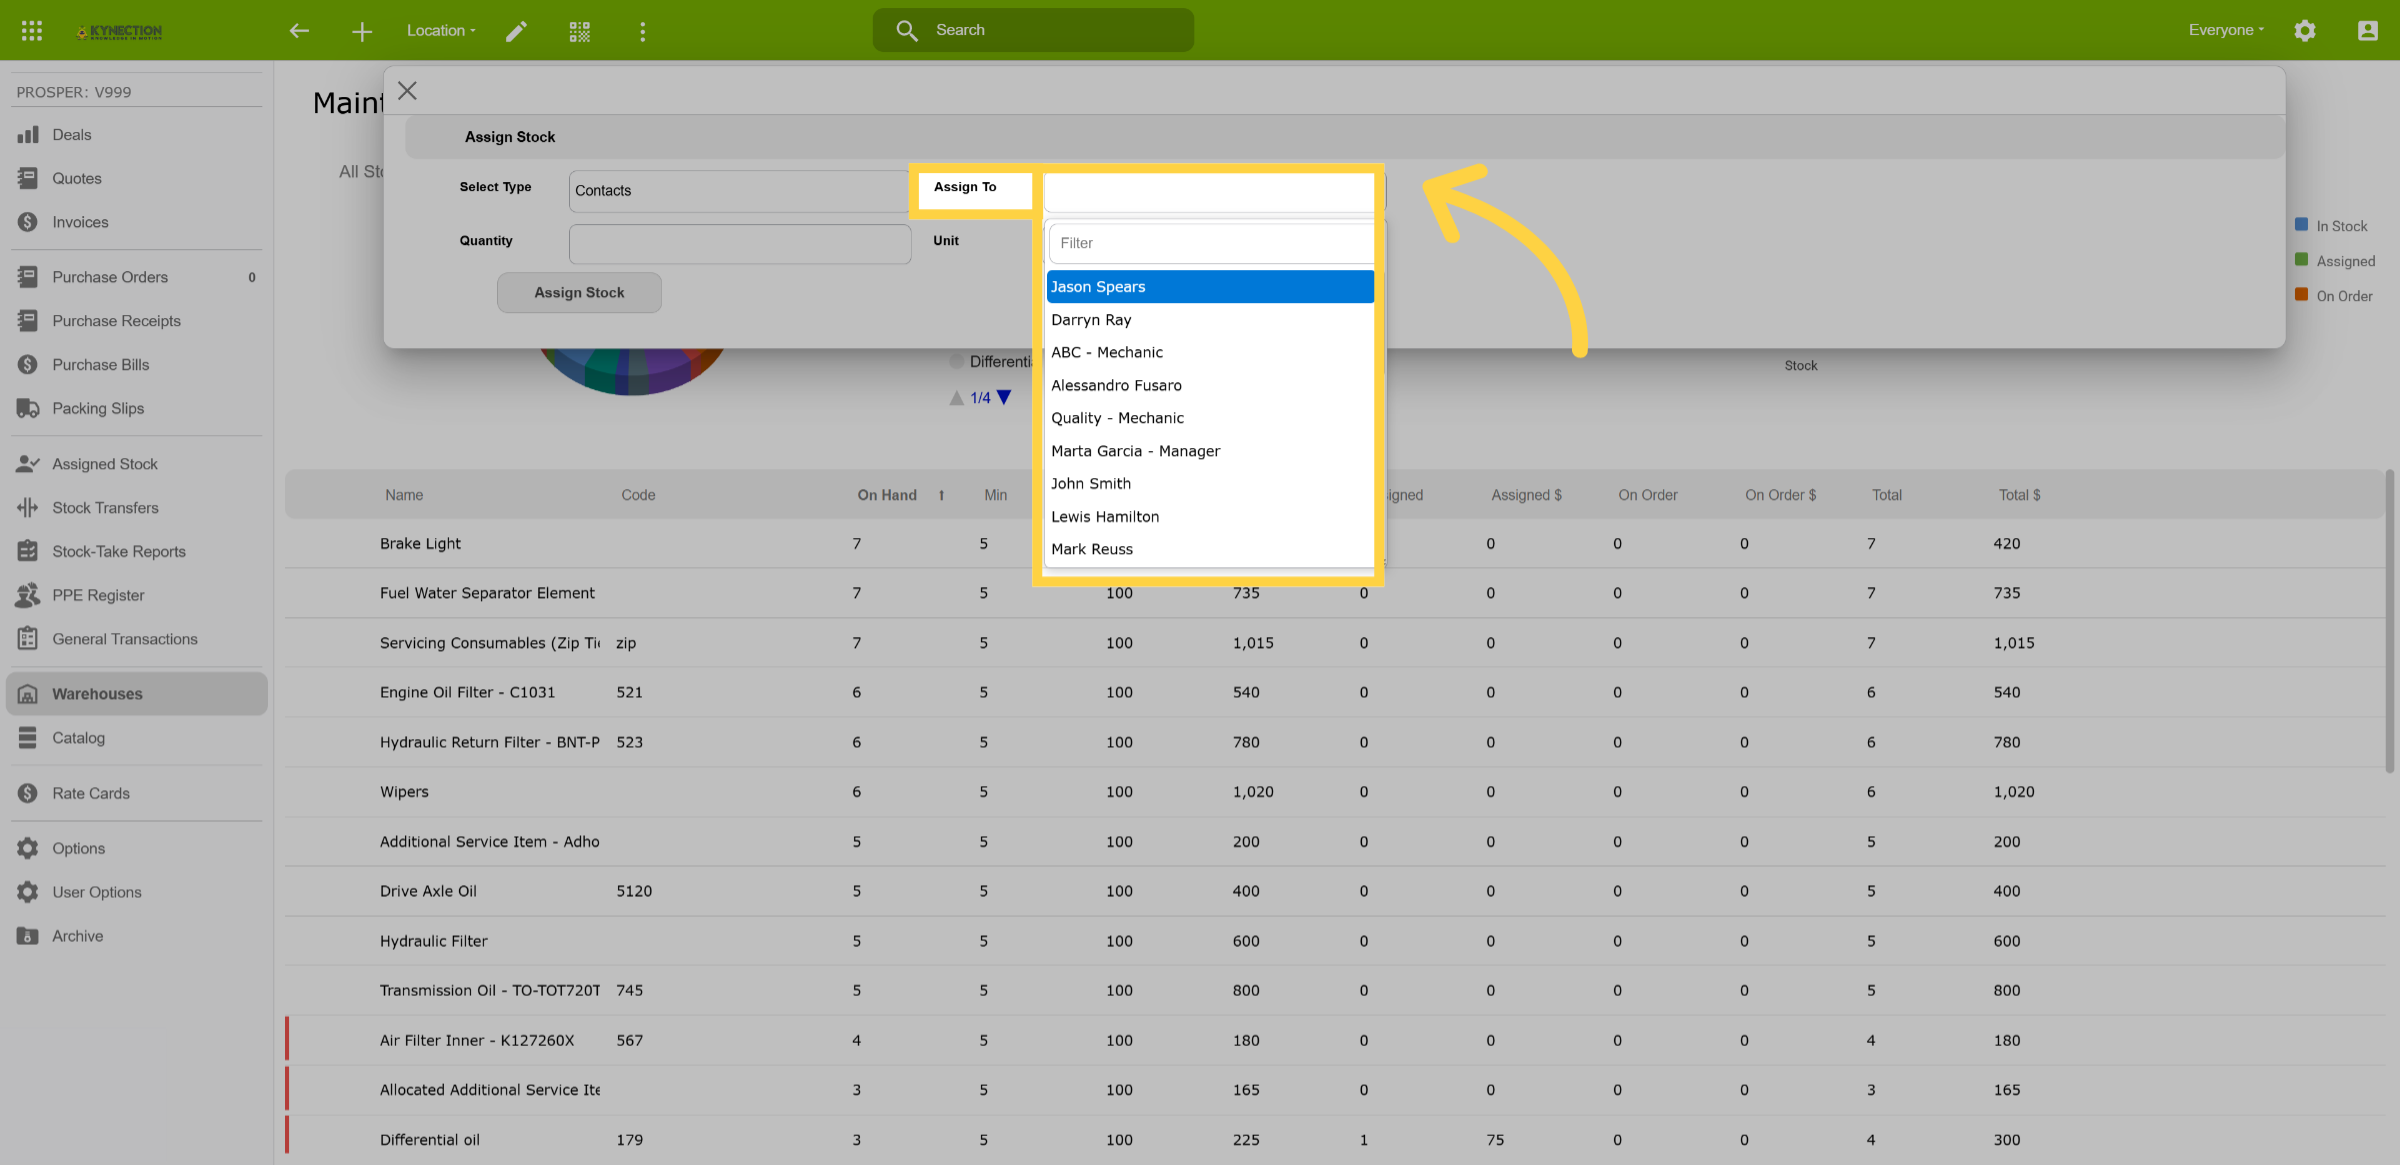
21. Quantity of Stock
To complete the stock assignment, enter the quantity and click "Assign Stock."
22. Assigned Stock
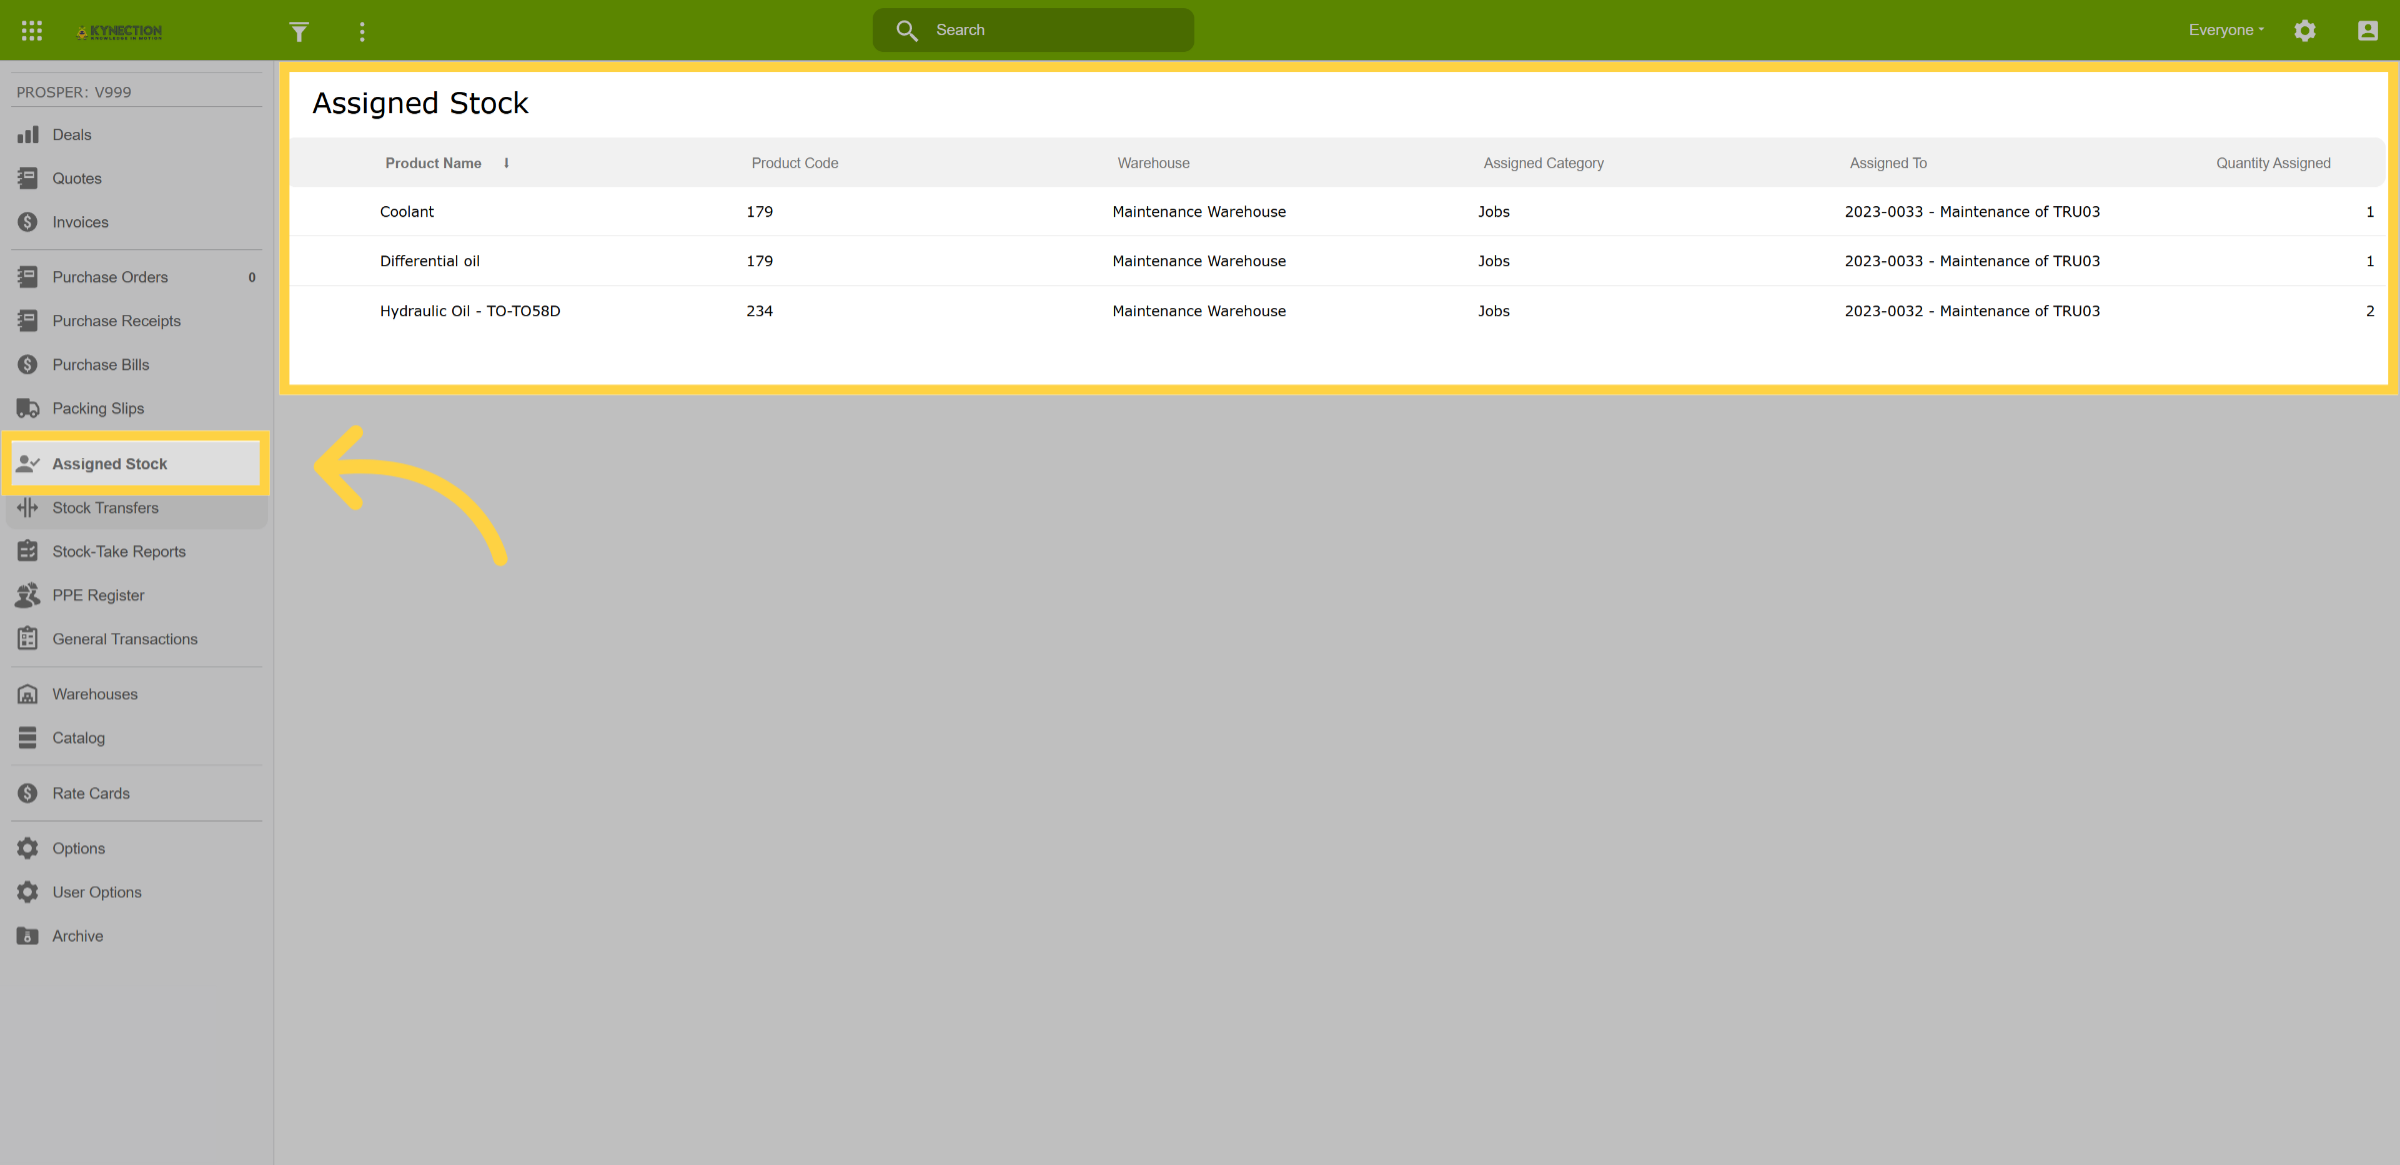
Assigned Stock, available from the left hand pane, shows all stock items allocated to warehouses and jobs.
23. Stock Transfers
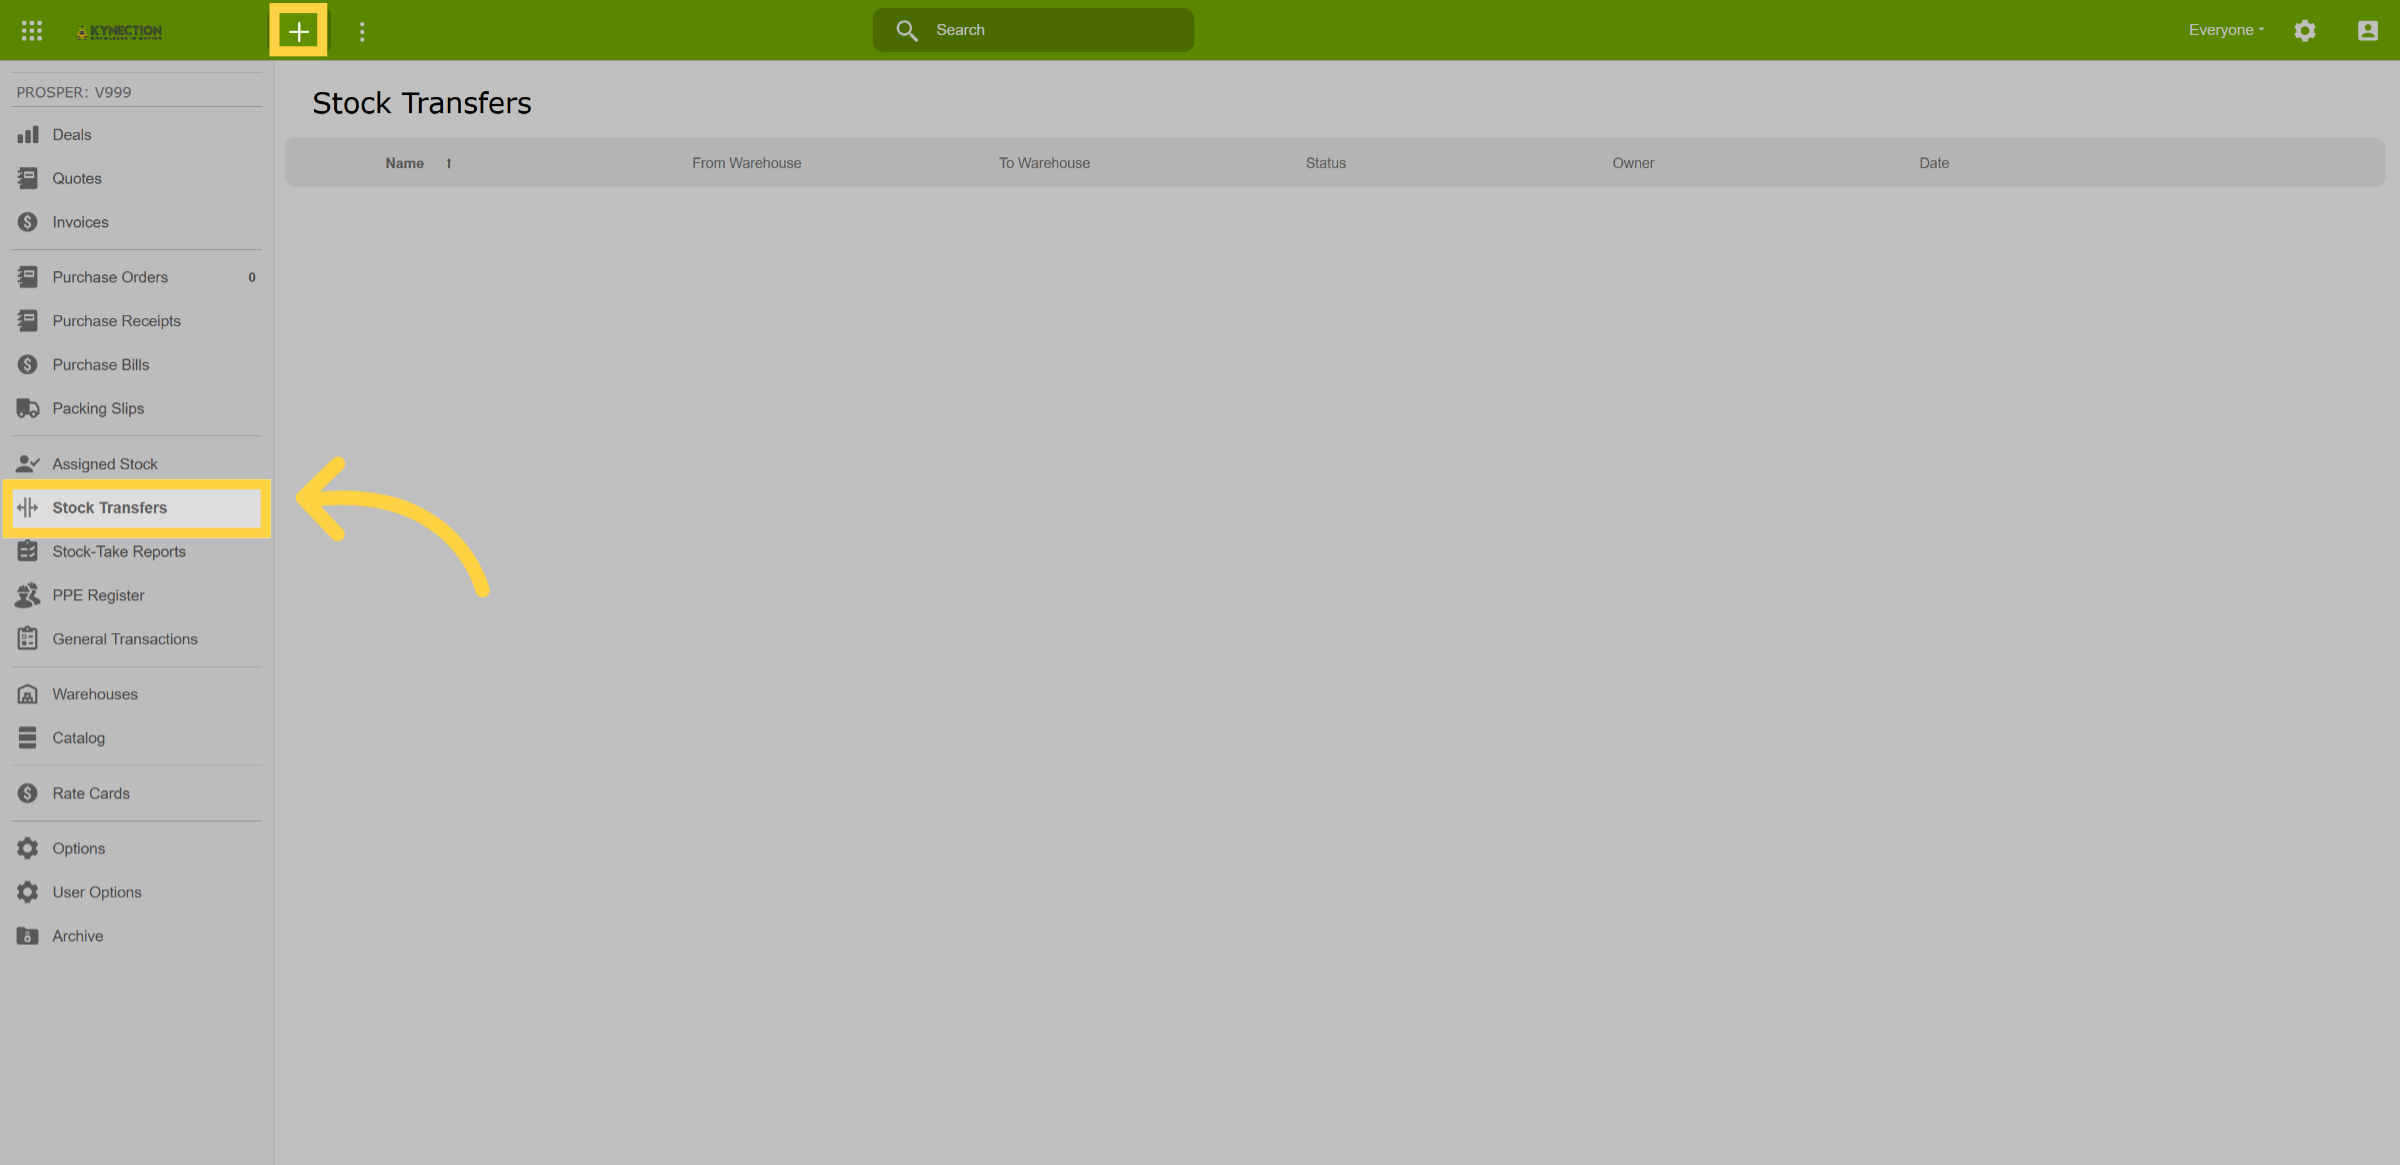
Select Stock Transfers from the left-hand pane, then use the plus icon from the toolbar to create a Transfer.
24. Complete Transfer Details
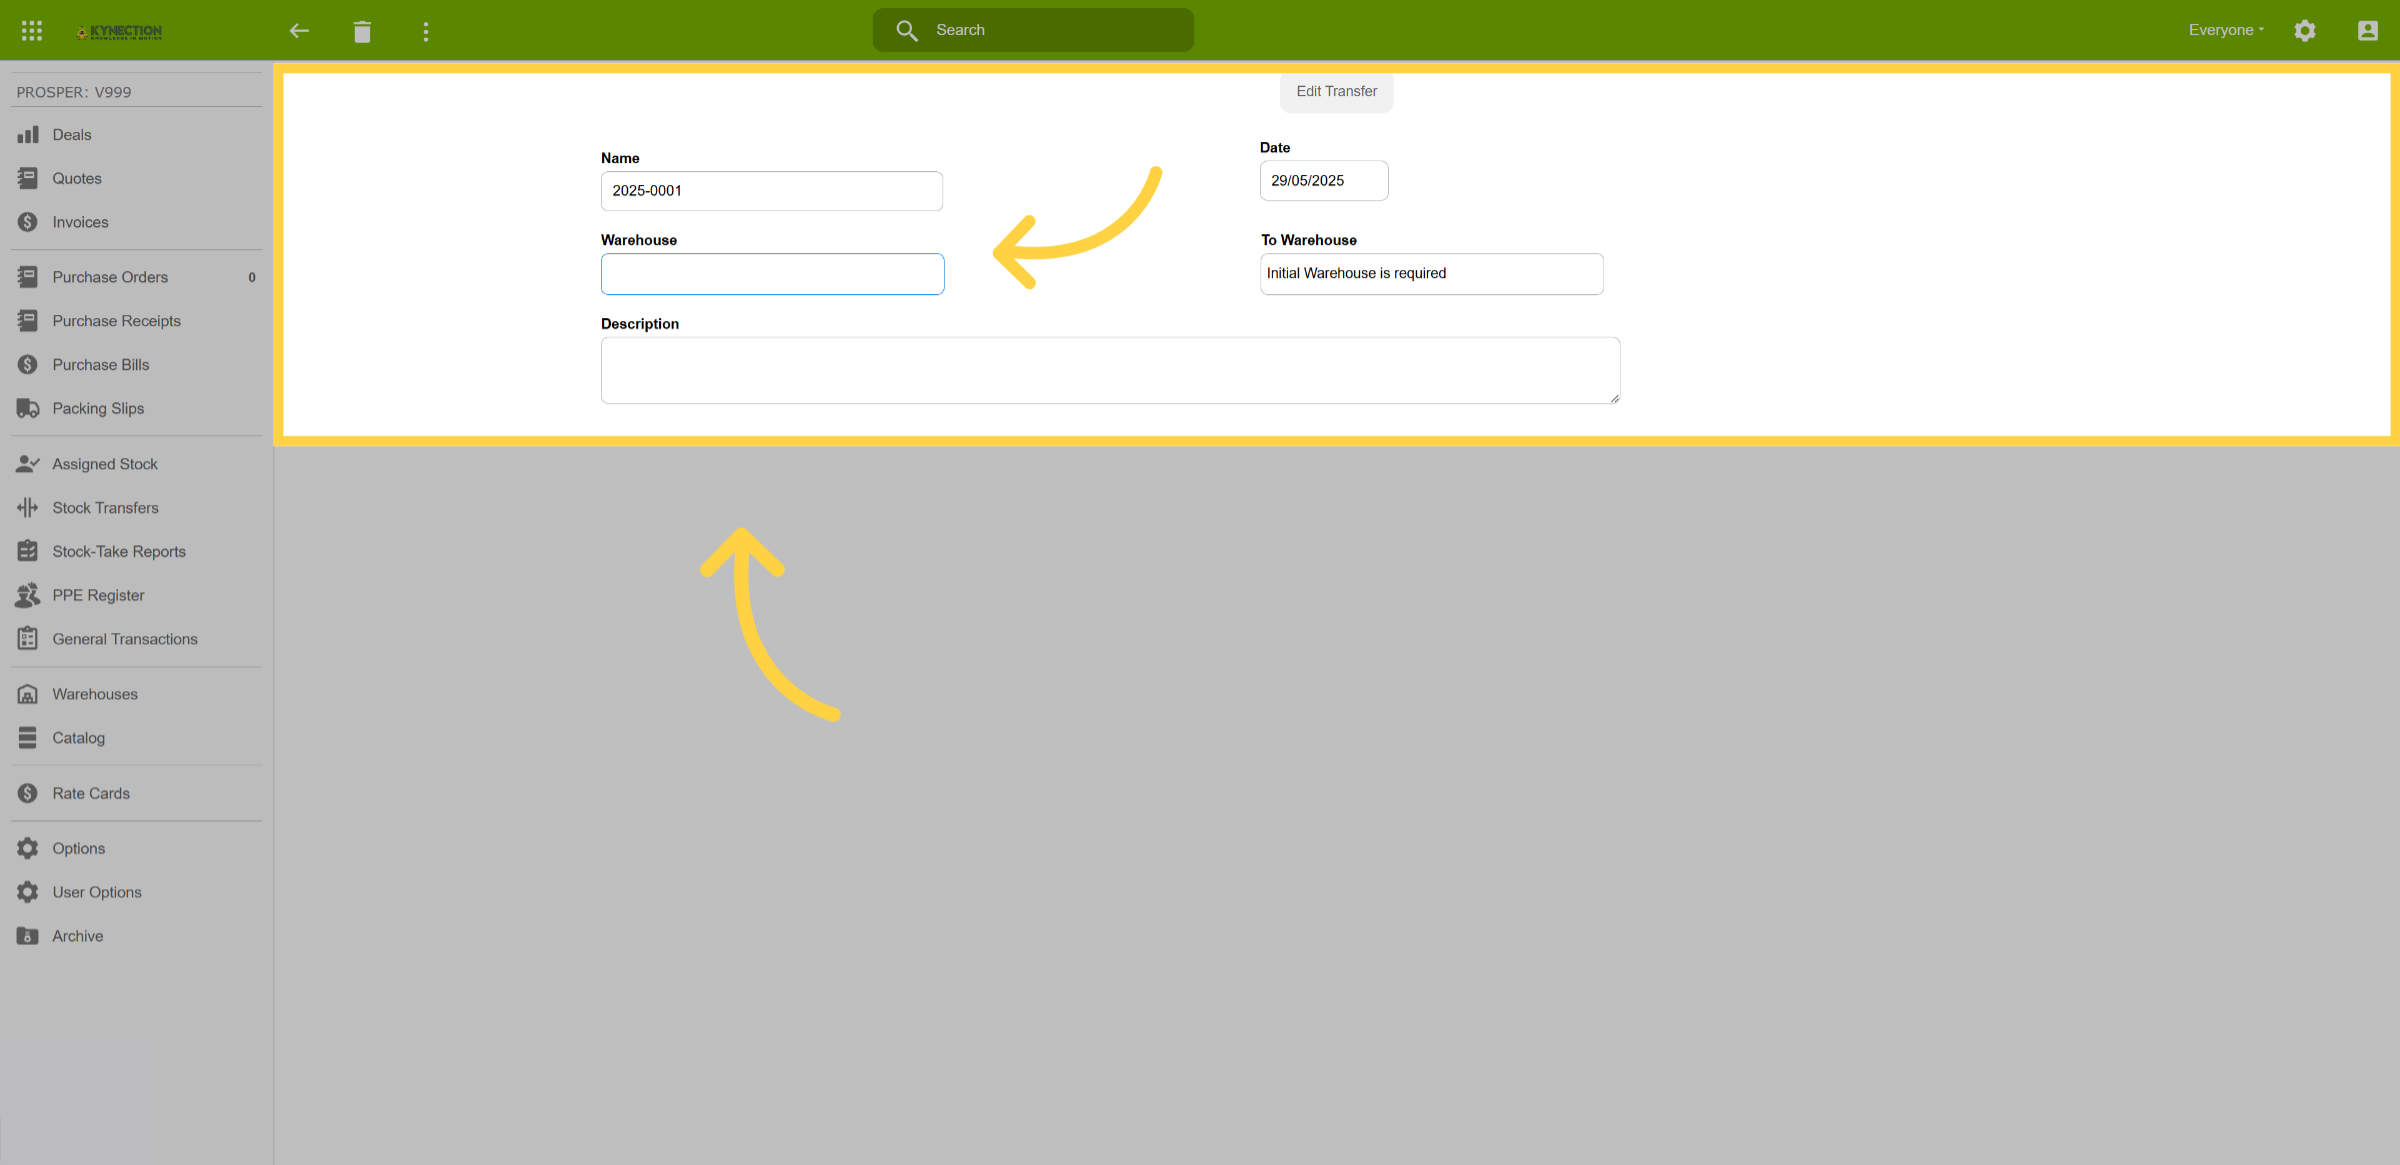
Select the locations for the stock movement to transfer stock between warehouses.
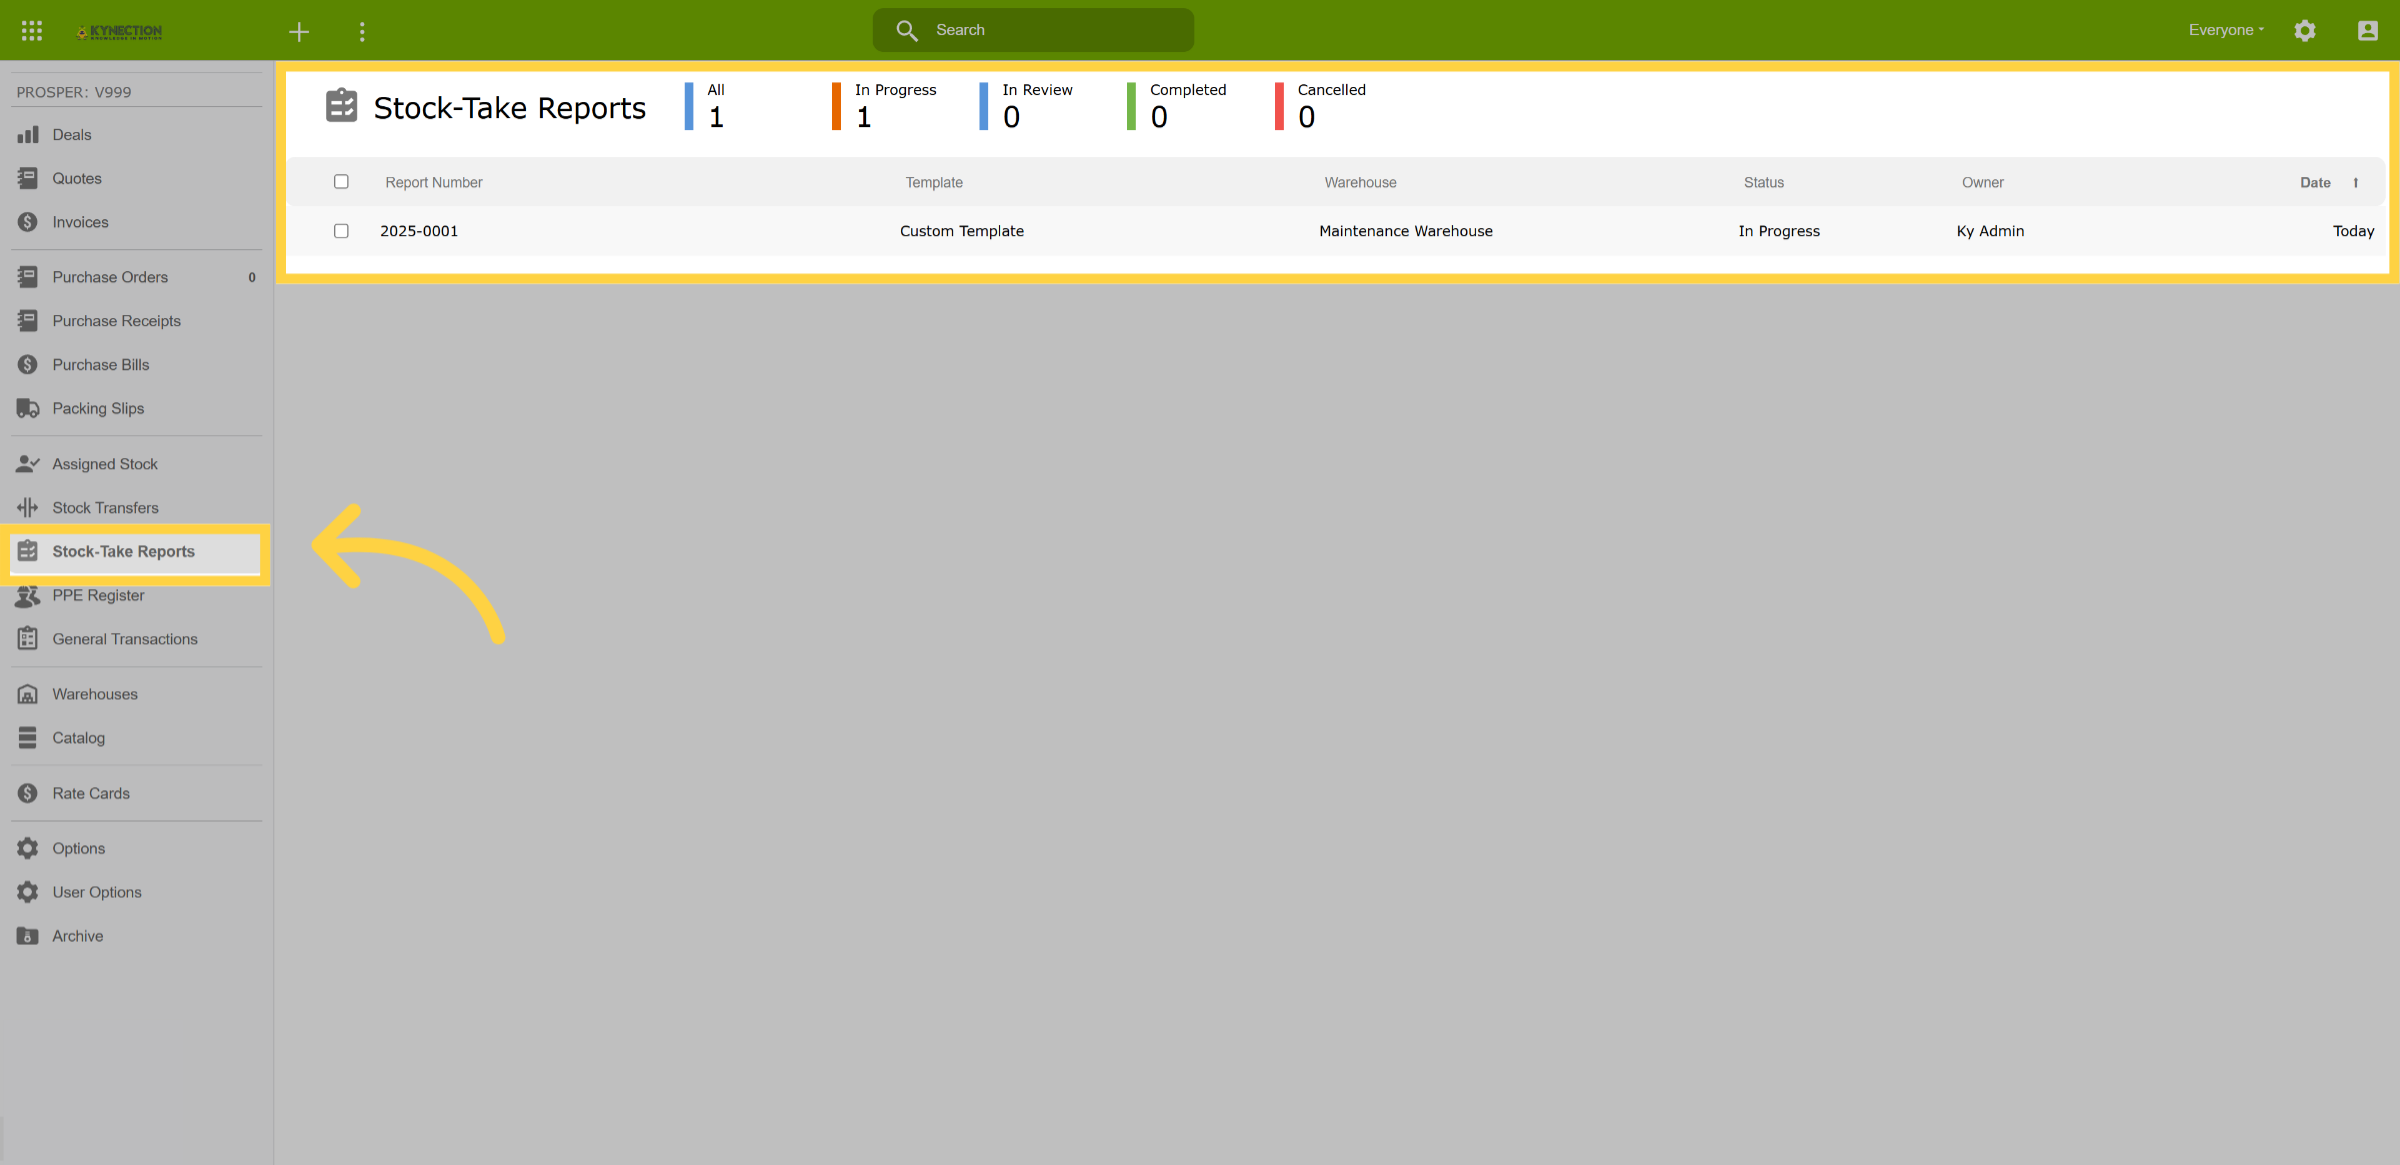
25. Stocktake Reports
Stocktake Reports available from the left hand pane, contains all stocktake reports and tracks their lifecycle—whether they're in progress, under review, completed, or canceled.
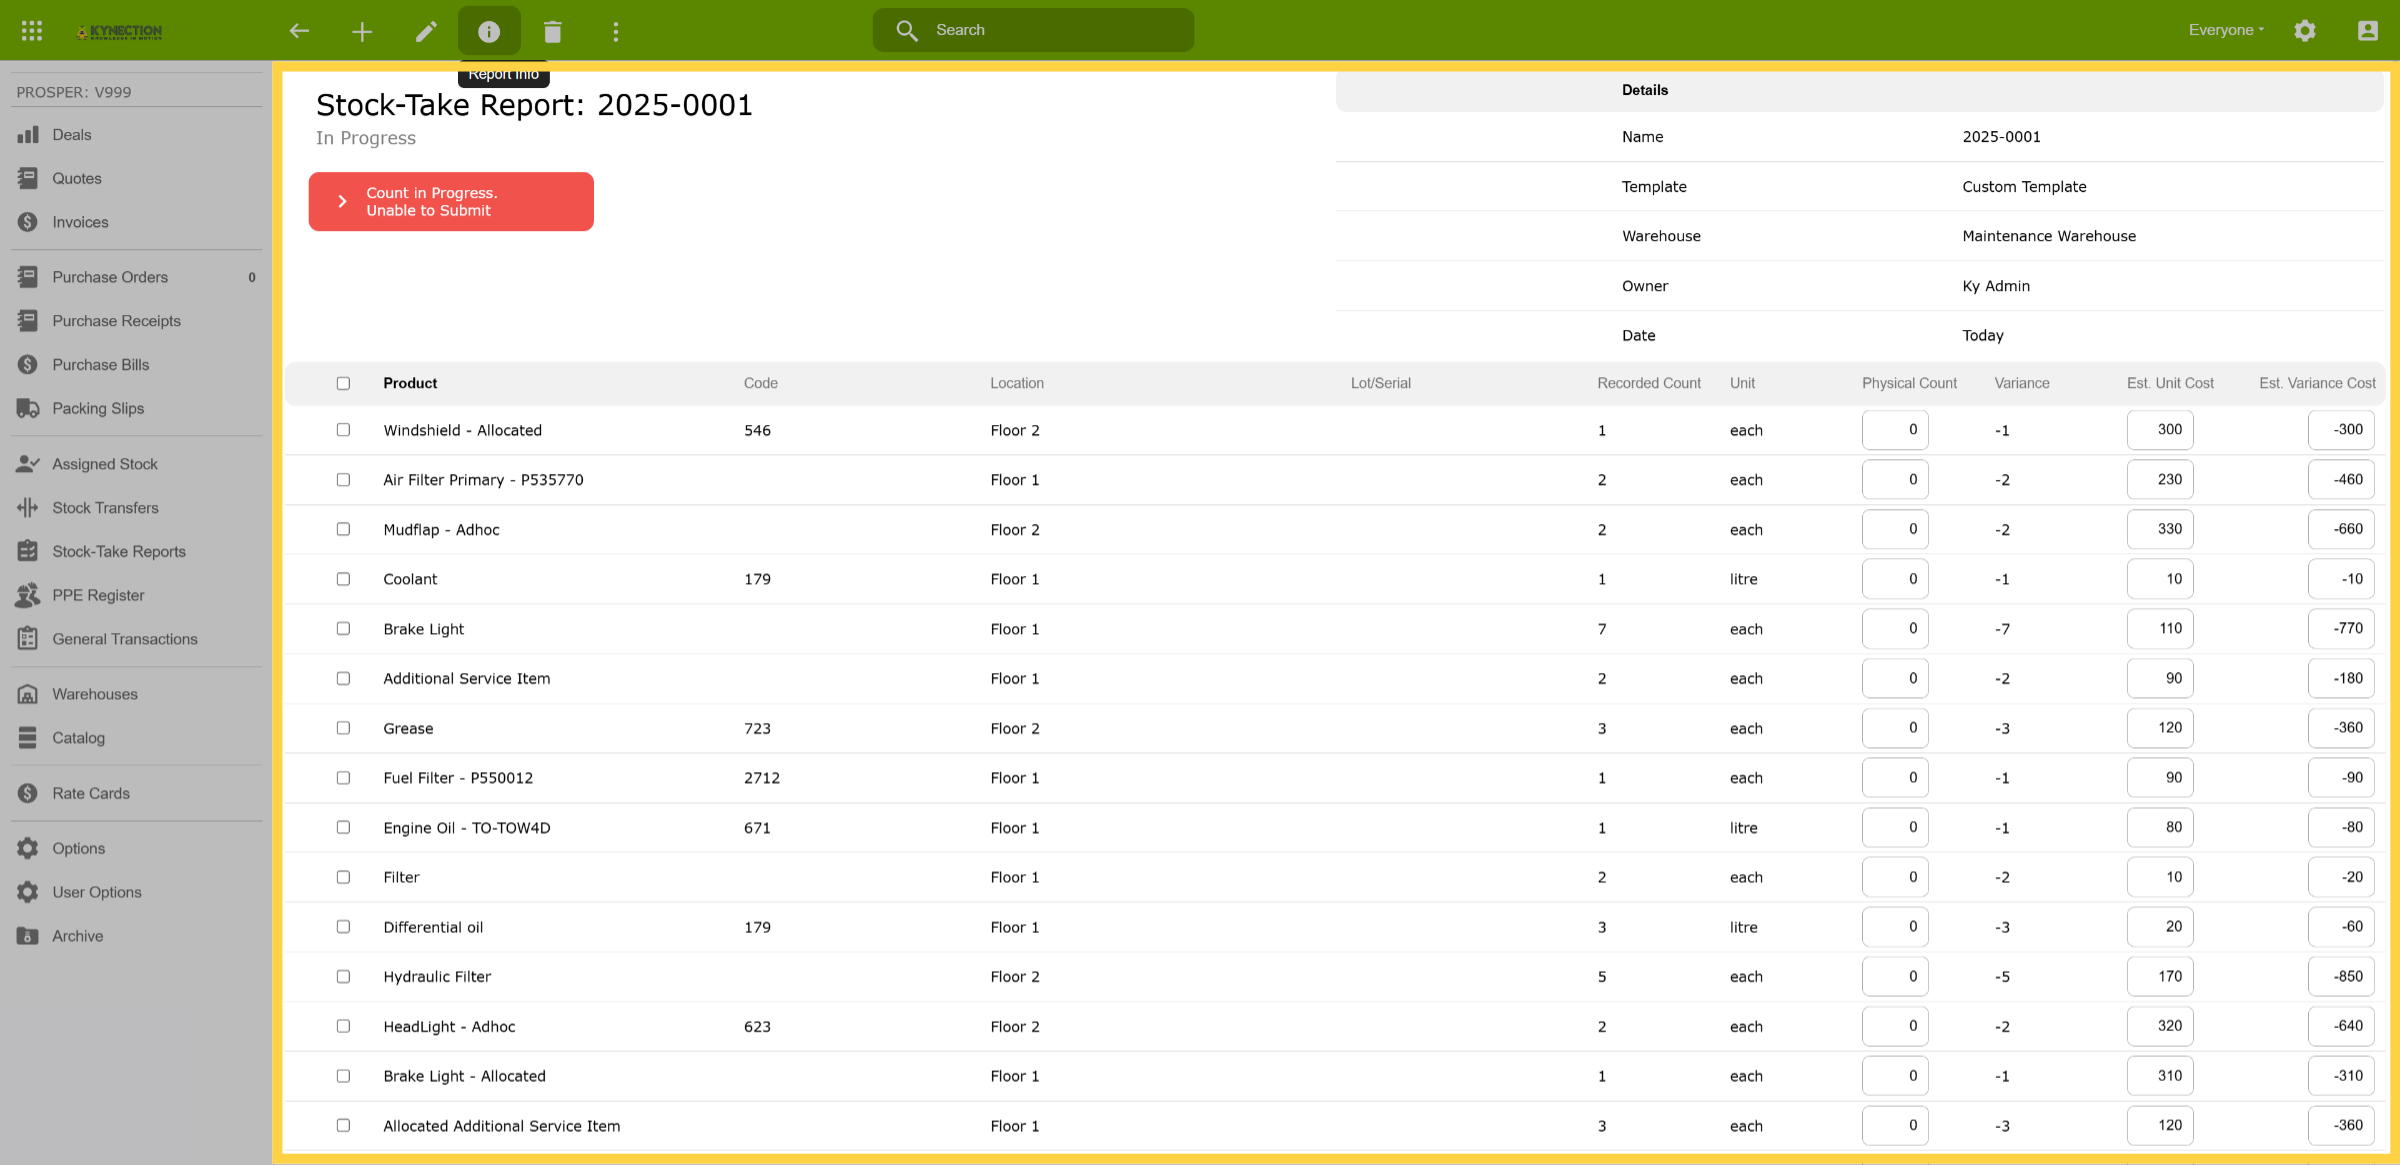
26. Stocktake Report
A Stocktake Report shows all products, their locations, the option to perform a physical count, and the estimated unit and variance costs.
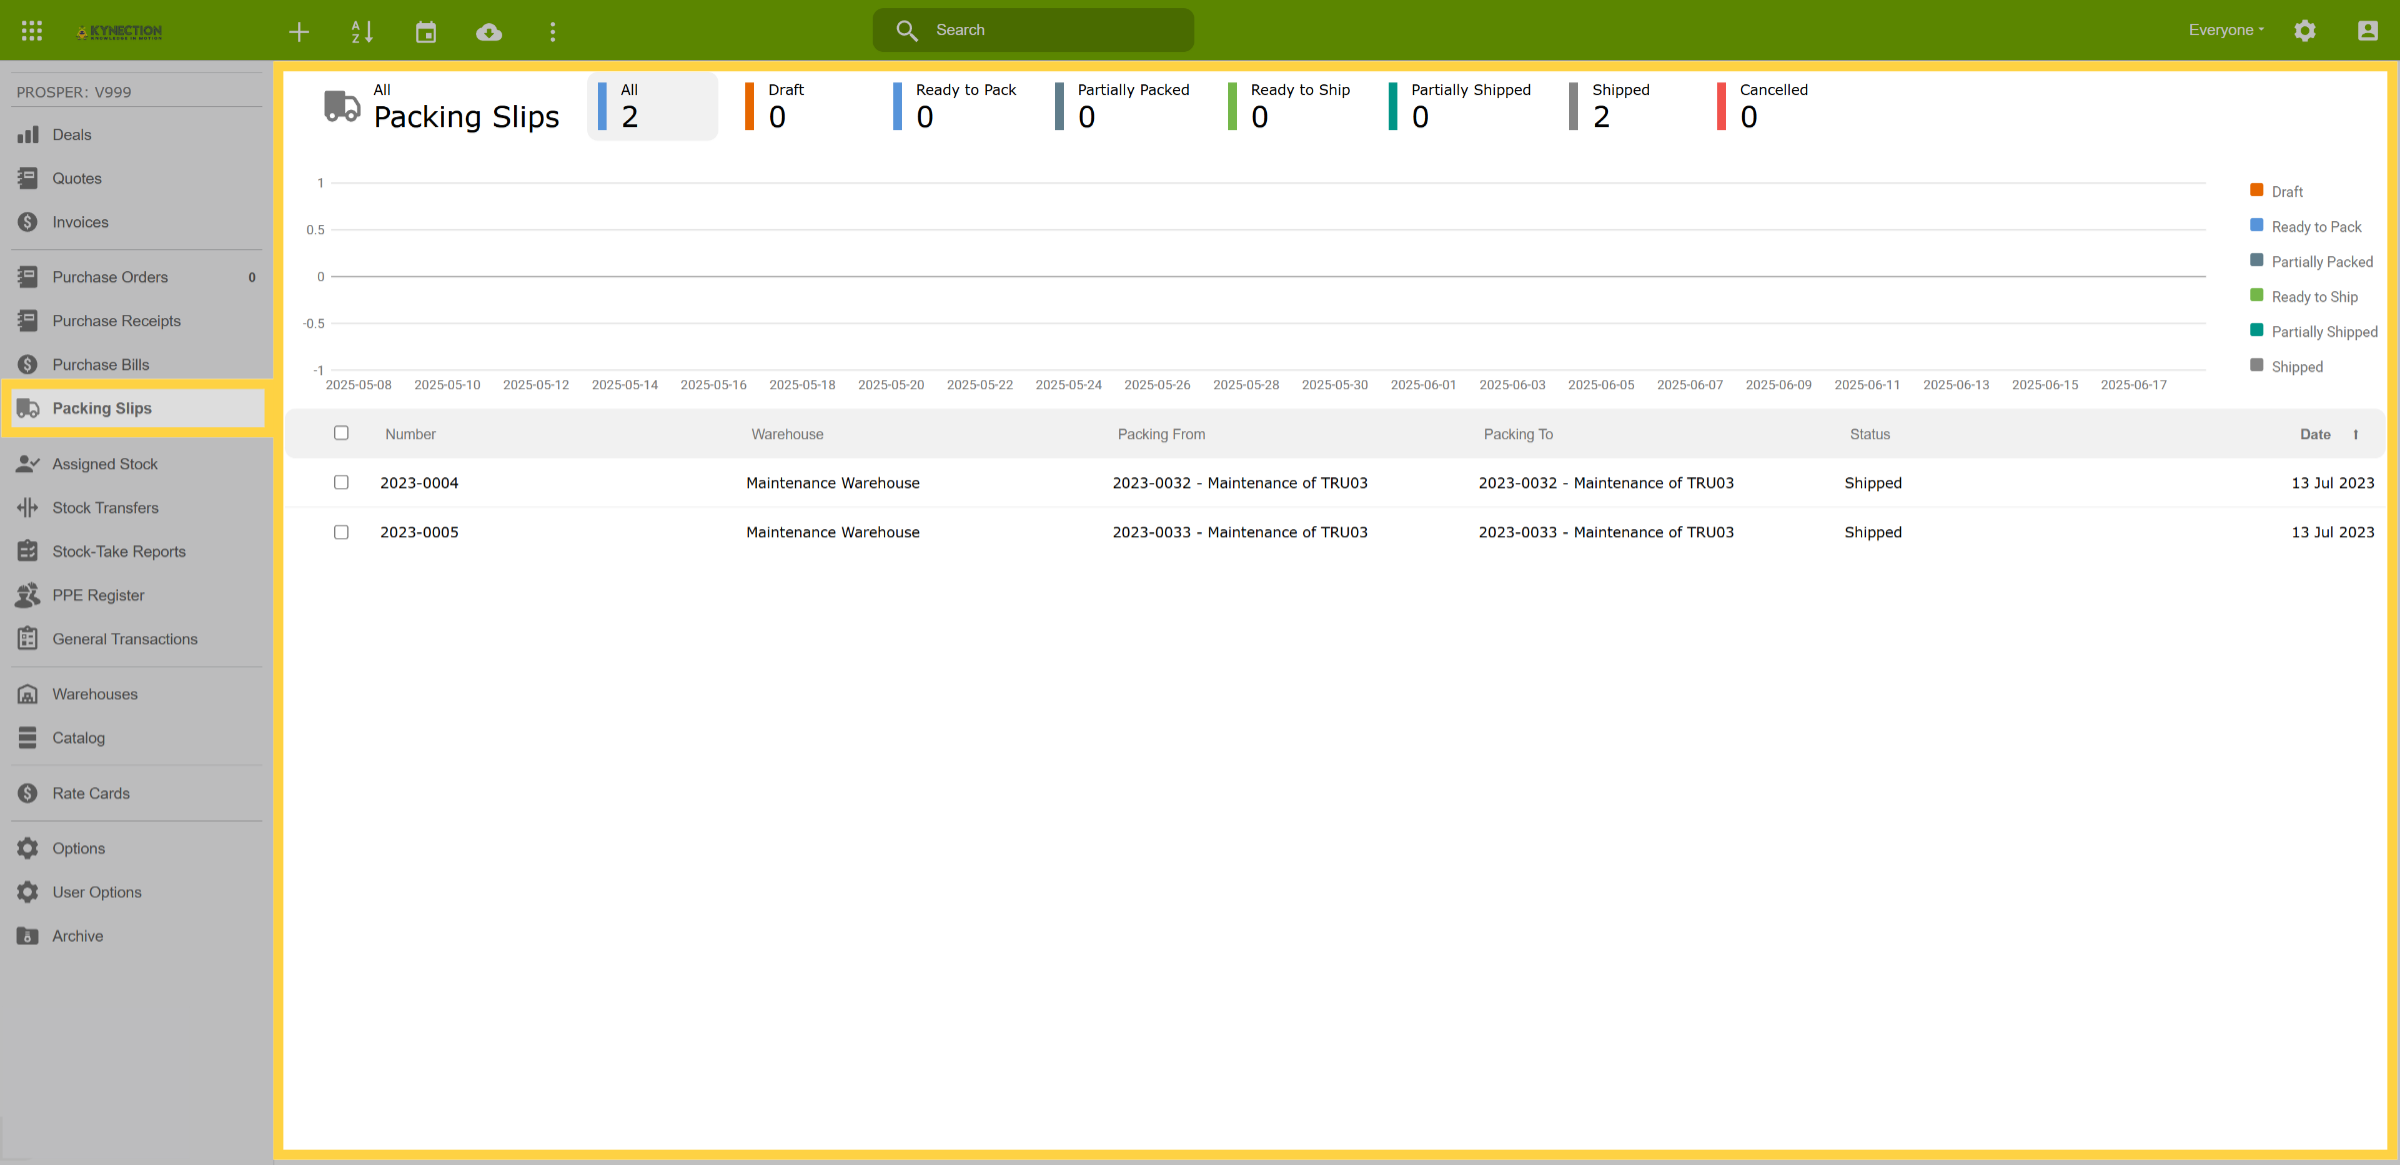
27. Packing Slips Dashboard
Packing Slips, available from the left hand pane, provides a dashboard displaying packing slip stages, defined in the top menu. These stages can be fully customised to suit preferences. The dashboard also shows detailed packing info, including from and to locations.
Thank you for watching!

