This guide offers step-by-step instructions for completing maintenance tasks using the Kynection mobile app.
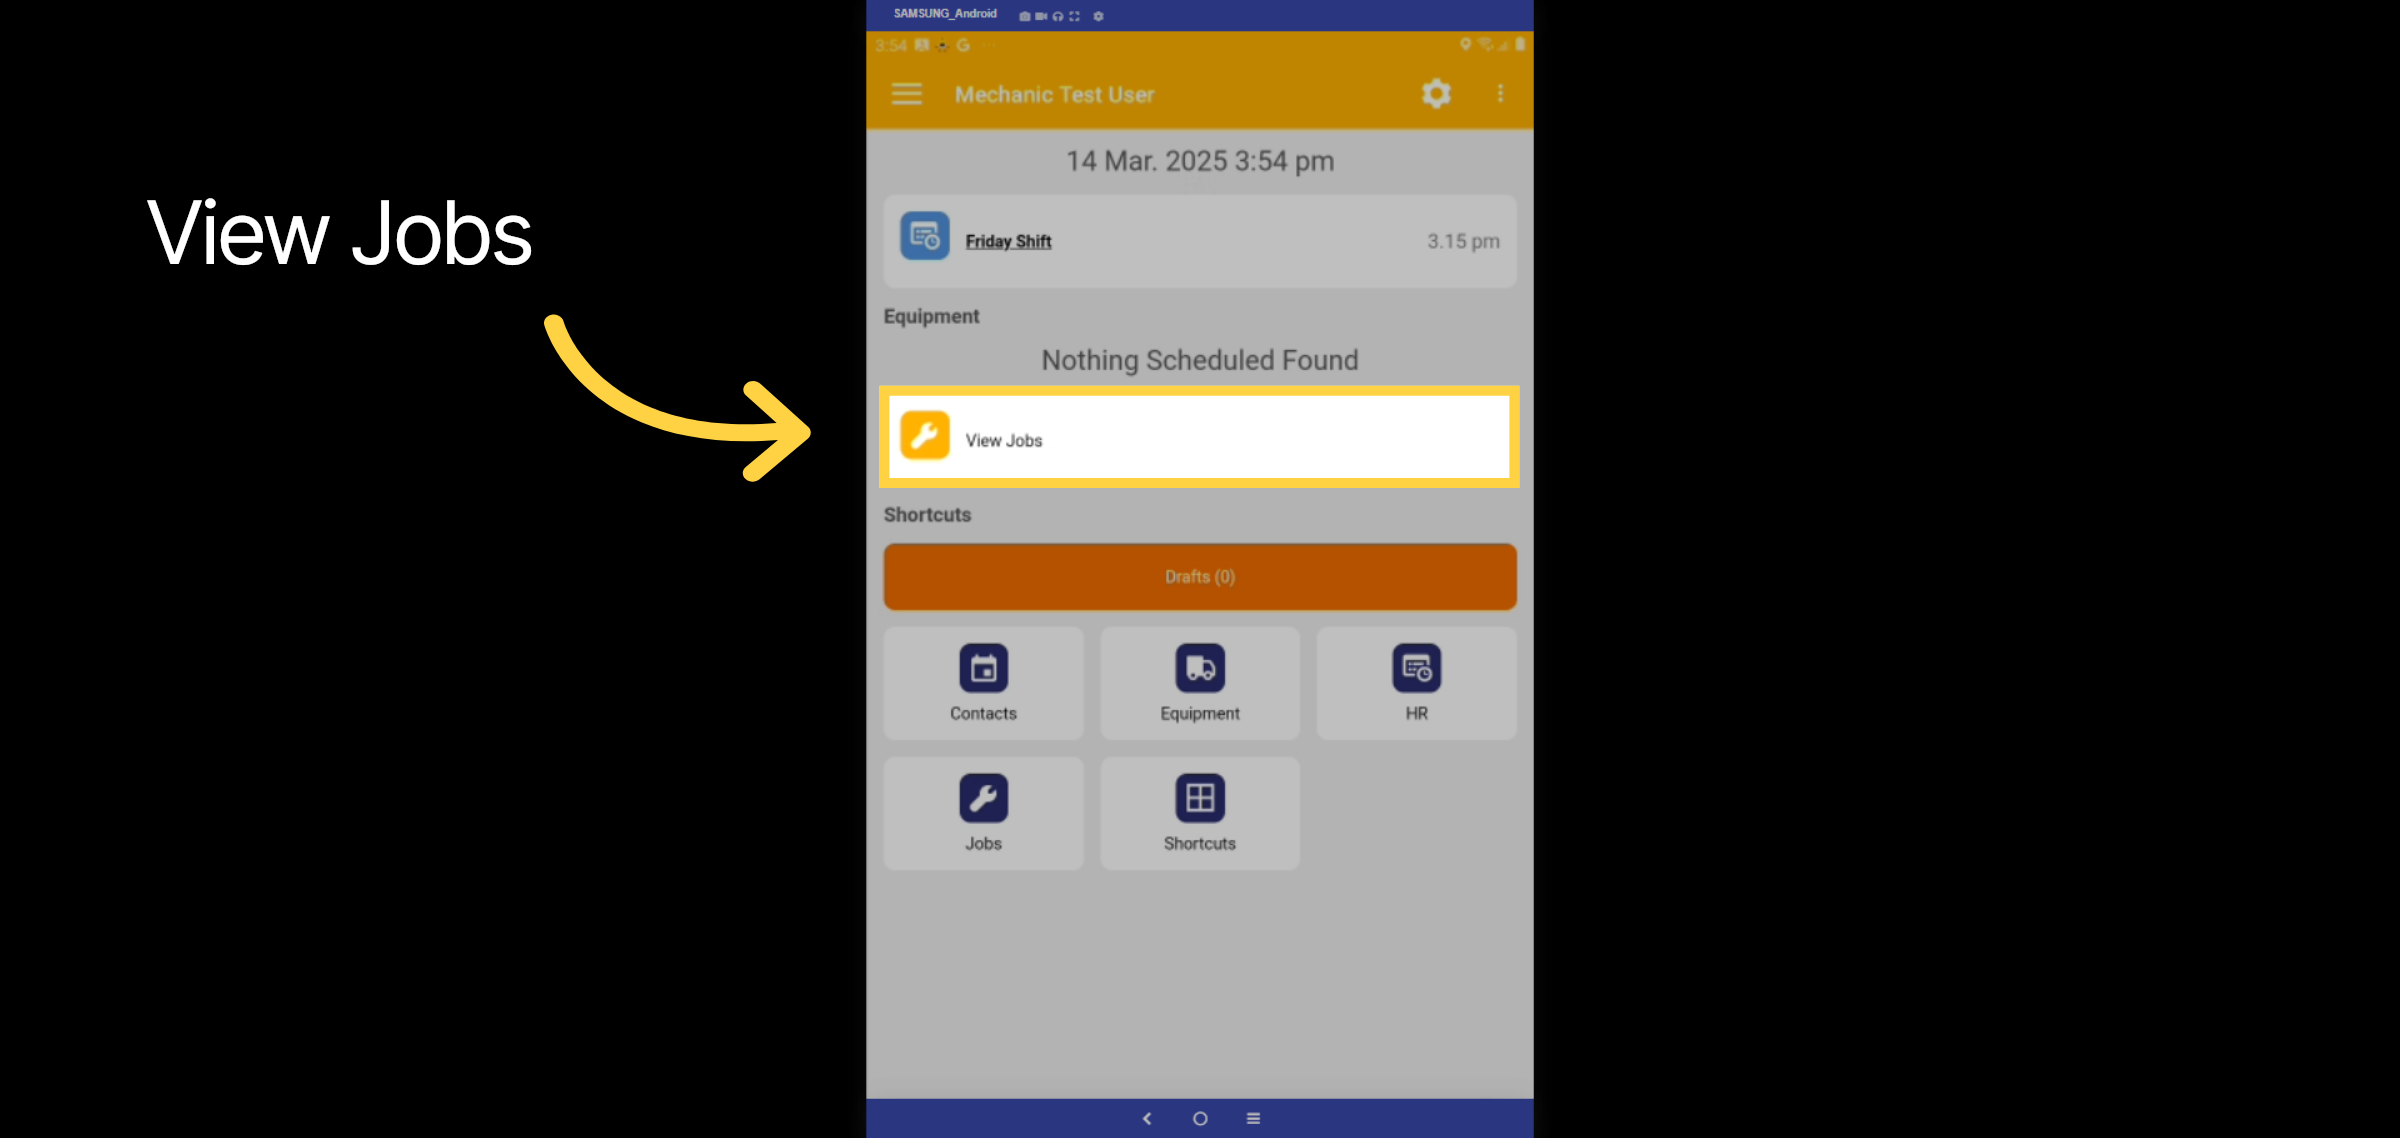
1. Select View Jobs
Select View Jobs to view all jobs allocated to this mechanic.
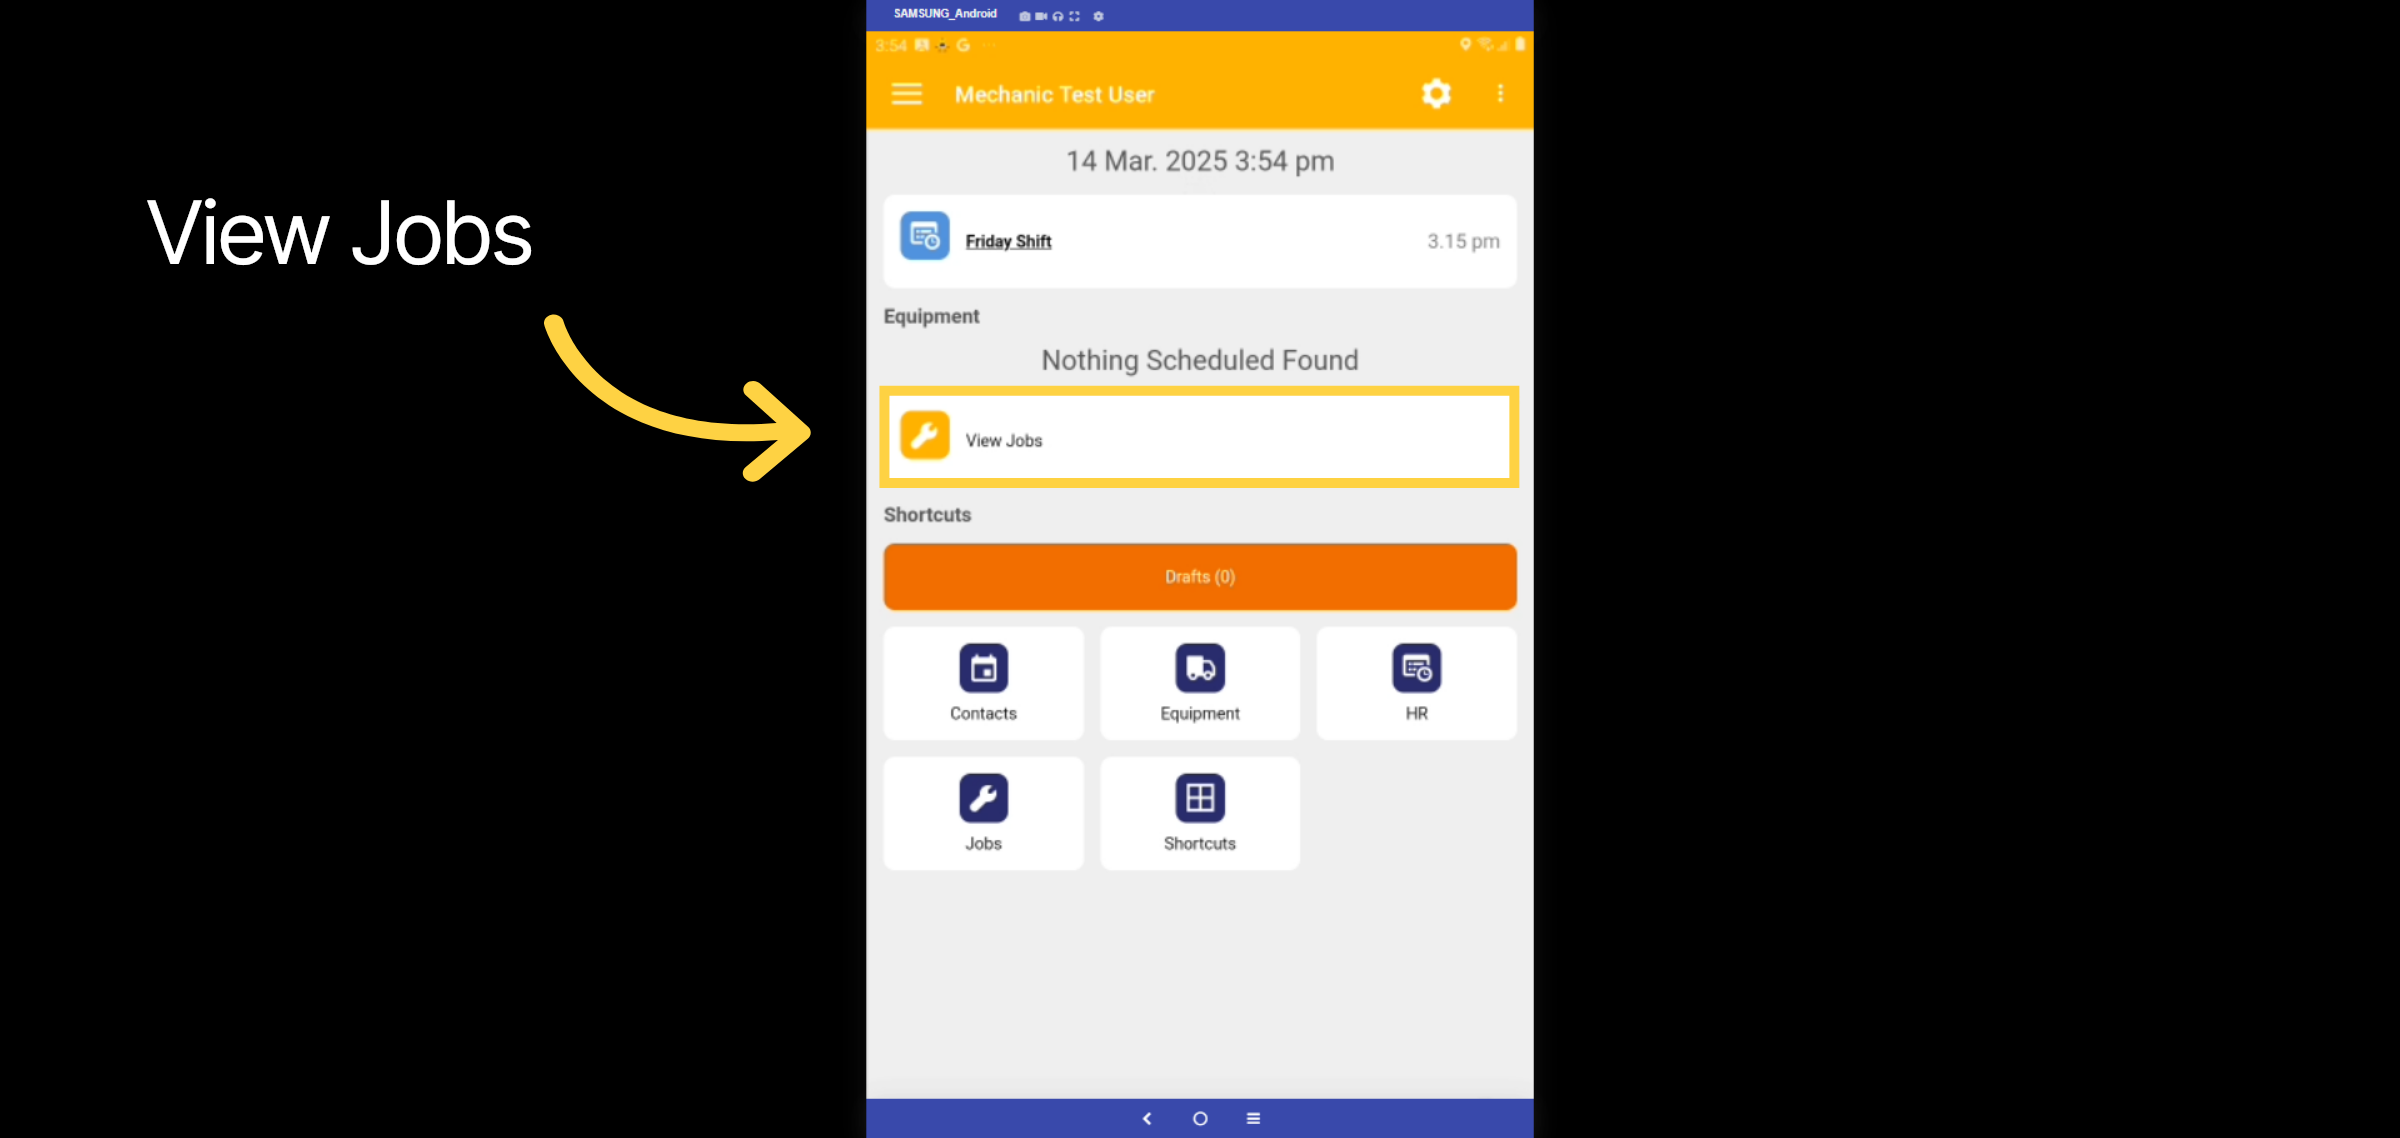
2. Select View Jobs
Select View Jobs to view all jobs allocated to this mechanic.
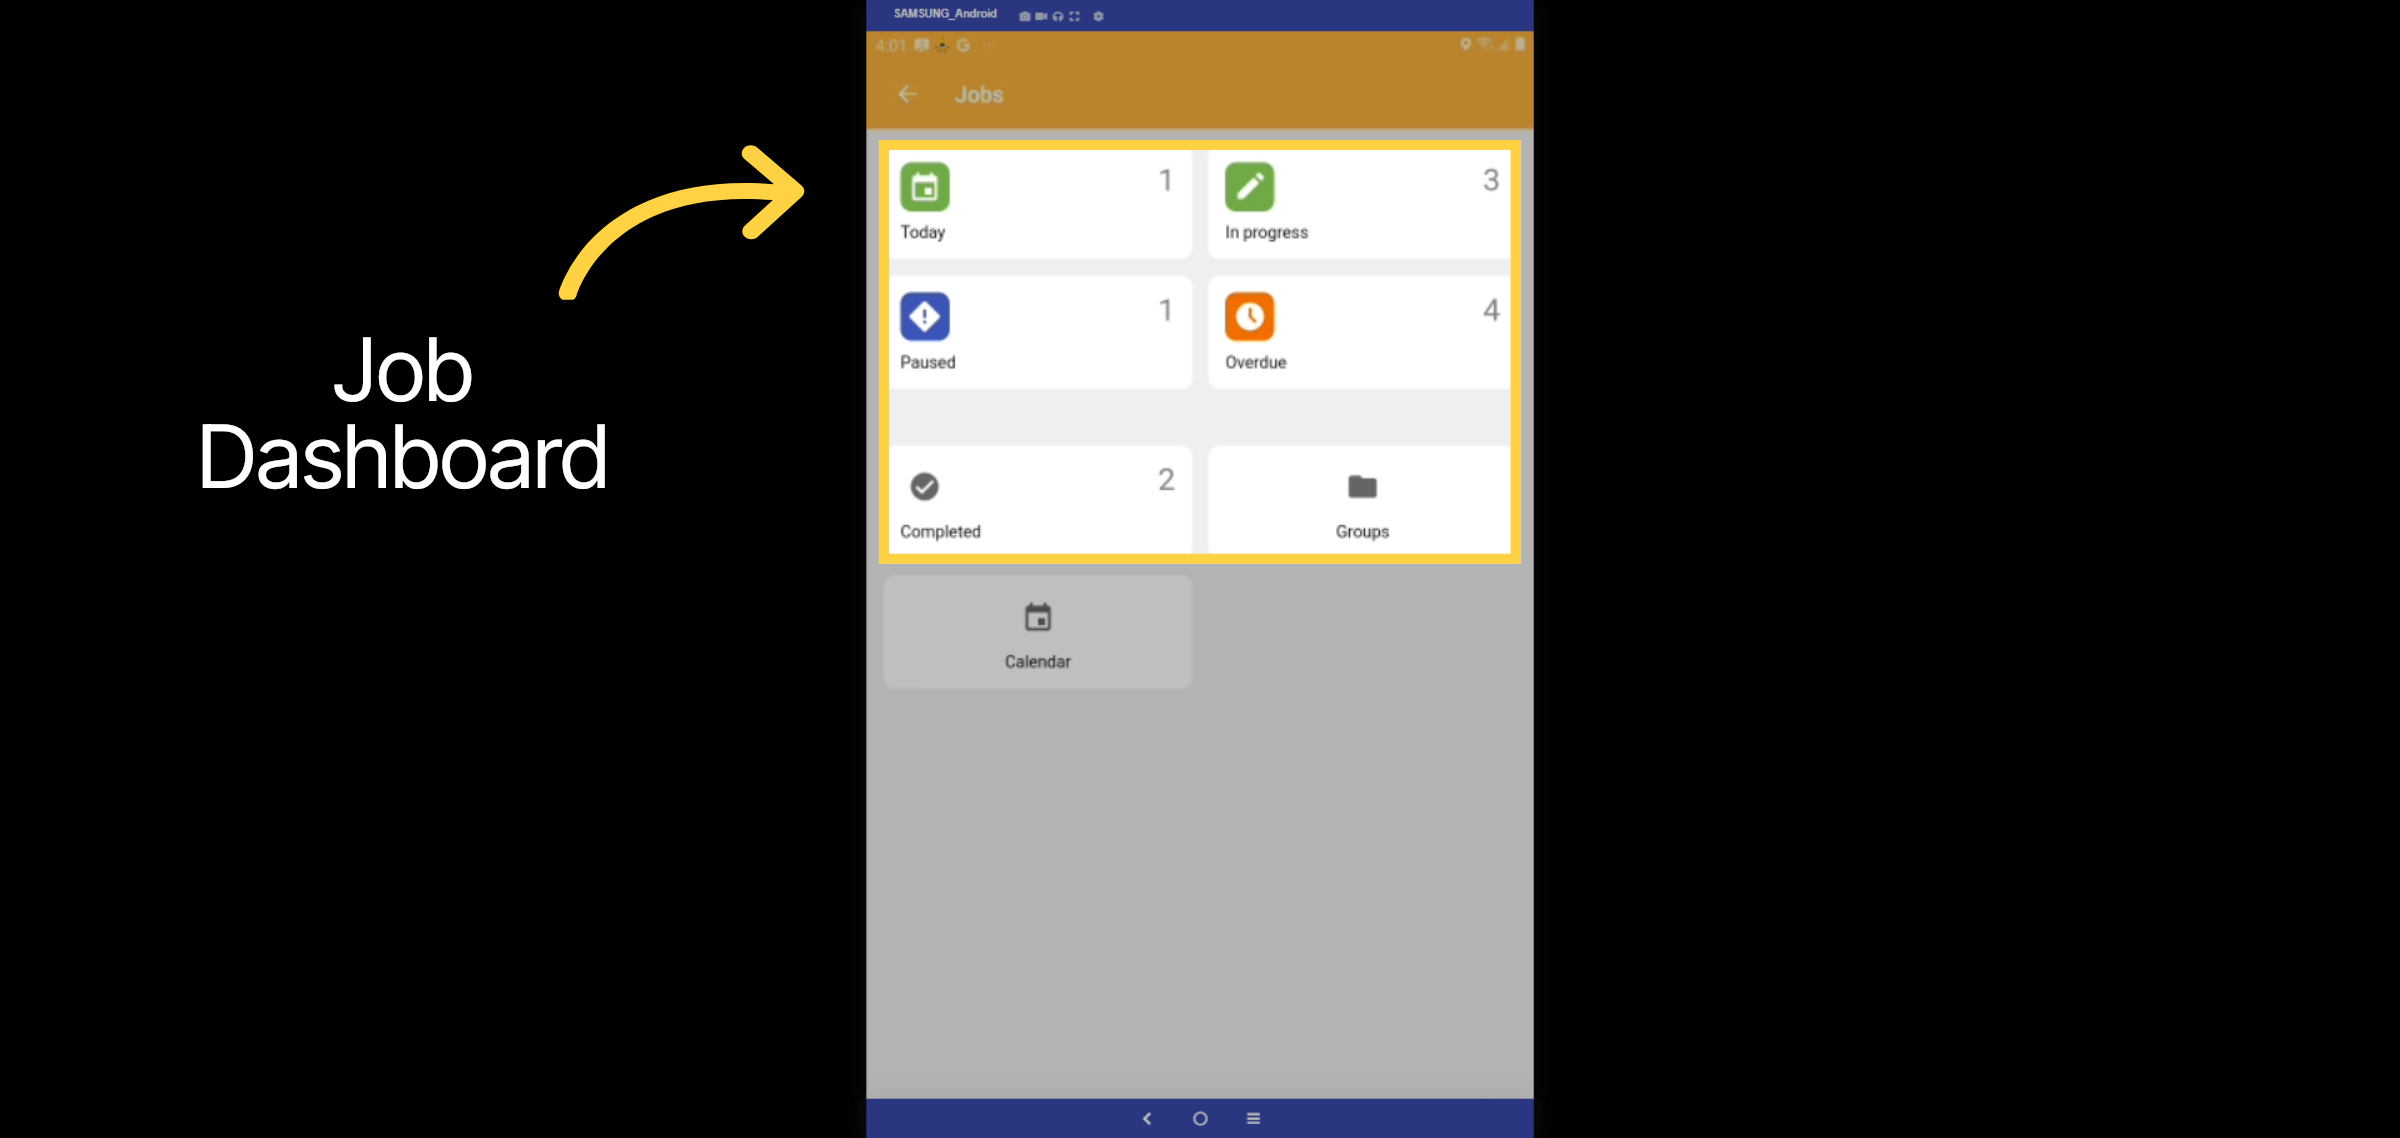
3. Job Dashboard
The Job Dashboard shows jobs allocated by job status, with jobs for the current shift found under the Today tab. Other tabs include Tomorrow, In Progress, Overdue, and Completed. Paused contains jobs waiting on parts.
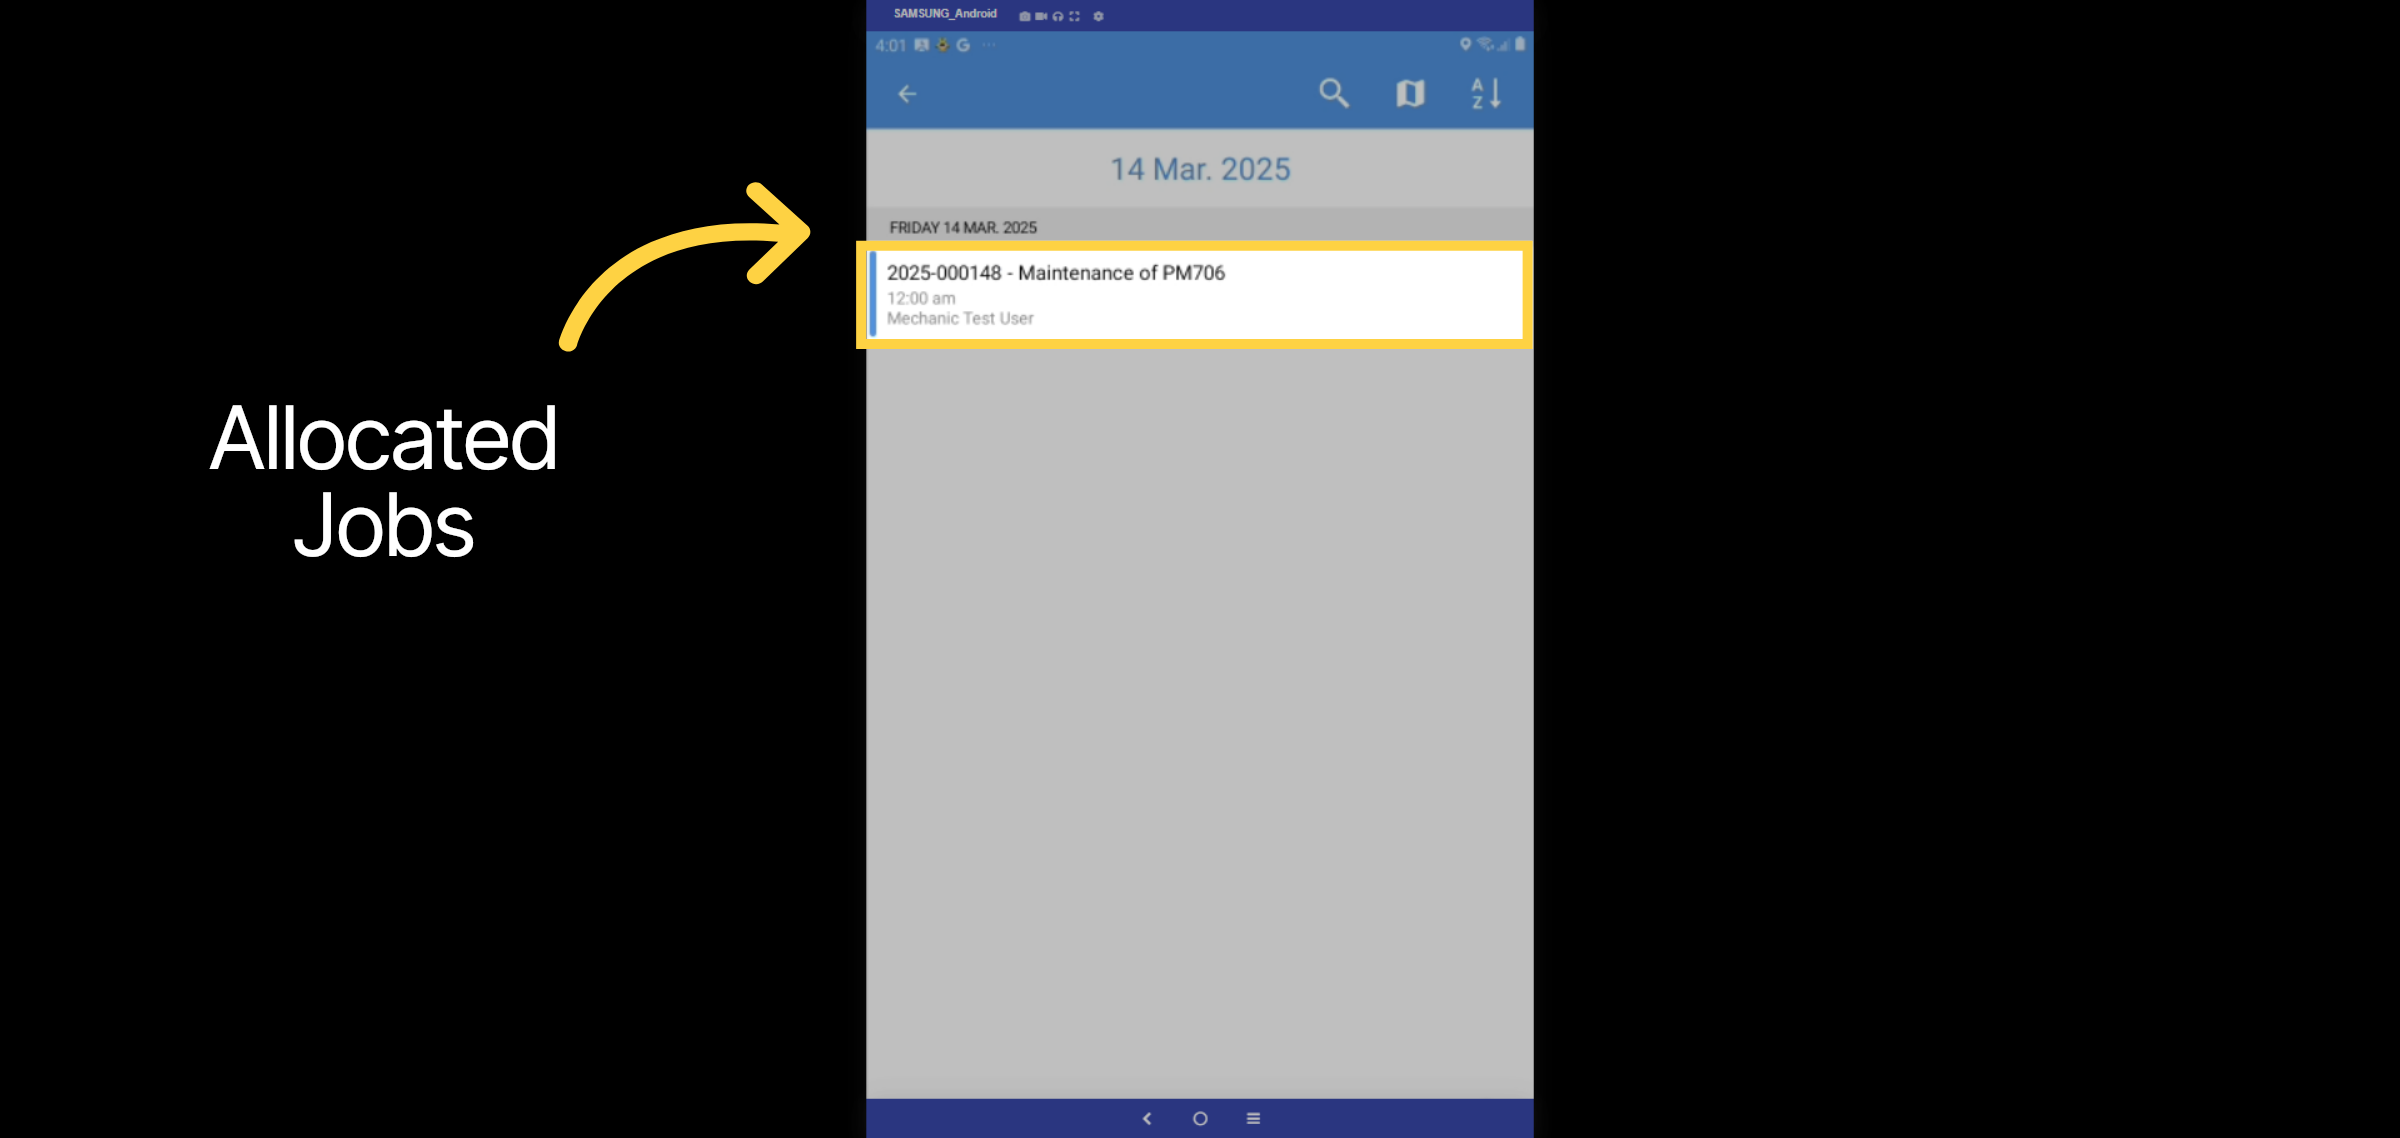
4. Allocated Jobs
Once you have clicked on today you can see the Maintenance jobs allocated to this mechanic on this day. If there have been multiple jobs allocated they will appear here.
5. Scheduled Repairs
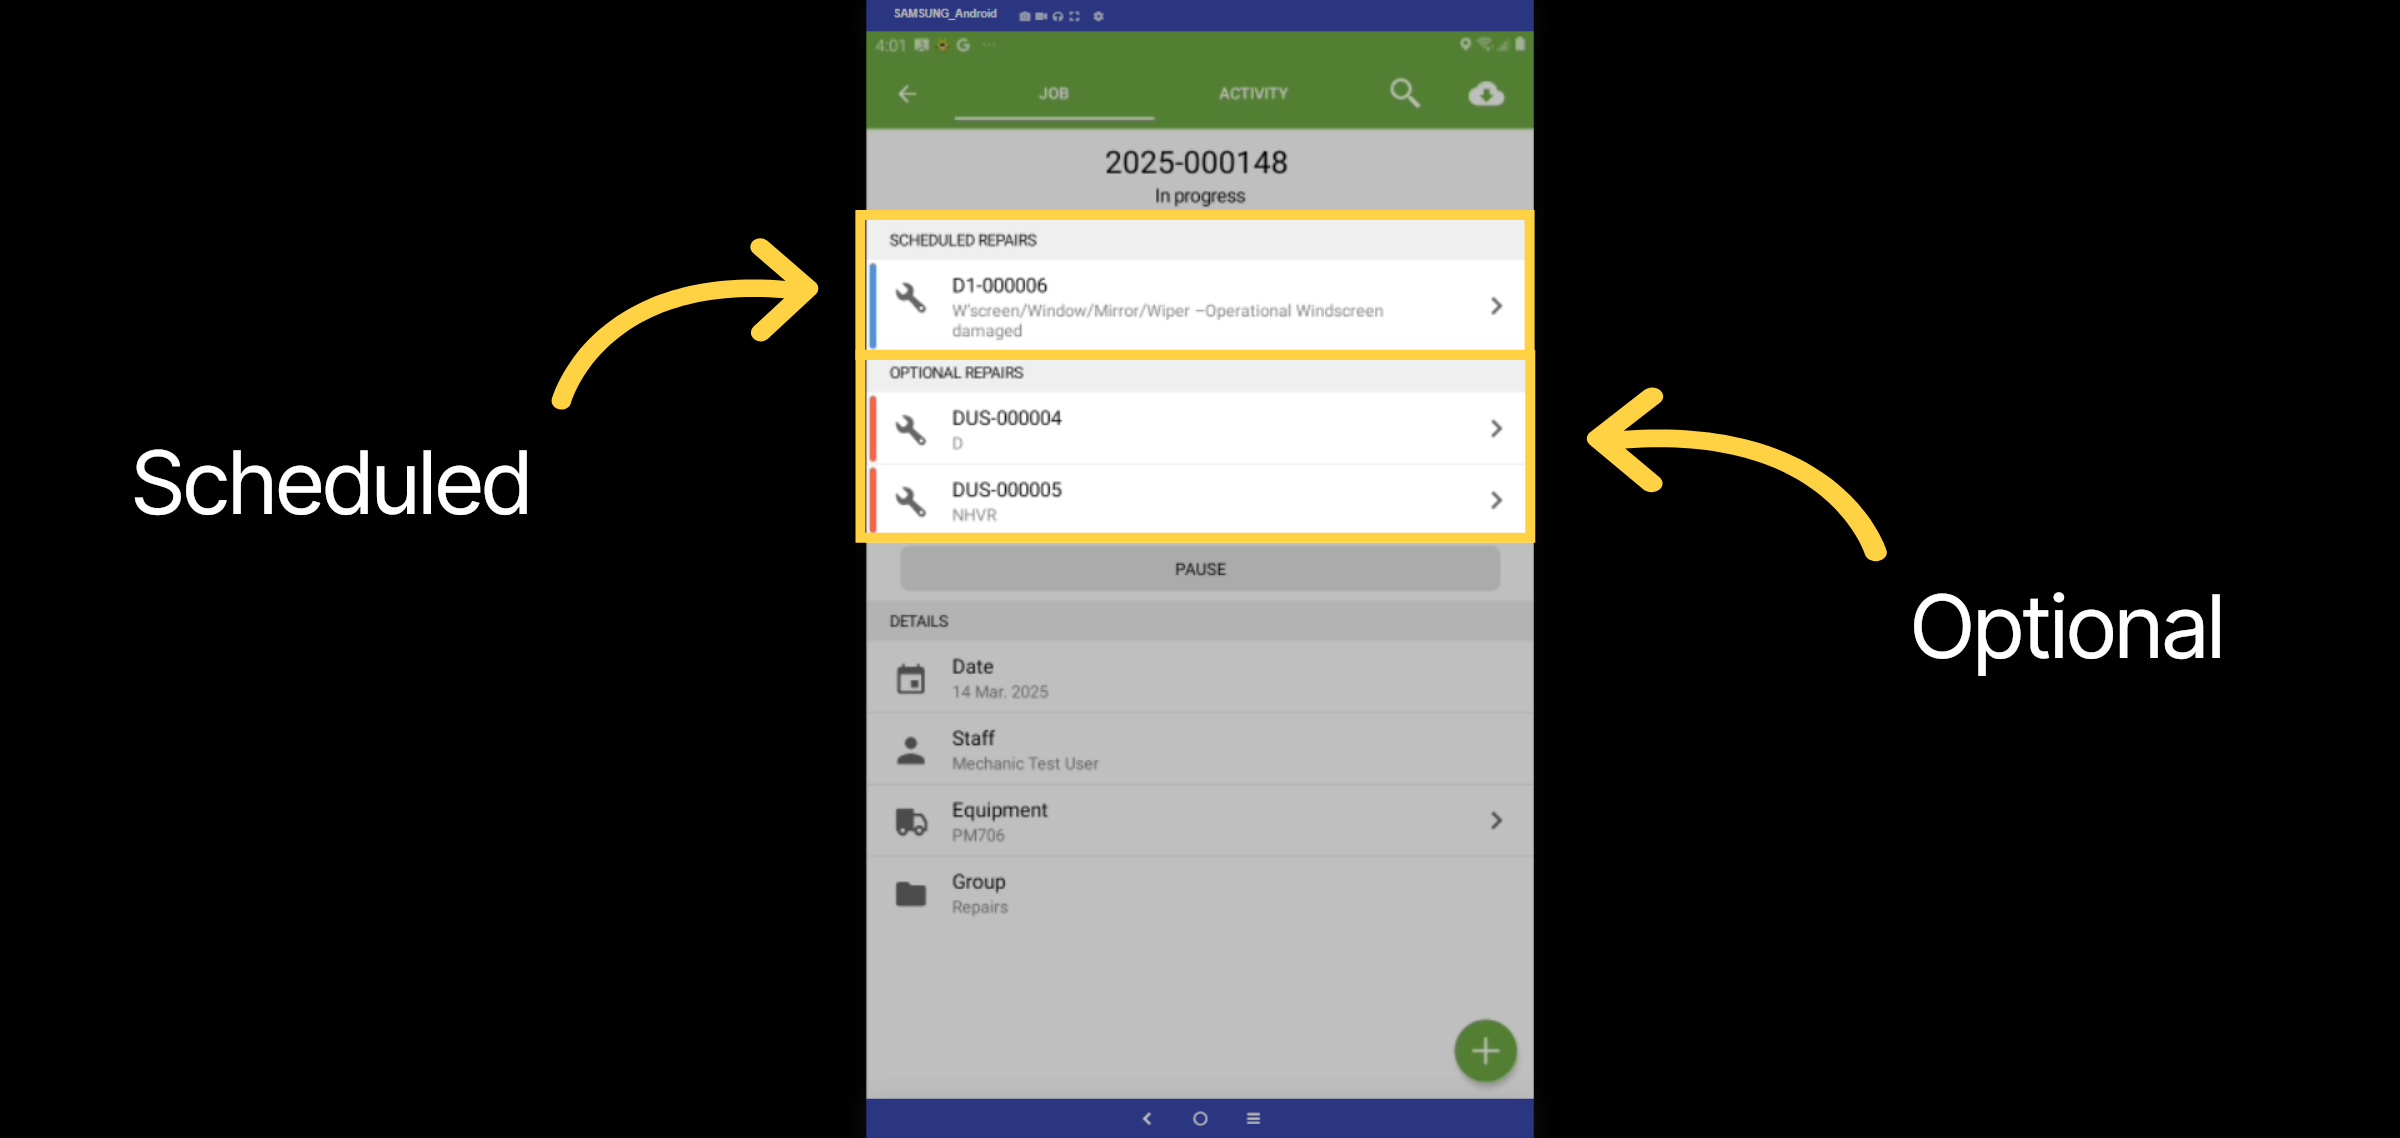
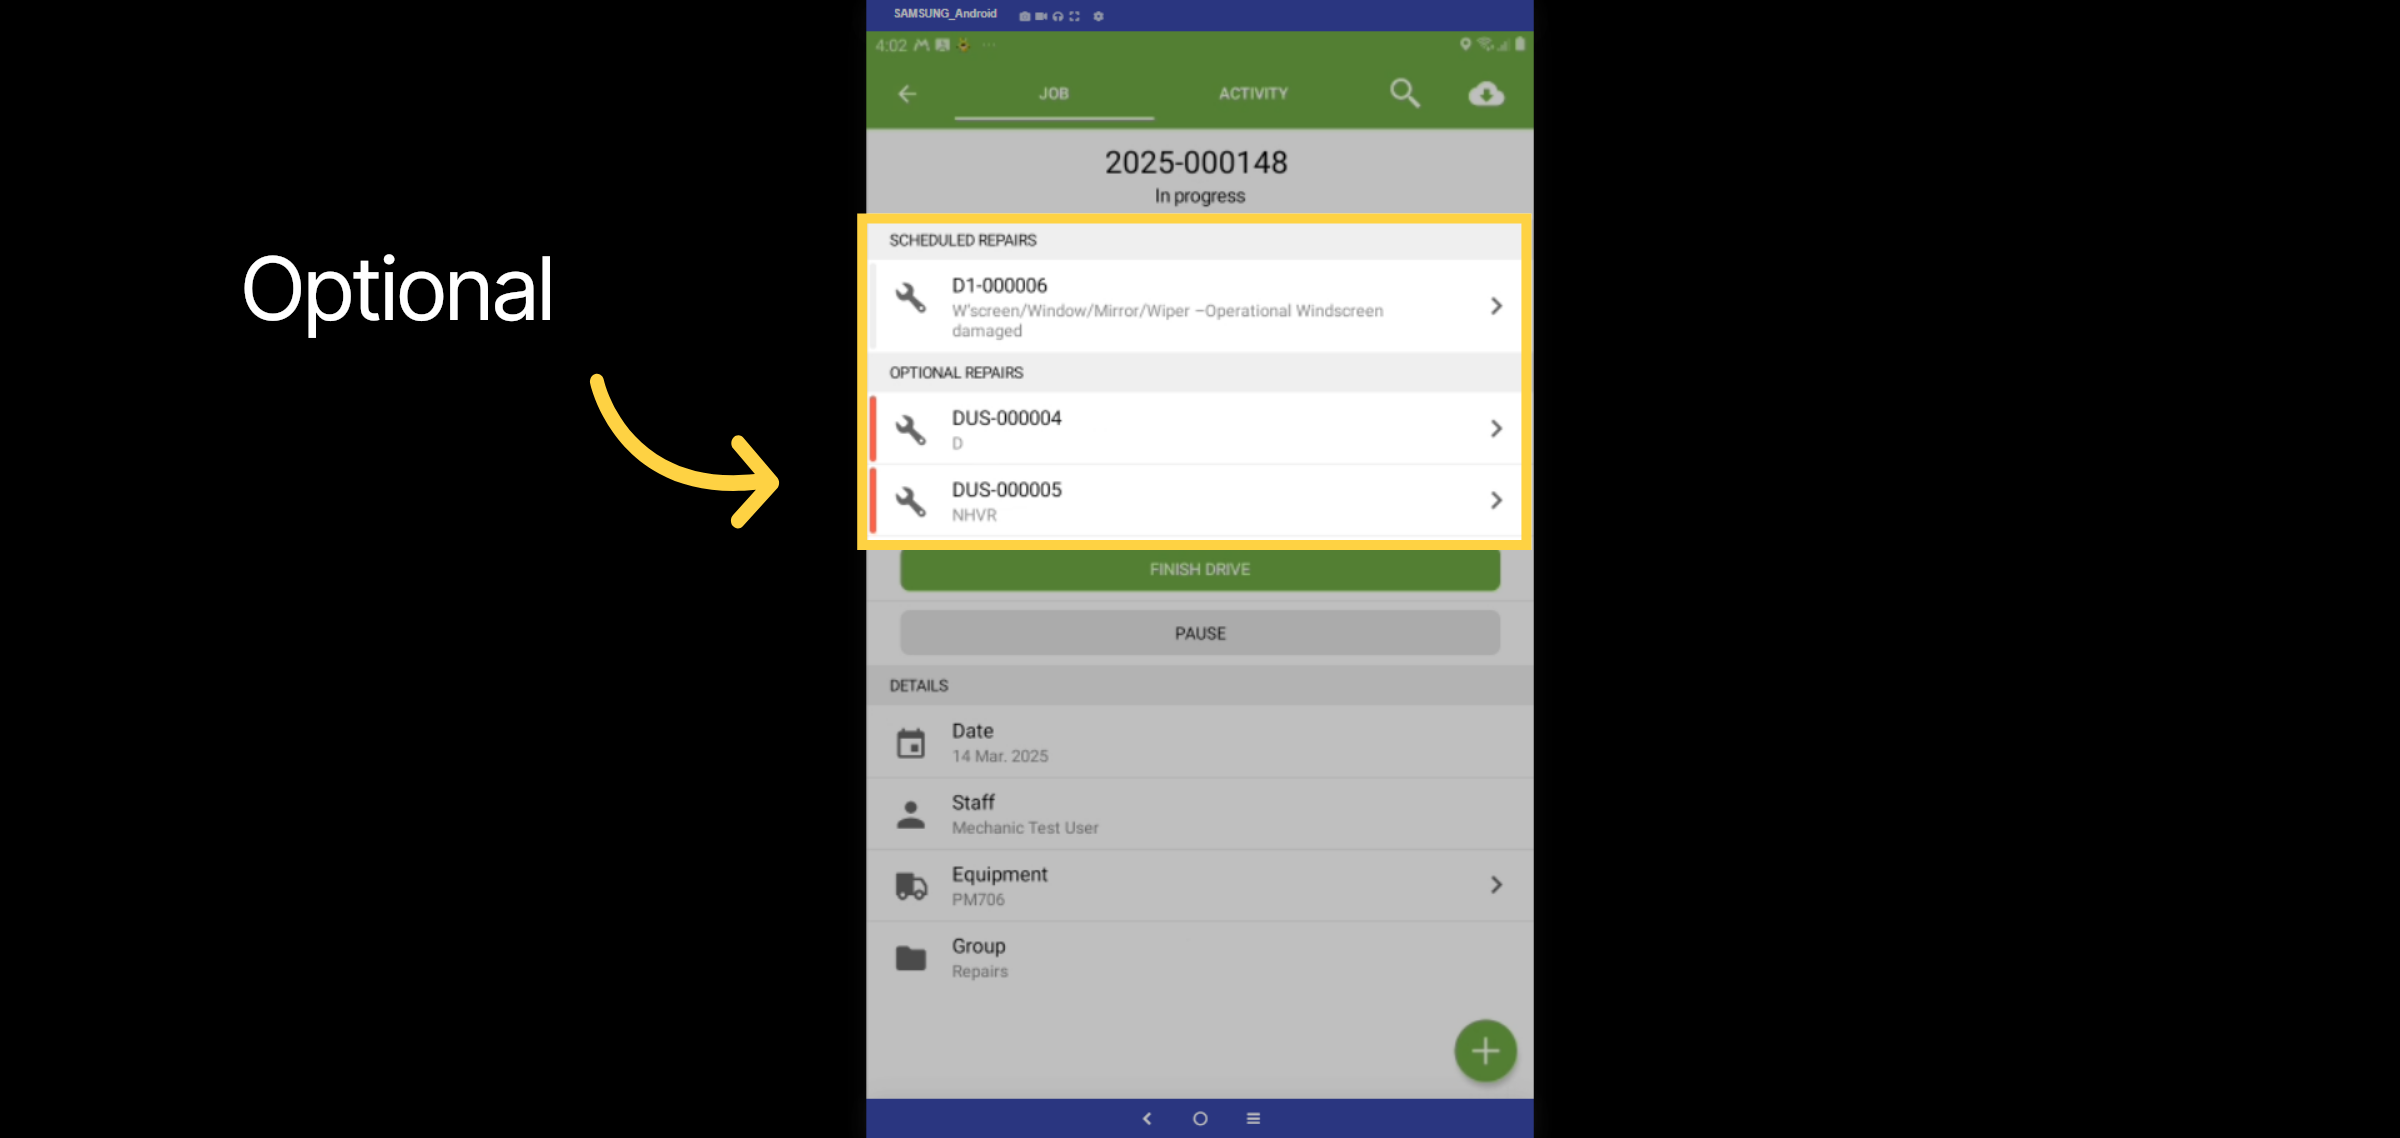
Here you can see the repairs and services against the equipment. Those under the subheading scheduled repairs are those items that have been scheduled for today. Optional repairs are other items you could complete against this equipment. You can see in this example there is a fault repair that has been scheduled and there is a D service and NHVR service as optional items.
6. Start Repair
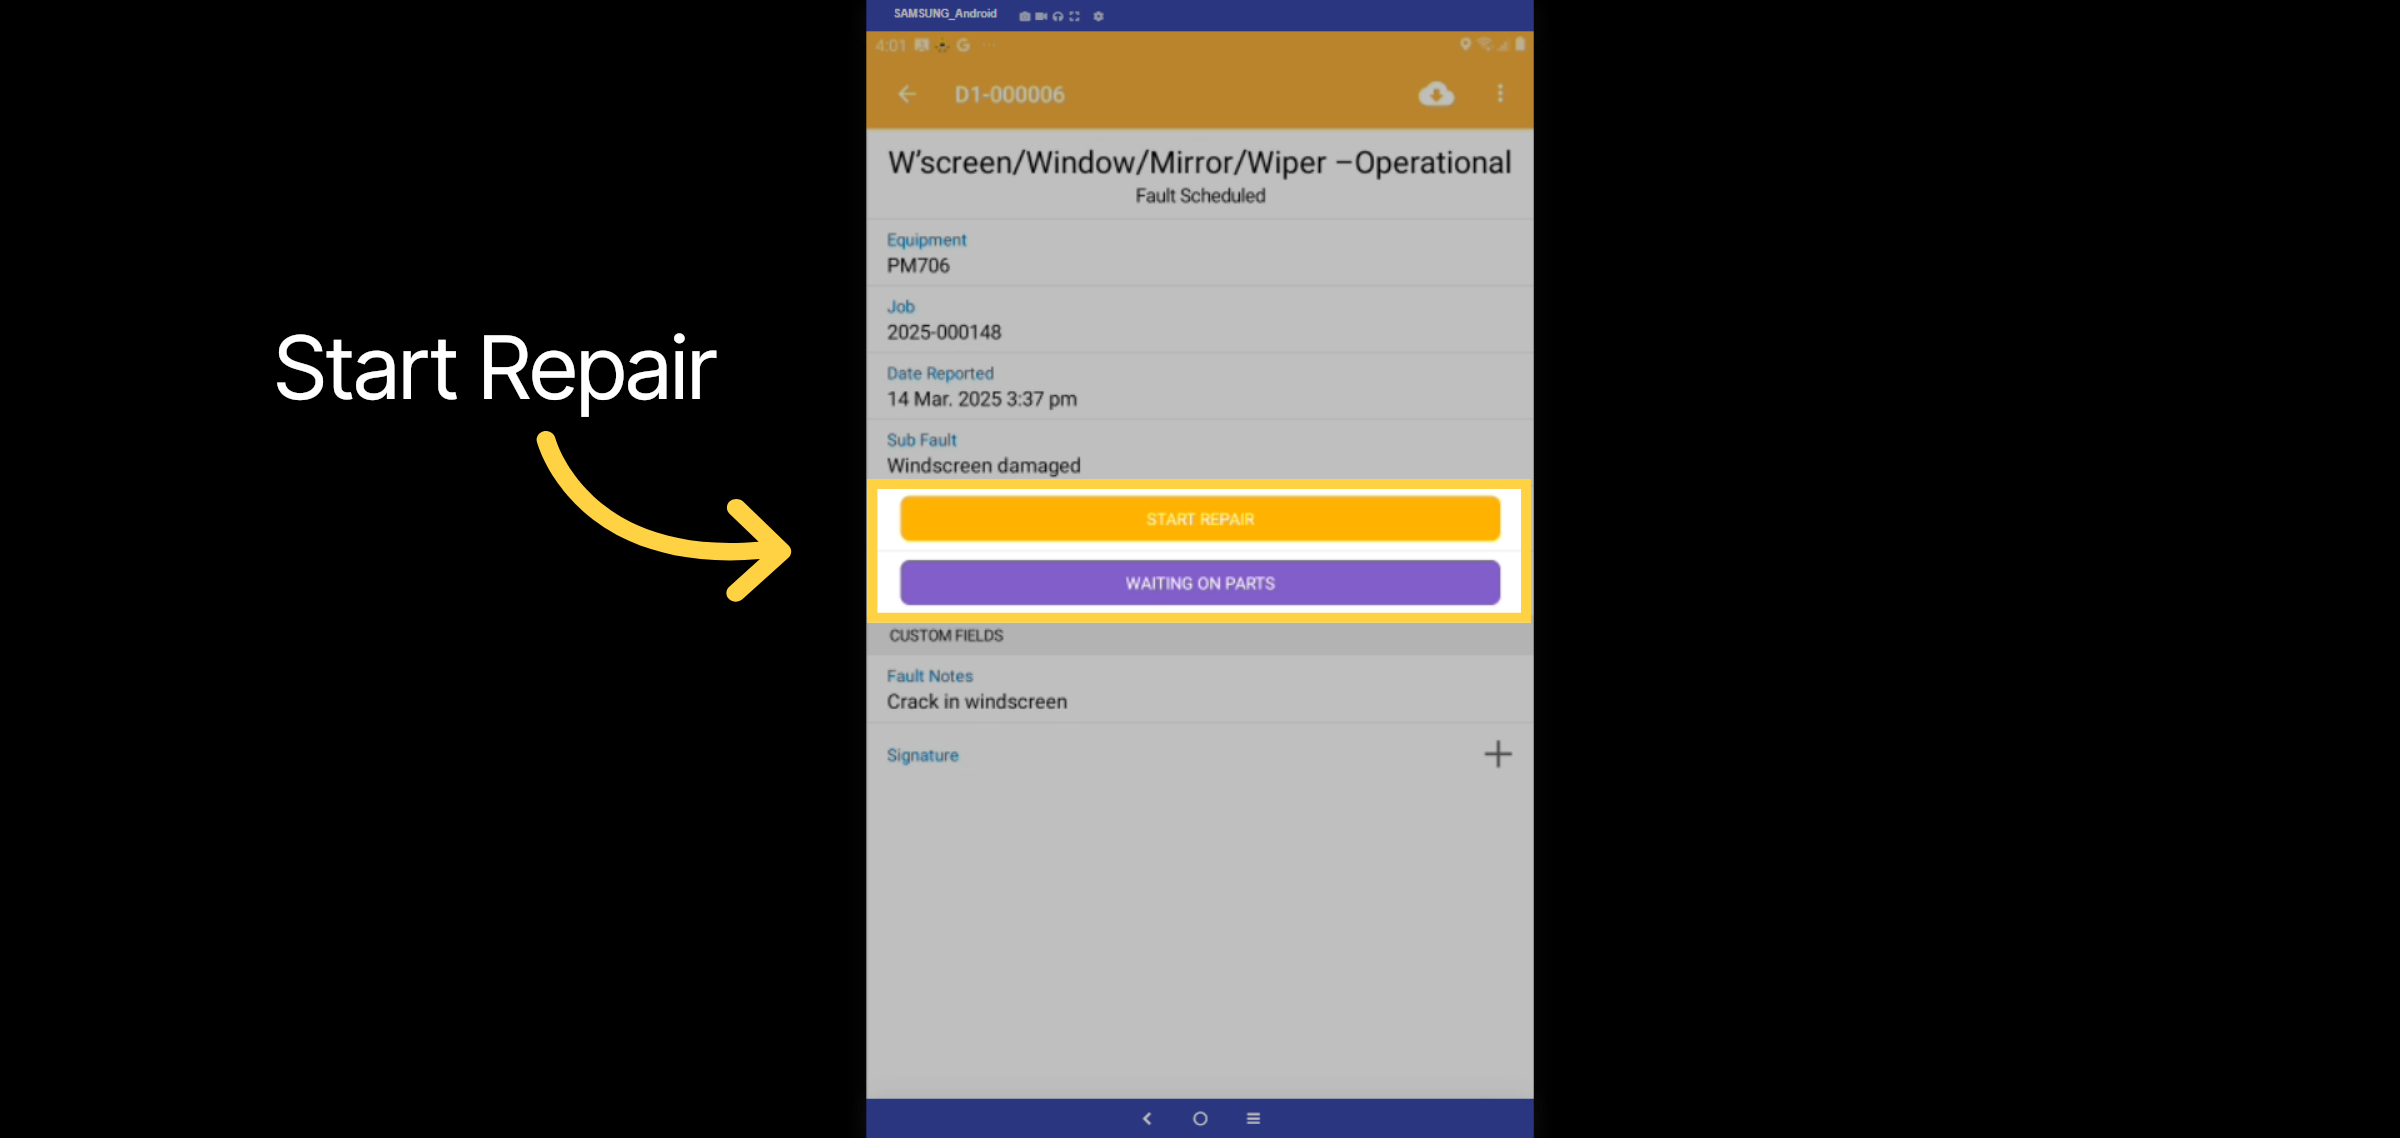
The fault provides options to start repair or, if items aren't available to complete the repair, mark as the job as waiting on parts, pausing the job. Notes and photos recorded on the prestart are visible to the mechanic when working on faults.
7. Complete Repair
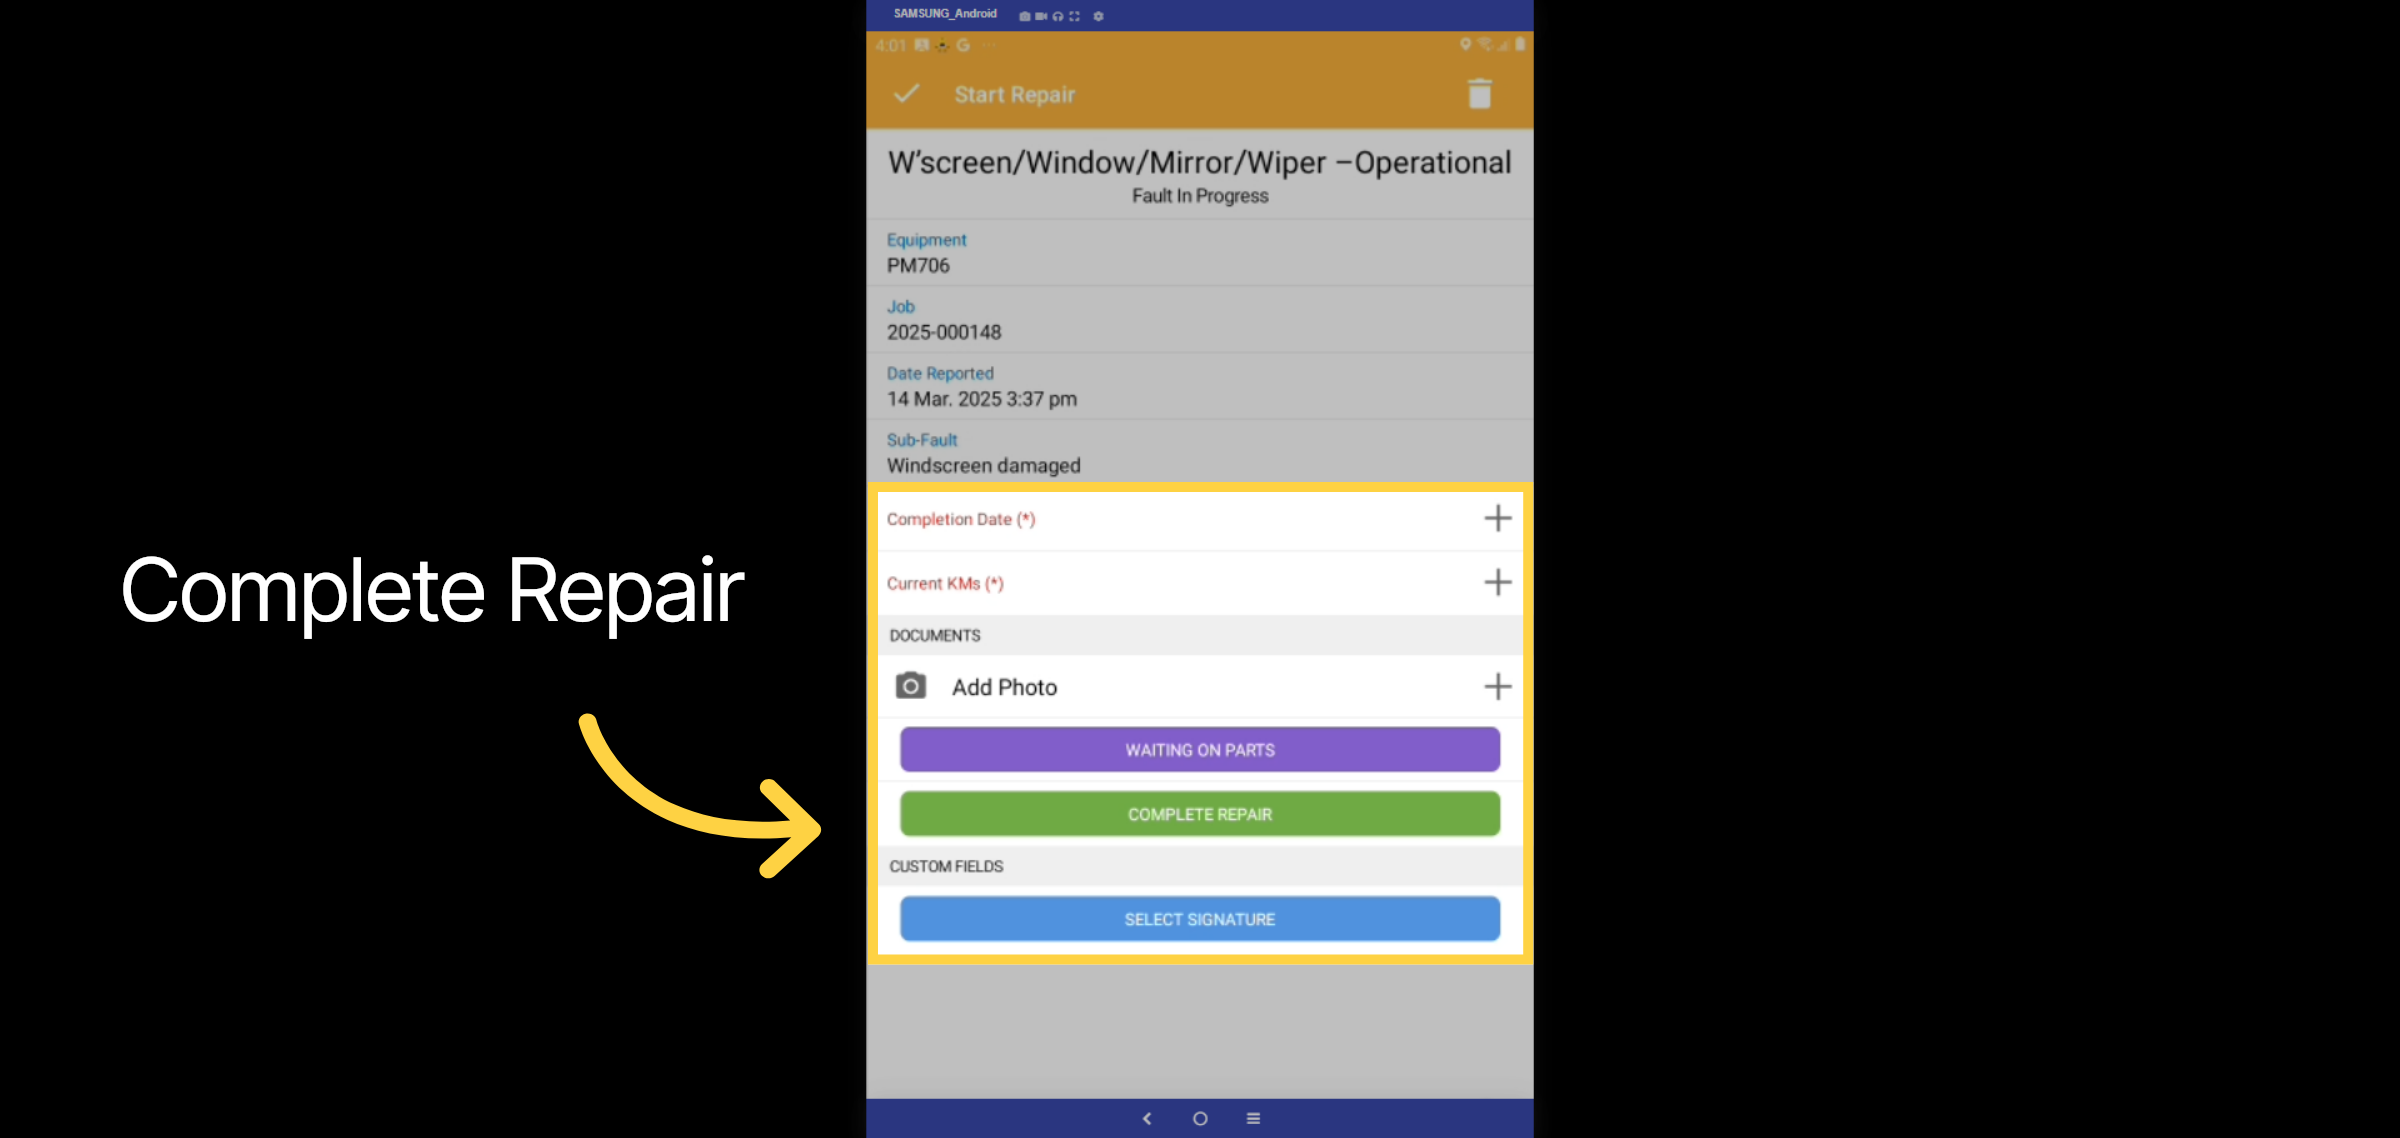
Complete the repair and make any comments, you must enter in the completion date, current kilometers and signature.
8. Submitted Repair
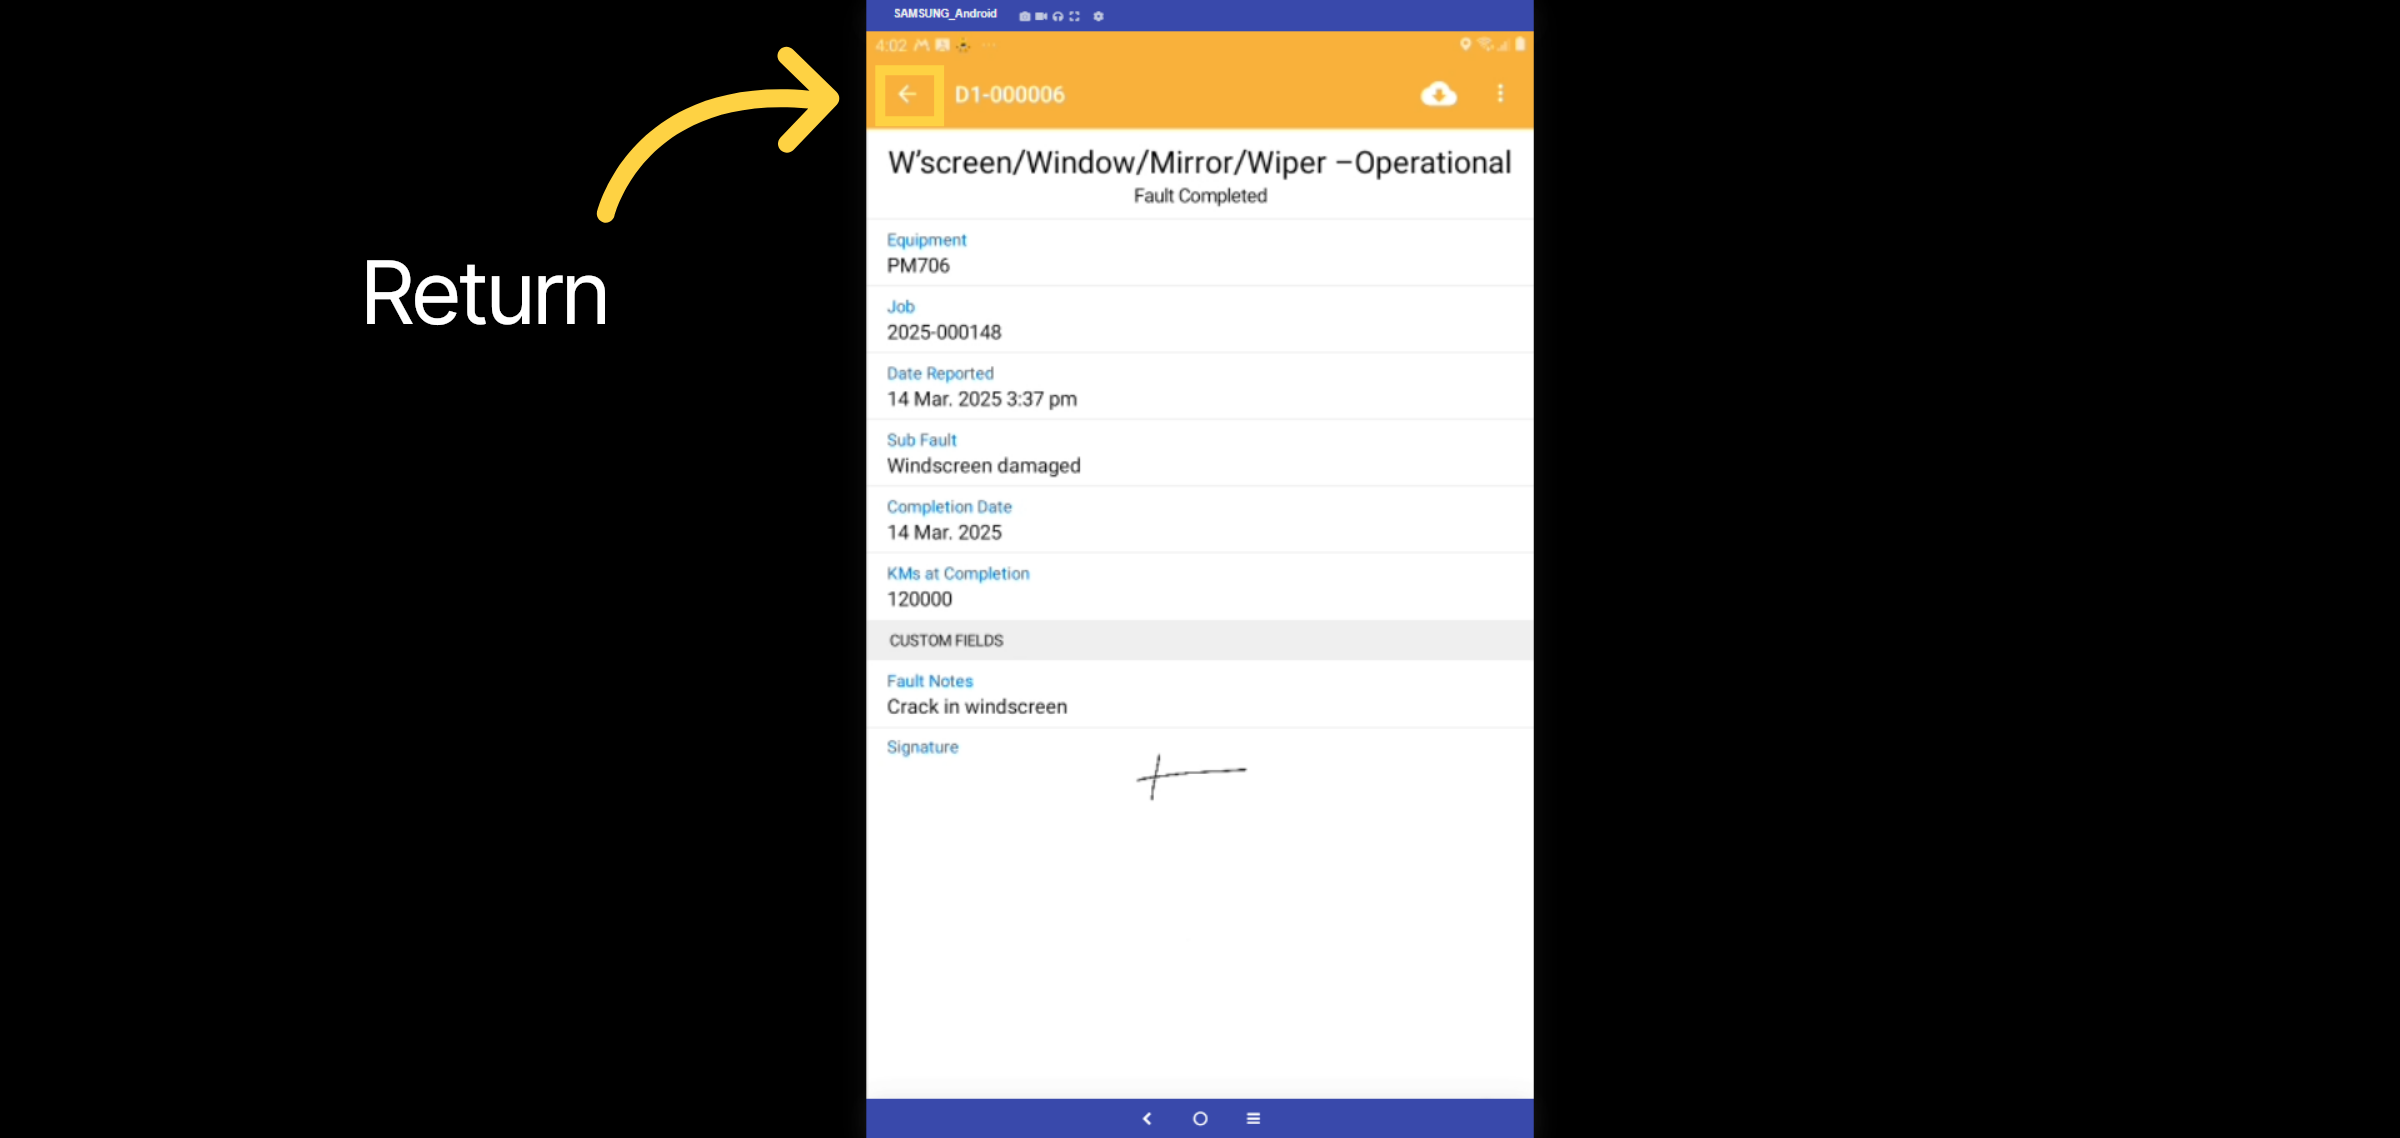
After submitting the repair, return to the equipment by selecting the back arrow in the top left corner.
9. Completed and Optional
Completed jobs appear greyed out. Optional repairs can be completed by tapping the item to open. In this example we will also complete the D service.
10. Start Repair
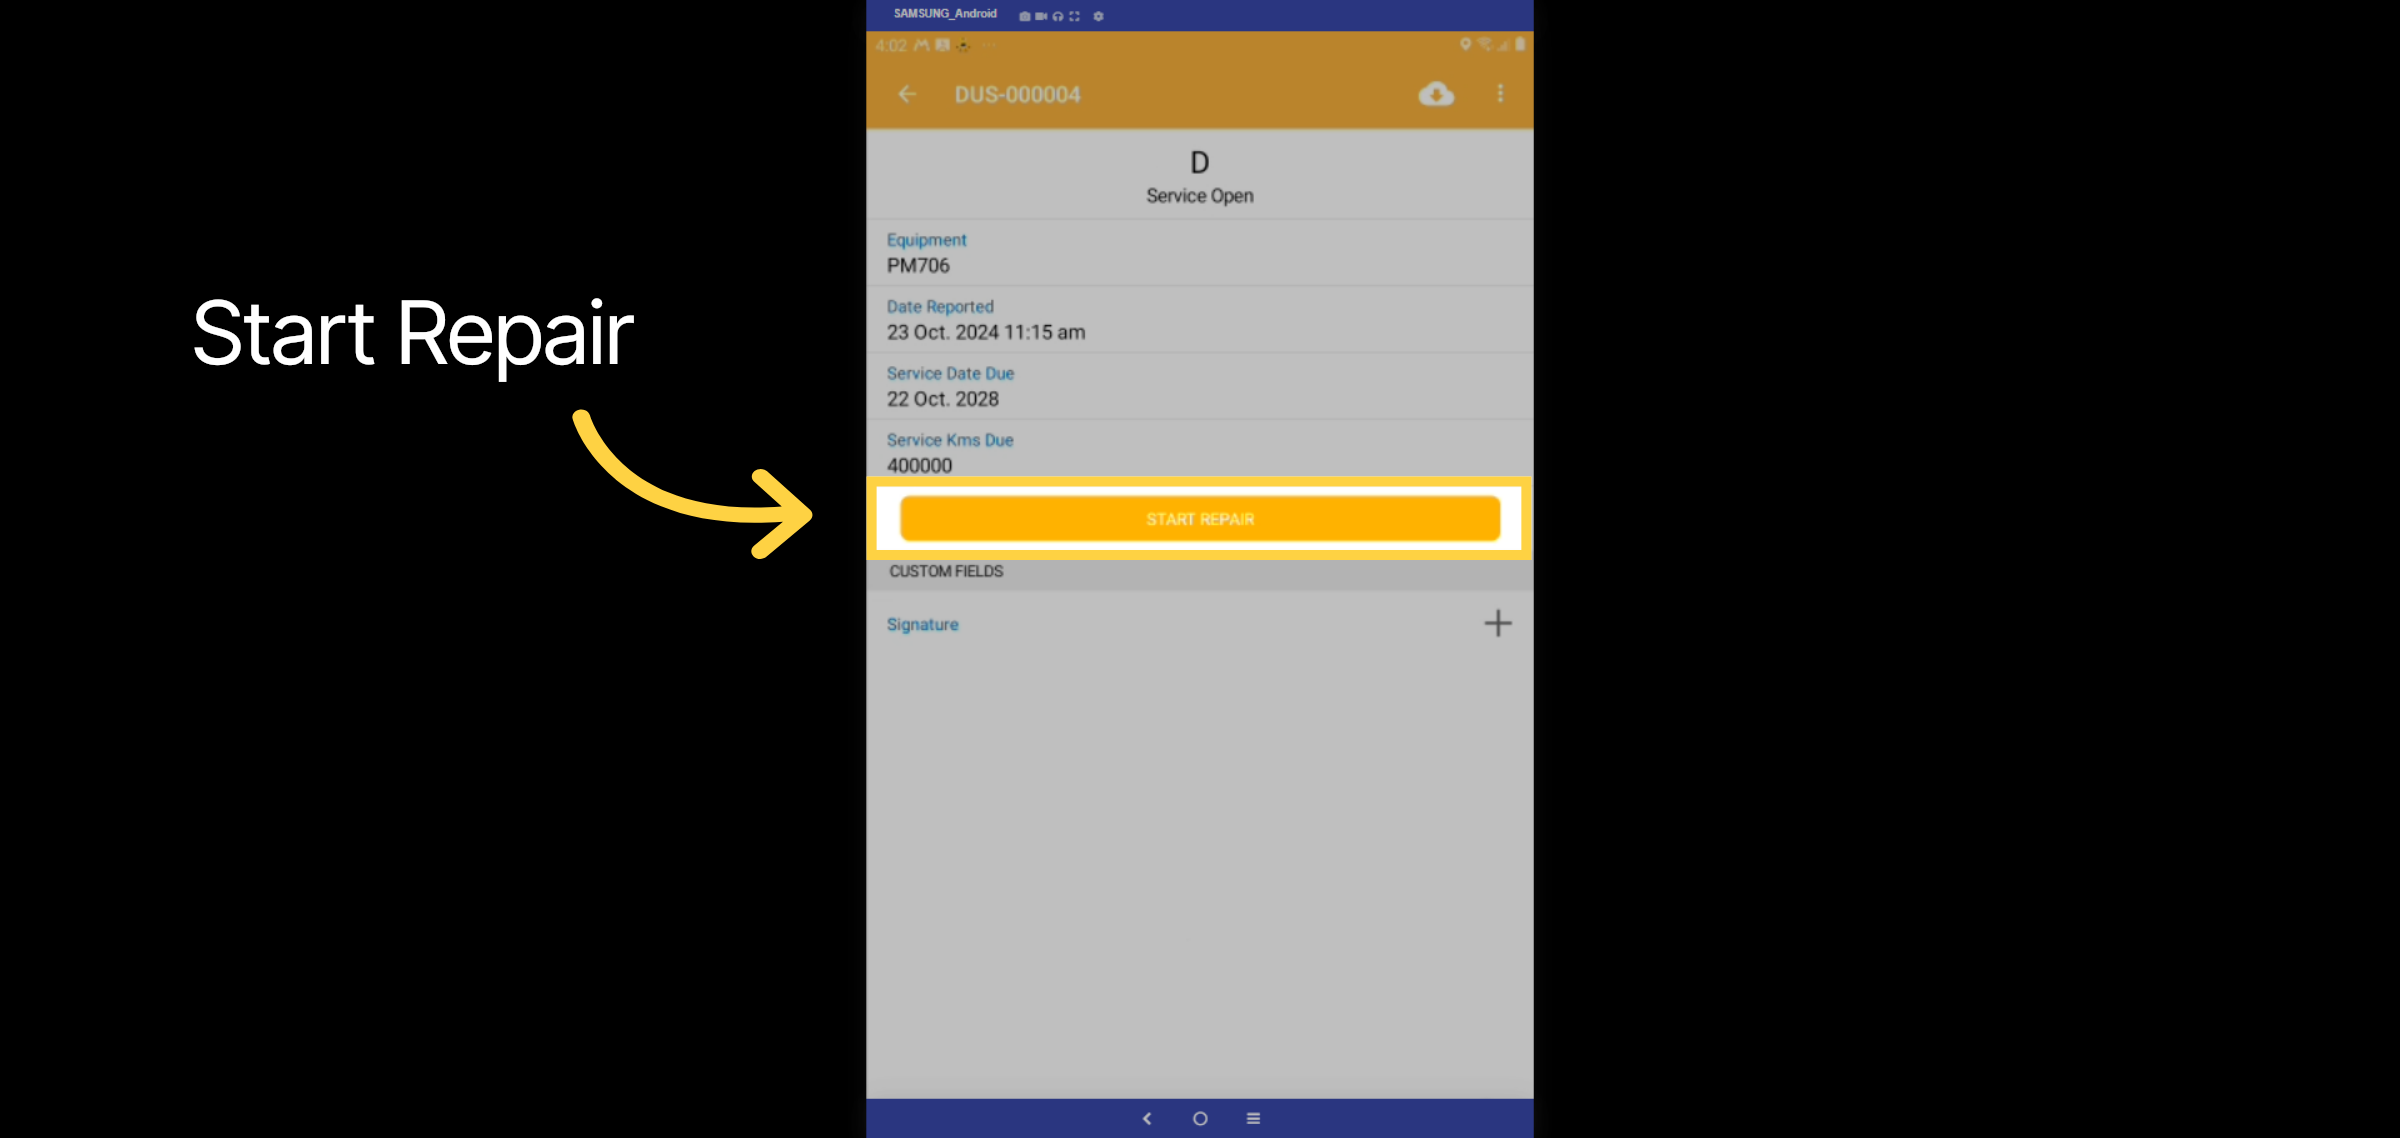
After opening the service, select Start Repair to initiate the workflow.
11. Create Repair Form
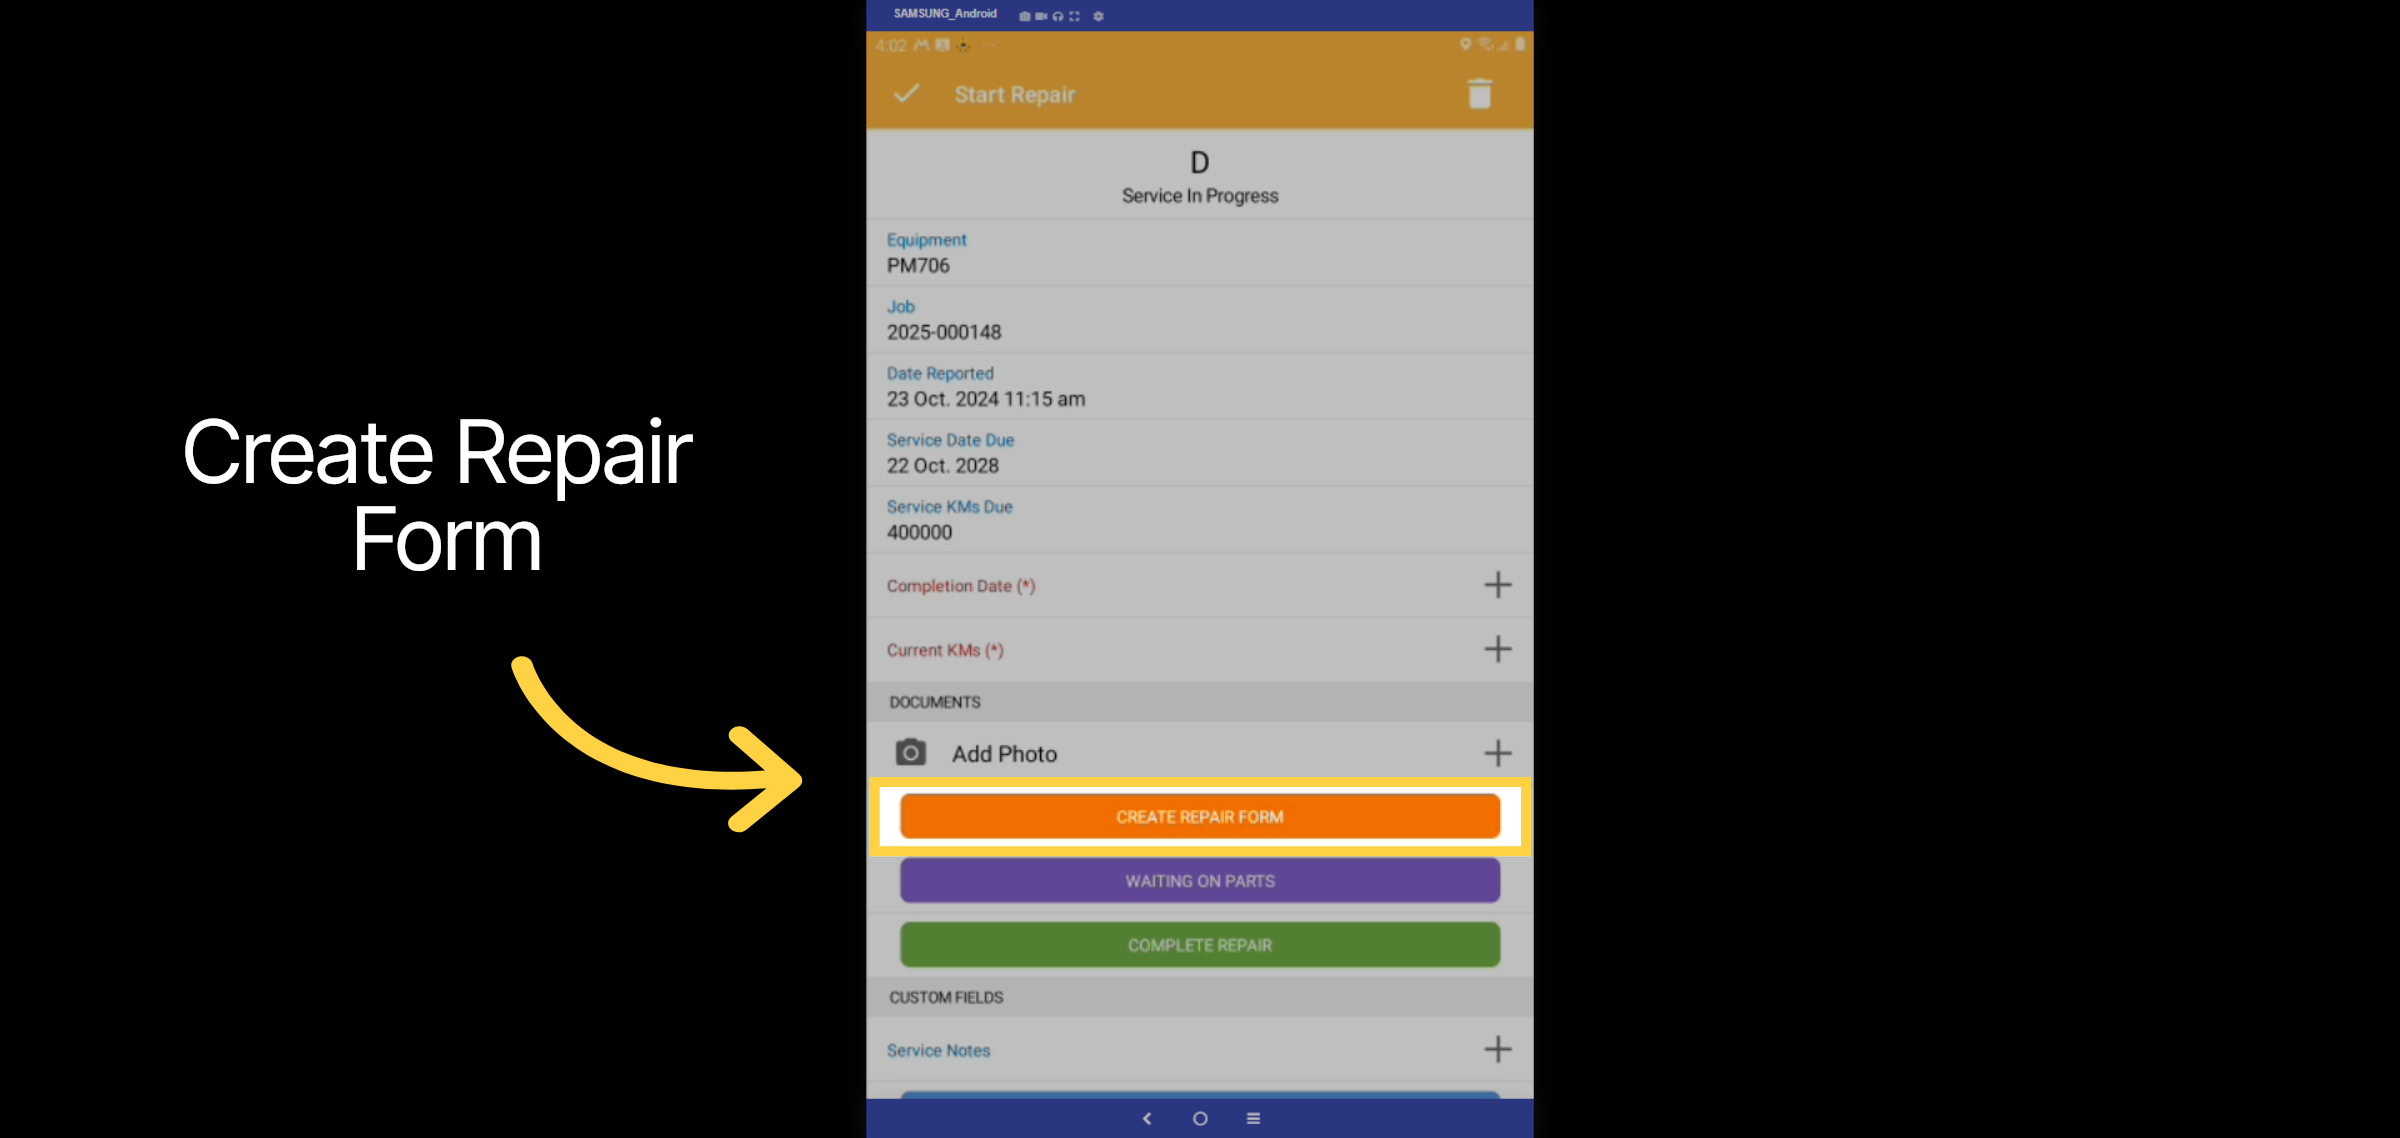
The service workflow is similar to the repair workflow but it also requires service form completion. Begin by entering the date and current kilometers. The service form is based on the equipment and can vary between individual equipment and equipment groups. Click Create Repair Form to get started.
12. Pass
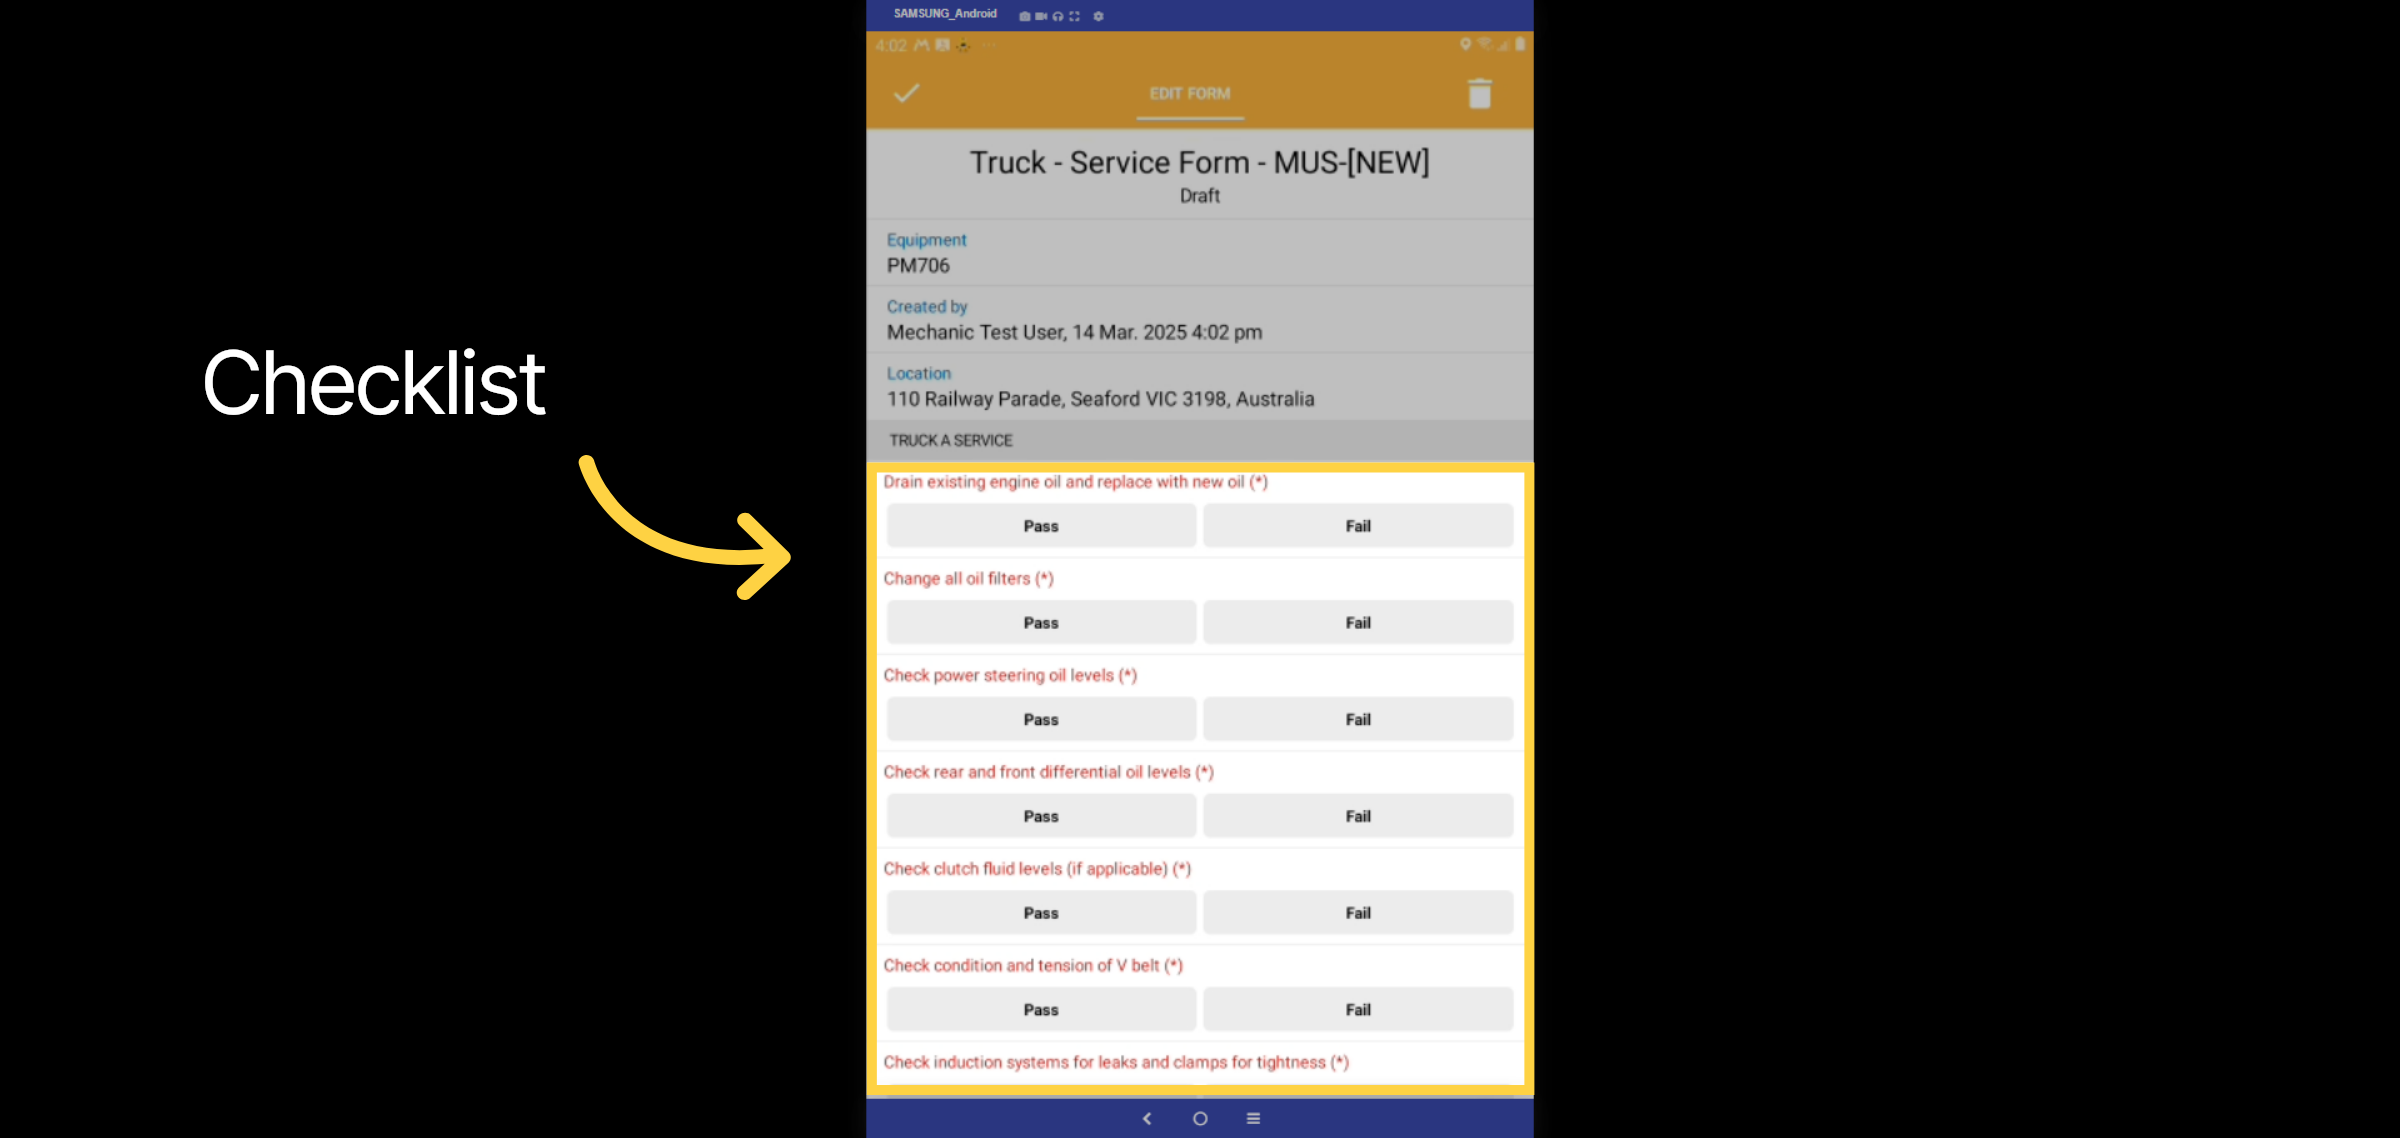
Tap Pass on the service form items to show it has been completed as part of the service.
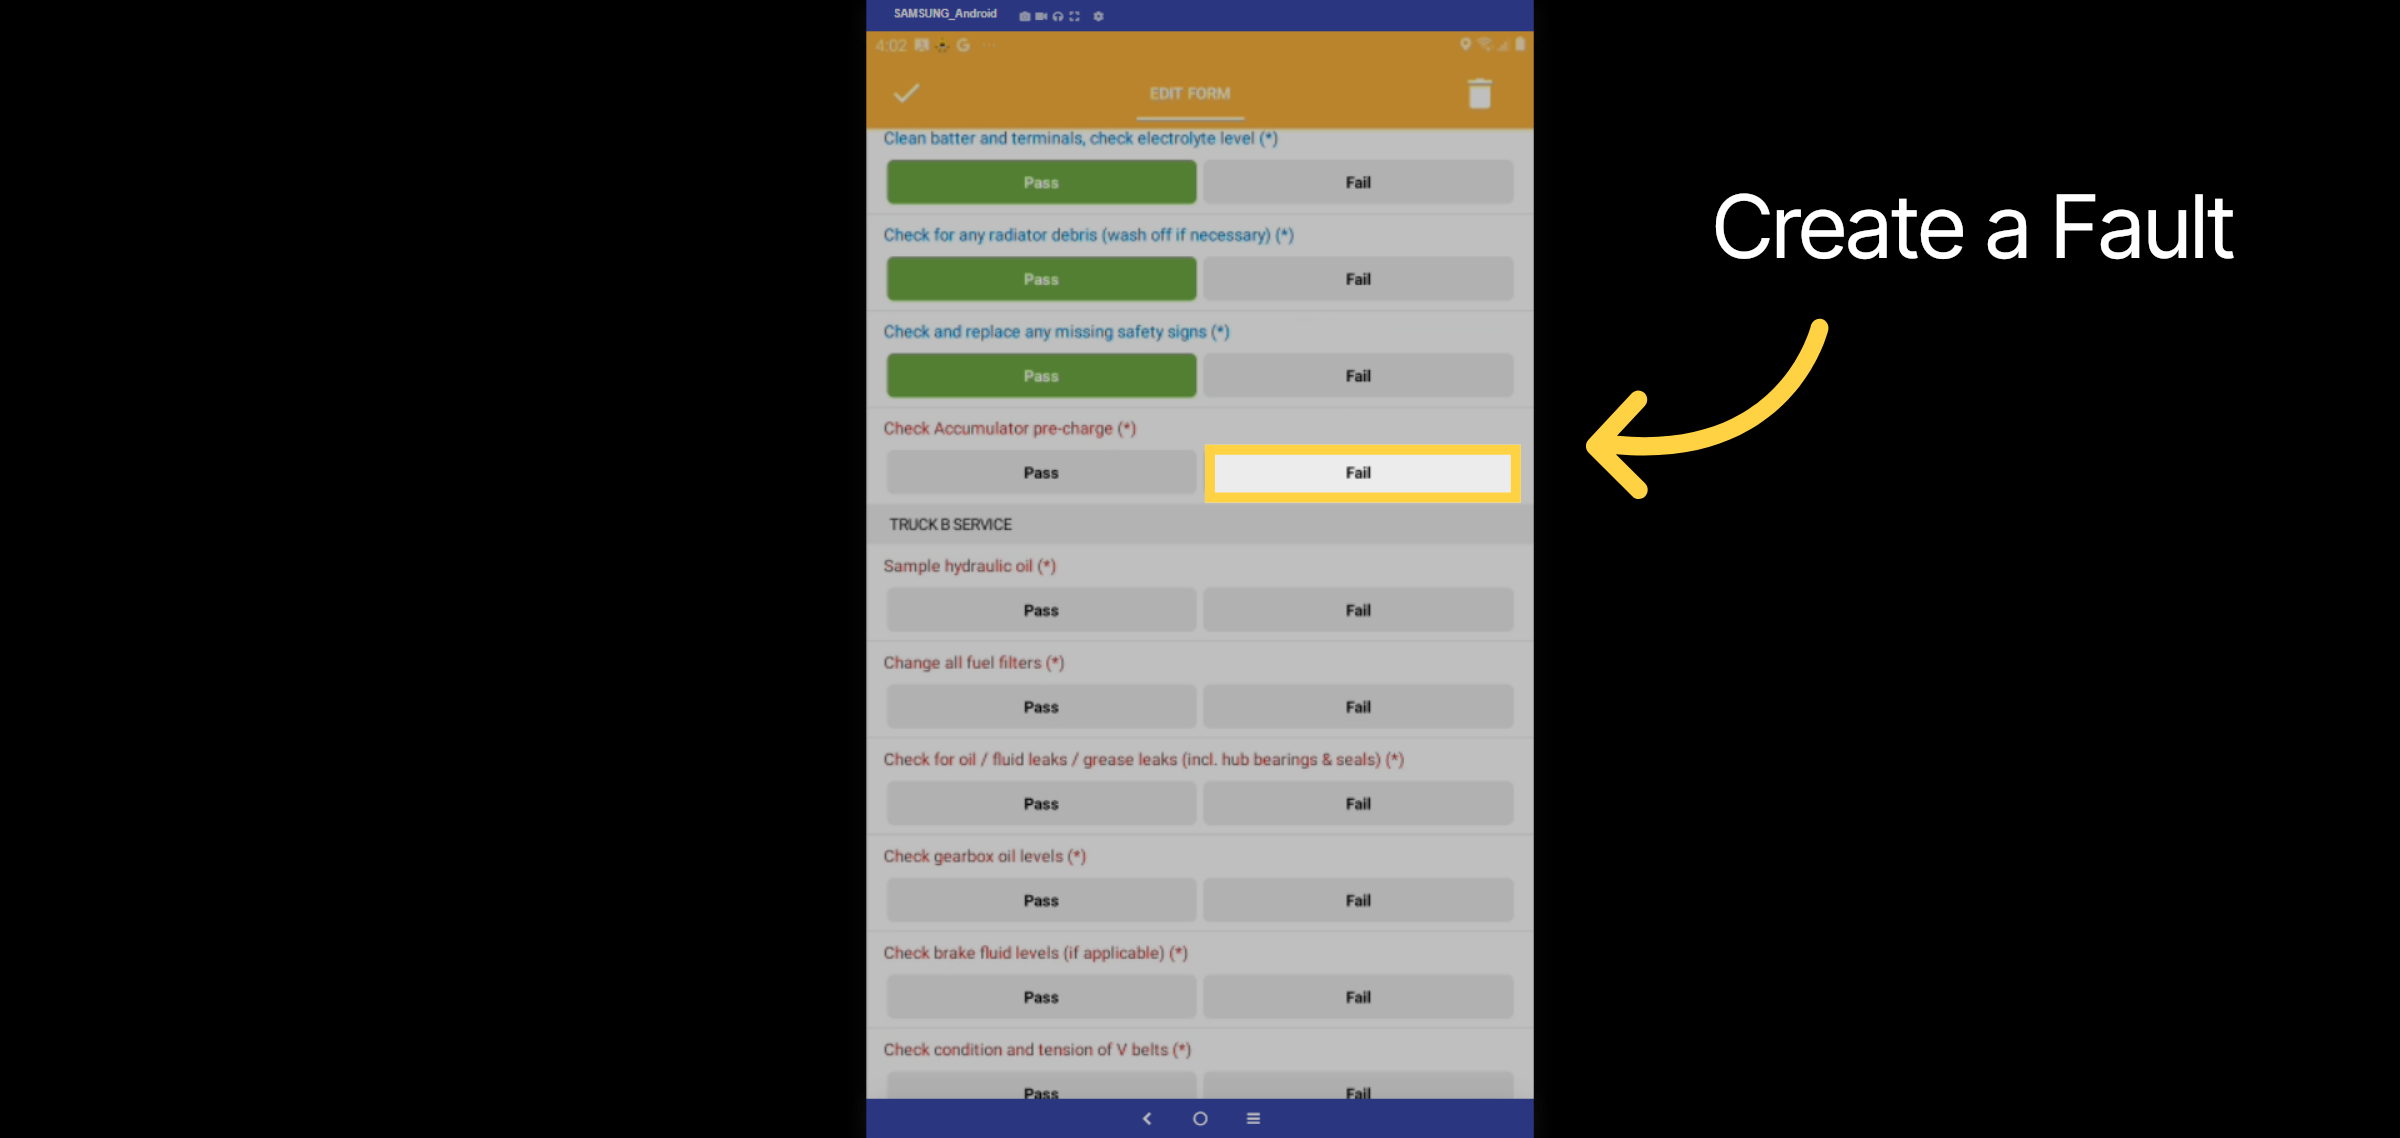
13. Create a Fault
You can also log a fault from this checklist by selecting Fail. This will create a new fault against this asset which can be completed during the service or saved for future completion.
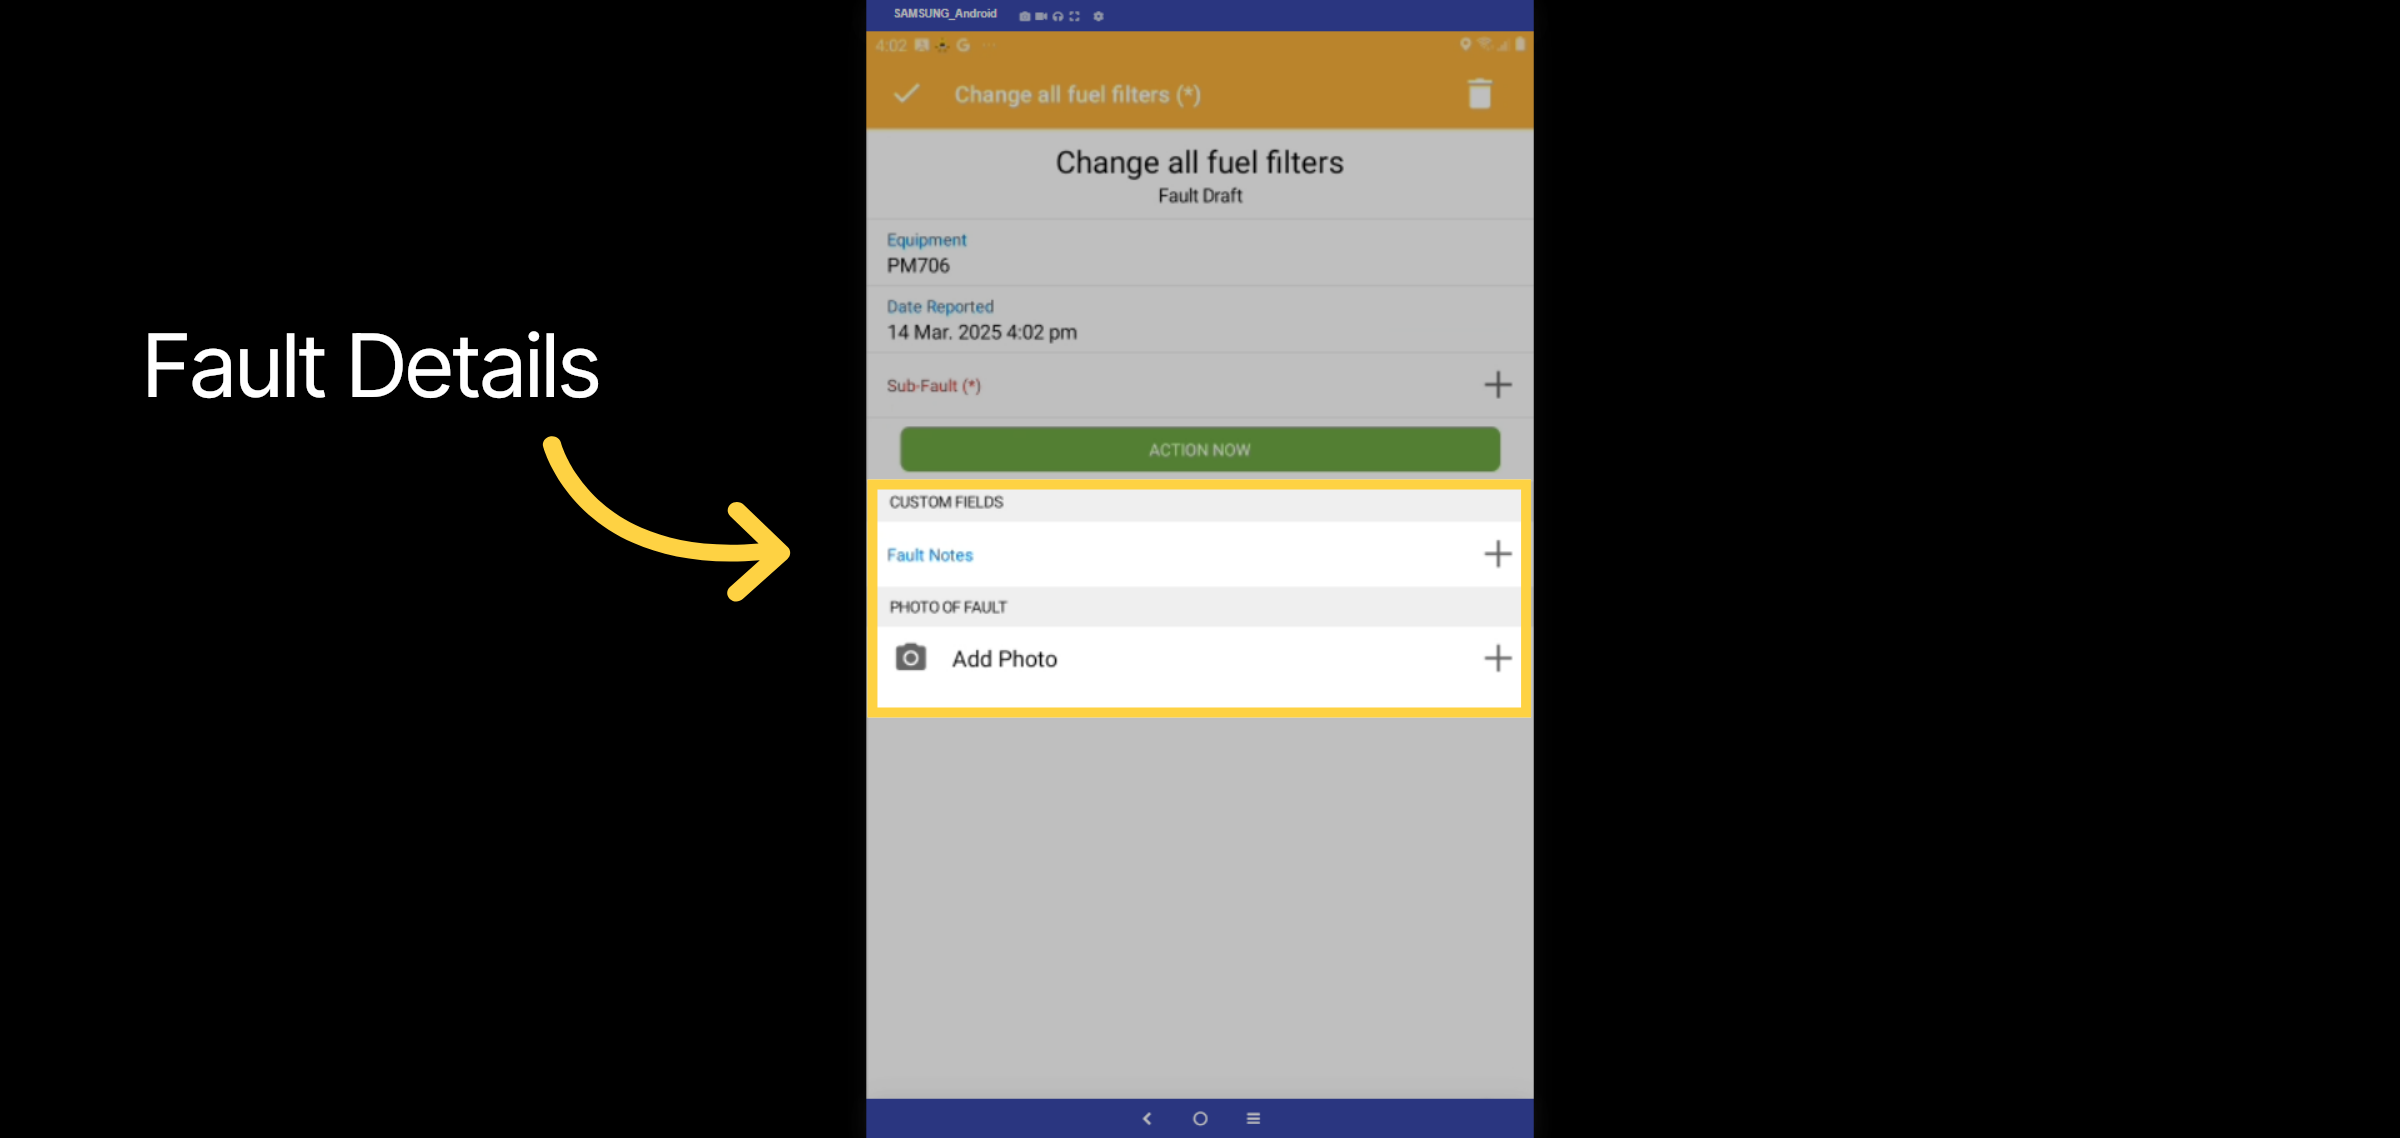
14. Fault Details
Like in a prestart you enter in the details of the fault and select the subfault. This can include a picture for greater explanation.
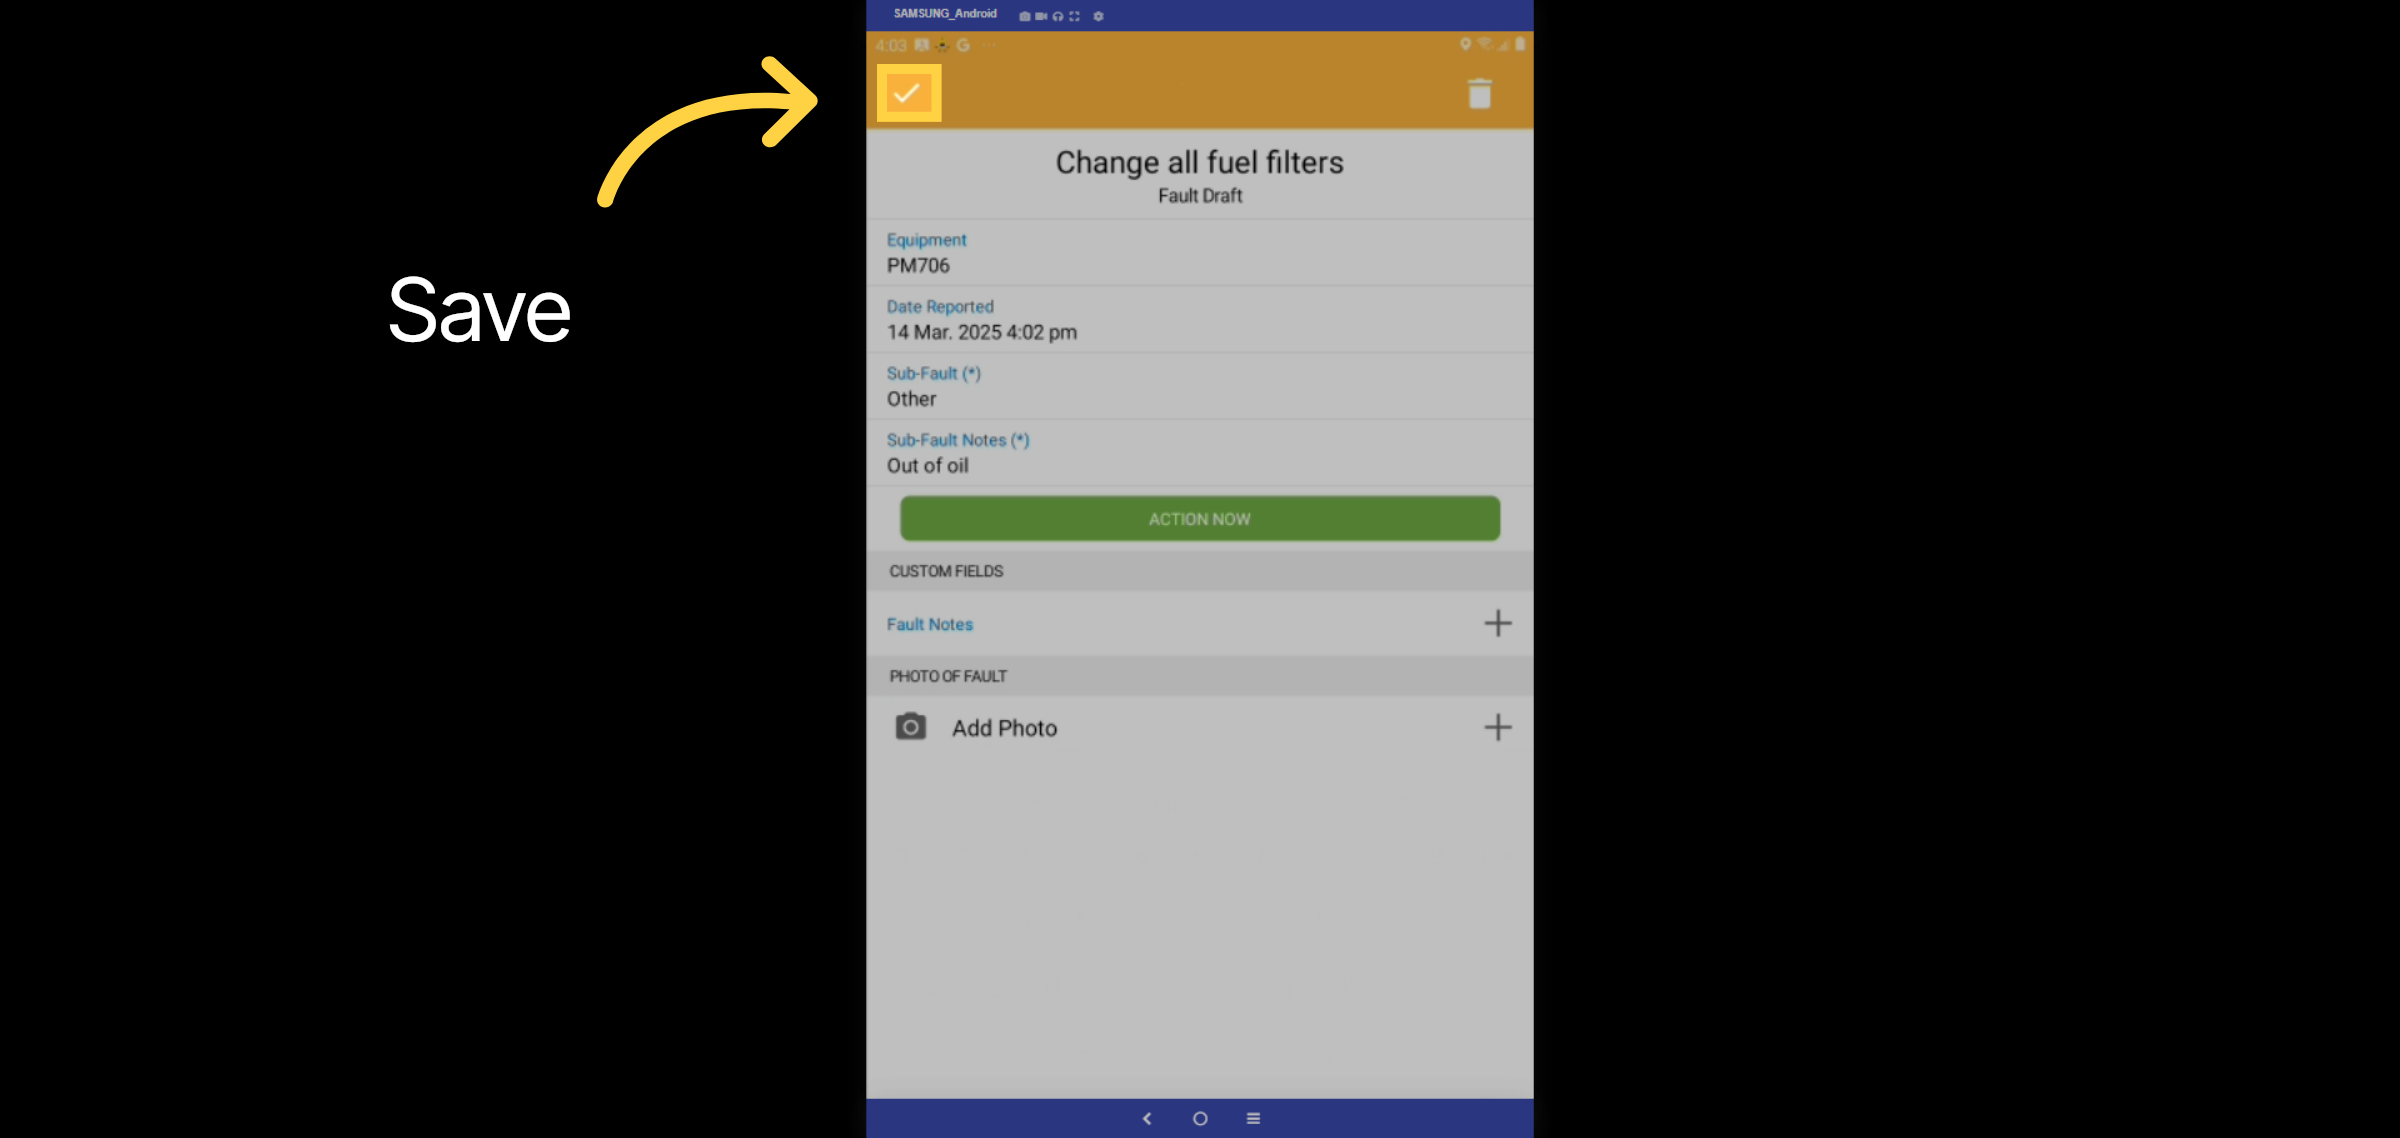
15. Save
Select the tick icon to save the fault against the equipmen. Alternatively you can repair the fault by selecting the Action Now button.
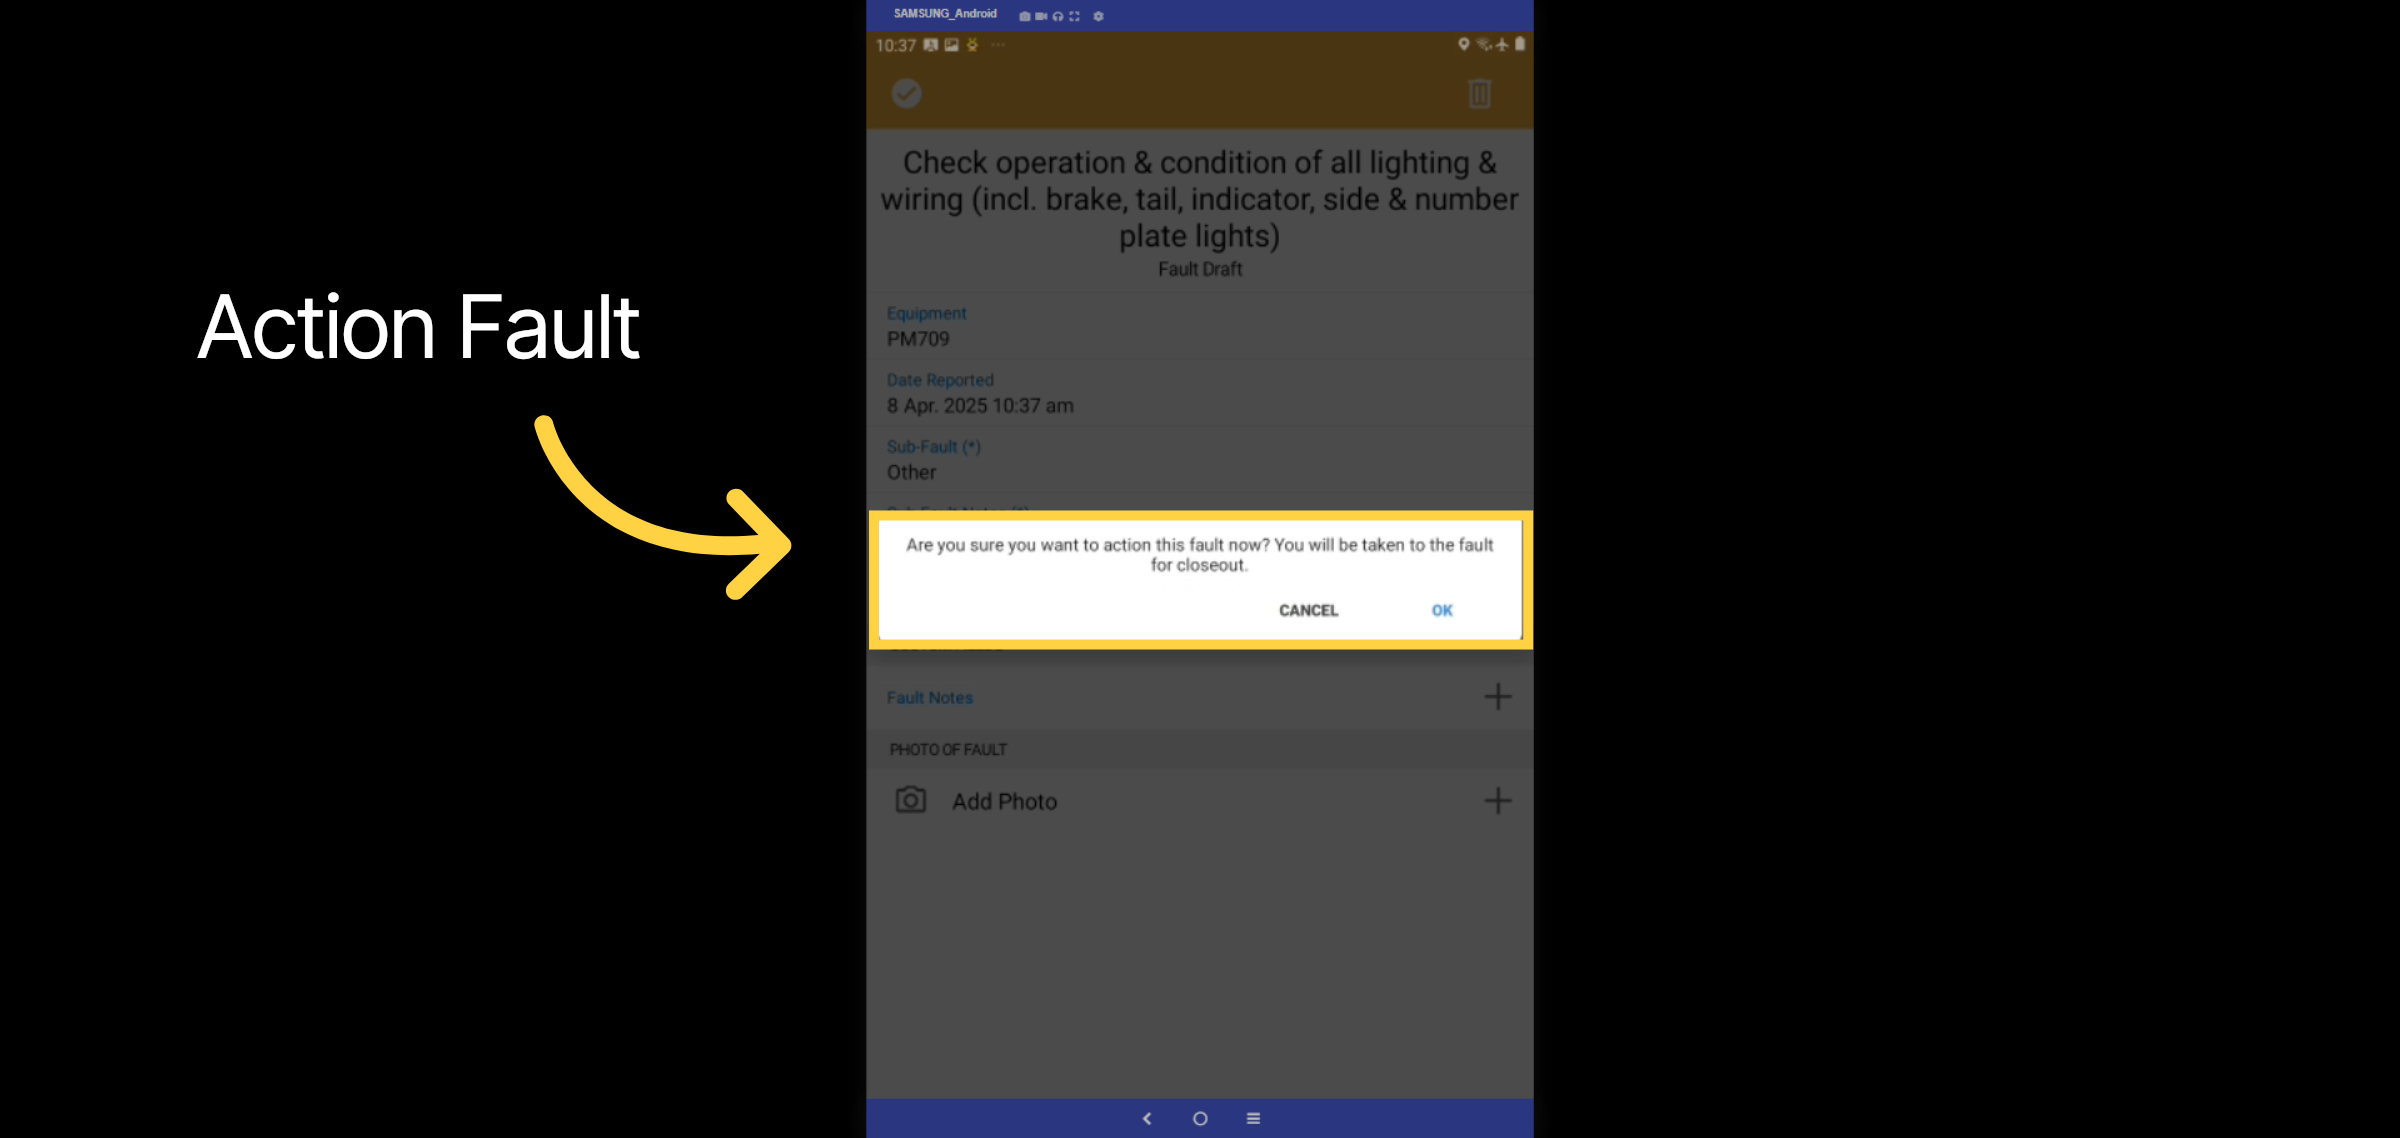
16. Action Fault
When you select Action Now a warning will display to ensure you want to close out the fault you just raised.
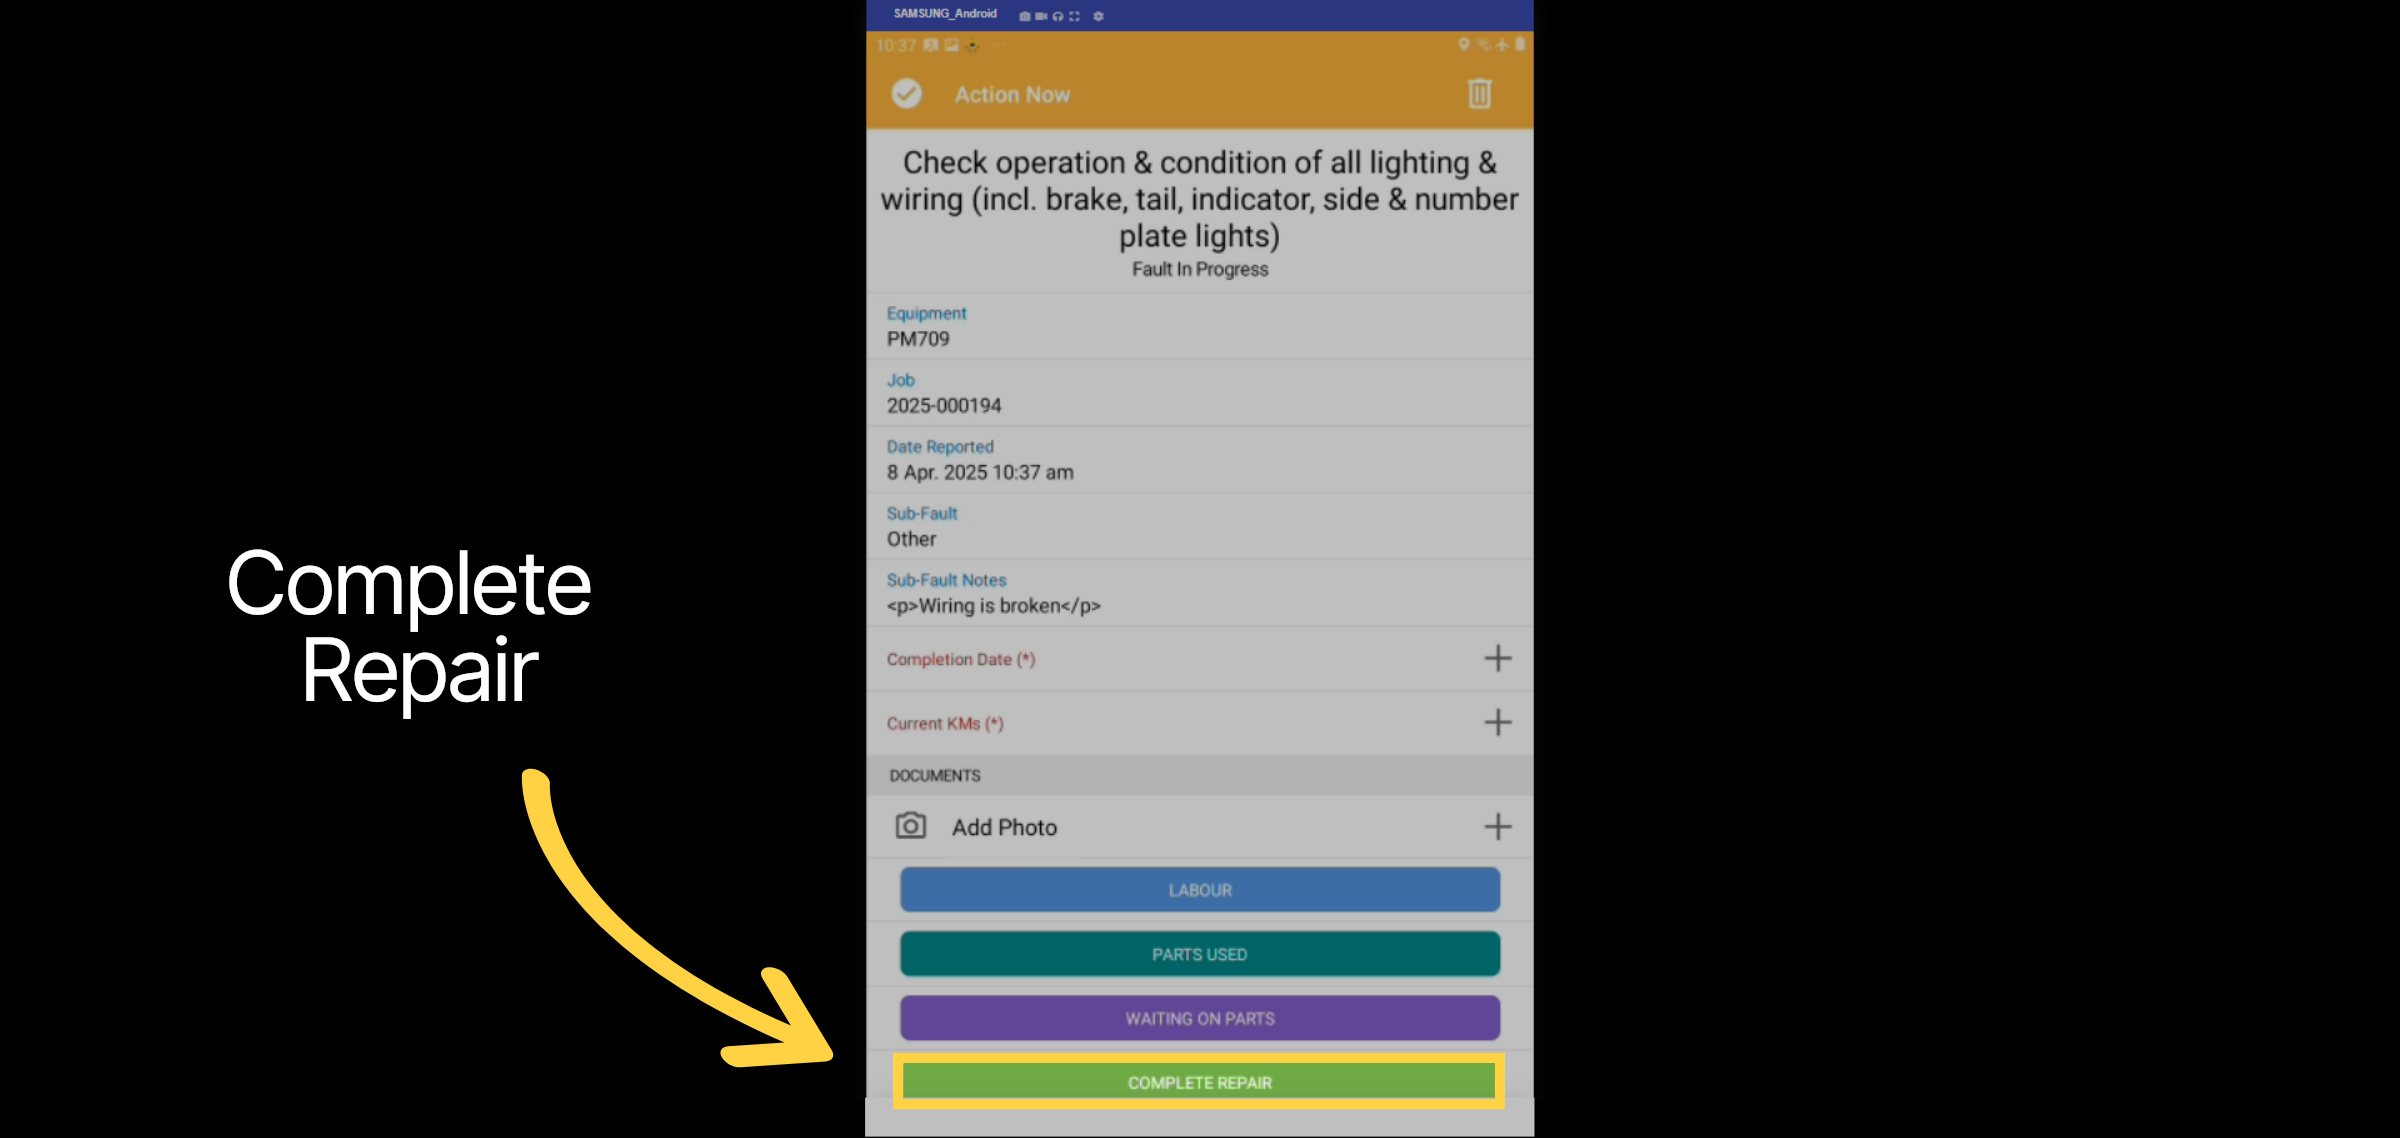
17. Complete Repair
Just as you would finalize a standard fault, please fill out the fault repair form and click Complete Repair to save your changes.
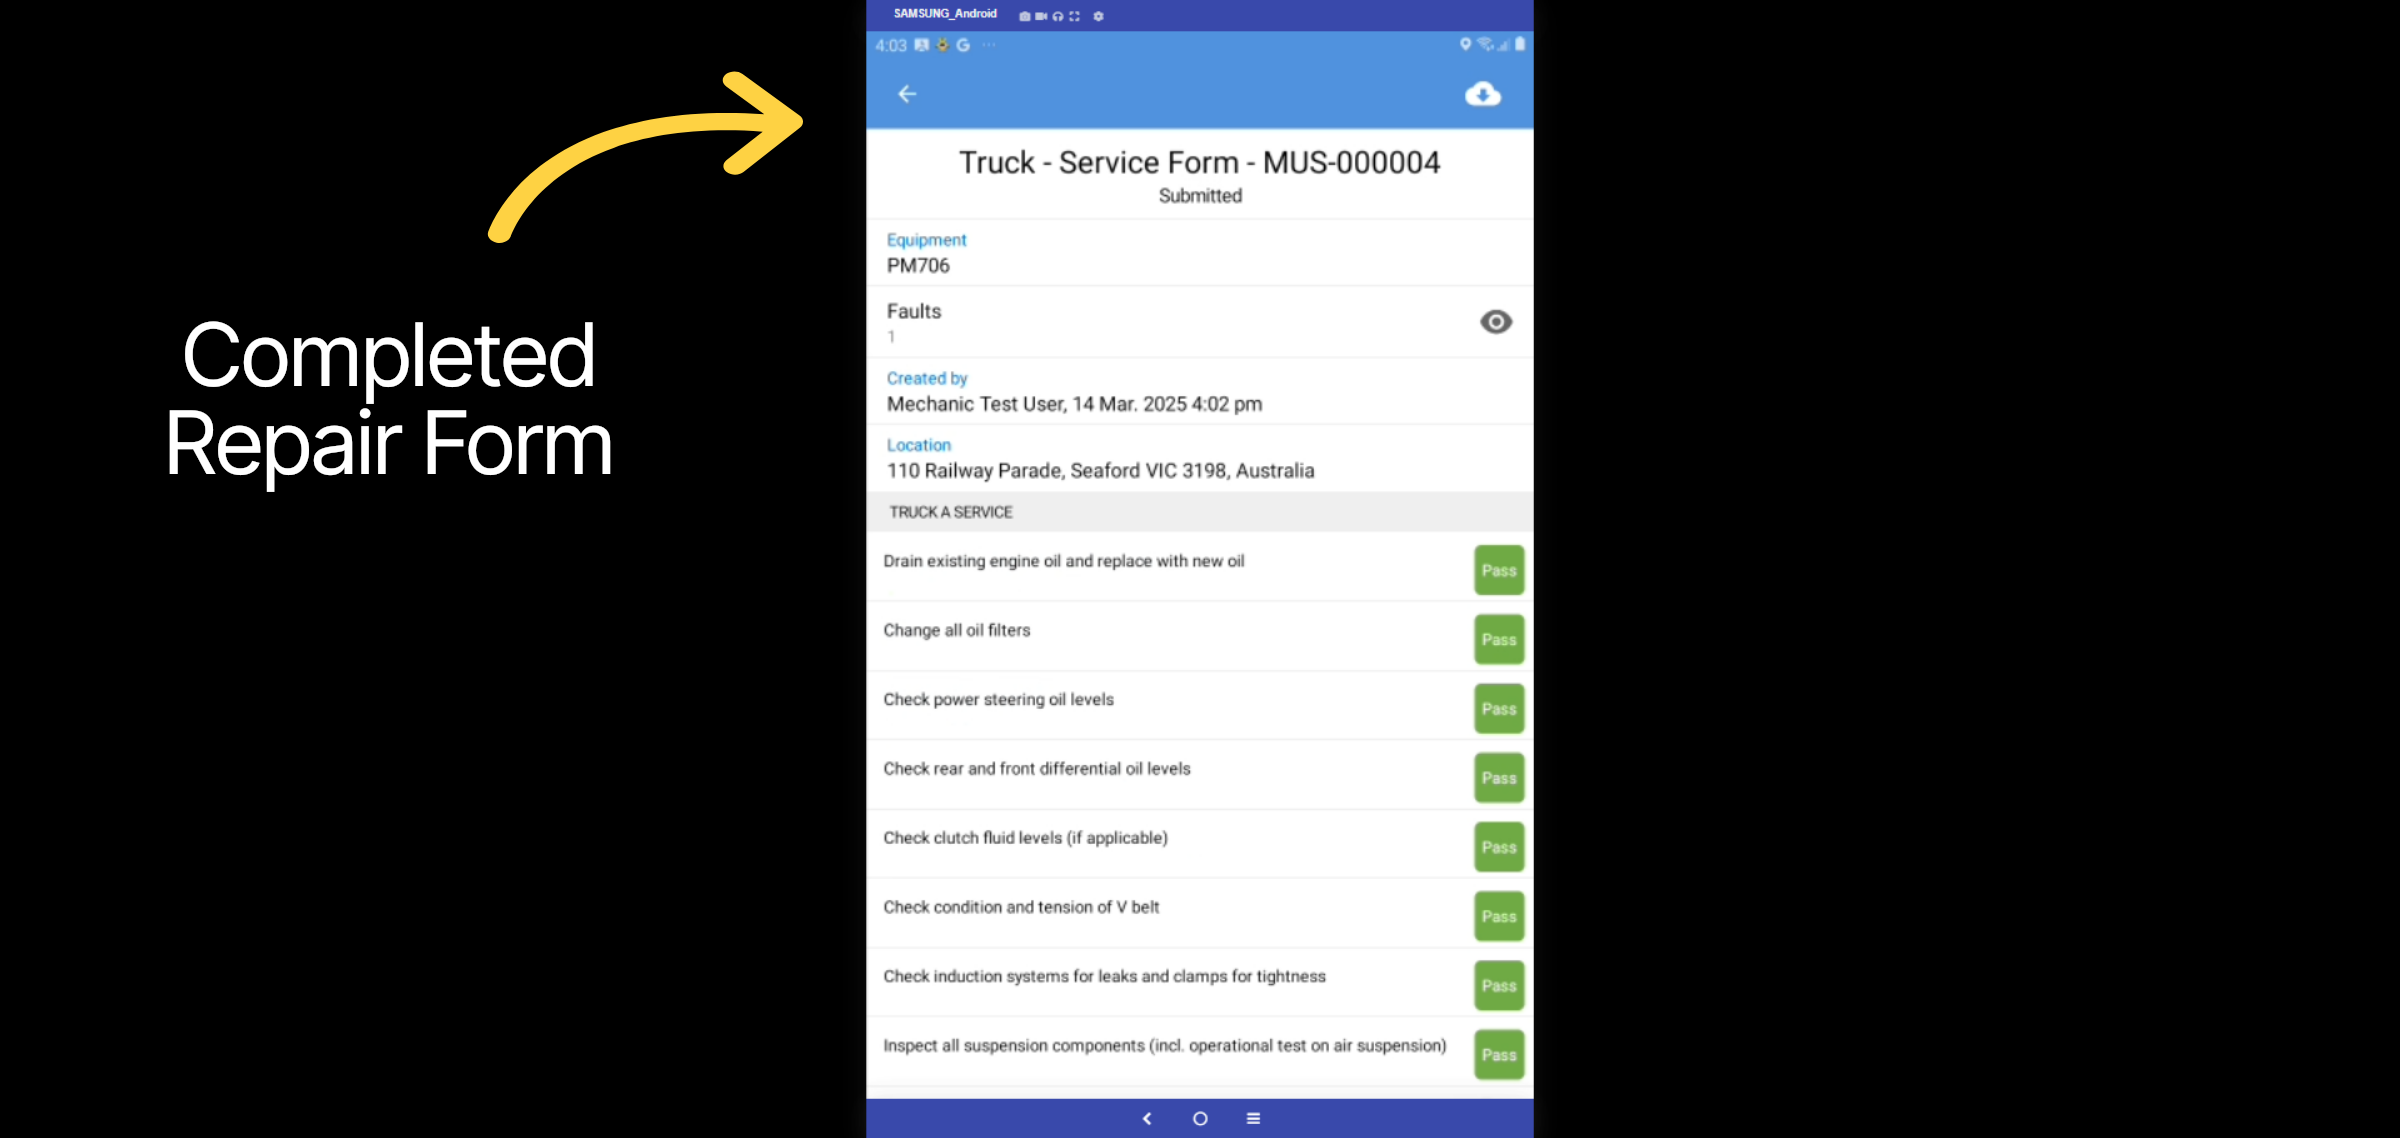
18. Completed Repair Form
The service form has been successfully completed, as indicated by the header's change to blue.
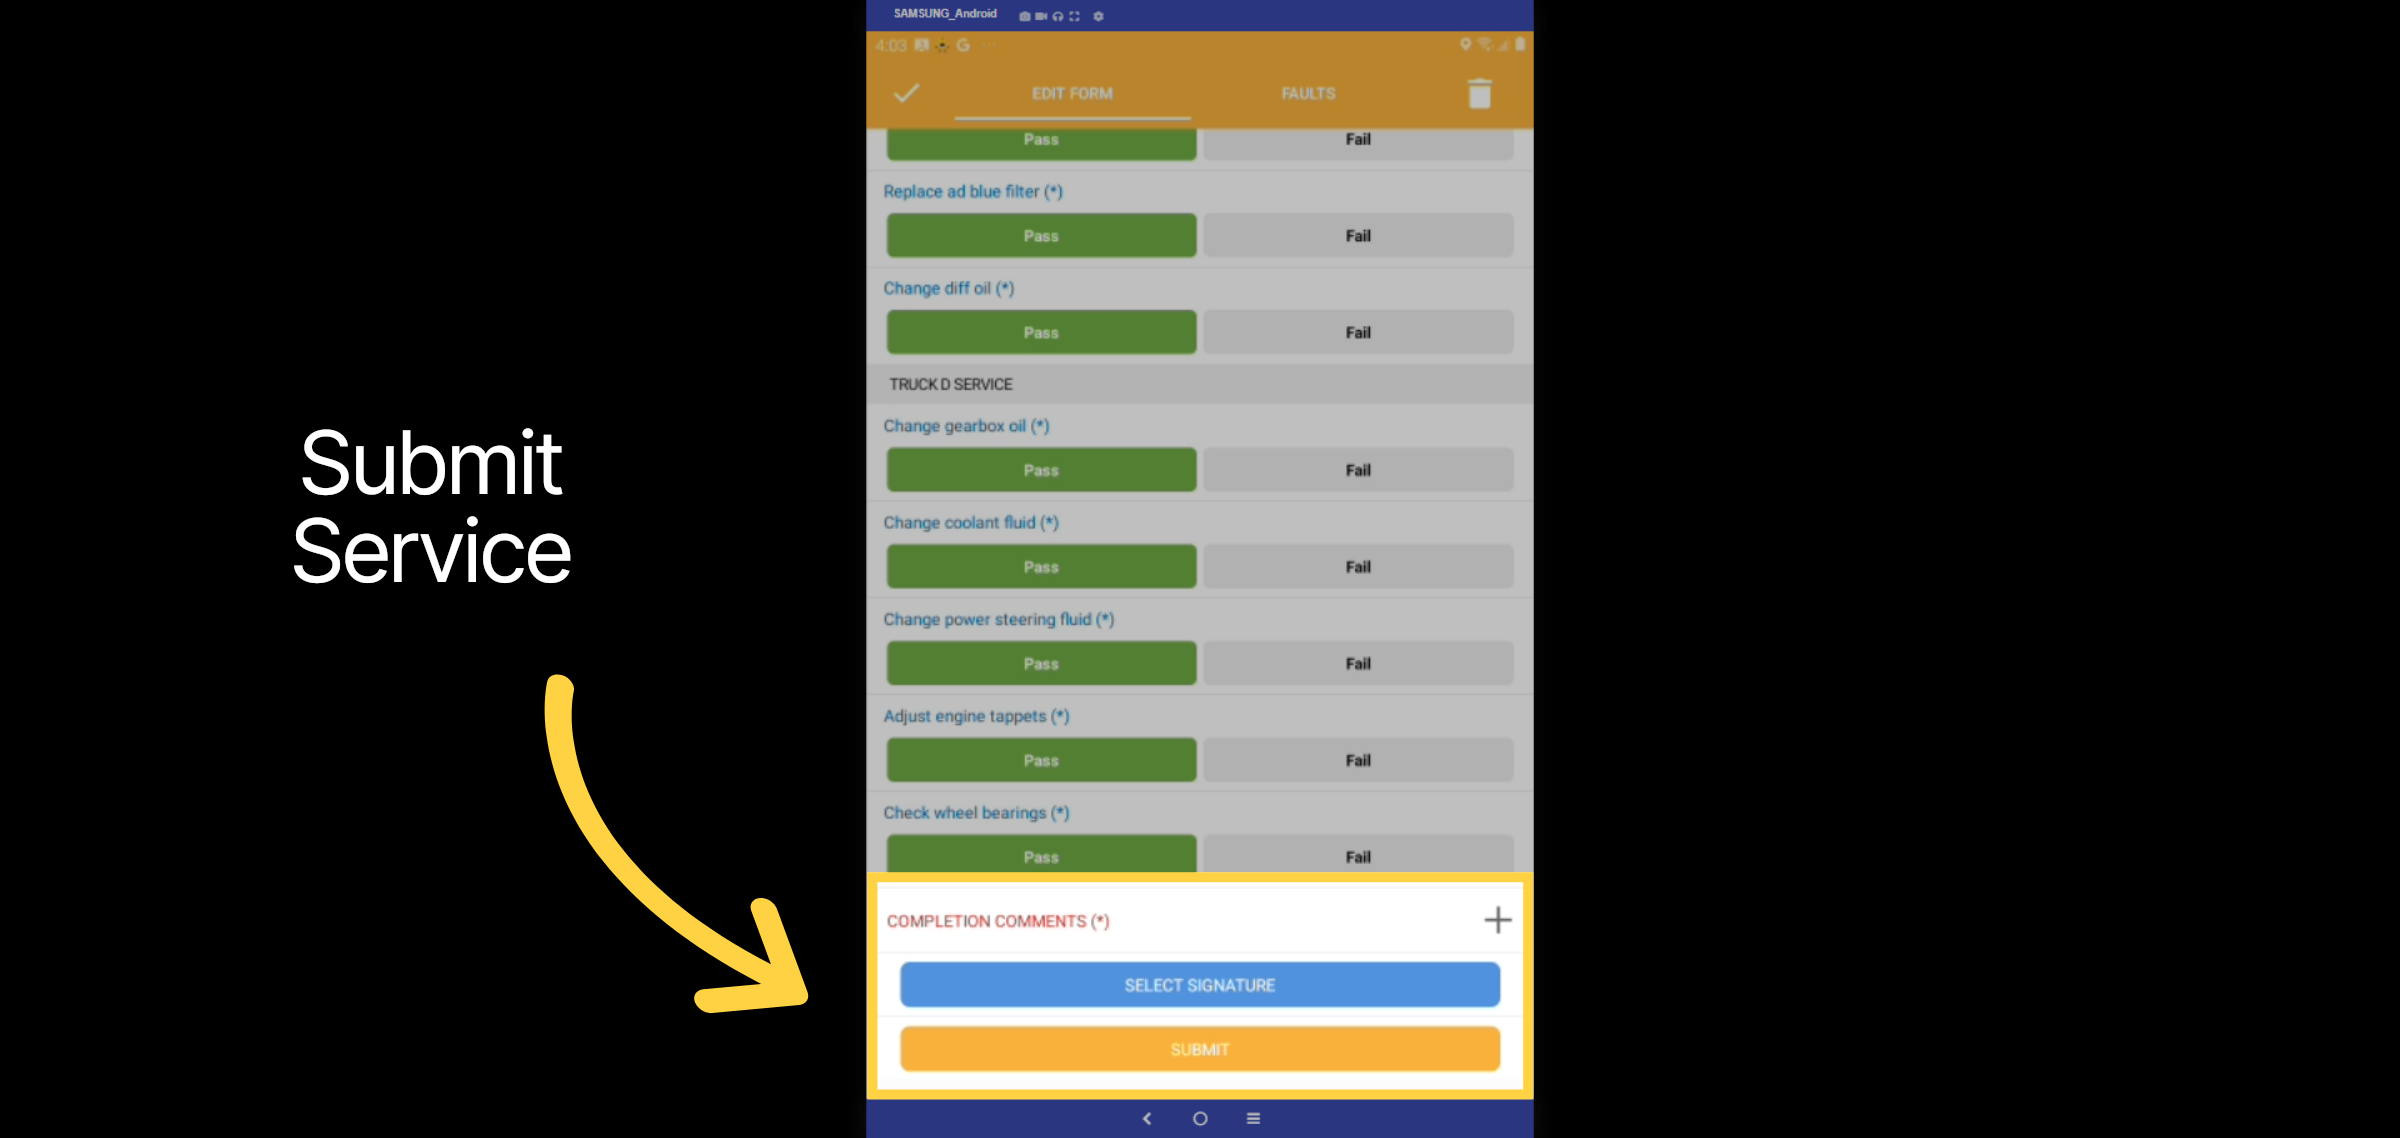
19. Complete the Service
Once all items are completed a signature and additional comments can be added. Then select submit to complete the service.
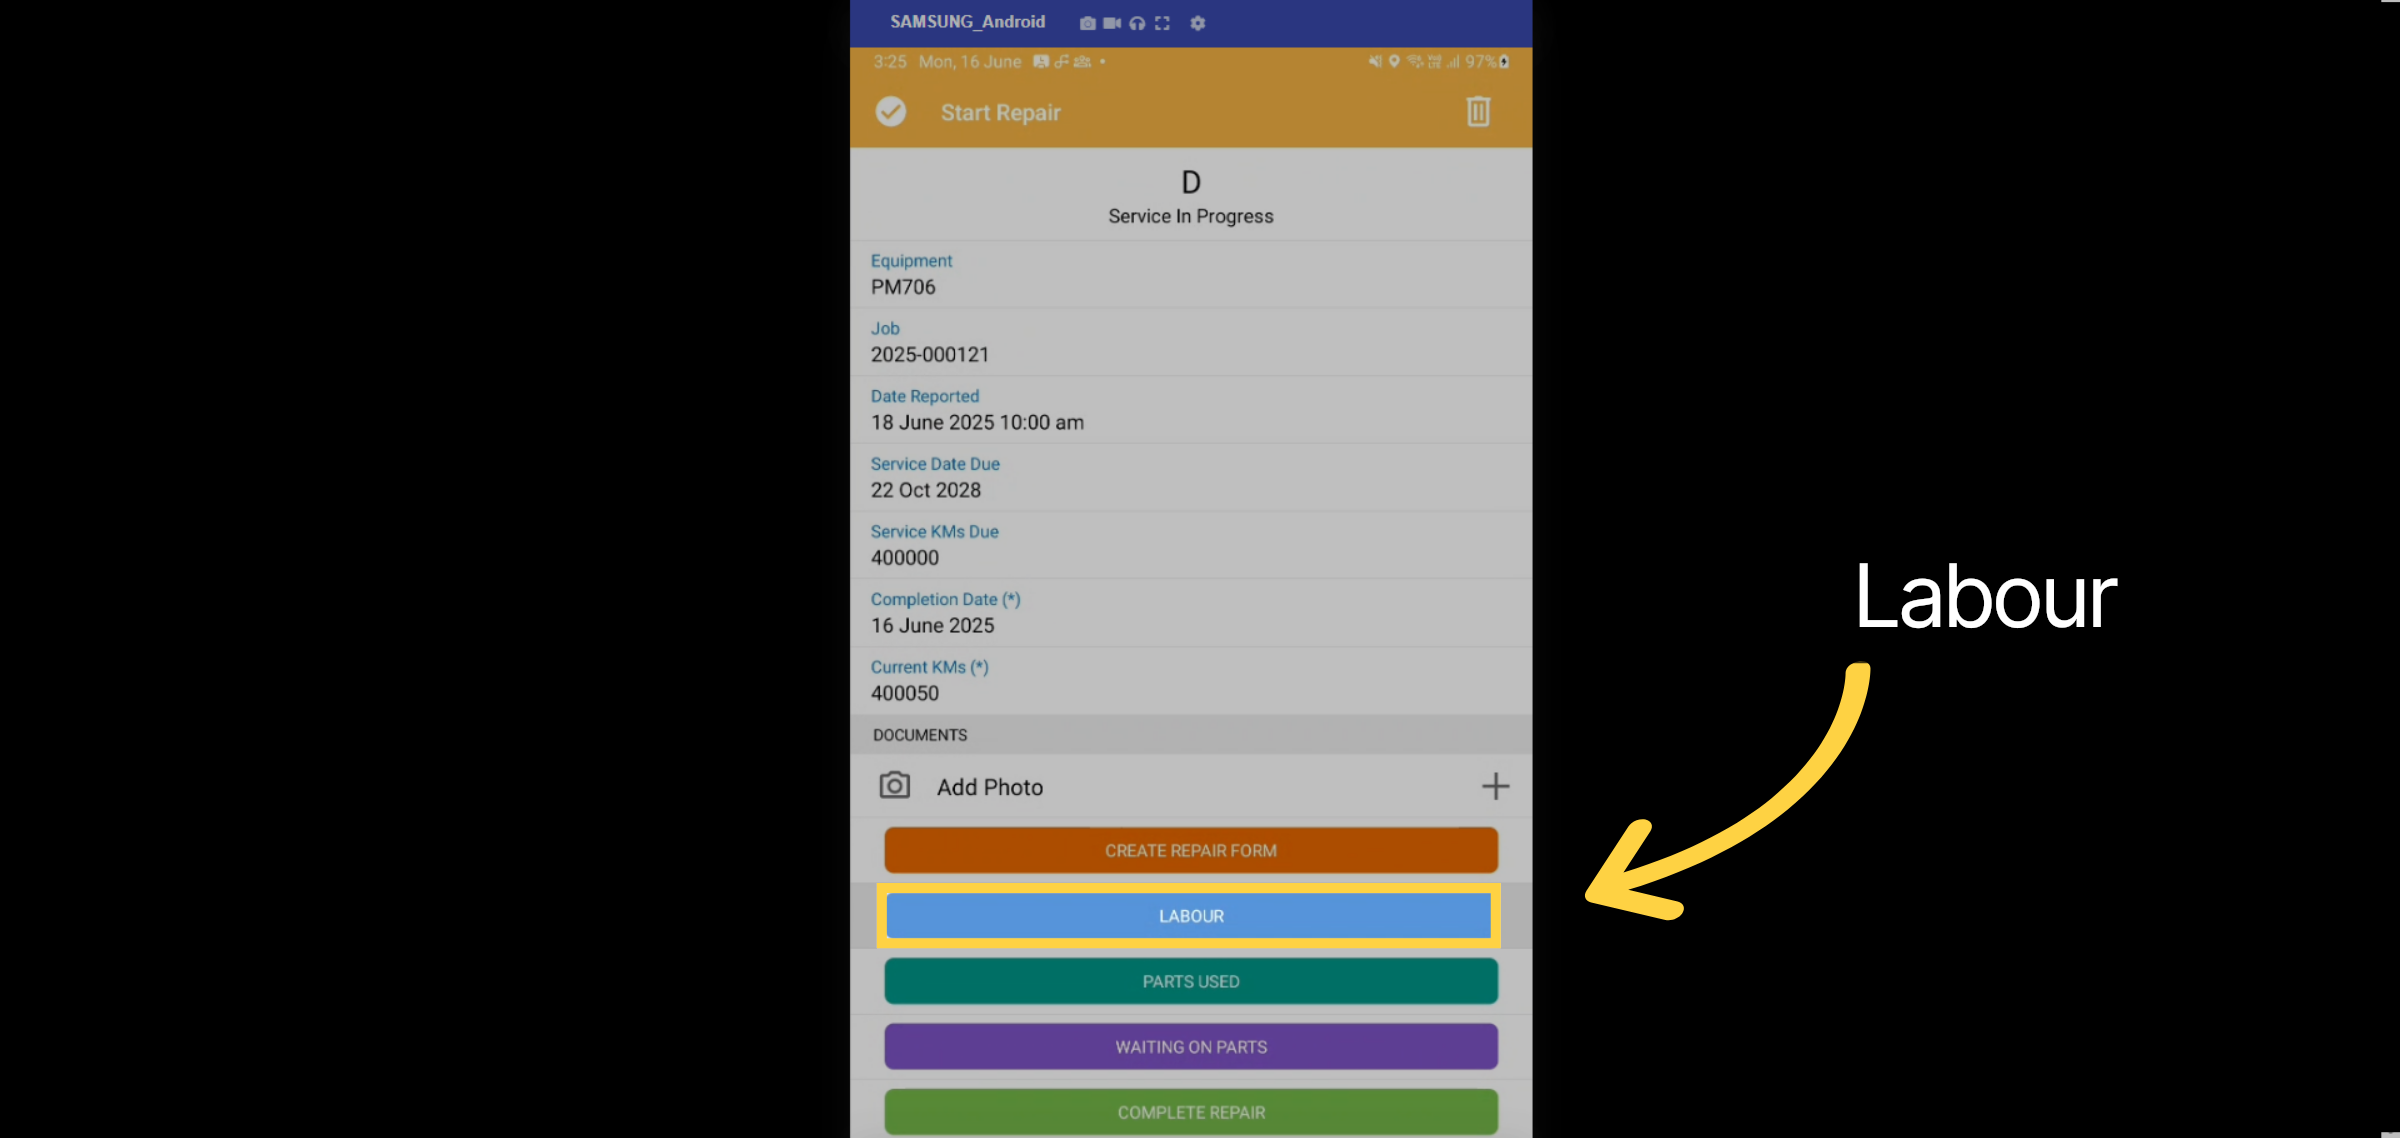
20. Labour
The maintenance module has the option to record labour and parts expenses against equipment, while at the same time capturing the mechanic's hours to automatically populate timesheet data. If configured, add the labour and parts prior to completing the job. Select the labour tab to begin.
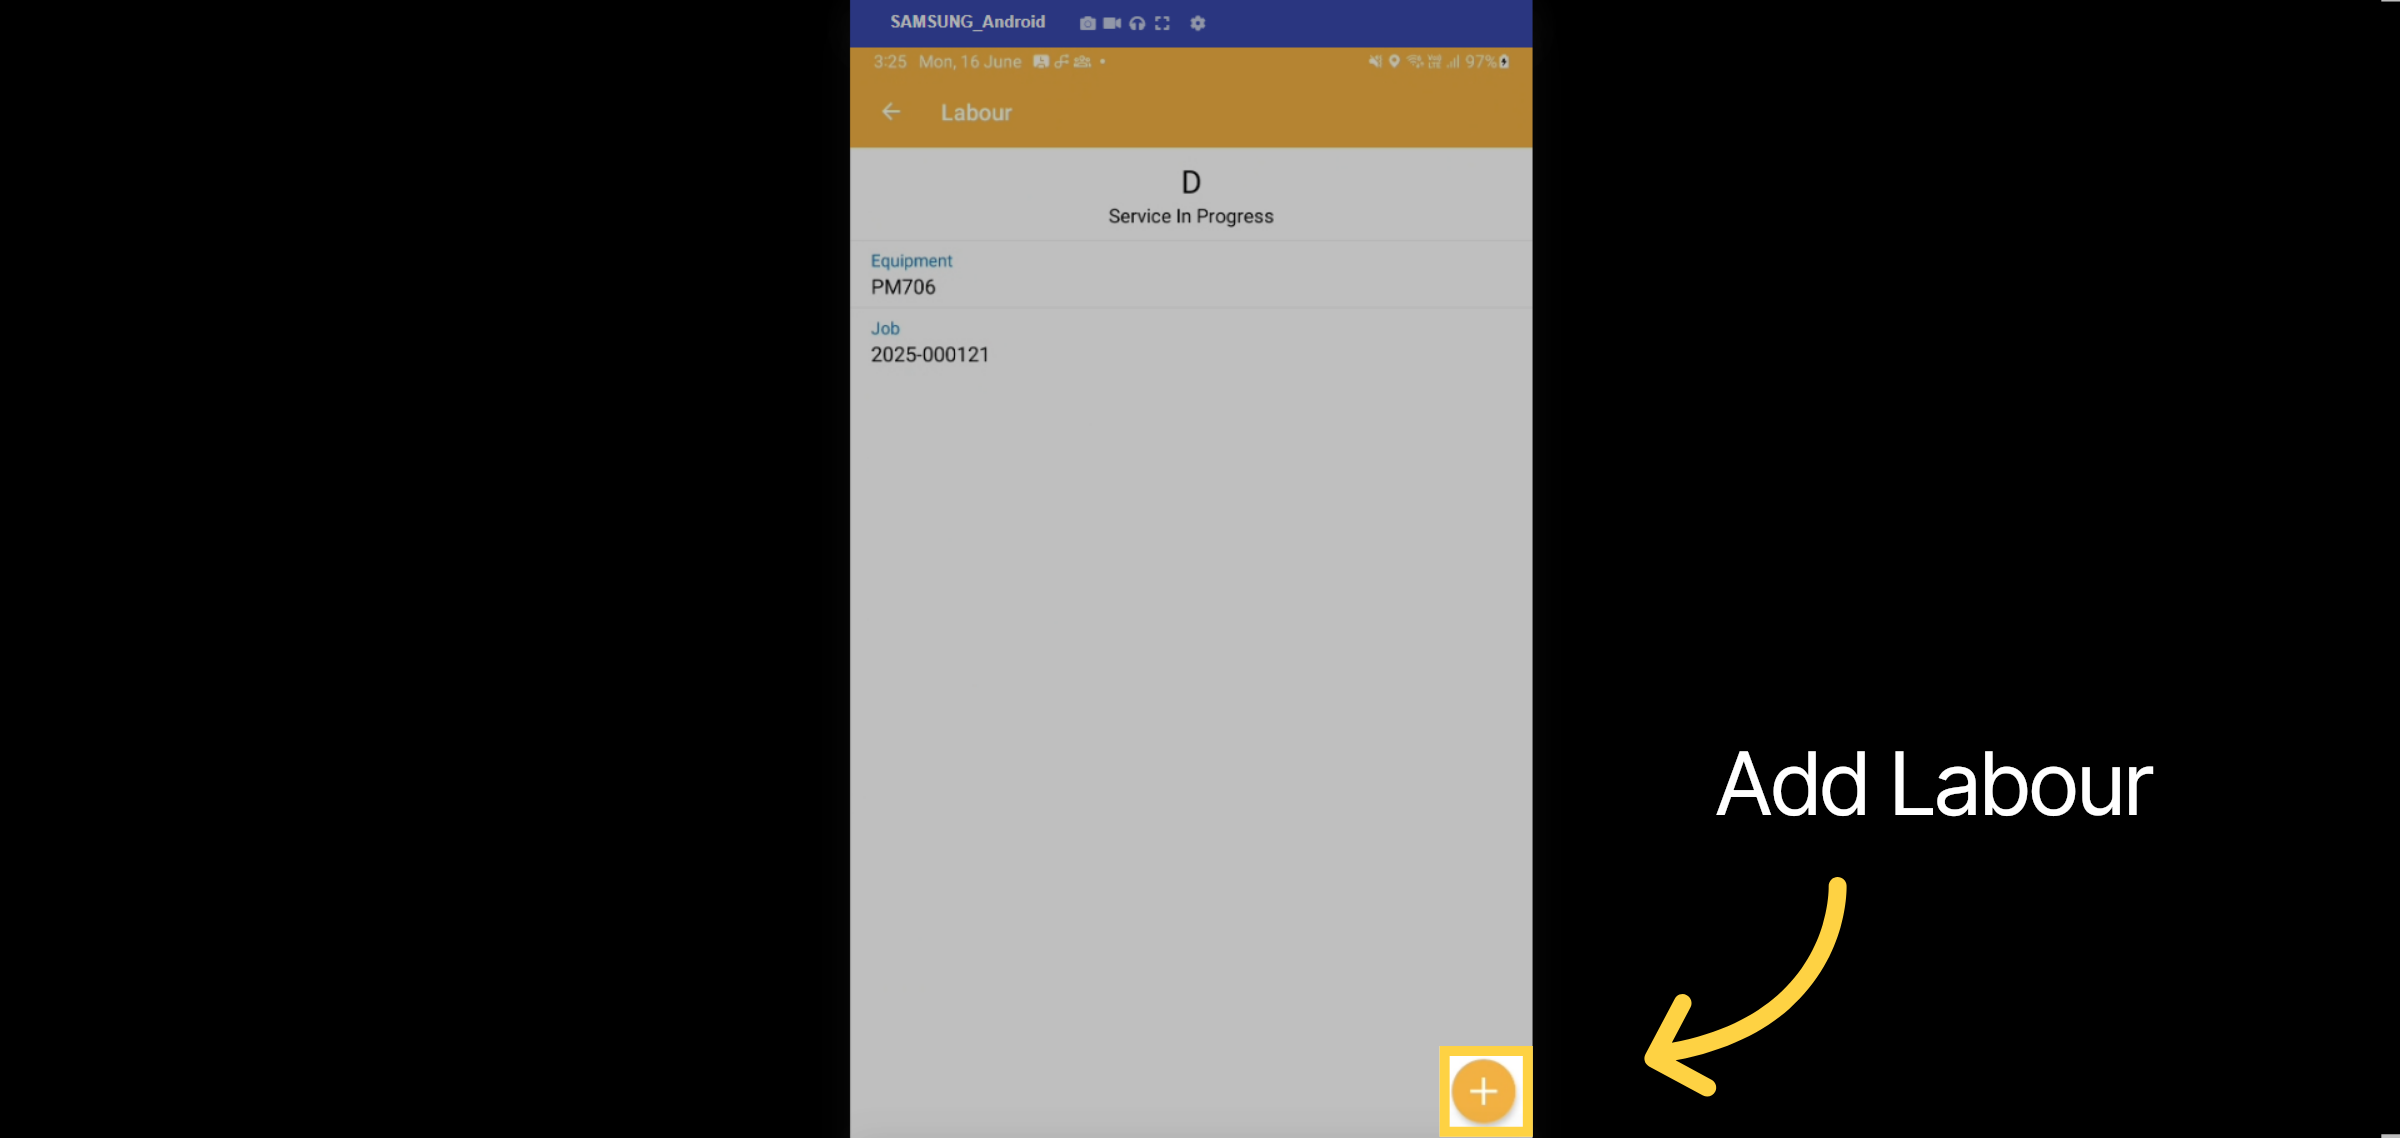
21. Add Labour
Tap the plus icon to add a new labour record for the job. You can add multiple records if needed. It's very important to record accurate times, as this data converts to your timesheet. For timesheets to be correct, labour records must be in order, without gaps or overlapping times.
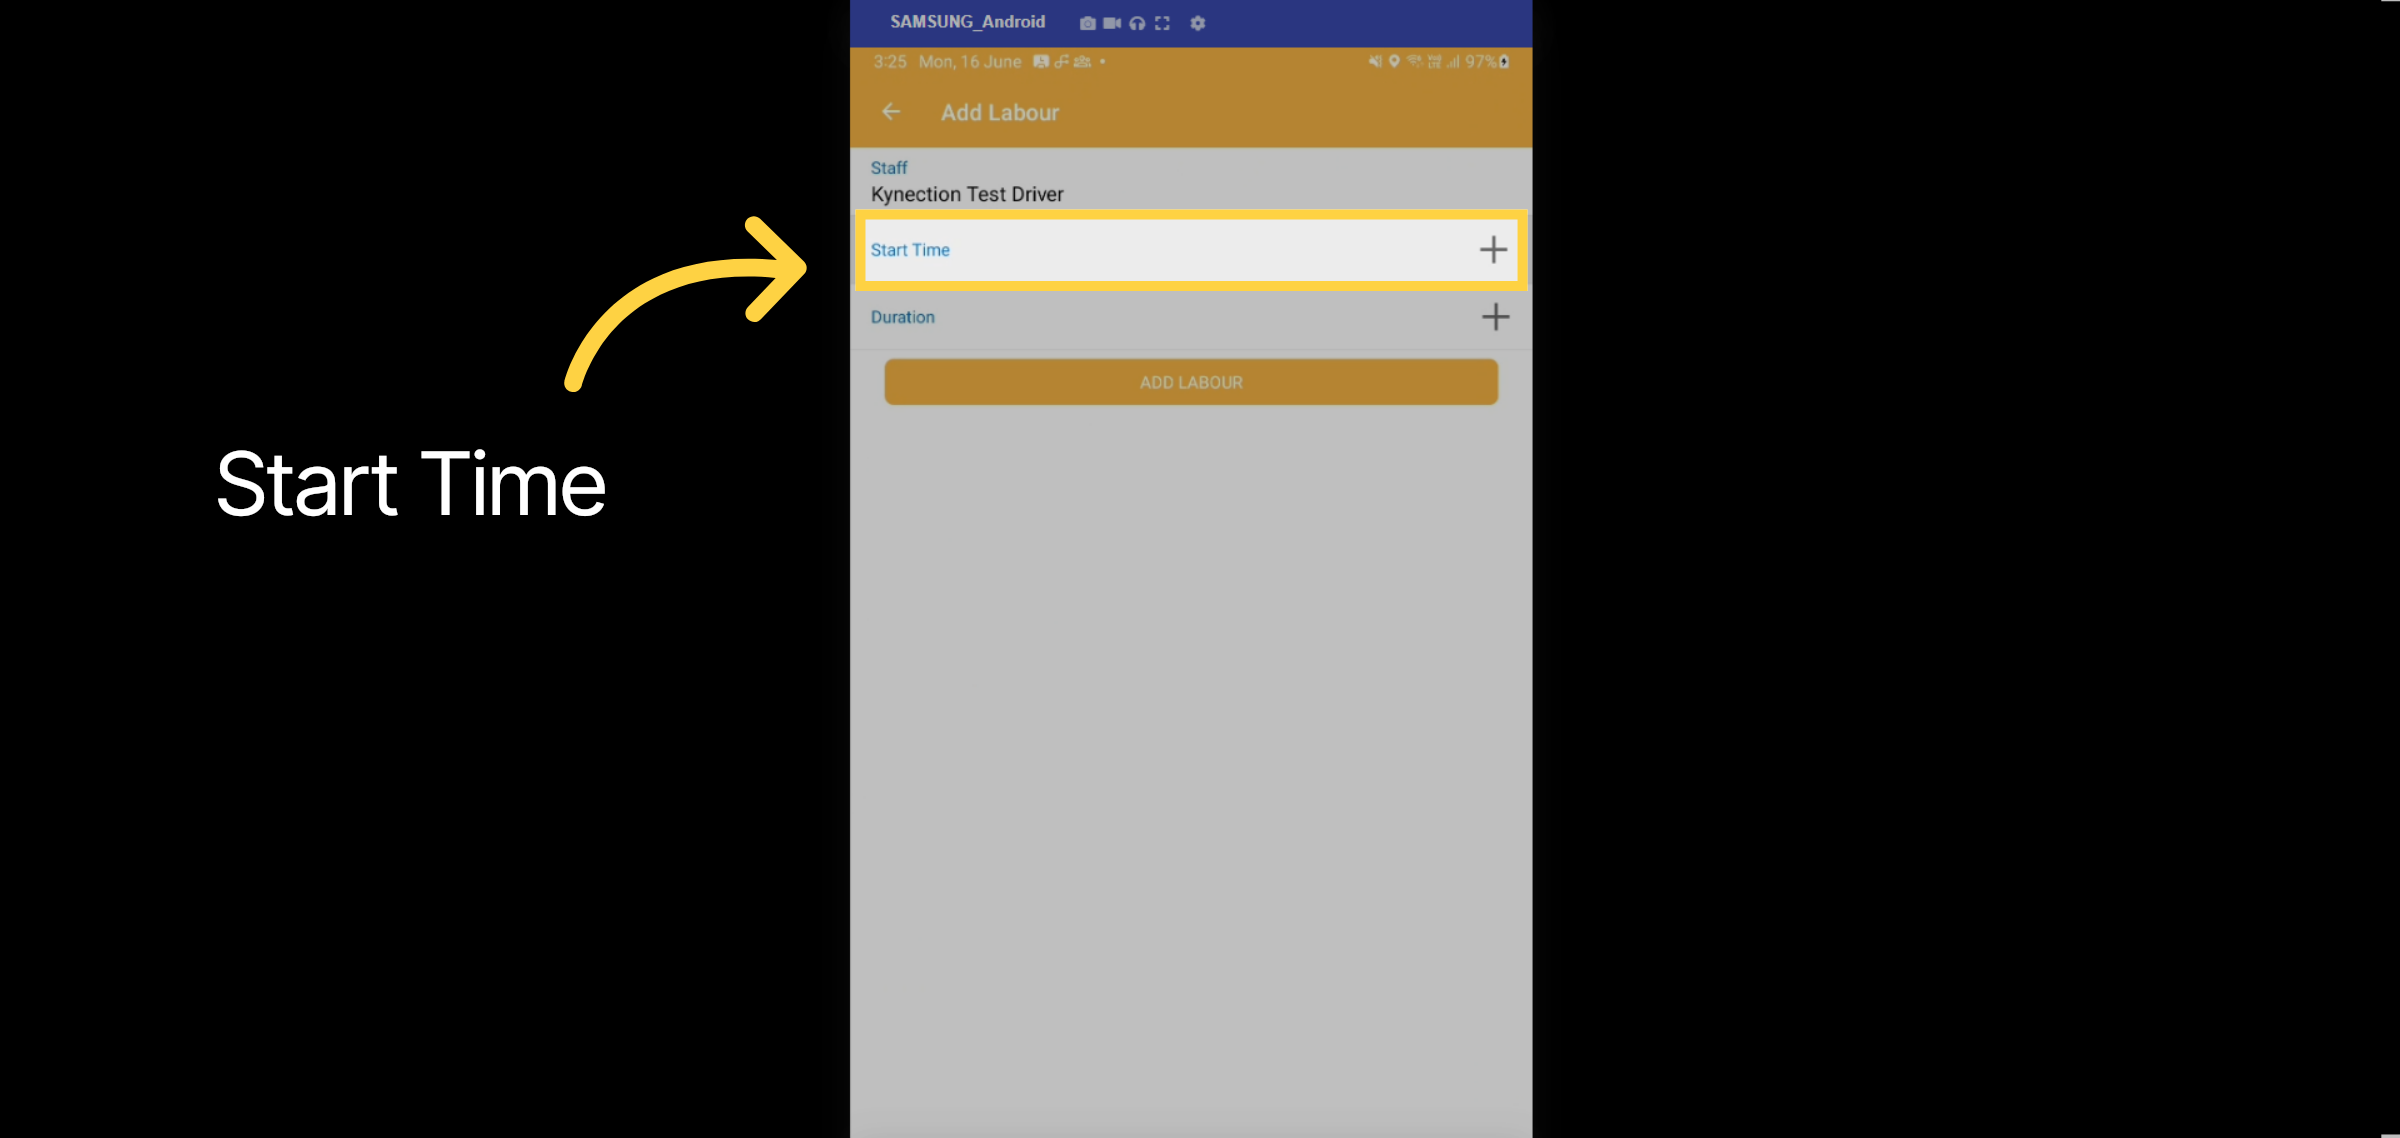
22. Start Time
The Start Time field opens a calendar to select the date. If you use an Apple device, the Start Time will automatically fill in the date and time, which you can edit if needed.
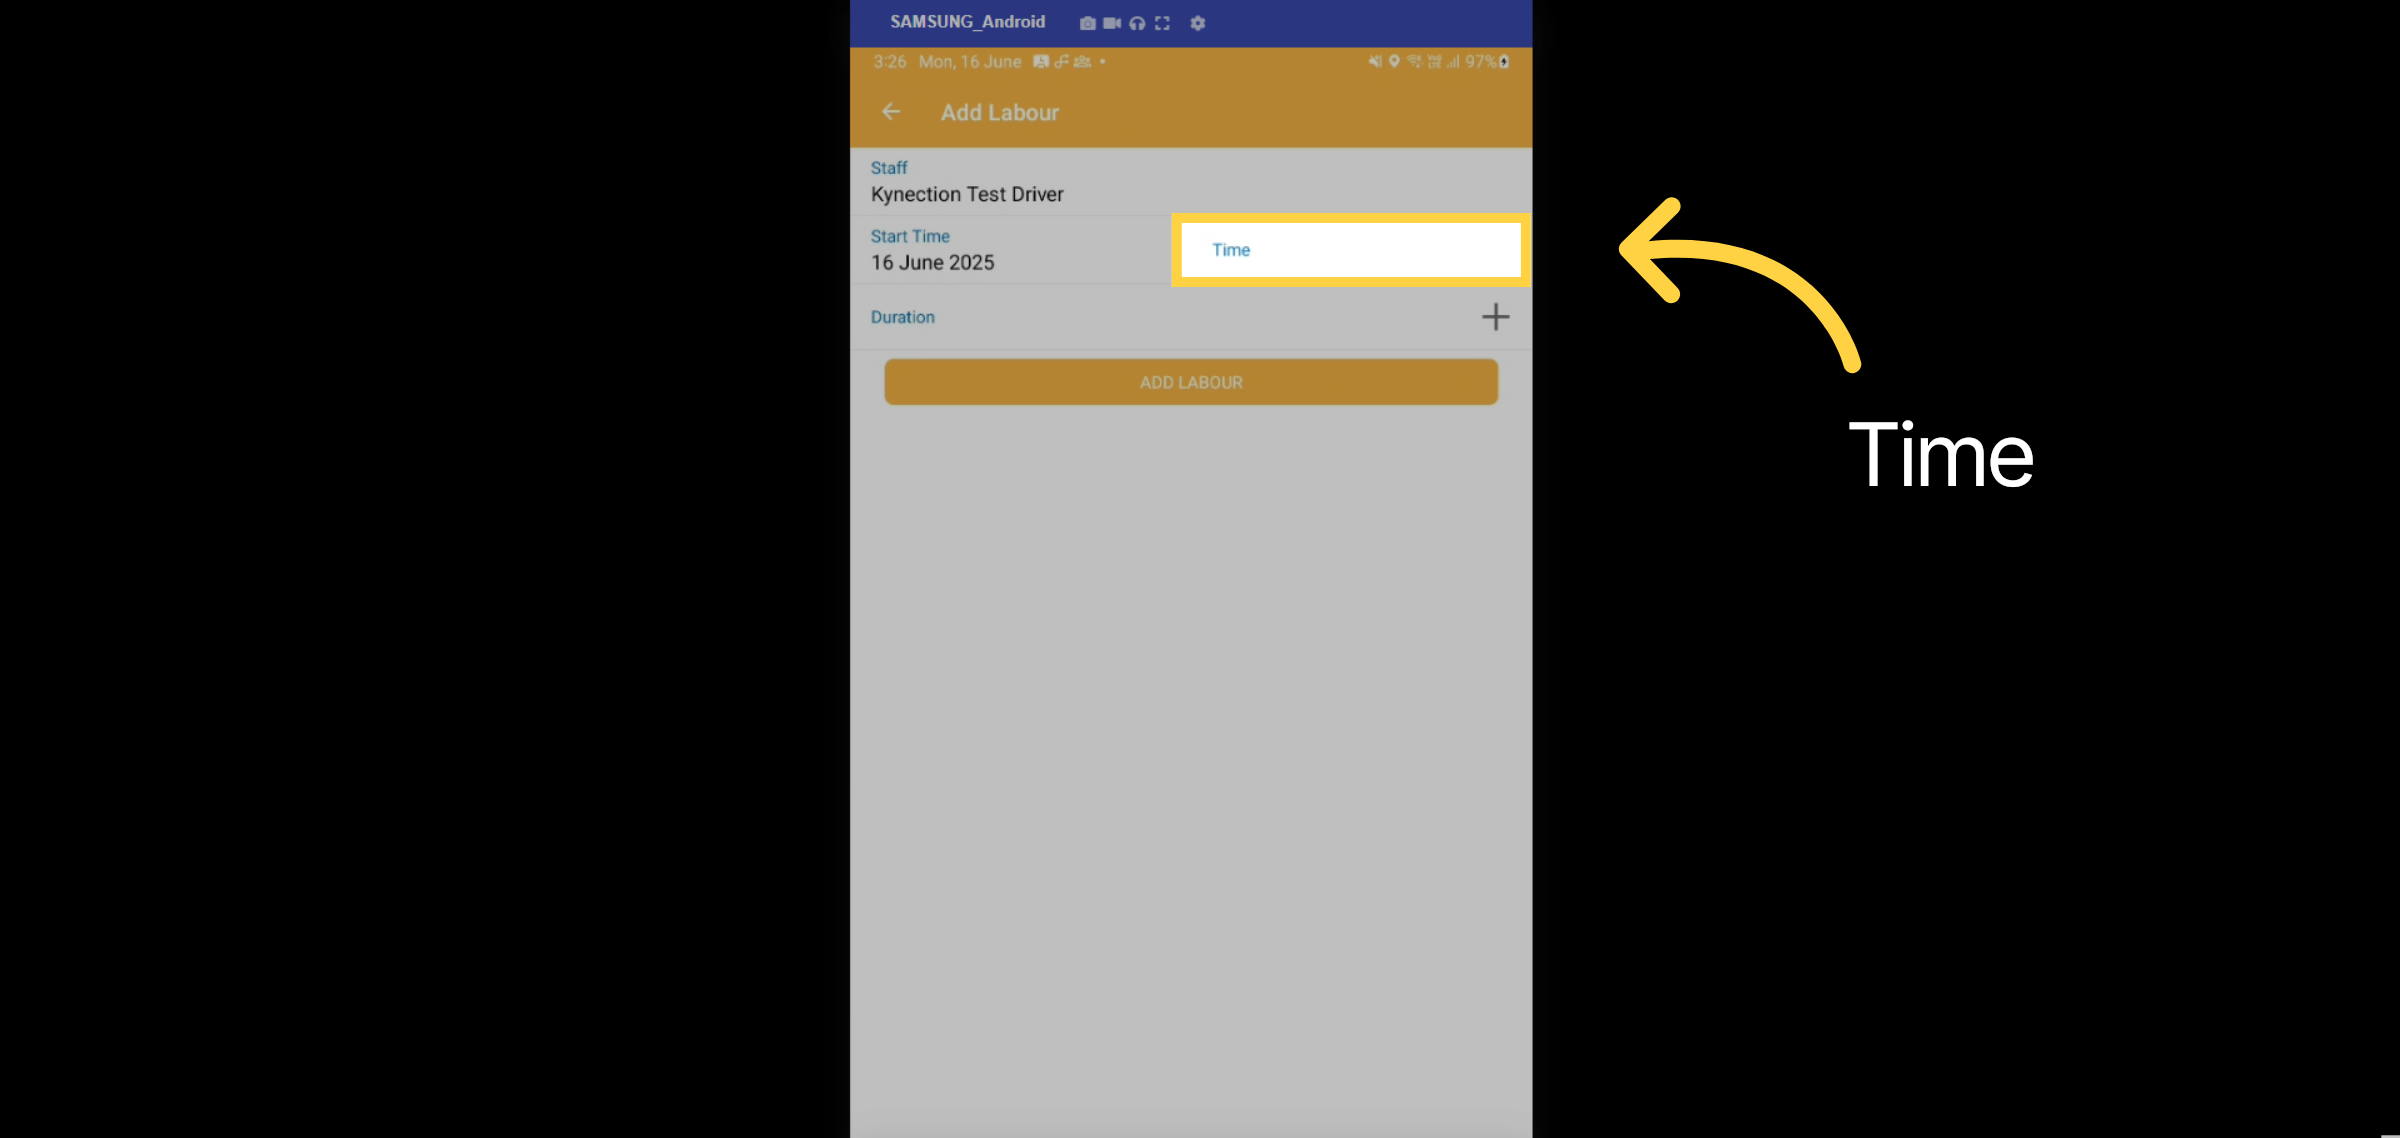
23. Time
Once the date is set, add the exact start time by tapping the field. The first labour record completed for the shift will create the shift start time for timesheets.
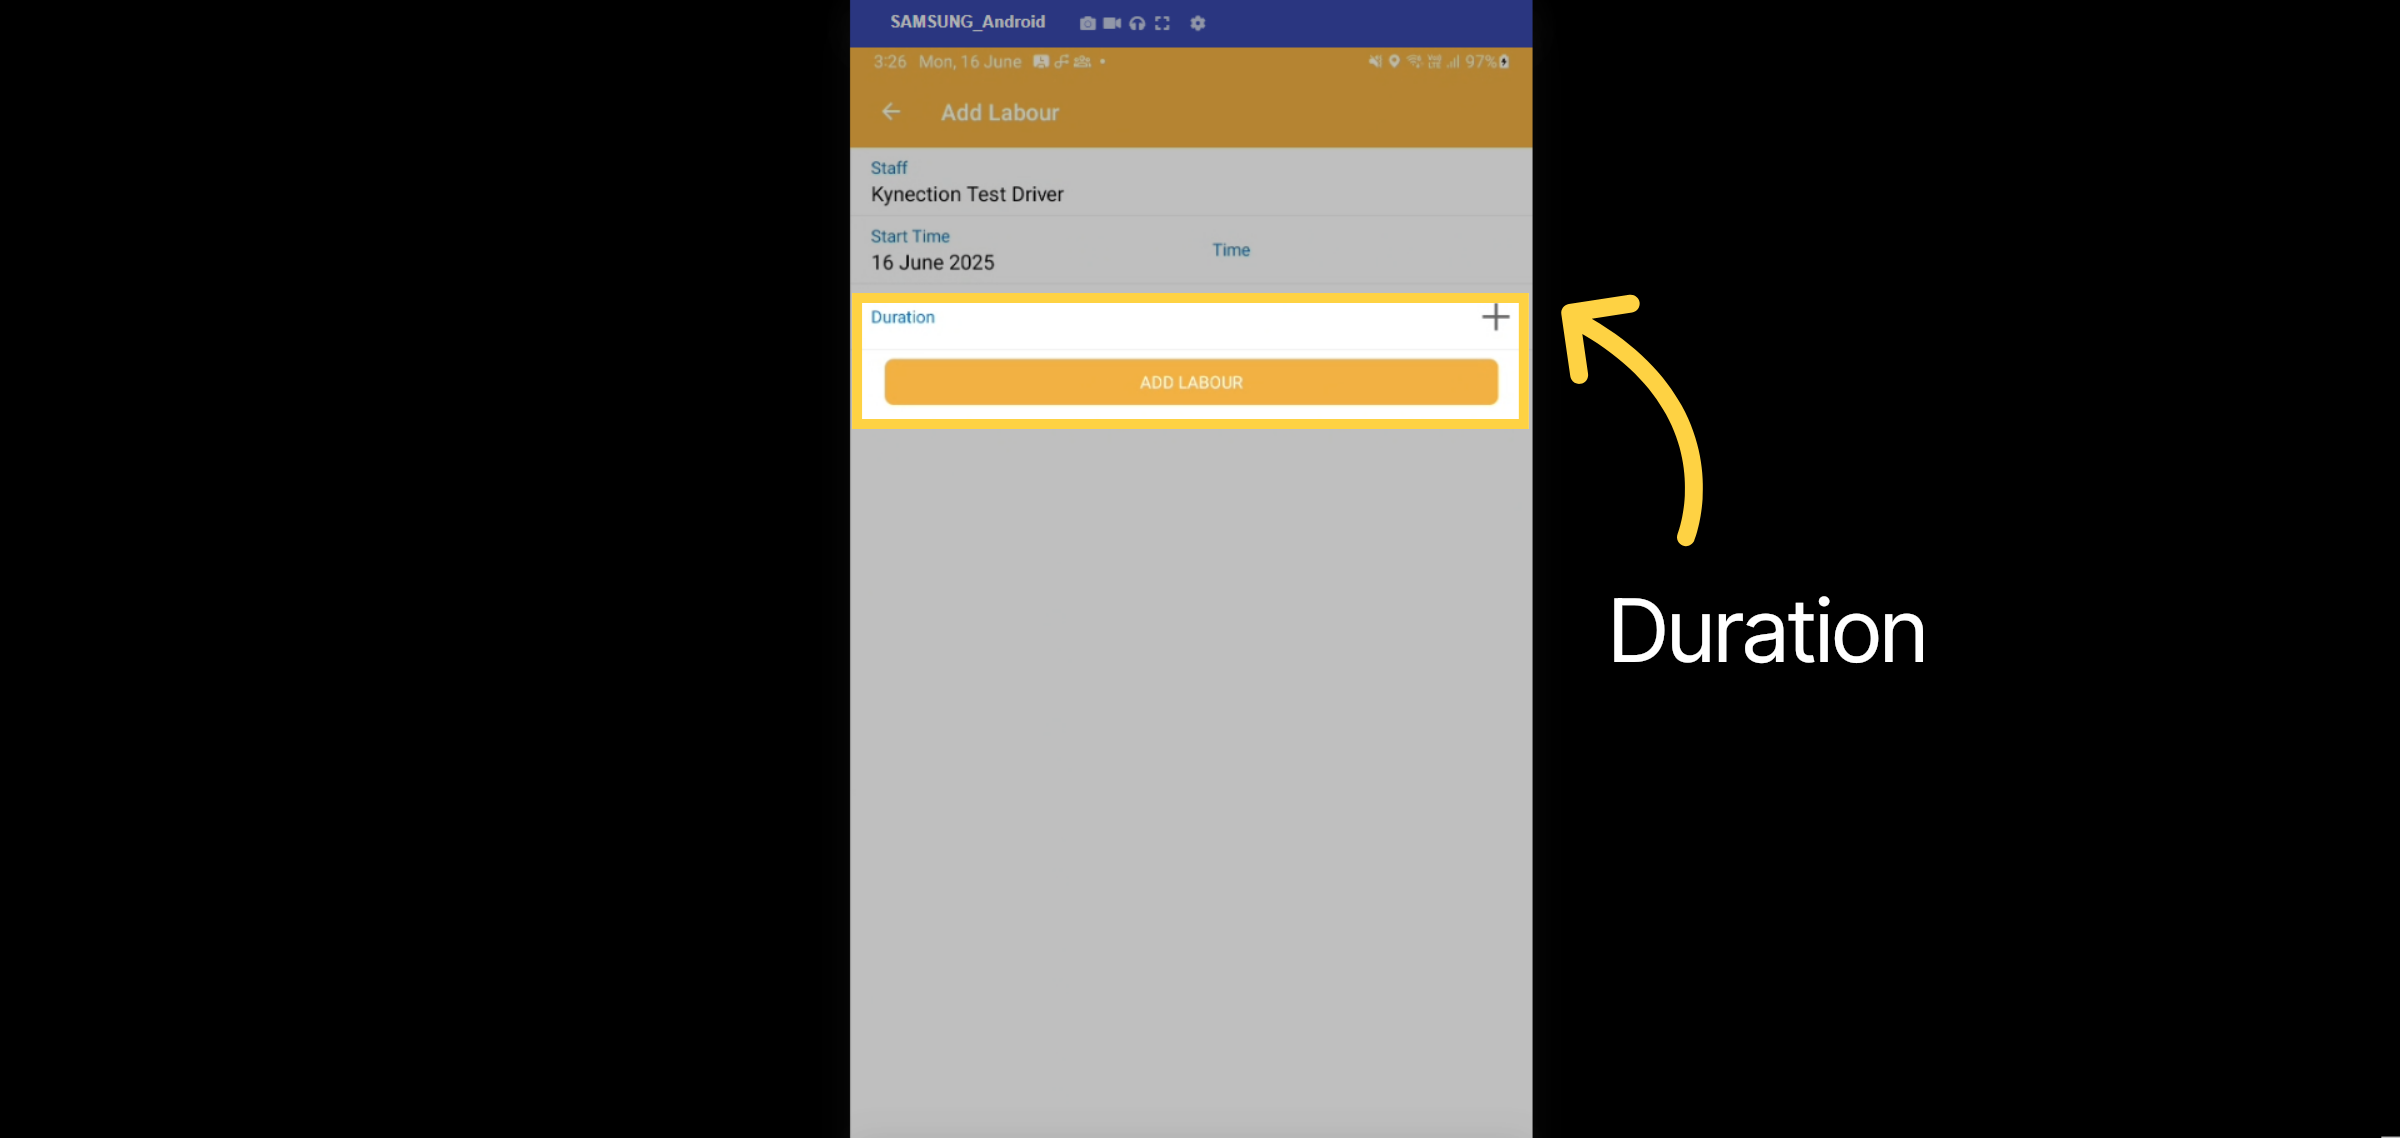
24. Duration
Select Duration to record how long you worked on the job. Then, tap Add Labour. Remember, if you started this job at 1:30 PM and worked for 1 hour, your next job's labour record should start at 2:30 PM.
25. Labour Record
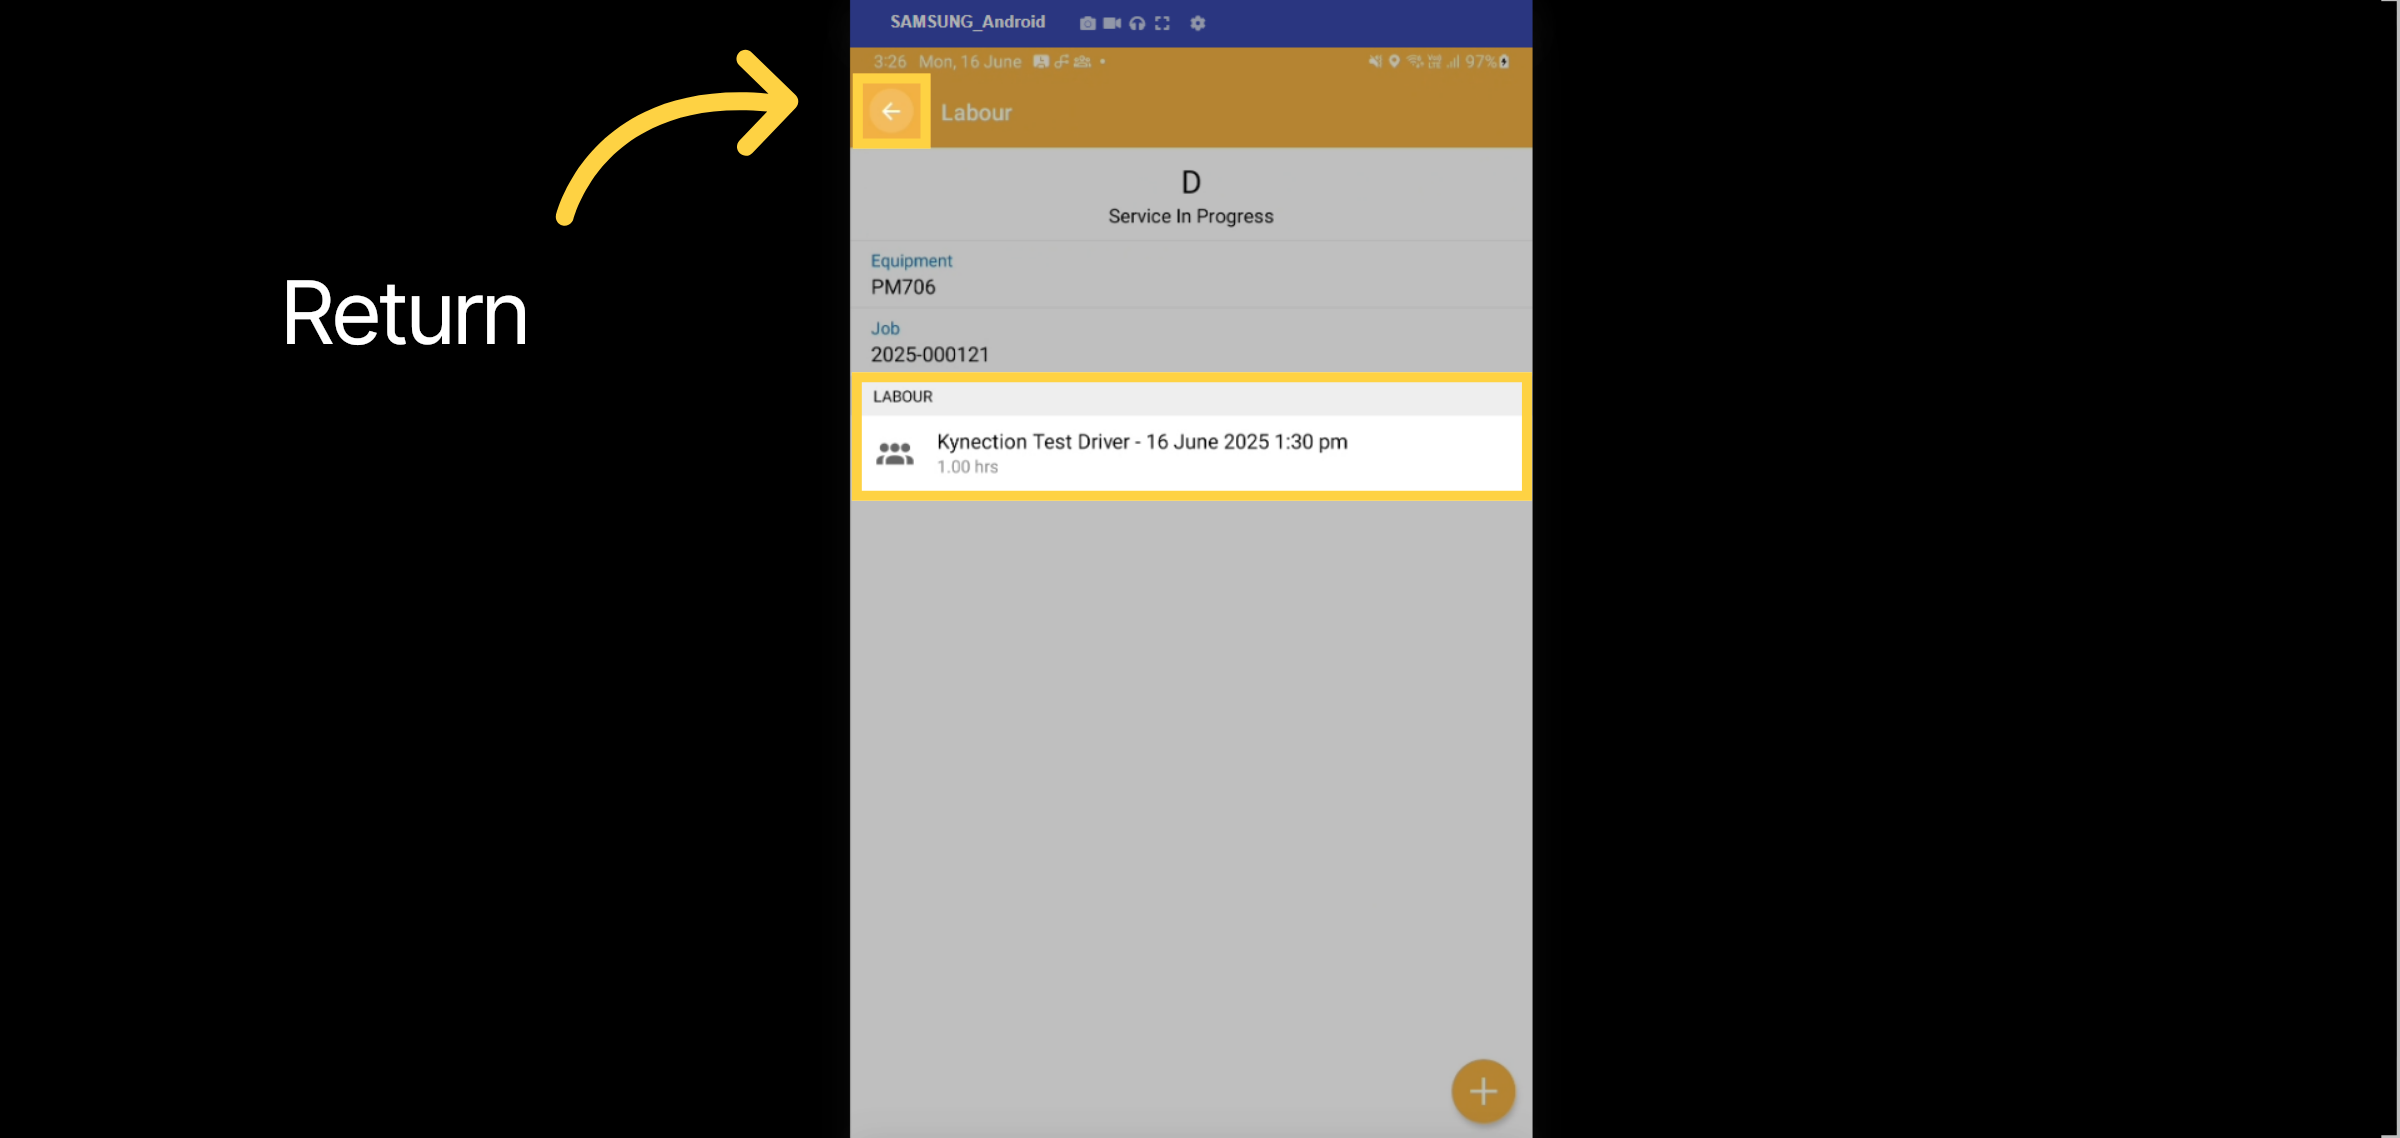
The labour record is now visible. Use the back arrow to go back to the job screen.
26. Add Parts
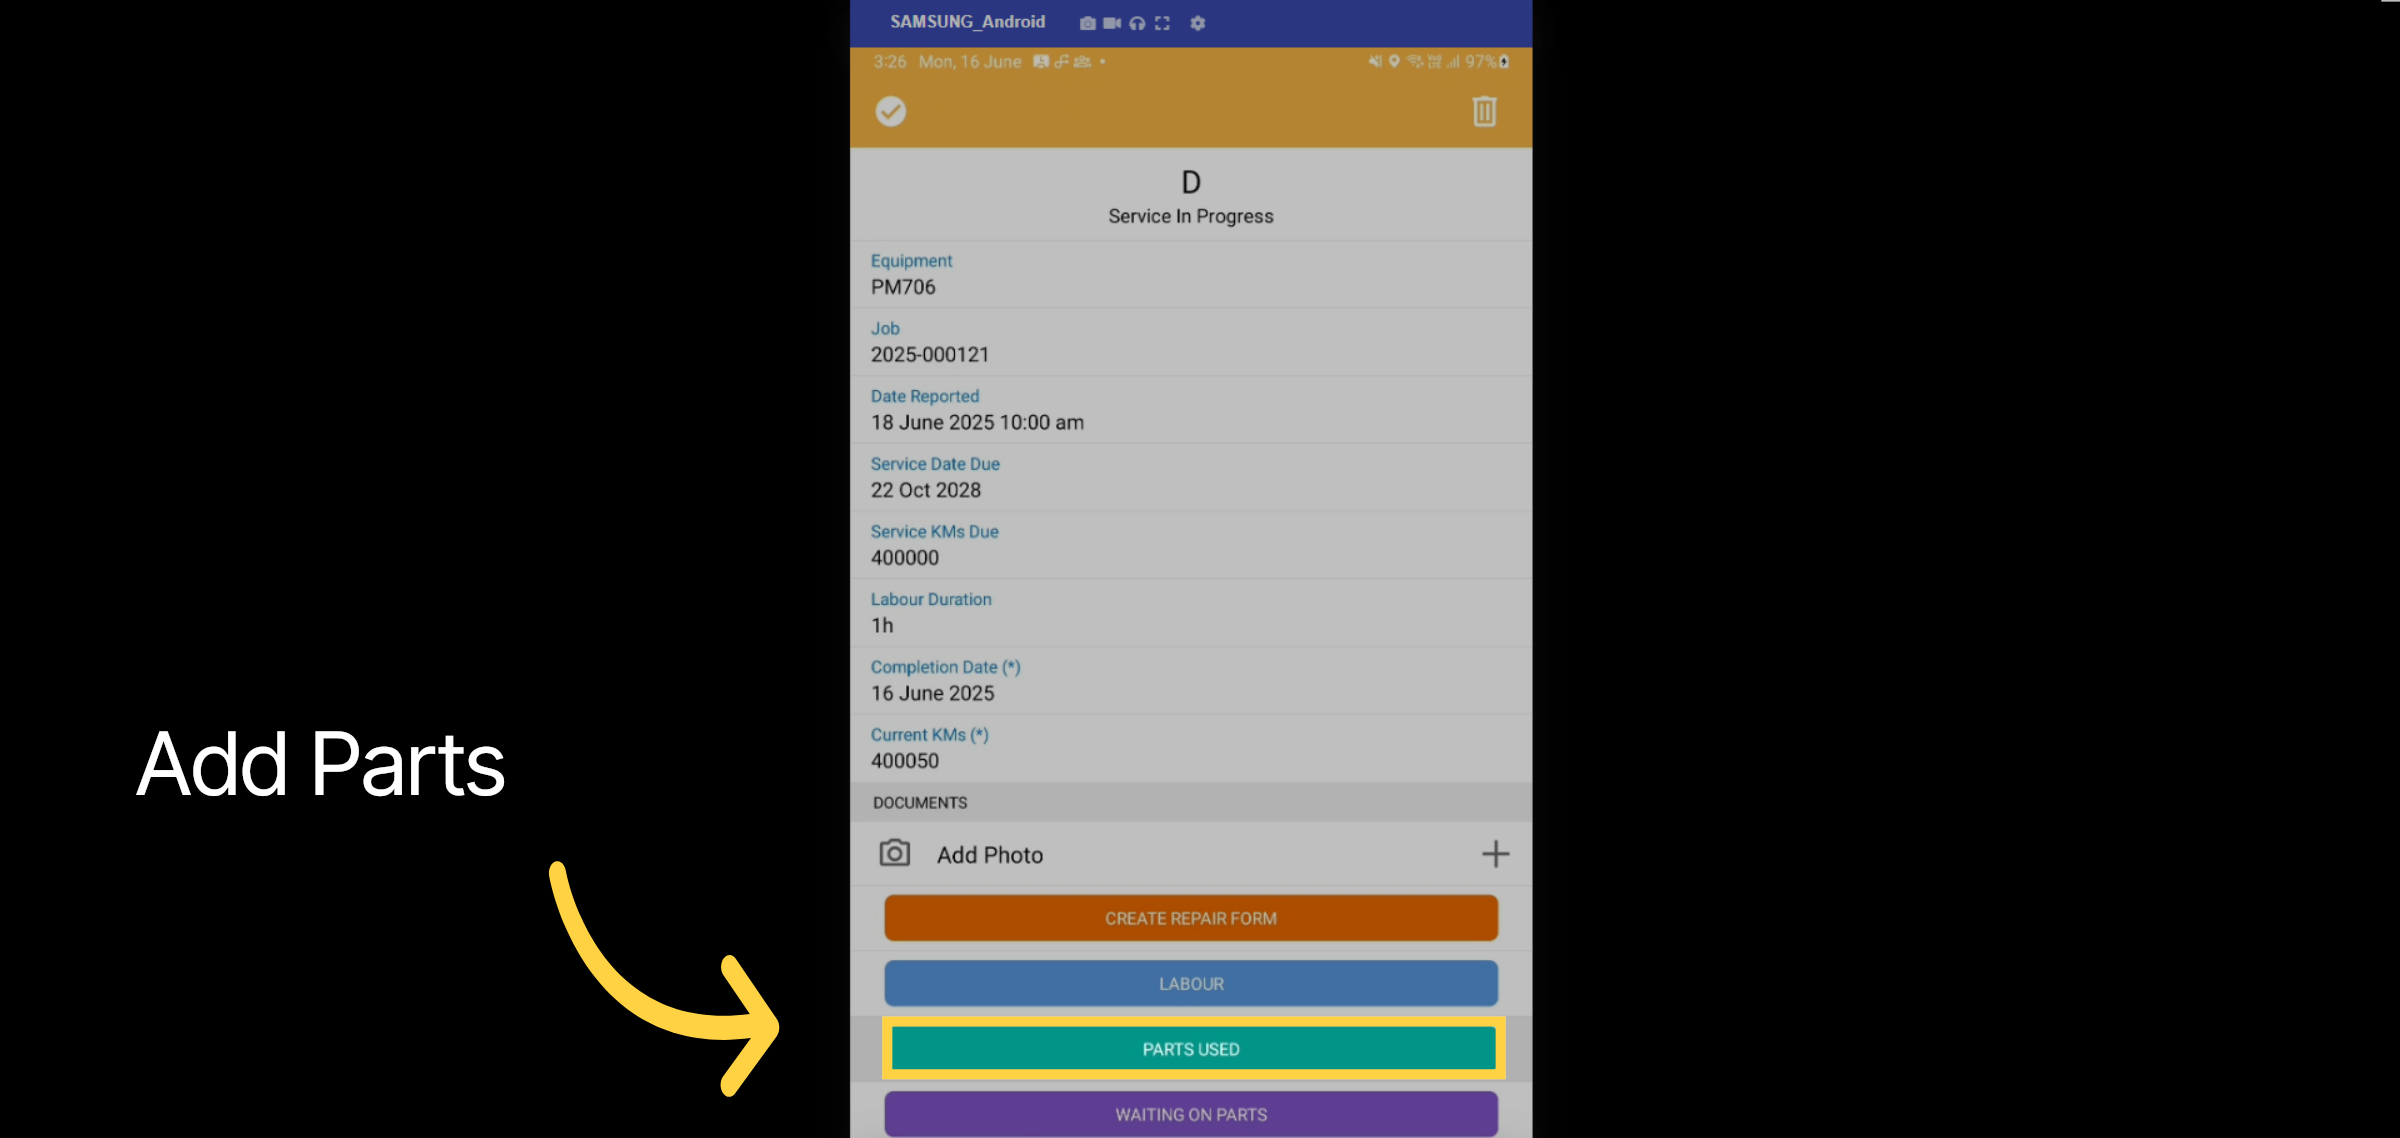
Now, let's add parts used for the maintenance job. Select Parts Used, then tap the plus icon to record the parts.
27. Add Expense Details
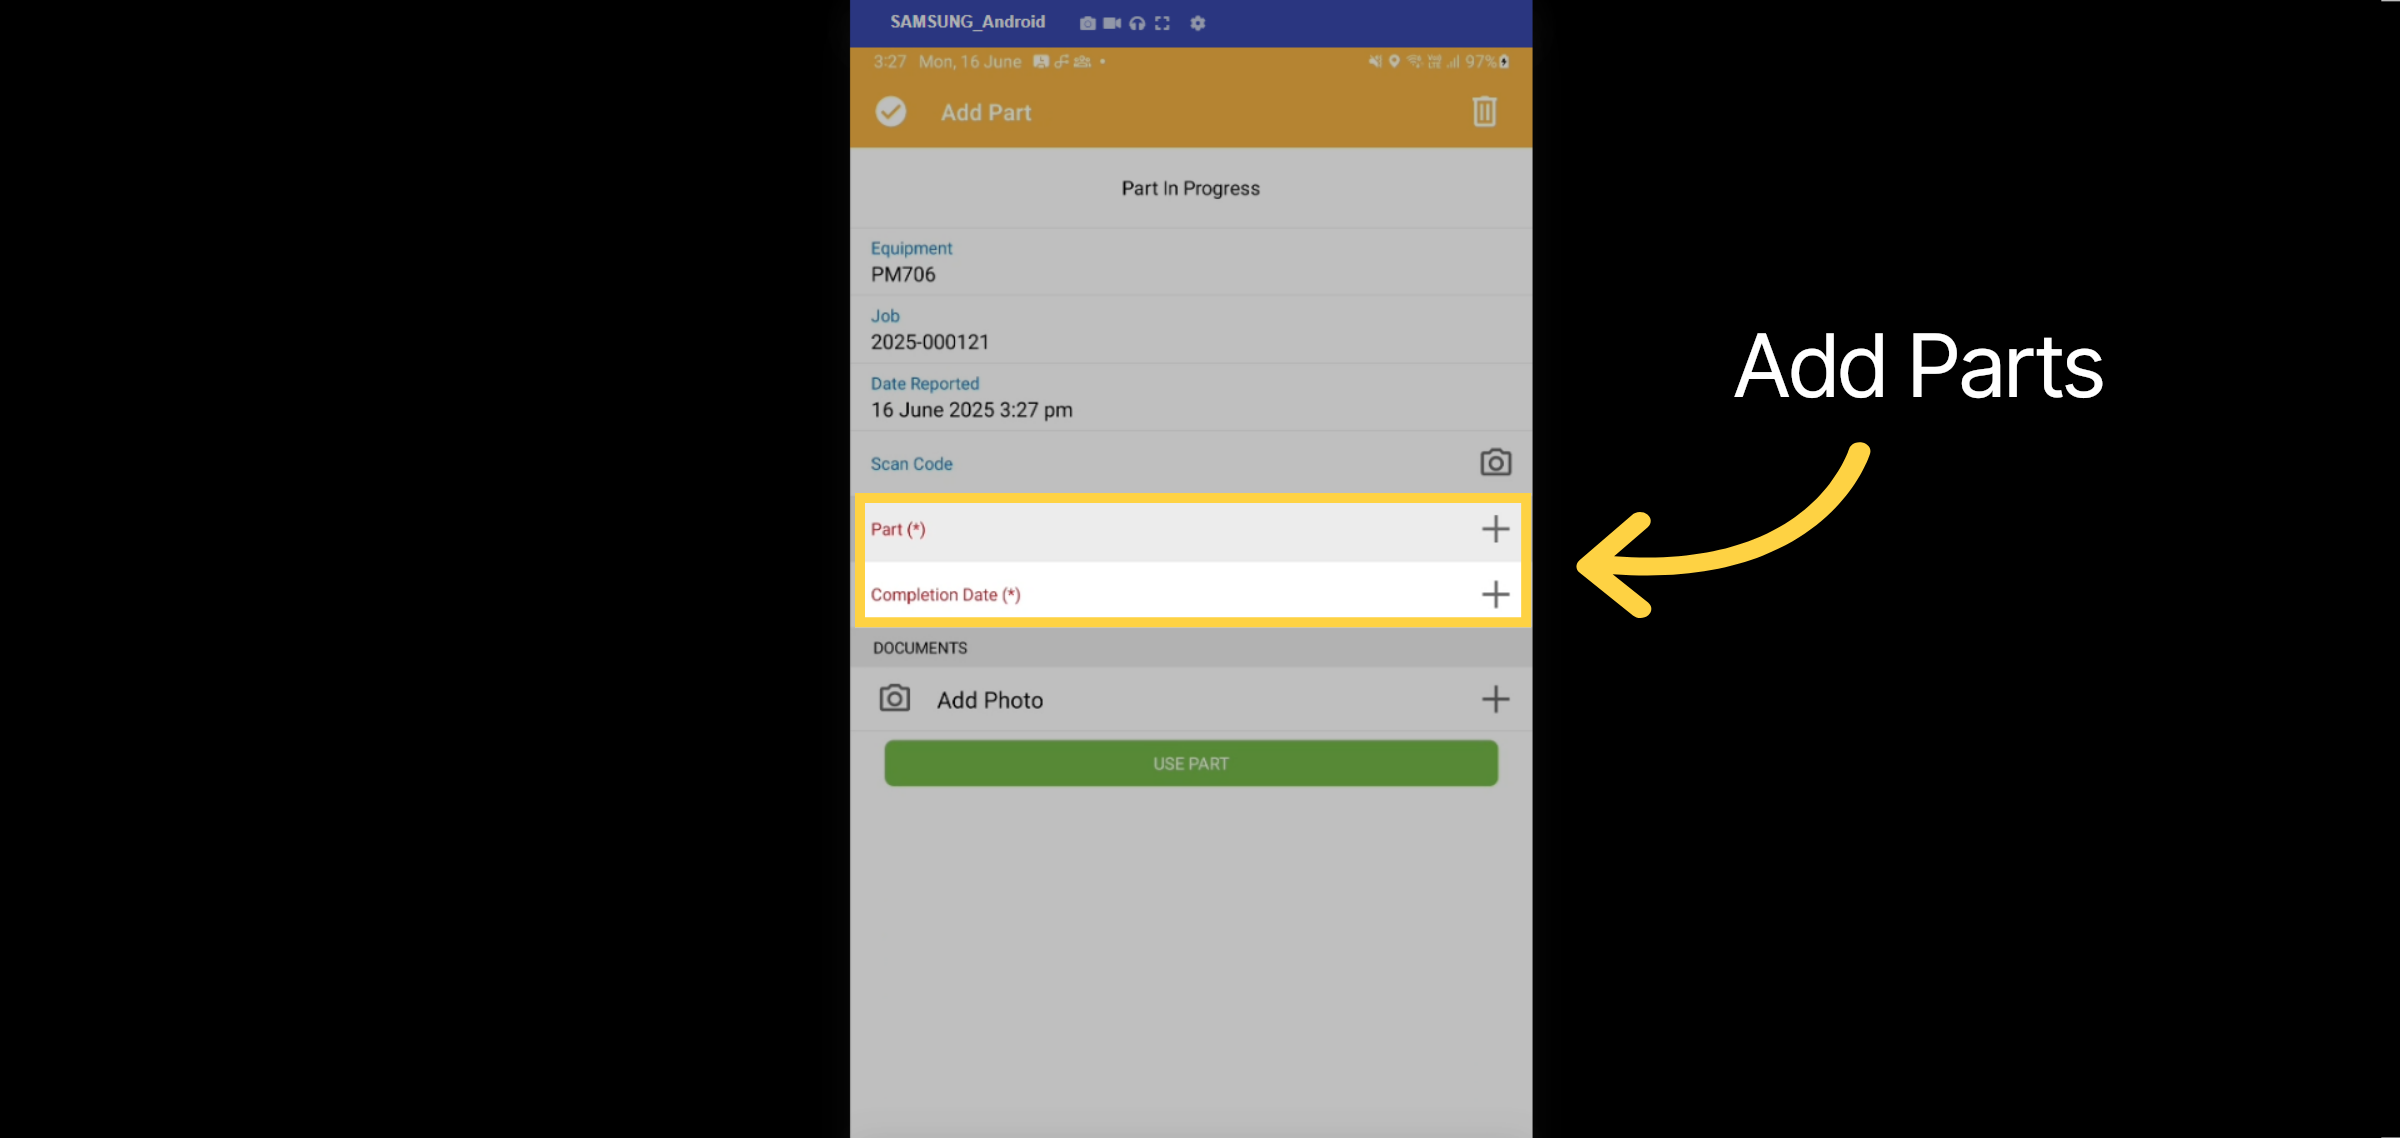
The Parts option gives a drop-down list to choose from. After selecting the part used for the job, new fields for number of parts and unit of measure appear. Fill these in along with the completion date. Use the plus icon to add more parts if needed.
28. Service Expenses
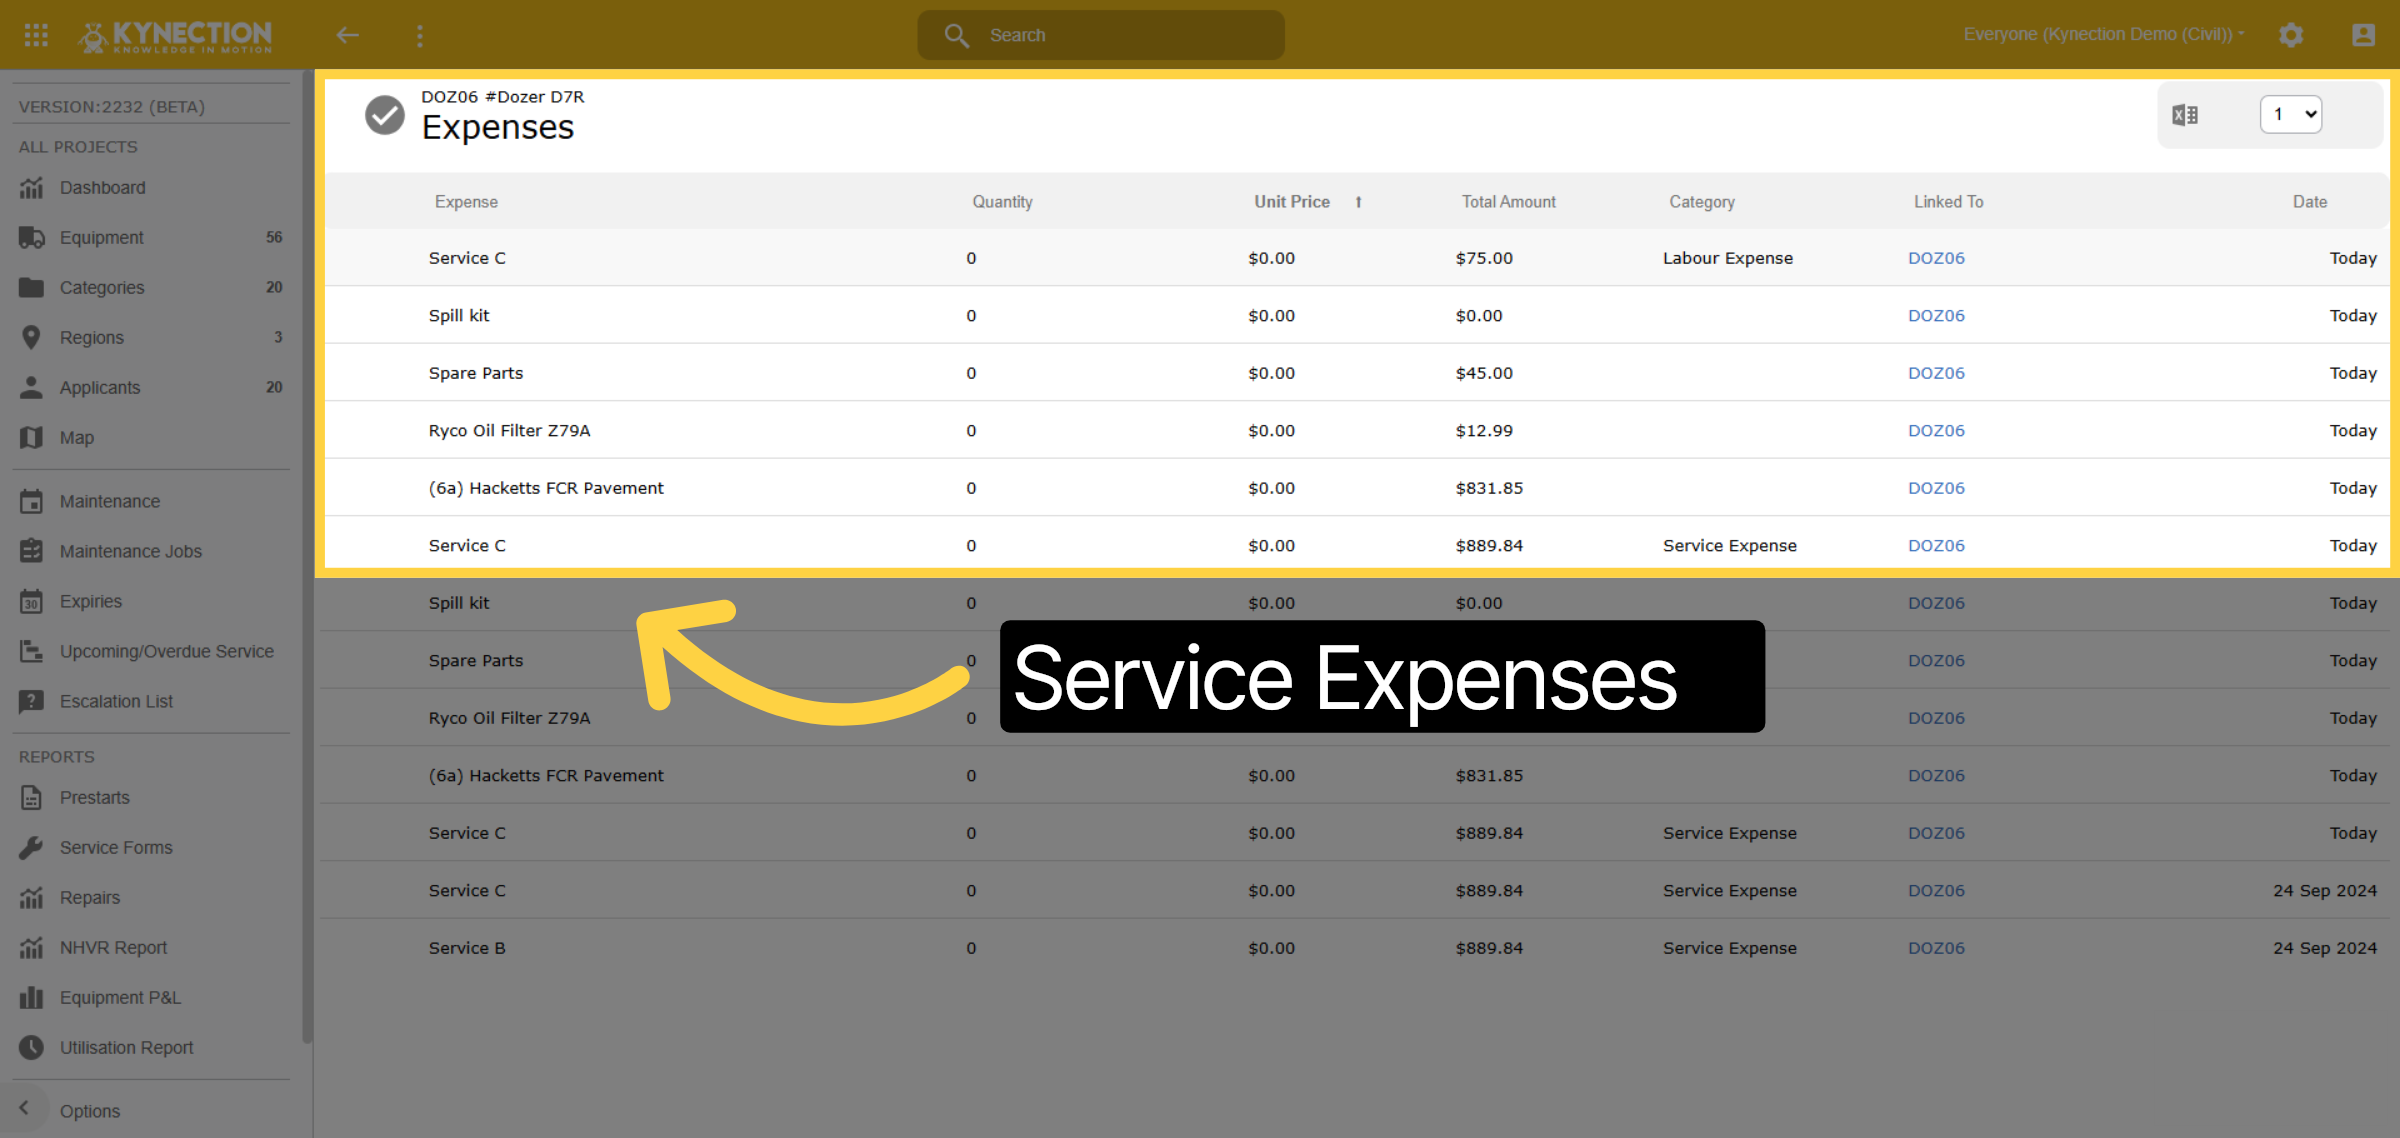
All service expenses, including labour, are recorded against the equipment under the Expenses tab for full cost oversight.
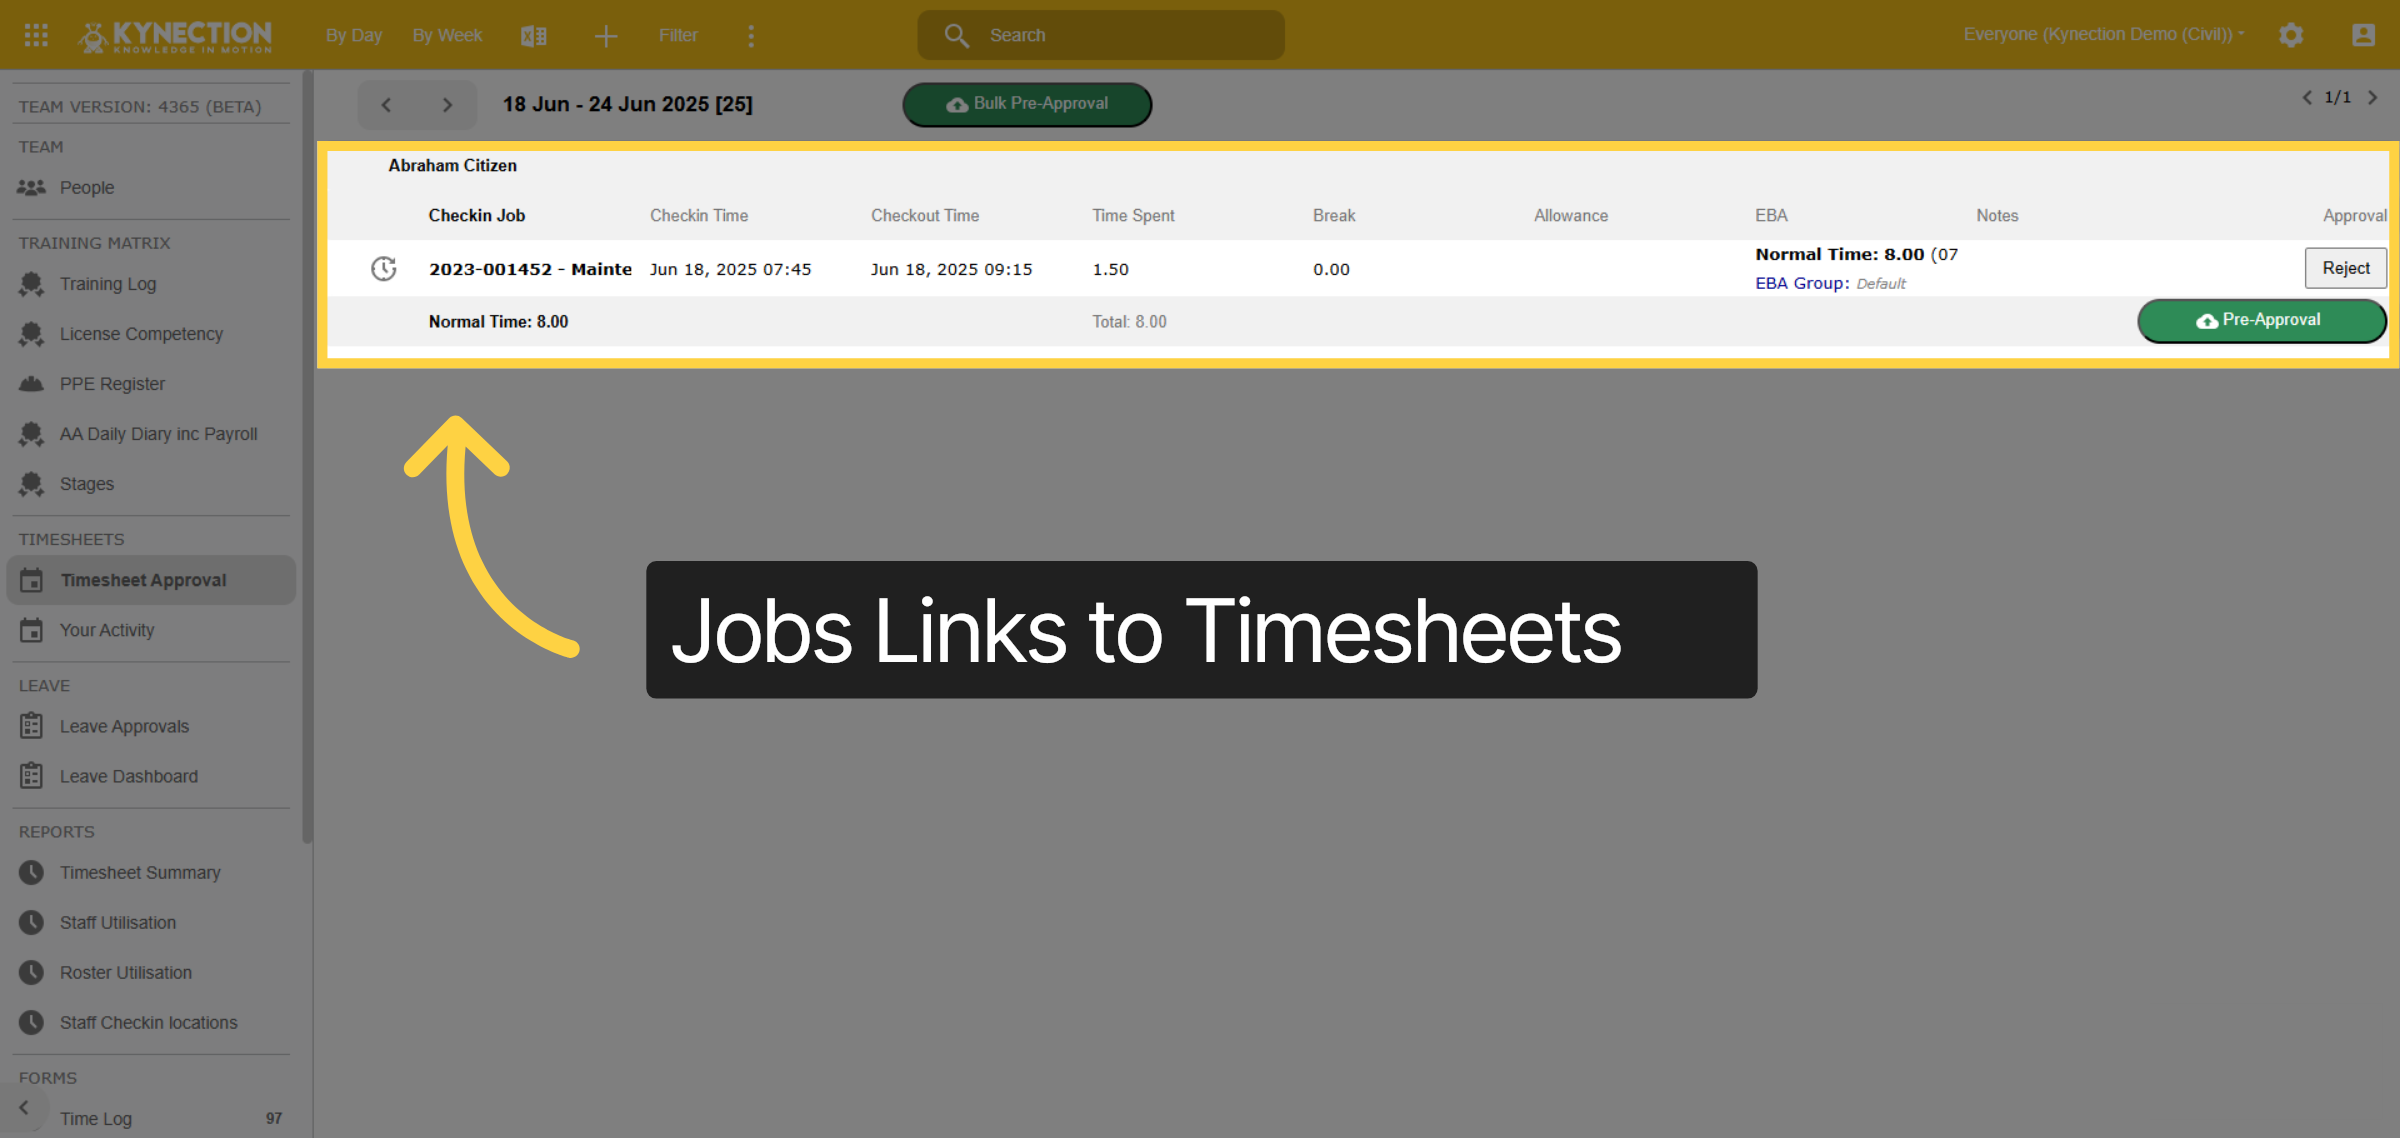
29. Job Links to Timesheets
The time recorded for maintenance jobs automatically creates timesheet entry, streamlining your record-keeping.
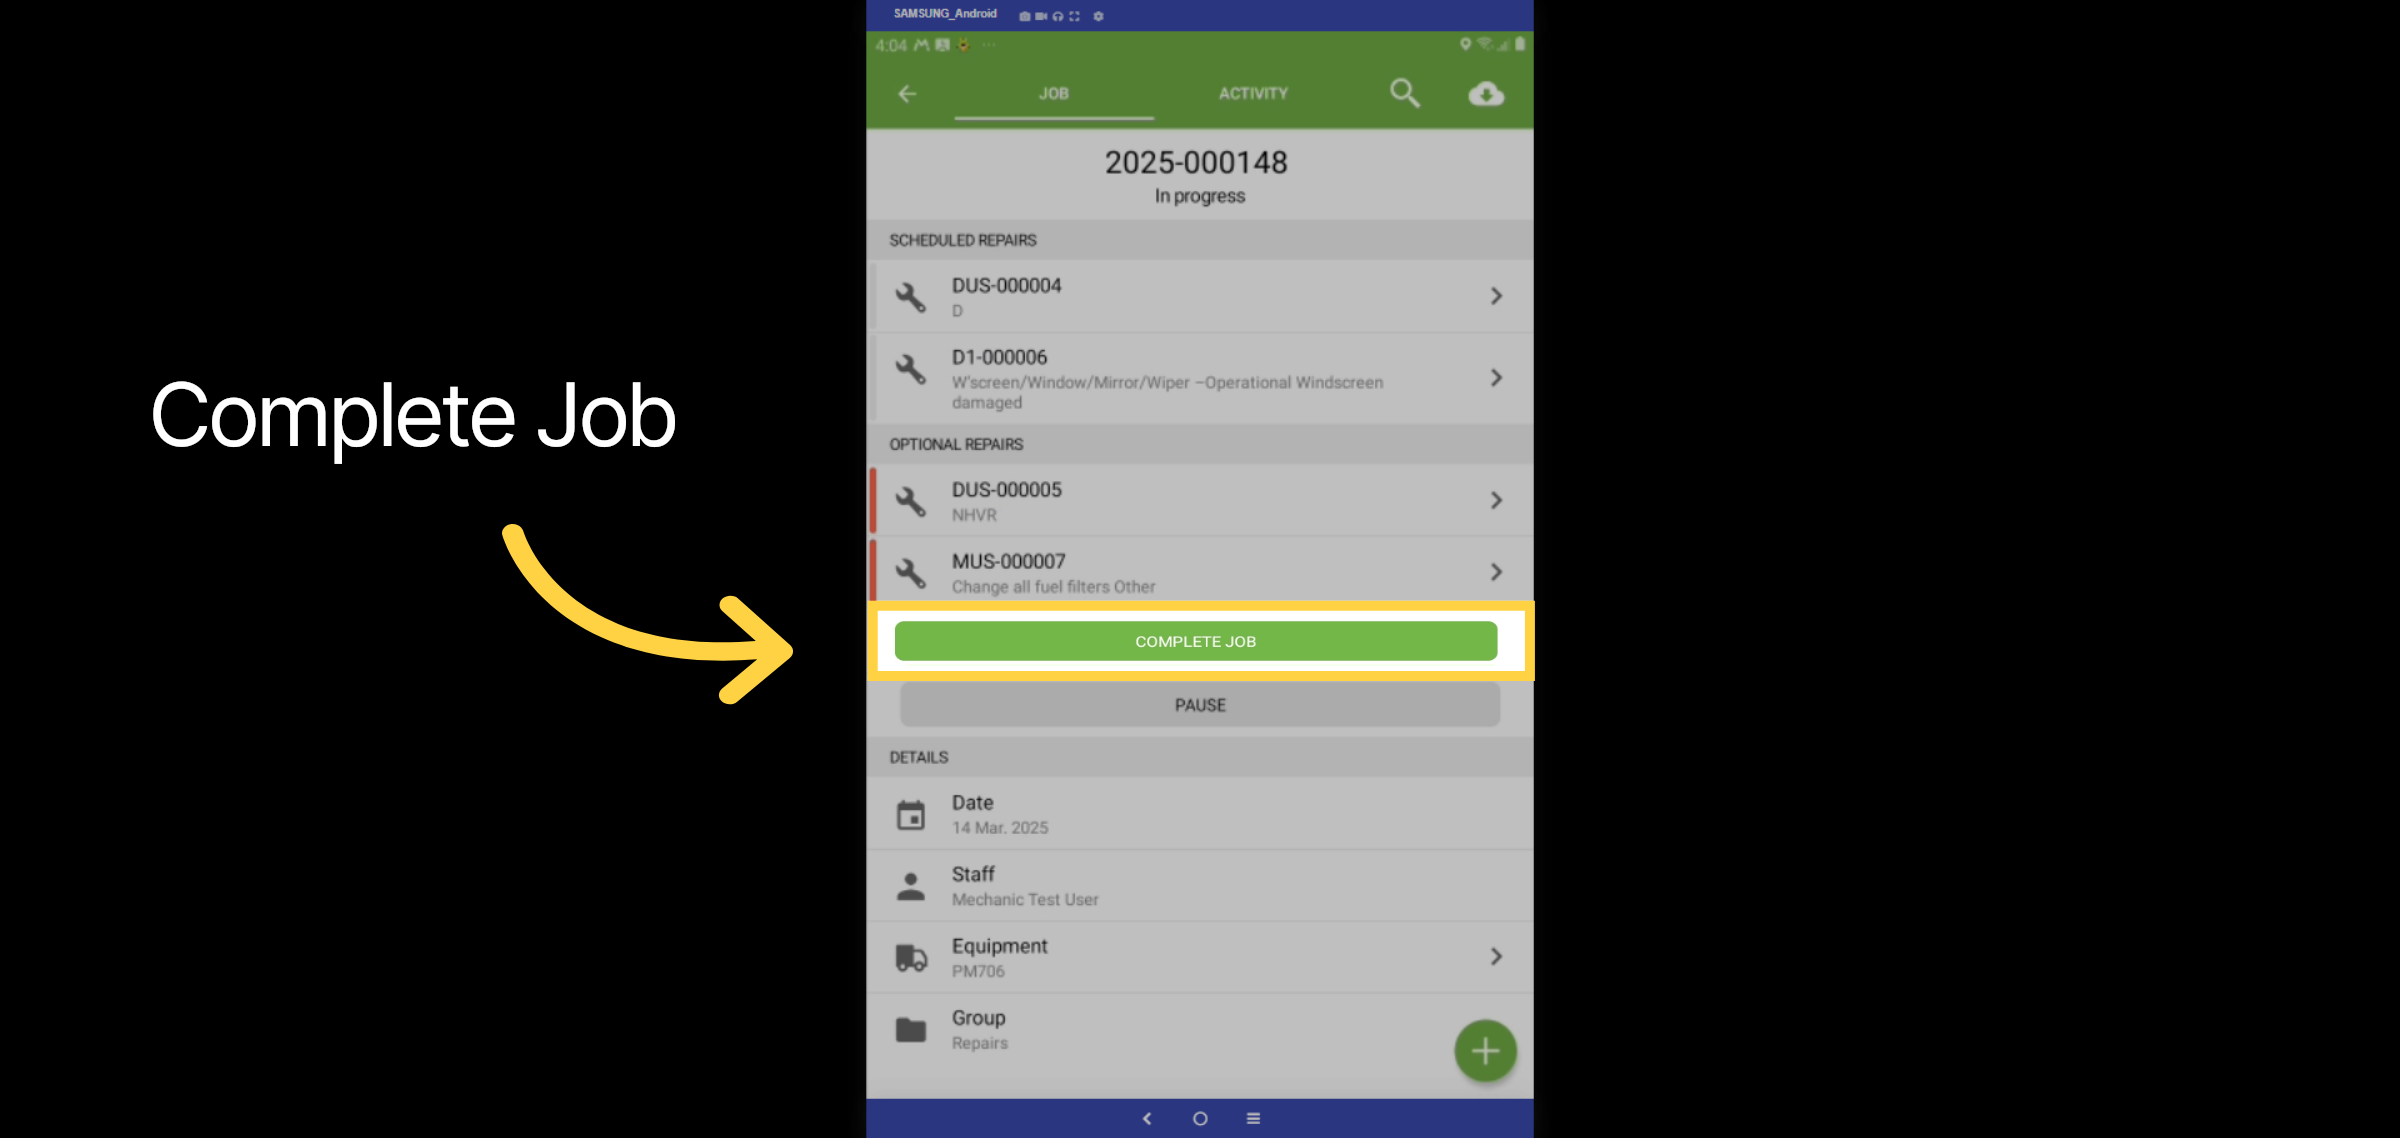
30. Complete Job
Once the mechanic has finished all the items they are going to complete on the equipment they select Complete Job.
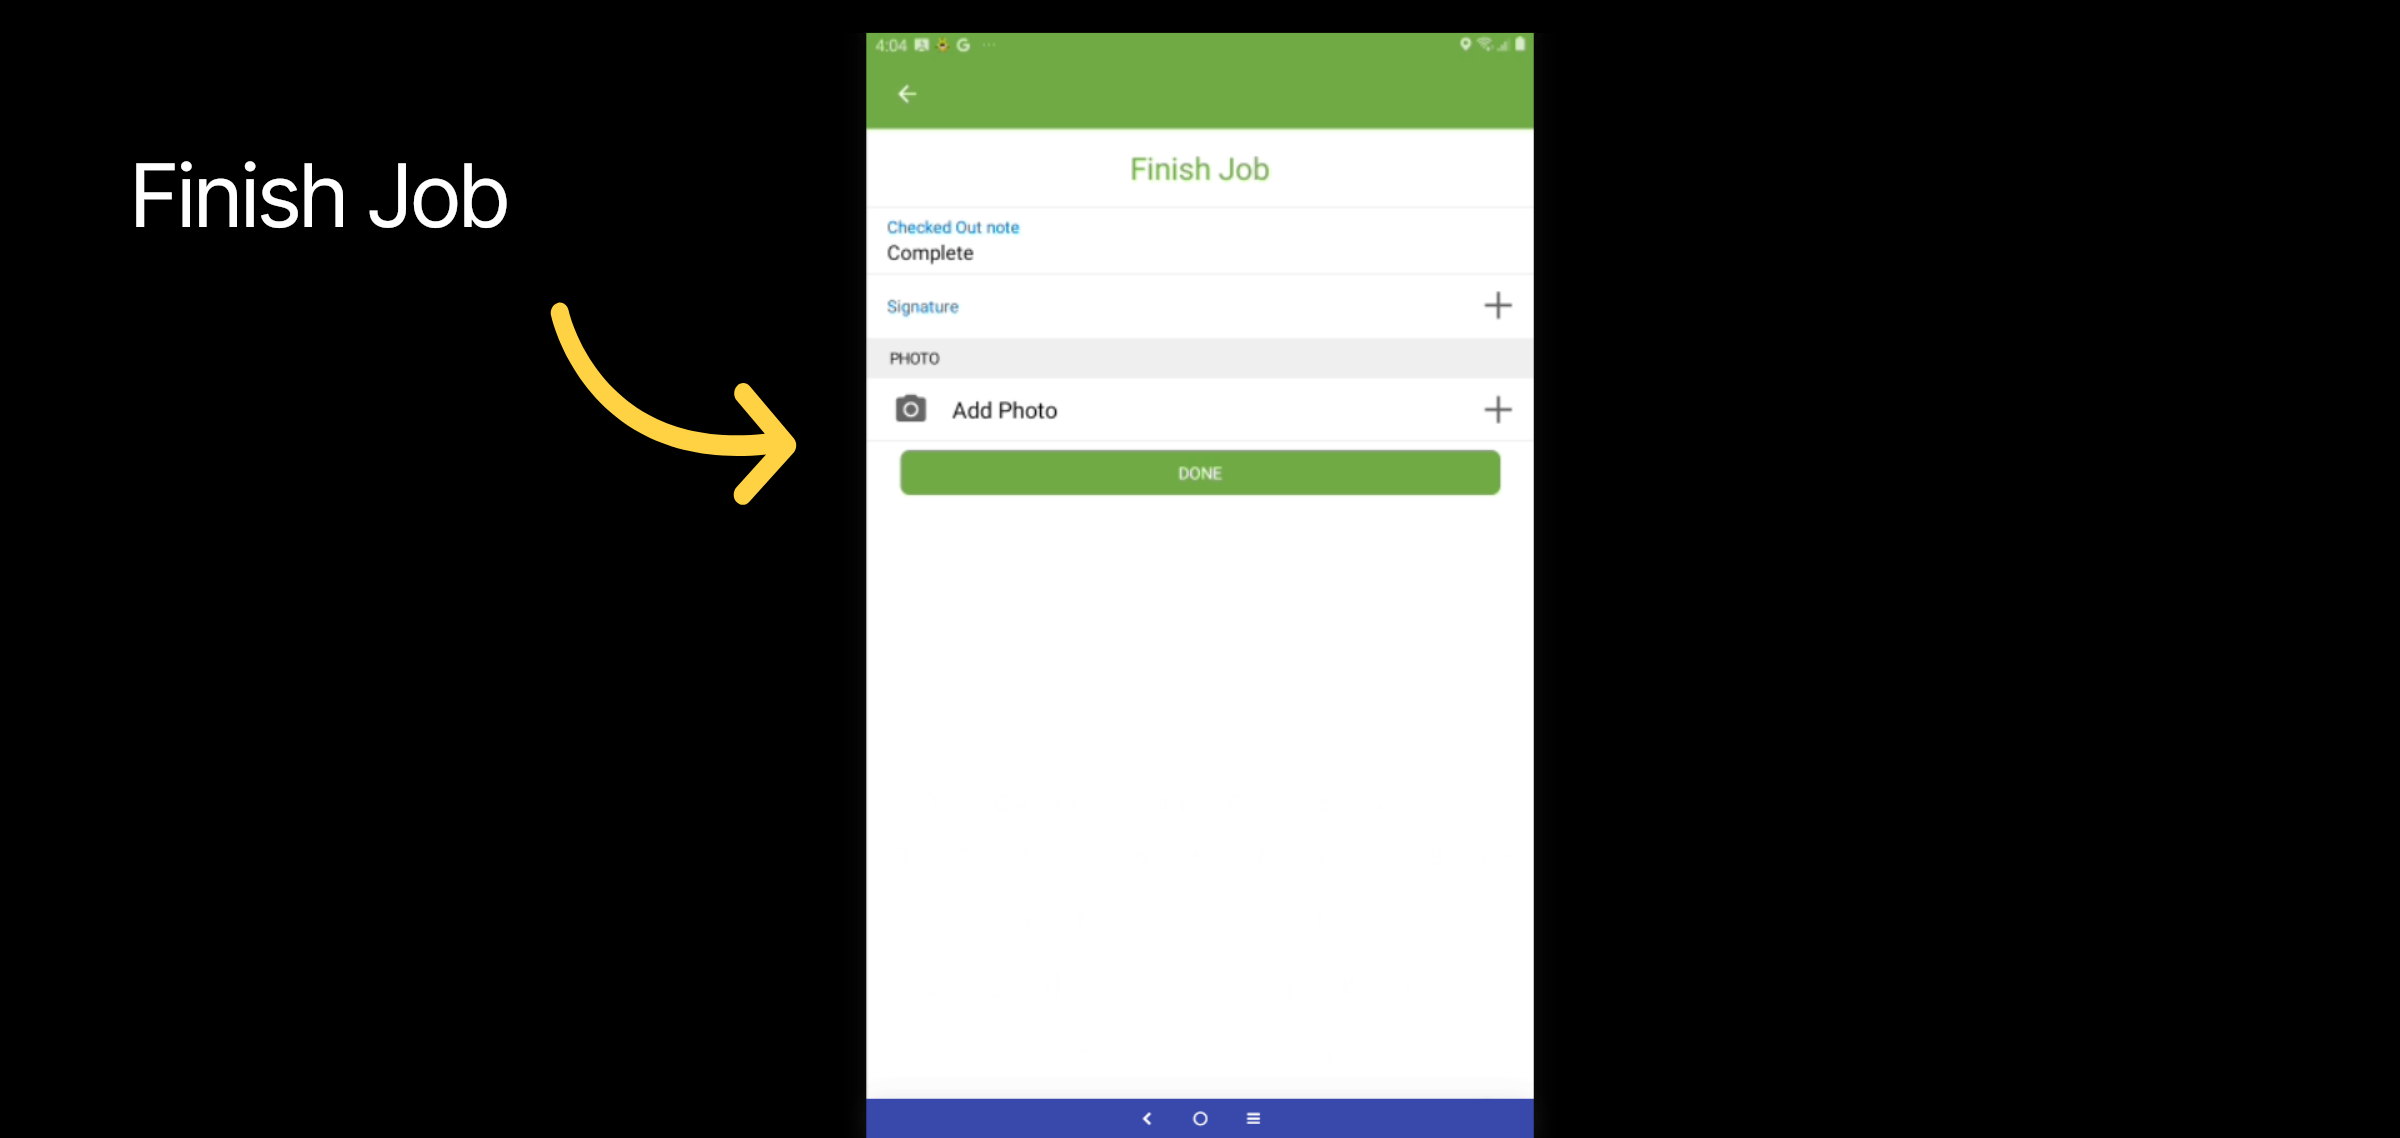
31. Finish Job
Lastly the mechanic can enter in any final notes , add a picture and their signature before selecting done. Let's look at Equipment next.
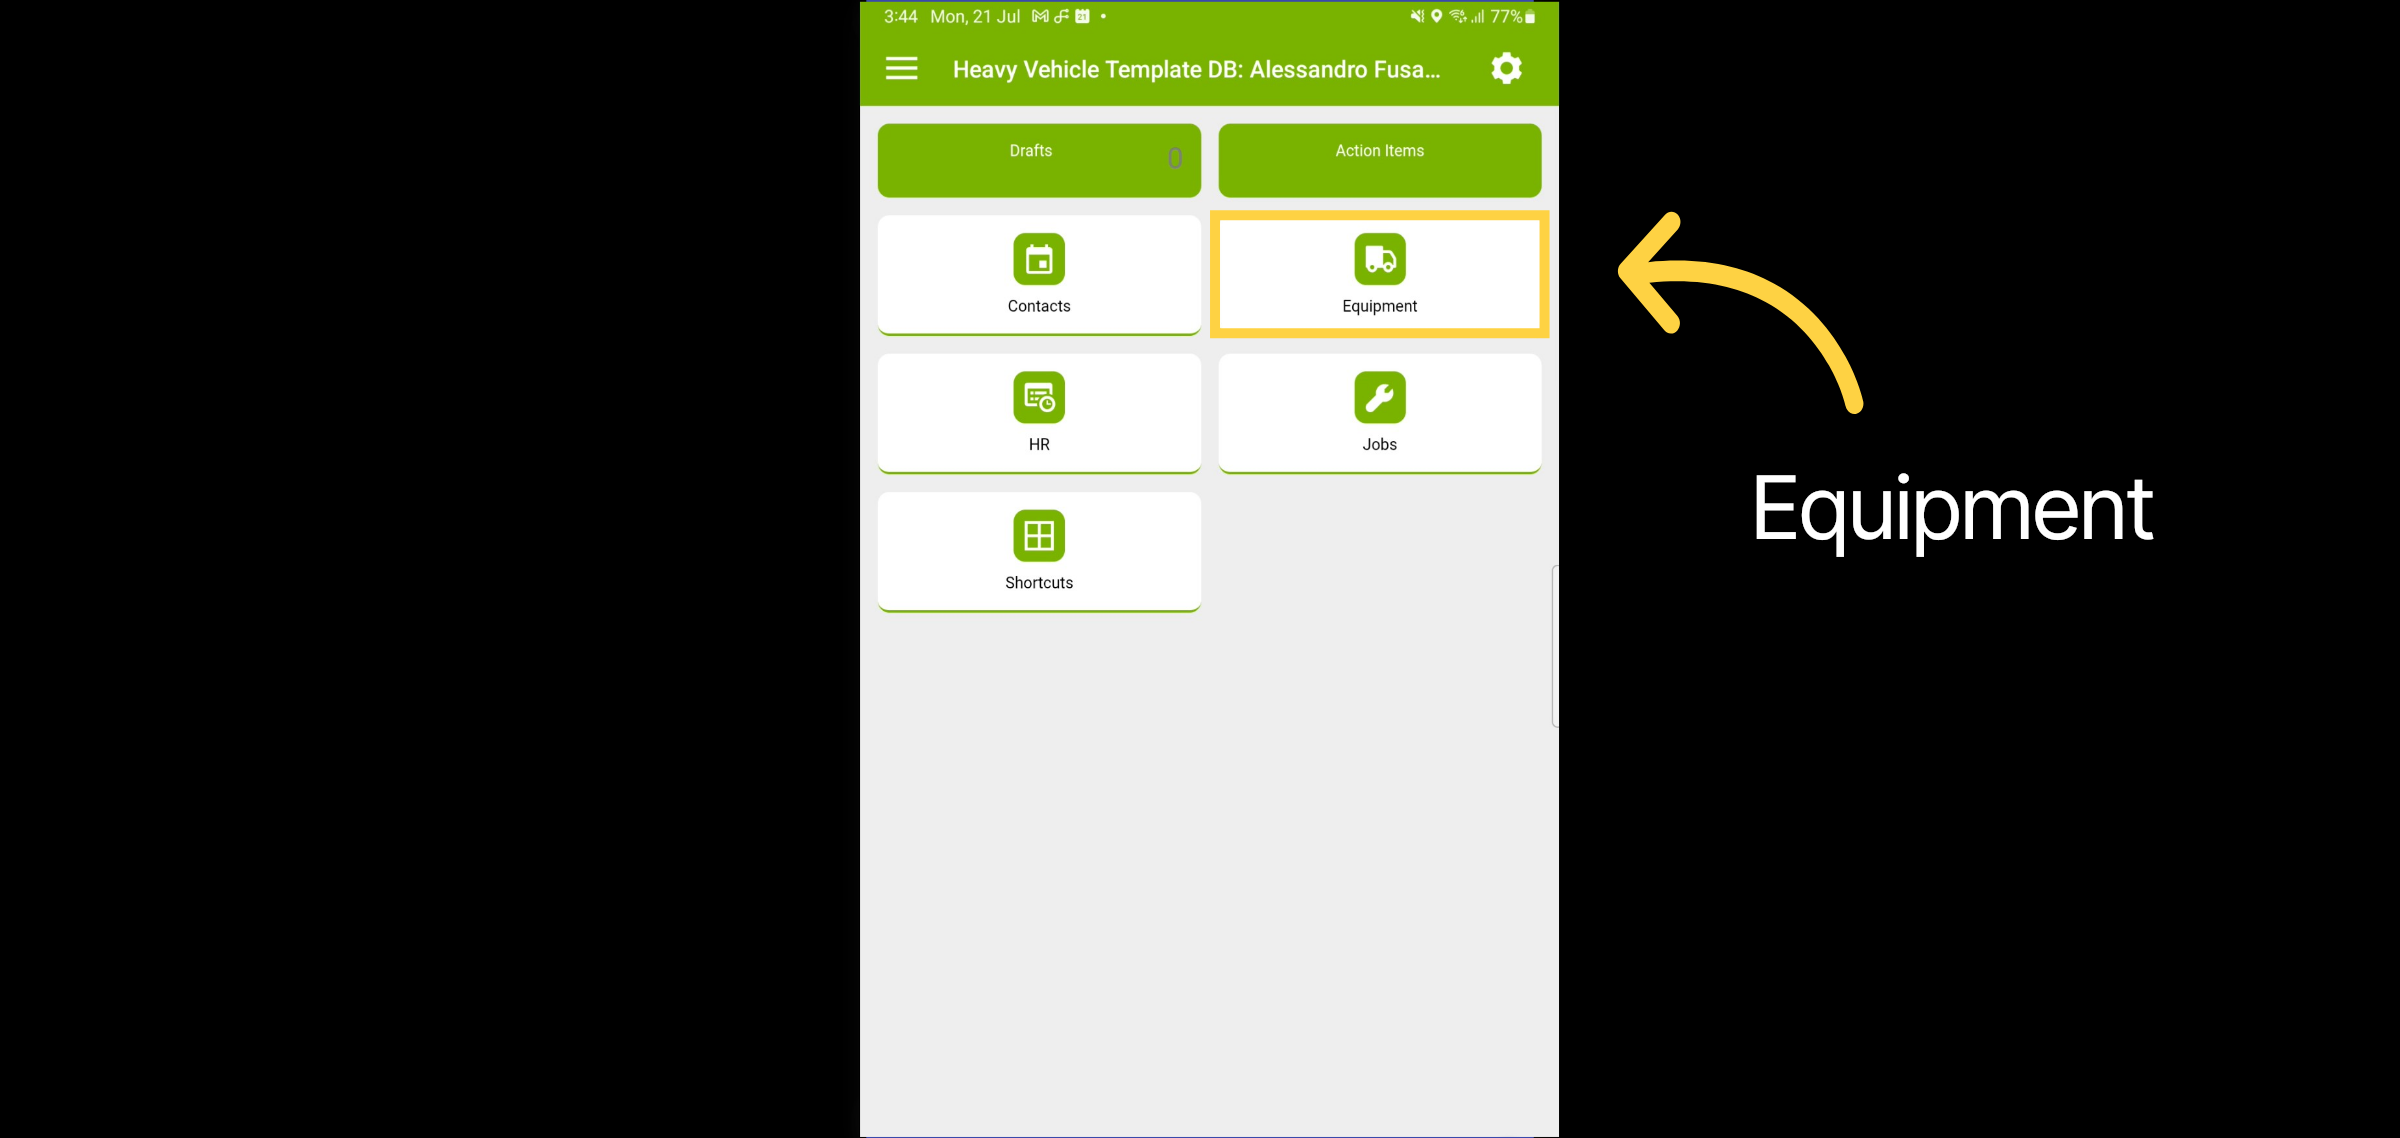
32. Equipment
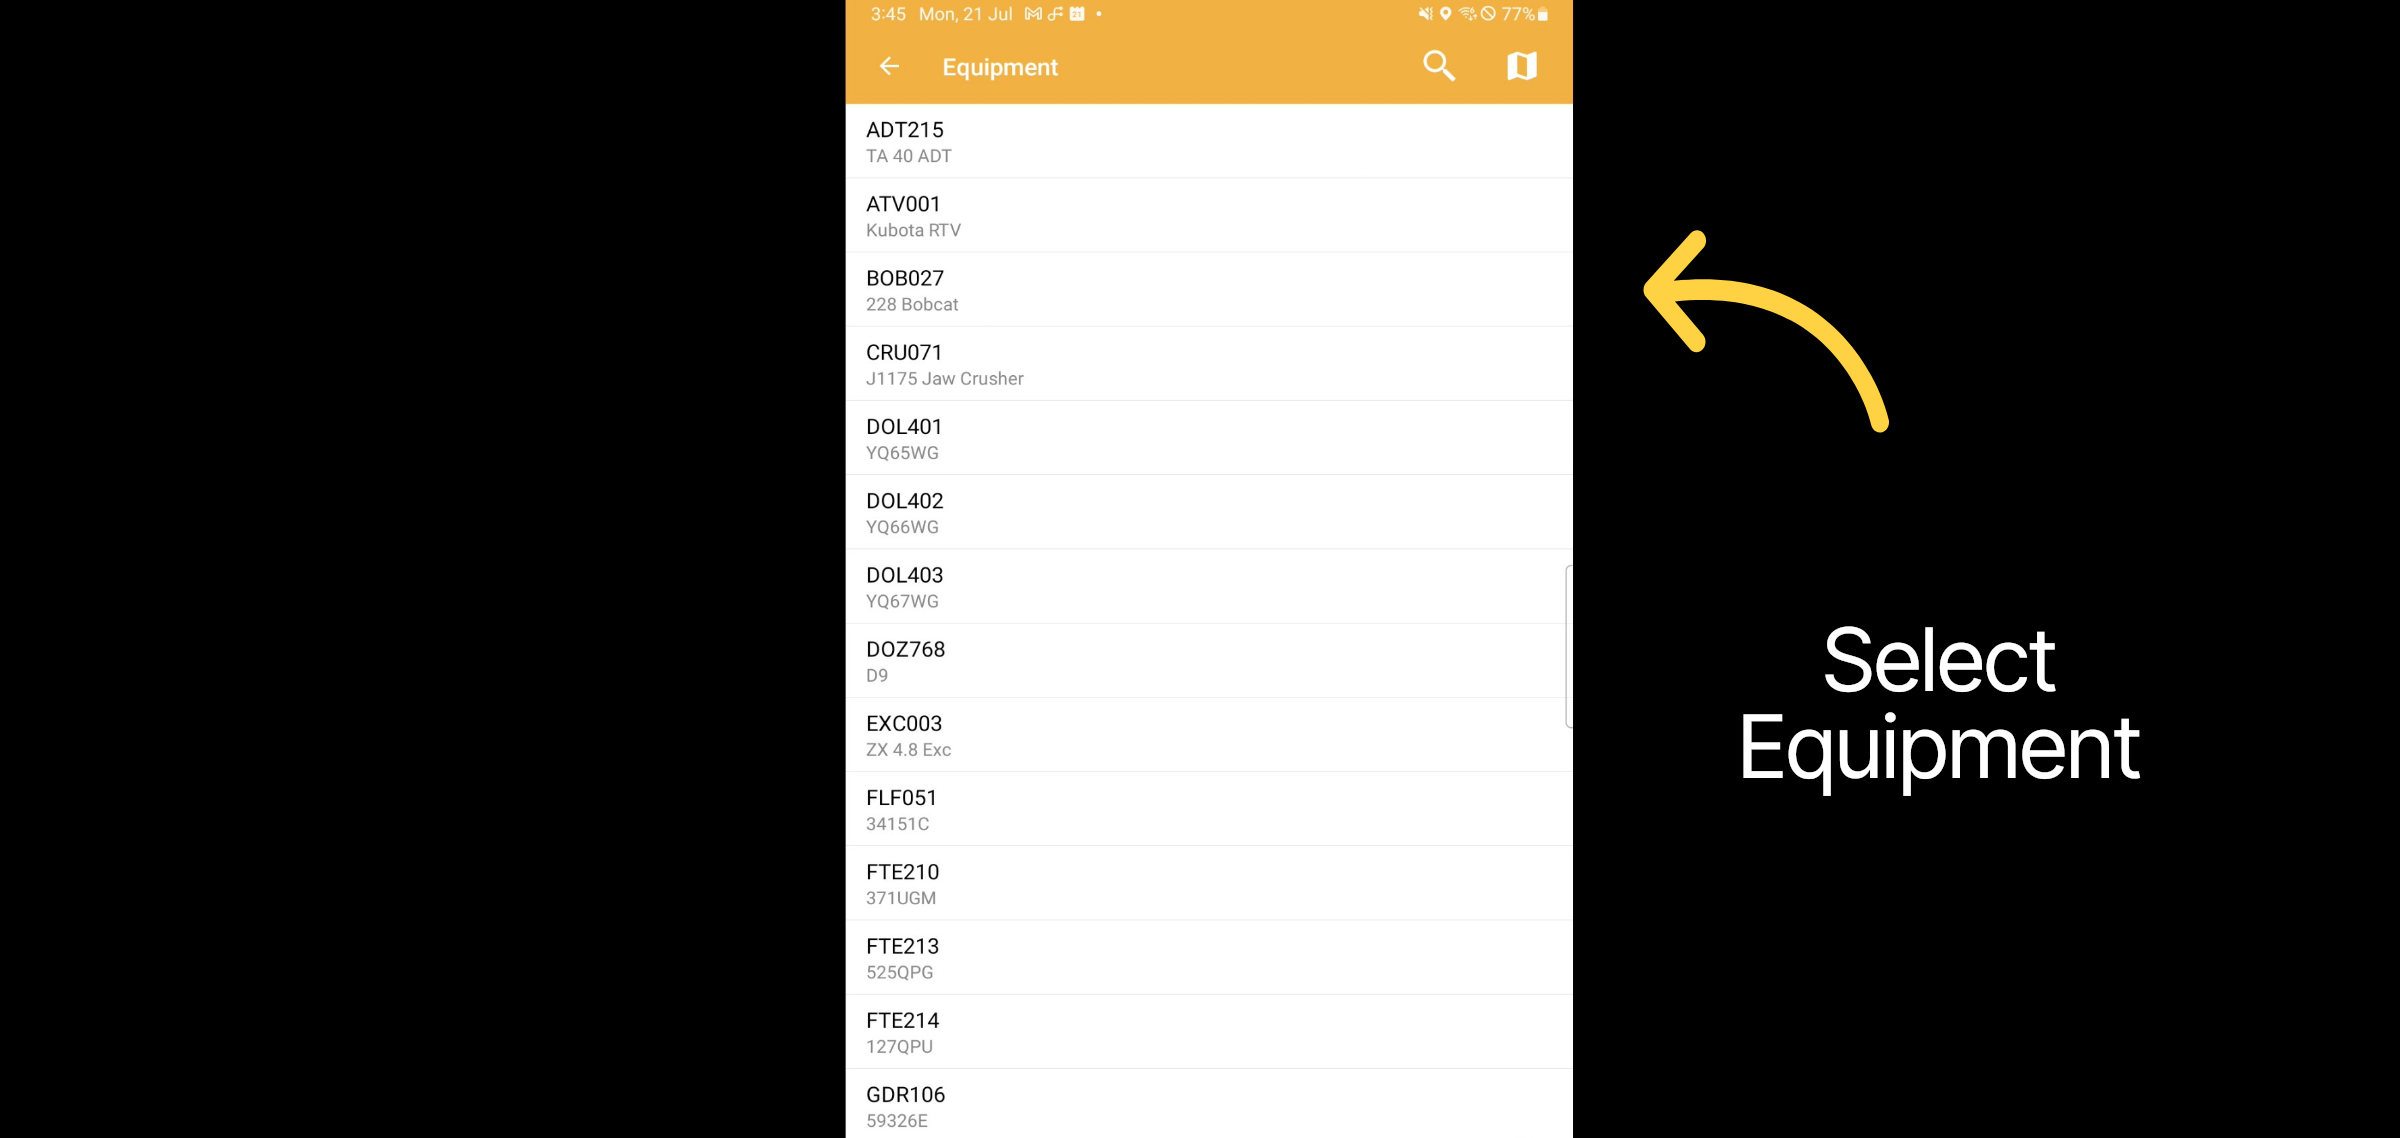
The final step involves addressing faults that have been identified but not yet reported. To begin, navigate to the Equipment section and select the Equipment tab.
33. Select Equipment
Choose the equipment for which you would like to create a maintenance job.
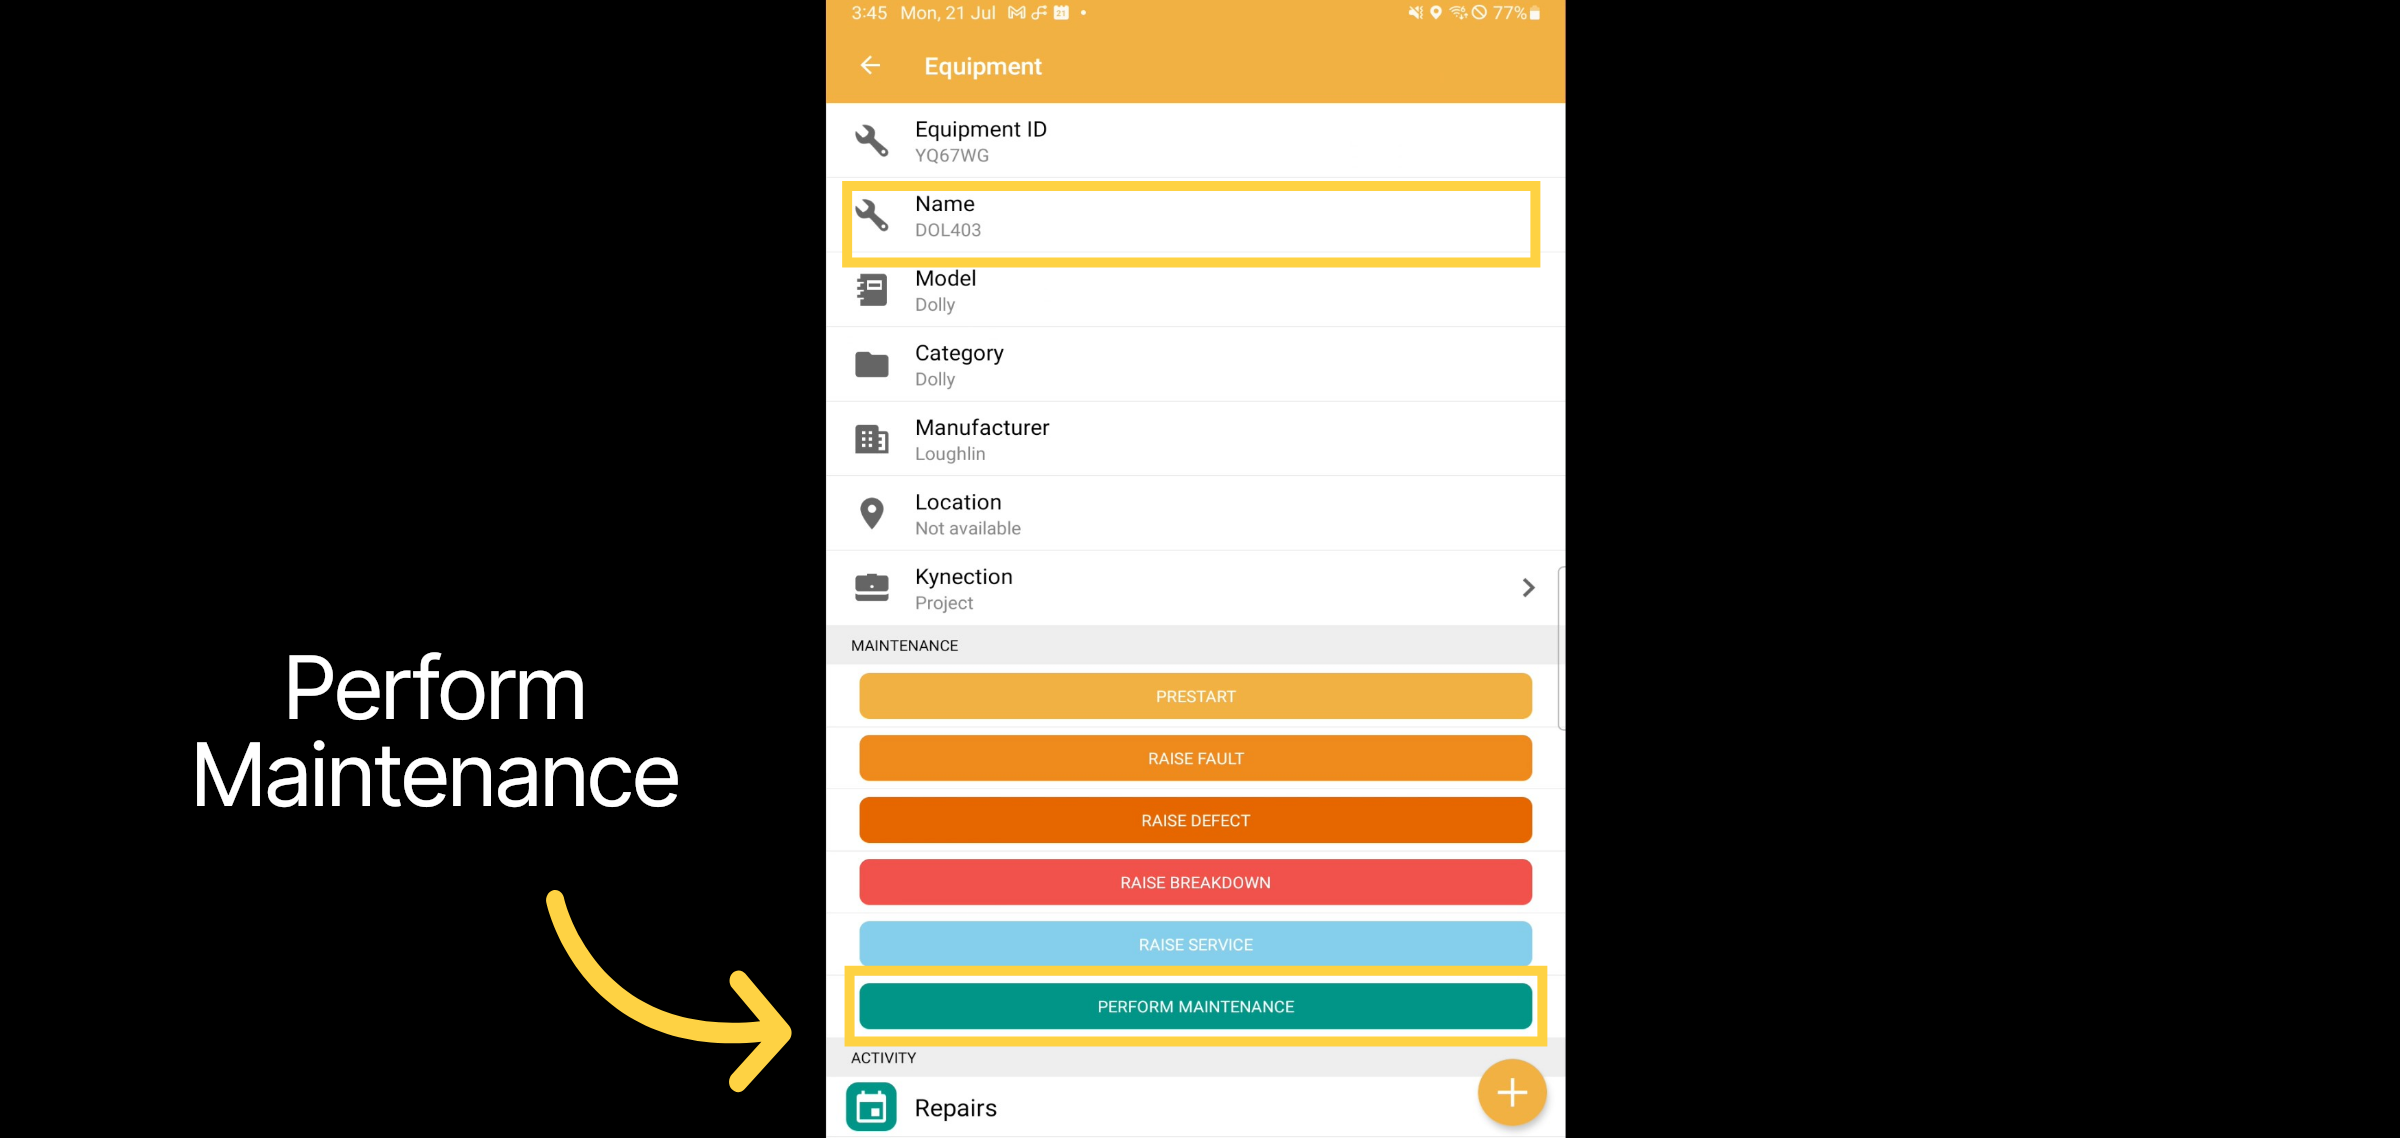
34. Perform Maintenance
Scroll down and Select Perform Maintenance.
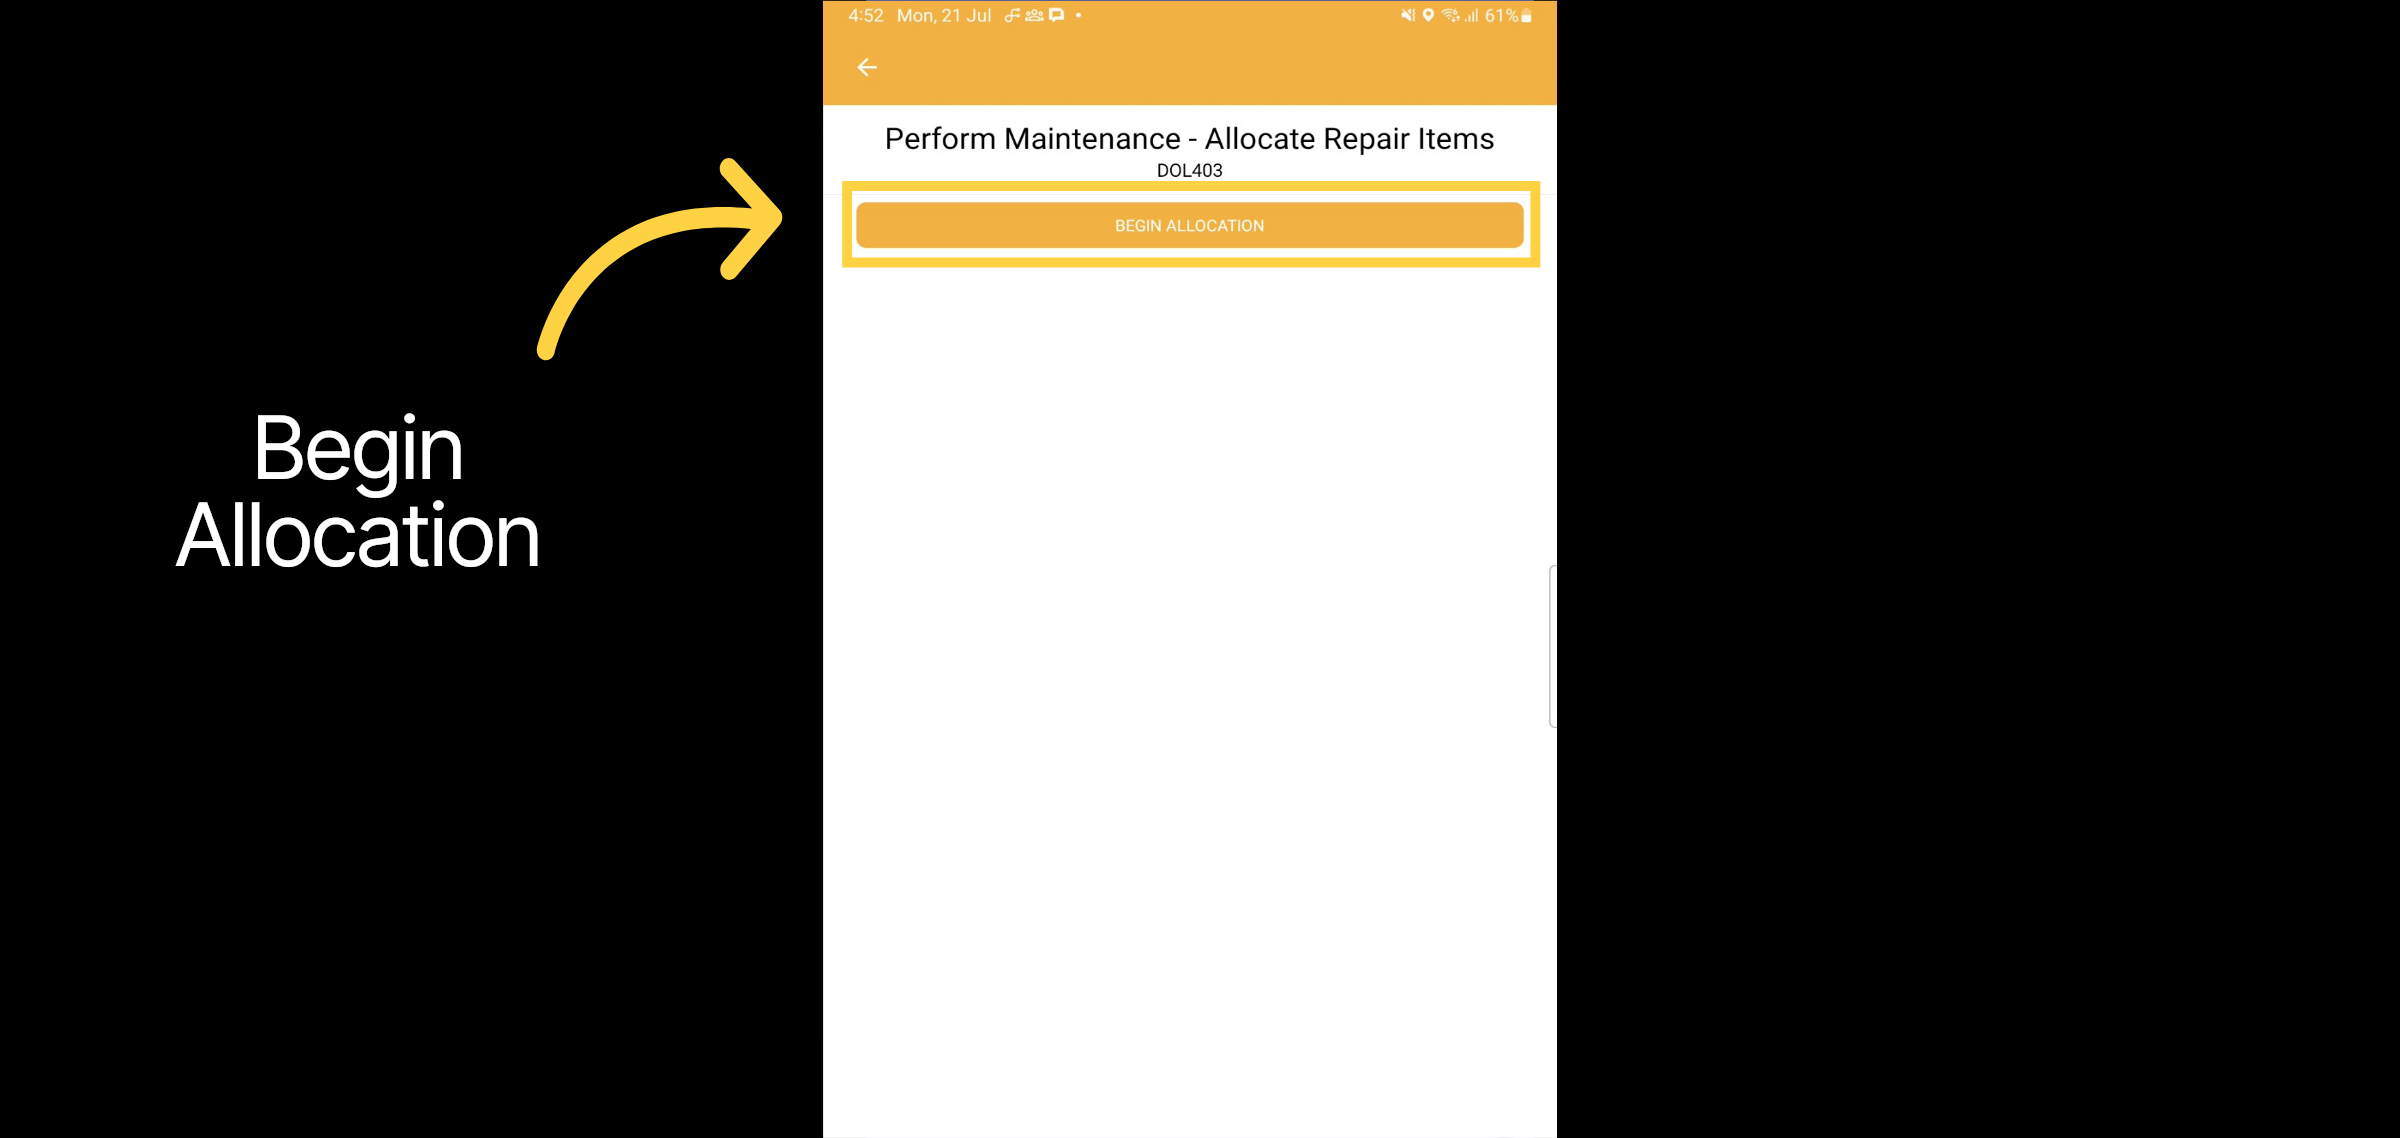
35. Begin Allocation
Select Begin Allocation to create a fault.
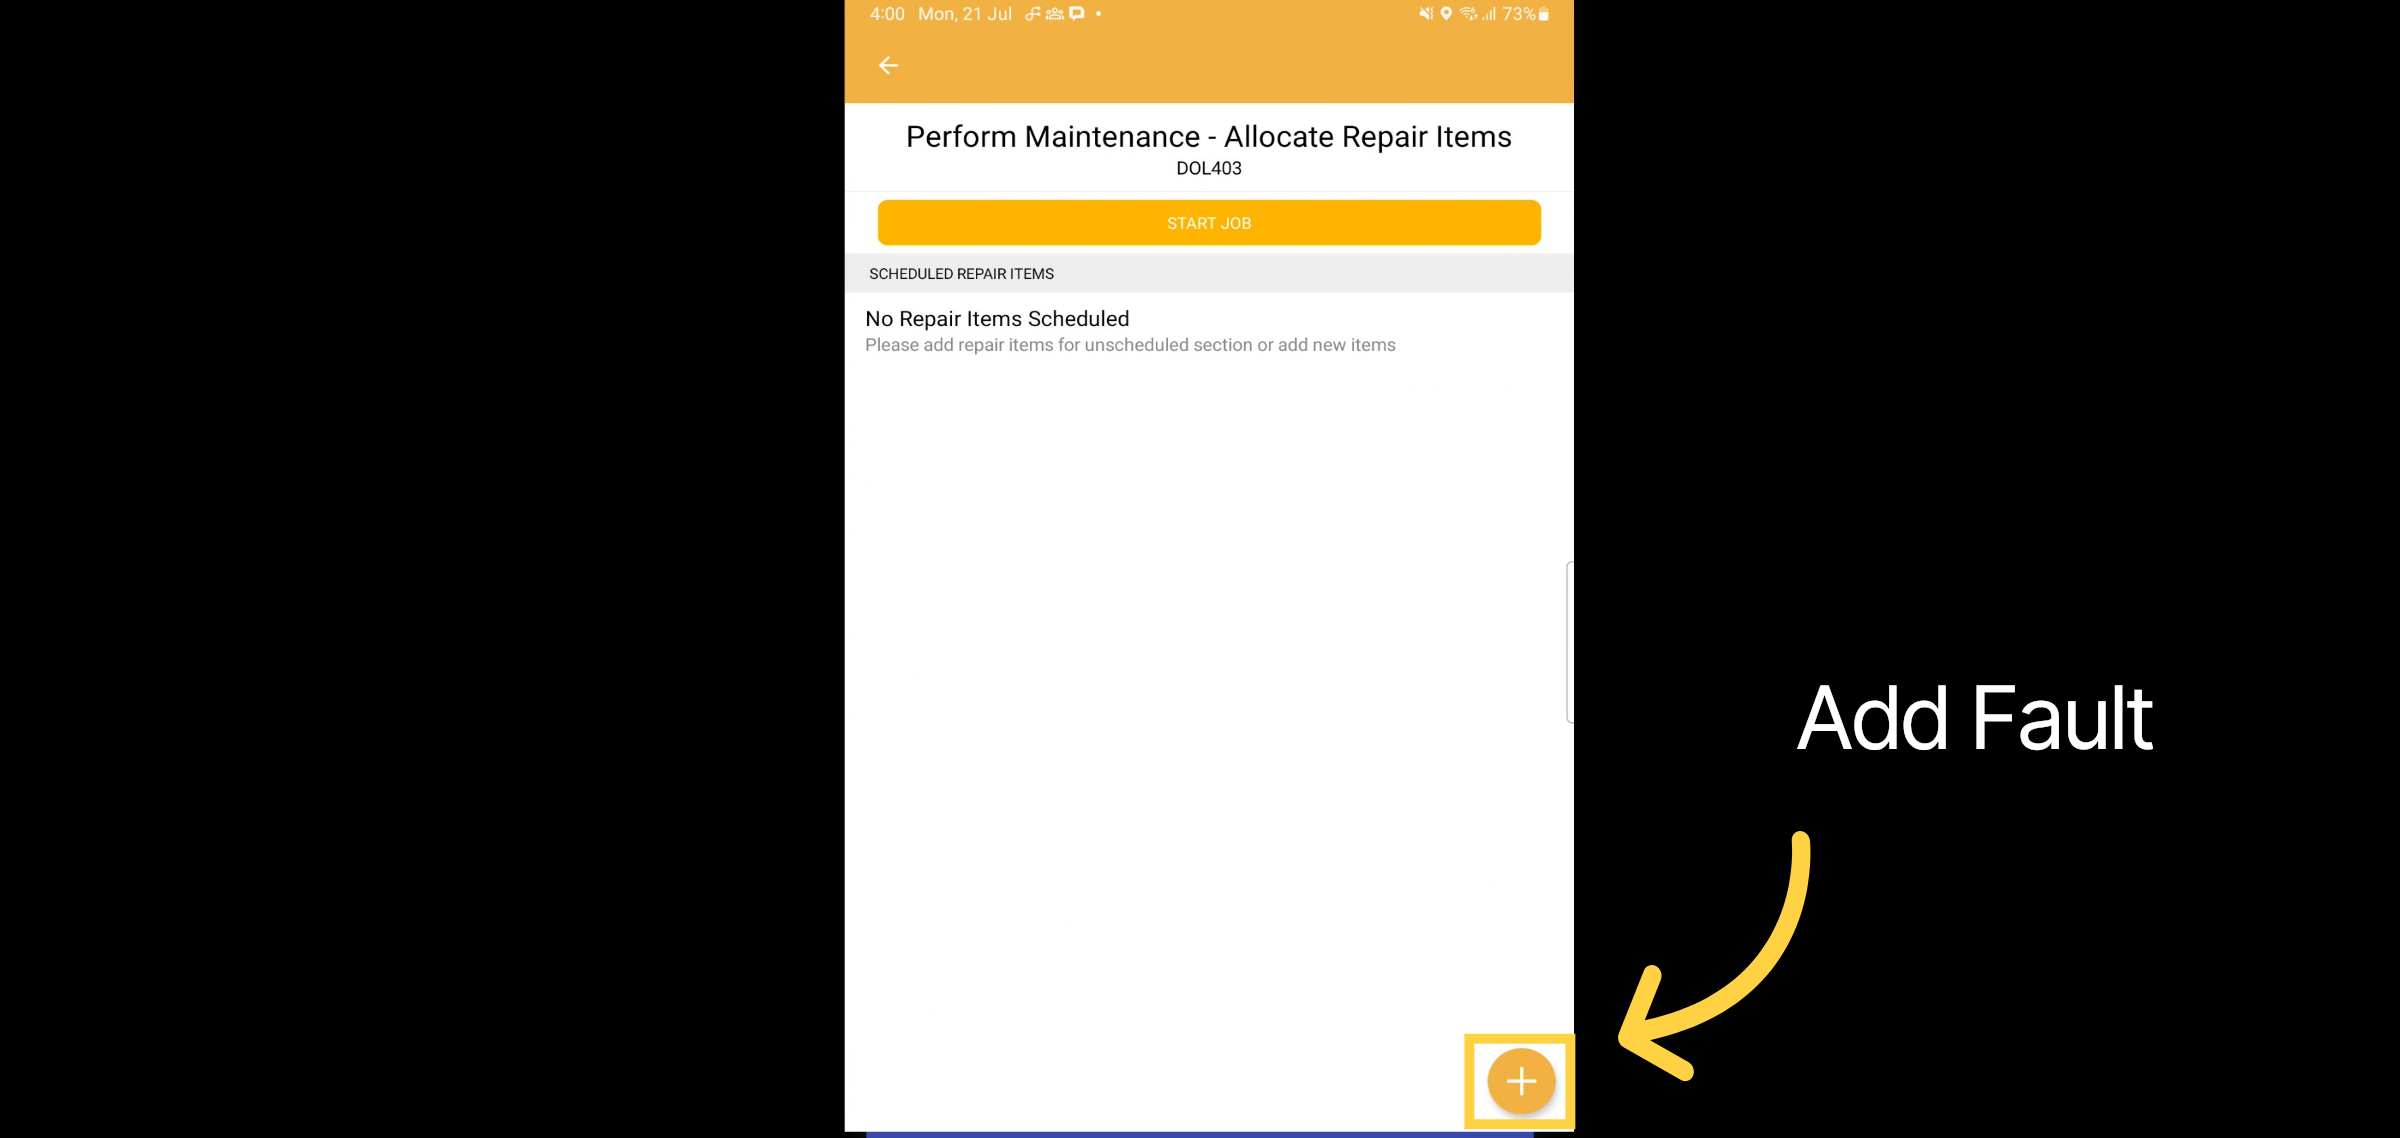
36. Add Fault
Select the add button to create the fault that you wish to repair.
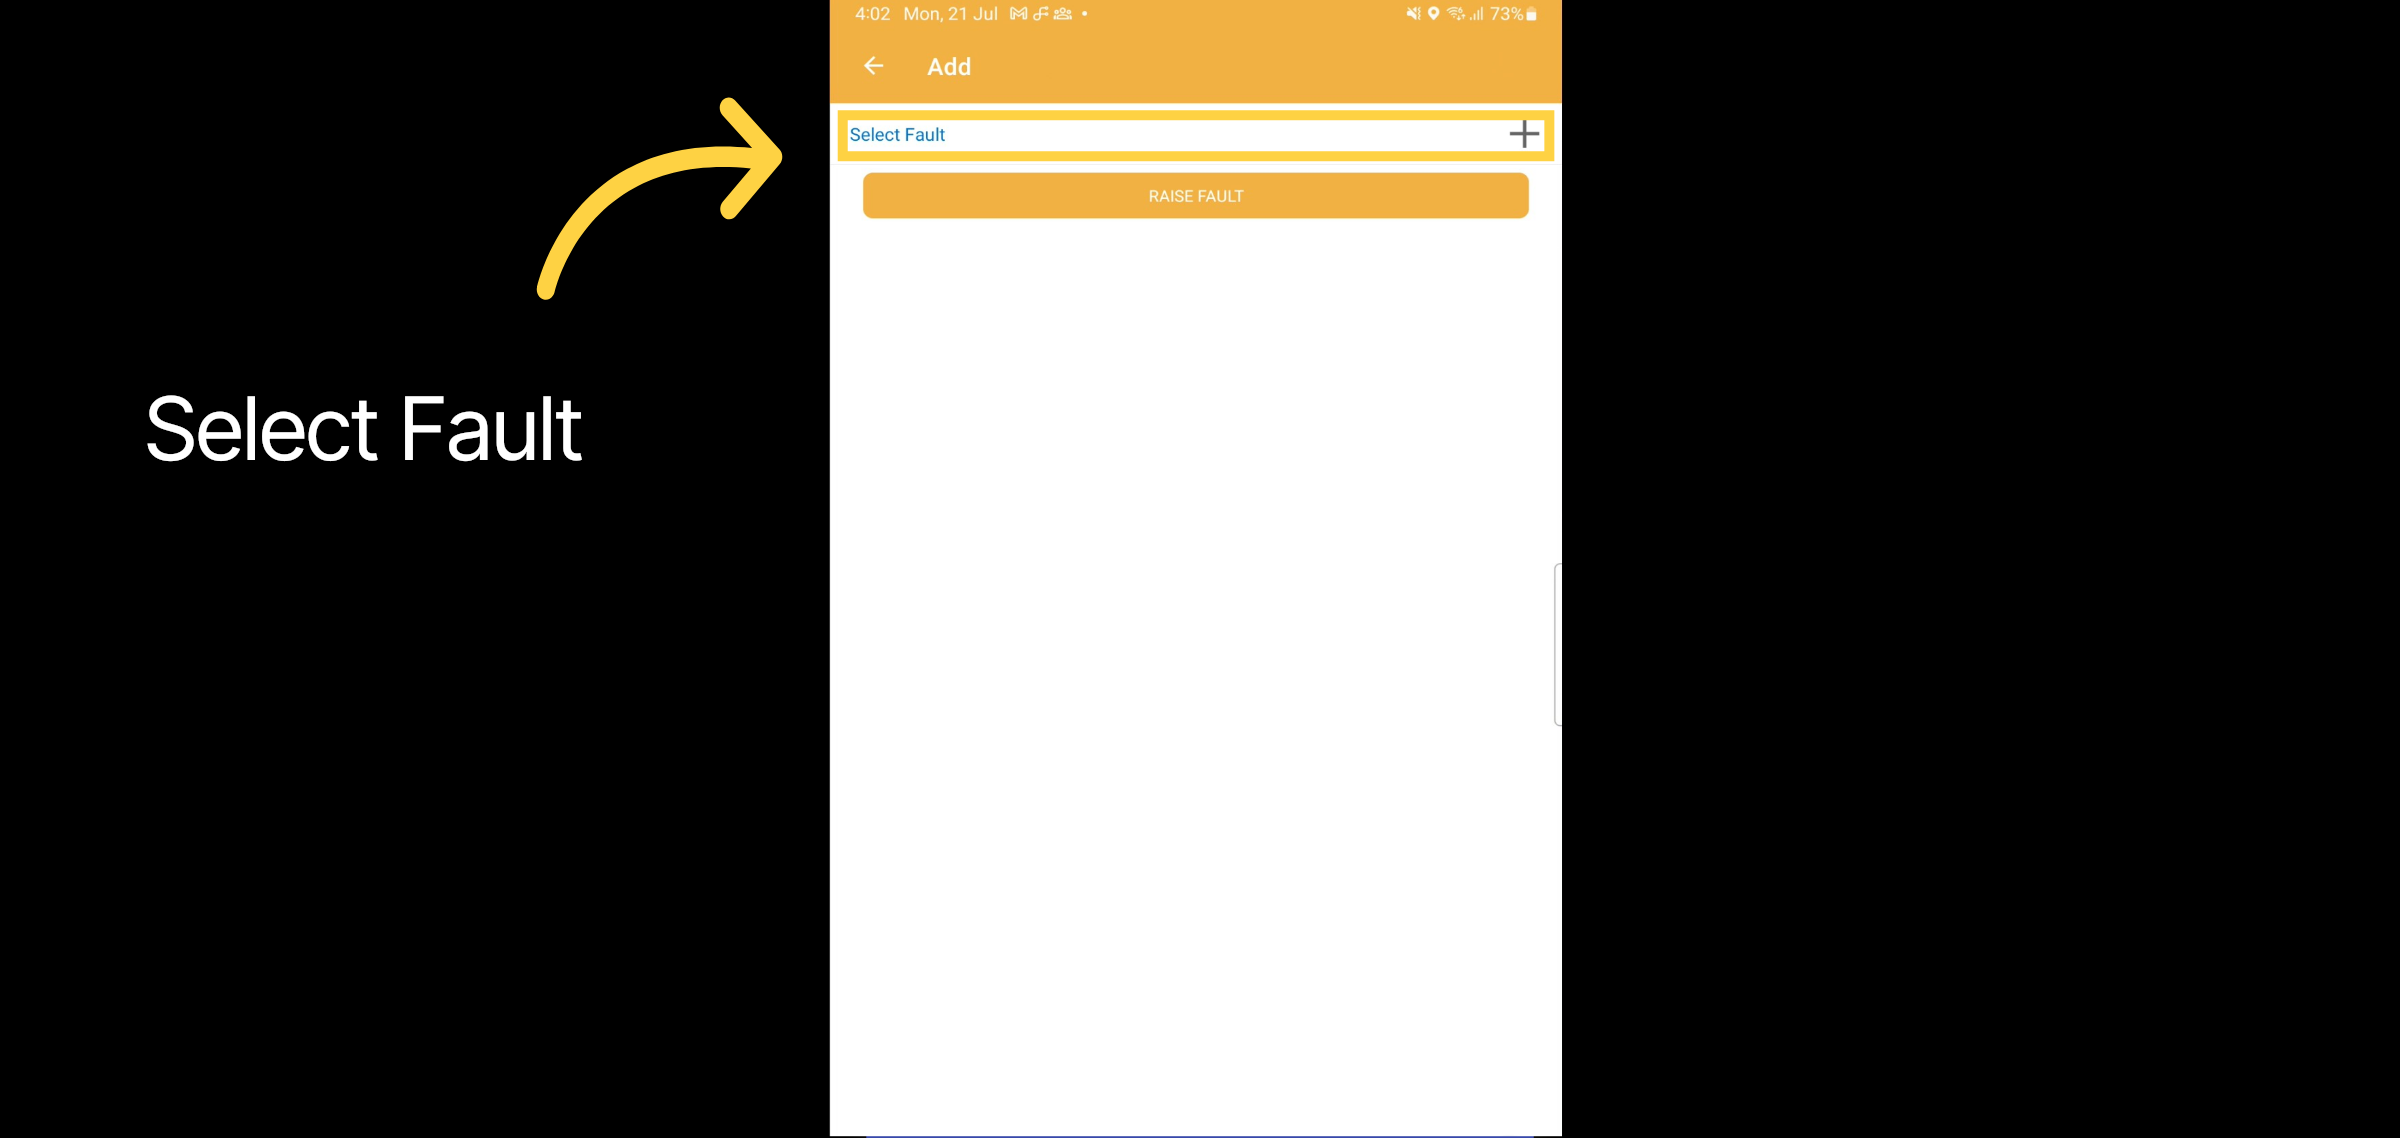
37. Select Fault
Then, use the drop-down list to choose the fault category you wish to create.
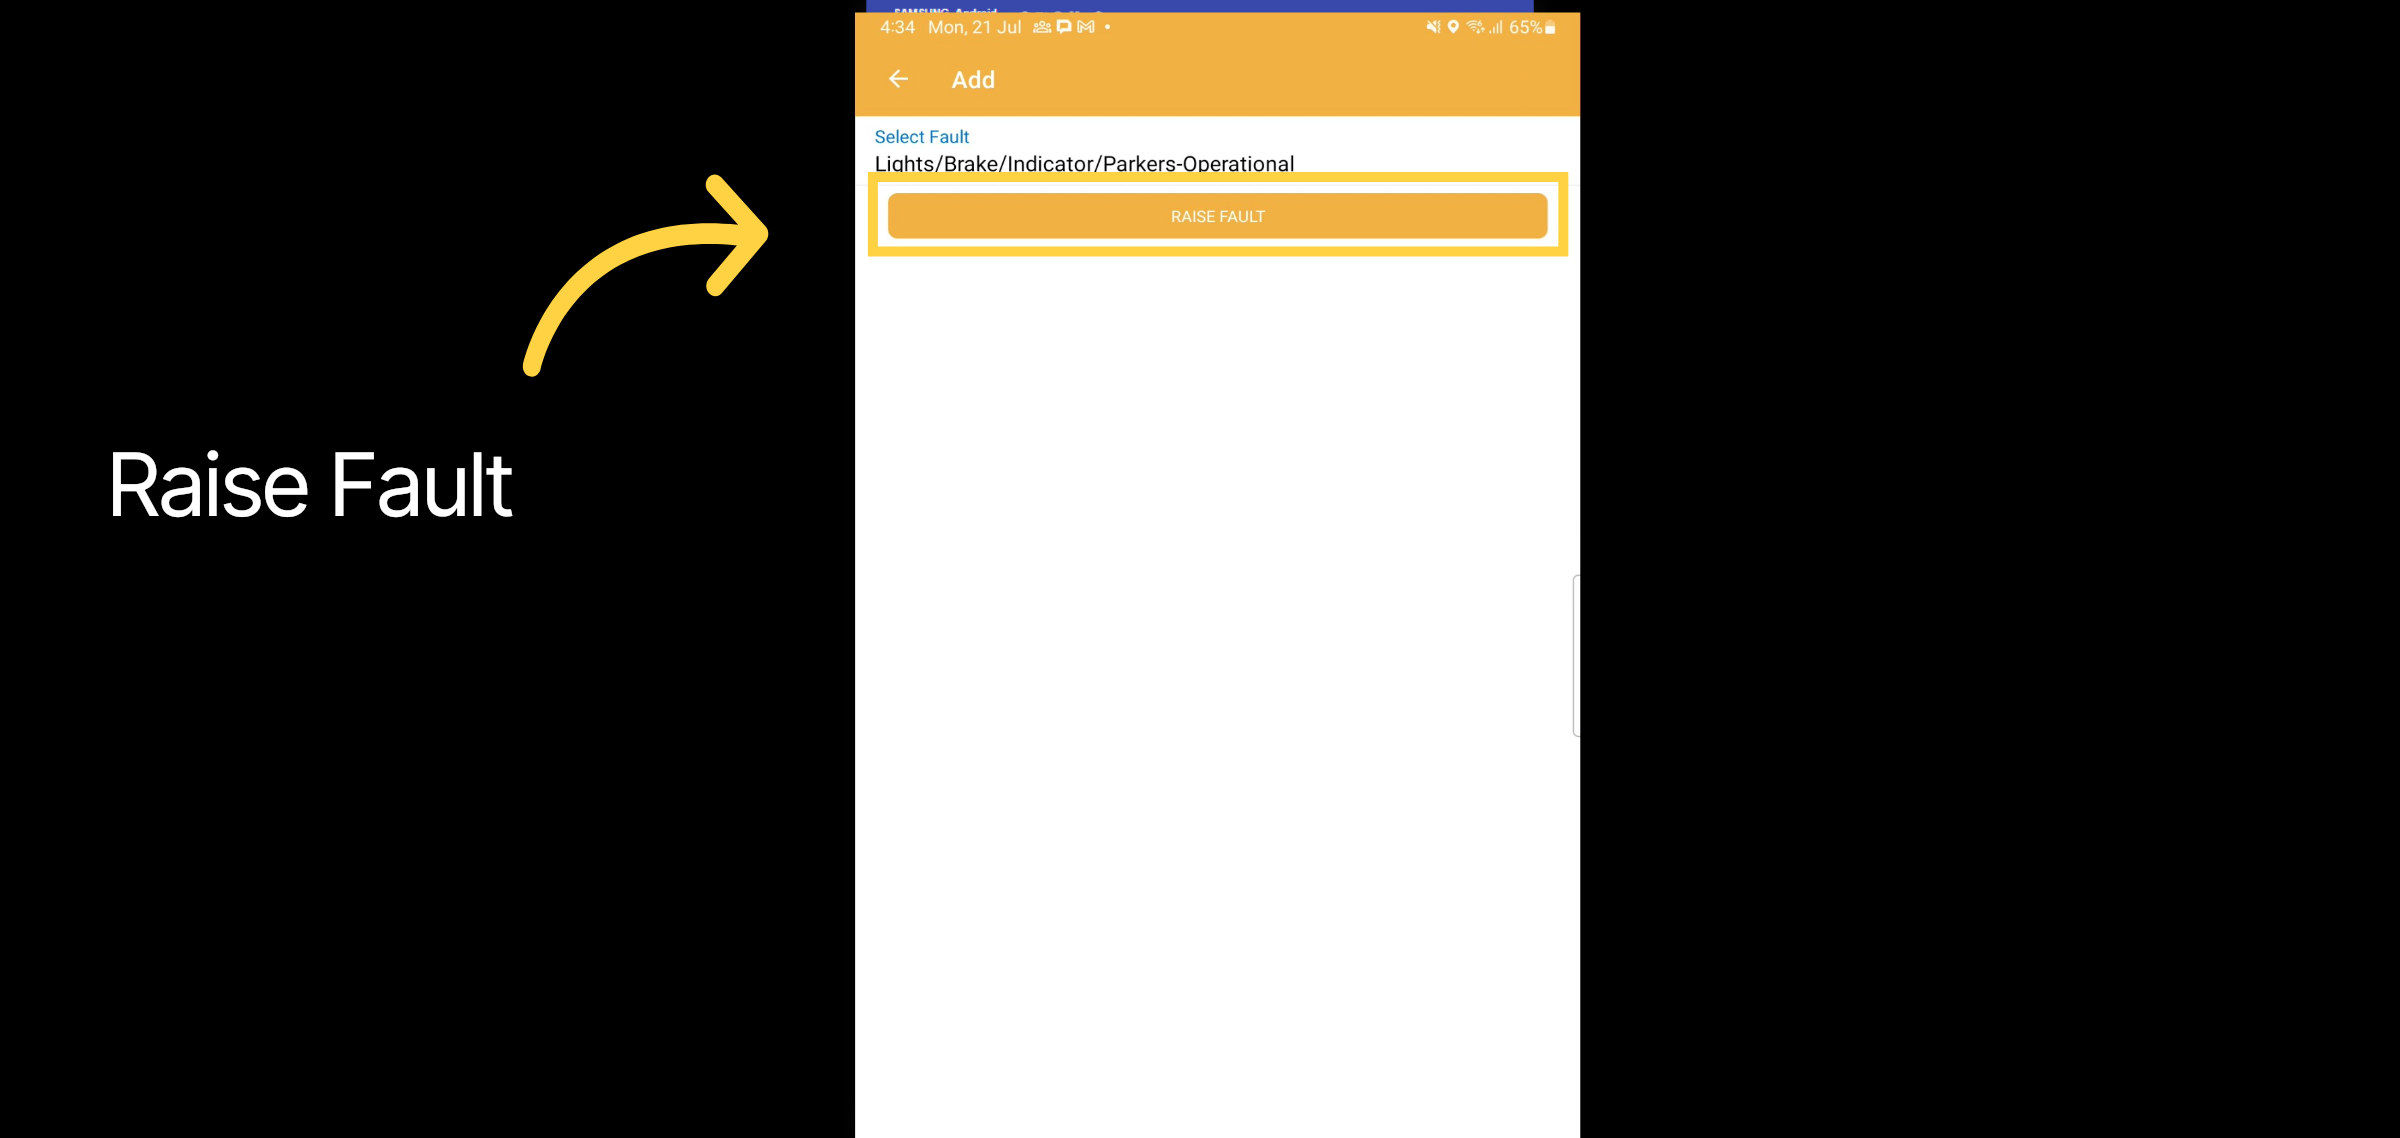
38. Raise Fault
With the category selected, click raise fault.
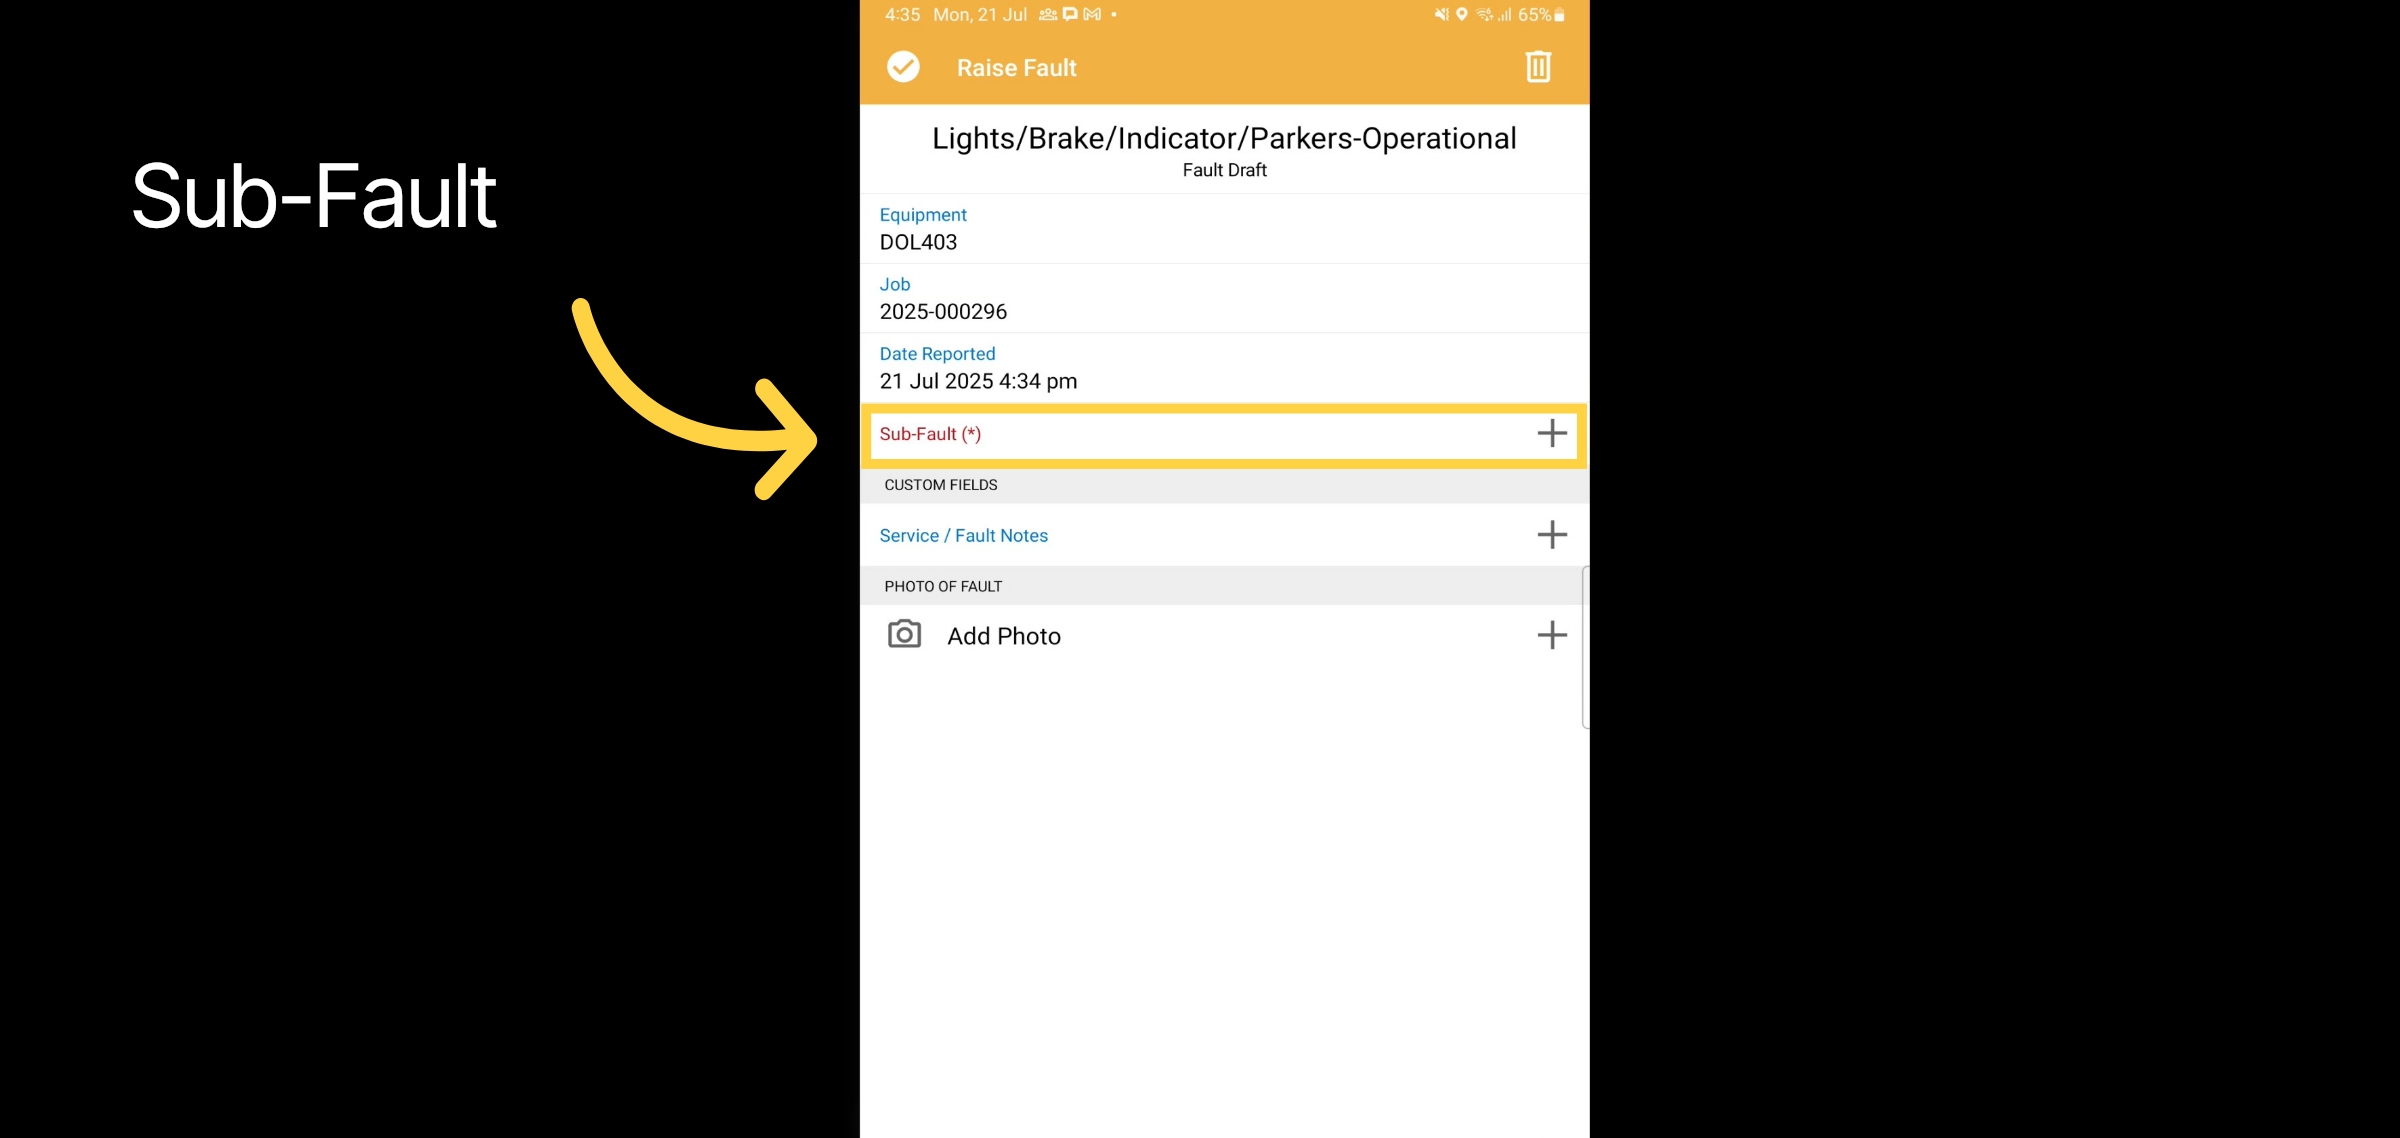
39. Sub-Fault
The fault has been created, but the details of the fault need to be entered. Navigate to the field labeled Sub-Fault.
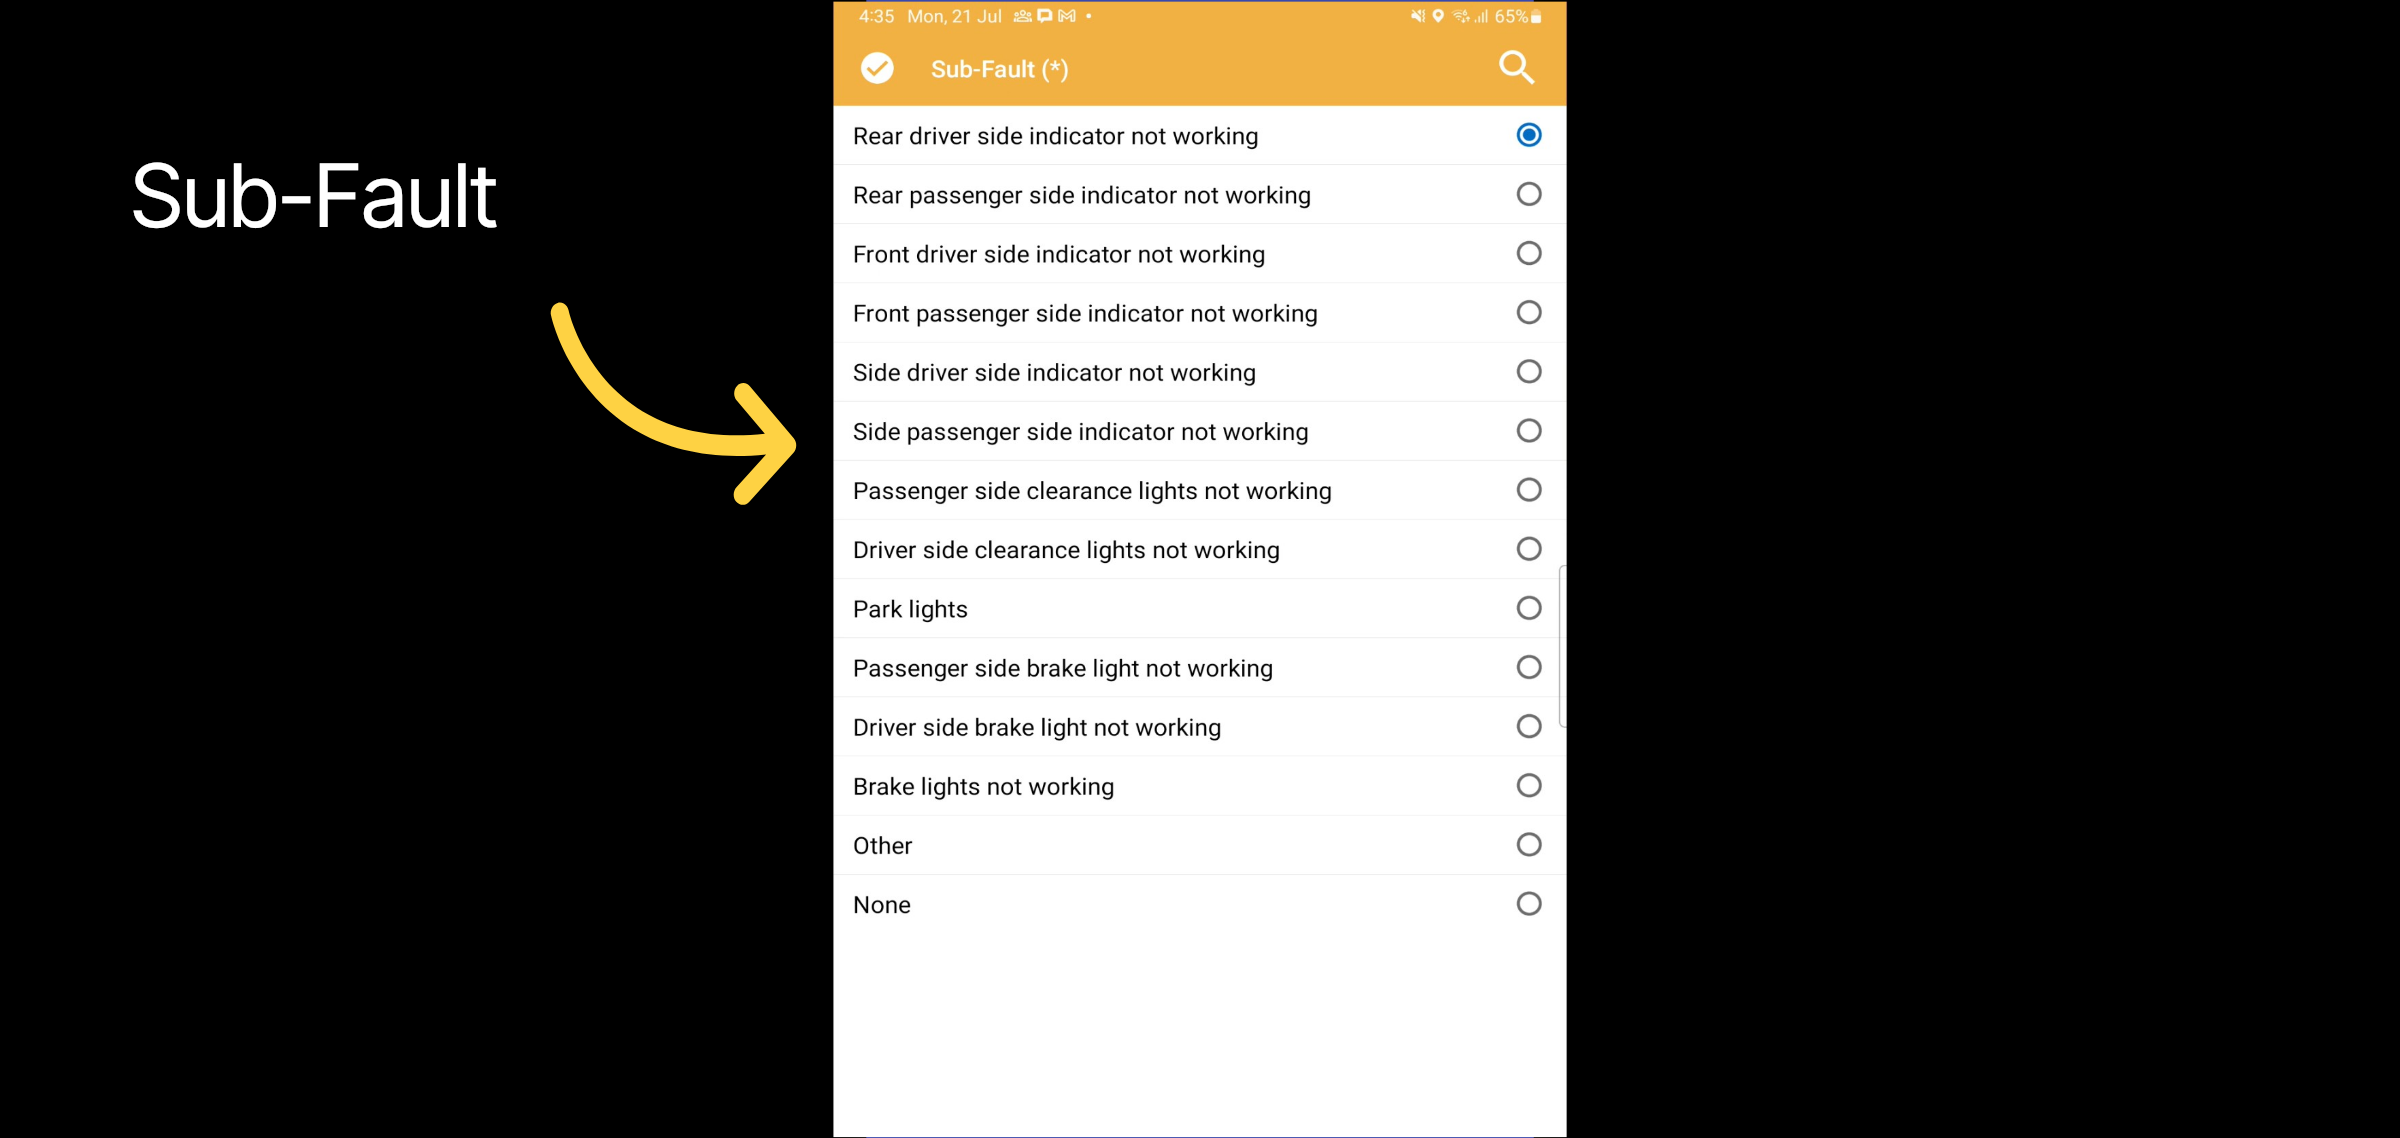
40. Sub-Fault Continued
To add a sub-fault, tap the designated Sub-Fault field. If the sub-fault type you need isn't listed, you can select the option for other.
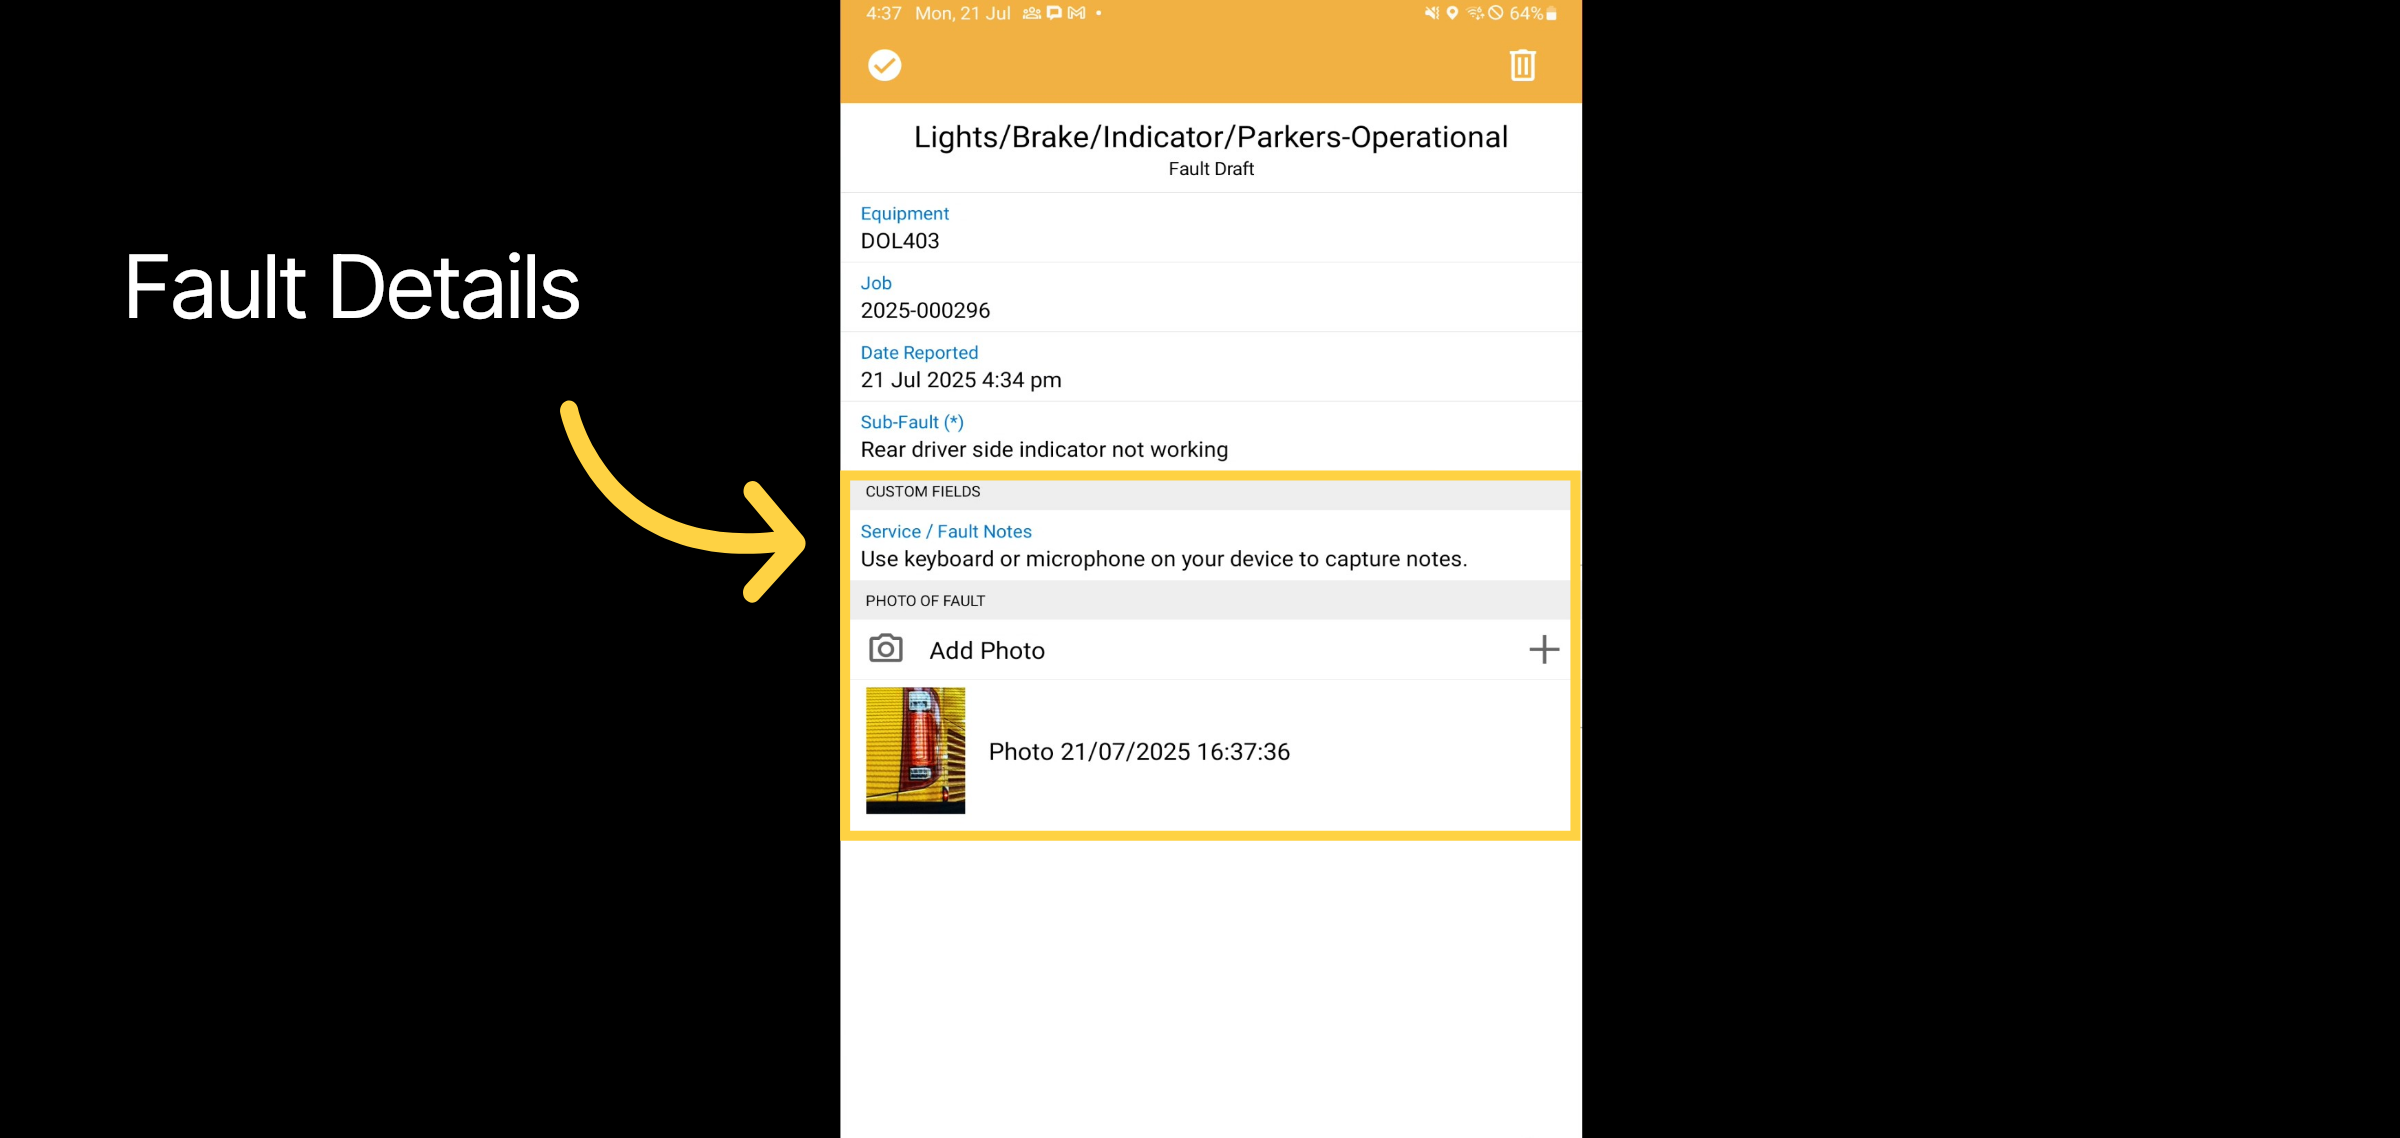
41. Fault Details
Record the fault details and upload a photo of the fault.
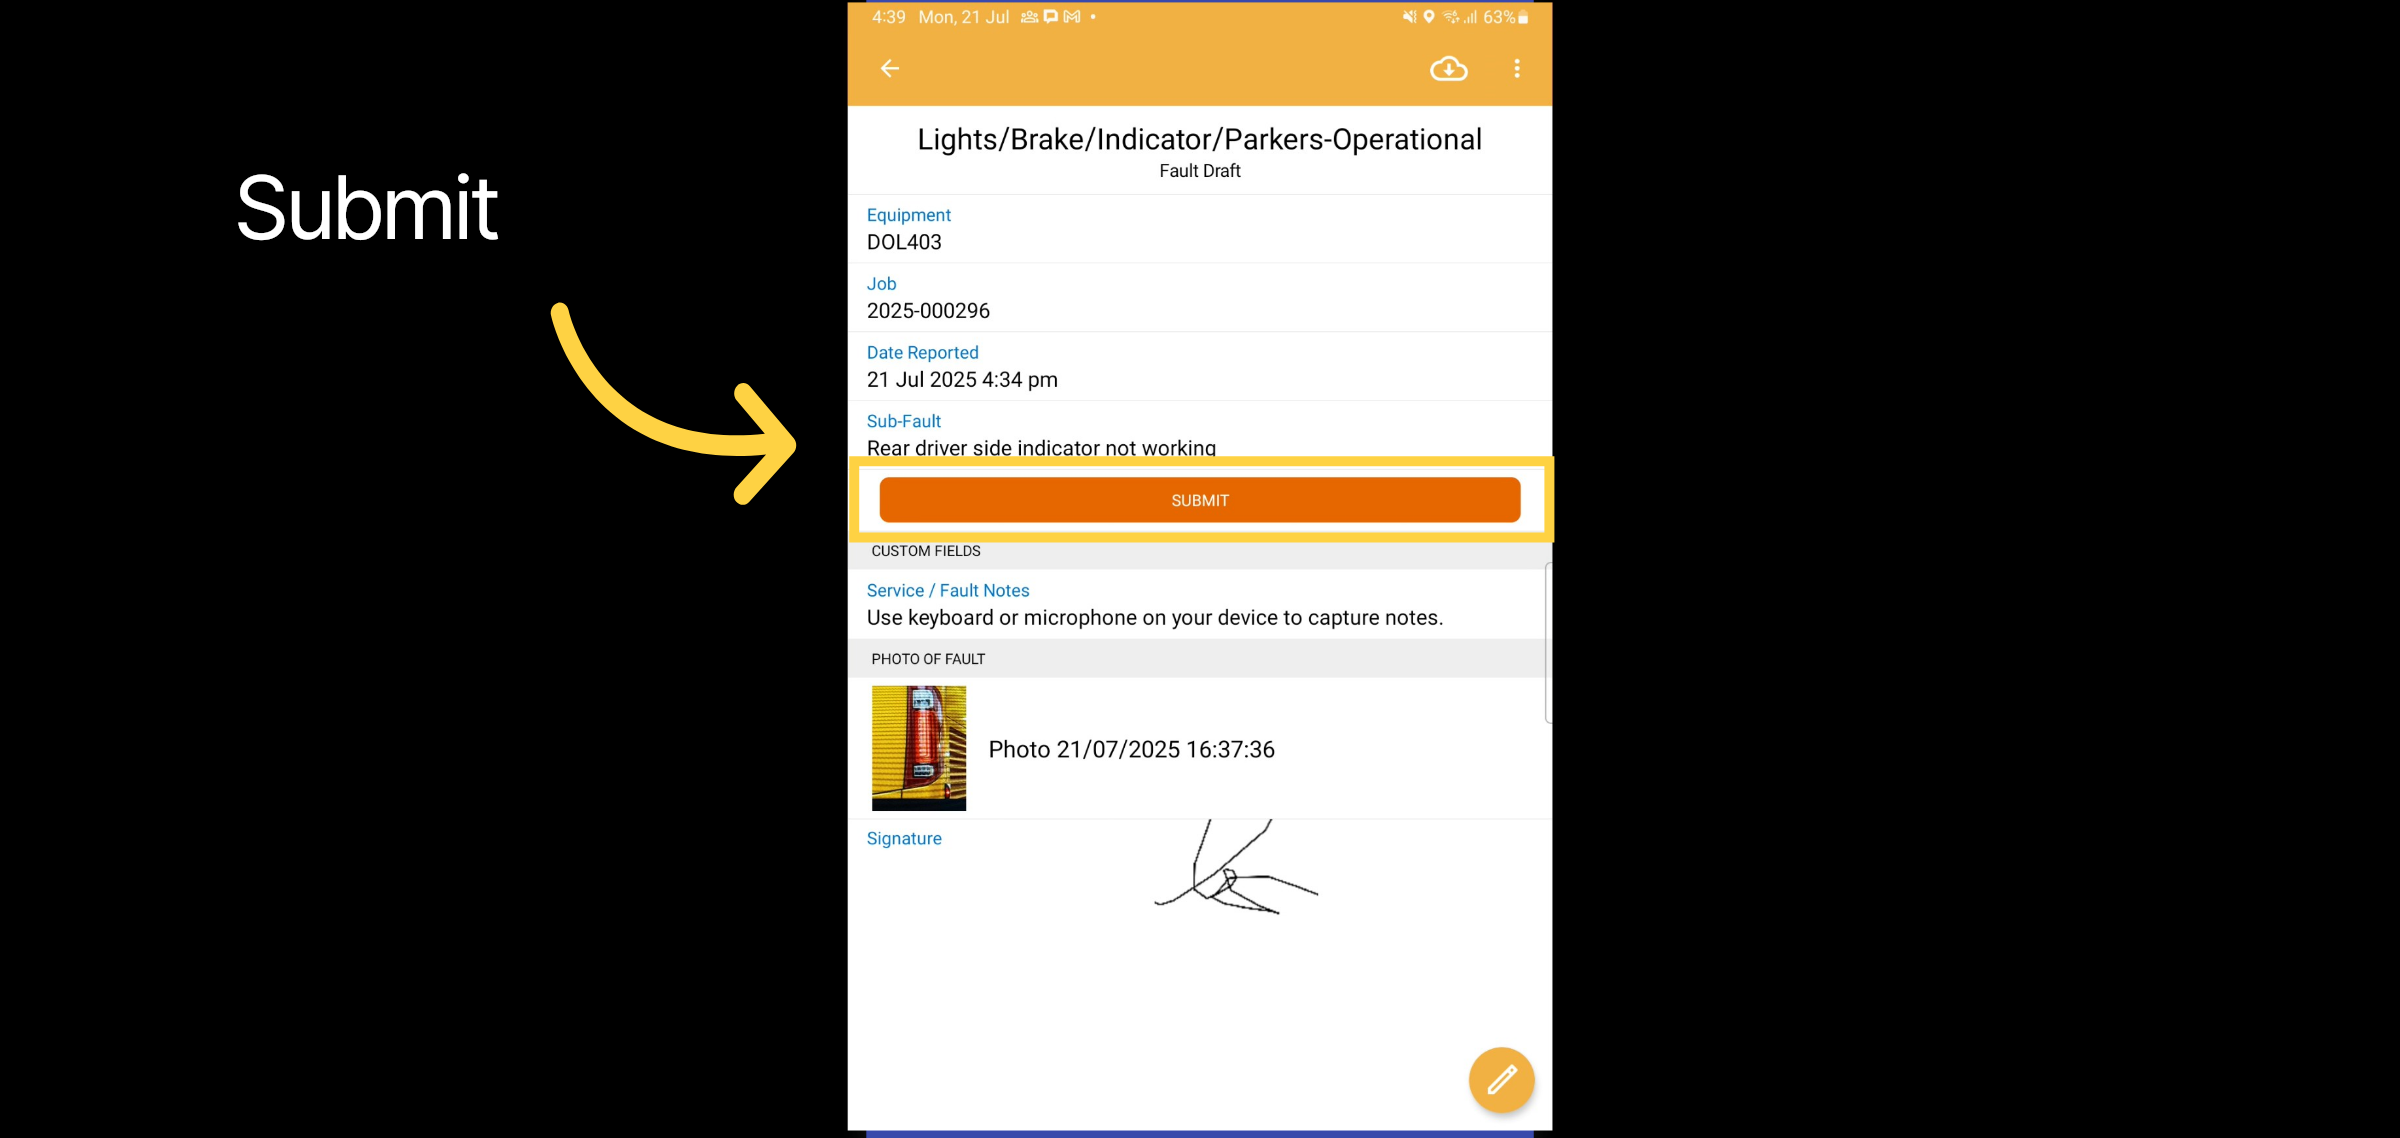
42. Signature & Submit
Once the photo has been added the signature field becomes available. If you need to make changes, use the pen icon to edit, otherwise Submit.
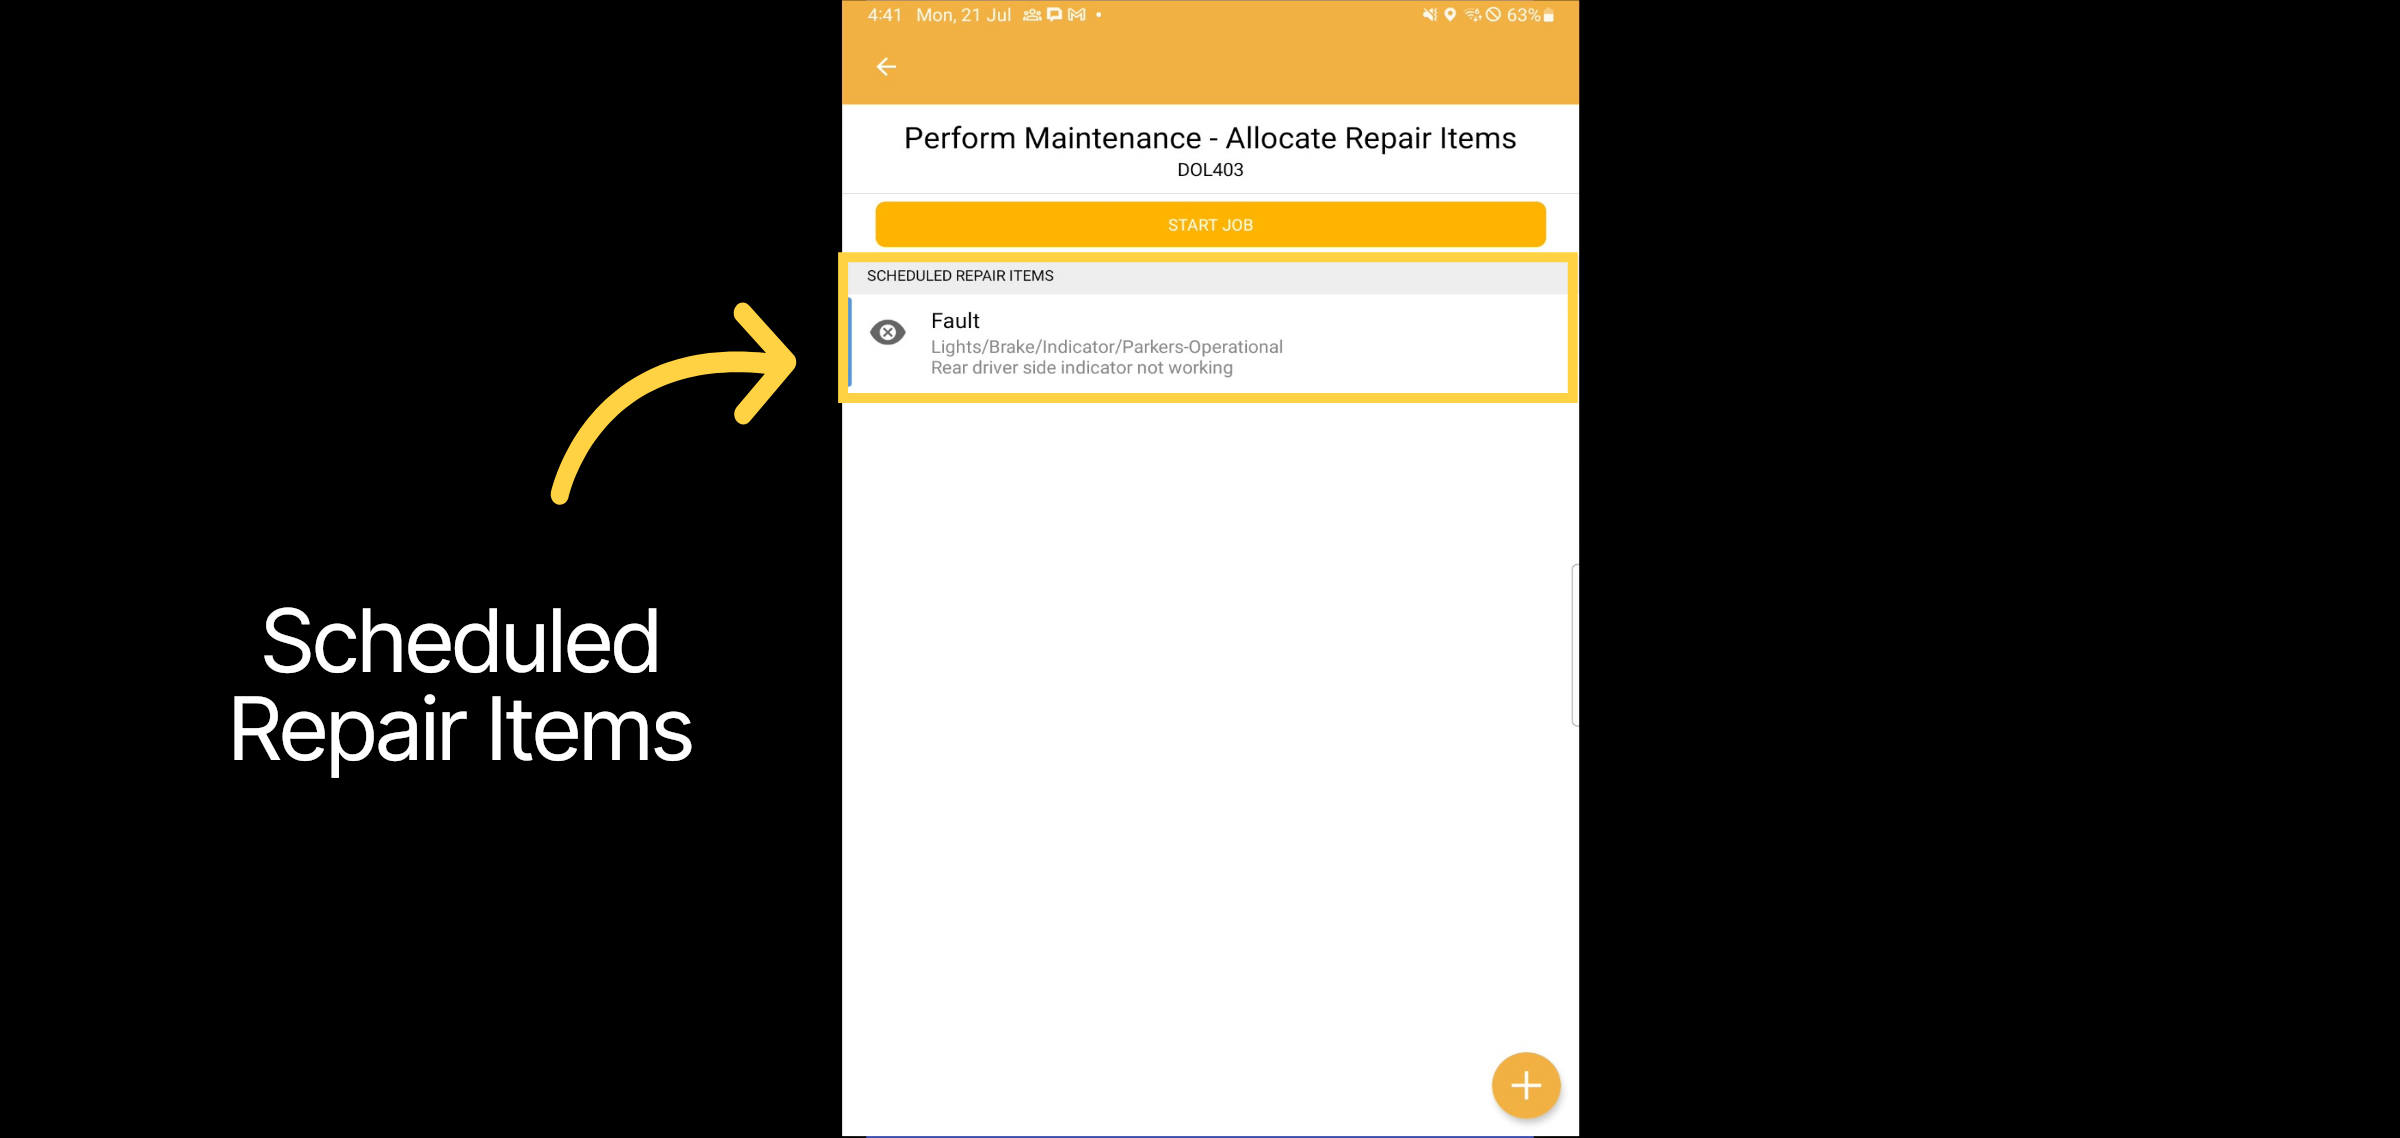
43. Scheduled Repair Items
When repair items are created, they are automatically assigned to the user who created it.
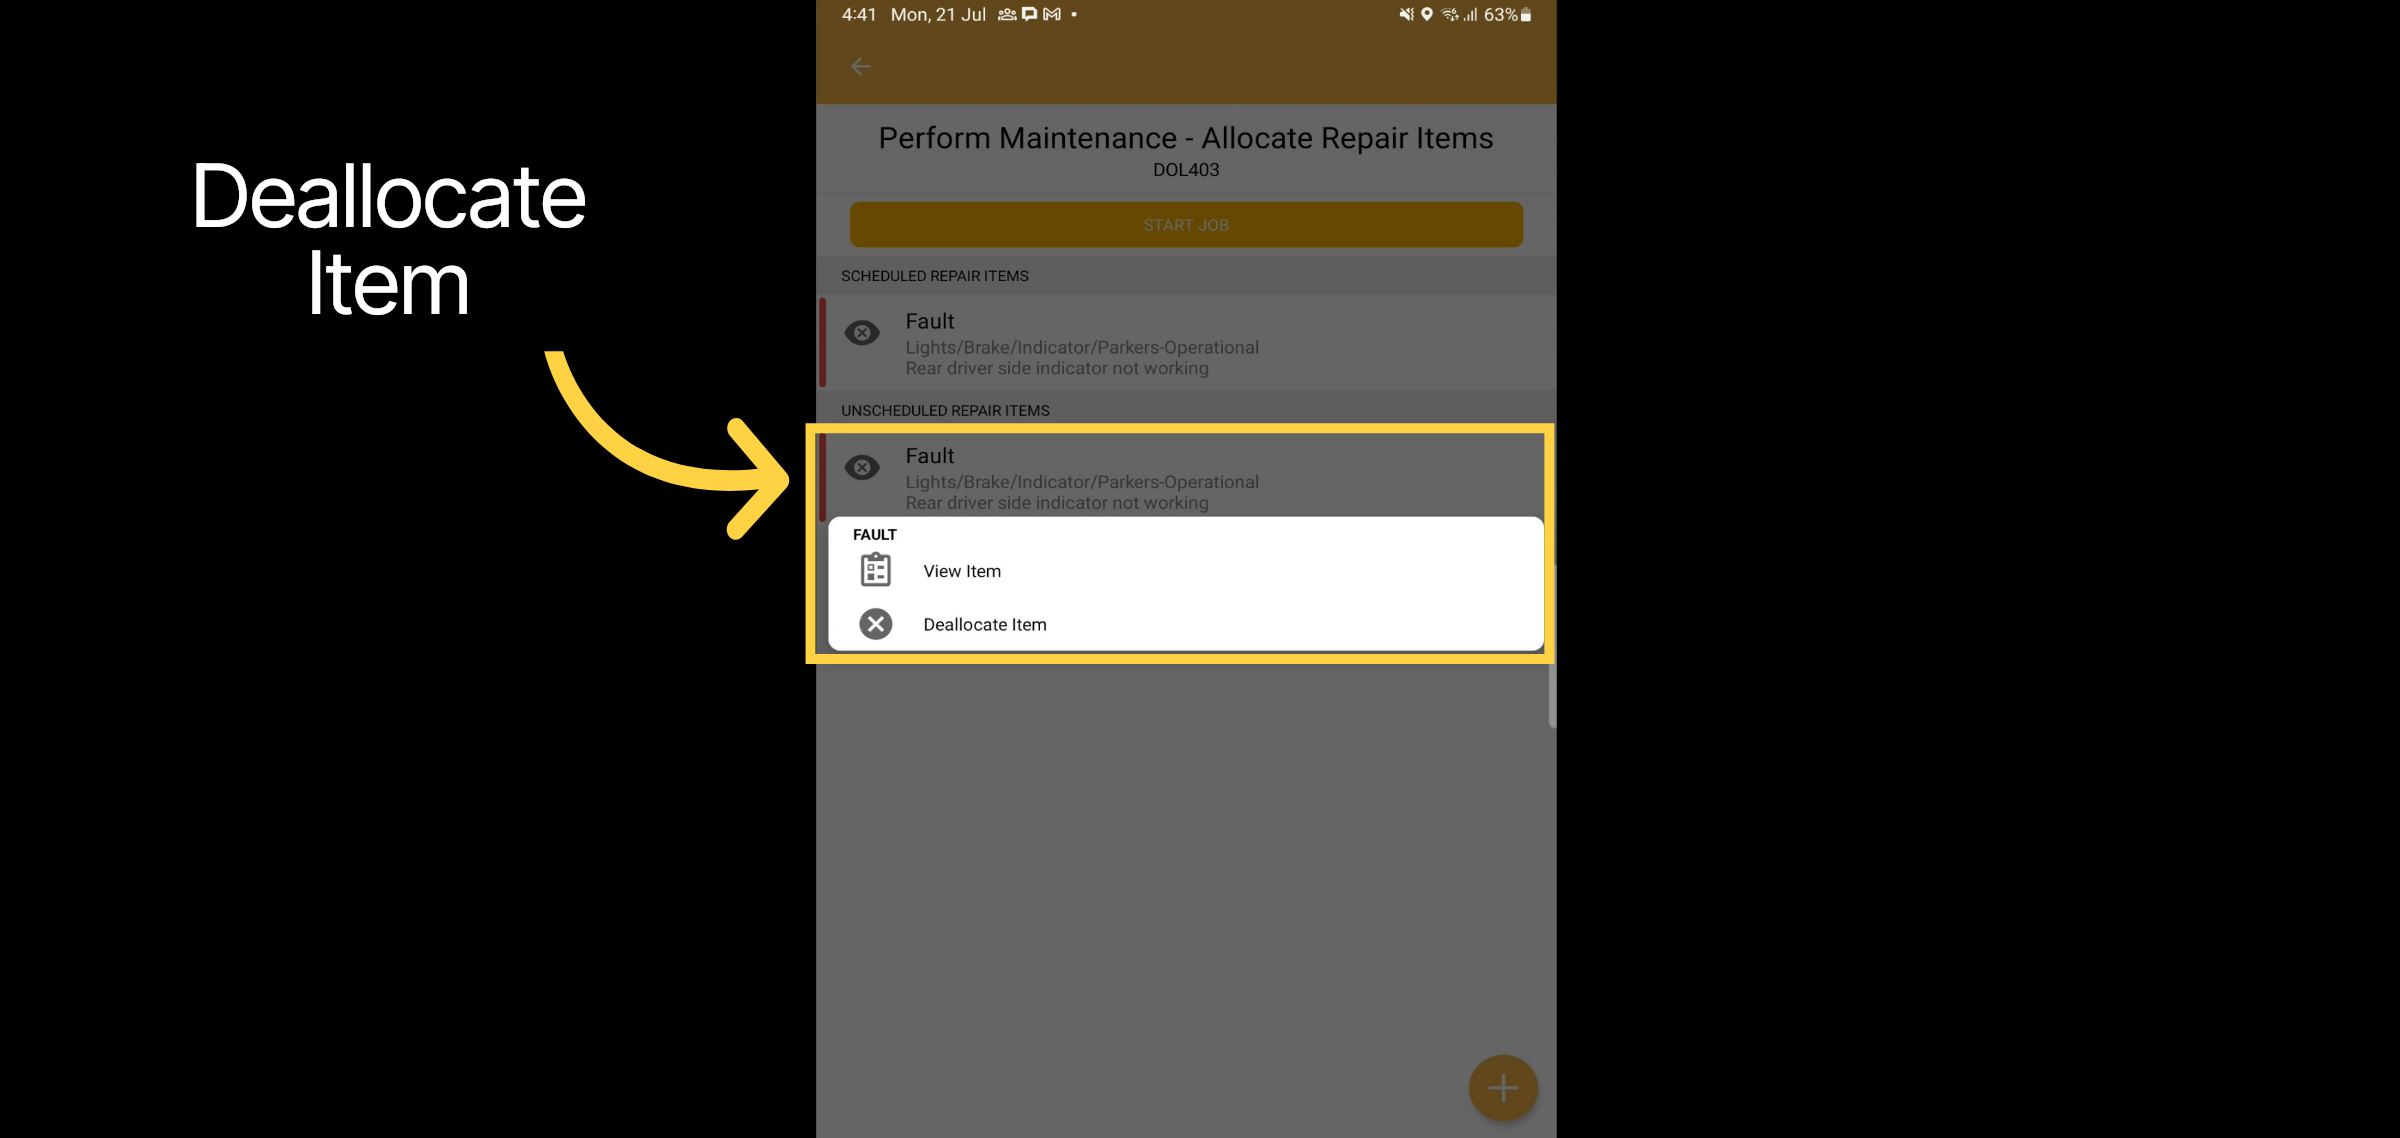
44. Deallocate Item
If you wish to report a fault without proceeding with the repair, simply select Deallocate Item to remove the job from the scheduling queue.
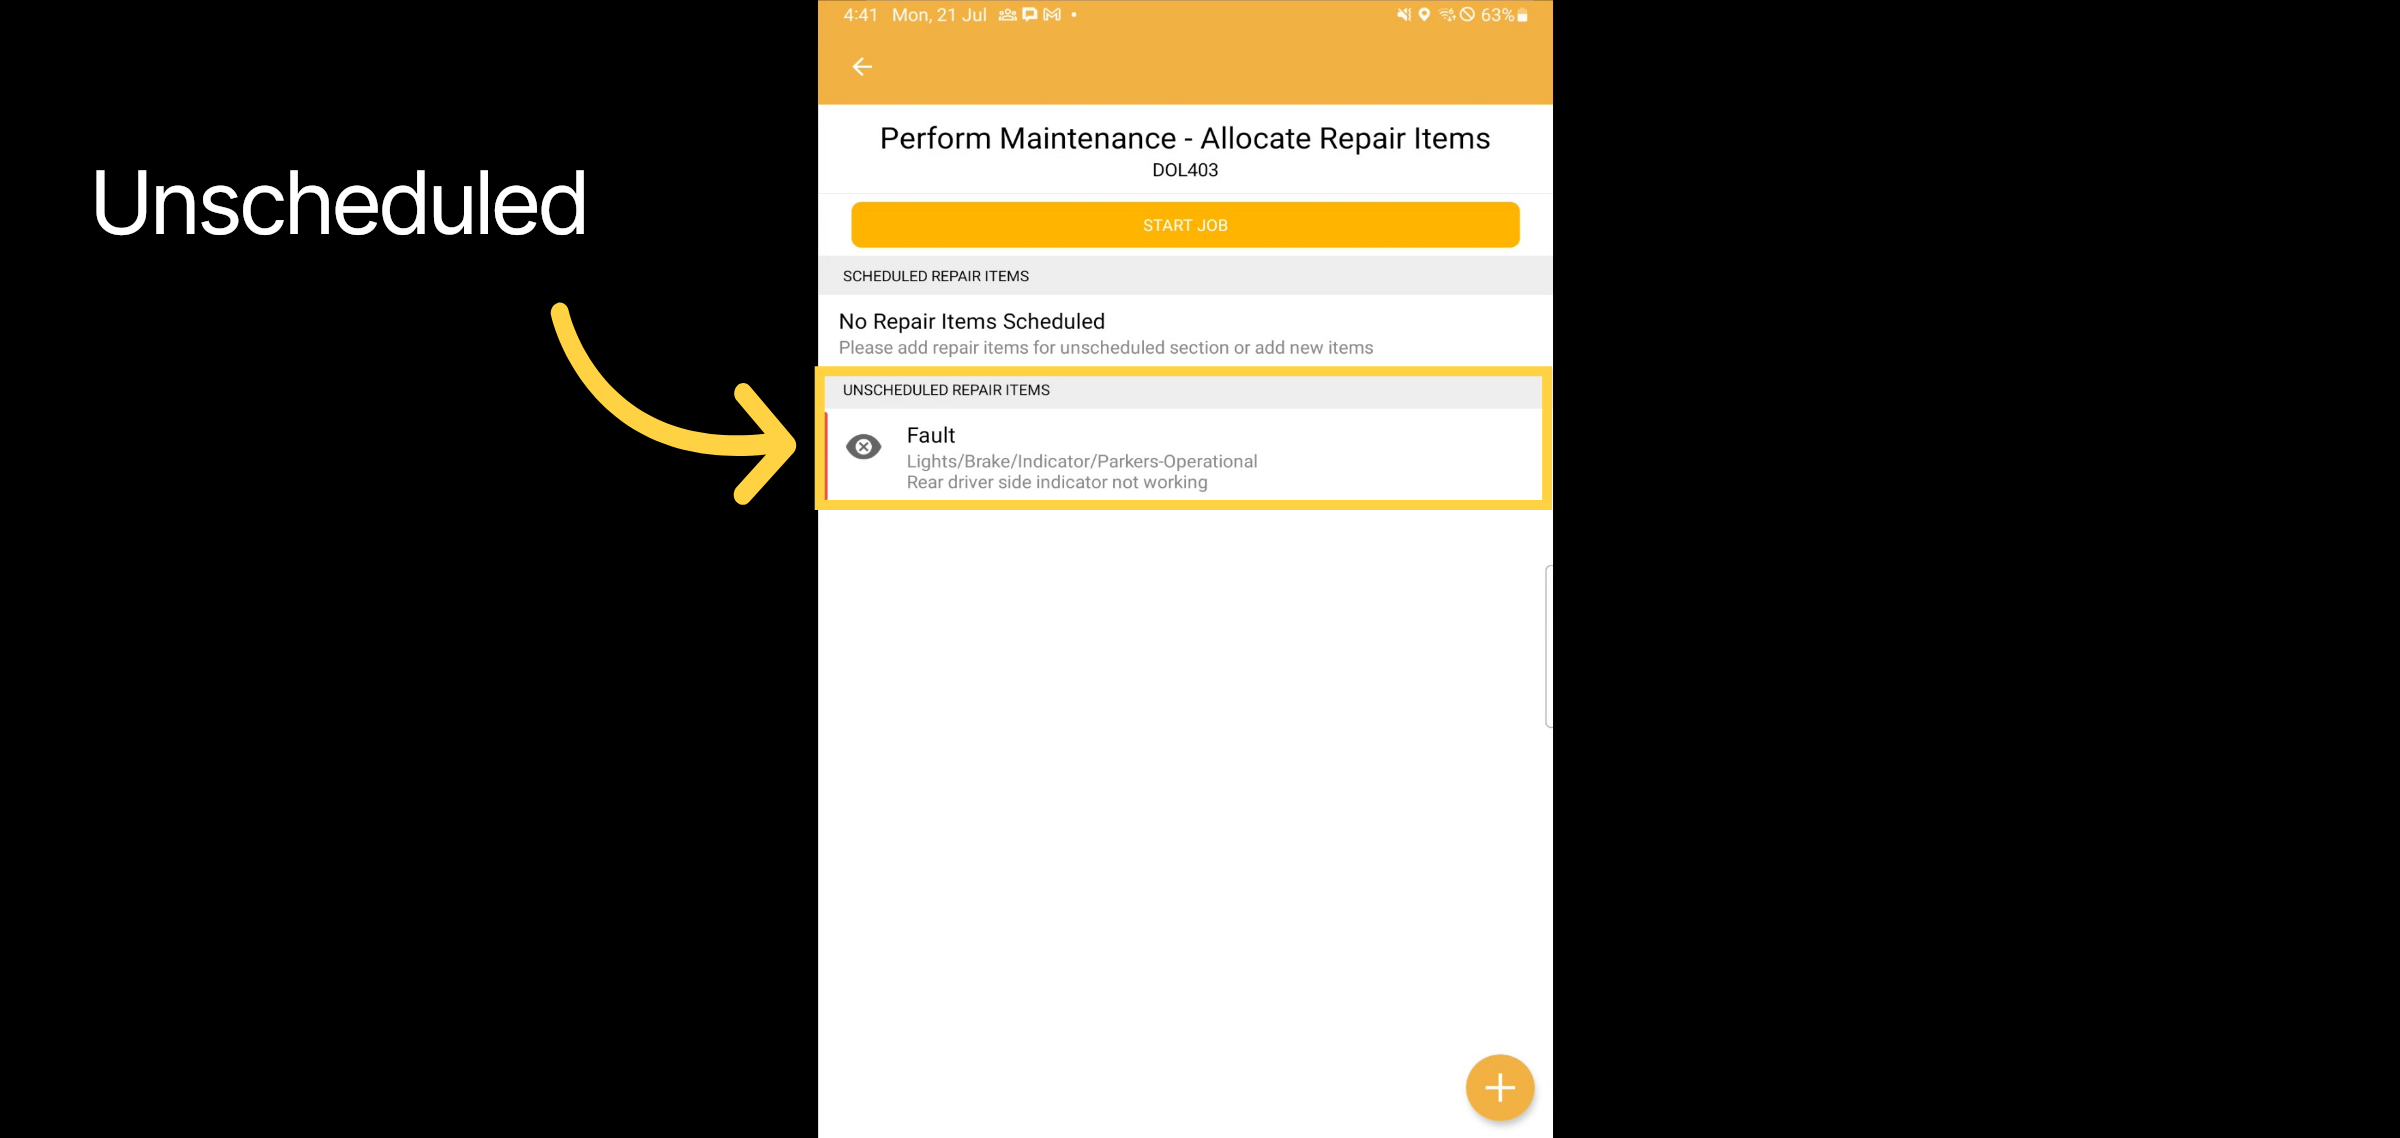
45. Unscheduled
The deallocated item is now categorised as unscheduled. By tapping on the unscheduled repair in the mobile app, you will have the option to allocate it, which effectively schedules the repair back to the mobile user.
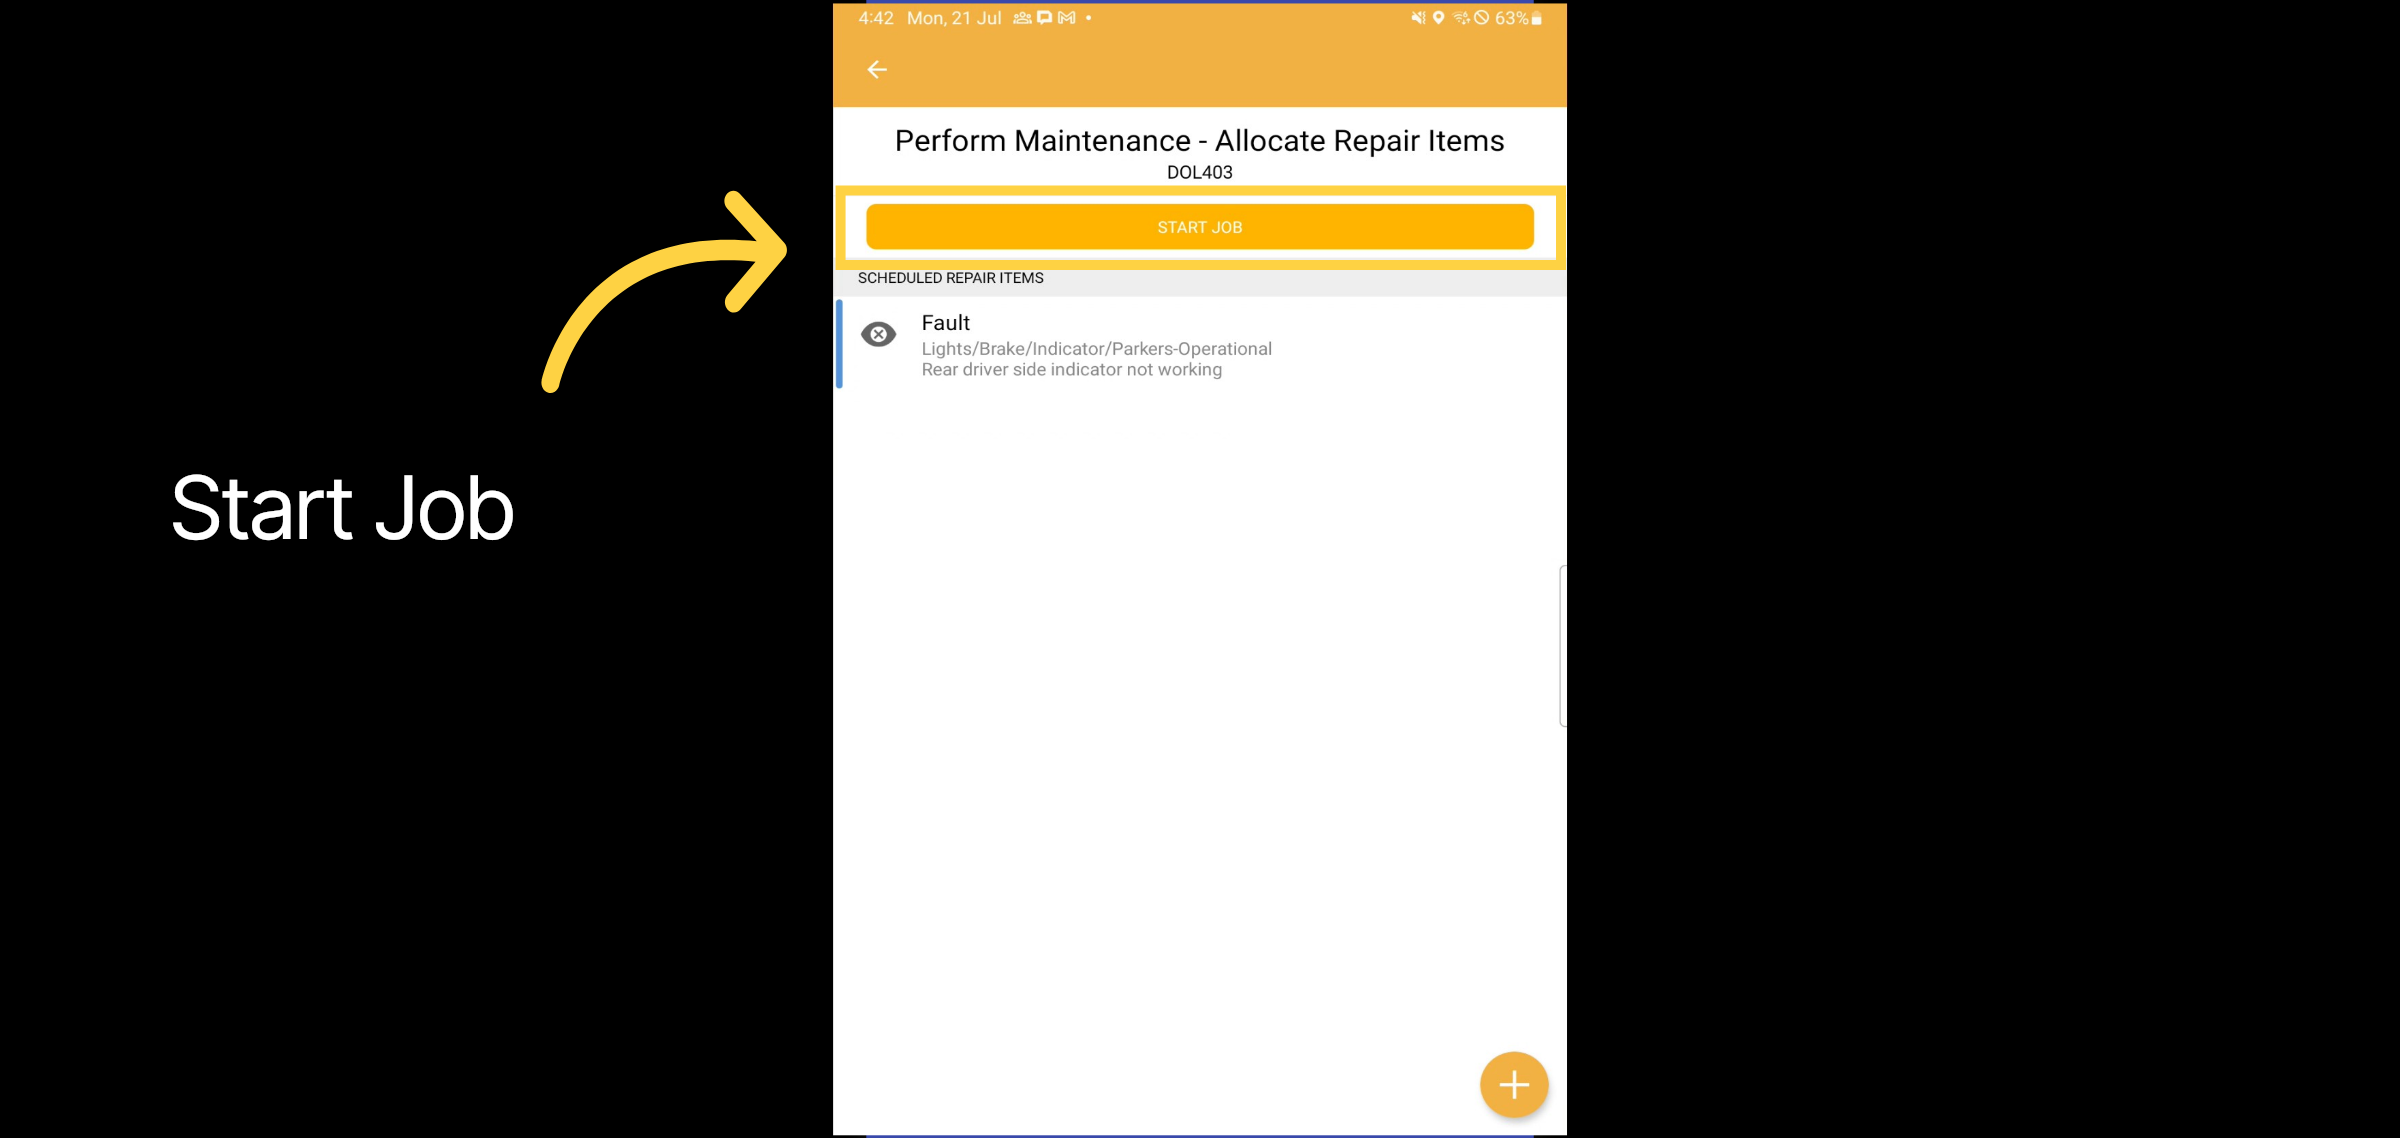
46. Start Job
When ready, click on the Start Job button
This guide covered the steps to complete a repair and service on mobile.

