Introducing the new time capture feature in the KIM Gear app, designed for maintenance teams seeking to optimize their repair processes and analyse the time taken to perform maintenance and servicing across their fleet.
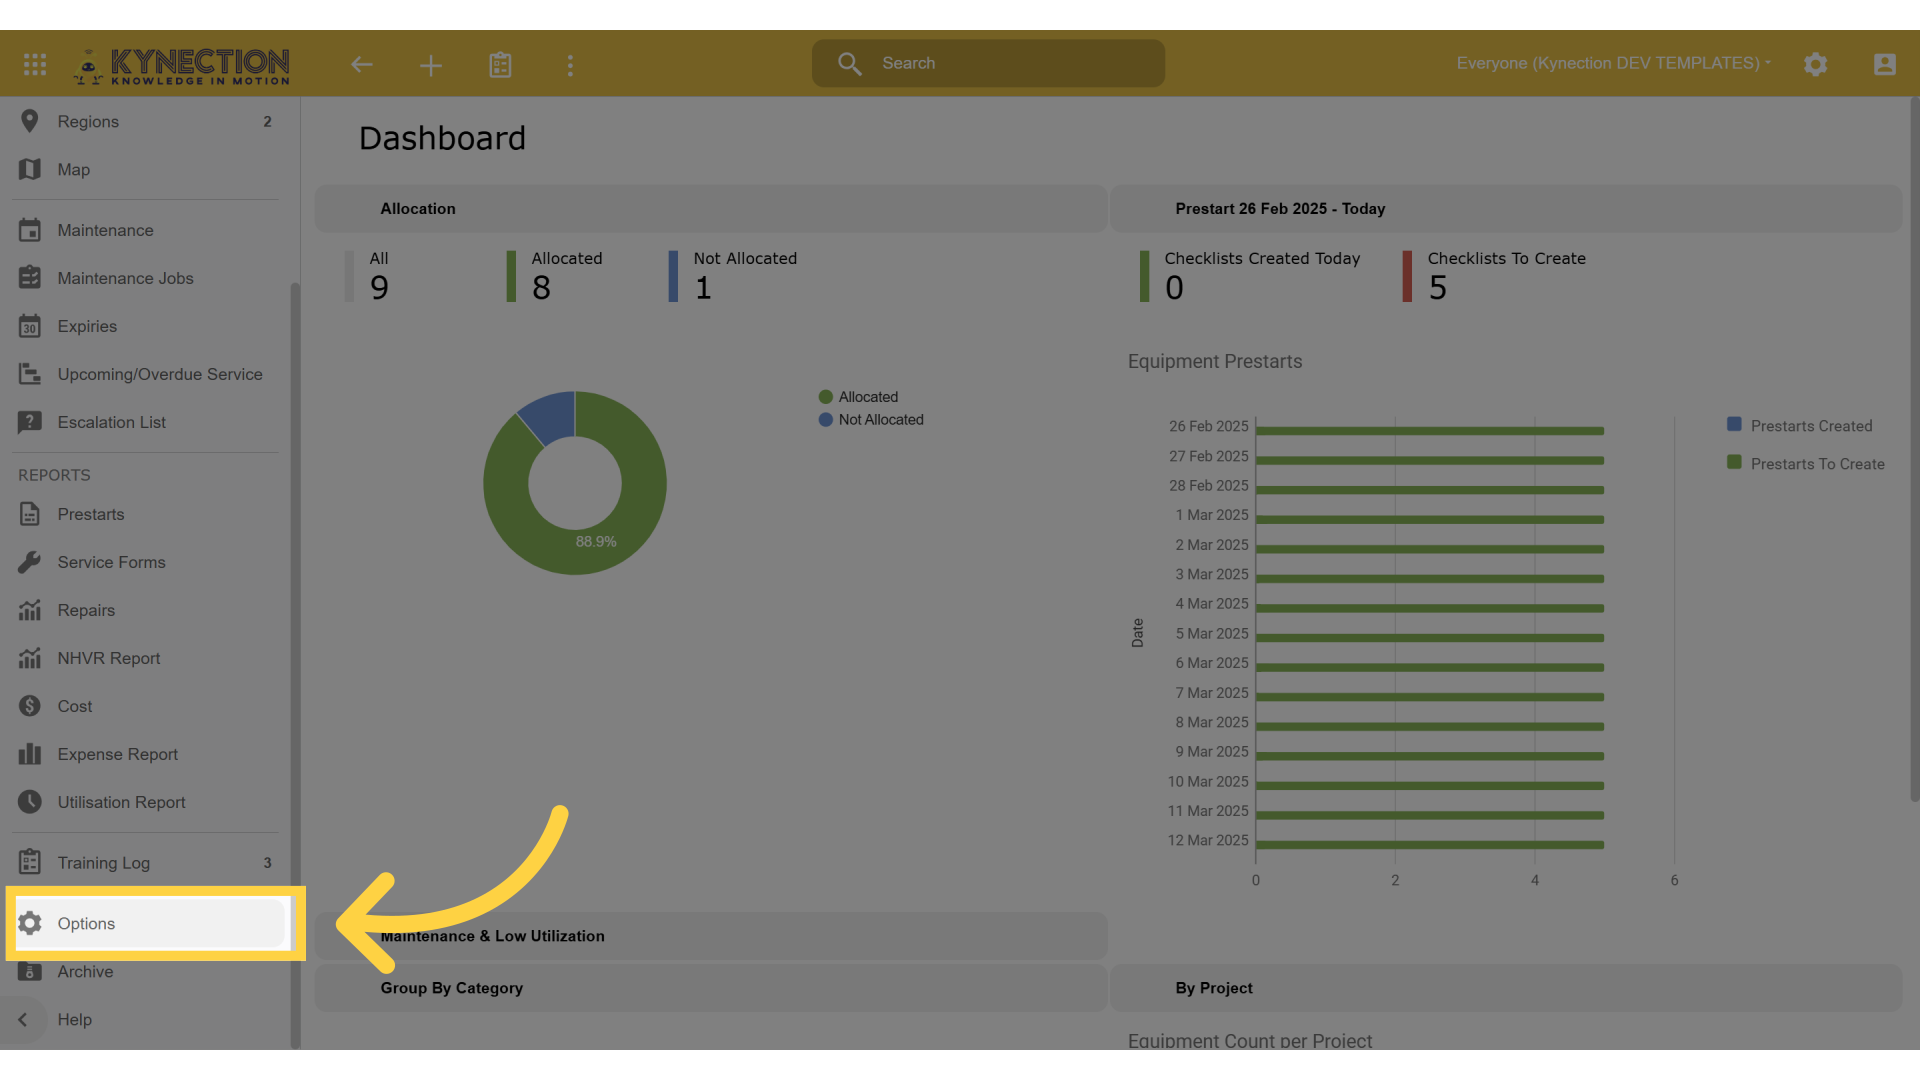
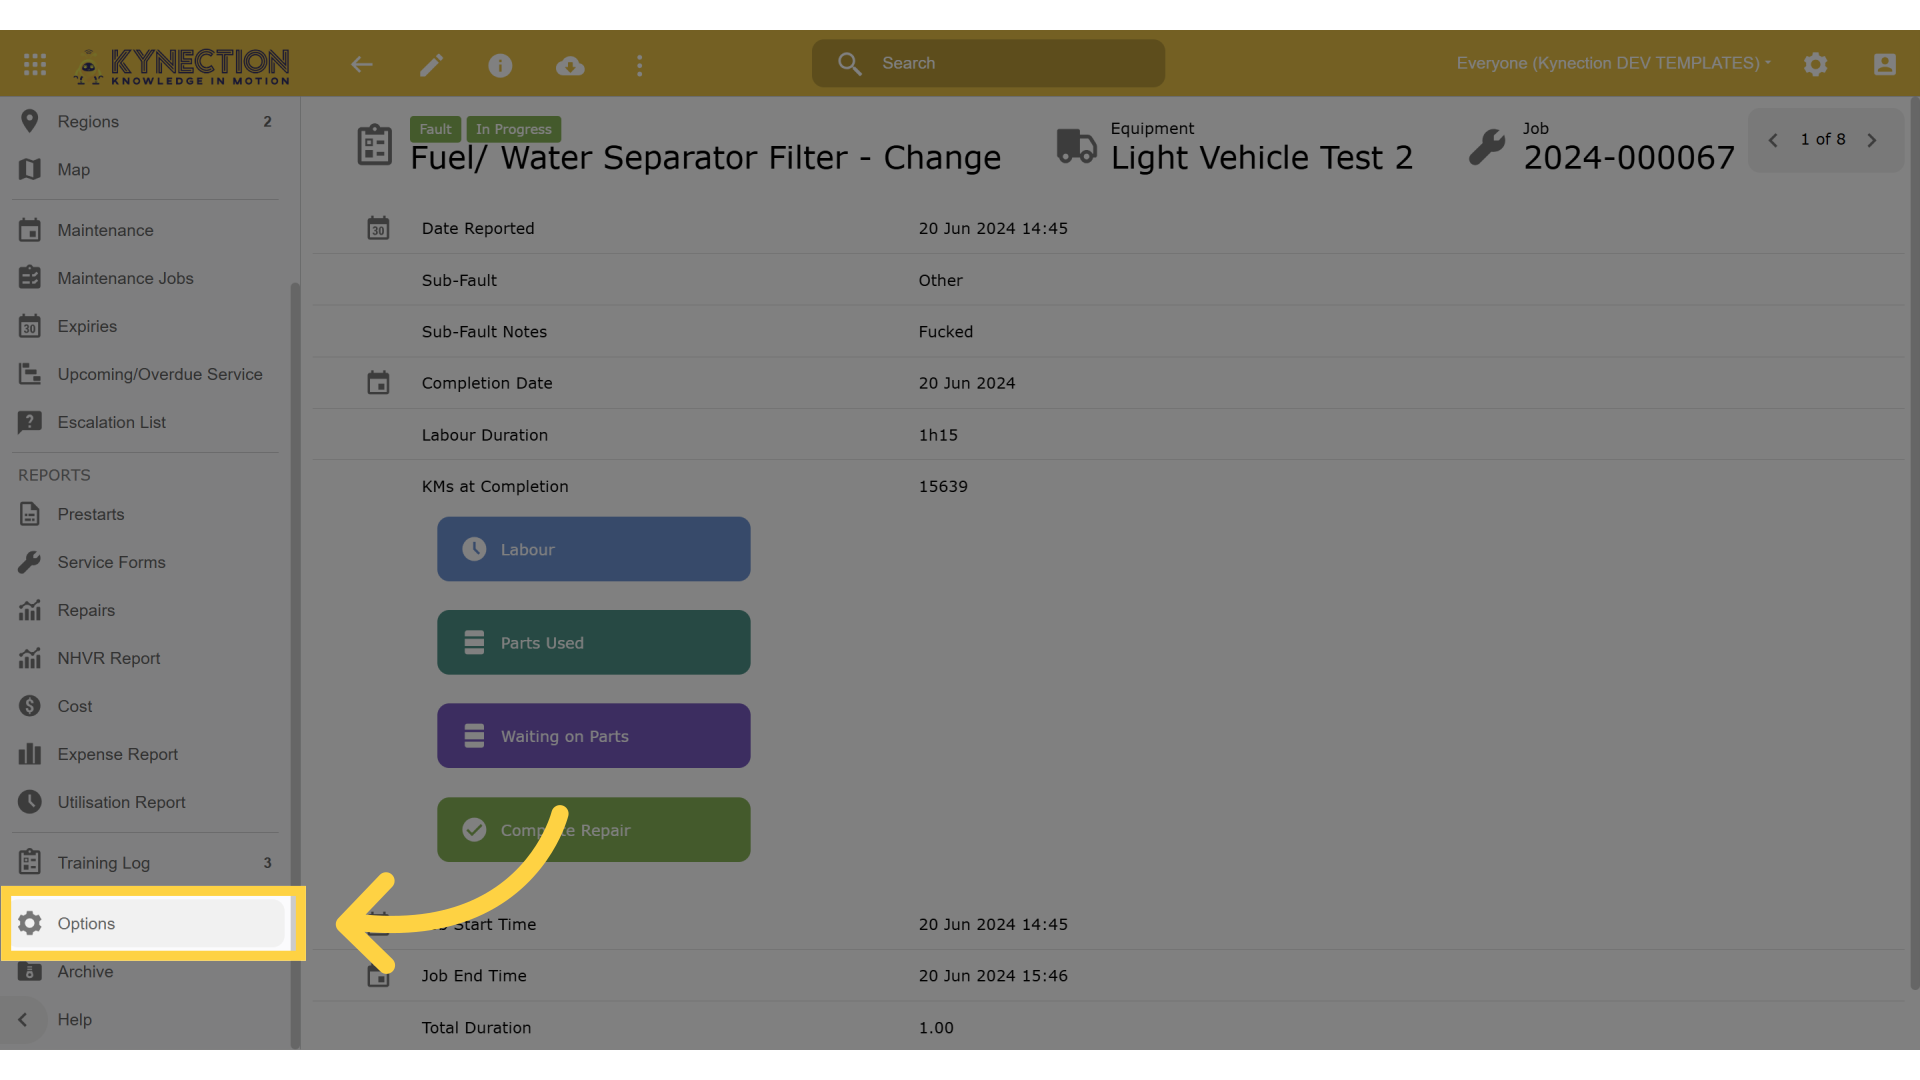
1. Click "Options"
Access the settings to customize your time capture preferences.
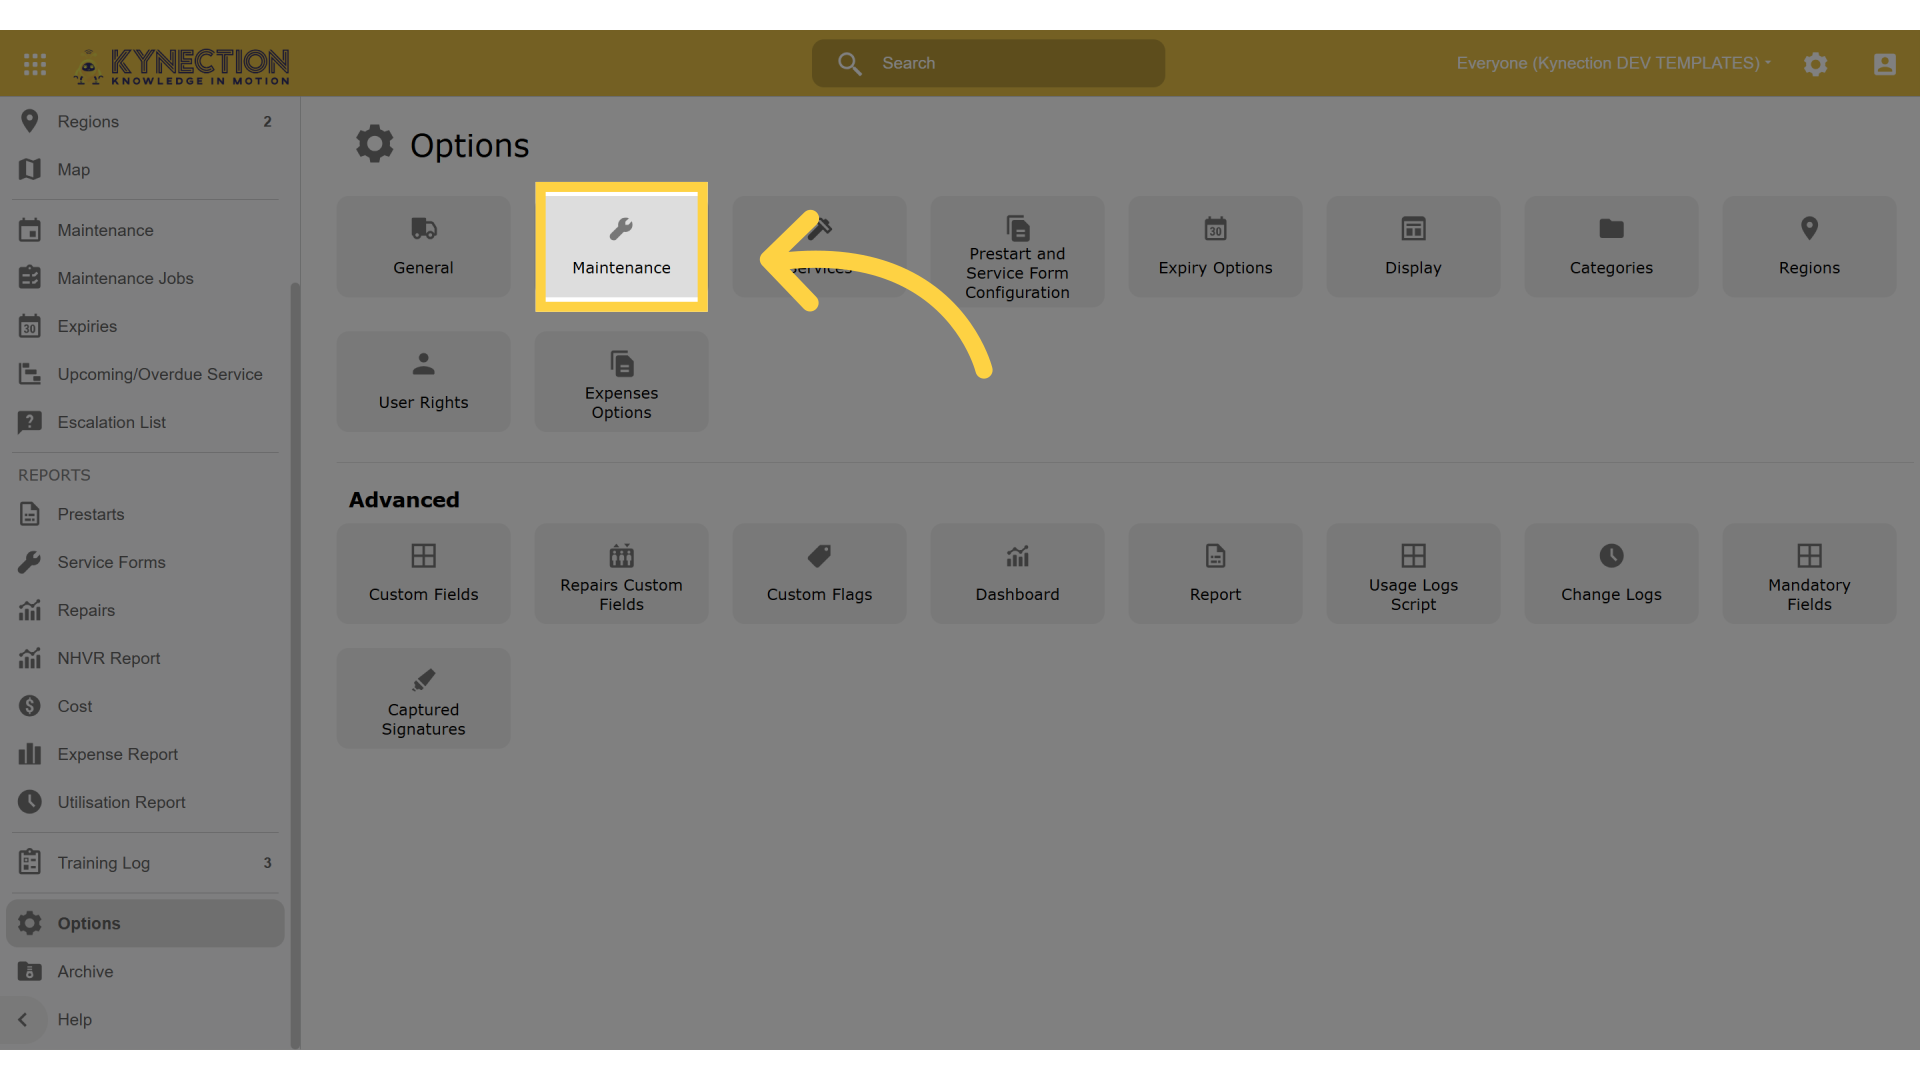
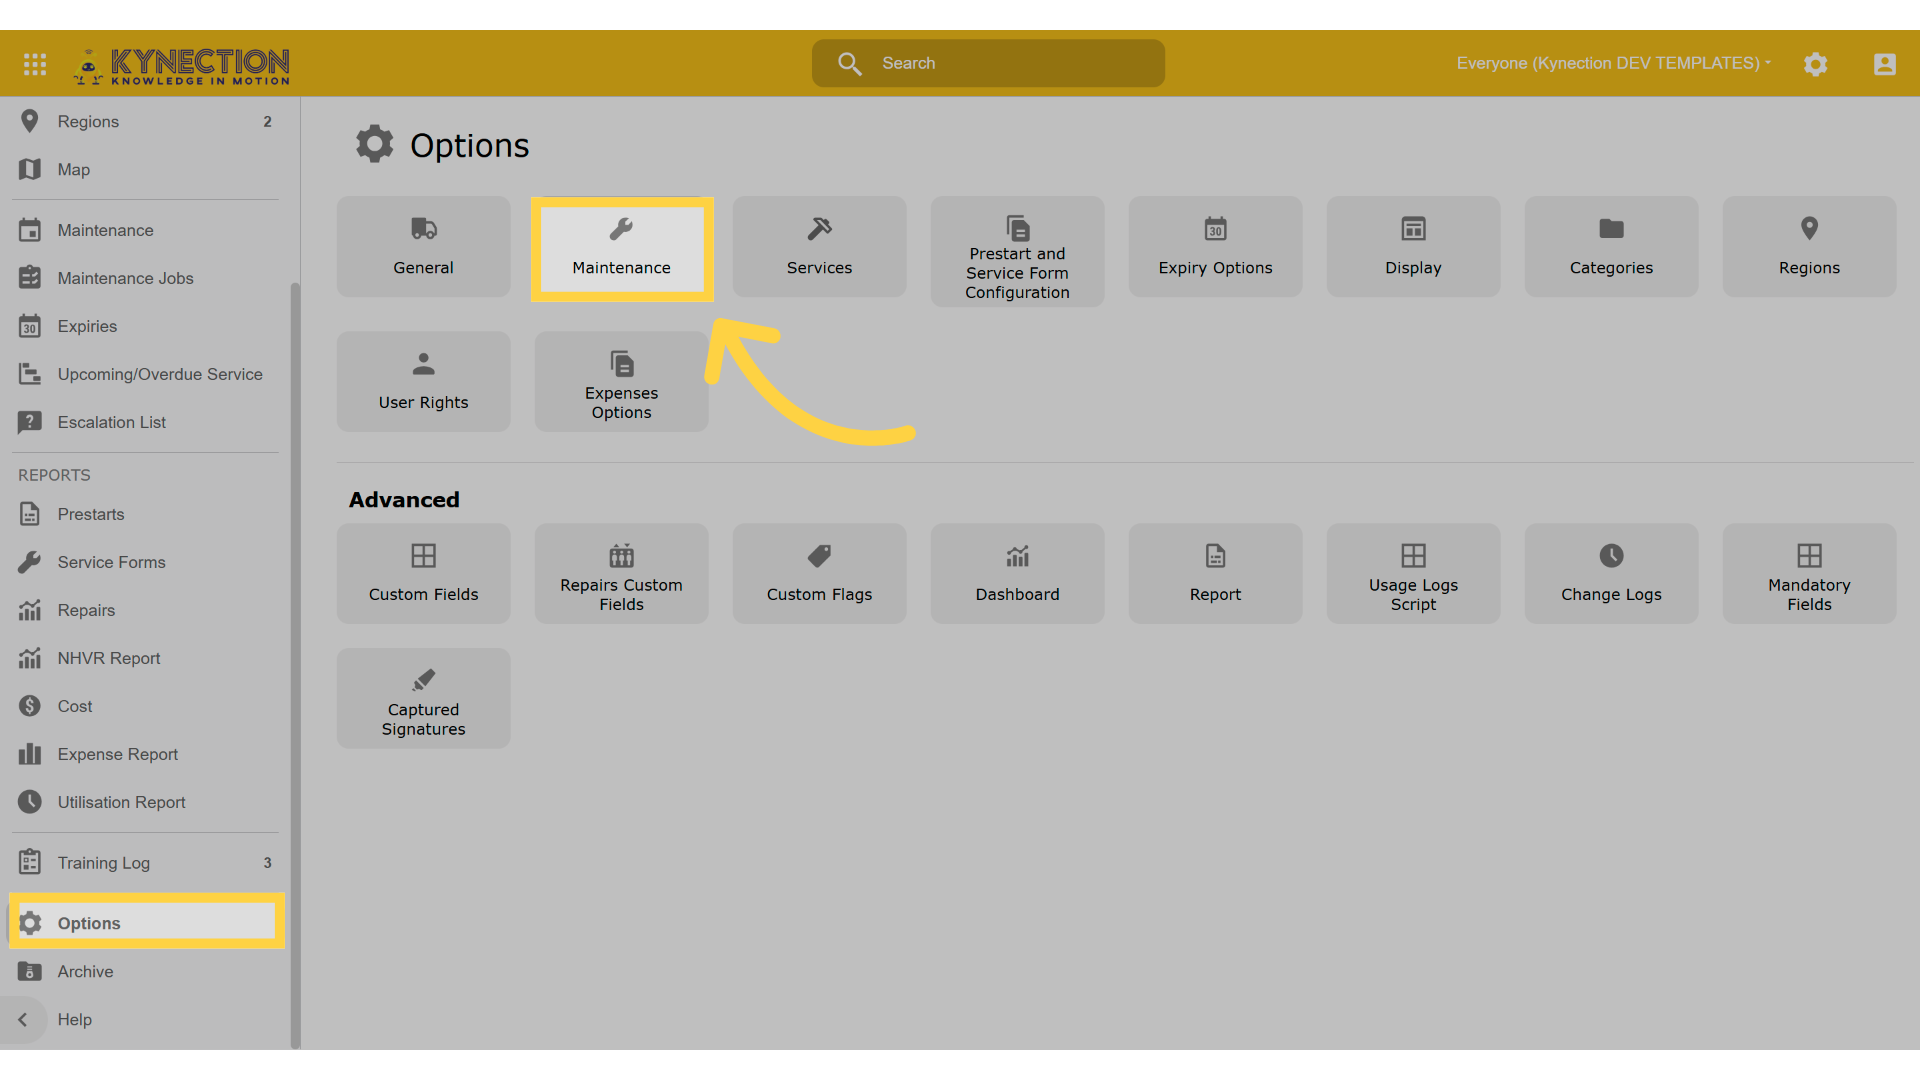
2. Click "Maintenance"
Navigate to the maintenance section.
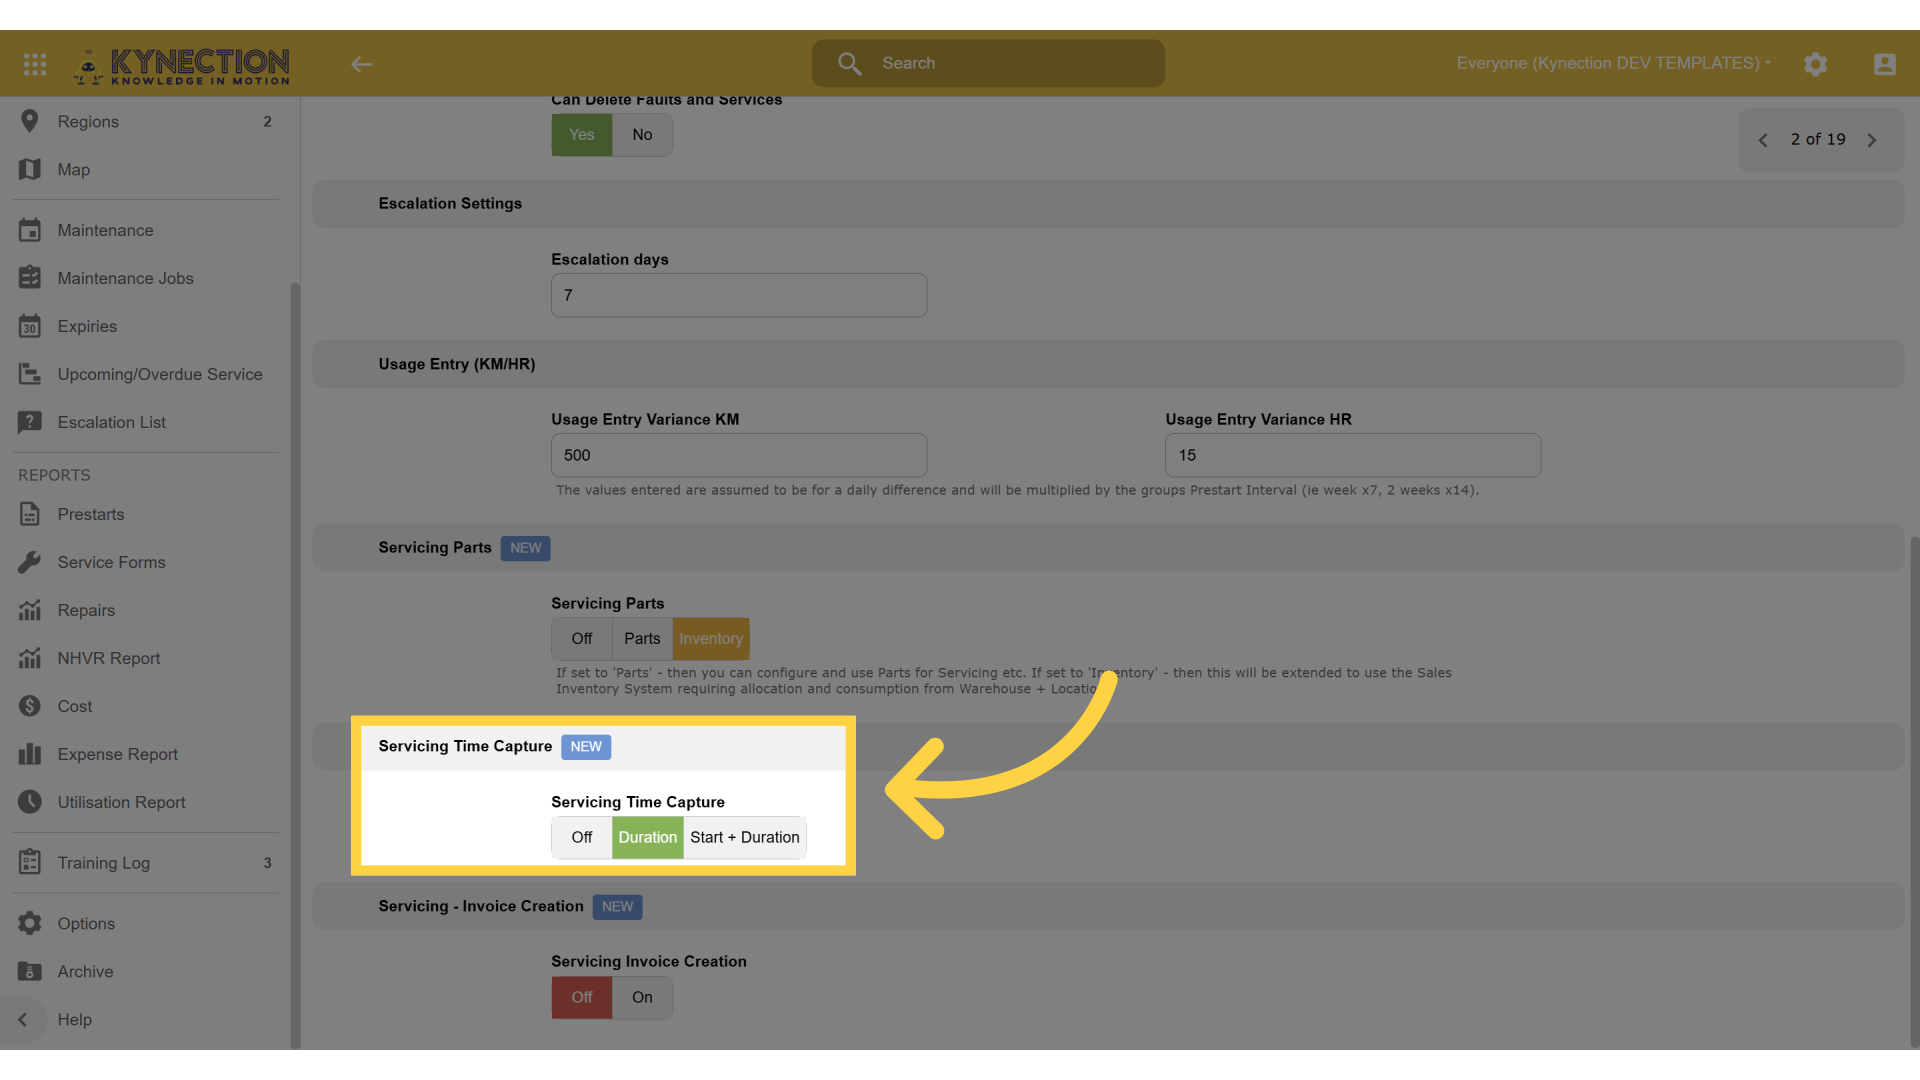
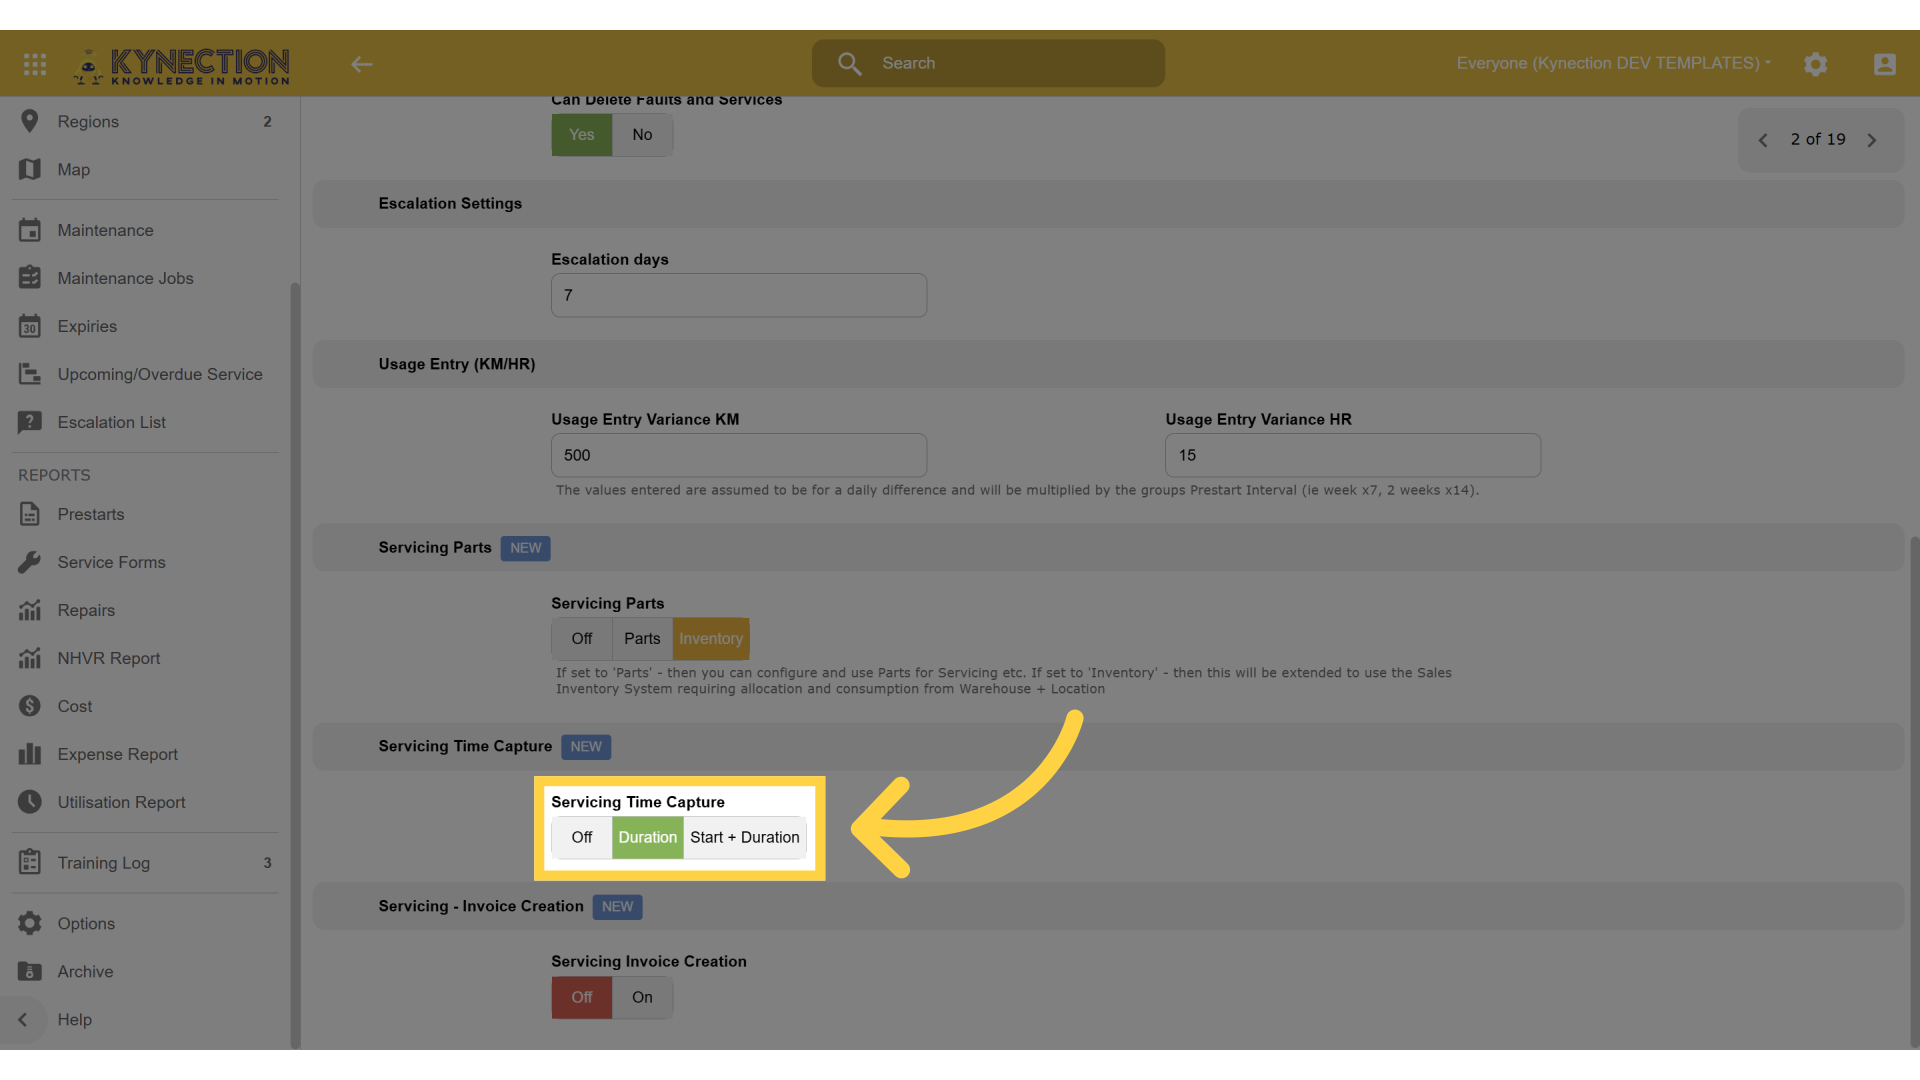
3. New Section - Time Capture
Within the Maintenance section - there is a new header - 'Servicing Time Capture'. By default - this will be set to Off but allows for 2 settings - Duration and 'Start + Duration'. Duration just prompts and captures the Duration of time taken on the Repair - which can be entered in across multiple days allowing for a full total time at the end. Start + Duration allows for selecting the Start Time of the Repair and total time from there. This also allows the information to be integrated with the HR module - pushing the time over to TImesheets streamlining the process. If enabled - this information will also allow for Expense information to be also created as a part of this process - adding additional expenses for Labour Captured.
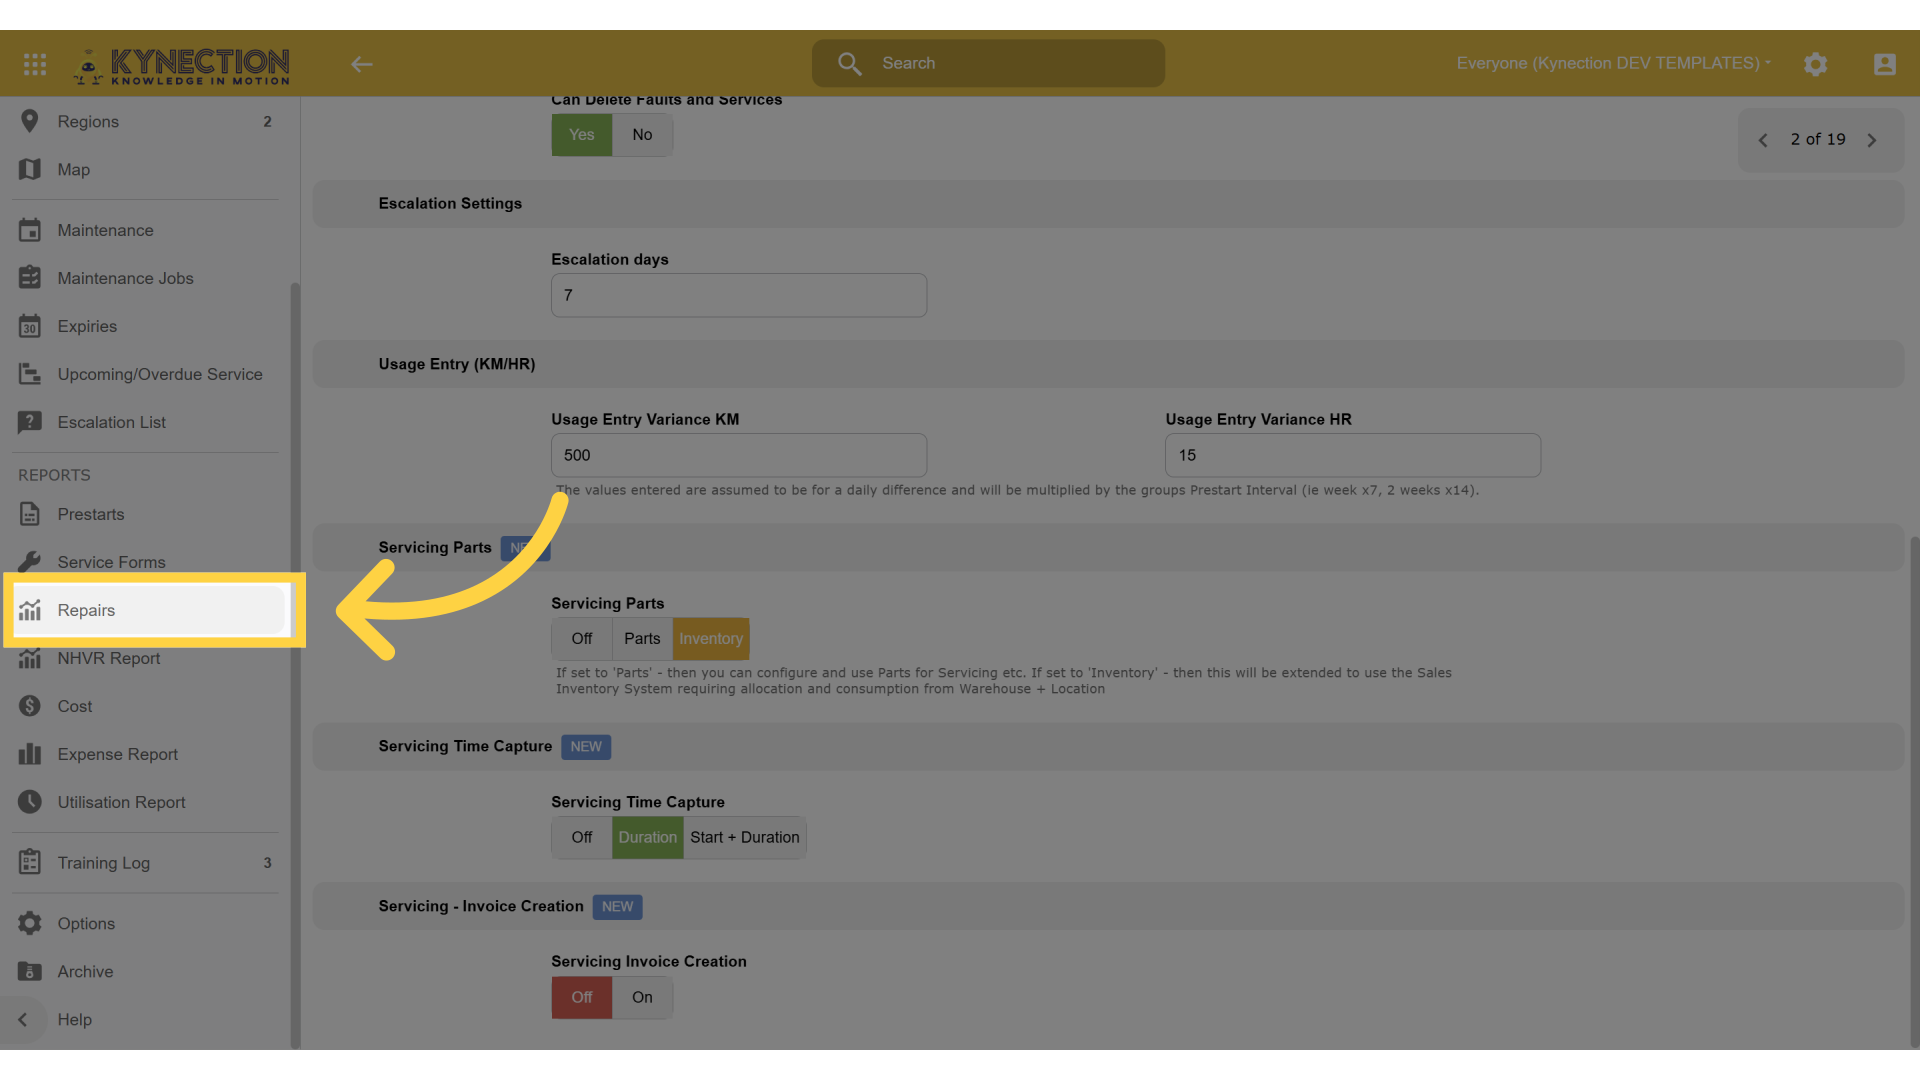
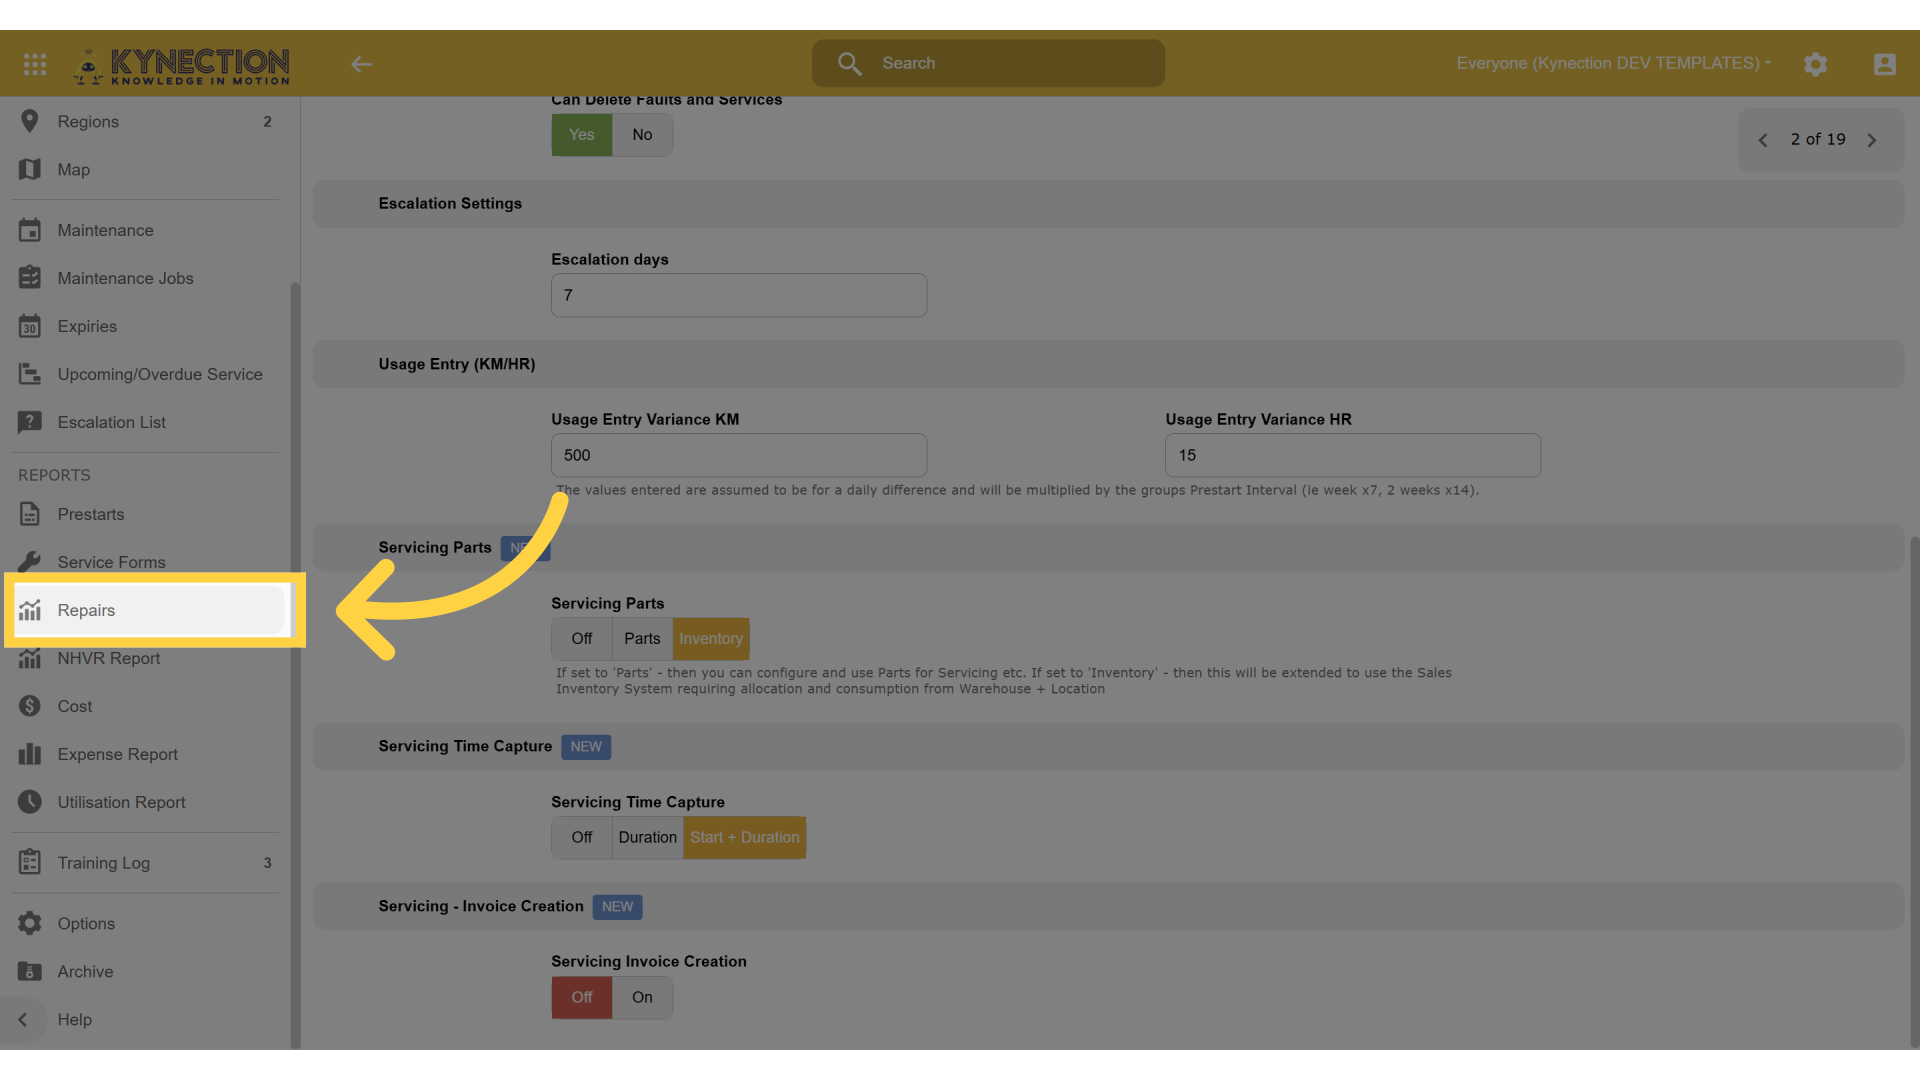
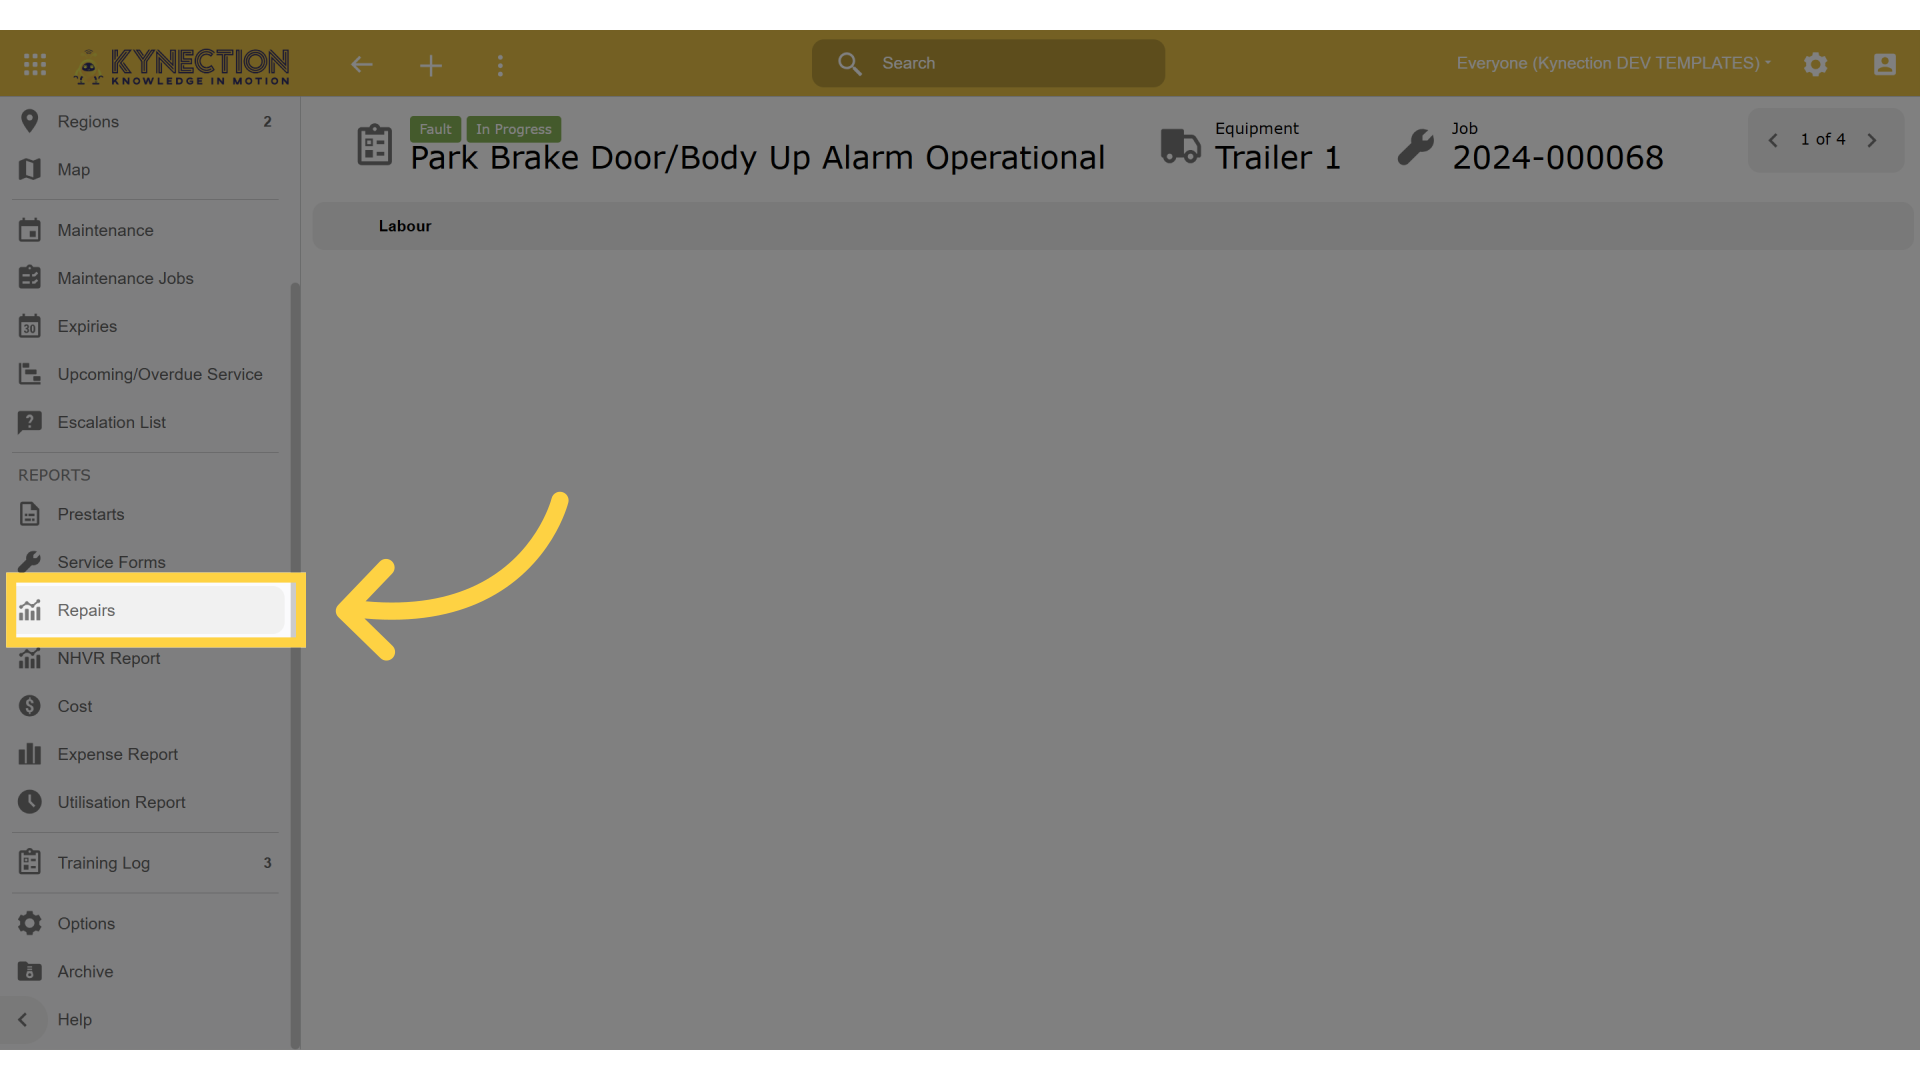
4. Click "Repairs"
Select the repairs module to begin logging specific repair tasks, thus providing detailed insights into operational efficiency.
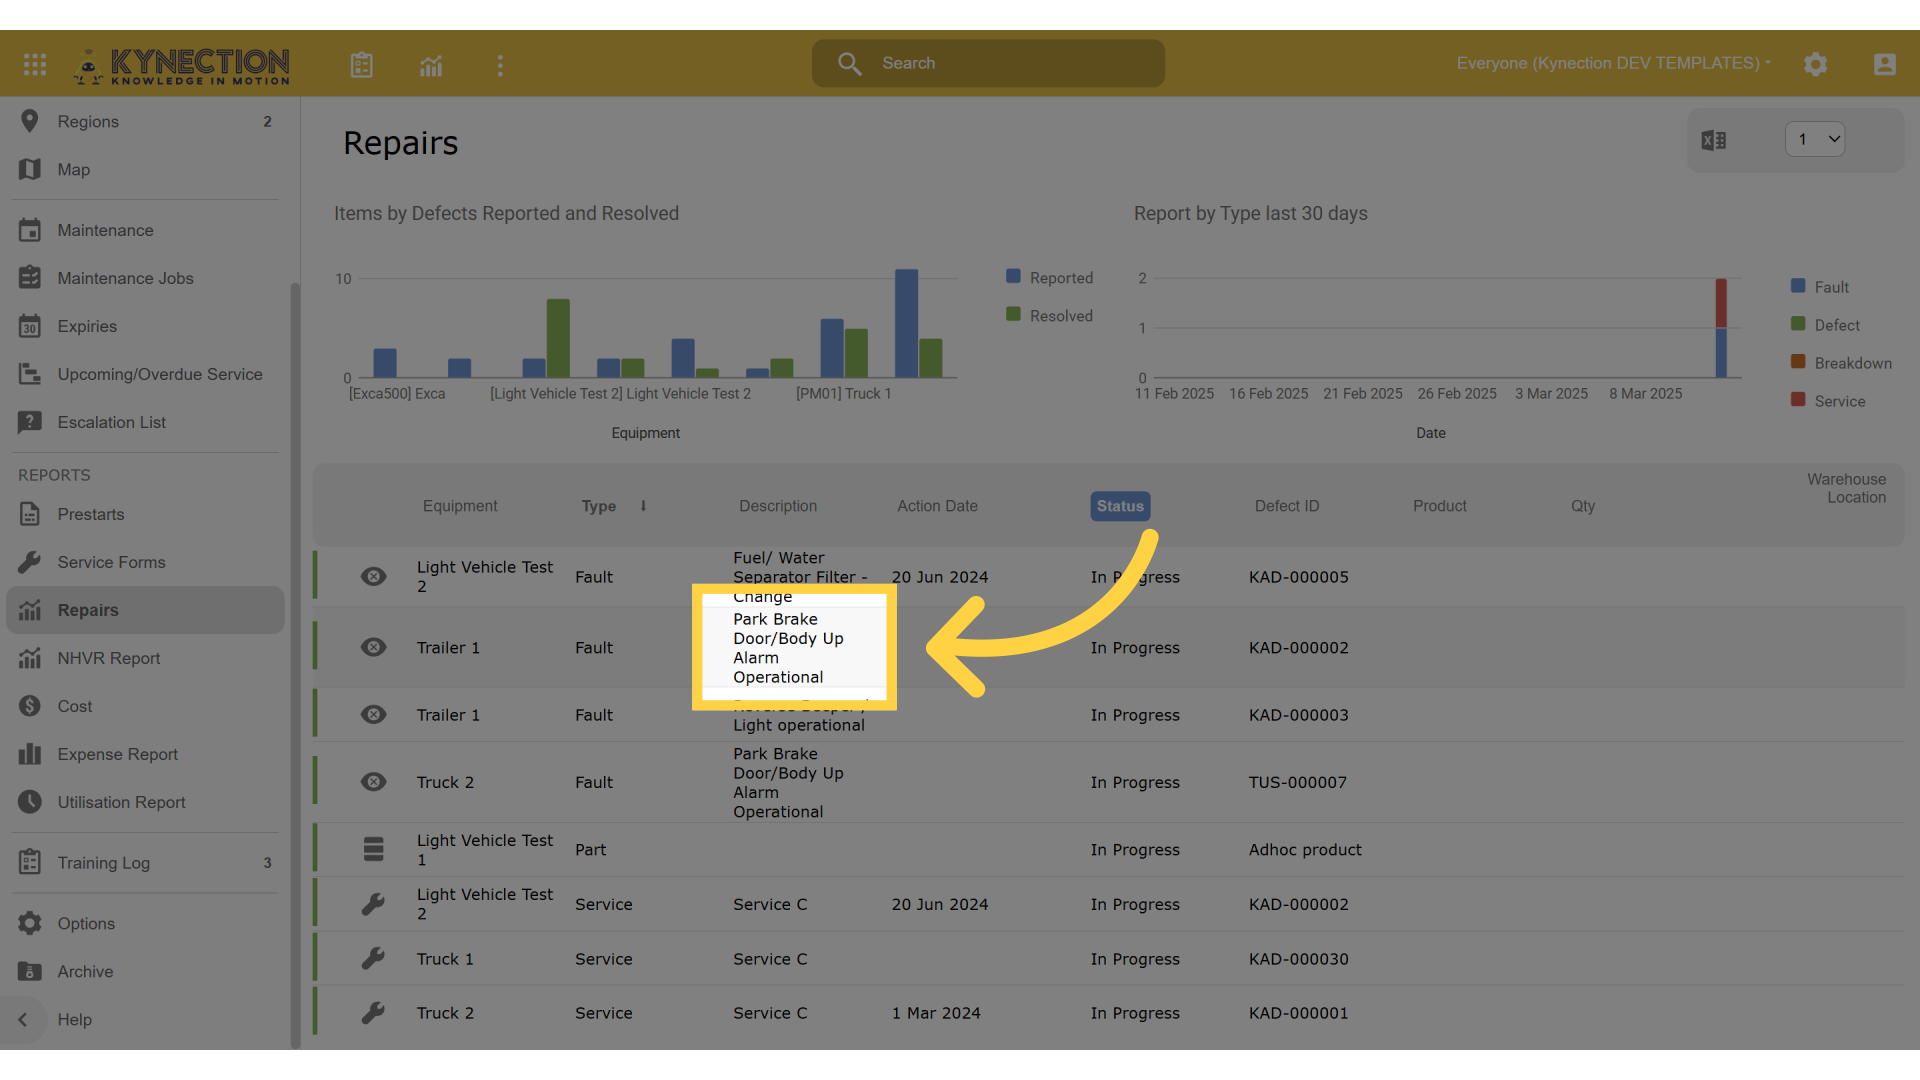
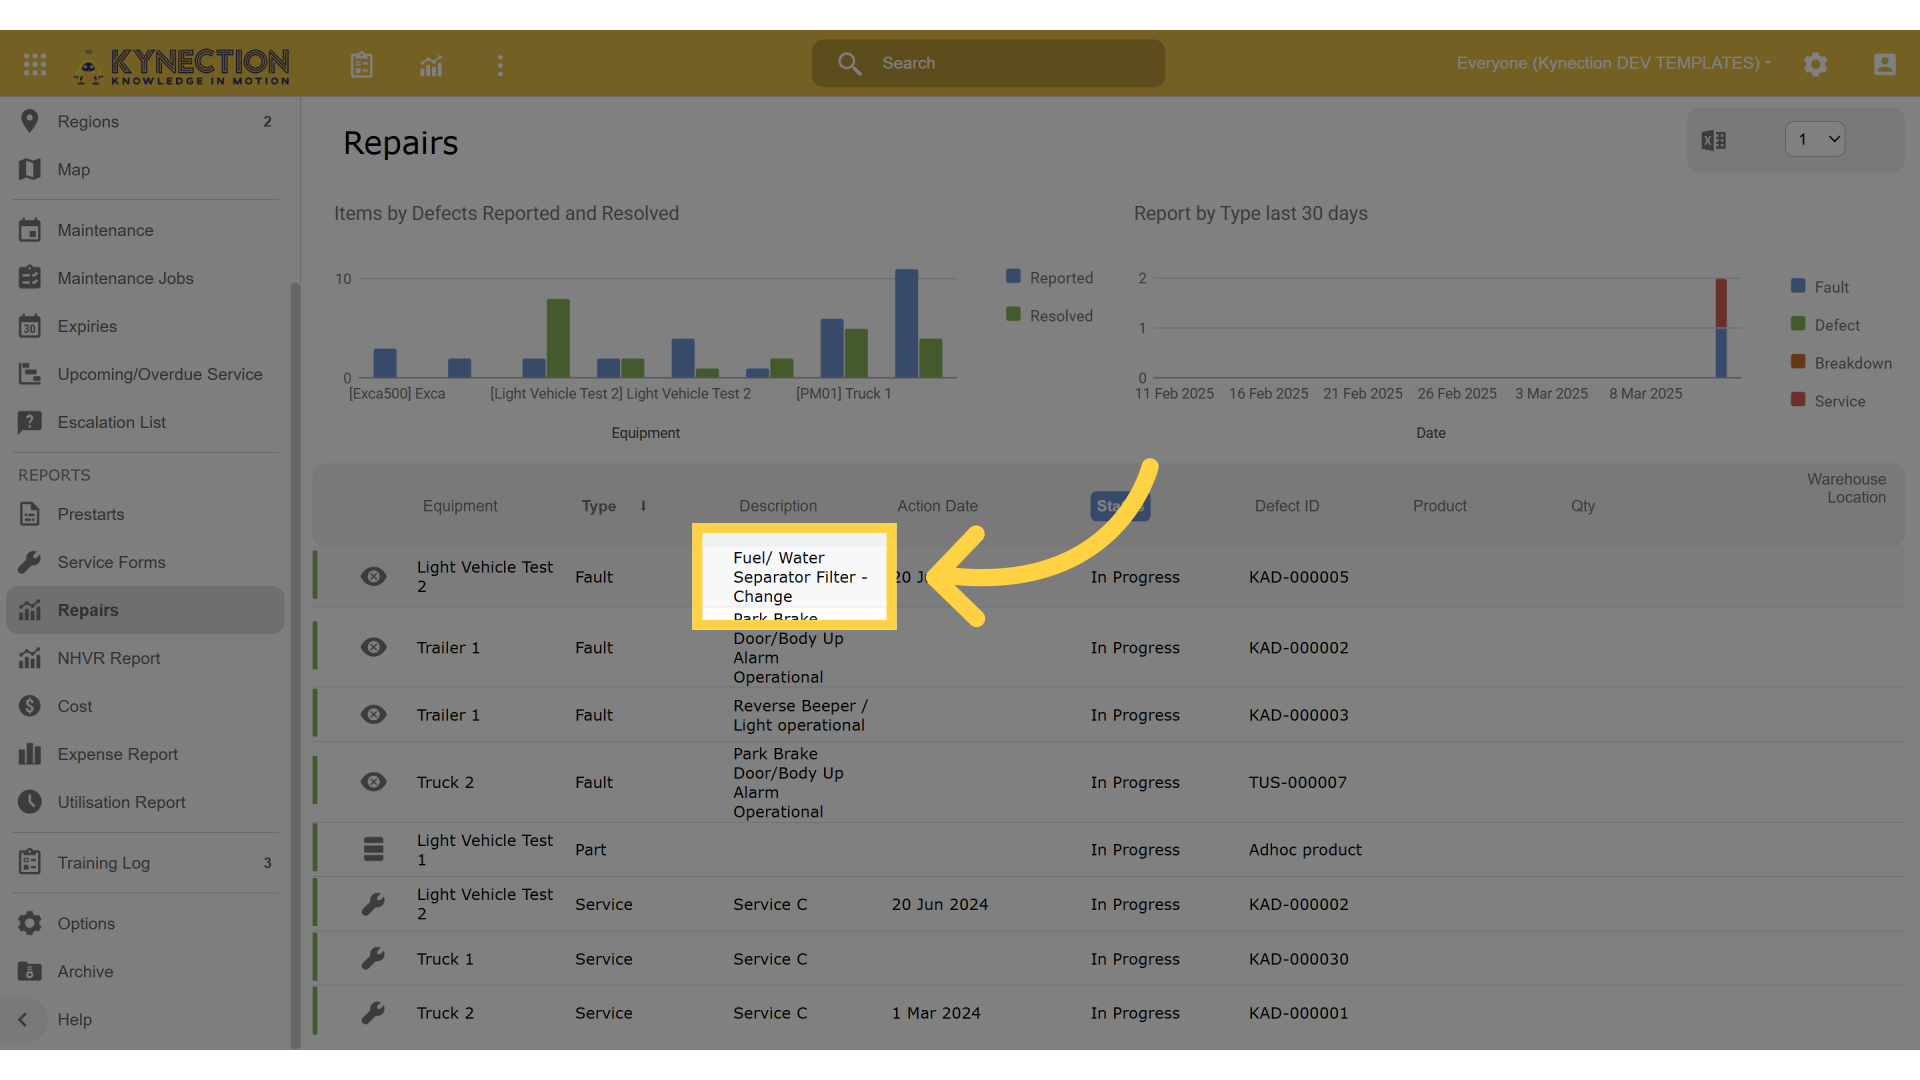
5. Select a Repair
Identify the specific task.
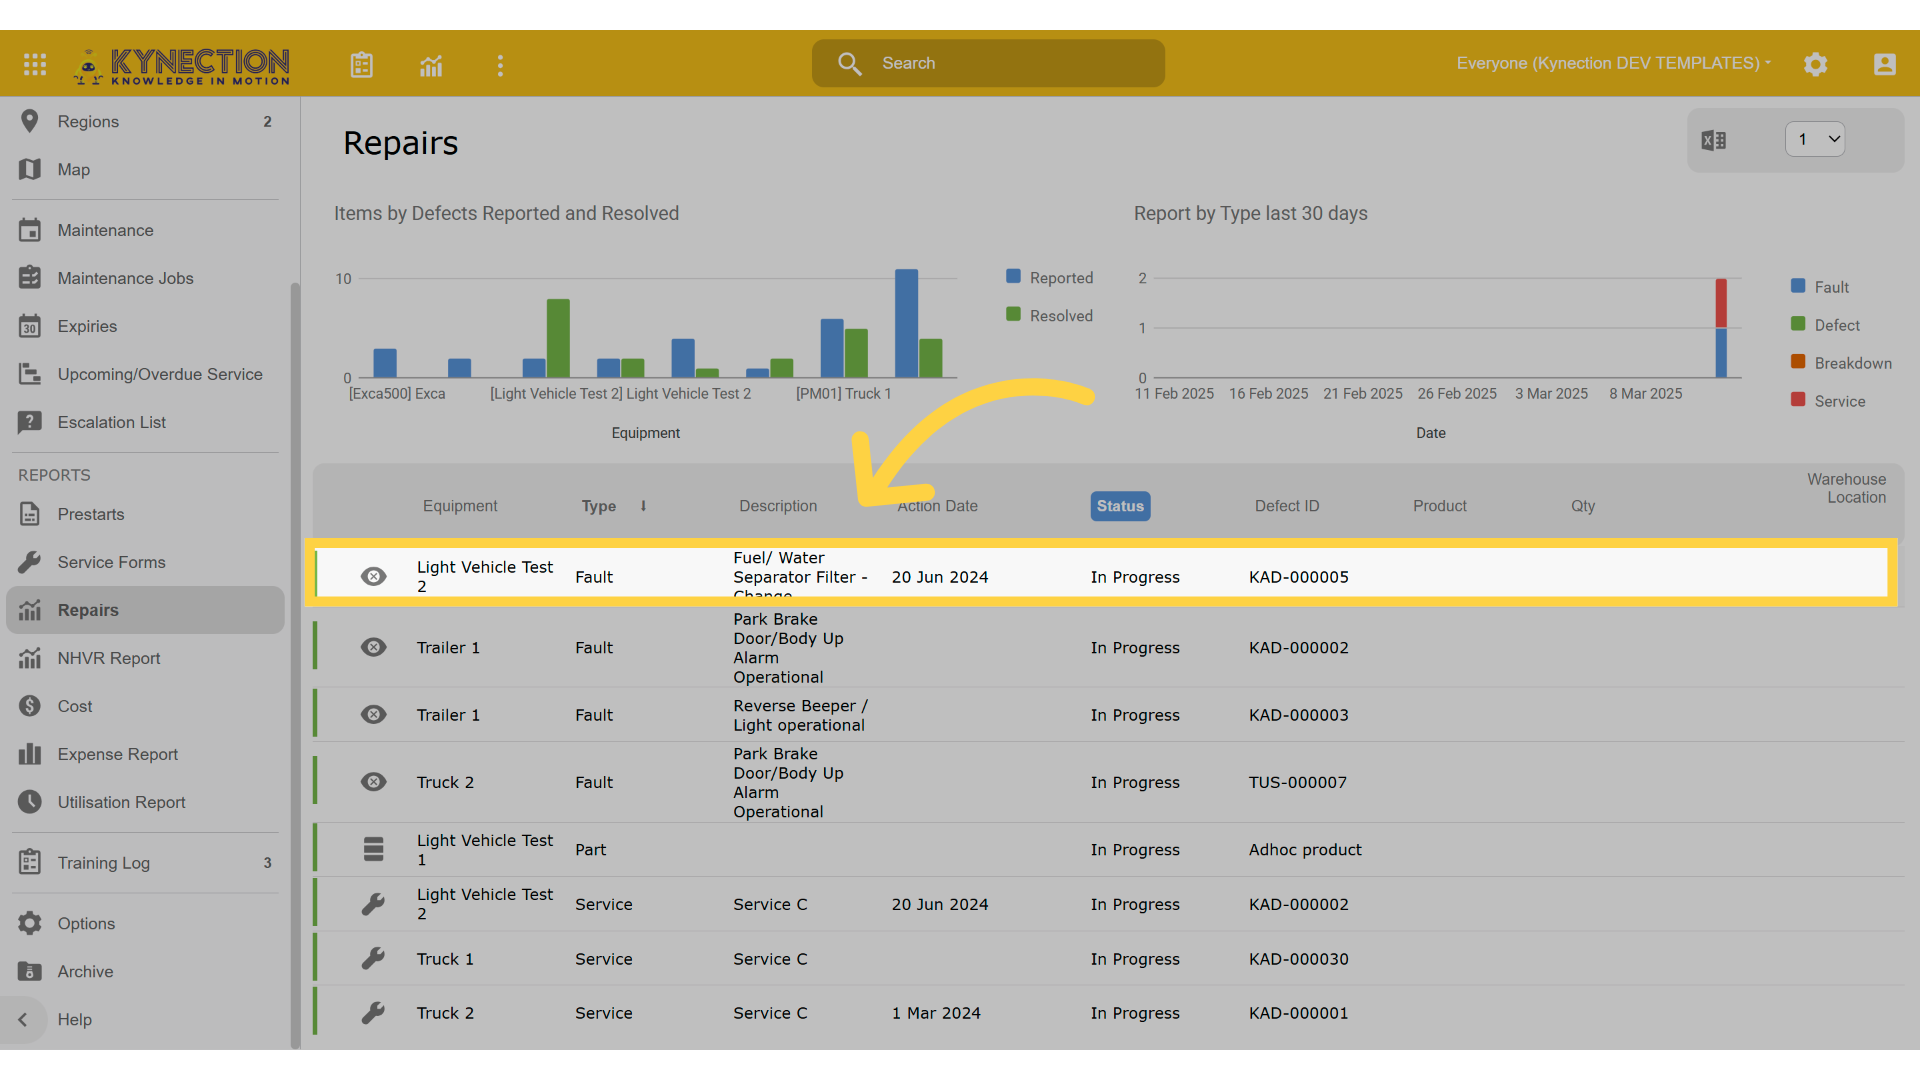
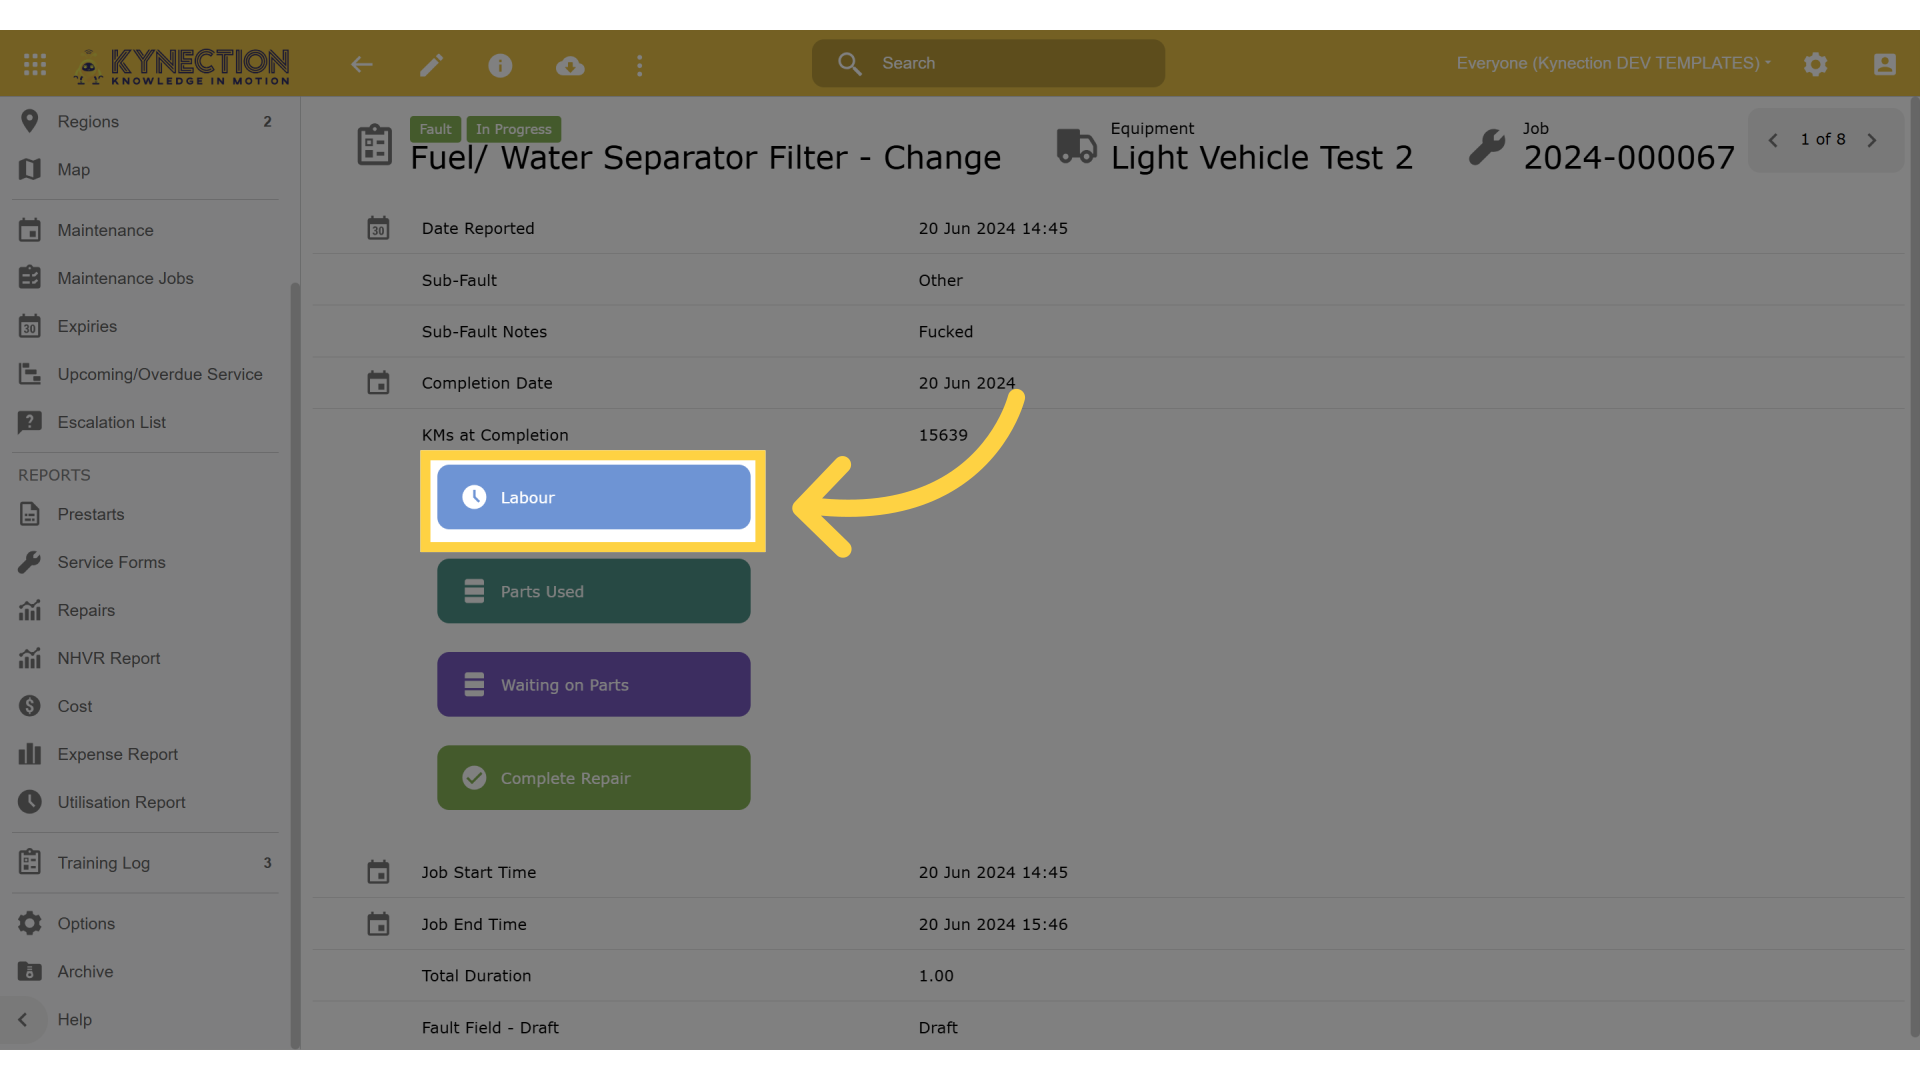
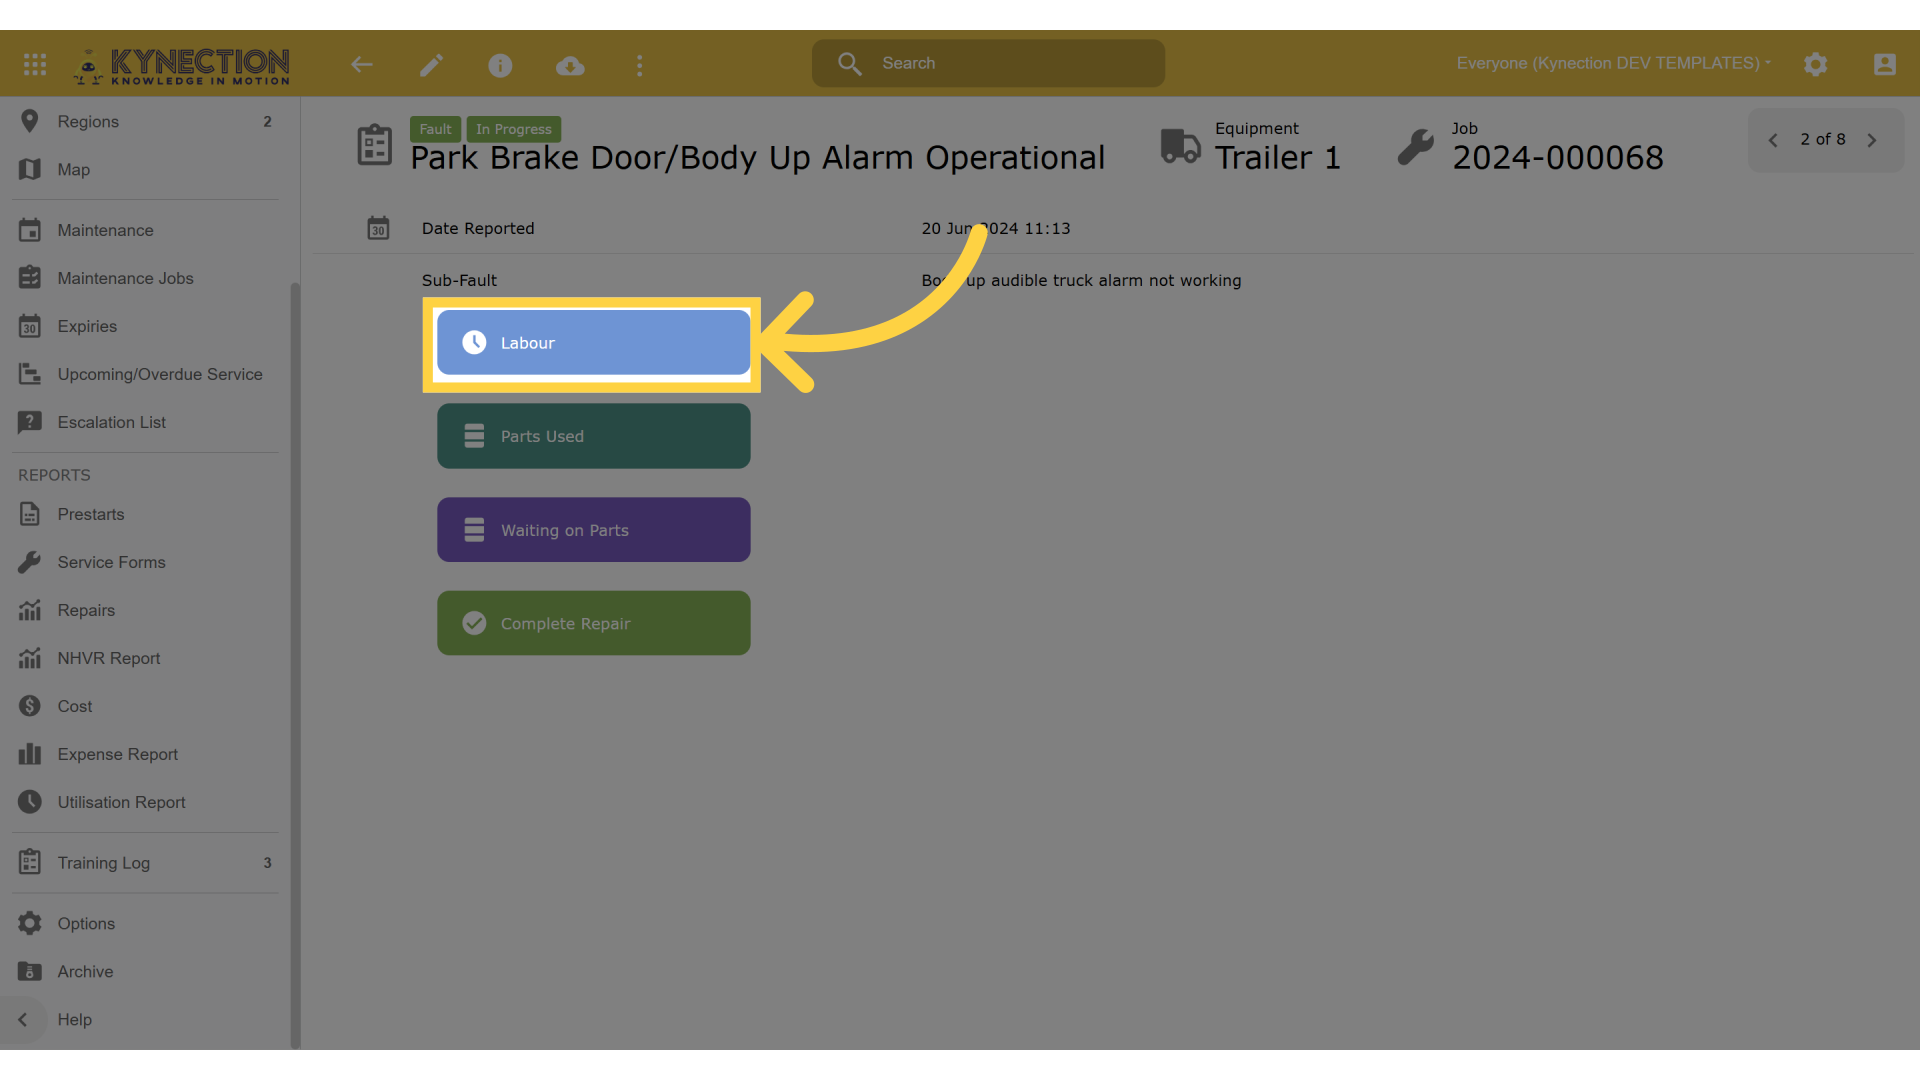
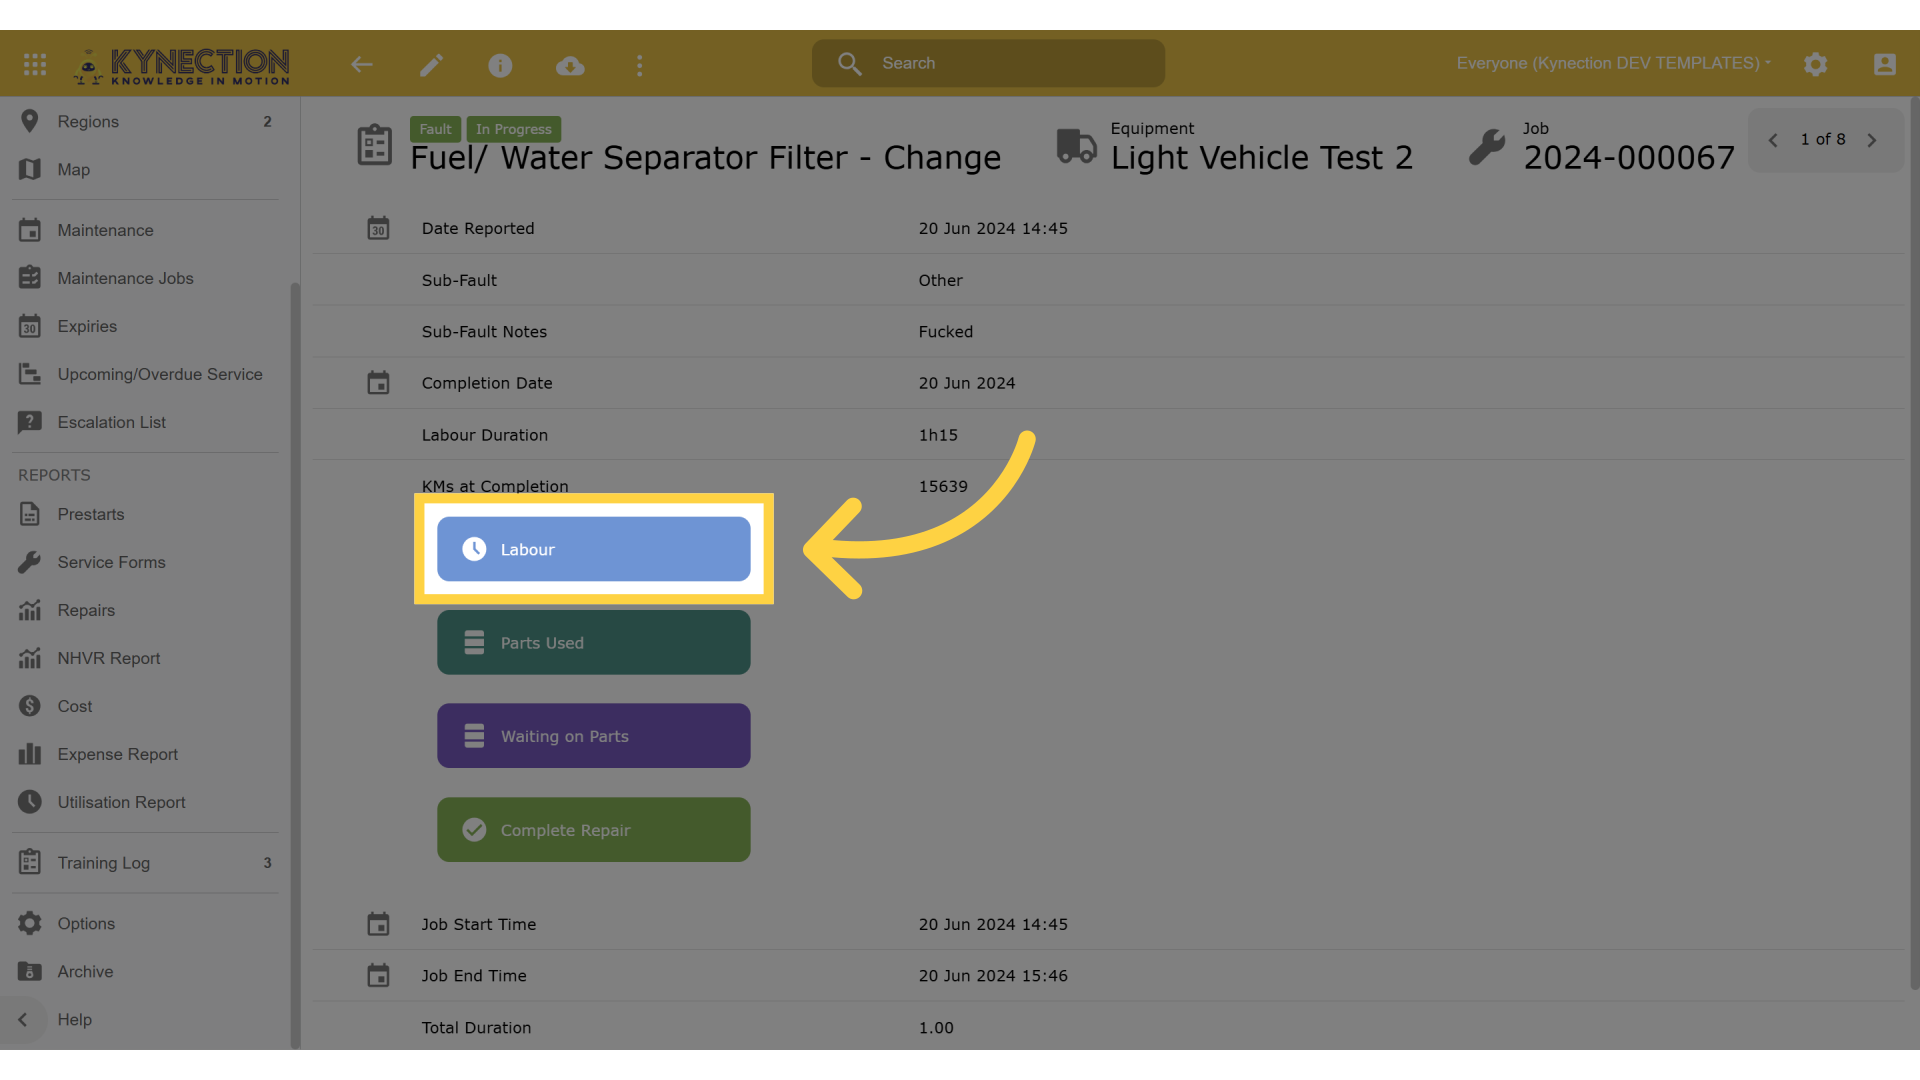
6. Click "Labour"
Access the labor section to record the time spent on repairs.
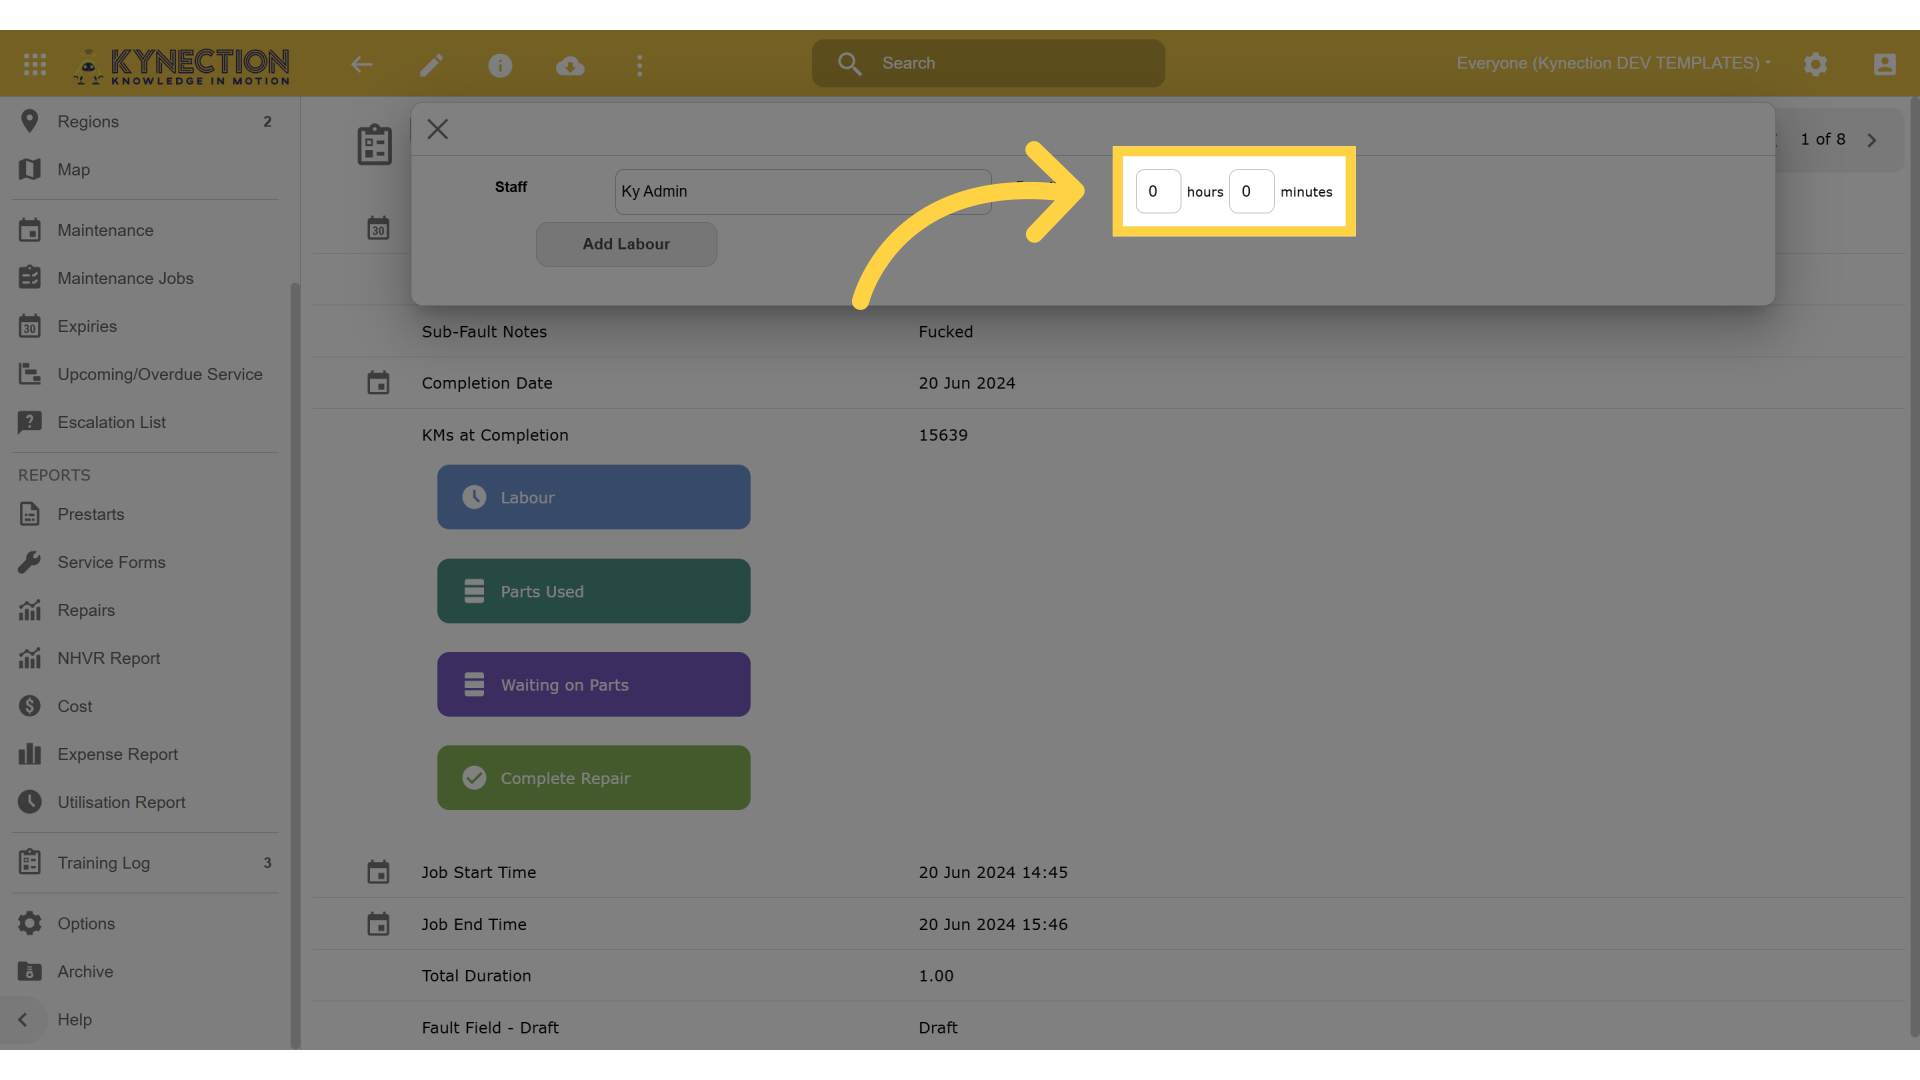
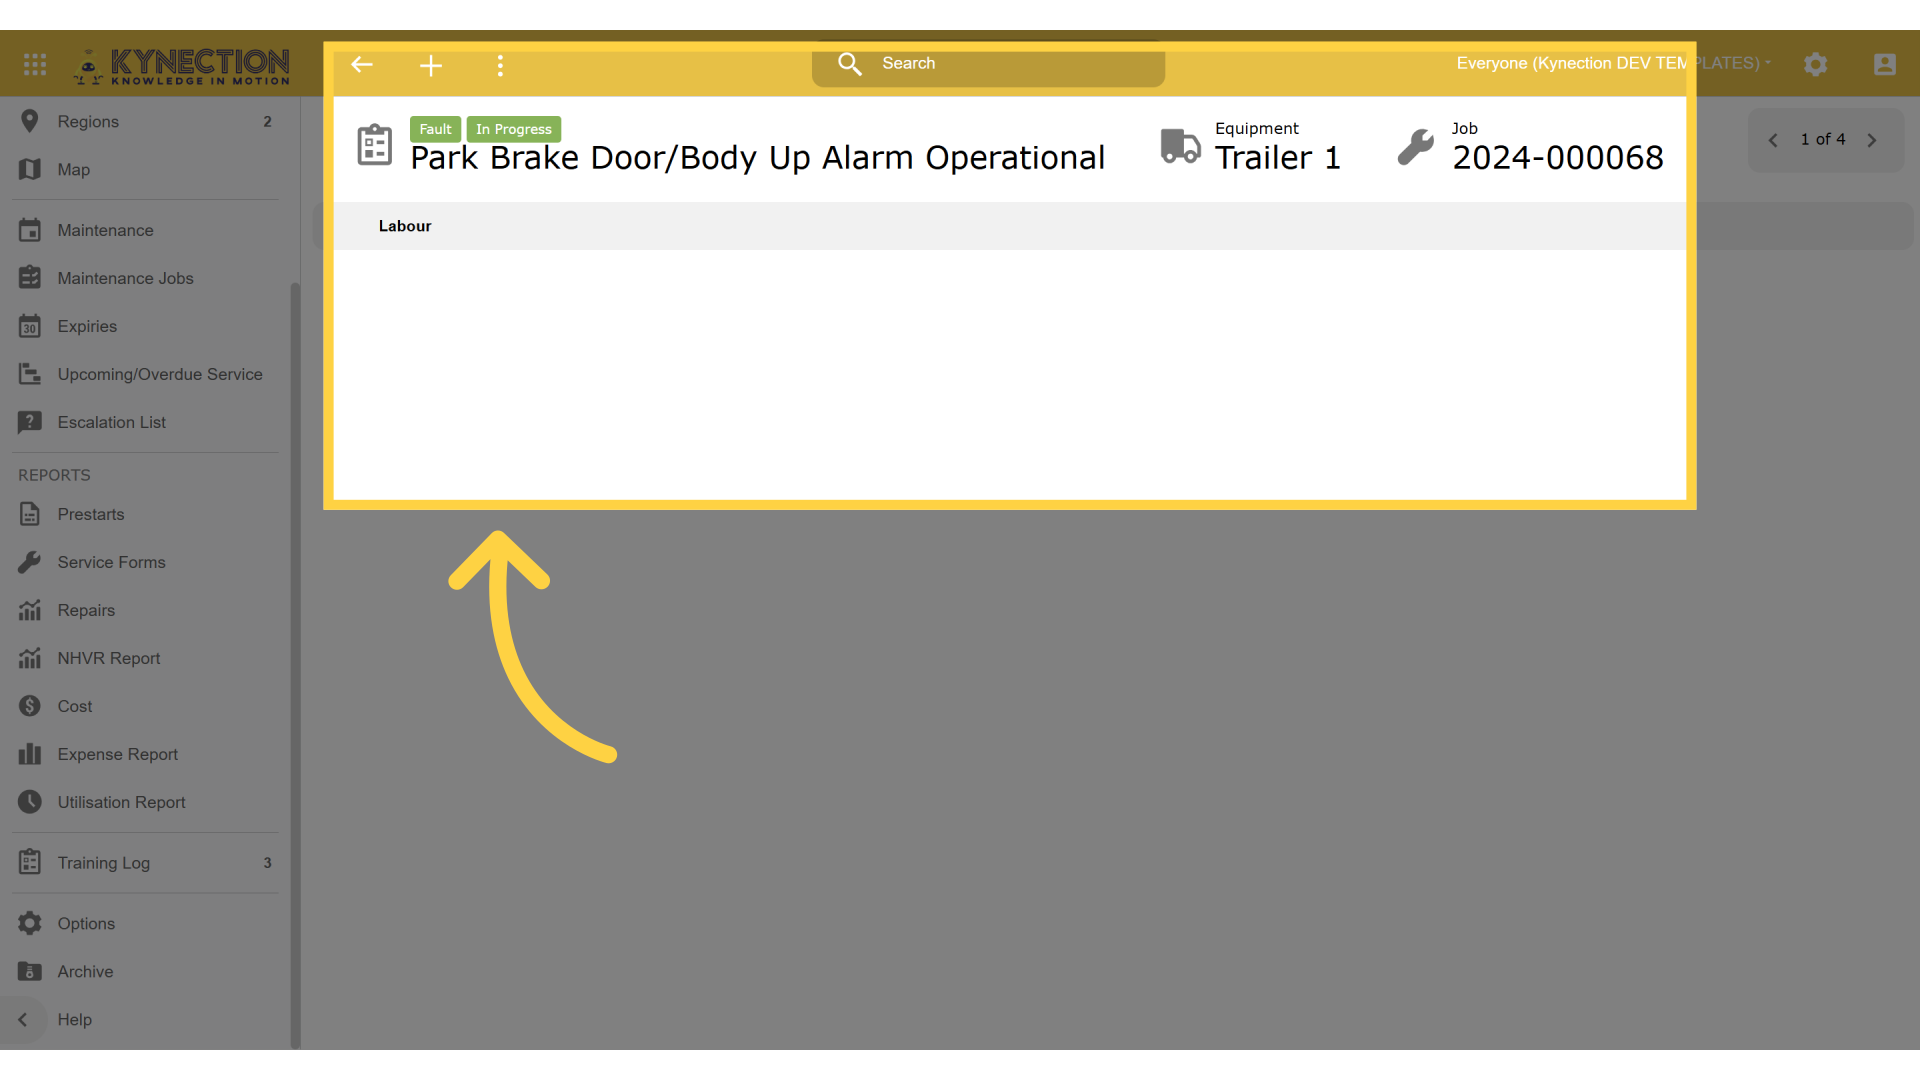
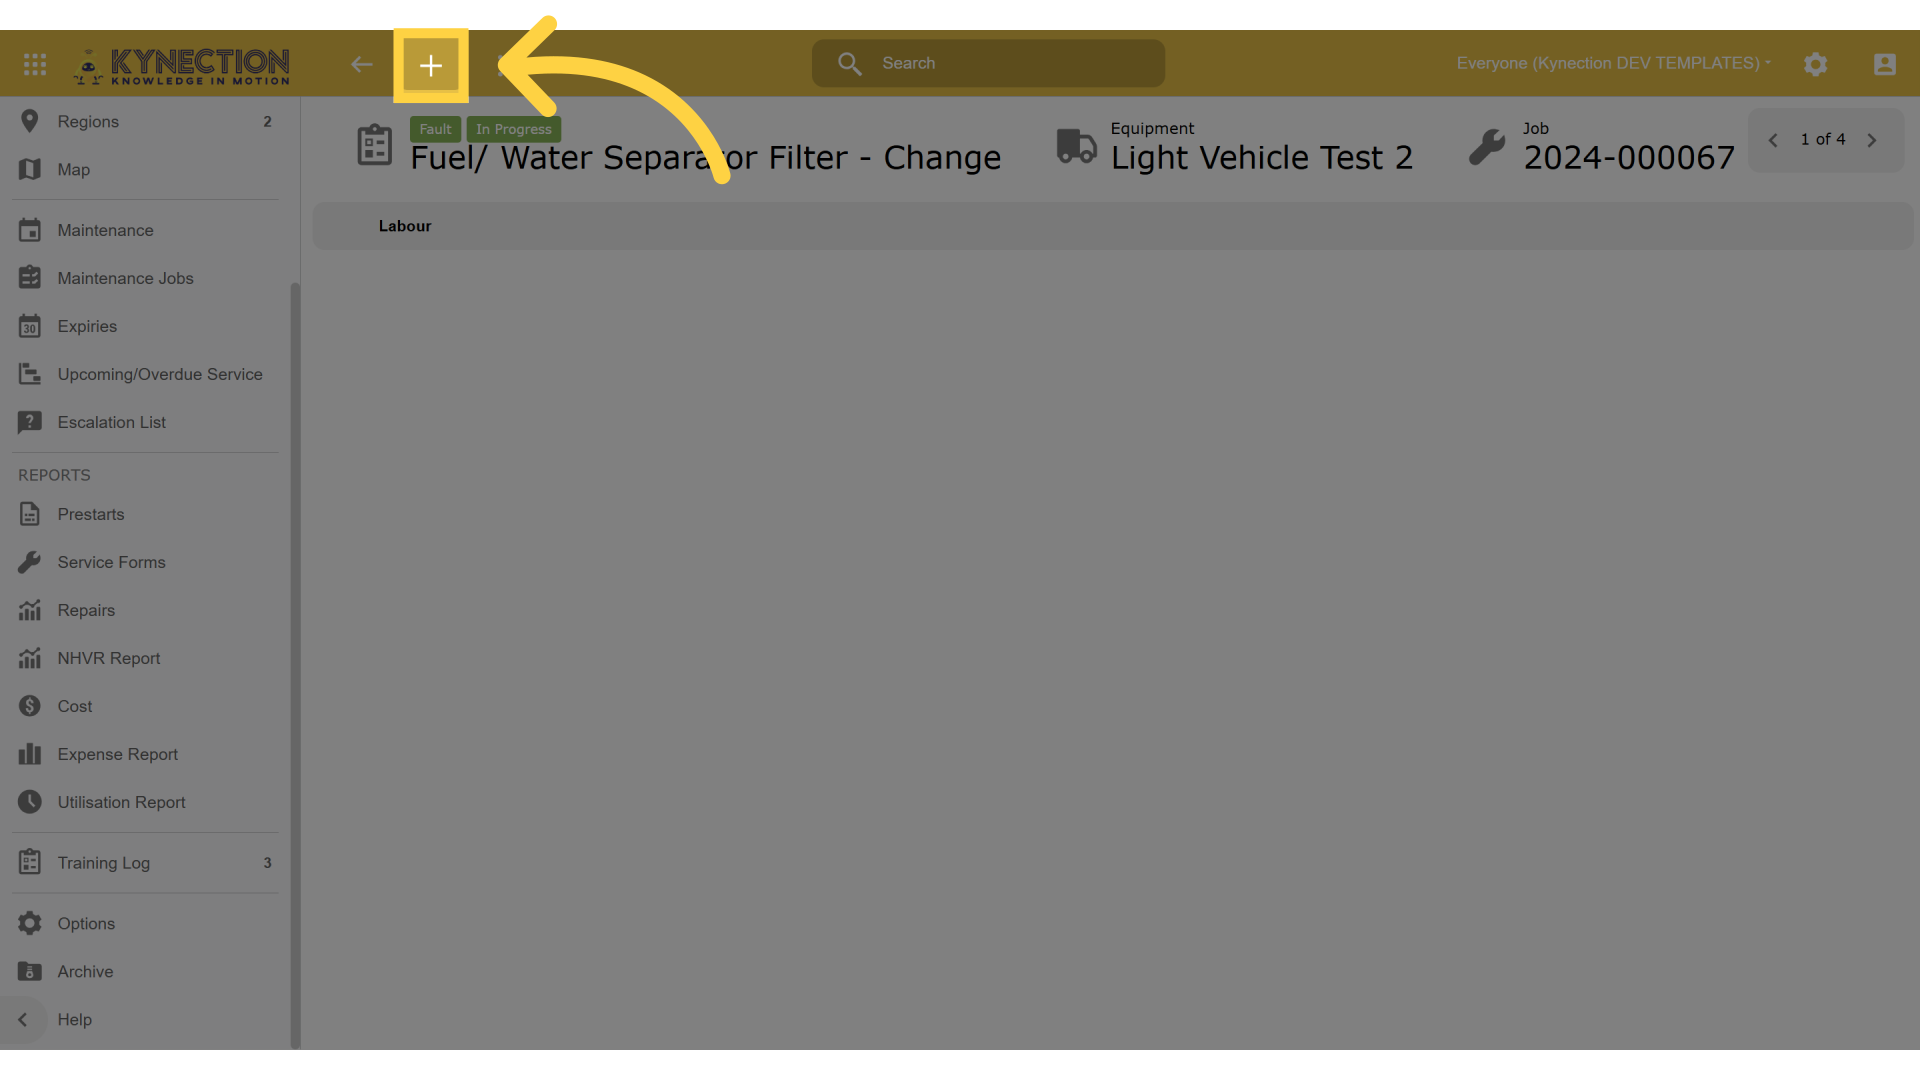
7. Enter Duration
Input the duration of work done.
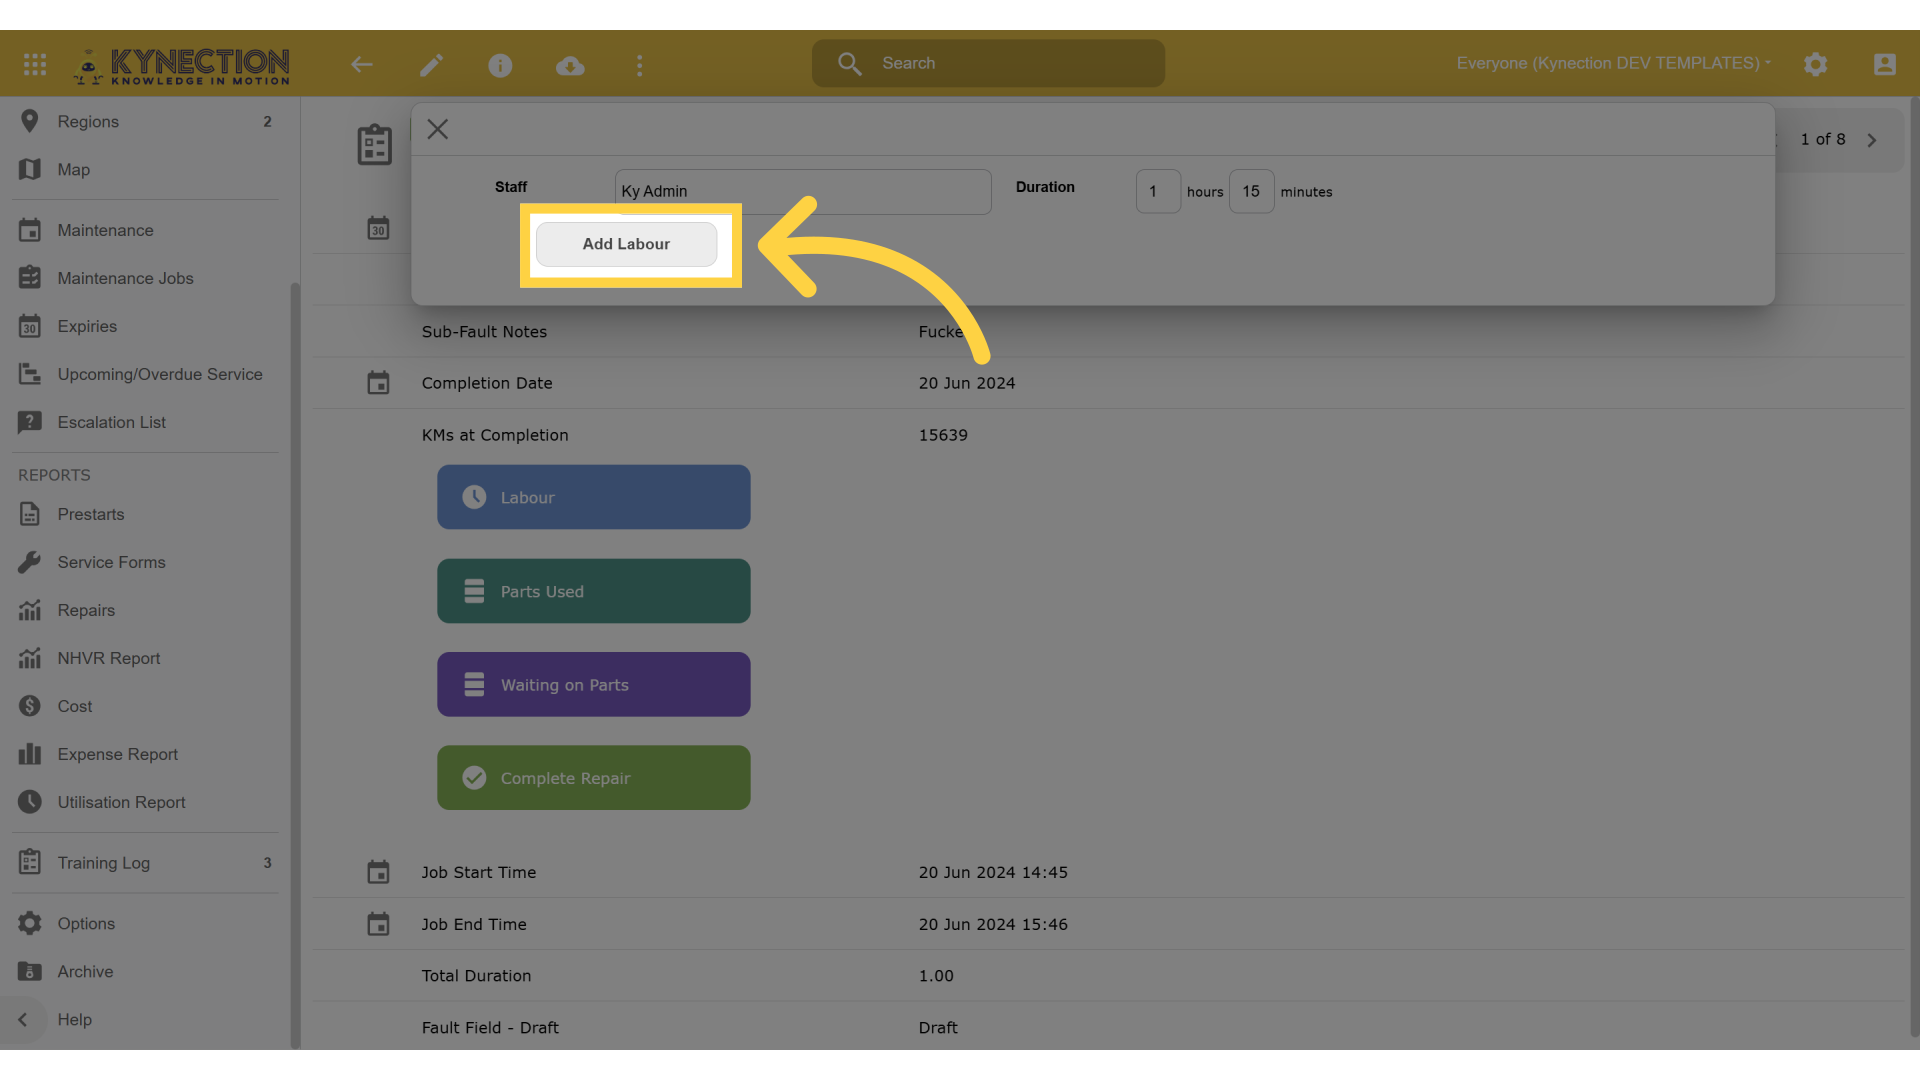
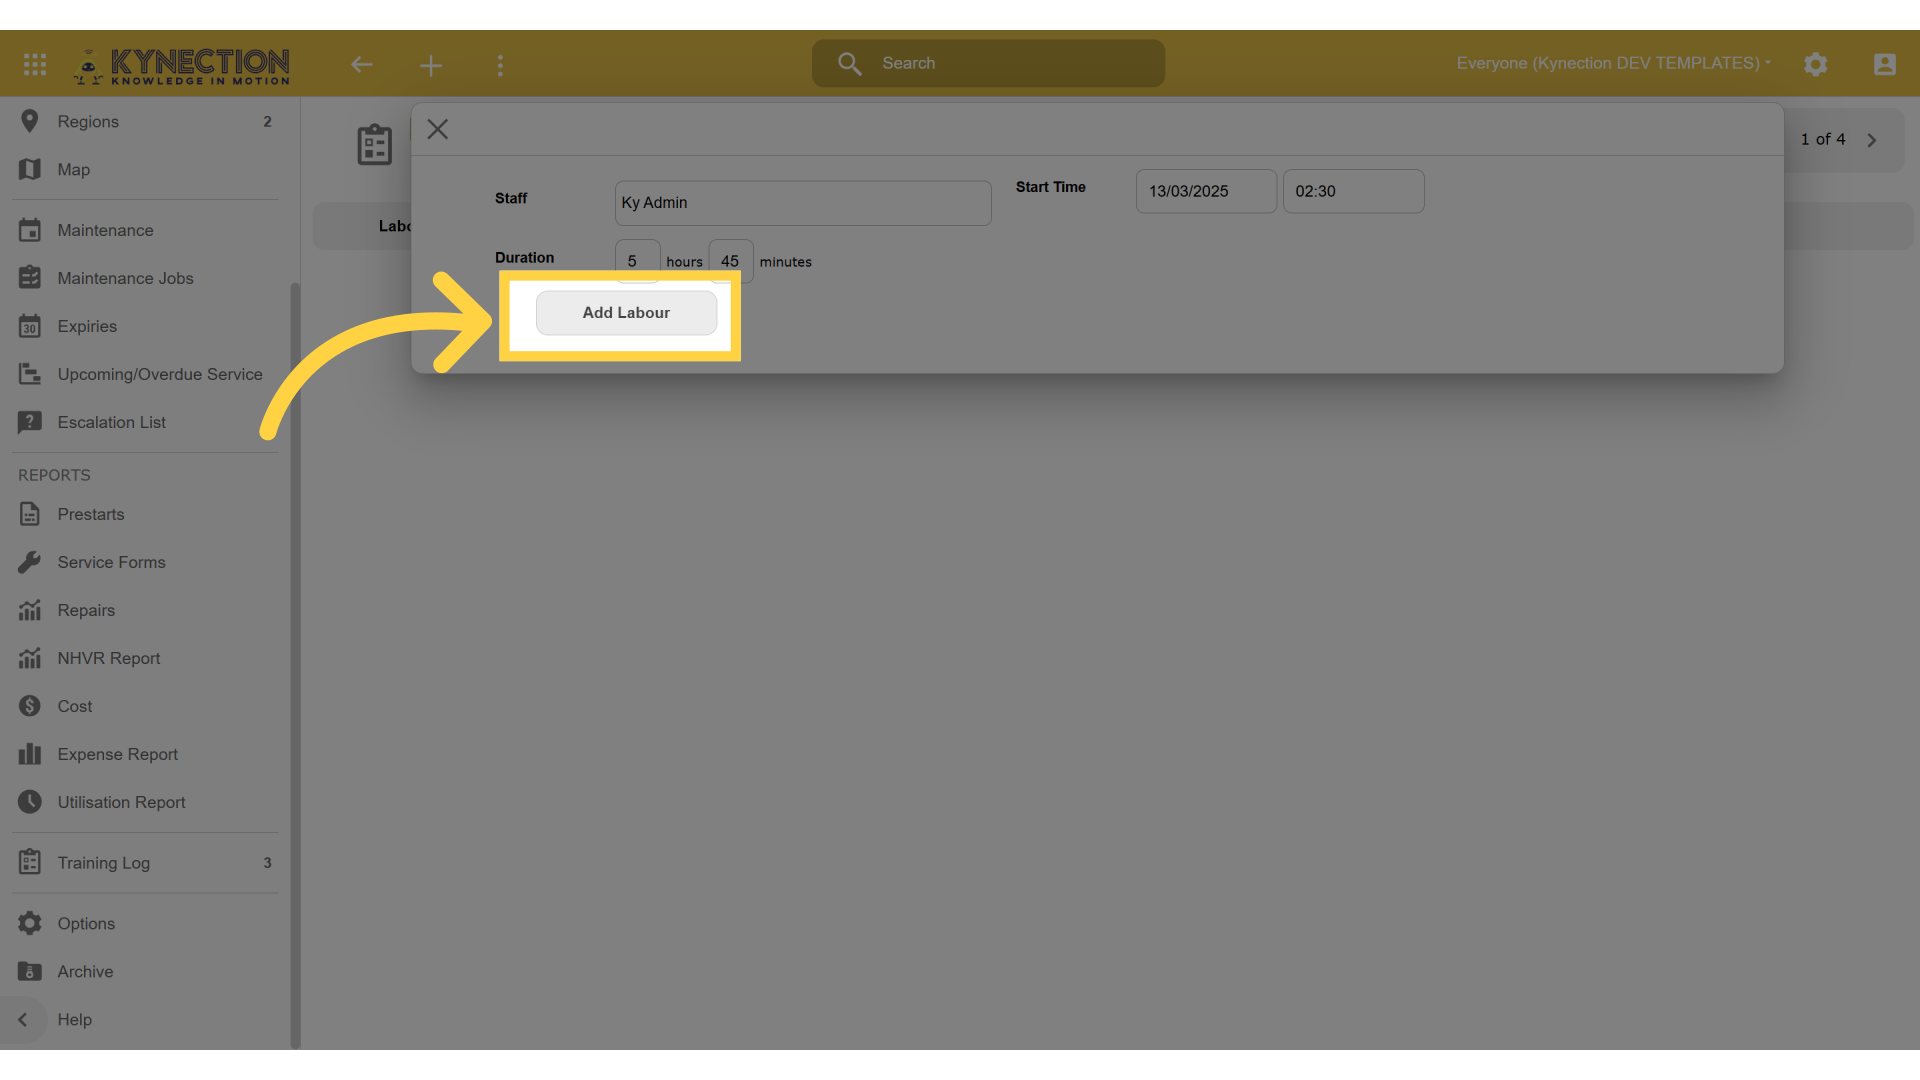
8. Click "Add Labour"
Once complete - select 'Add Labour' to finalise the entry.
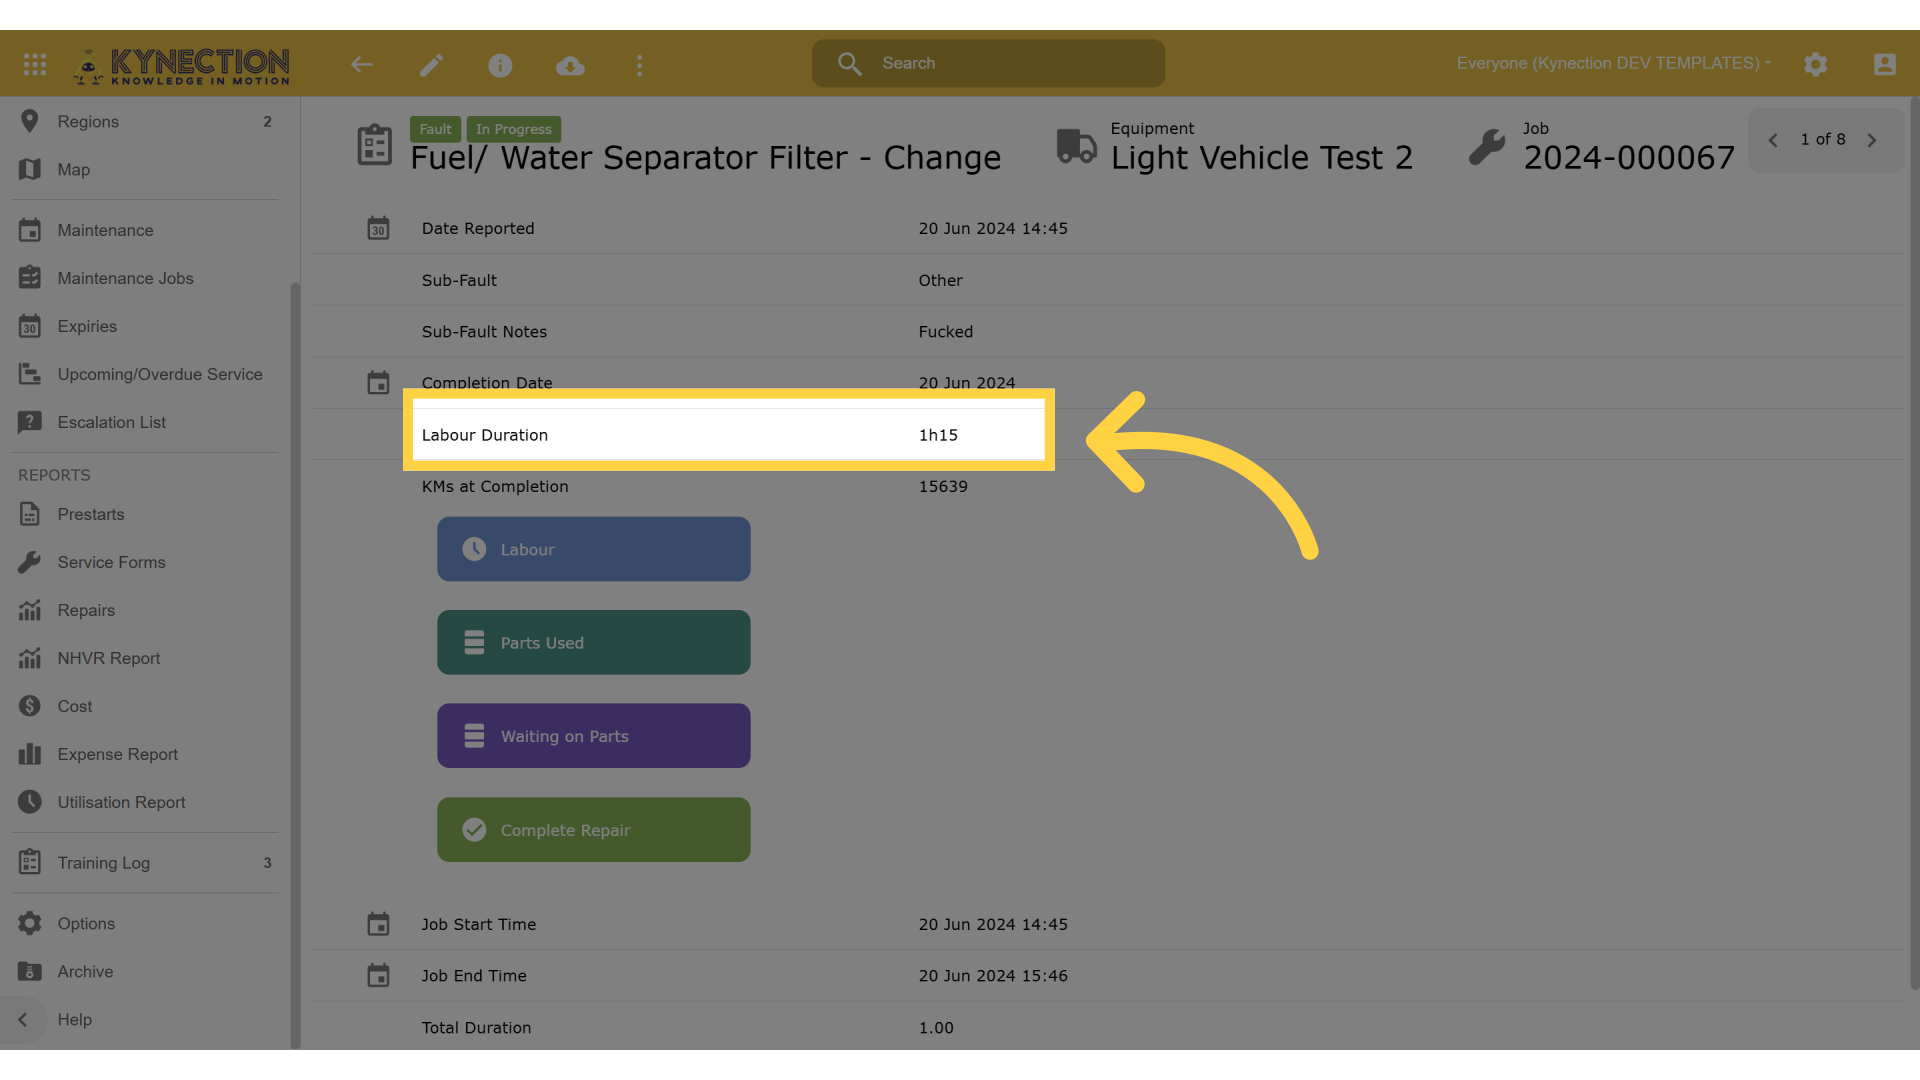
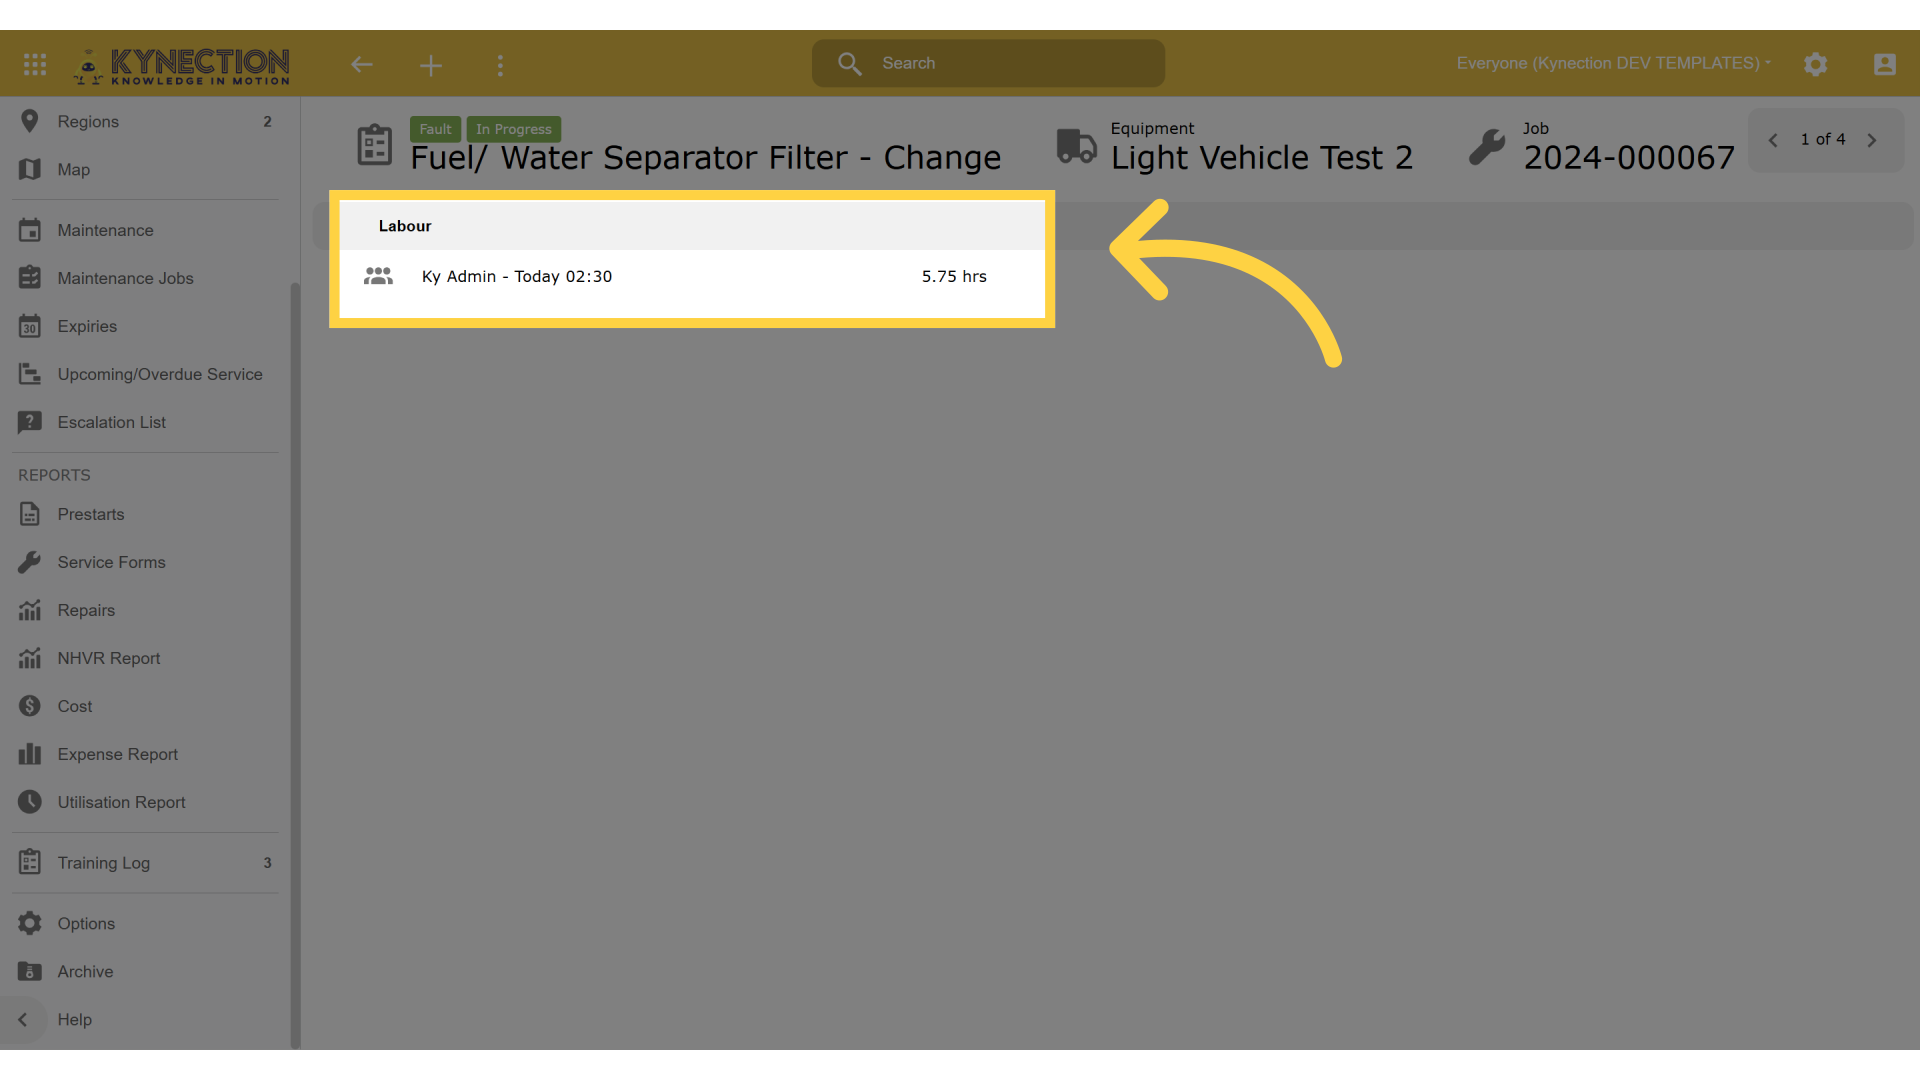
9. Labour Duration
Once Labour has been added - Labour Duration field will be visible on the Repair showing the total time spent on the Repair.
10. Click "Options"
Return to options to adjust any settings necessary for ongoing time capture adjustments.
11. Click "Maintenance"
Navigate back to the maintenance section.
12. Click "Start + Duration"
Now lets change the Time Capture setting over to 'Start + Duration' so that we can demonstrate how this works.
13. Click "Repairs"
Select Repairs to continue.
14. Select Repair
Select a repair.
15. Click "Labour"
Click on the Labour button.
16. History View when Labour Mode is set to Start + Duration
When the Labour Mode is set to 'Start + Duration' - the Labour button now takes you to a view to see the historical entries added.
17. Click Add
Continue to follow prompts to ensure all relevant details are captured for completeness.

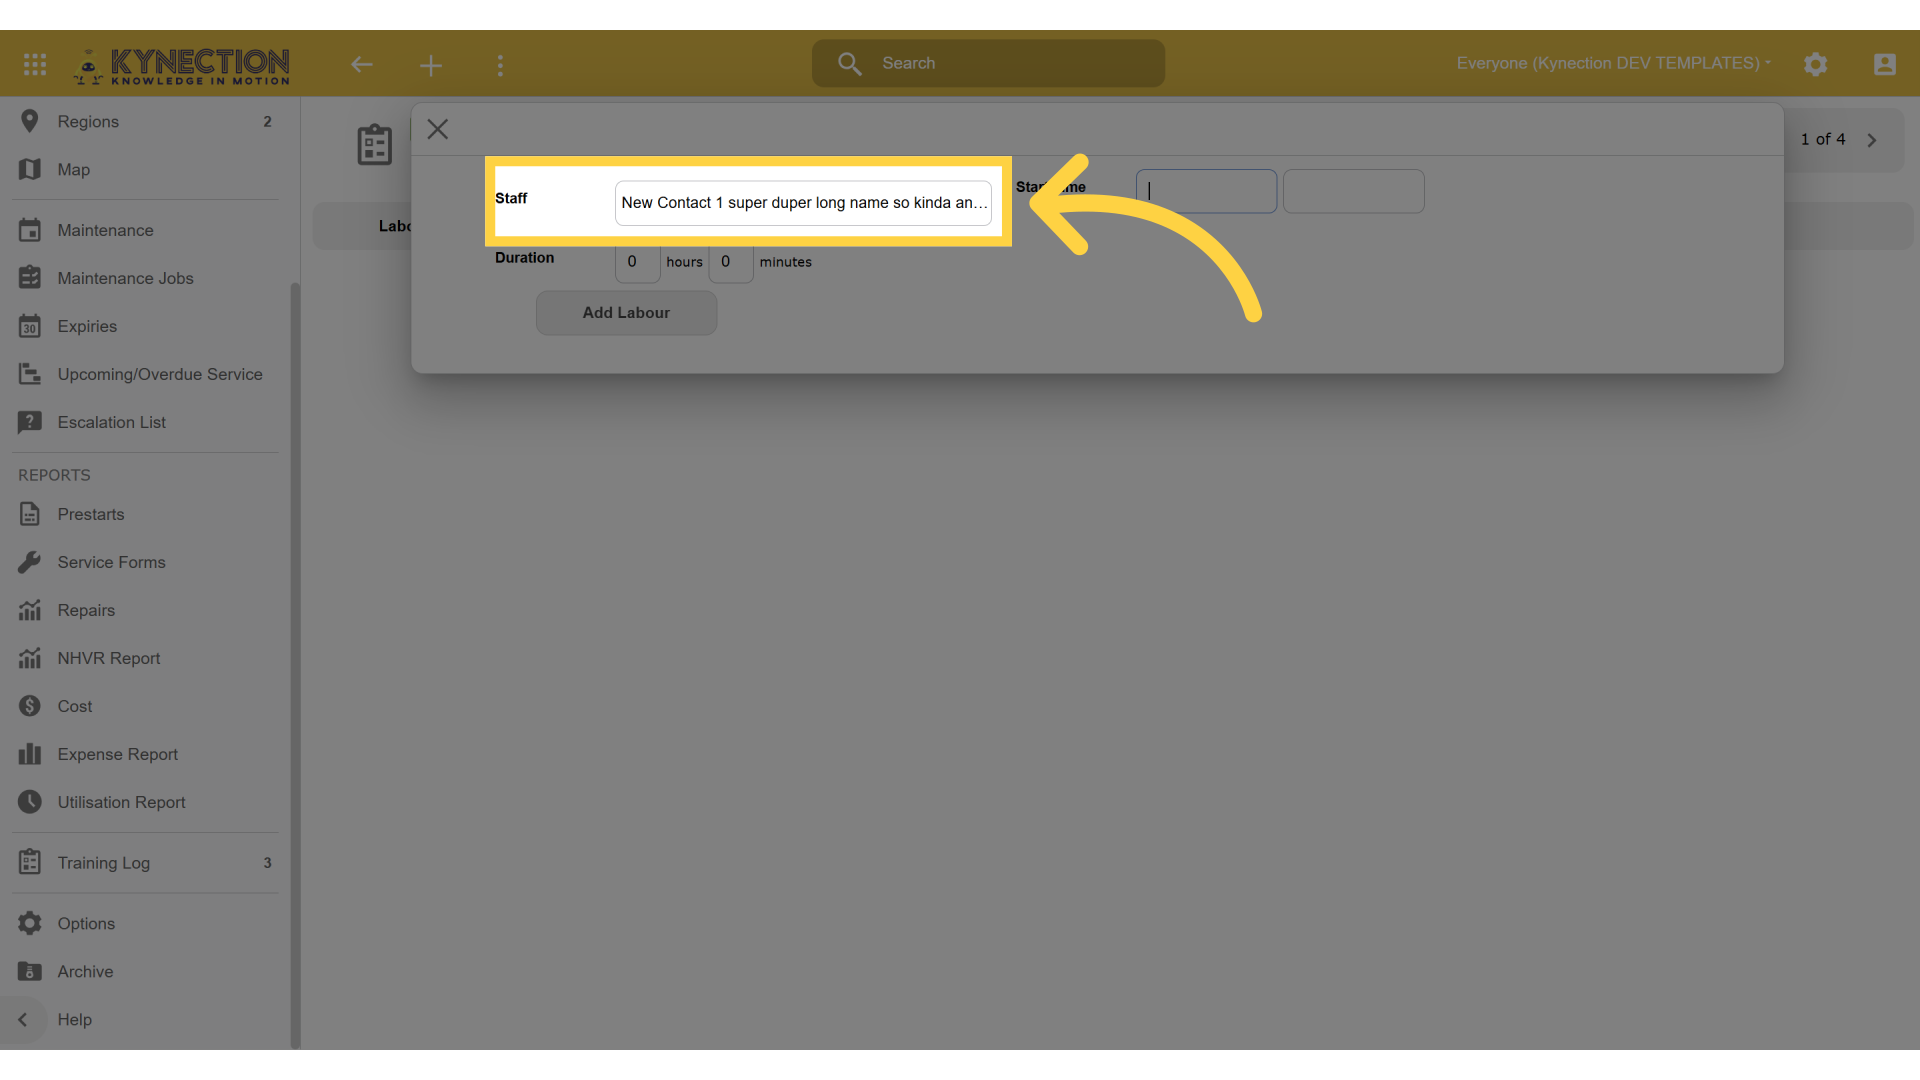
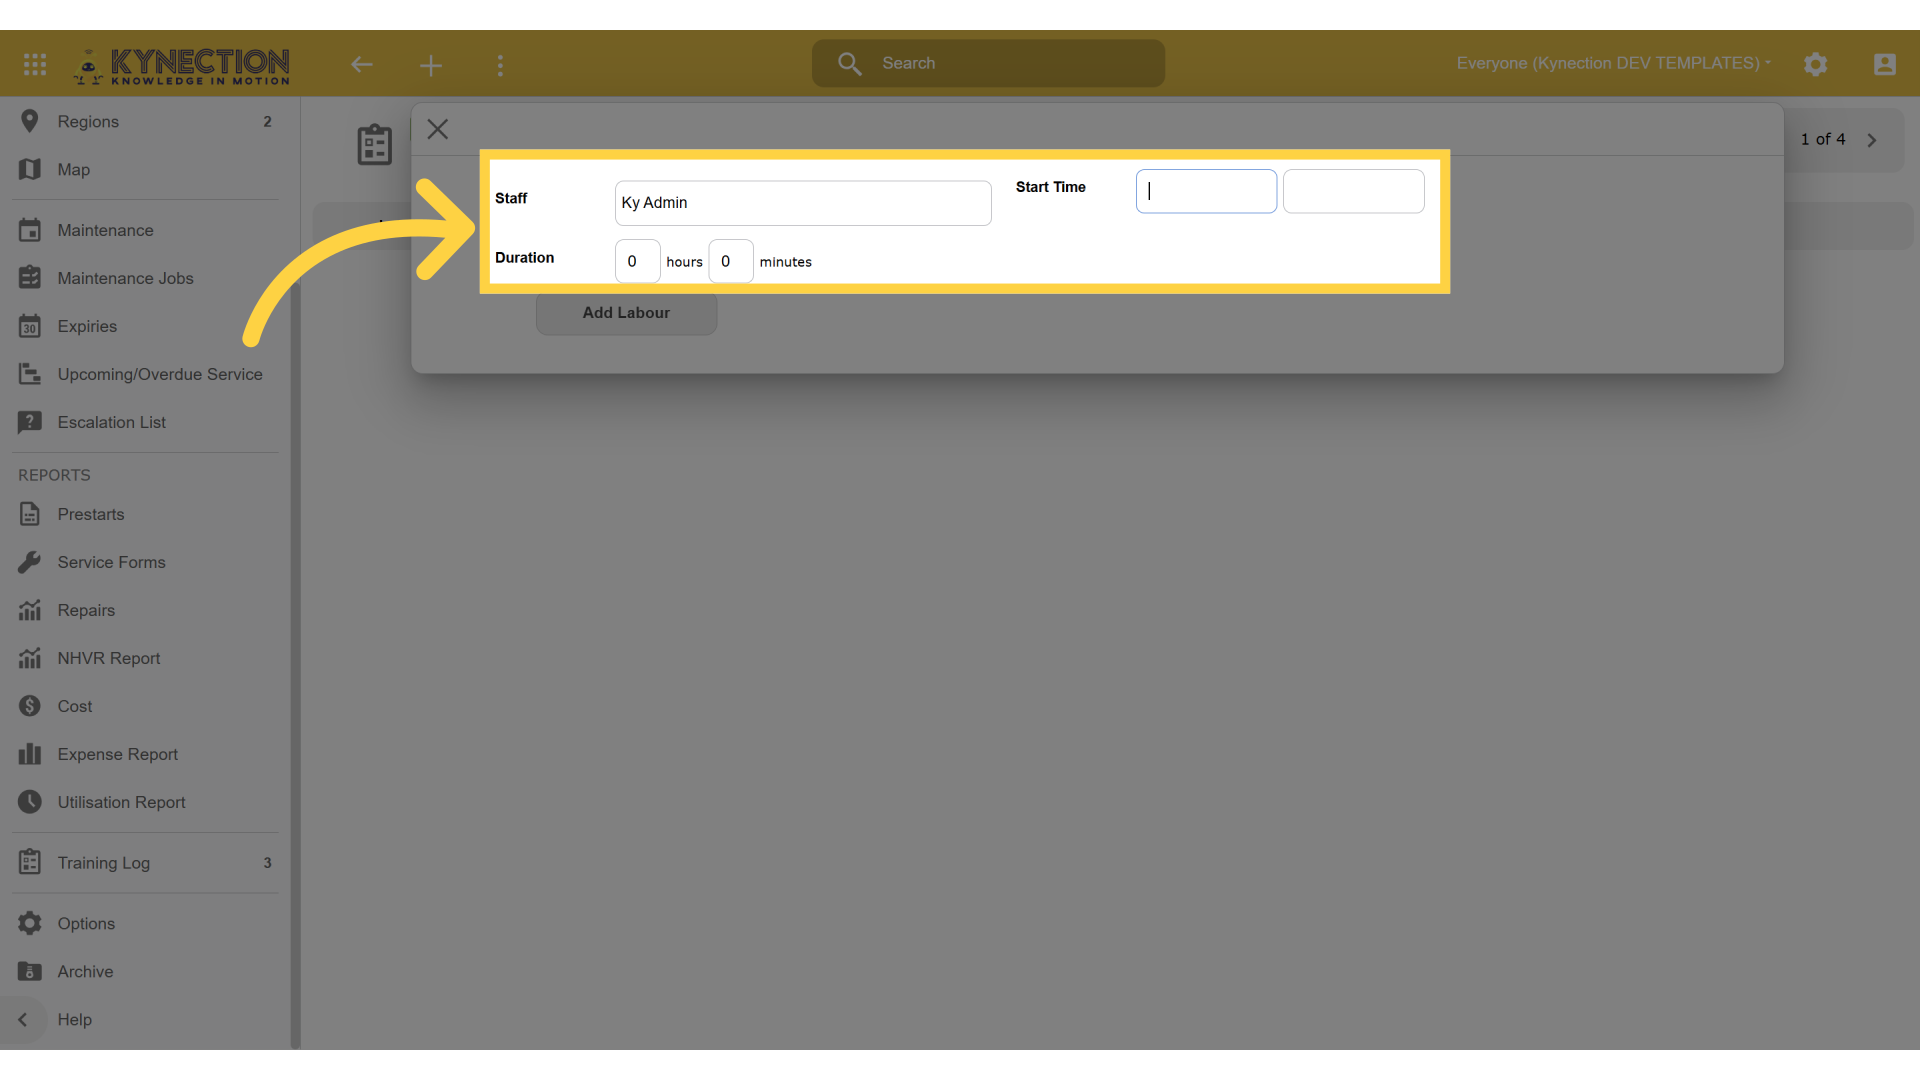
18. Staff
The Staff is pre-popullated based on the mechanics assigned to the job linked to this repair. If there is only one Mechanic assigned - this field will default to the only Mechanic.
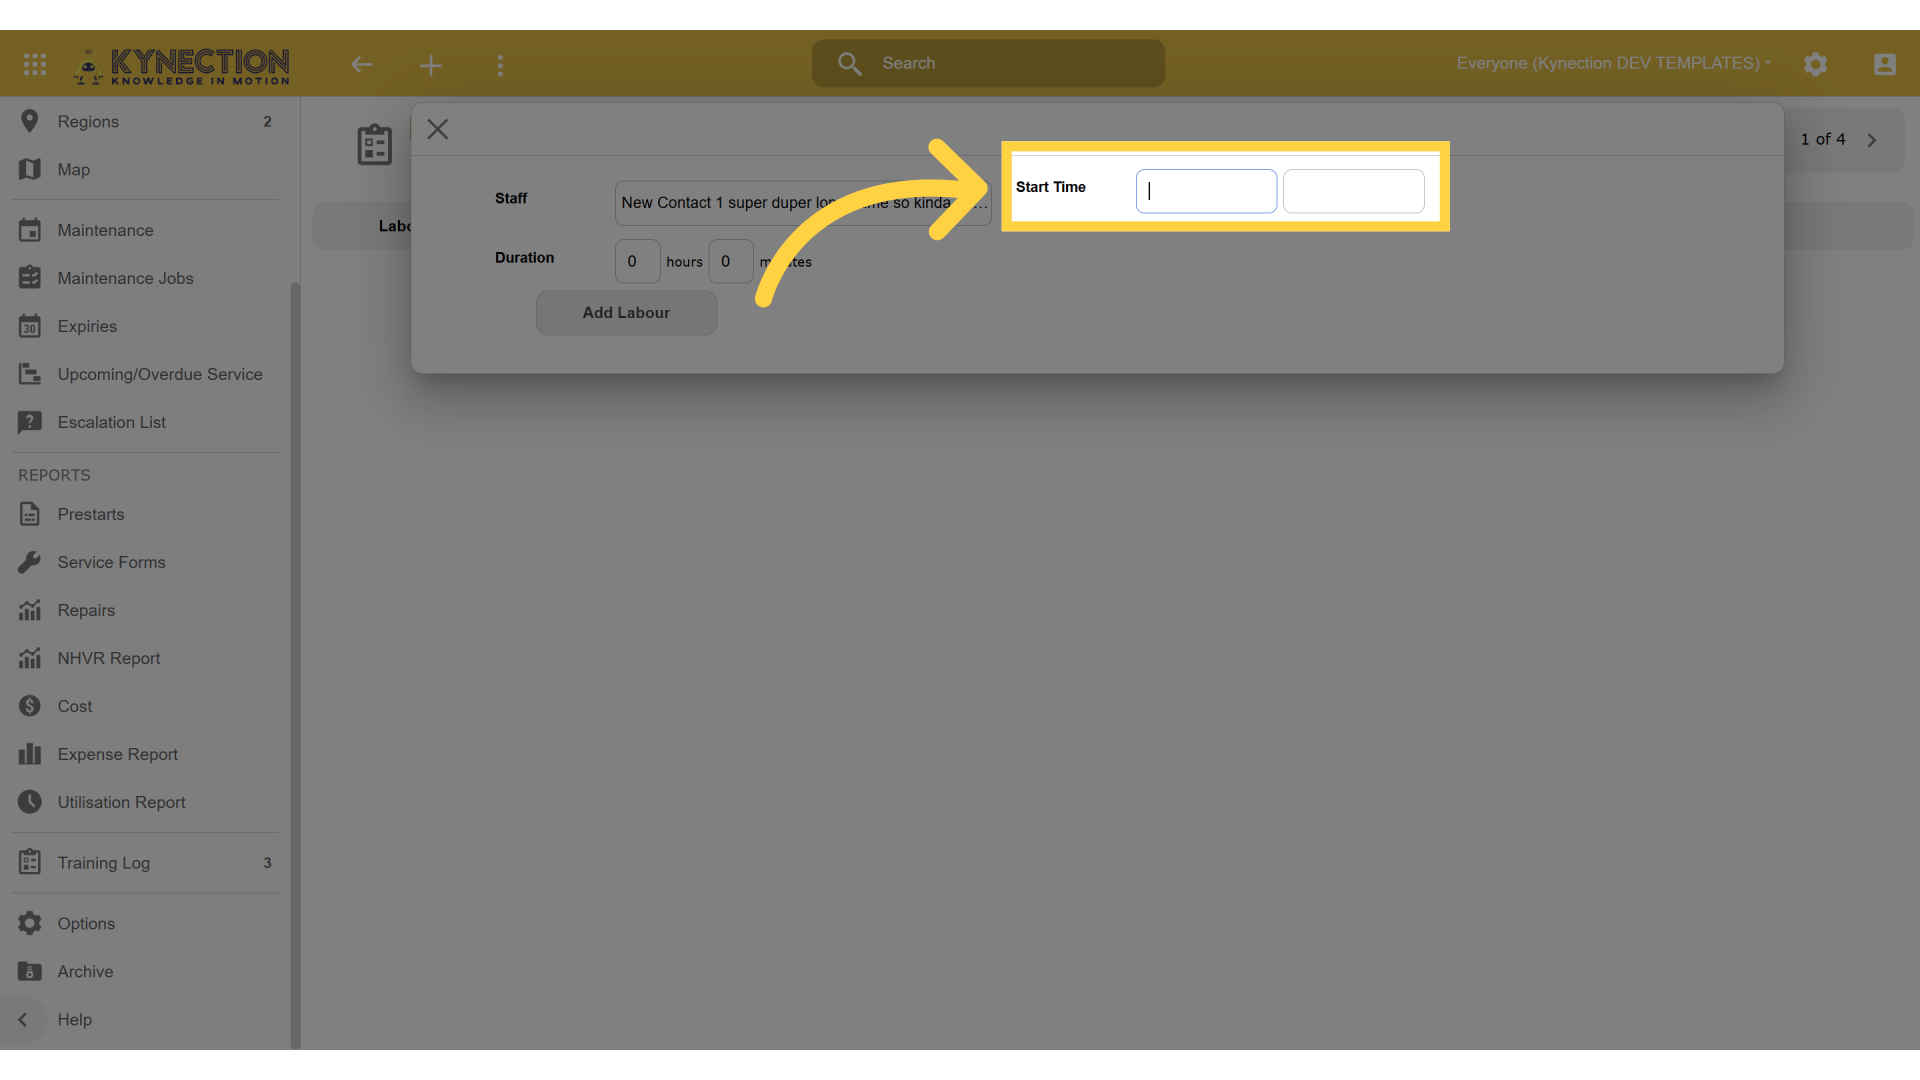
19. Start Time
Enter the Start Date and Time when the Repair works began.
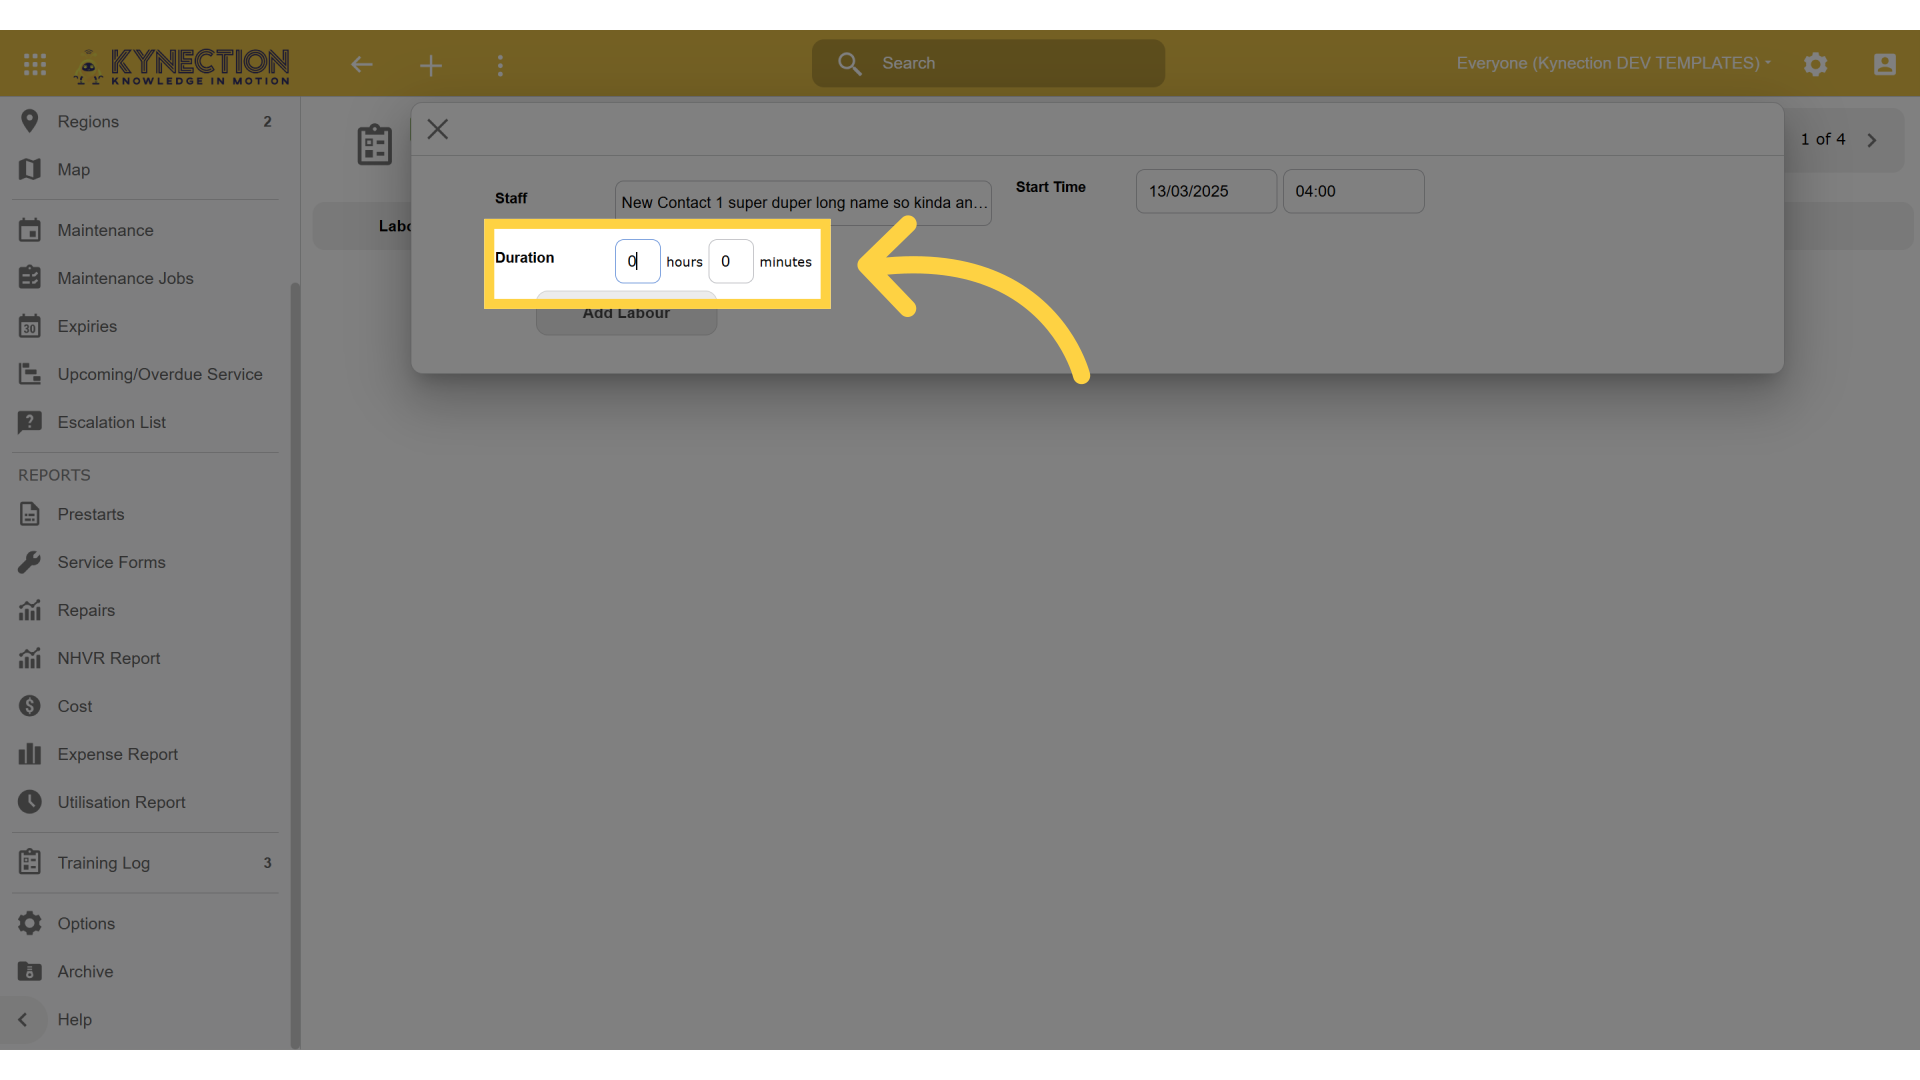
20. Enter Duration
Enter the duration.
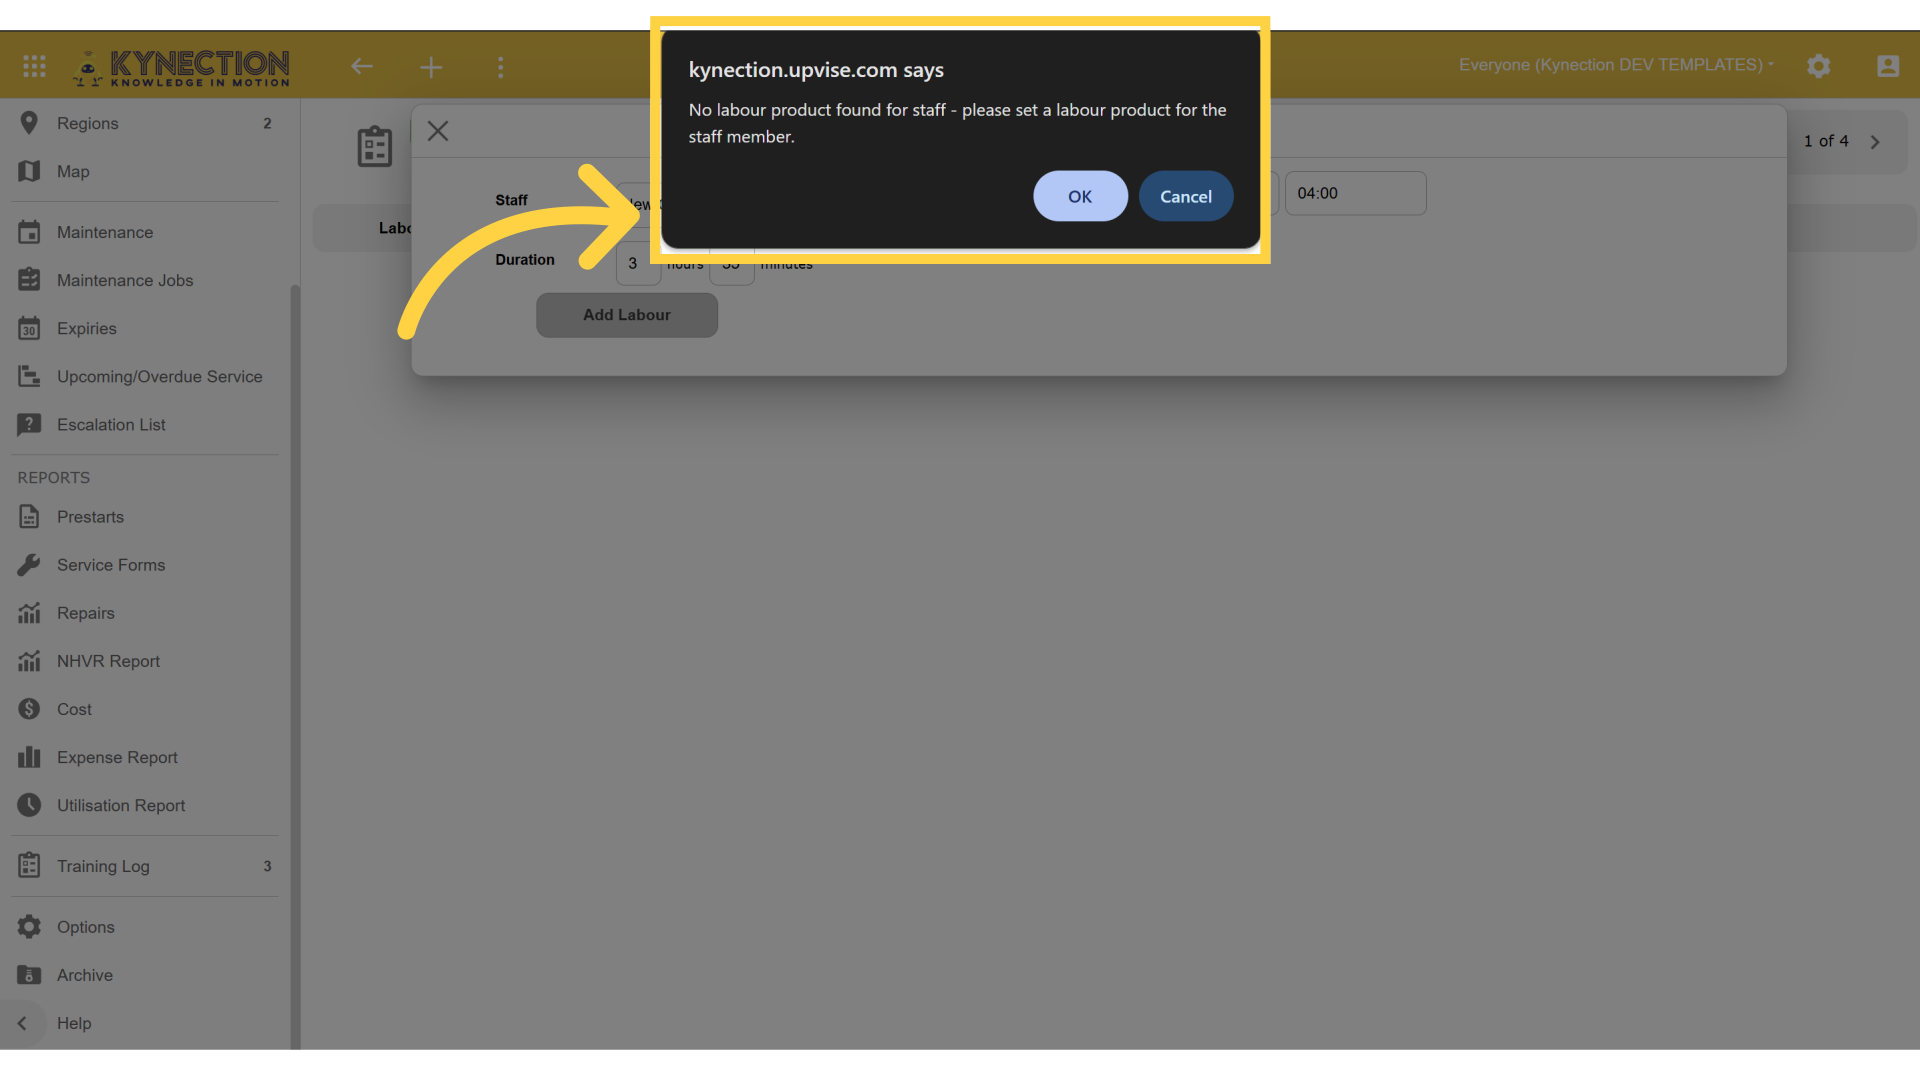
21. If no Labour configured - will raise a Warning
If no labour is configured to the mechanic - a warning will be raised and time will not be able to be captured.
22. Click "Repairs"
Go back to Repairs.
23. Select Repair
Select a Repair from the list.
24. Click "Labour"
Select Add Labour.
25. Click Add
Click on Add.
26. Enter Time and Duration
Enter the Labour details as required.
27. Click Add Labour when complete
Click Add Labour when Complete.
28. View shows labour entered
View shows history of the time captured.
By utilizing the new time capture feature in the KIM Gear app, users will benefit from enhanced accuracy in logging repair durations, leading to improved insights into labor costs and project efficiency. This streamlined process ultimately fosters better decision-making and resource allocation. Thanks for Watching.
In_Equipment_BL_OV-Web-FY24 Release 2 - Time Capture_13/03/2025-V1_BV

