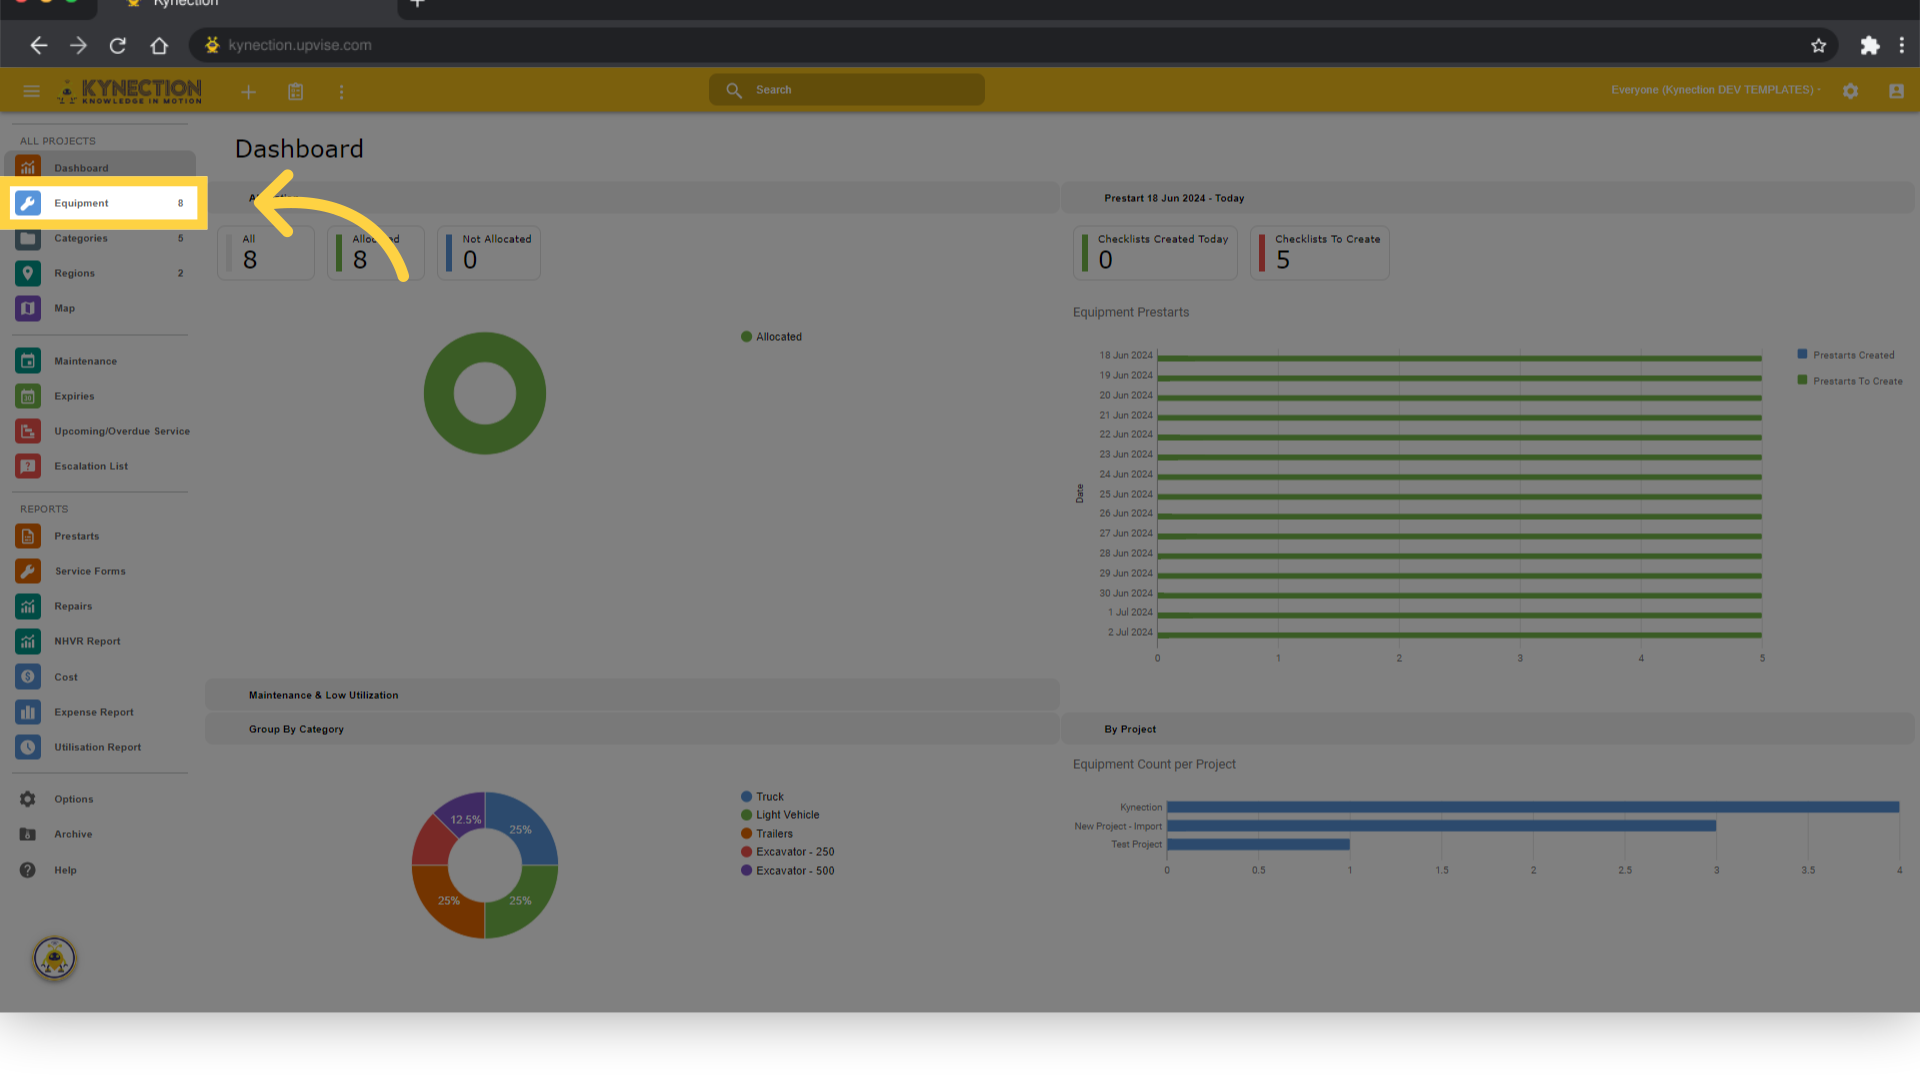
1. Click Equipment
To begin - start off by clicking on Equipment from the Left Menu.
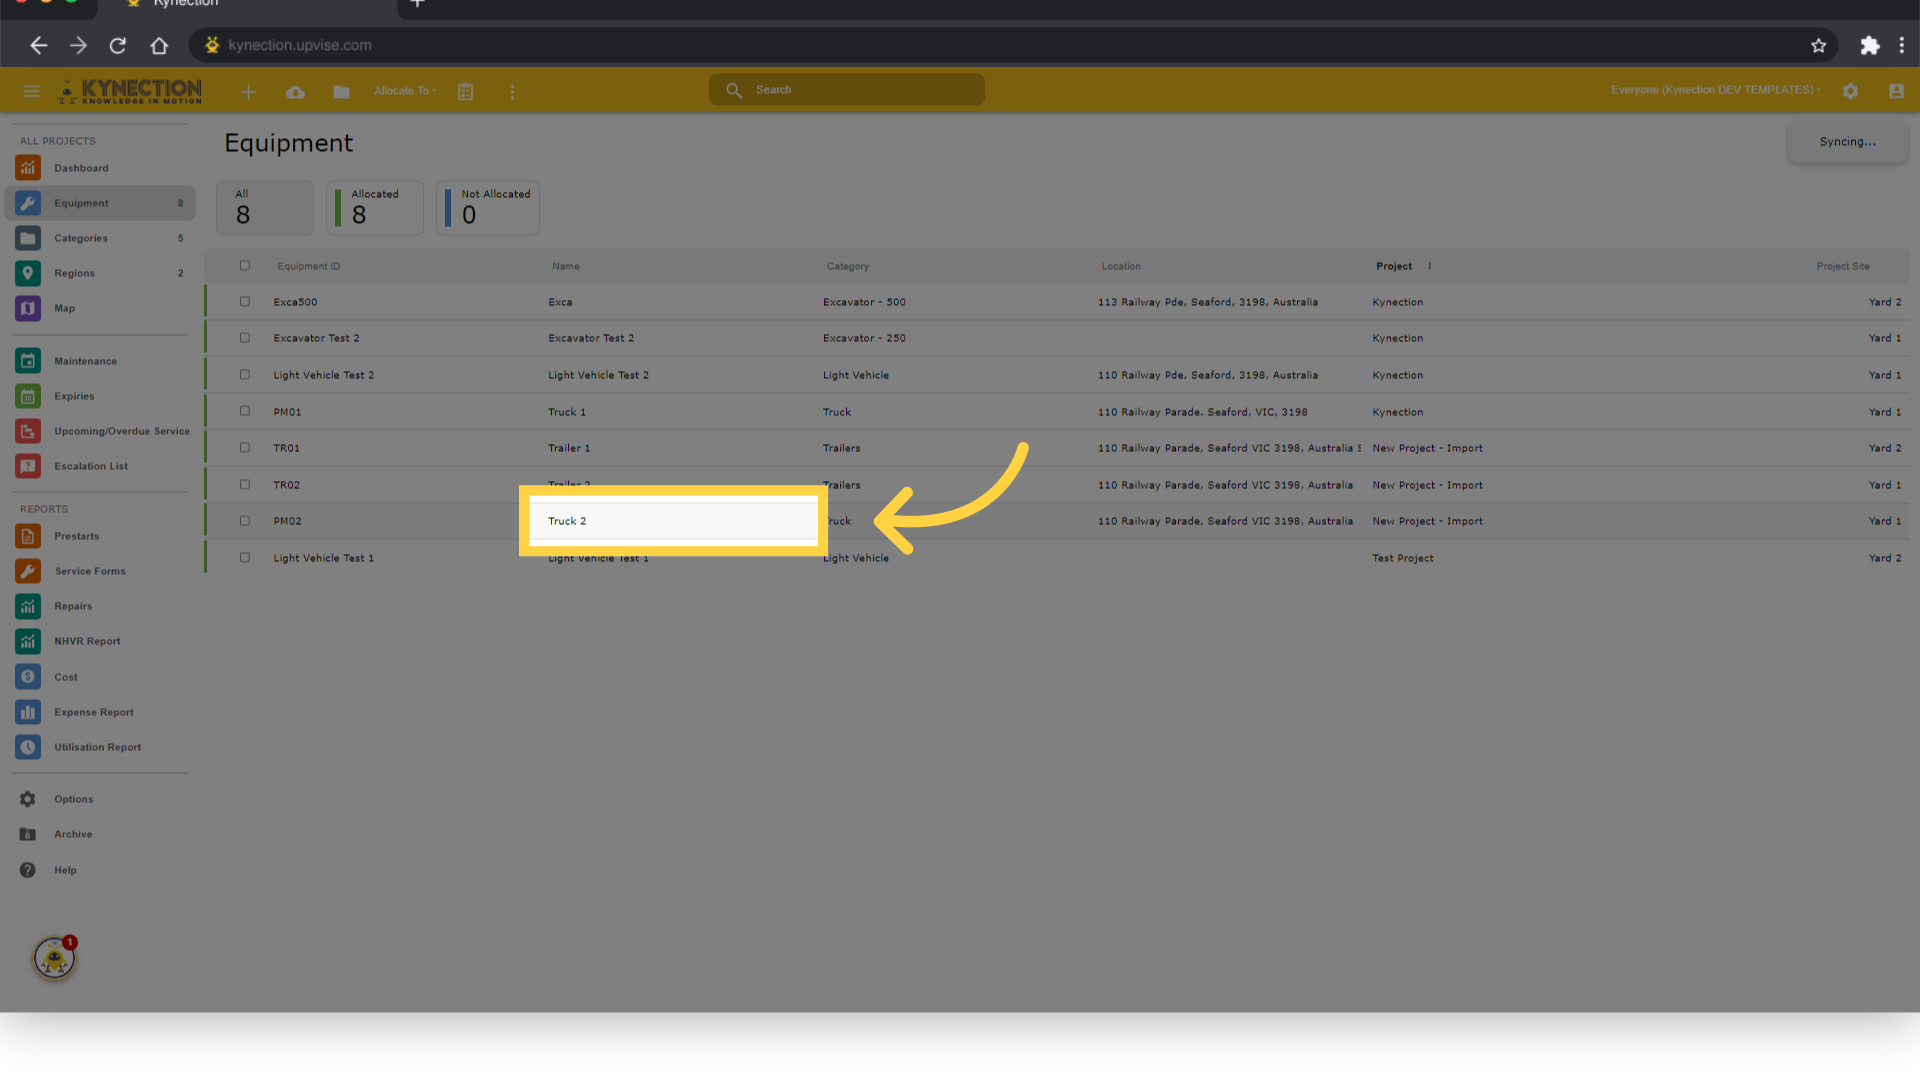
2. Click "Truck 2"
From Equipment - select a piece of Equipment.
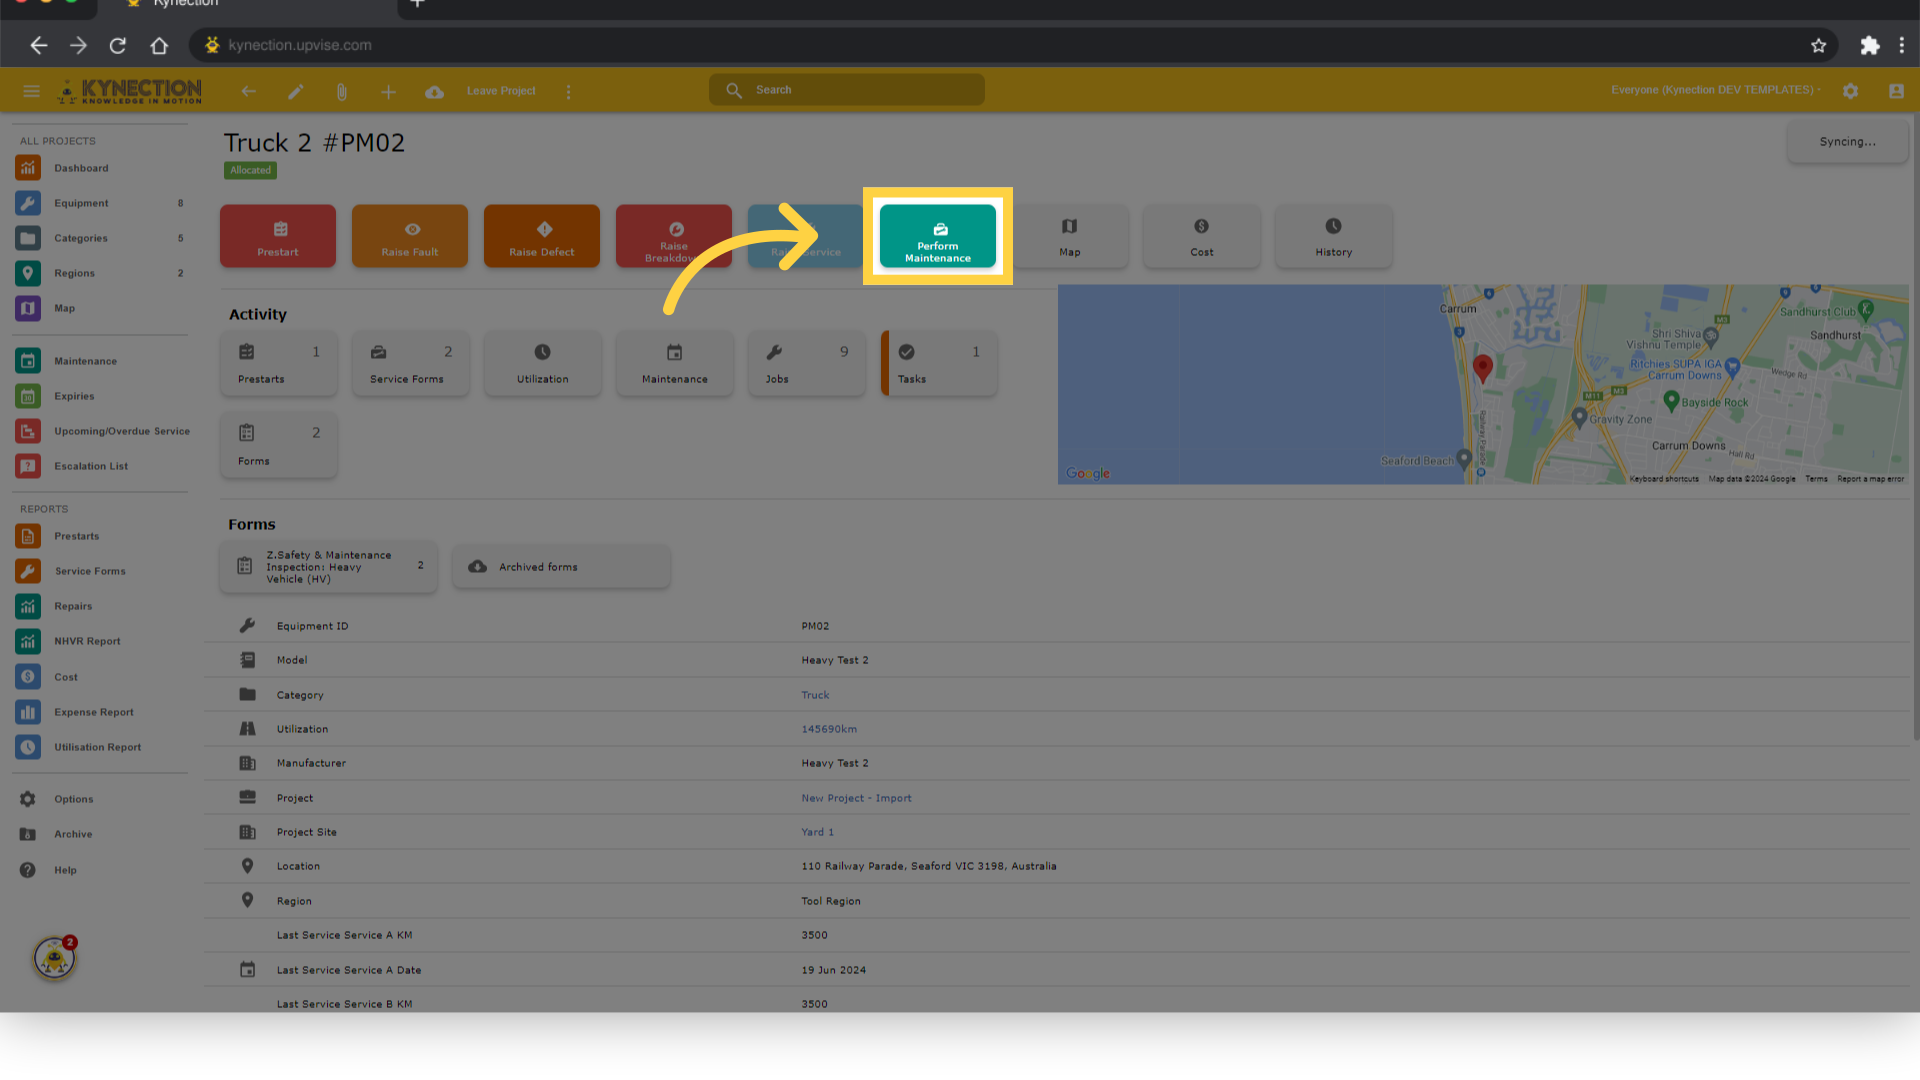
3. Click "Perform Maintenance"
Click on the Perform Maintenance button.
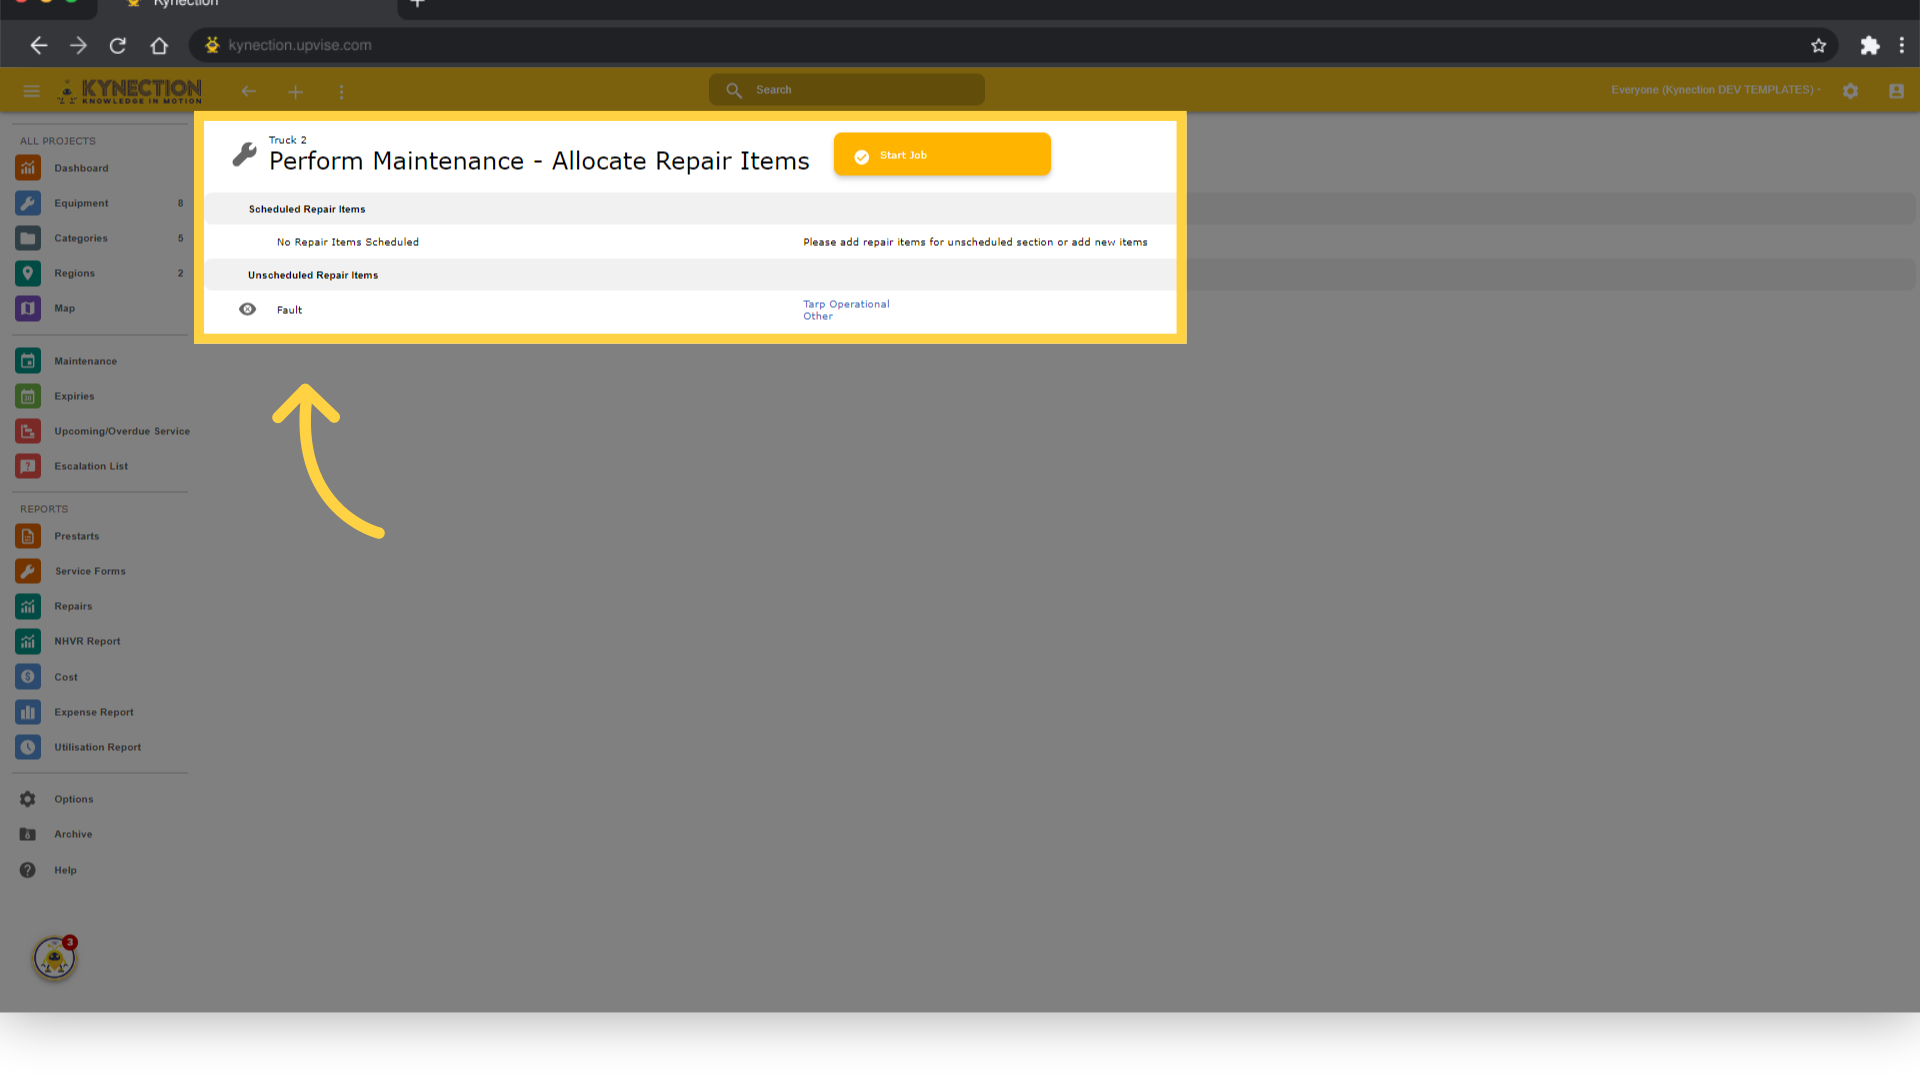
4. Updated View for Perform Maintenance
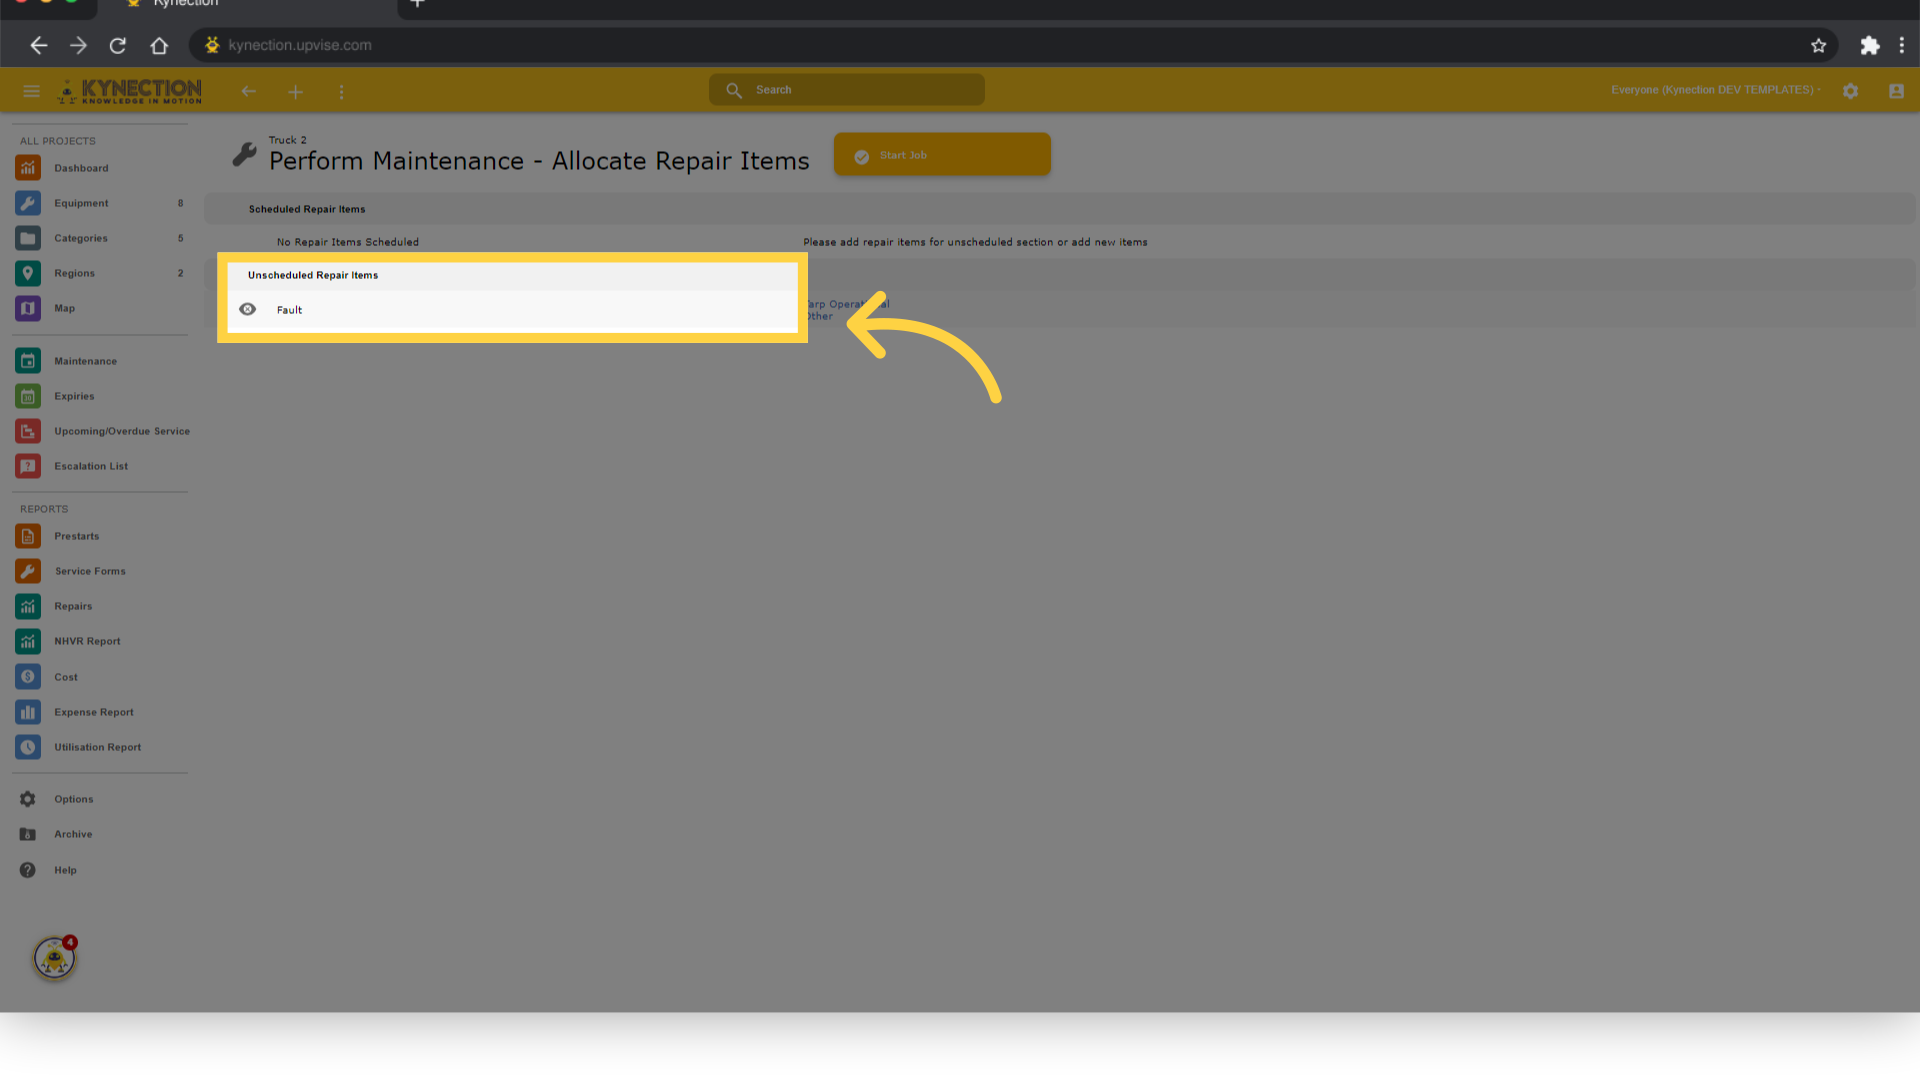
We can see that instead of going straight to a Maintenance Job - we are now in the new Perform Maintenance view. A Maintenance Job has been created for us but we won't be viewing this until we select the Start Job button. This view will display any unscheduled Repair items from Faults to Services, Defects and Breakdowns.
5. Click on Repair Item
Click on a Repair item that is sitting under the "Unscheduled Repair Items" header to continue.
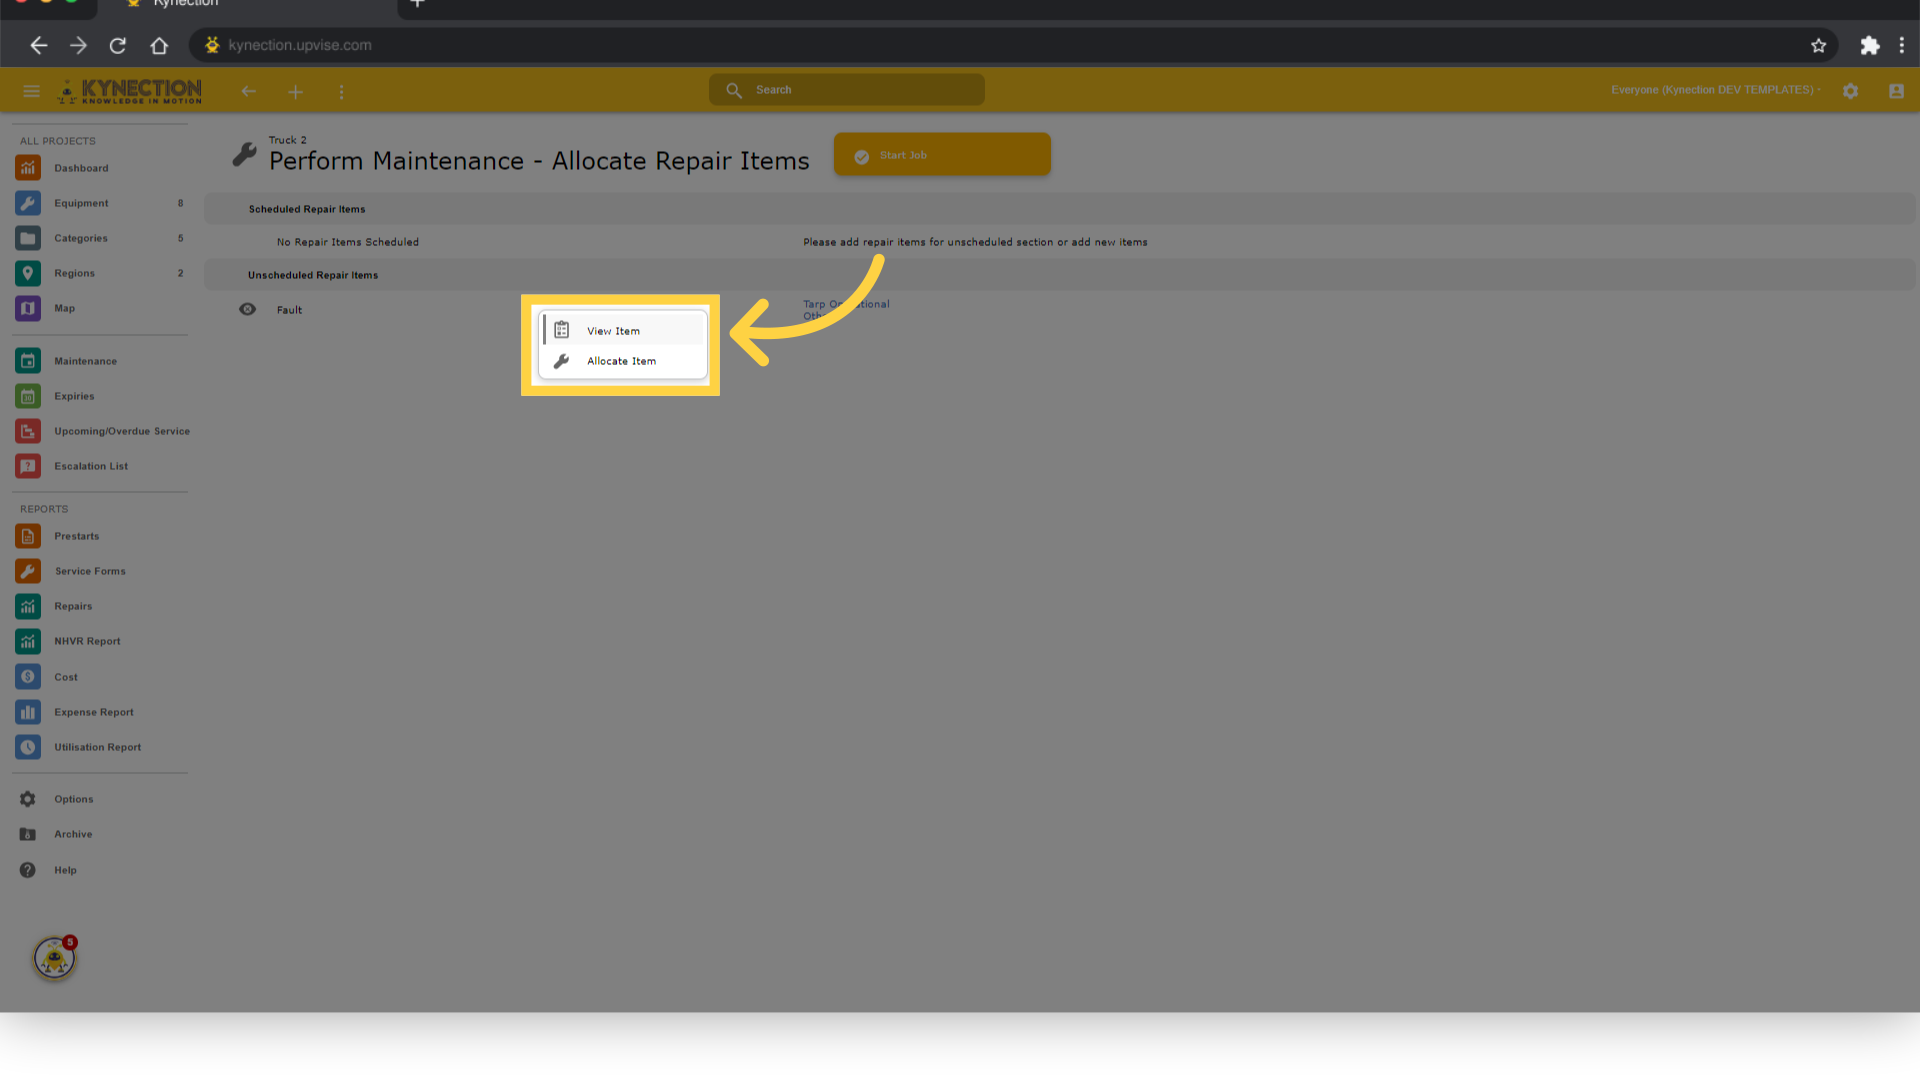
6. Click "View Item"
When clicking on an Unscheduled Repair Item - we get a popup with two options. We can view the Item to get more details and review images as required. The other is to Allocate the Item to the current Maintenance Job that we will be starting. Click on View Item to continue.
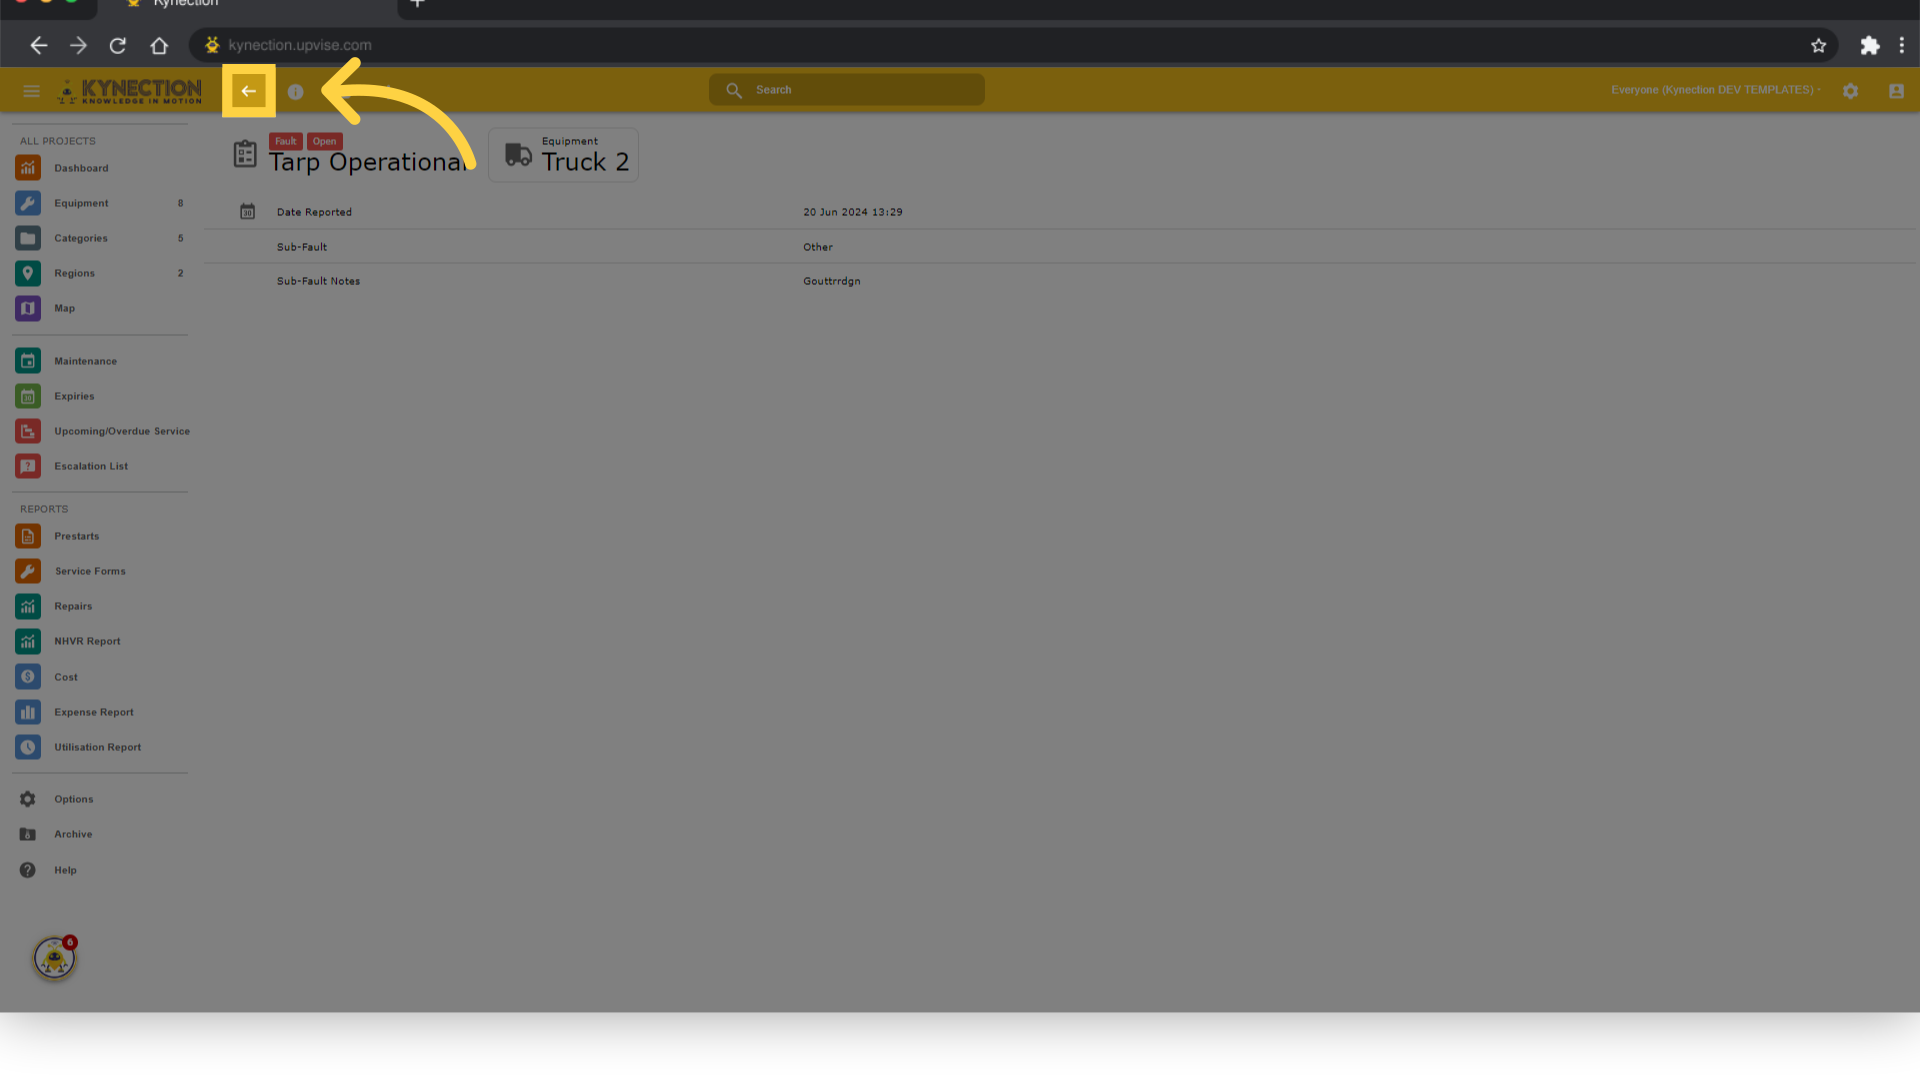
7. Click Back
After reviewing the Repair Item - click the back arrow in the Toolbar to continue.
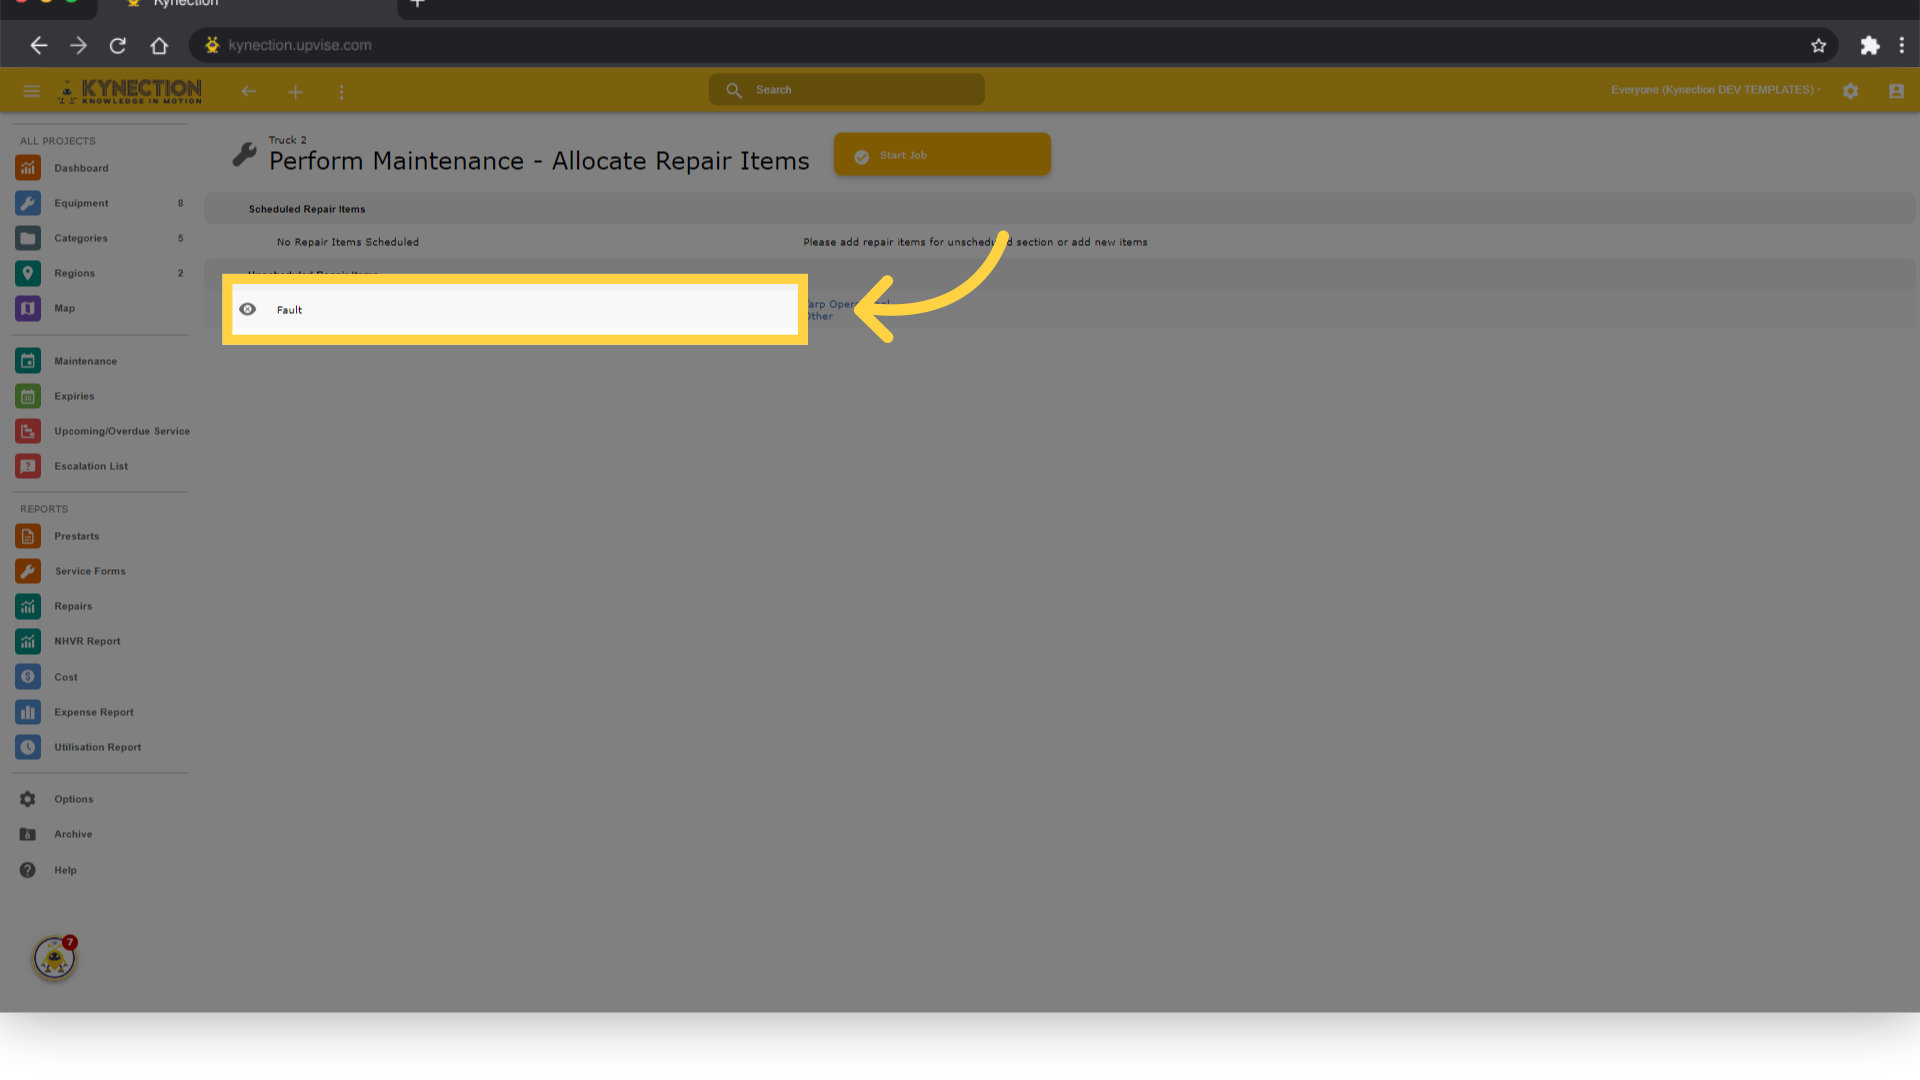
8. Click Repair Item
Click on the Repair Item again.
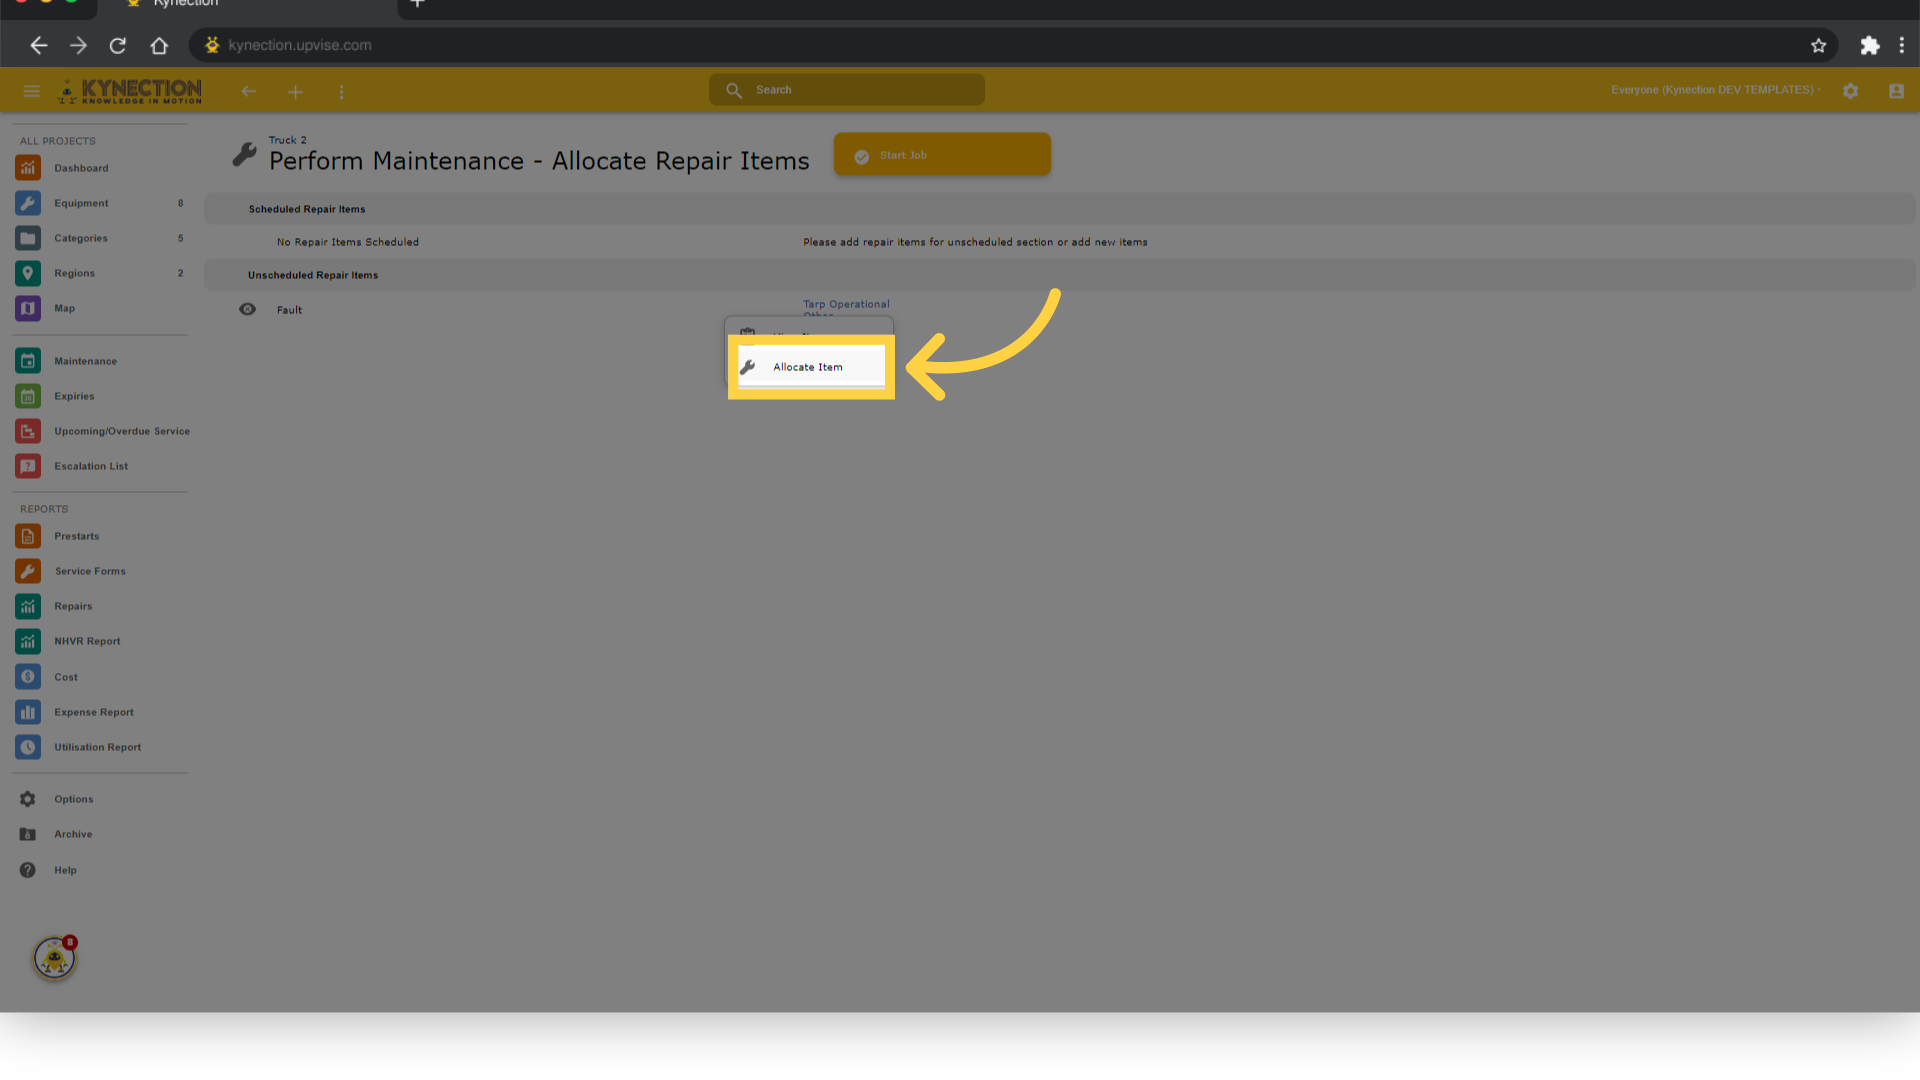
9. Click "Allocate Item"
Click on Allocate Item. This will add a history record against the Repair item which is visible against the info button in the toolbar noting it was Allocated to a Job - noting the time, who it was actioned by and what the job name was for auditing purposes.
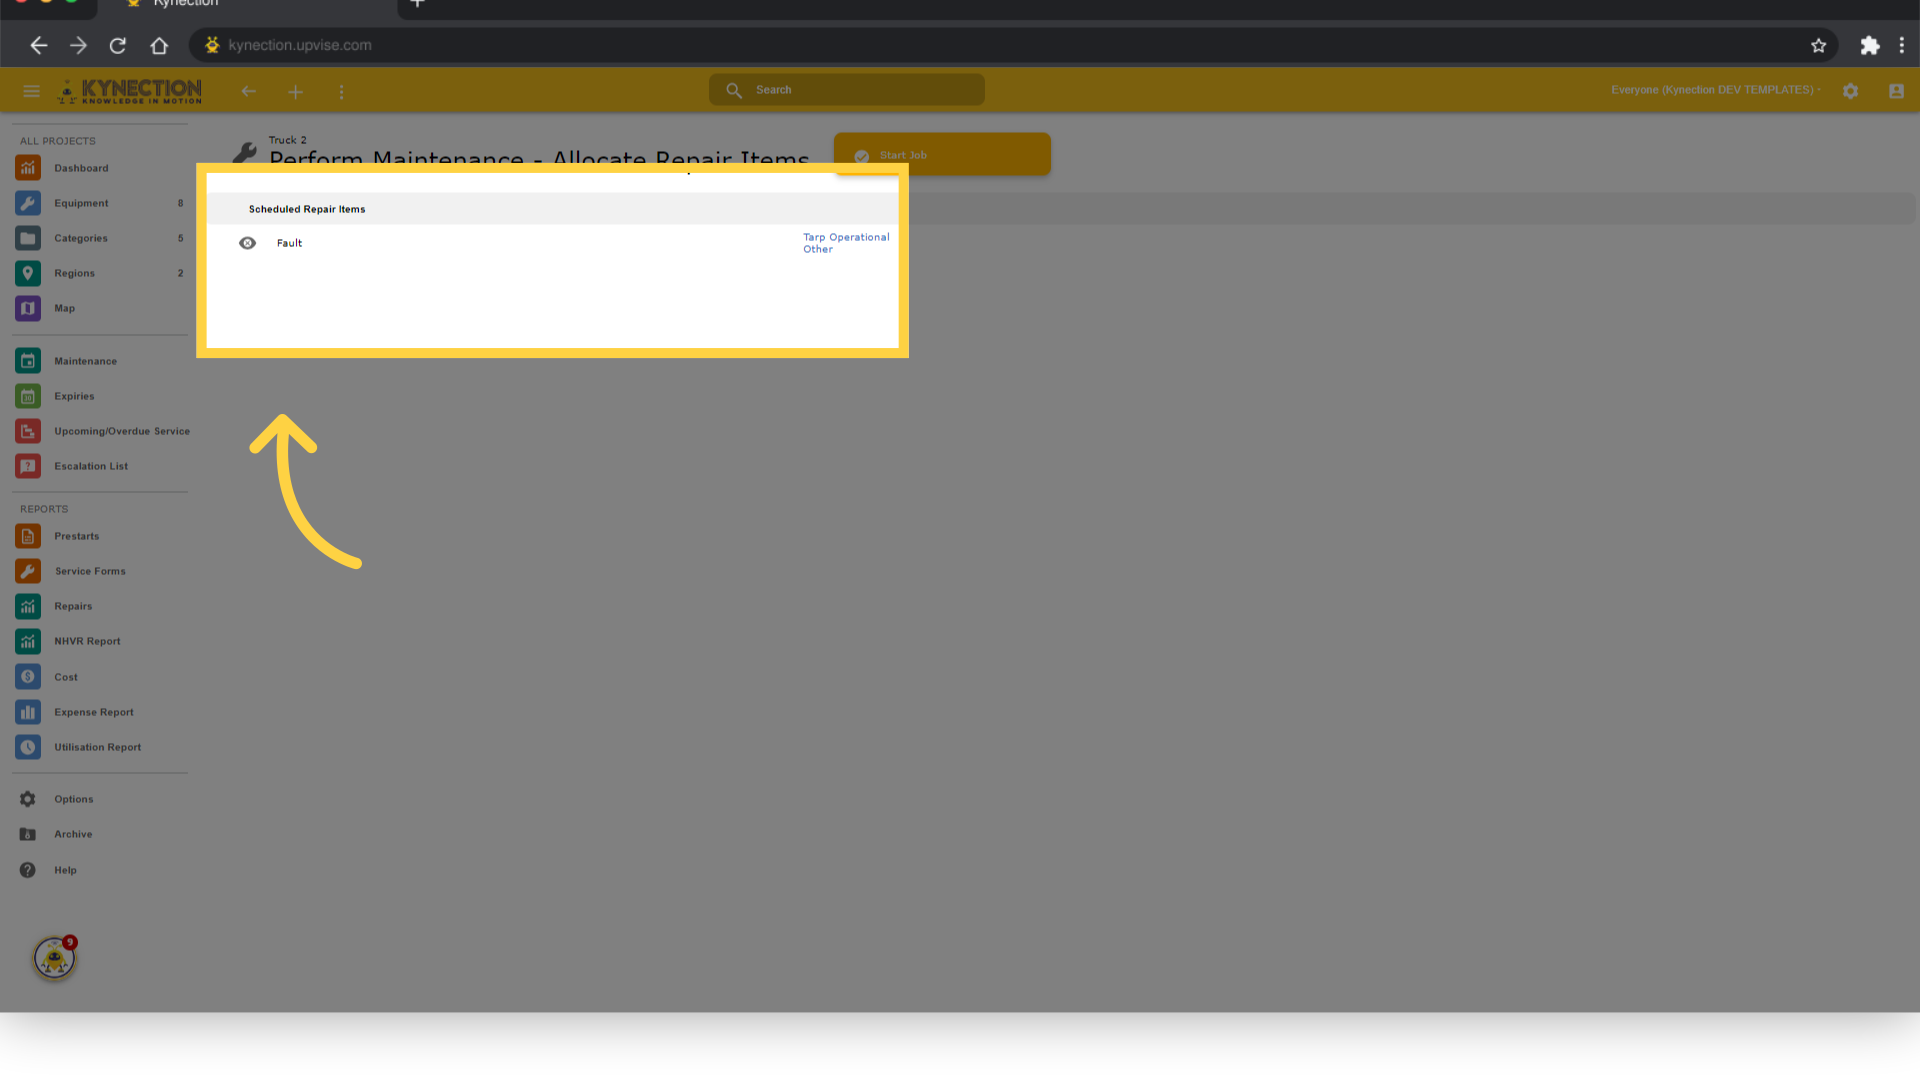
10. Unscheduled Item is now Scheduled
Now the Unscheduled Repair item has become Scheduled. Since there are no pending Unscheduled Items - the section will no longer be visible.
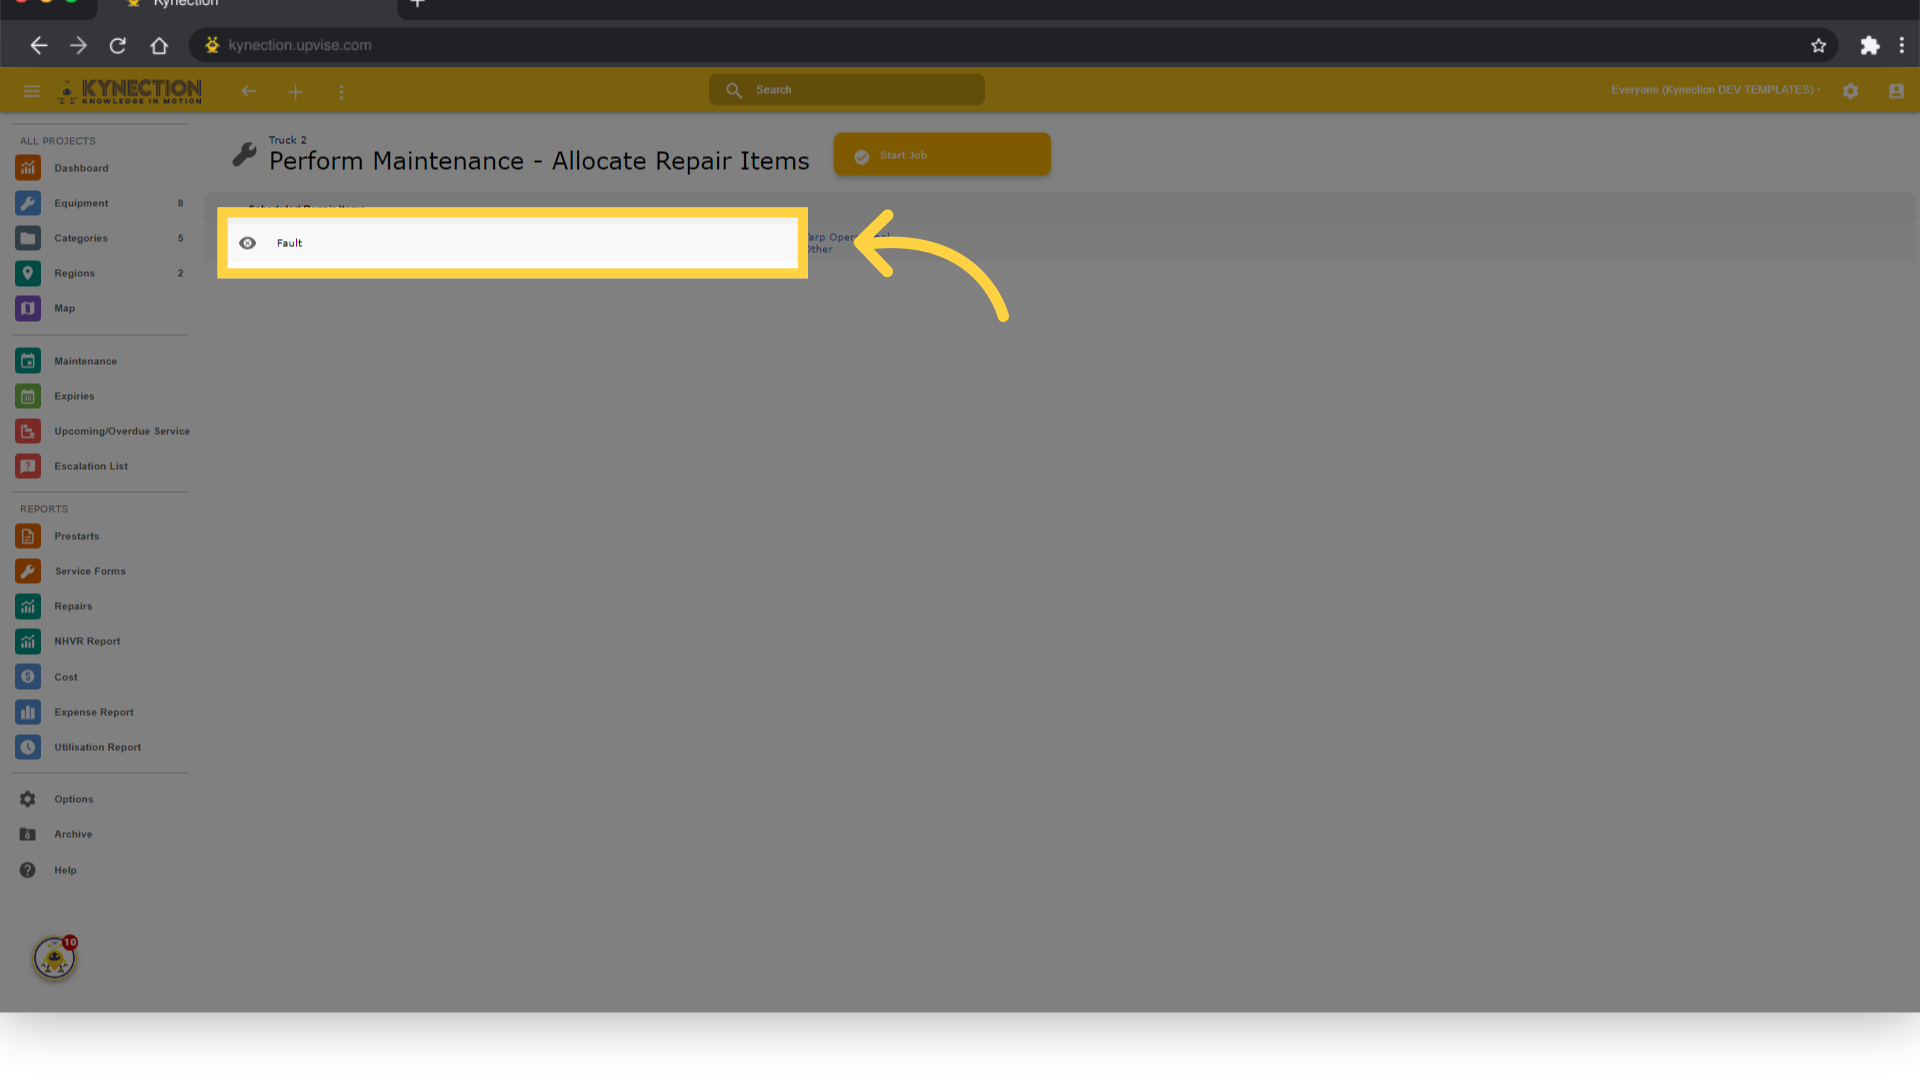
11. Click Repair item
Now Click on the Scheduled Repair Item.
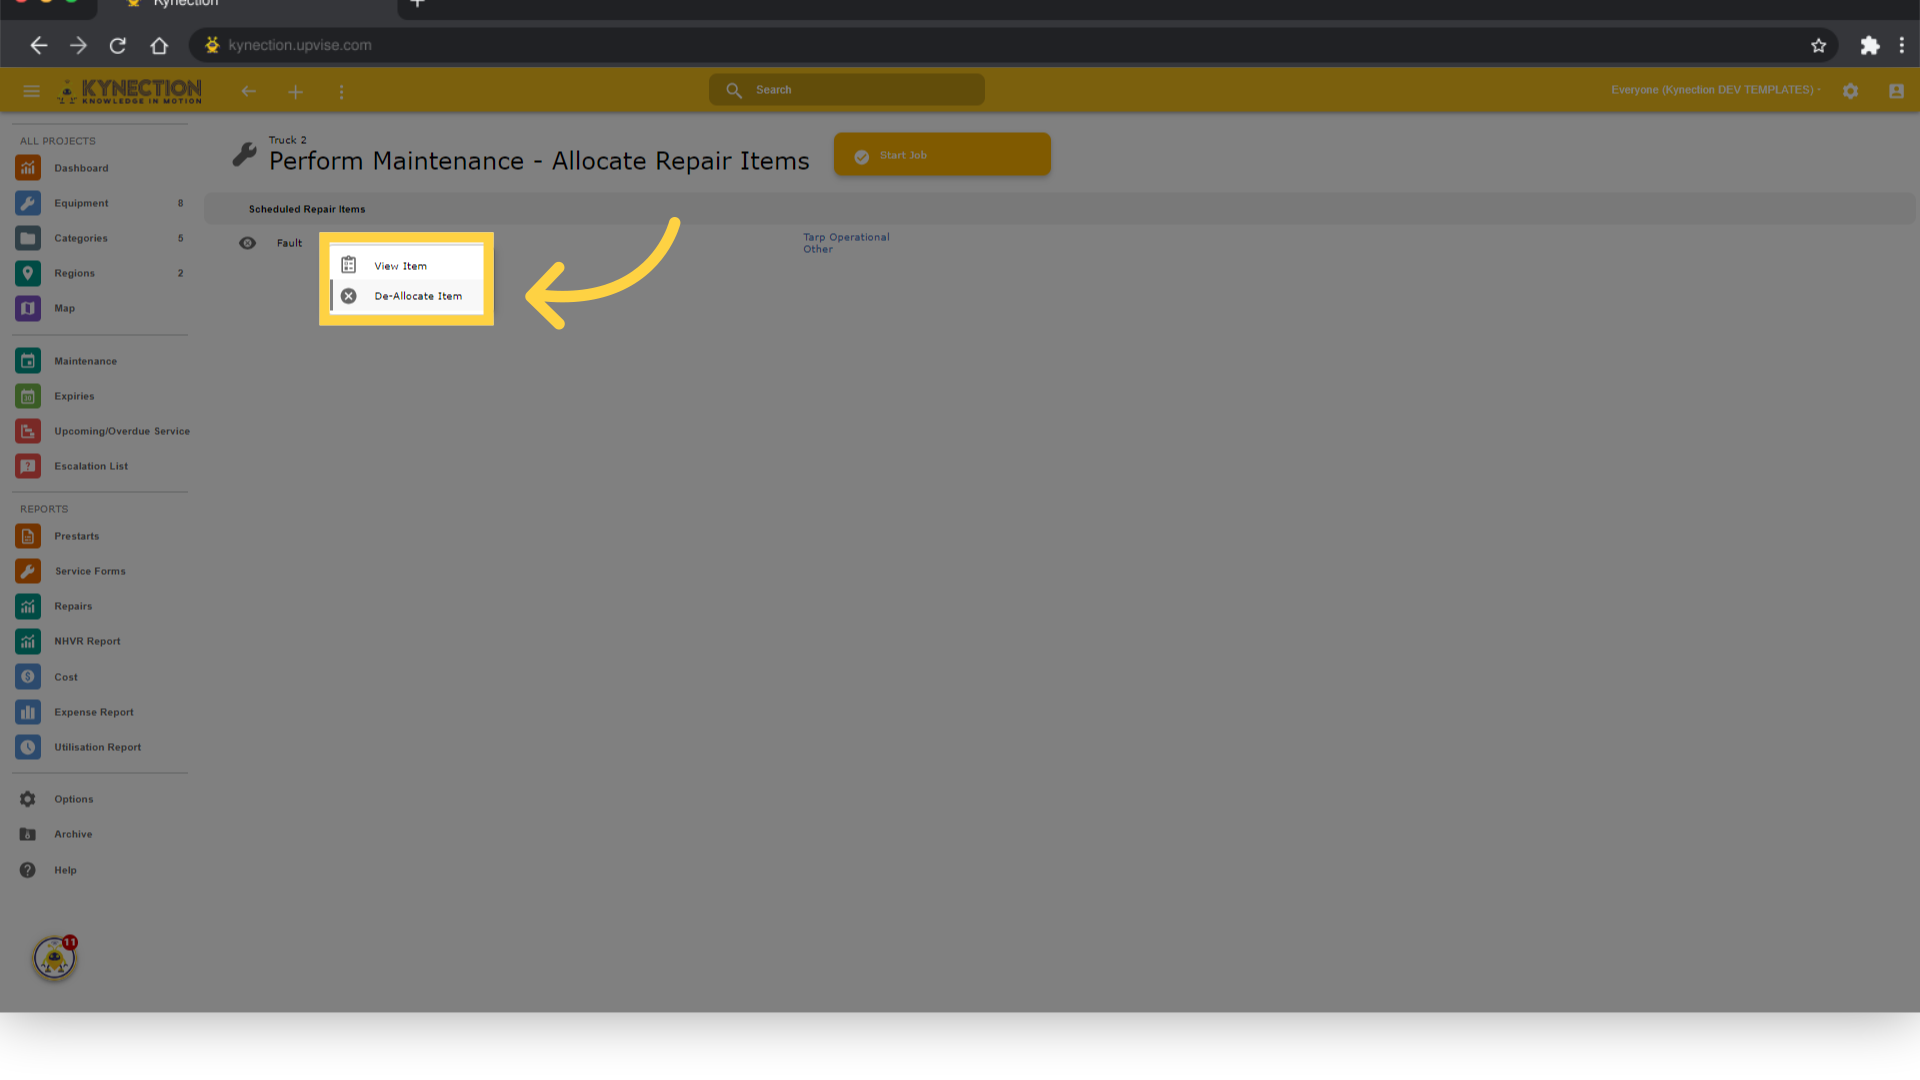
12. Click "Deallocate Item"
Now with a Scheduled Item - we have the same ability to View the Item but also have the ability to Unschedule the Repair Item. This is useful if originally you have intended to possibly perform a pending service or any repairs but then prior to starting realised that some parts are missing and need to Deallocate the item for now. Similar to Allocating - Deallocating will also add in history to the Repair Item. Select Deallocate Item to continue.
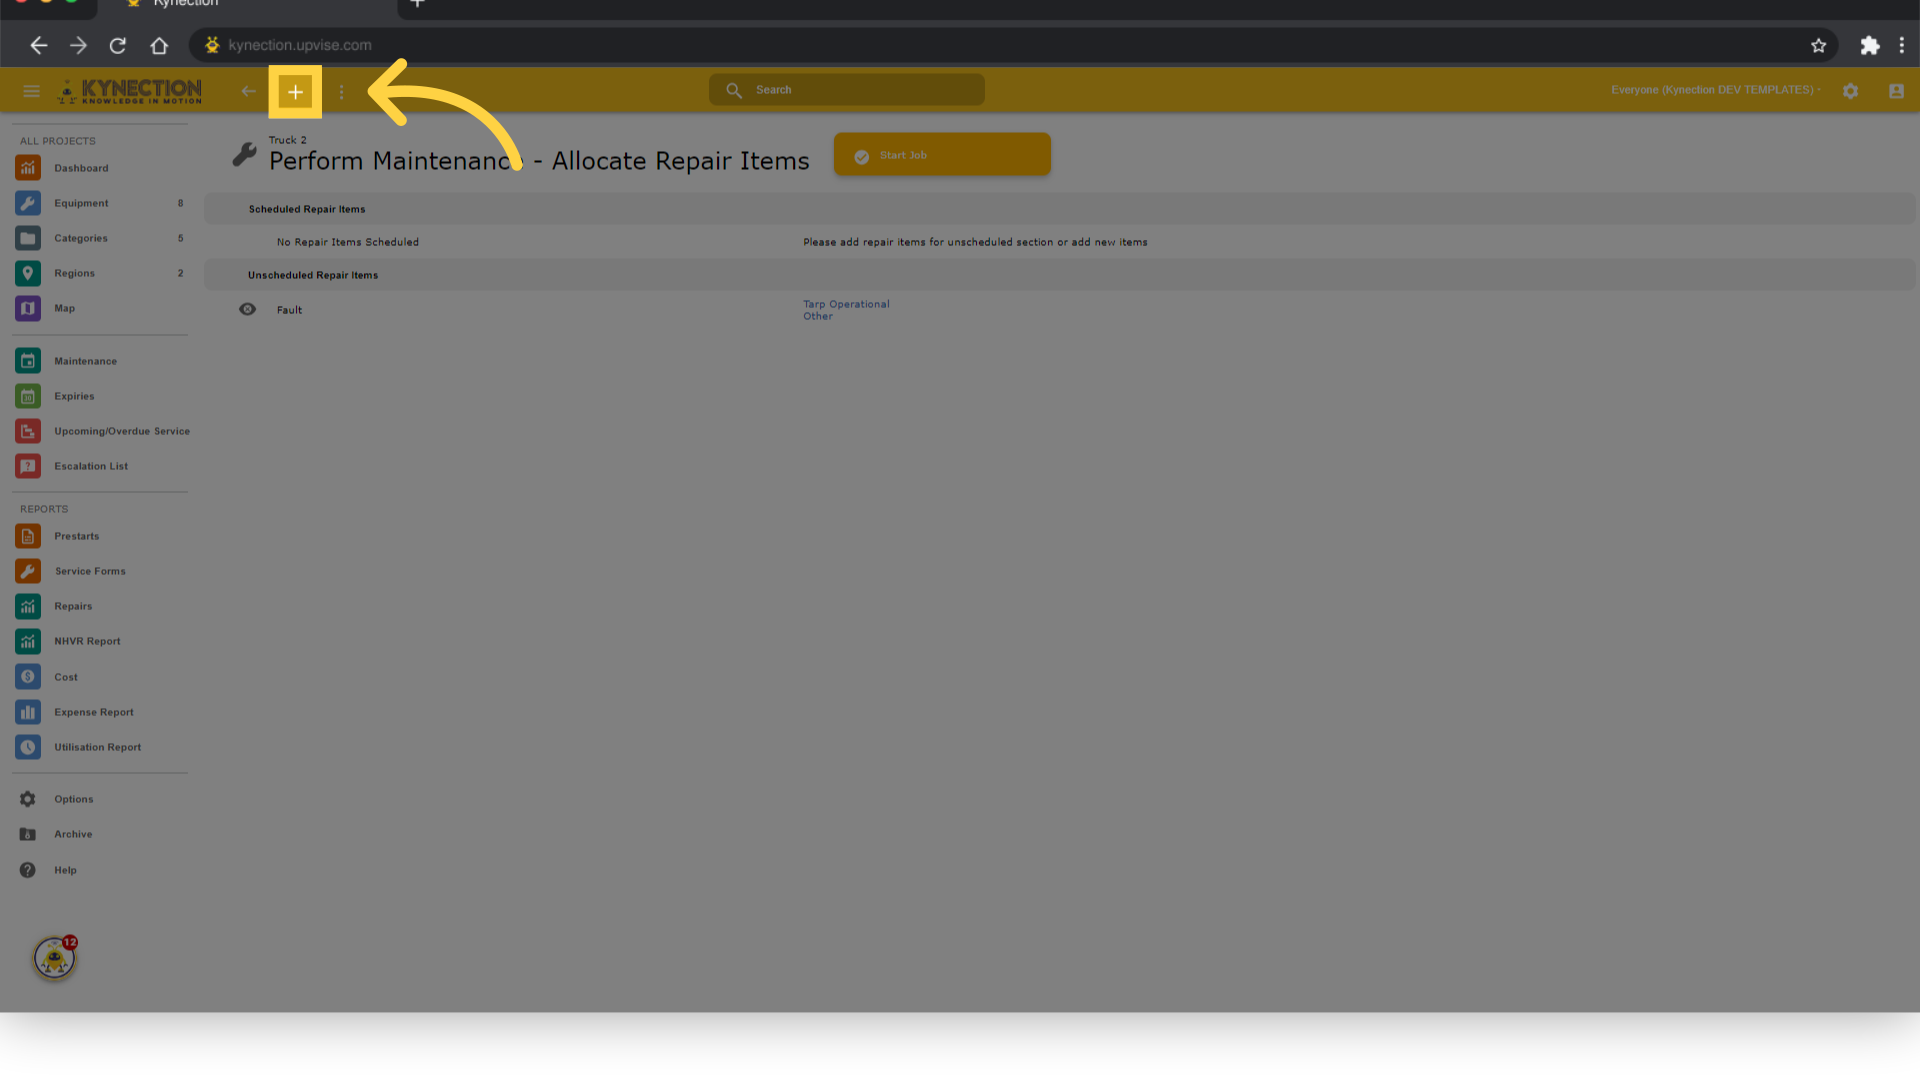
13. Click Plus To Add New Fault
While reviewing the list of items available in the Perform Maintenance view - you may perform a visual inspection of the Equipment and notice a Fault that can be fixed which has not been raised. To add an additional Fault - select the Plus button in the toolbar to continue.
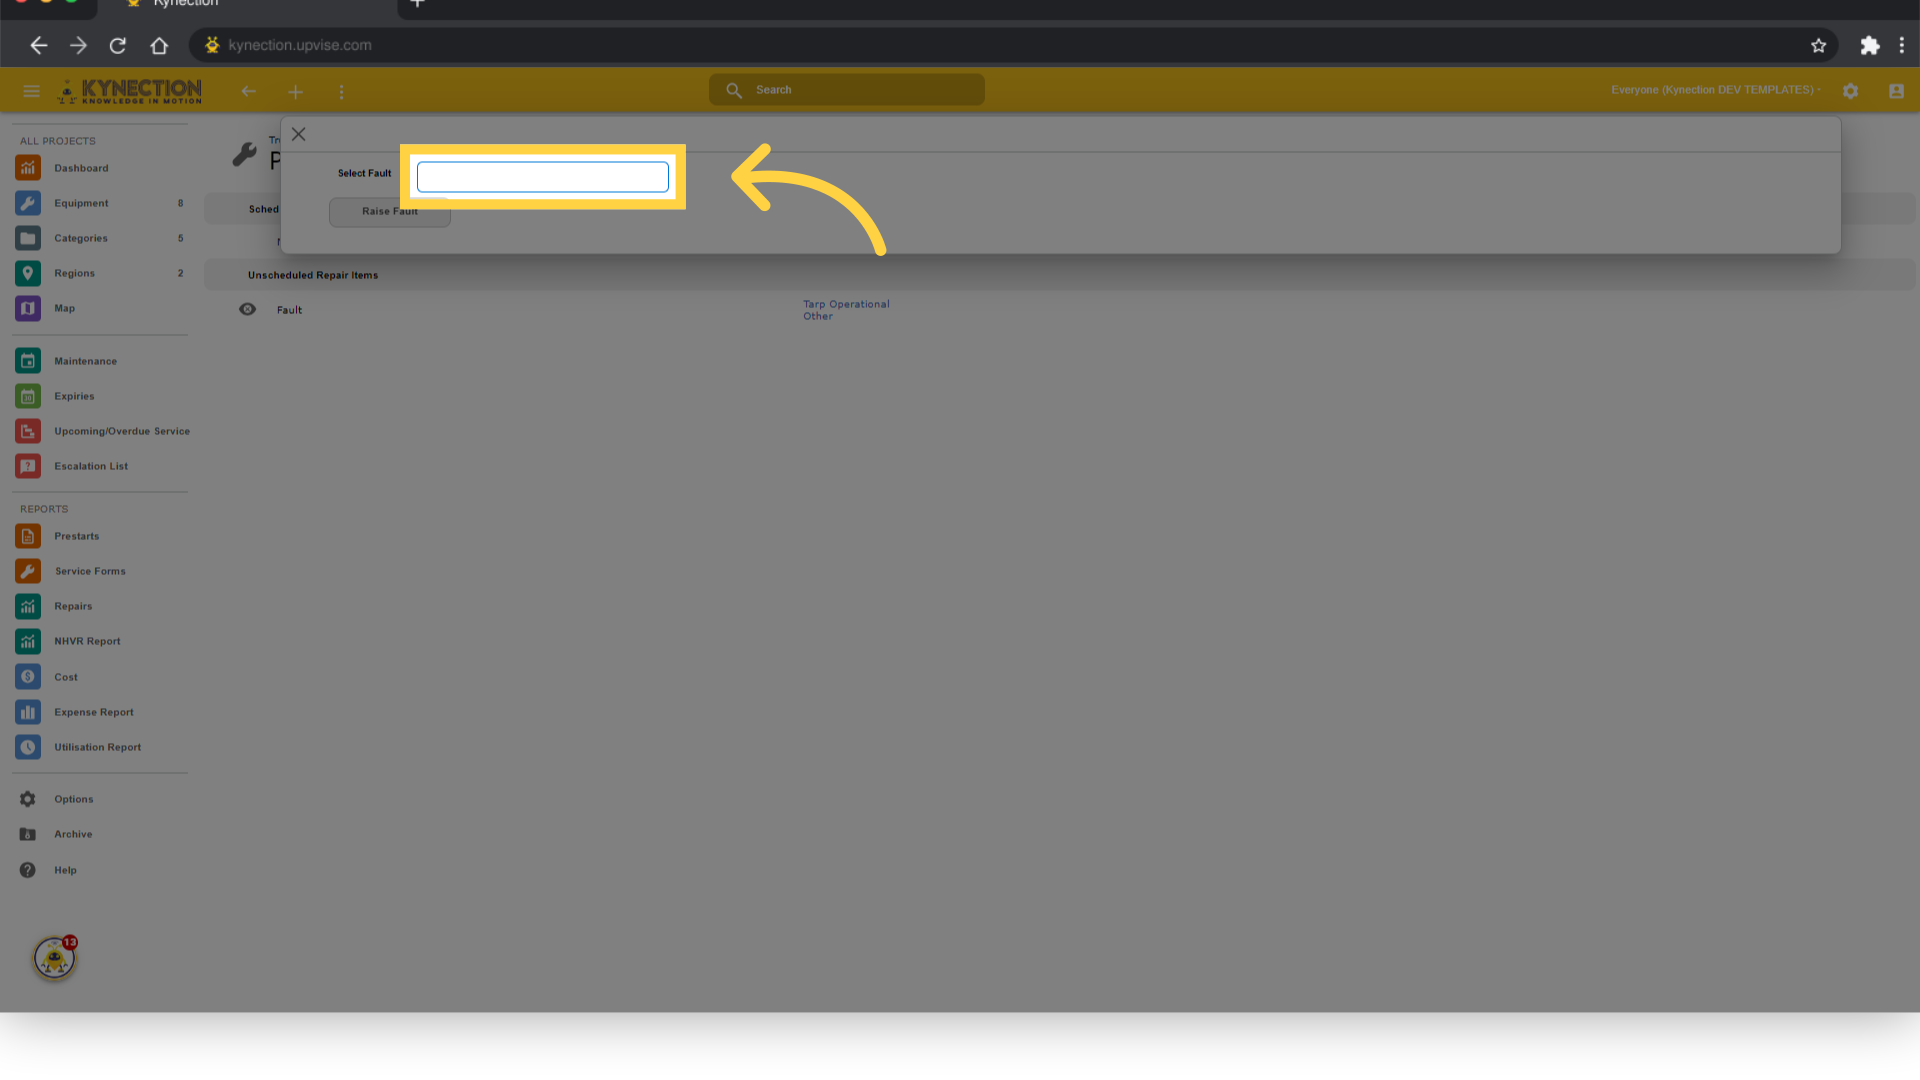
14. Select Fault
Adding a new Fault is the same process when raising a Fault from the piece of Equipment directly. Click on Select fault and choose an item from the list that is applicable to continue.
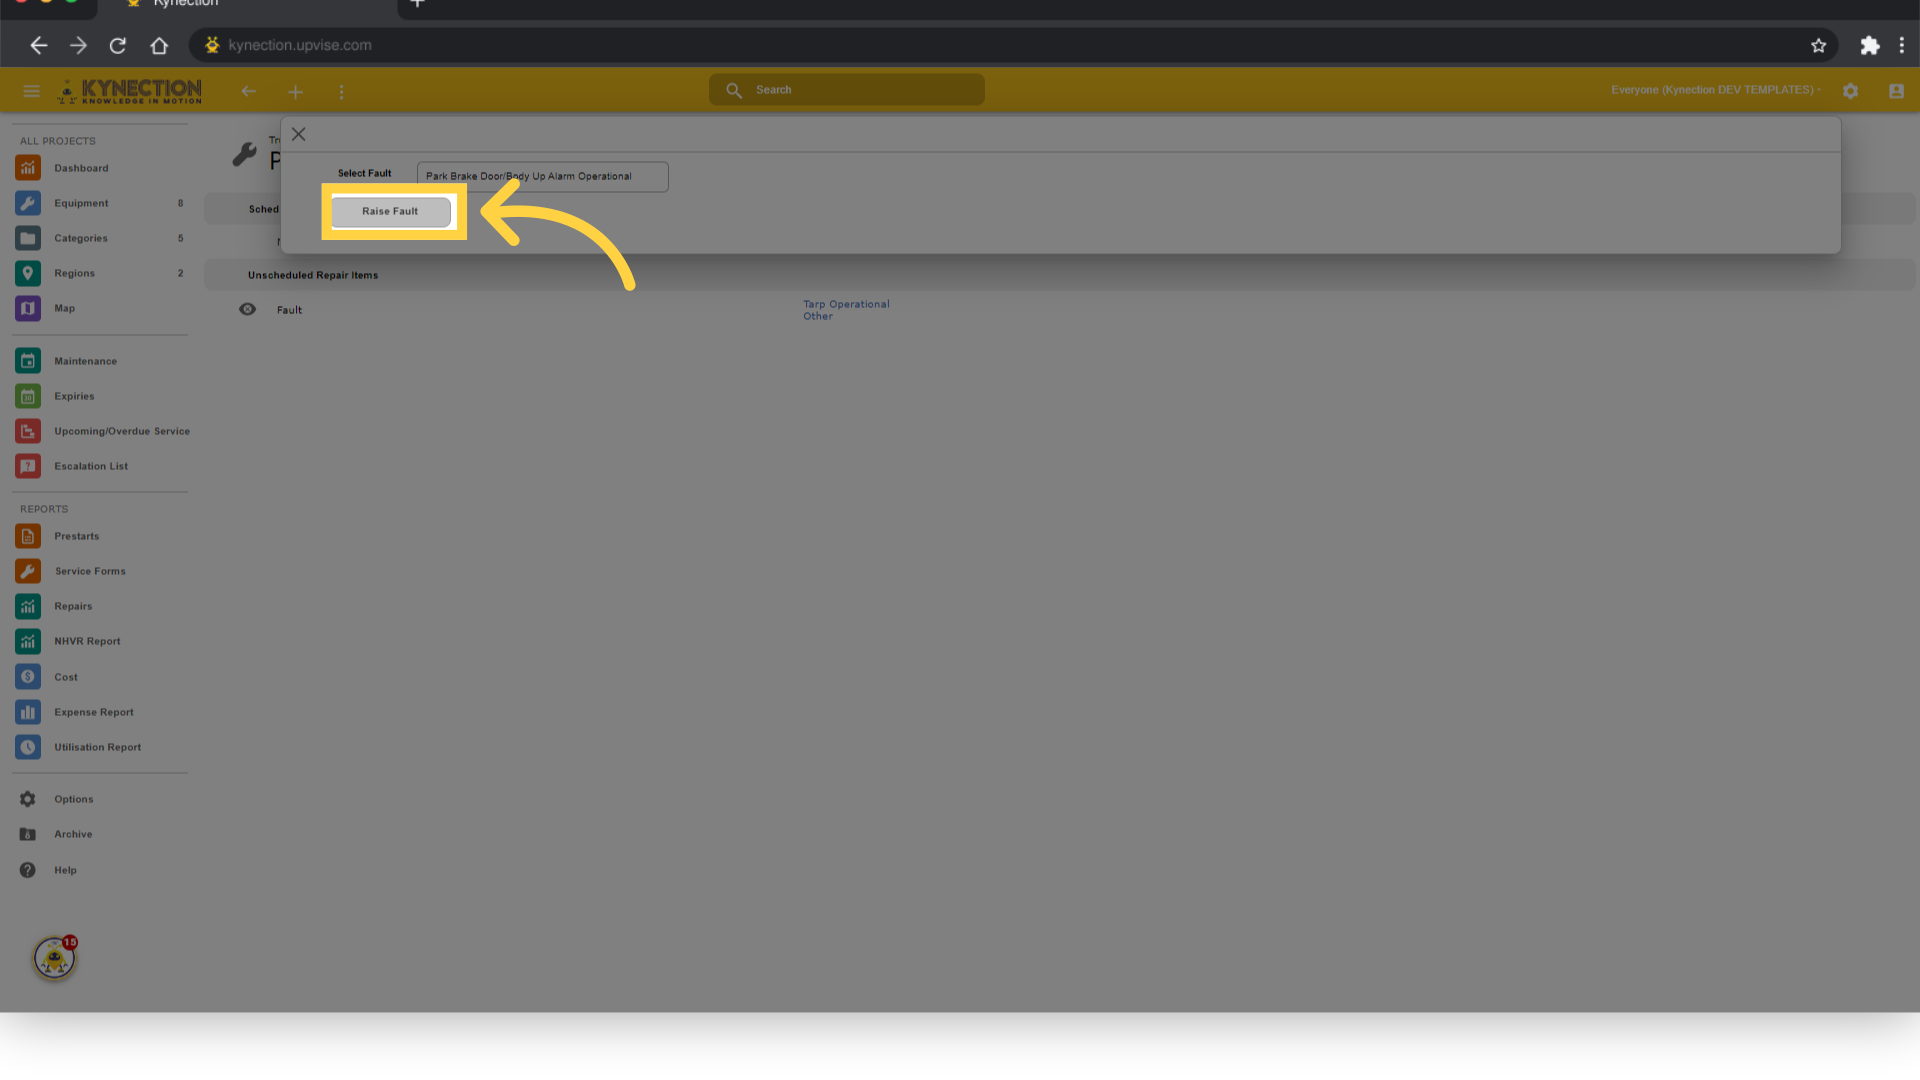
15. Click "Raise Fault"
Initiate the fault-raising process.
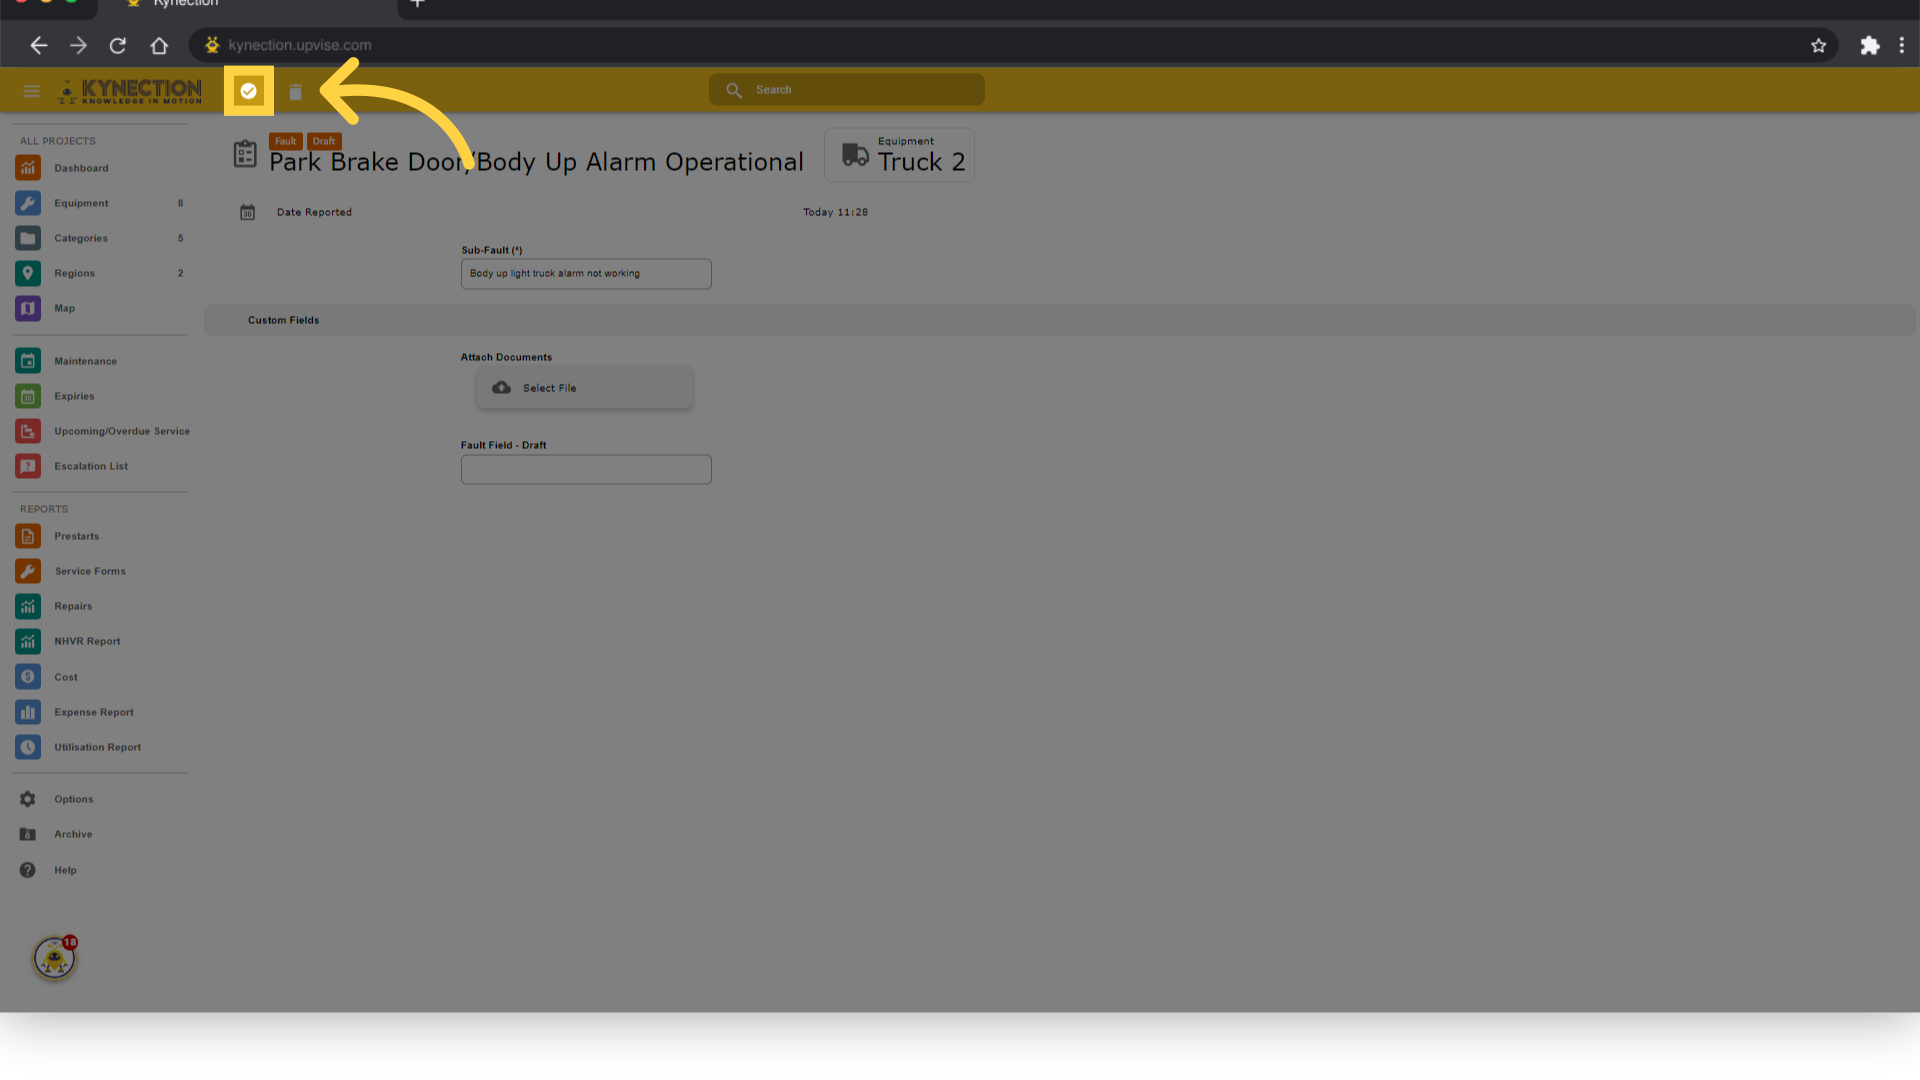
16. Enter Sub-Fault details
Select and Enter Sub-Fault details as applicable.

17. Click Tick when Complete
When the Sub-Fault details and any other required information has been entered - click on the tick in the toolbar to continue.
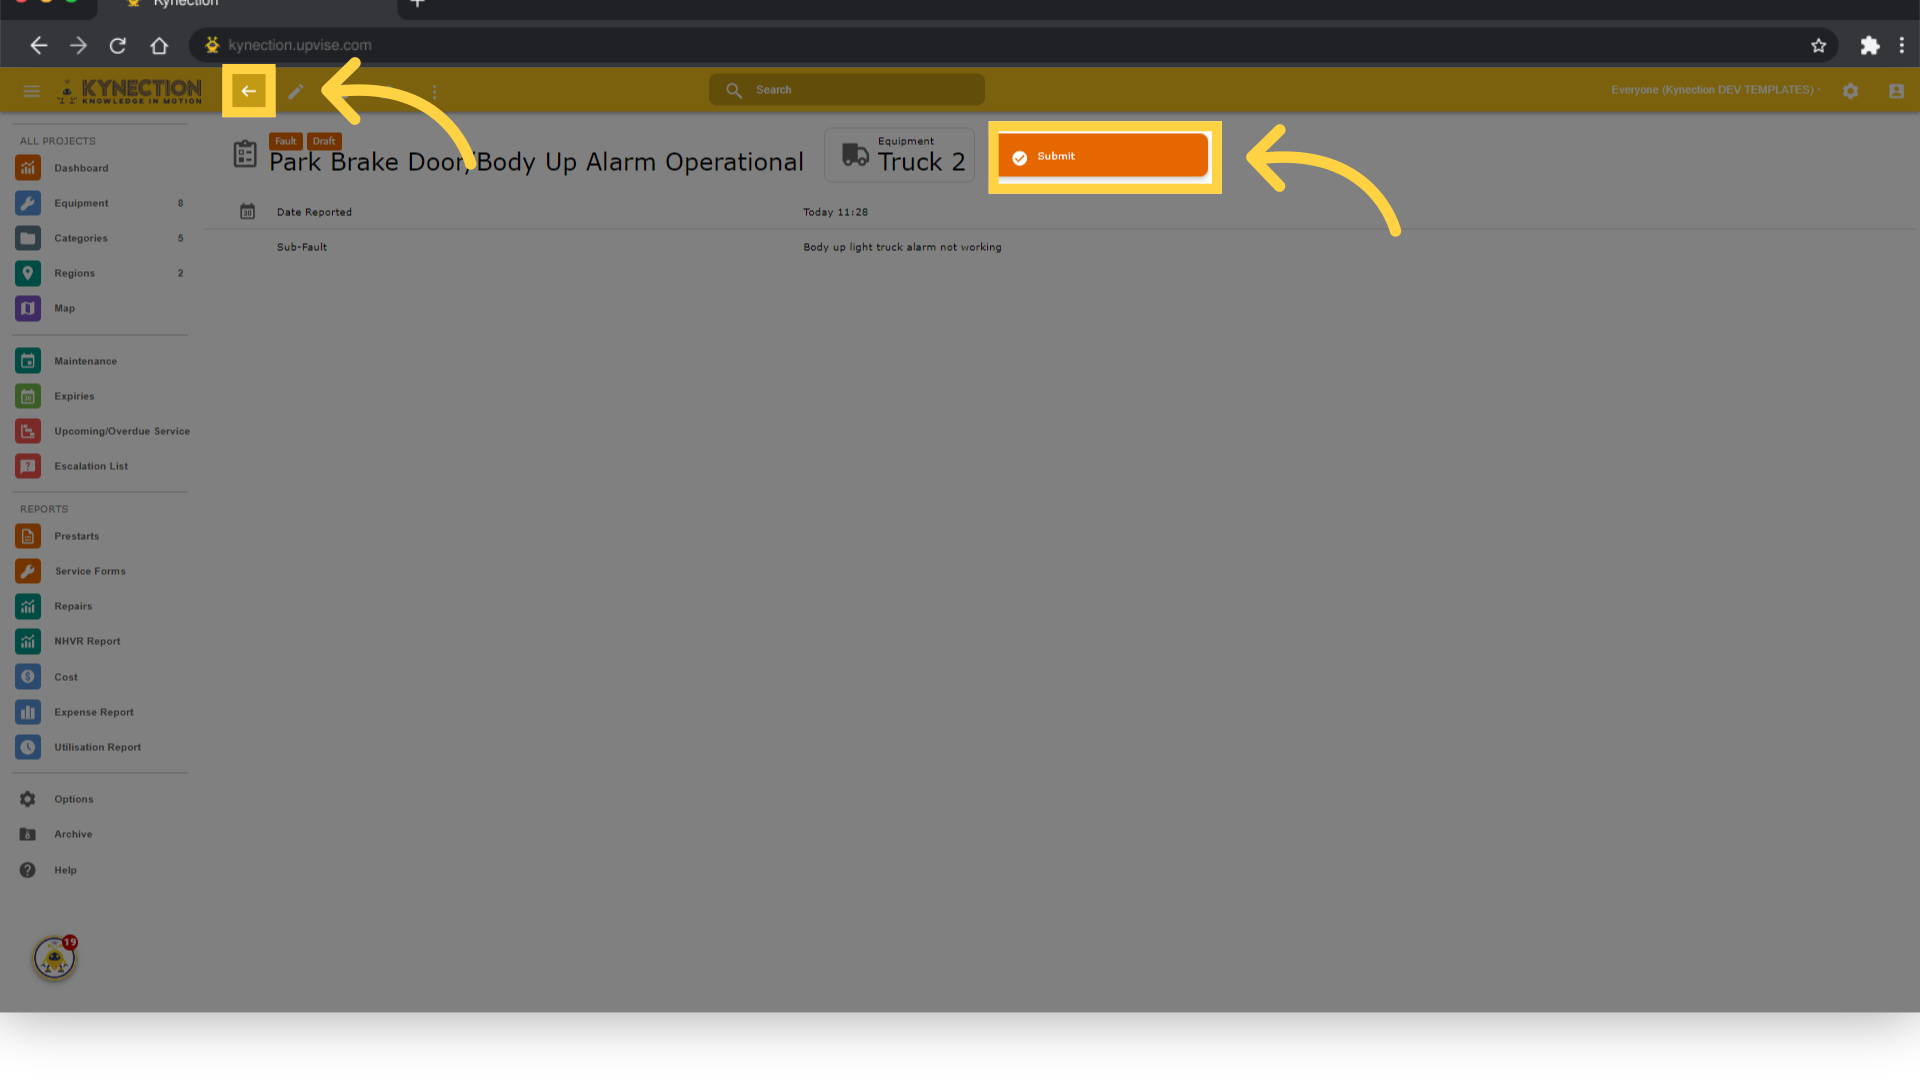
18. Click Back
Now from the Repair View screen - we can either click the back arrow in the toolbar or select Submit to continue.
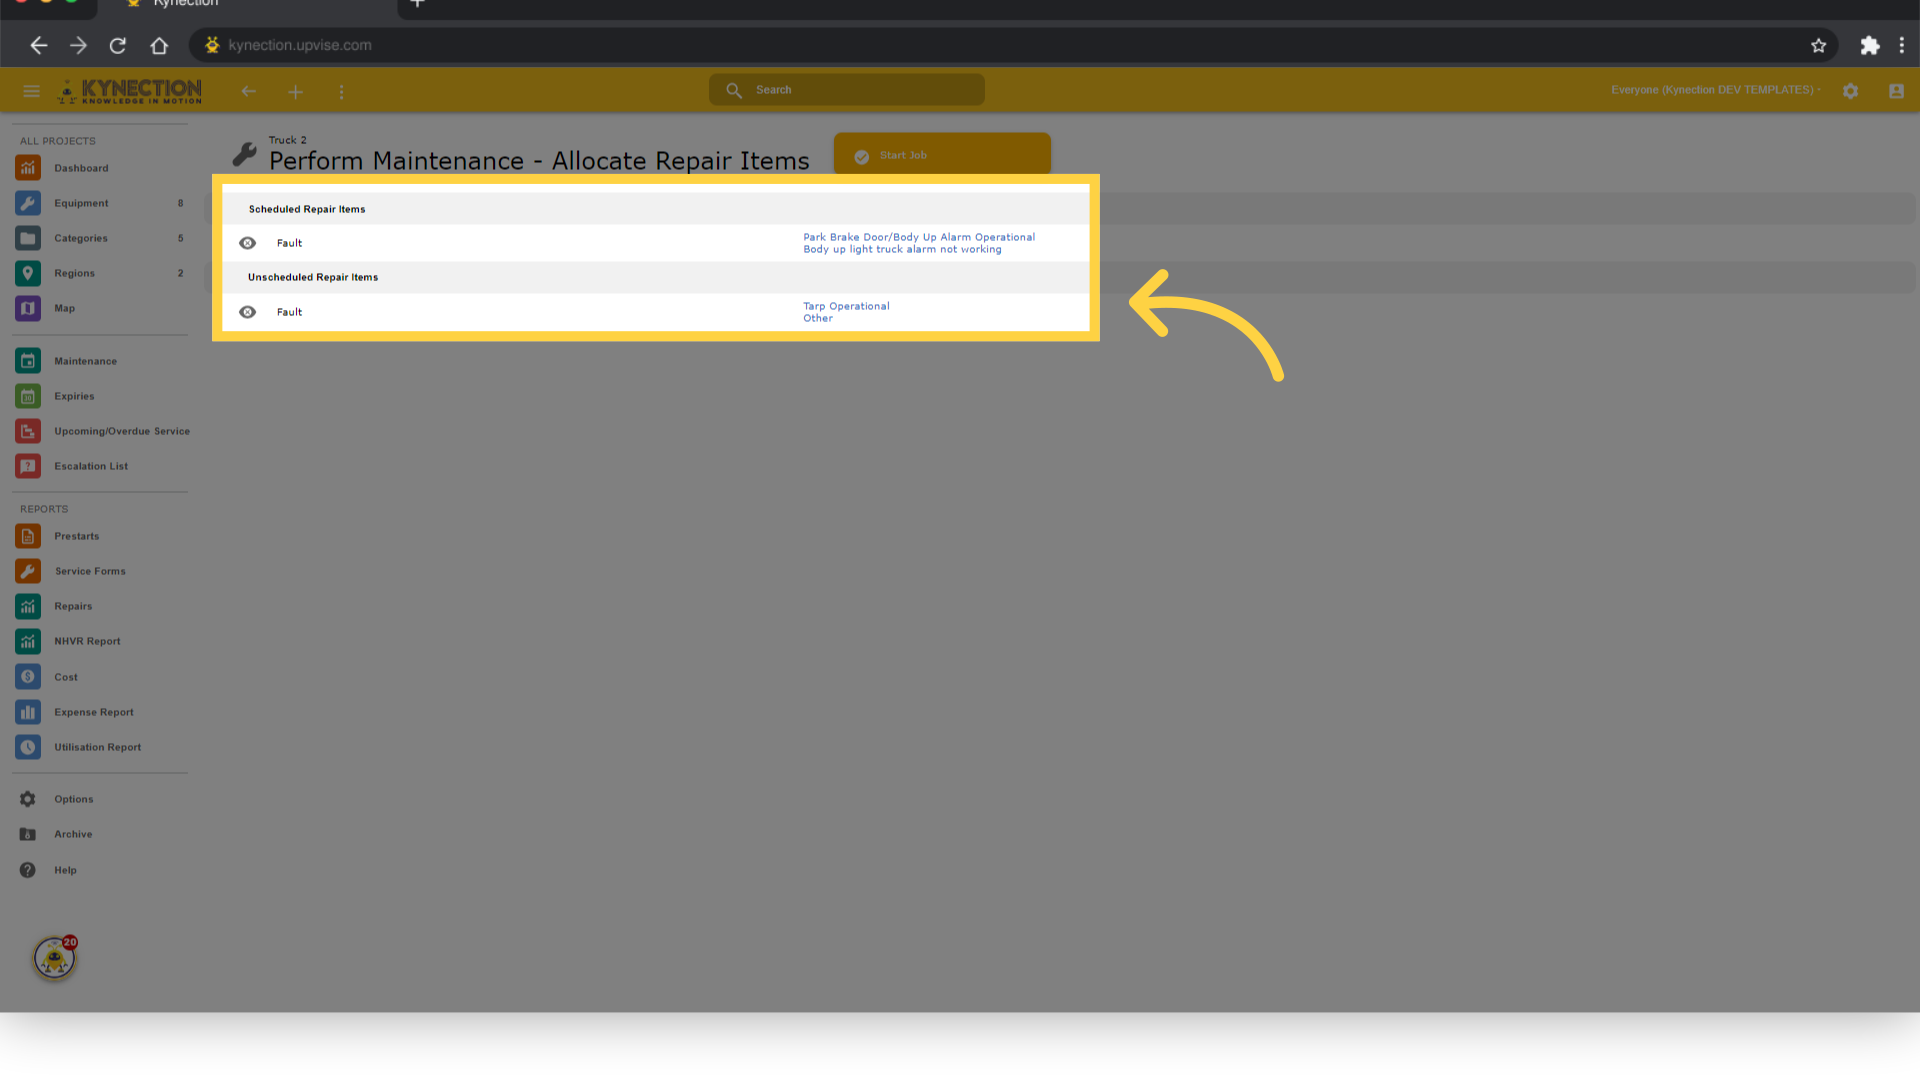
19. New Fault added as a Scheduled Item
Now with the new Fault Entered - we can see that it has automatically been set as a Scheduled Item without the need to then Allocate it. If we only wanted to Raise the Fault but not allocate it to the Current Maintenance - then we can Deallocate this item as required.
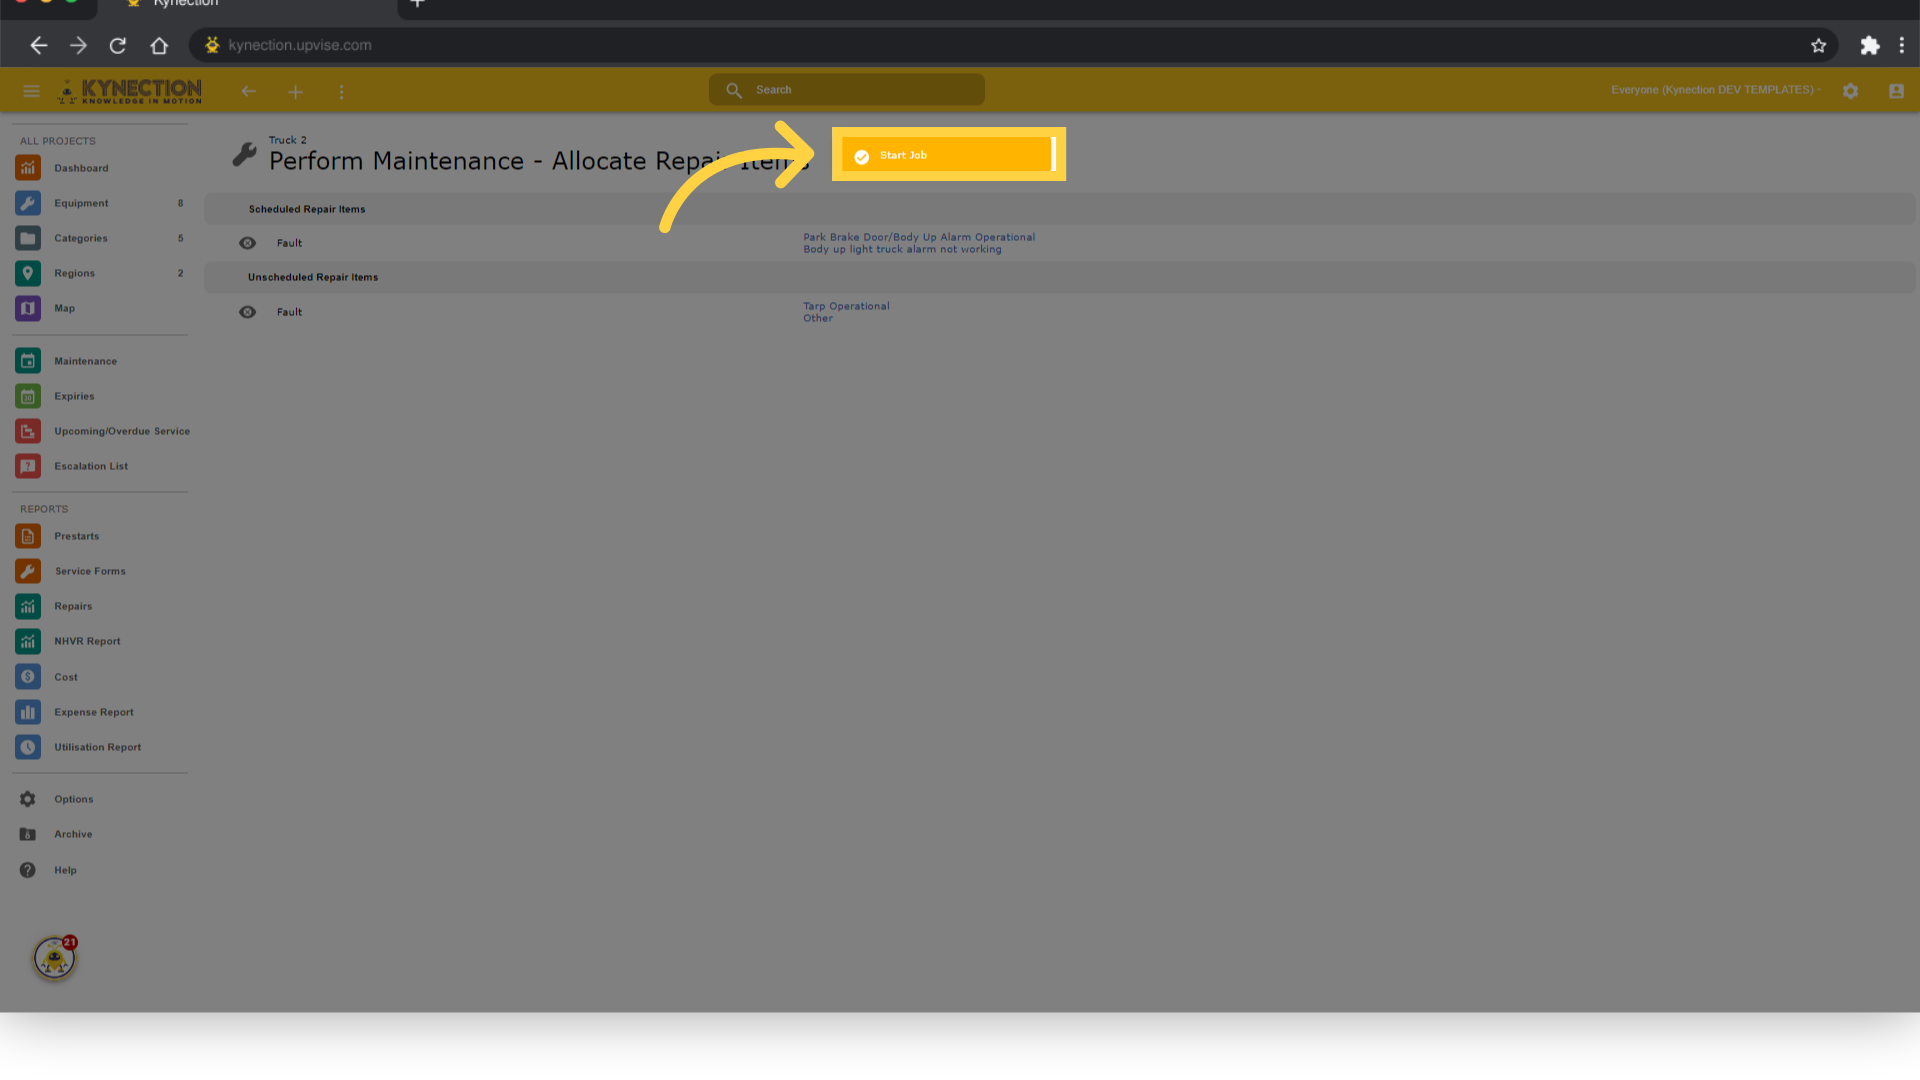
20. Click "Start Job"
When ready- click on the Start Job button. If any newly added Fault was created but the submit button wasn't clicked on - the Faults will be checked to confirm that any mandatory fields have been entered. If anything is missing on a particular Fault - then the user will be taken to that particular Fault to enter the missing information as required. Once all Faults have been verified as accurate - the Maintenance Job will then begin.
21. Maintenance Job with Scheduled Item allocated
We can see that the Repair item which was a Fault added as a part of the Perform Maintenance flow is our Scheduled Repair Item and the other Additional Fault is there too.

This guide covered a comprehensive walkthrough of how to utilise the updated Perform Maintenance feature in Kynection in Assets M&S. From allocating repair items to initiating scheduled repairs, you now have the tools to streamline your maintenance processes effectively. Thanks for Watching.
Ex_Equipment_BL_OV-Release 5 - Perform Maintenance Updated Workflow_3/07/2024-V1

