Welcome to the guide on how to work with Rate Cards in the Kynection application. This guide will walk you through the necessary steps to effectively use the Rate Cards feature and perform various actions within it.
Go to kynection.upvise.com
1. Click "Sales & Inventory Management"
Access the Sales & Inventory Management feature.

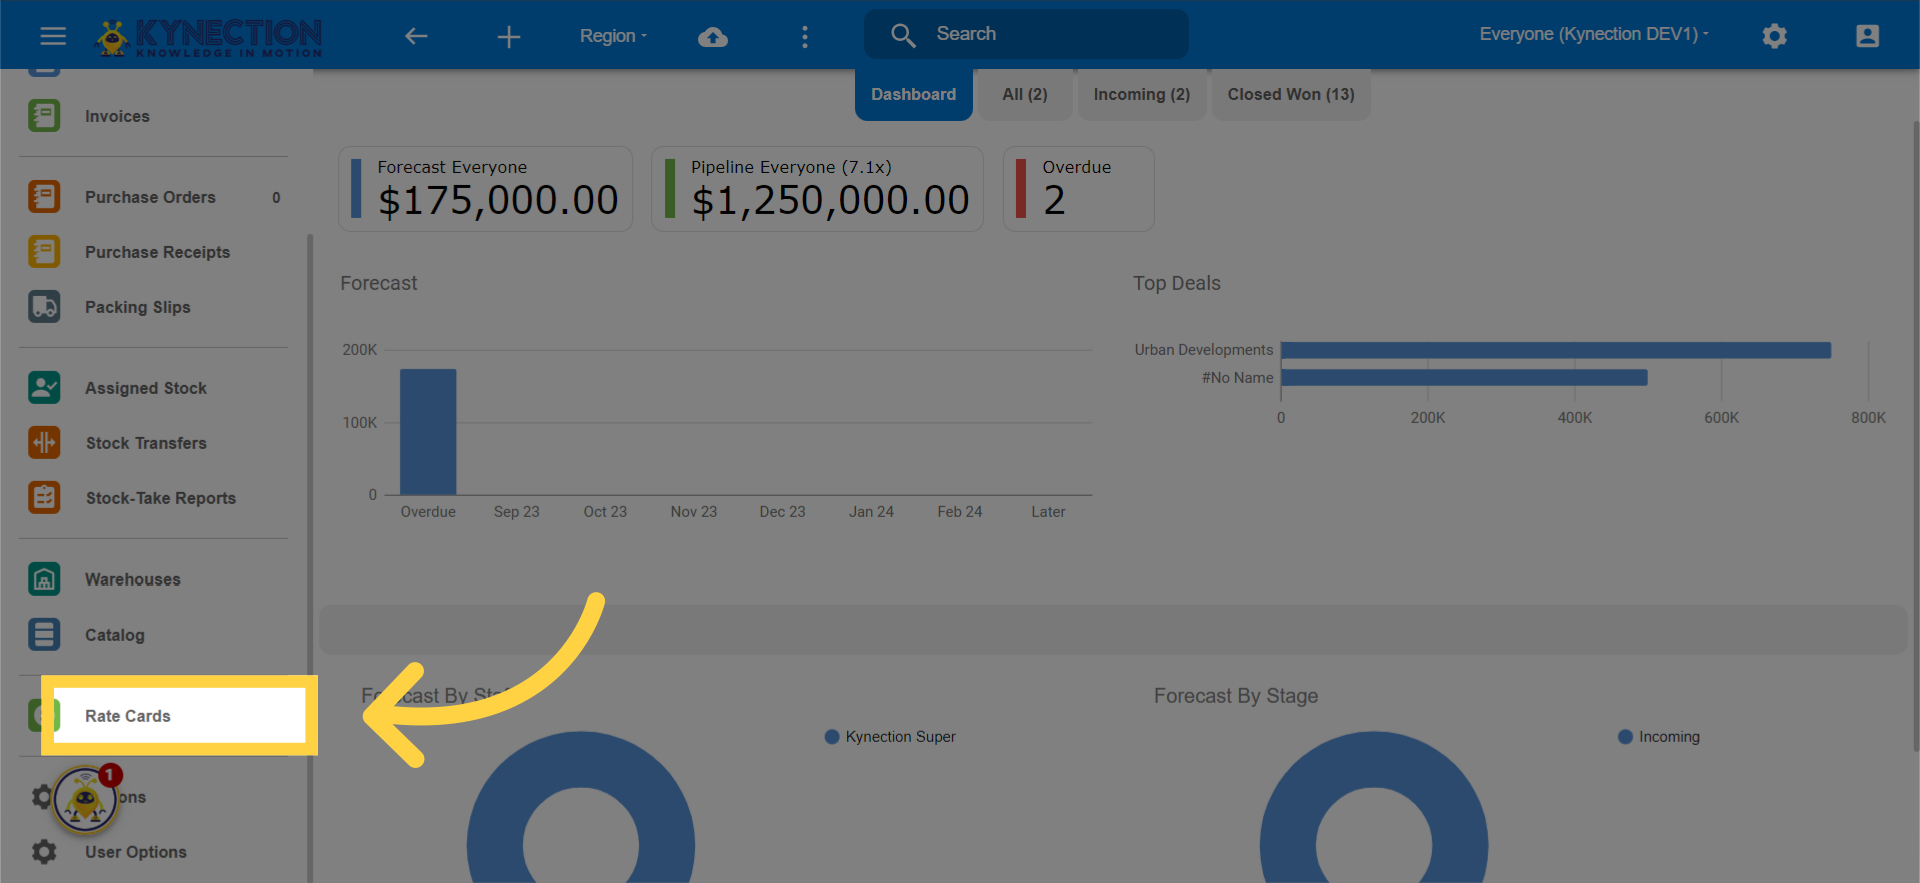
2. Click "Rate Cards"
Open the Rate Cards section.
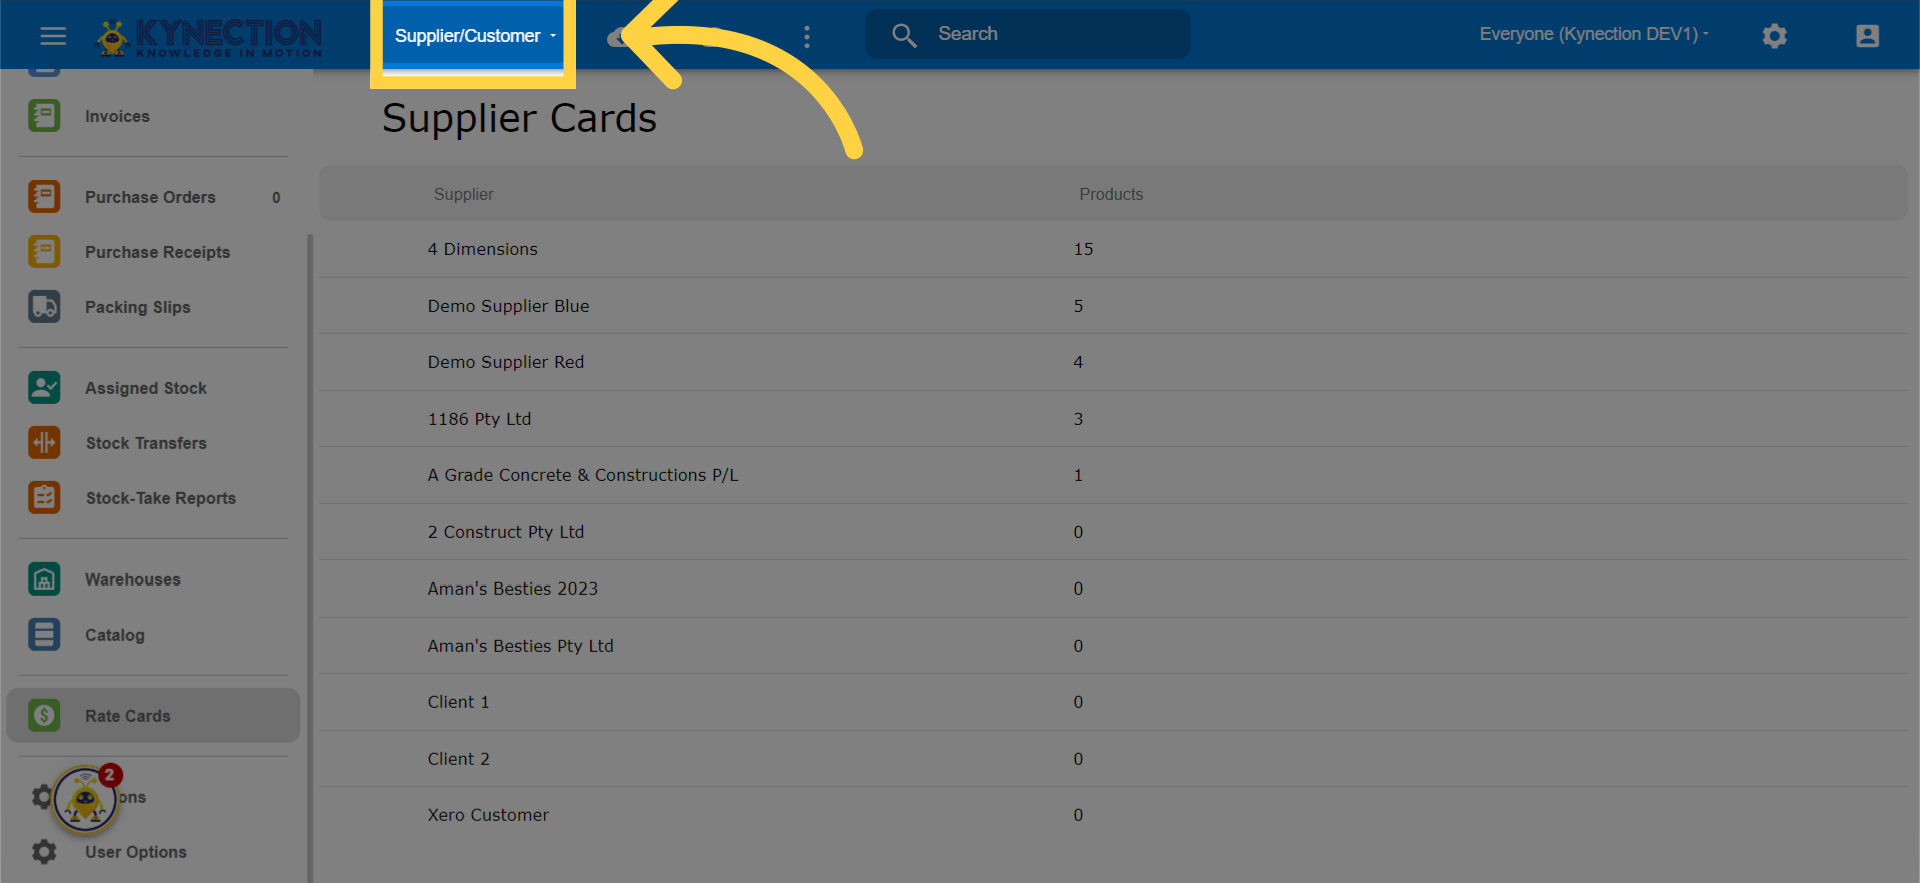
3. Click "Supplier/Customer"
Navigate to the Supplier/Customer section.
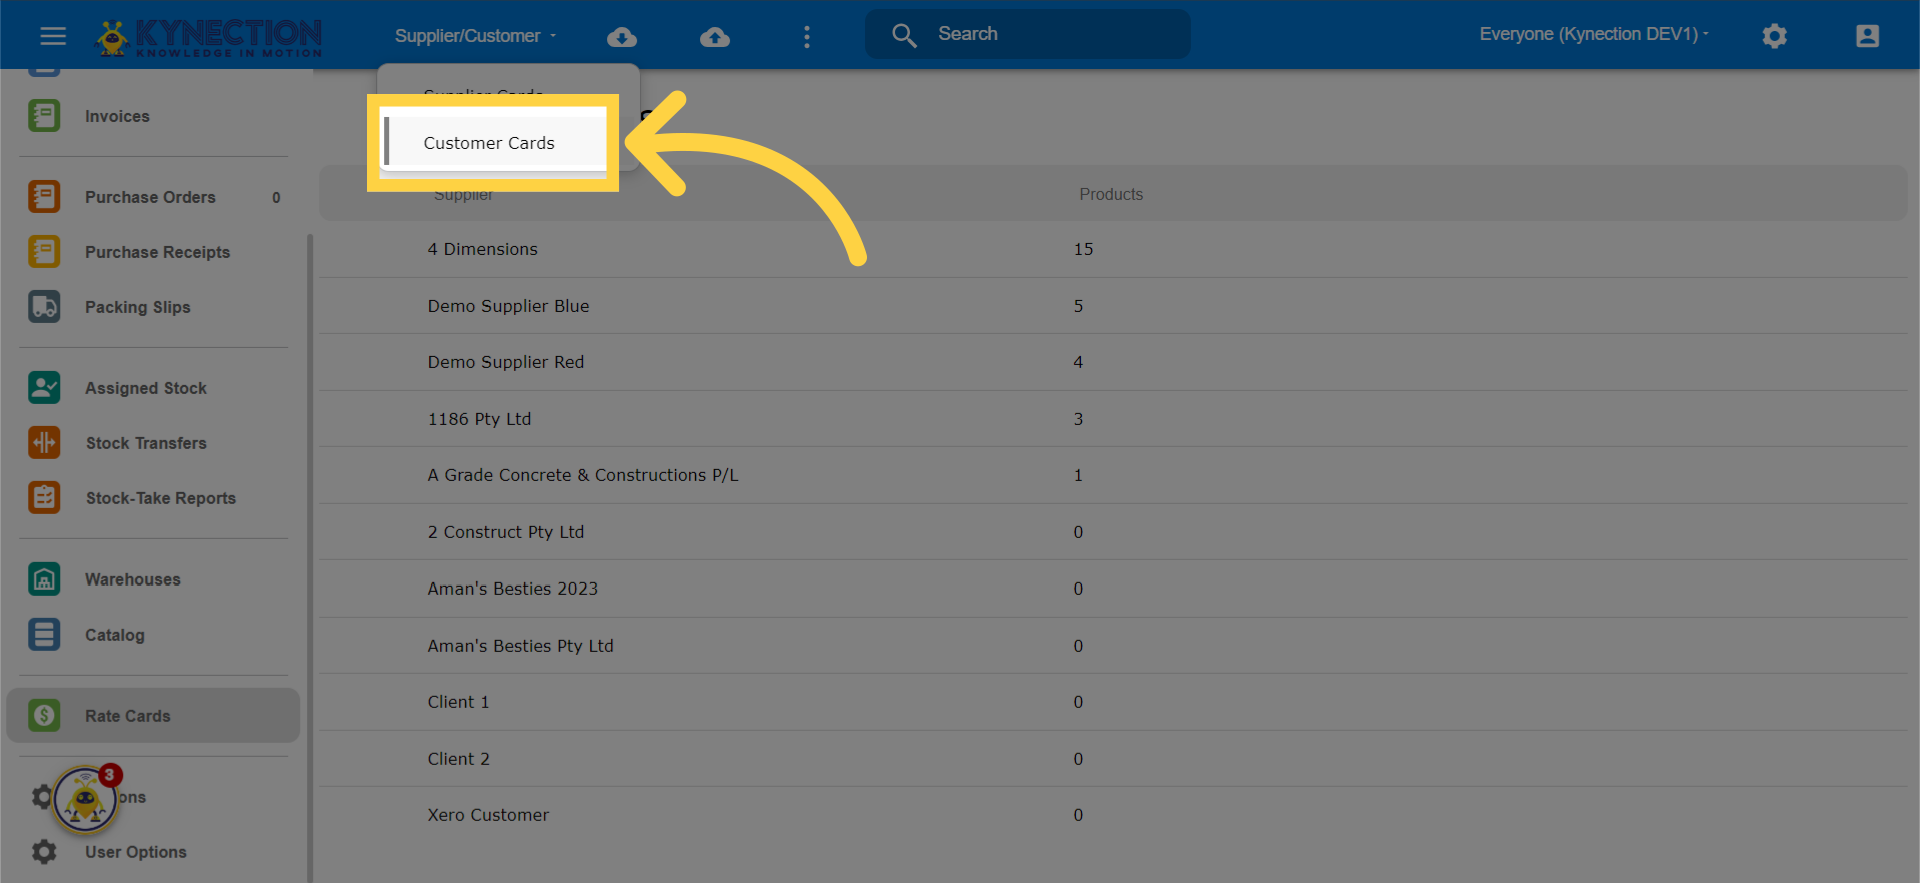
4. Click "Customer Cards"
Select the Customer Cards option.
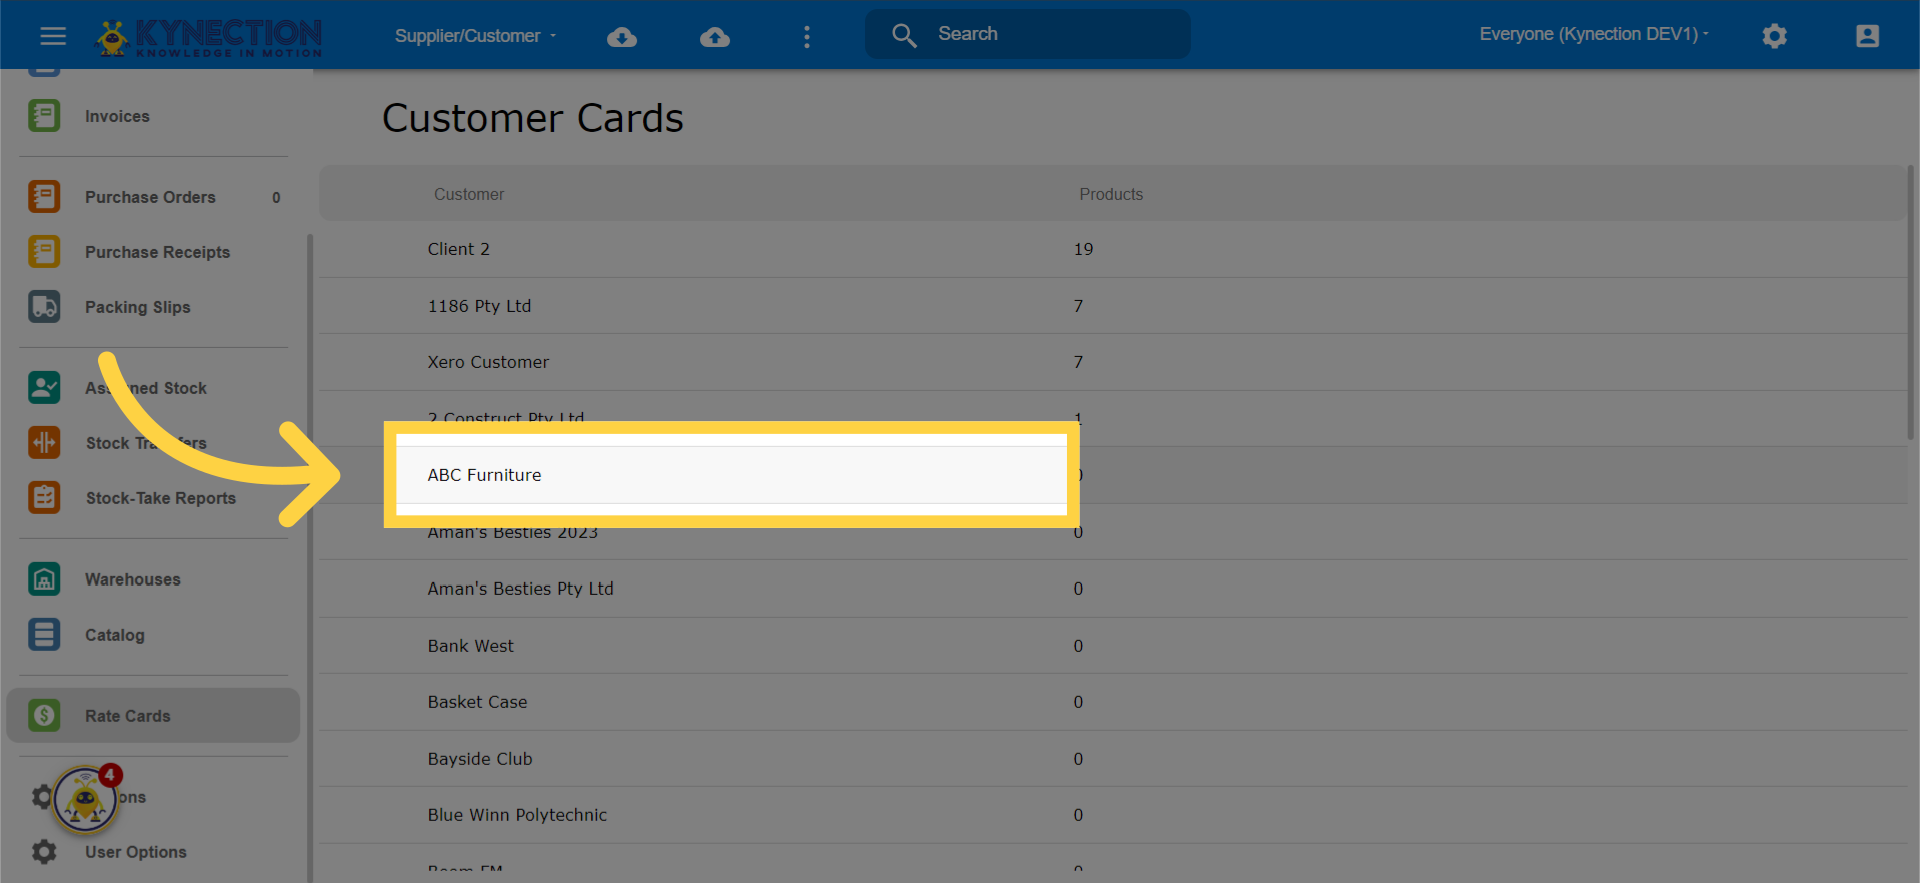
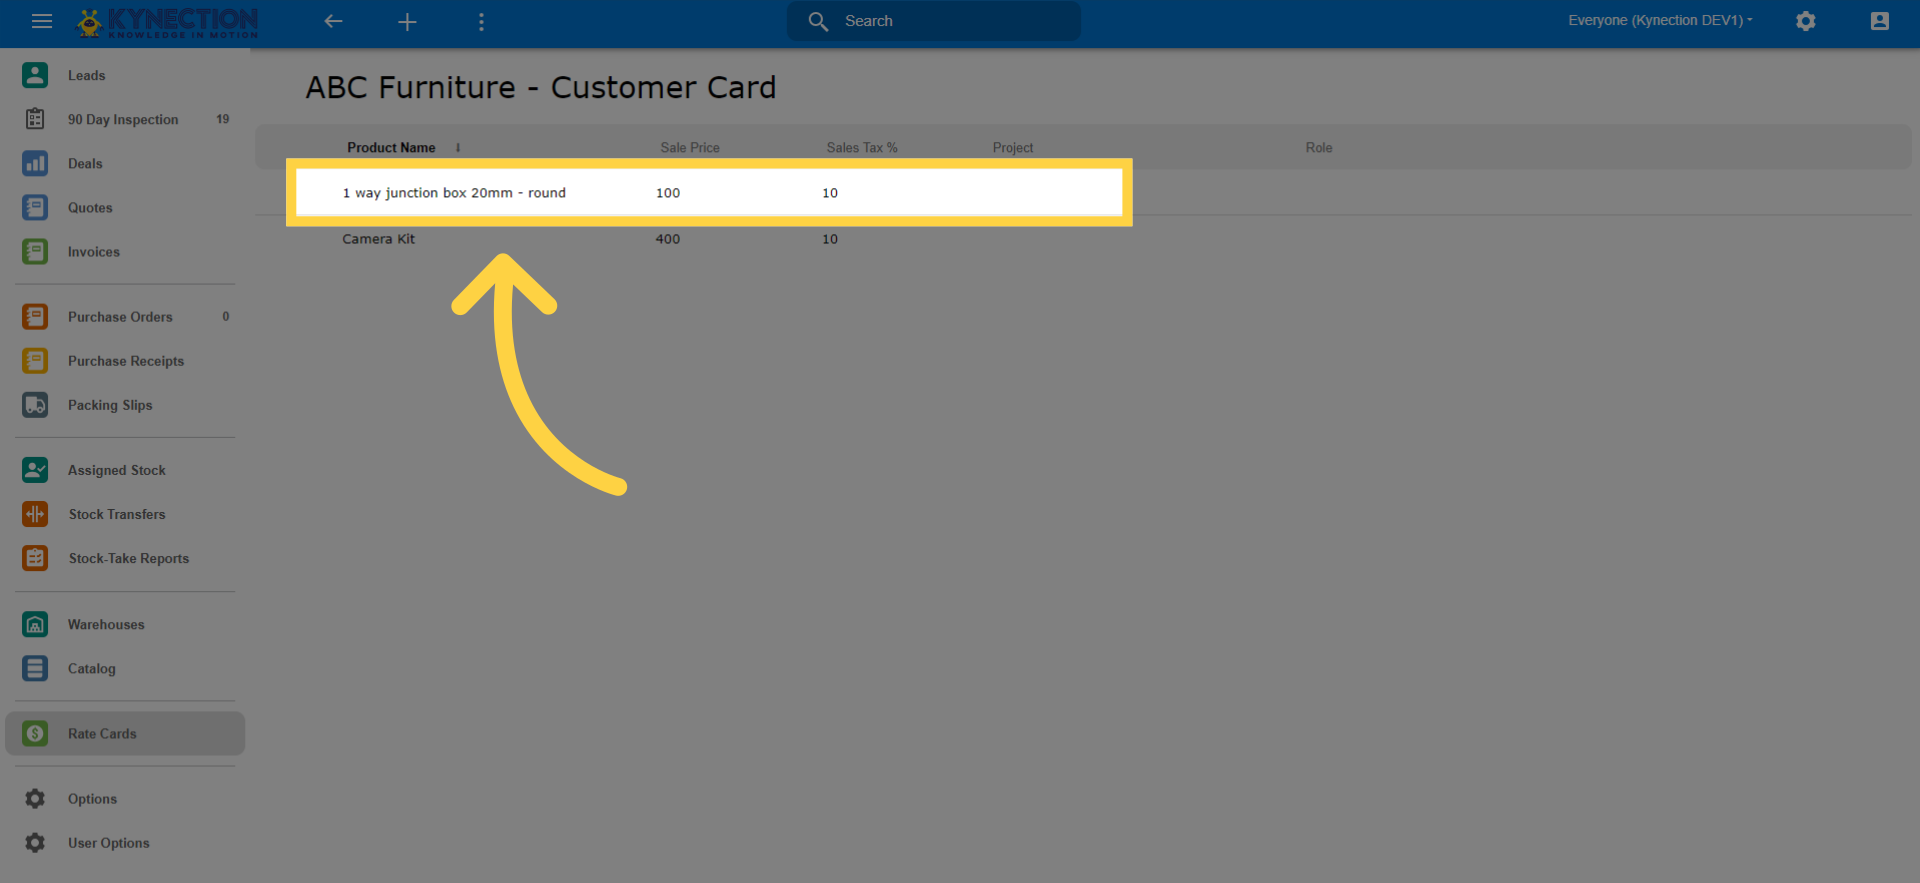
5. Click the customer the rates for
You can search for any customer by clicking on the header at the top of the page
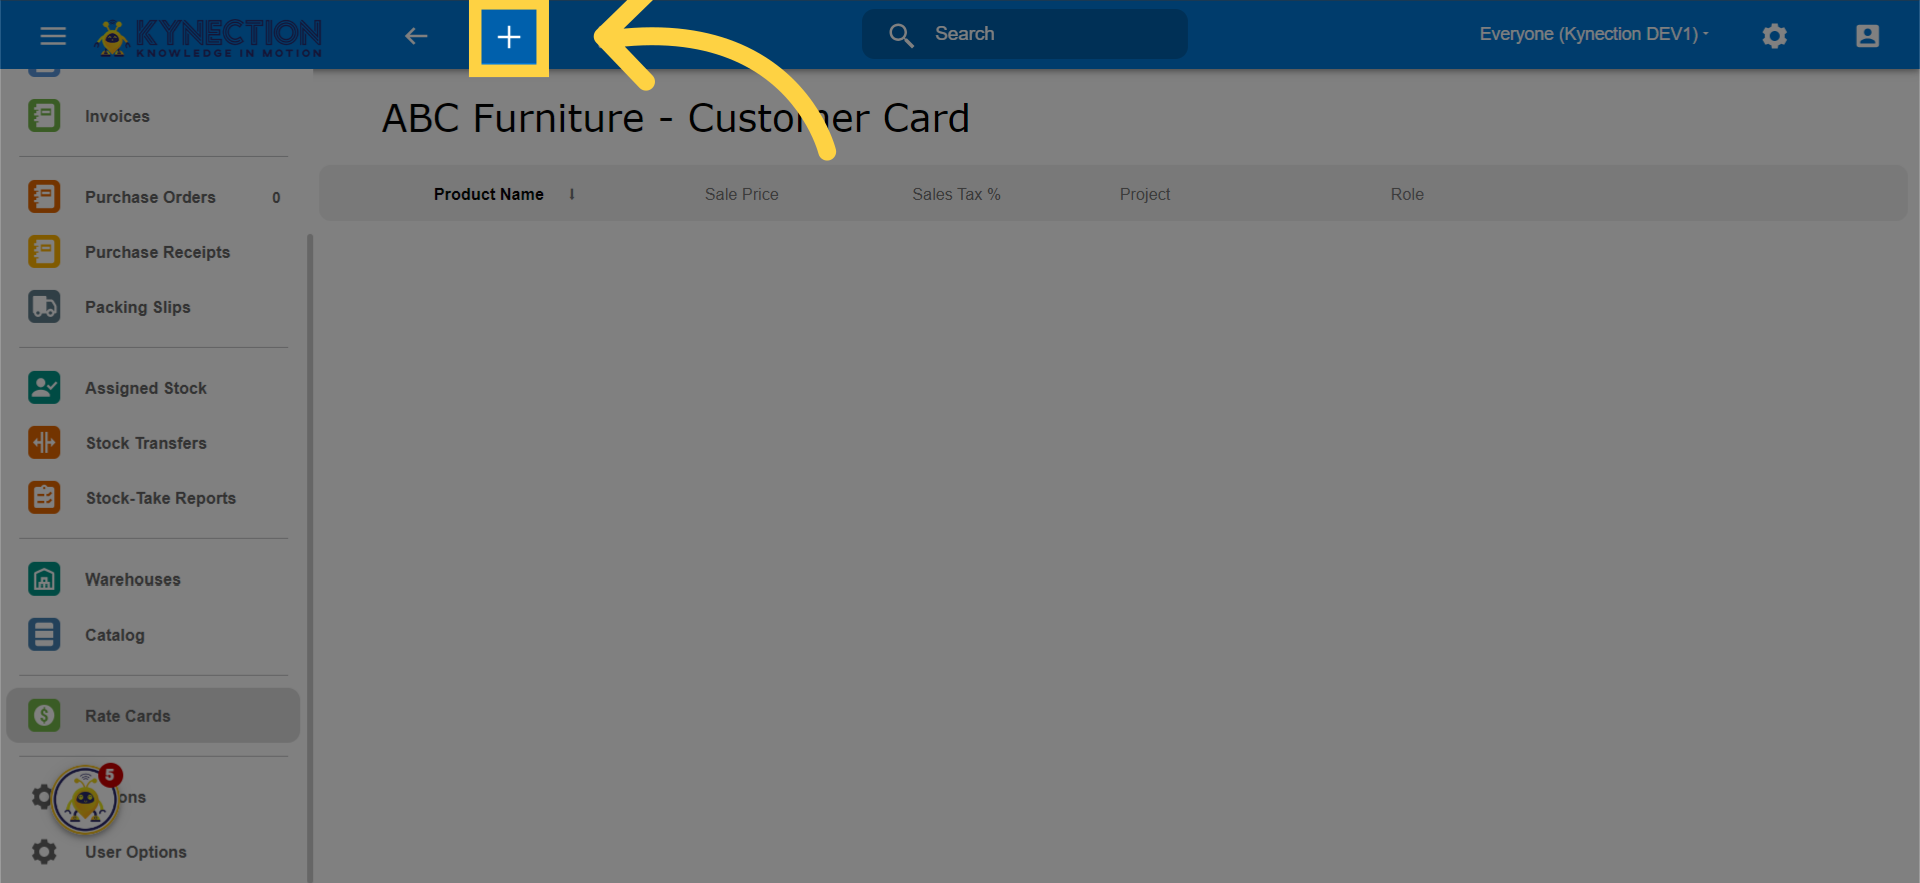
6. Click Plus icon to add product
Click here
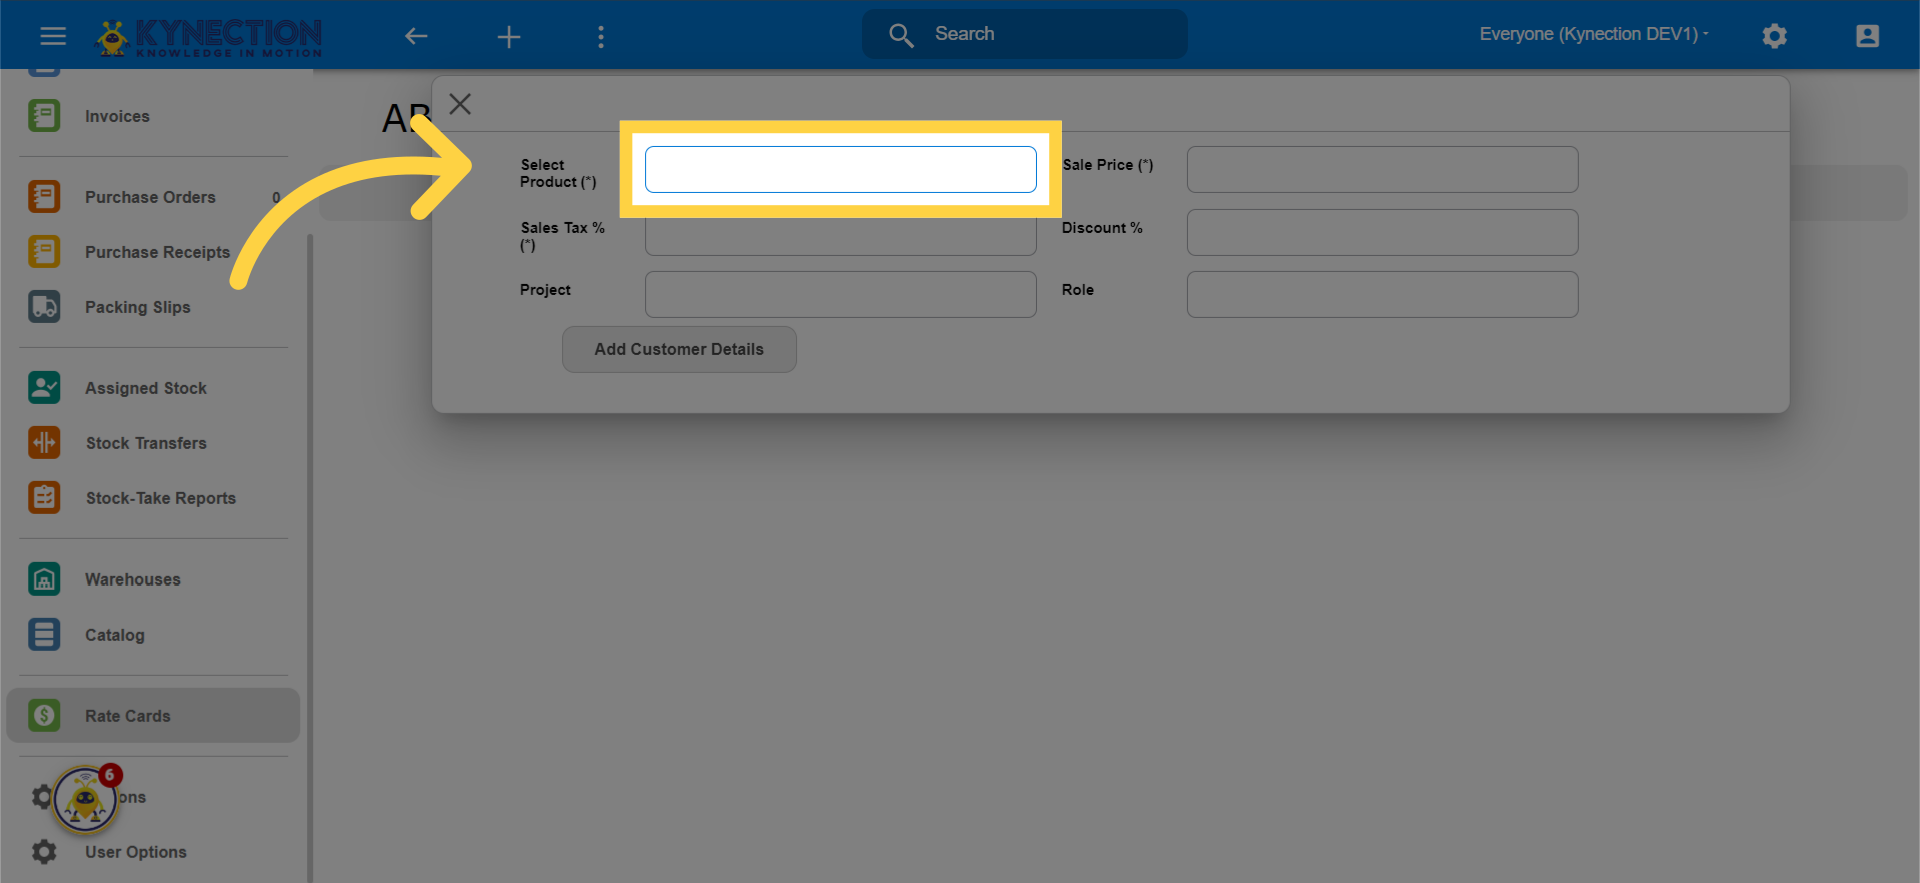
7. Click here to select products from the list
Click the selected button
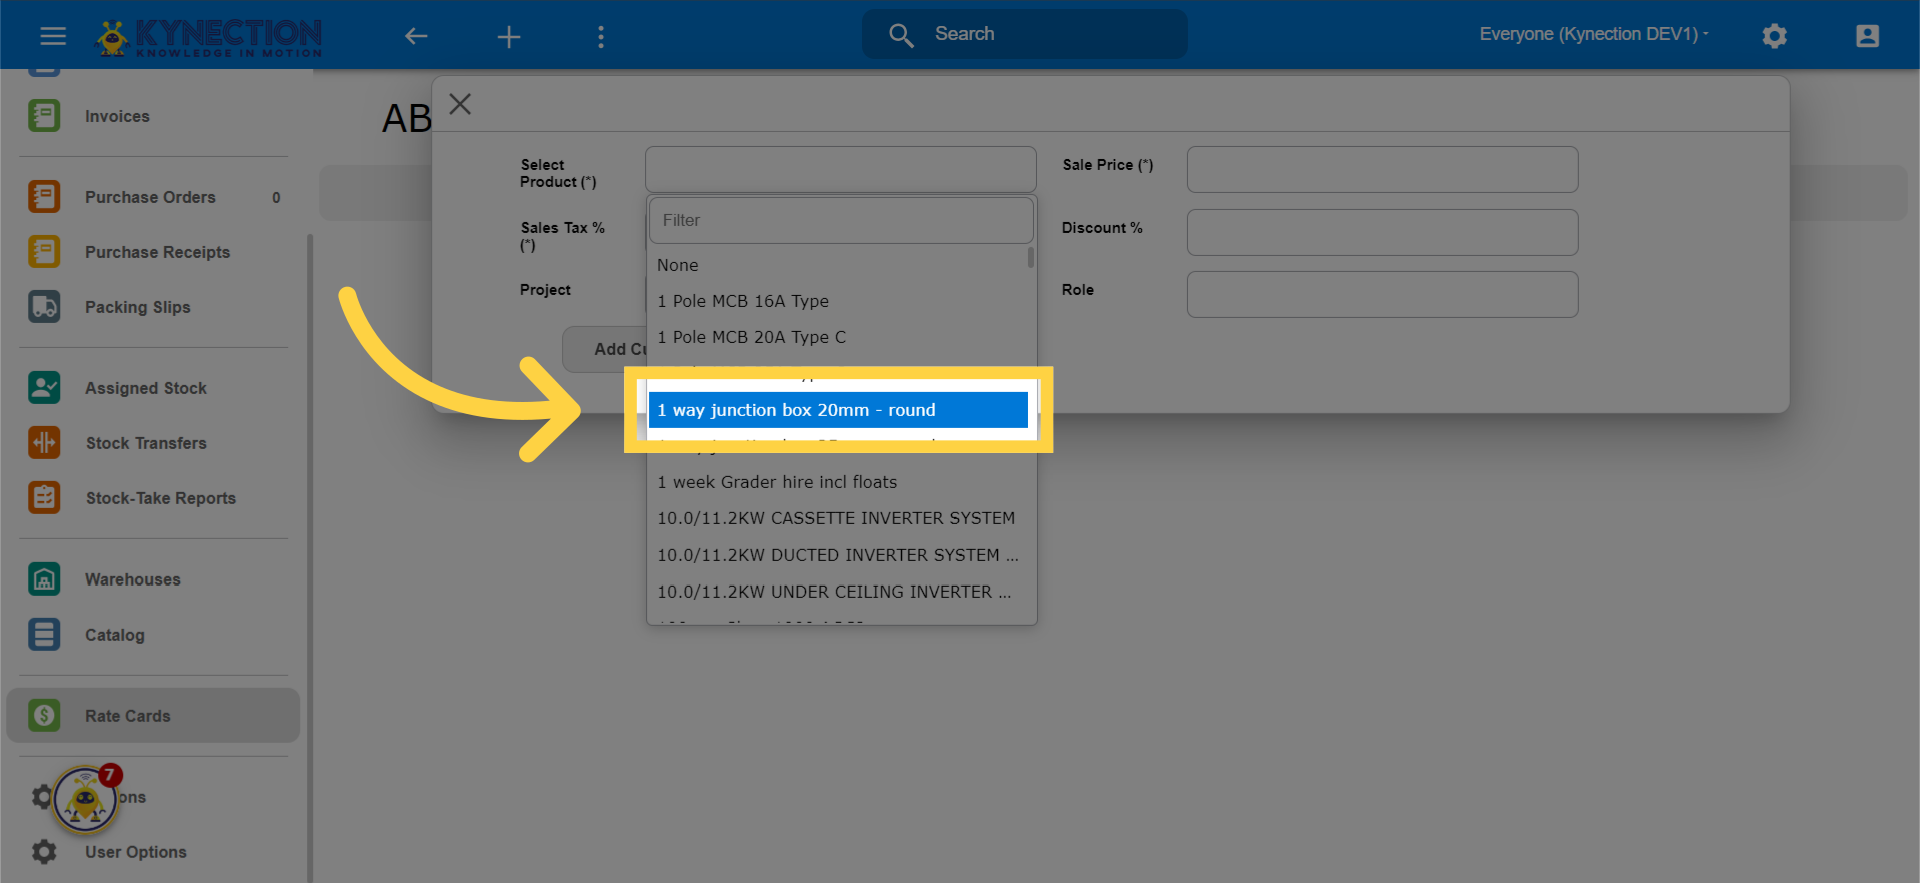
8. Click the product the rates for
Search for any stock or nonstock item in the catalogue
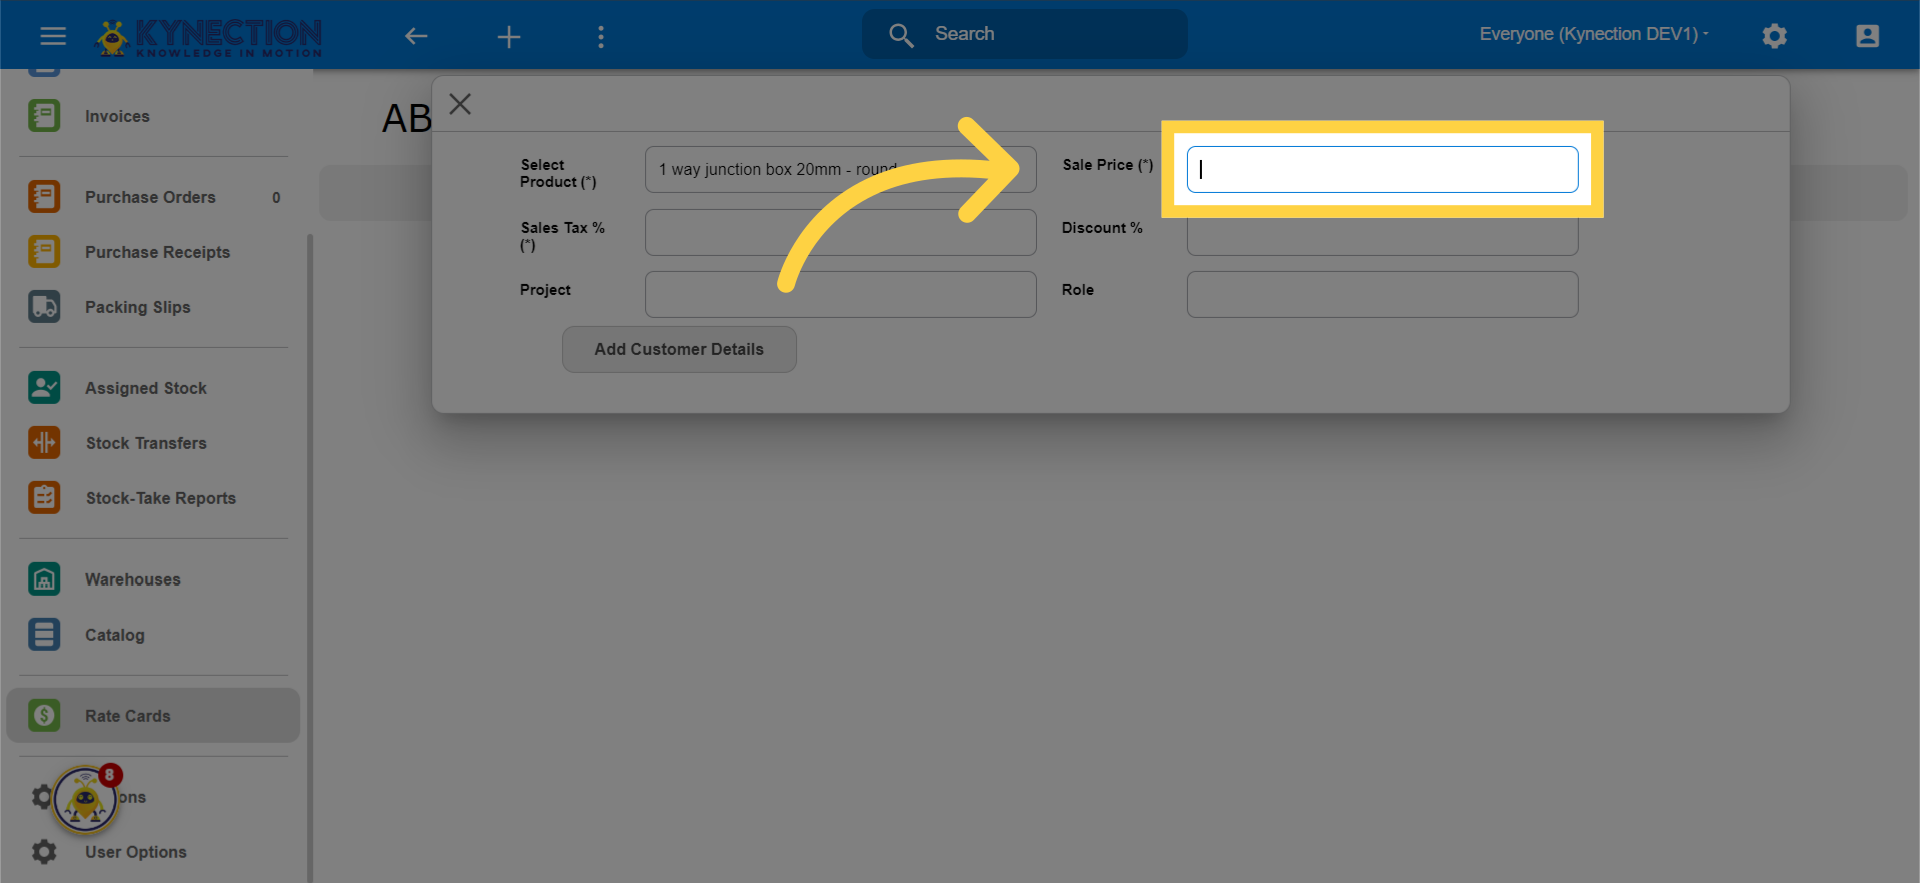
9. Add Sales Price here
Enter a $ Amount
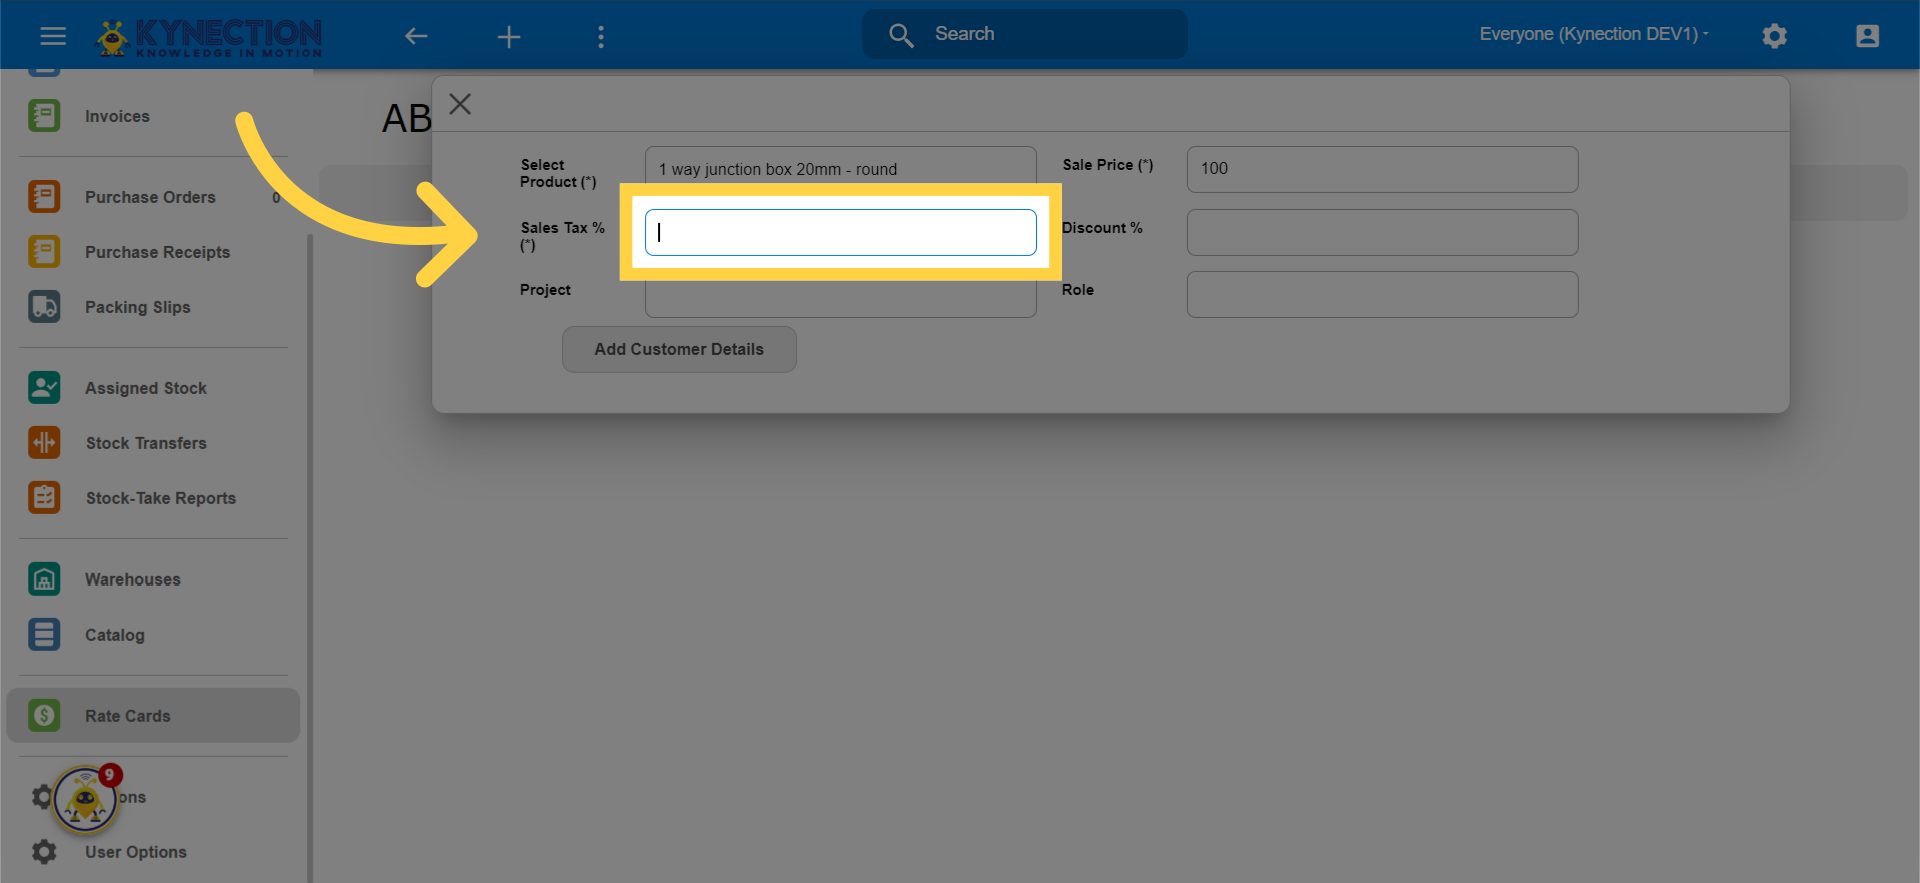
10. Add Sales Tax %
Select this field
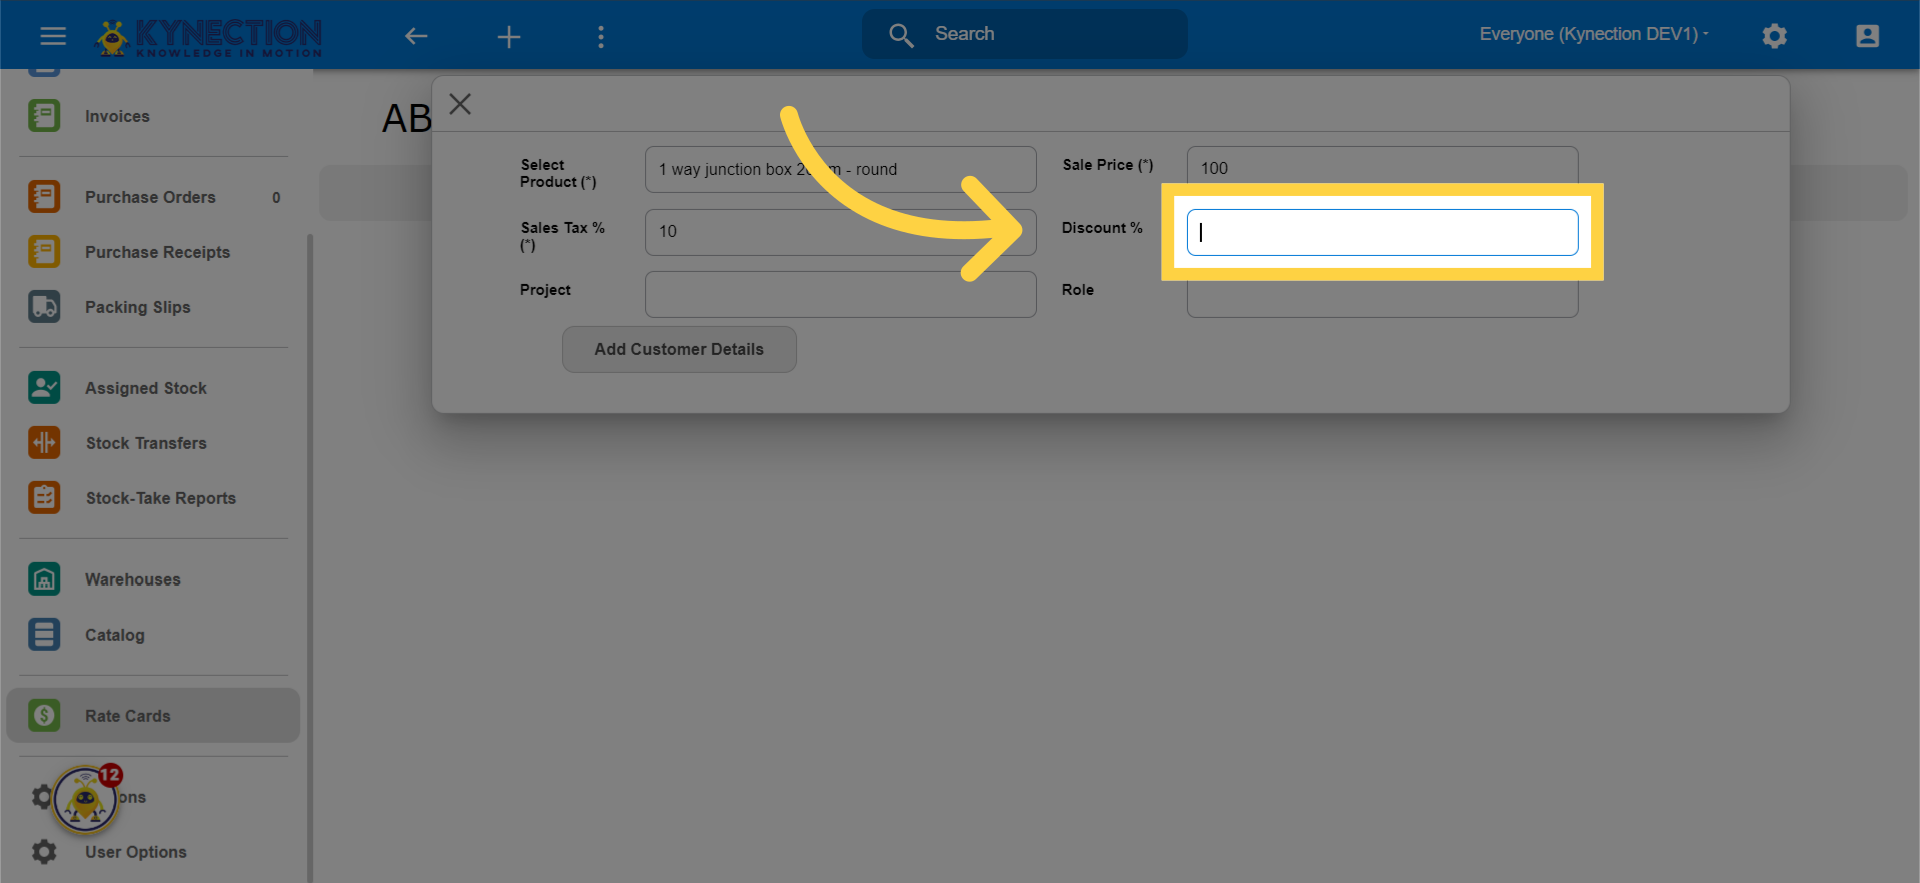
11. Add Discount(optional)
Navigate to this section
12. Add Project if you want different prices based on projects
Select this option
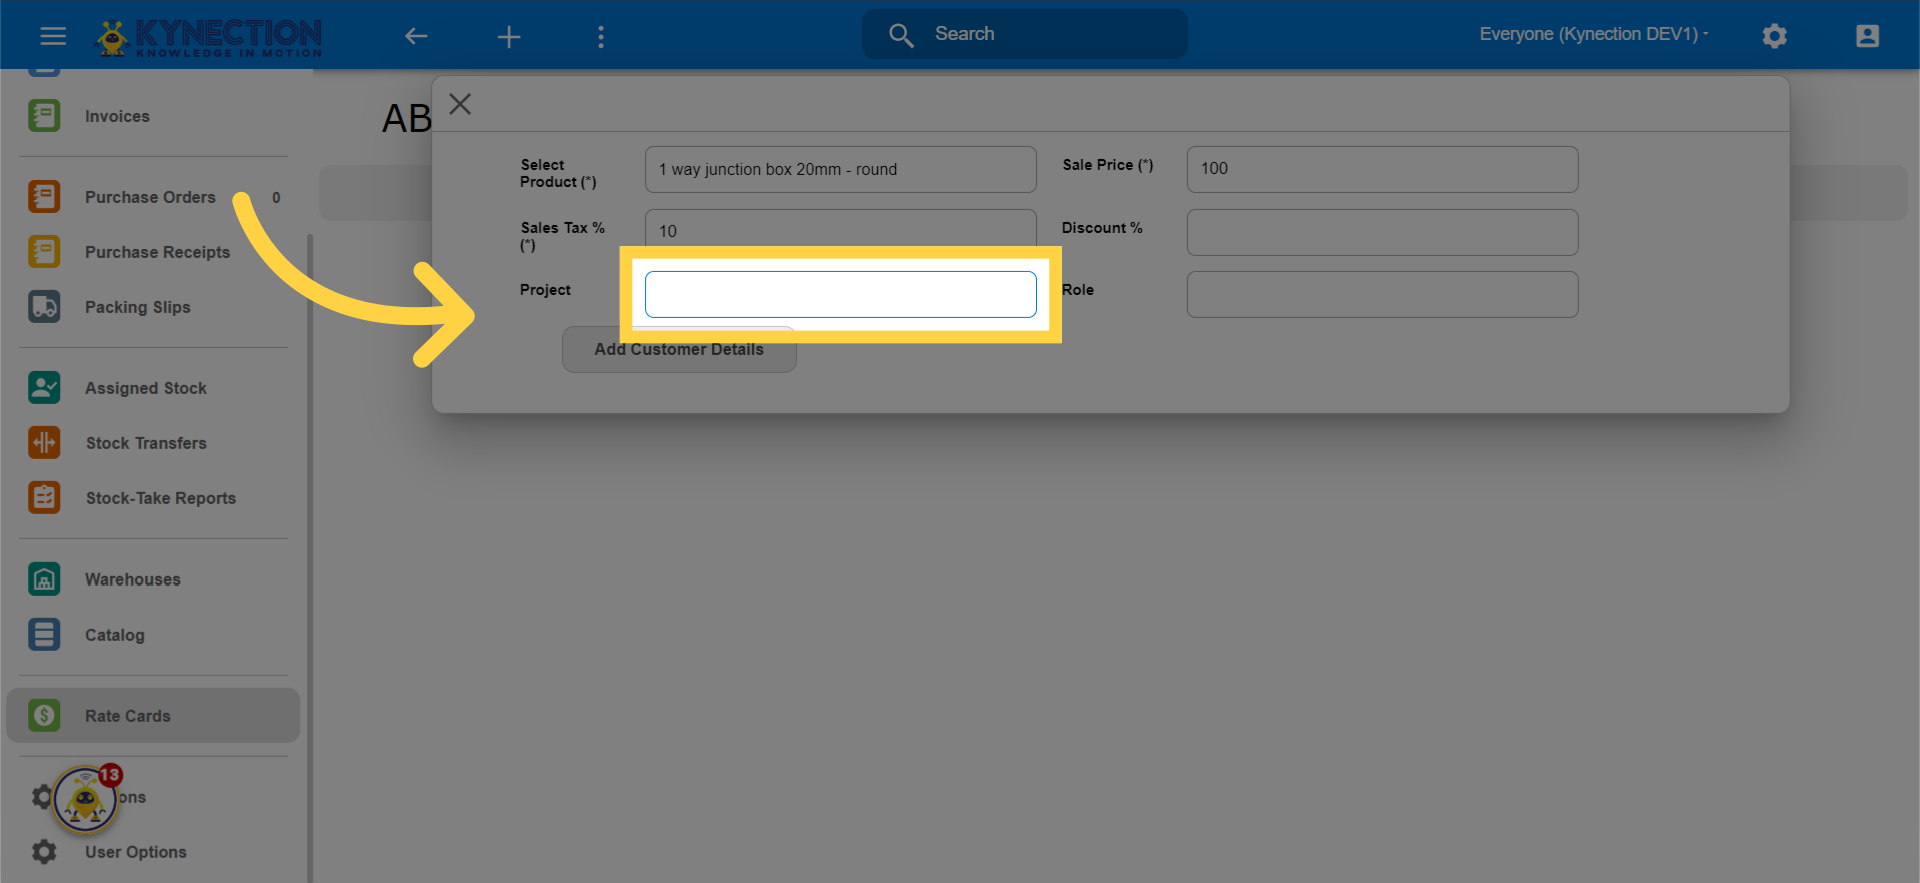
13. Else Click None
Select the "None" option.

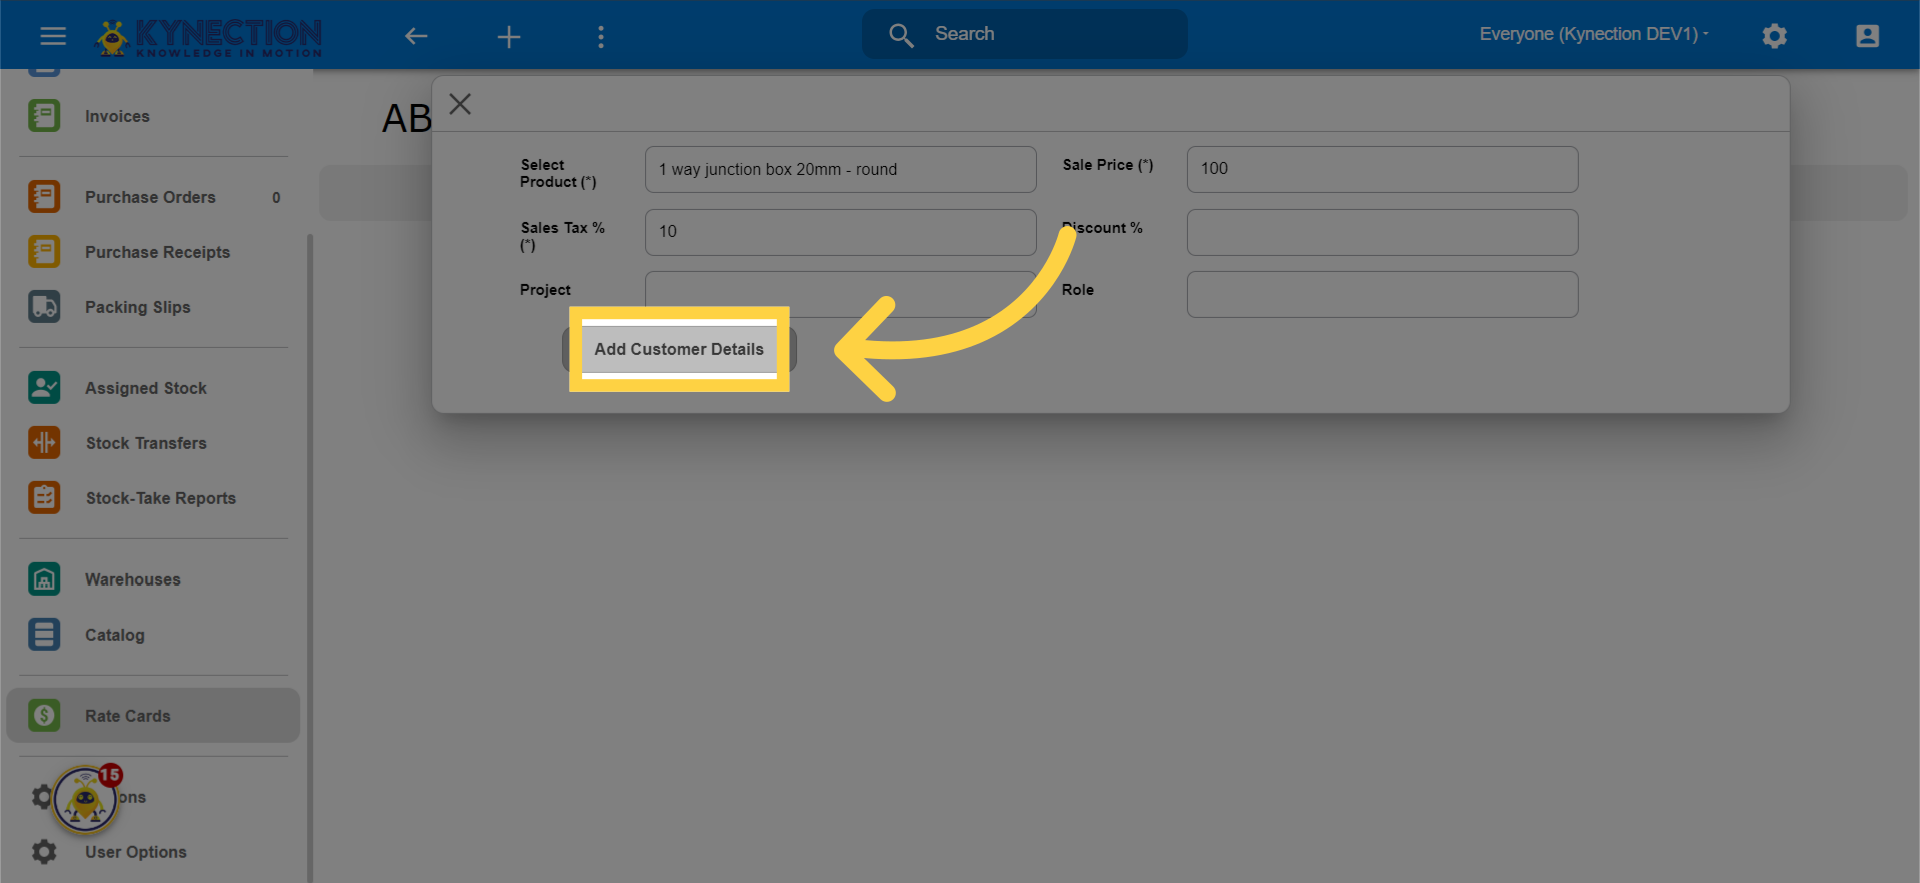
14. Click "Add Customer Details" button
Click on "Add Customer Details".
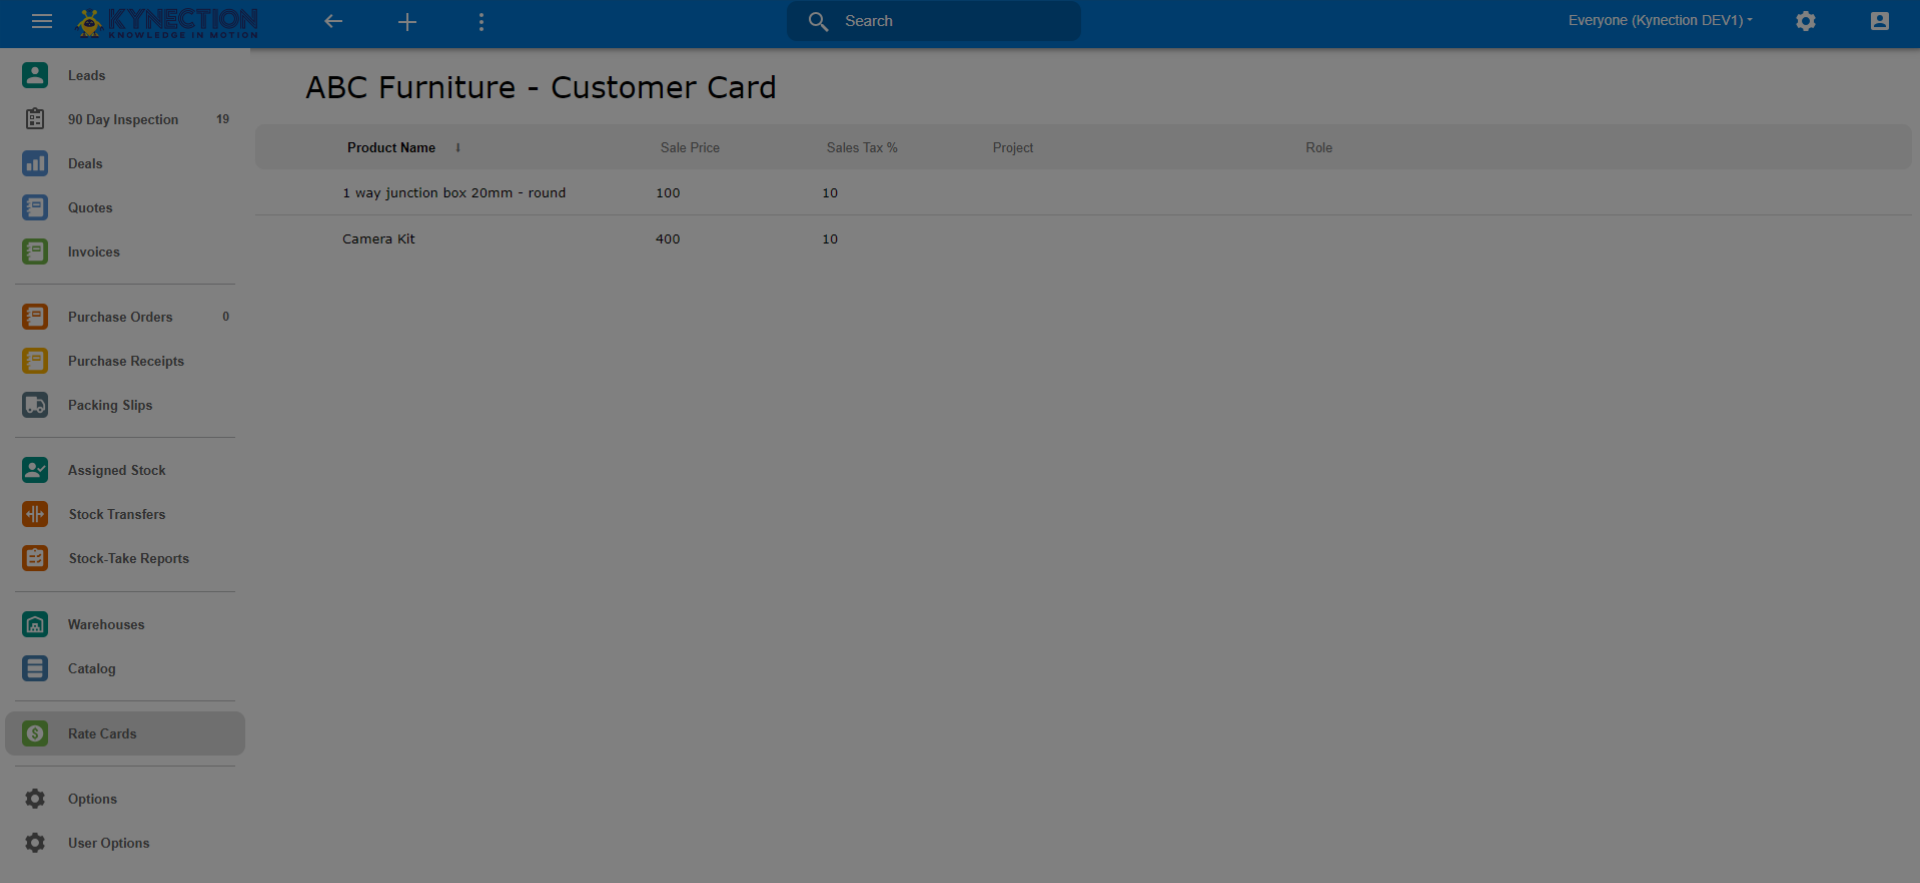
15. The Rate will be Added
The Rate will be Added
16. Now Lets see how to use the Card
Now Lets see how to use the Card
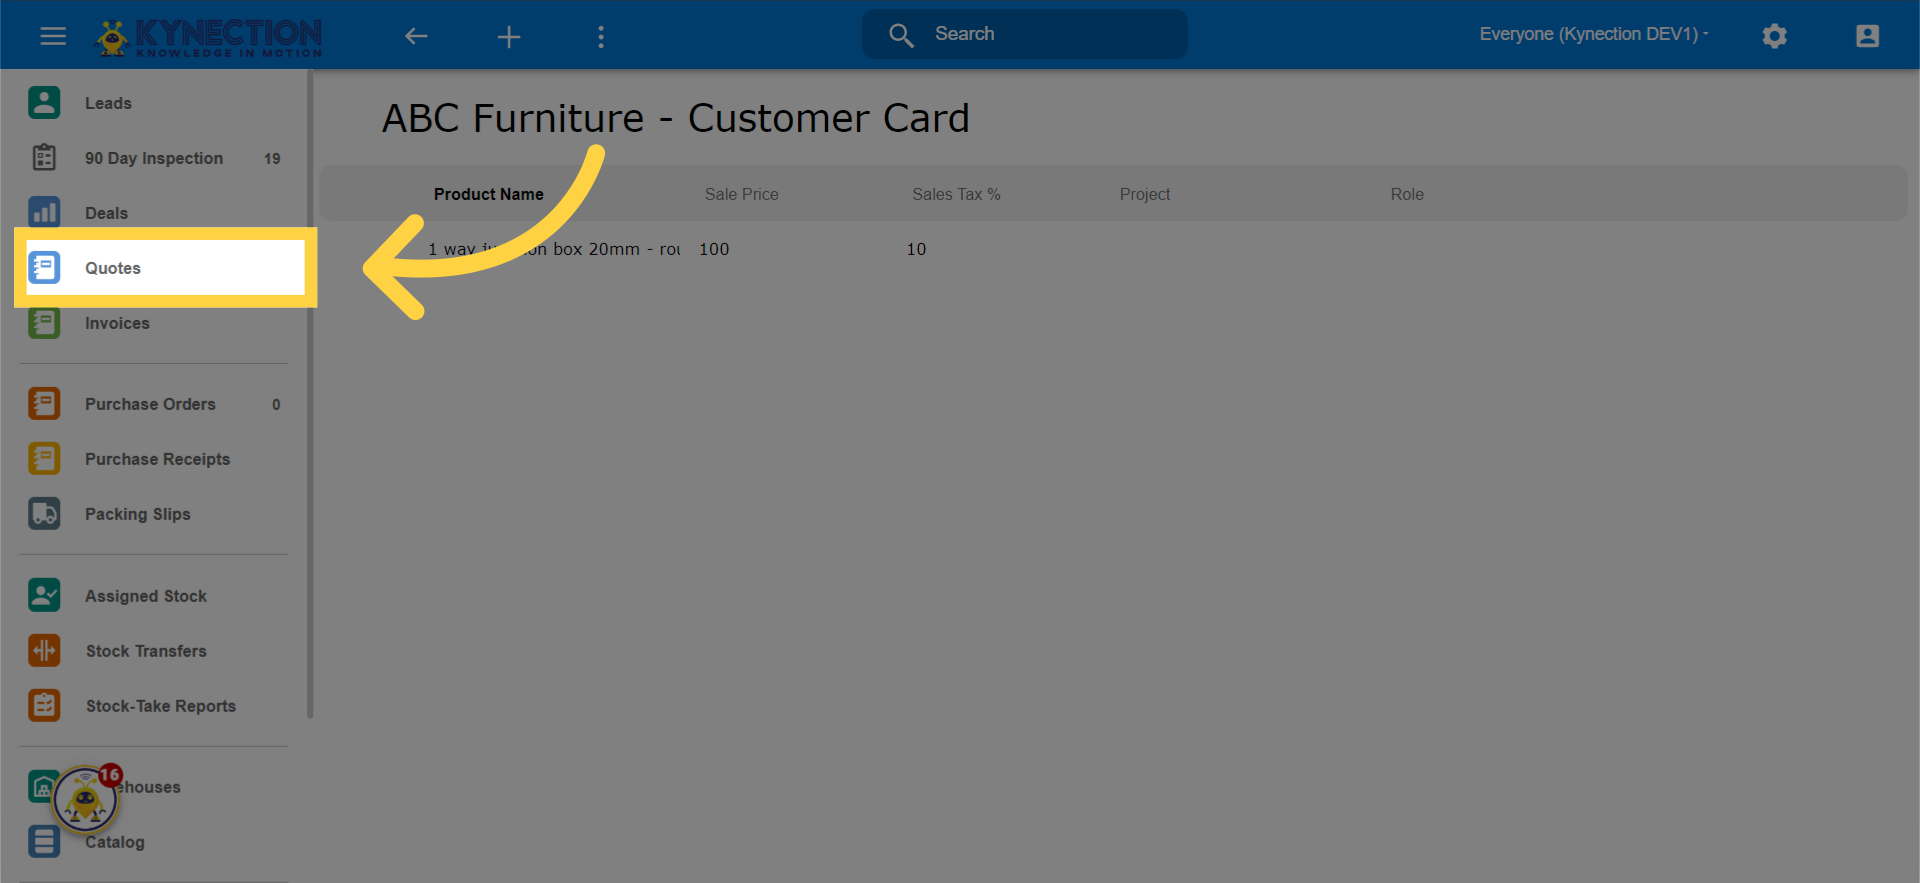
17. Click "Quotes"
Navigate to the Quotes section.
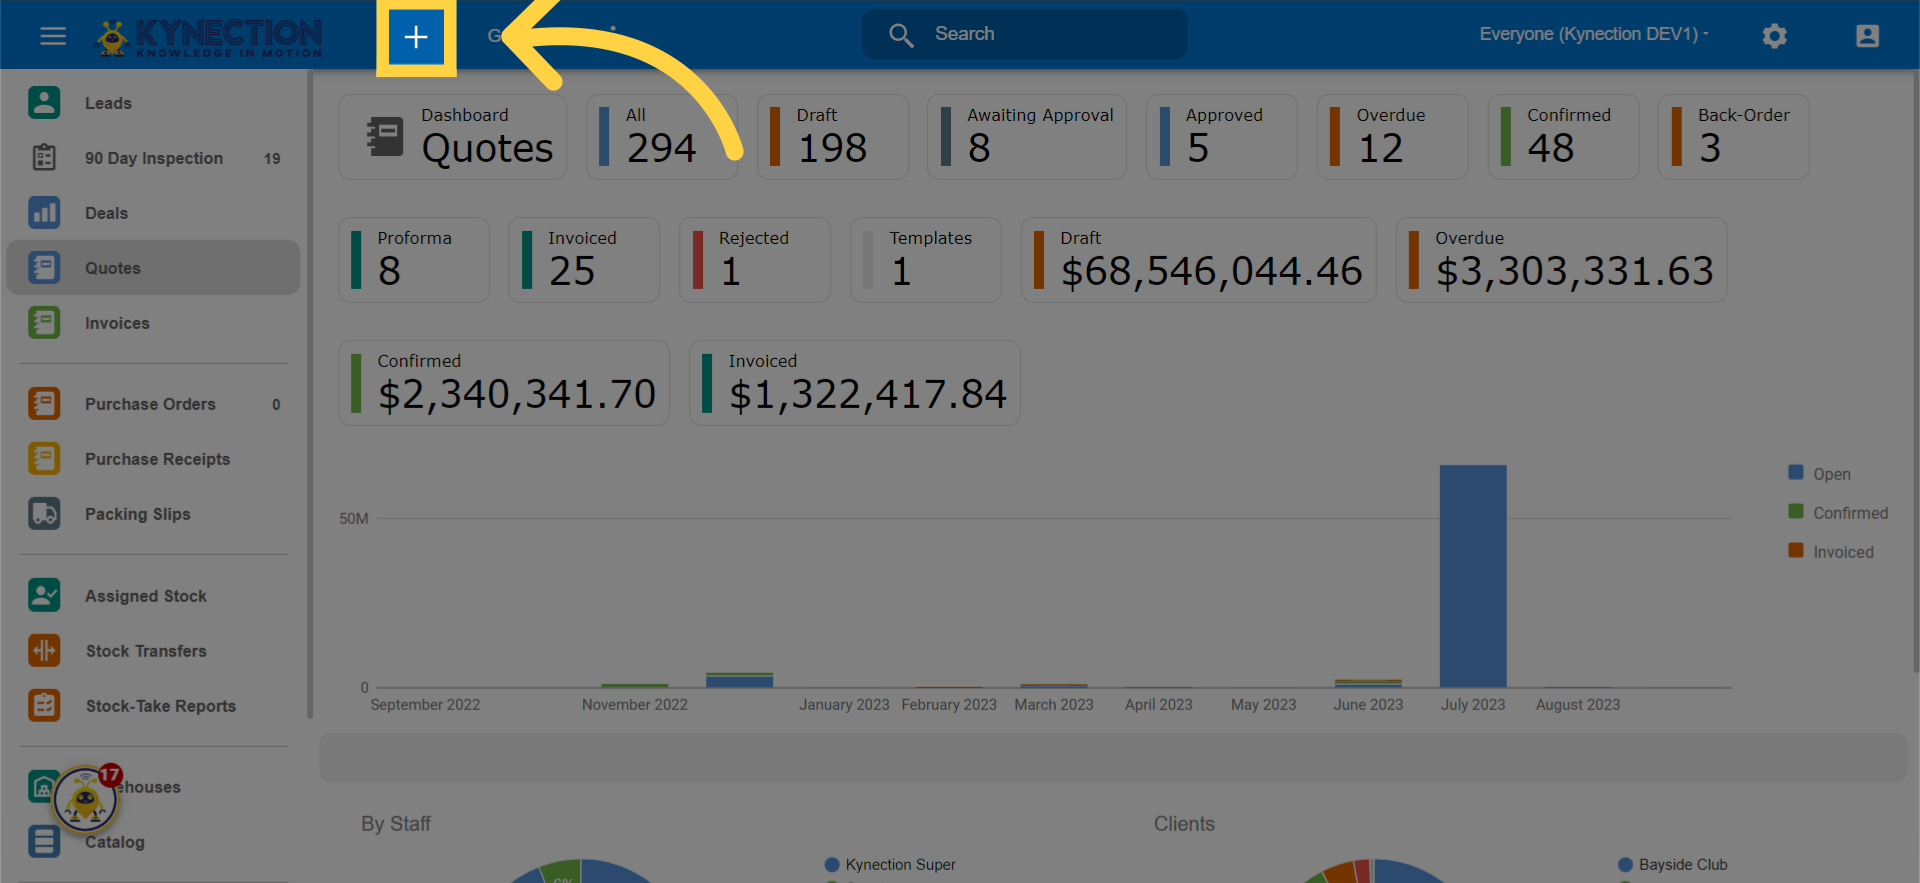
18. Click Plus icon
Navigate here
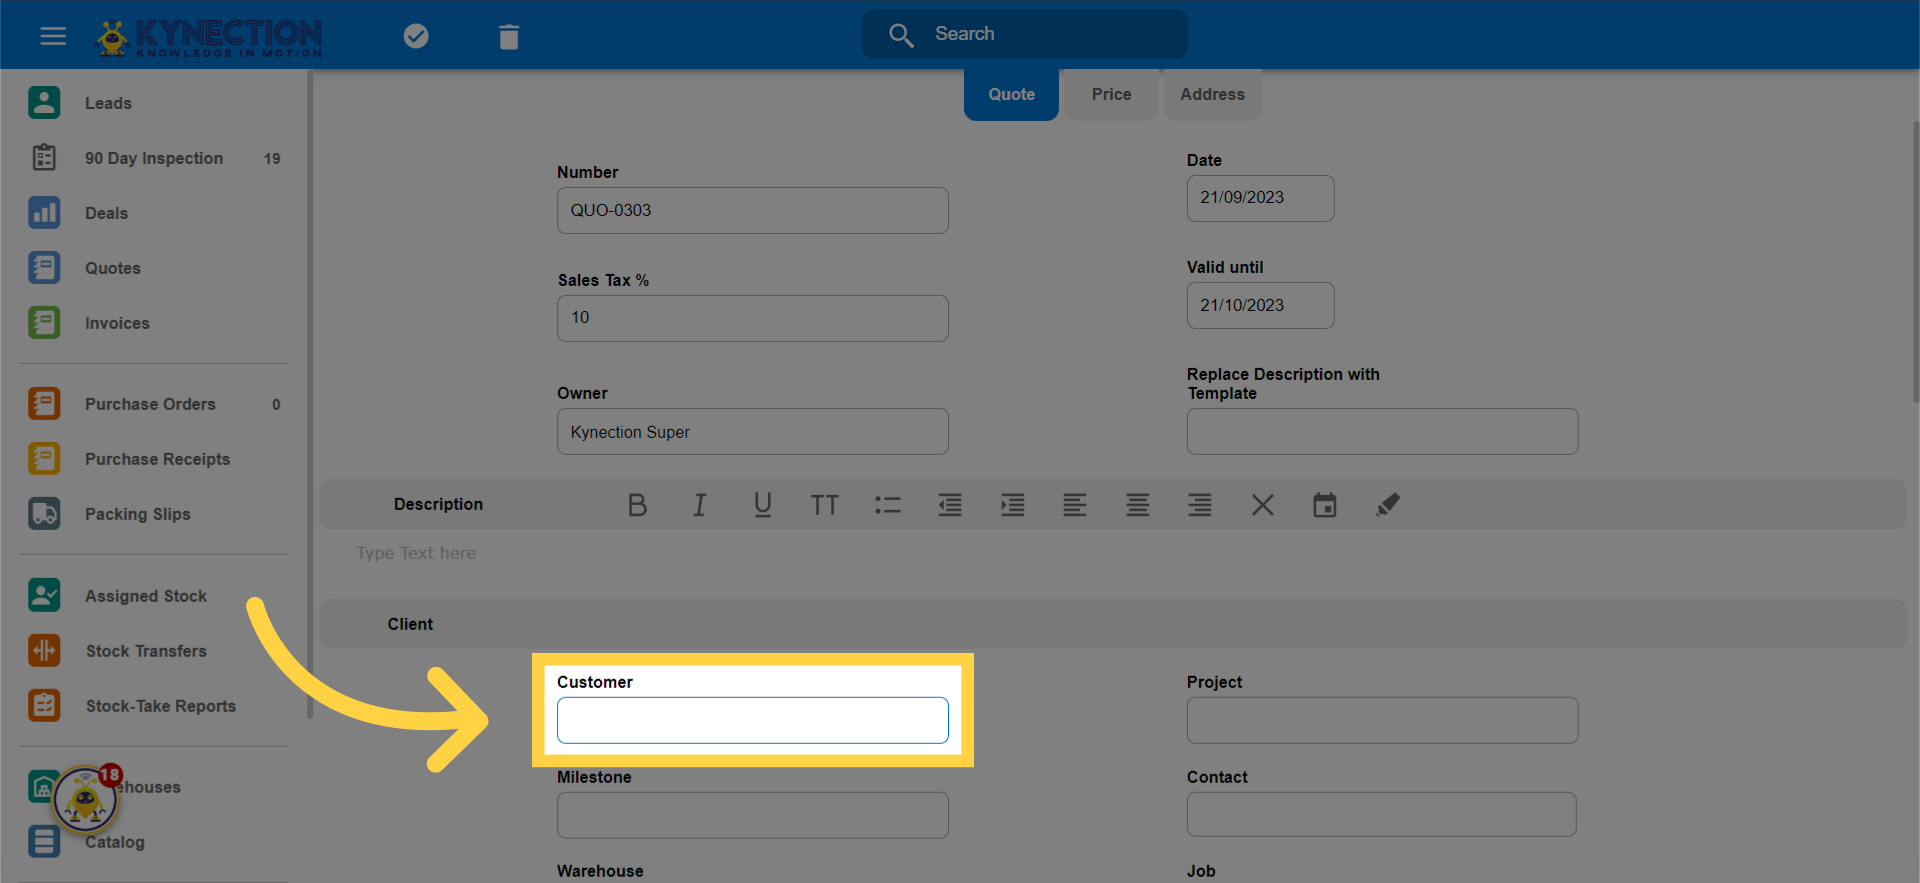
19. Click here to select the customer
Click here
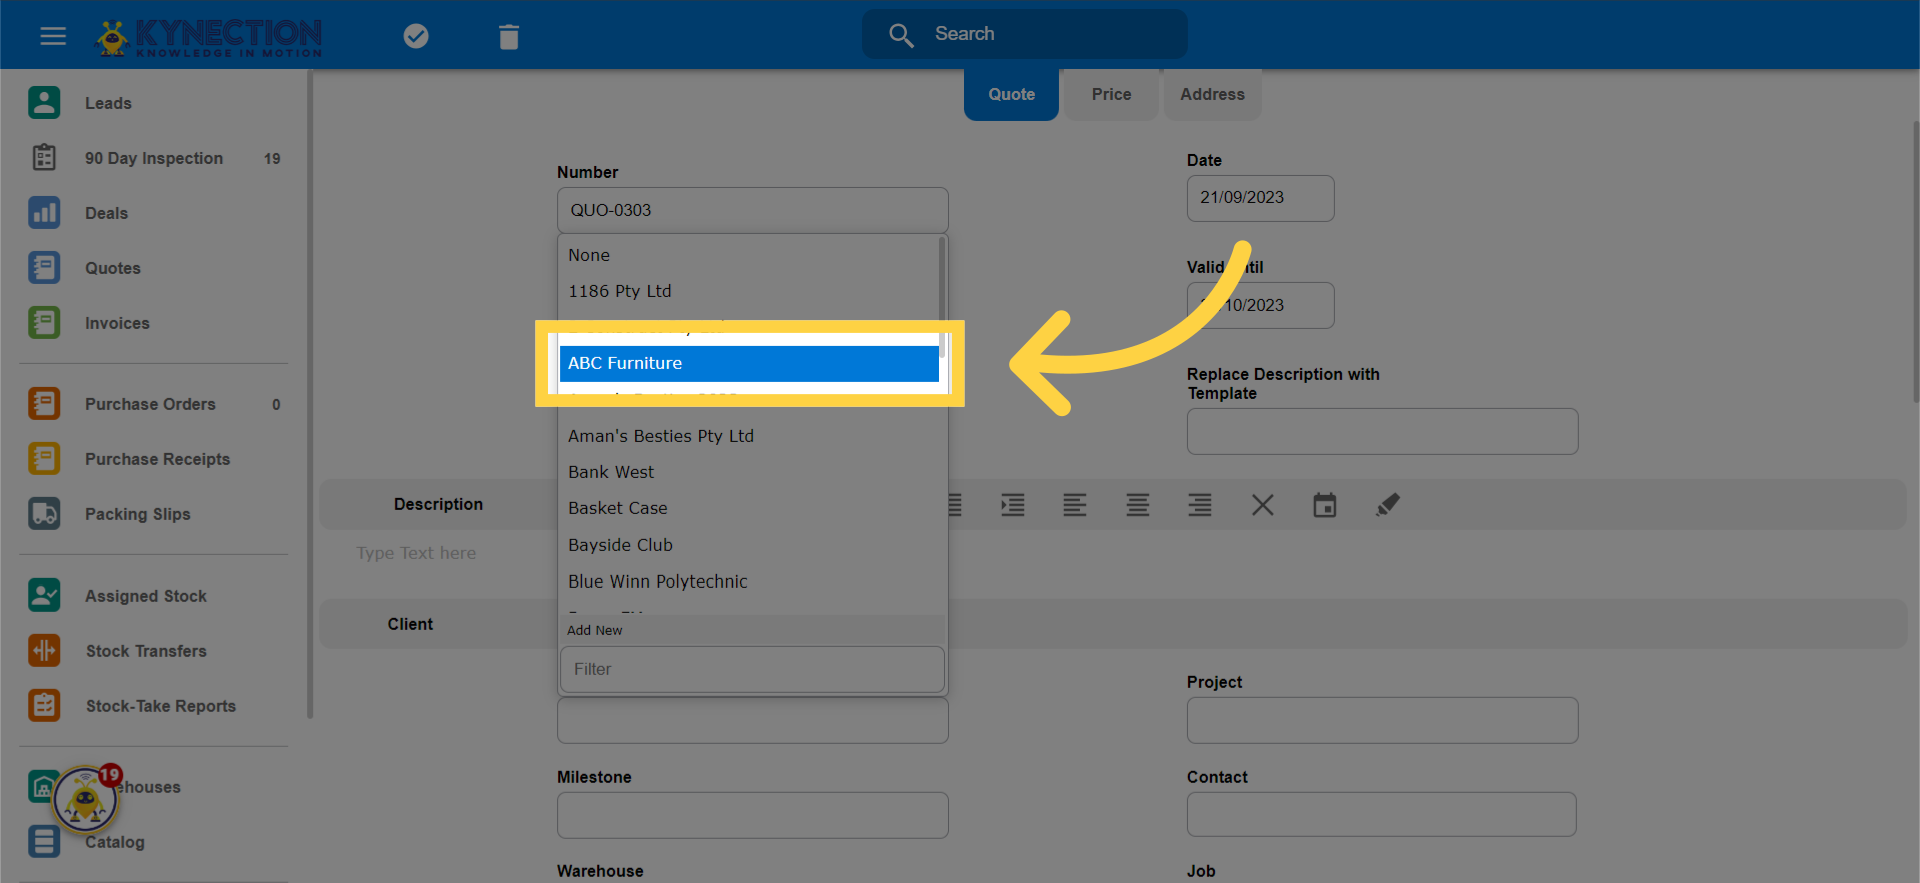
20. Select the customer you made the rate for
Select the ABC Furniture customer.
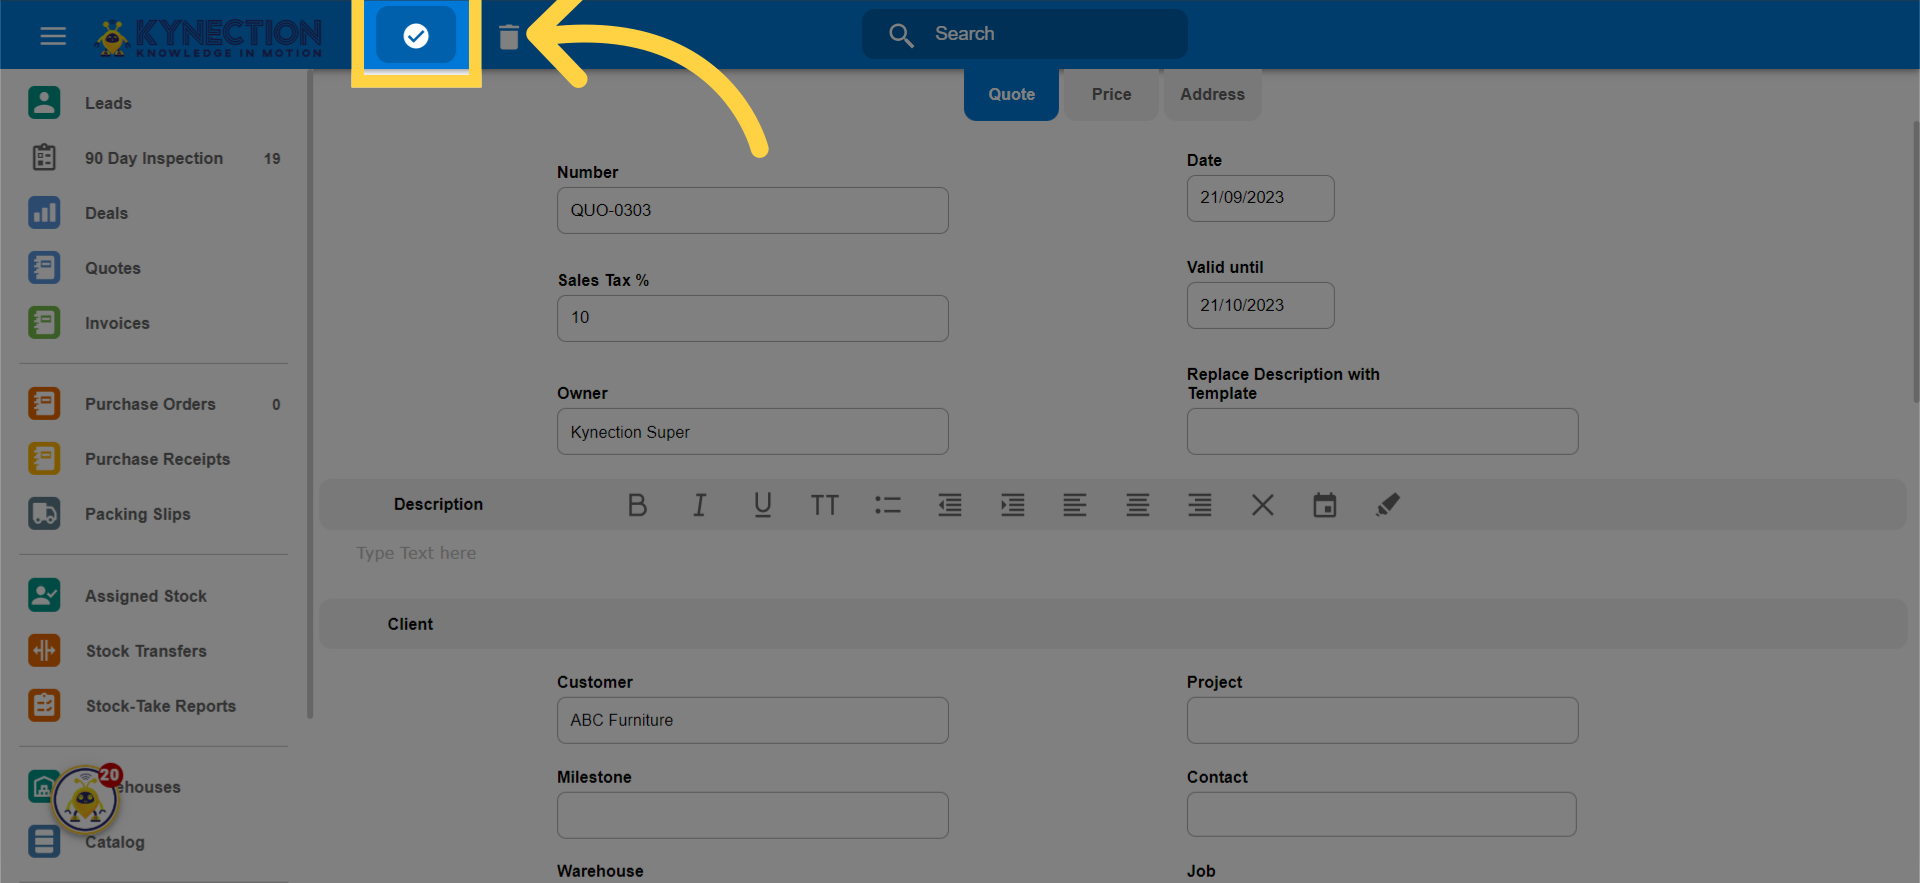
21. Click tick icon
Click the selected button
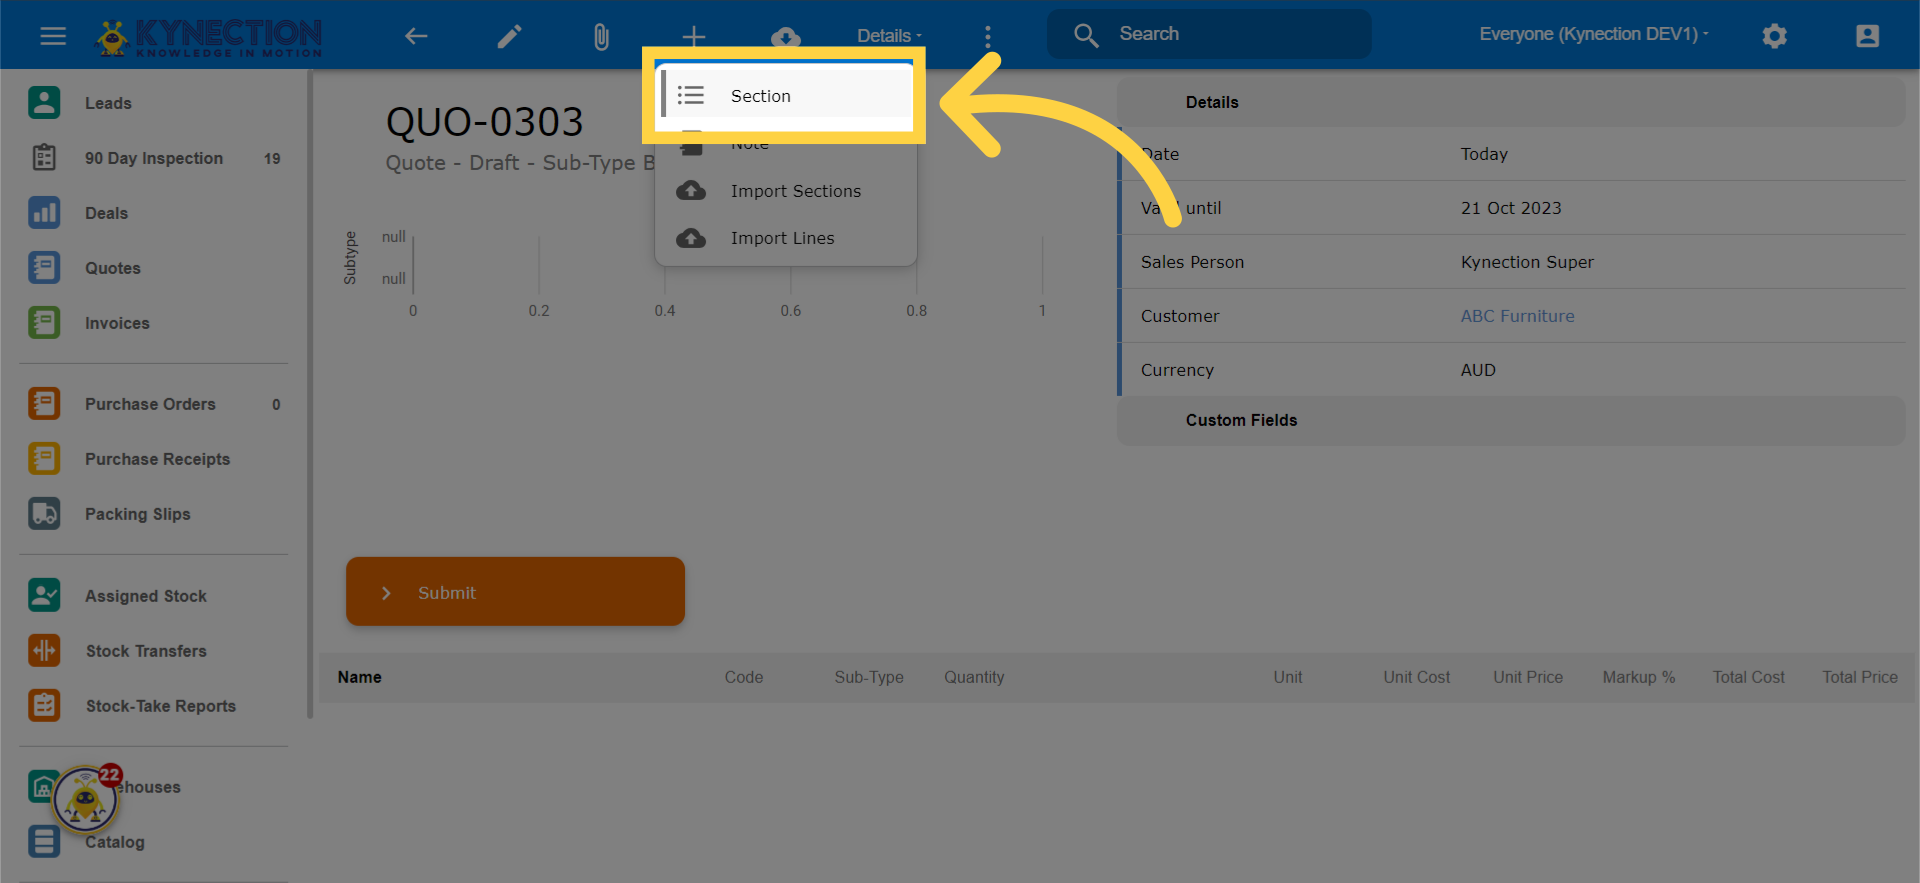
22. Click Plus icon
Click the selected option

23. Click "Section"
Choose the "Section" option.
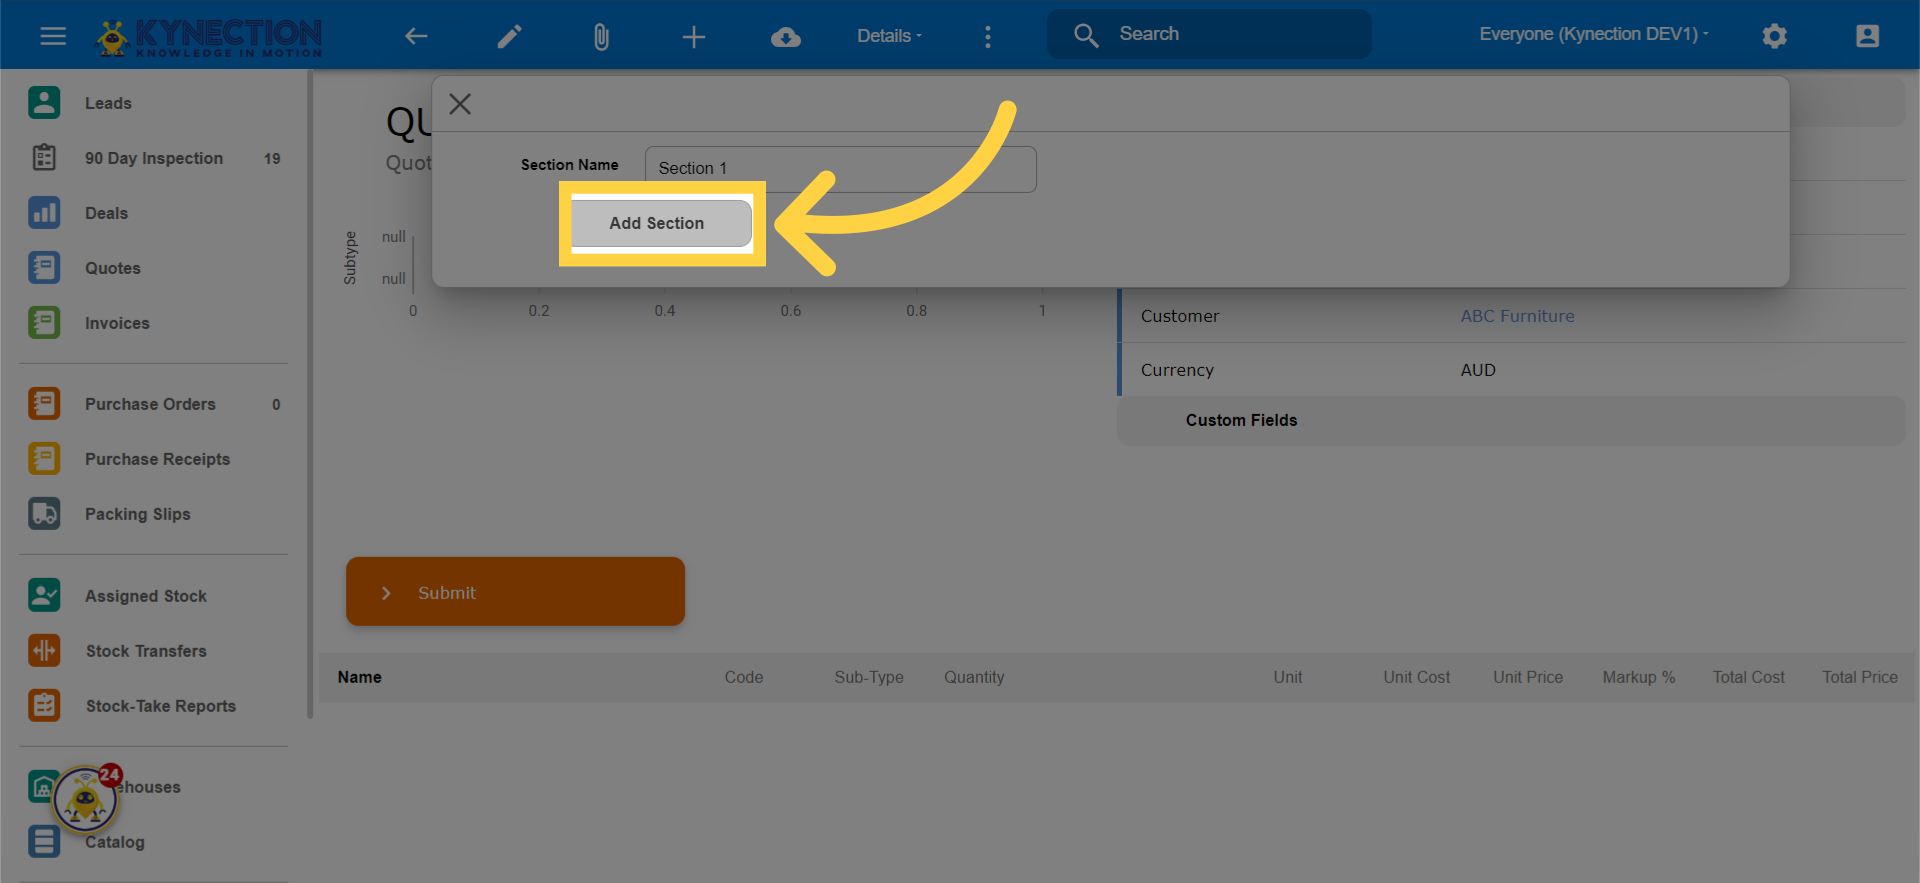
24. Fill "Section name"
Enter "Section 1" as the section name.

25. Click "Add Section"
Click on "Add Section".
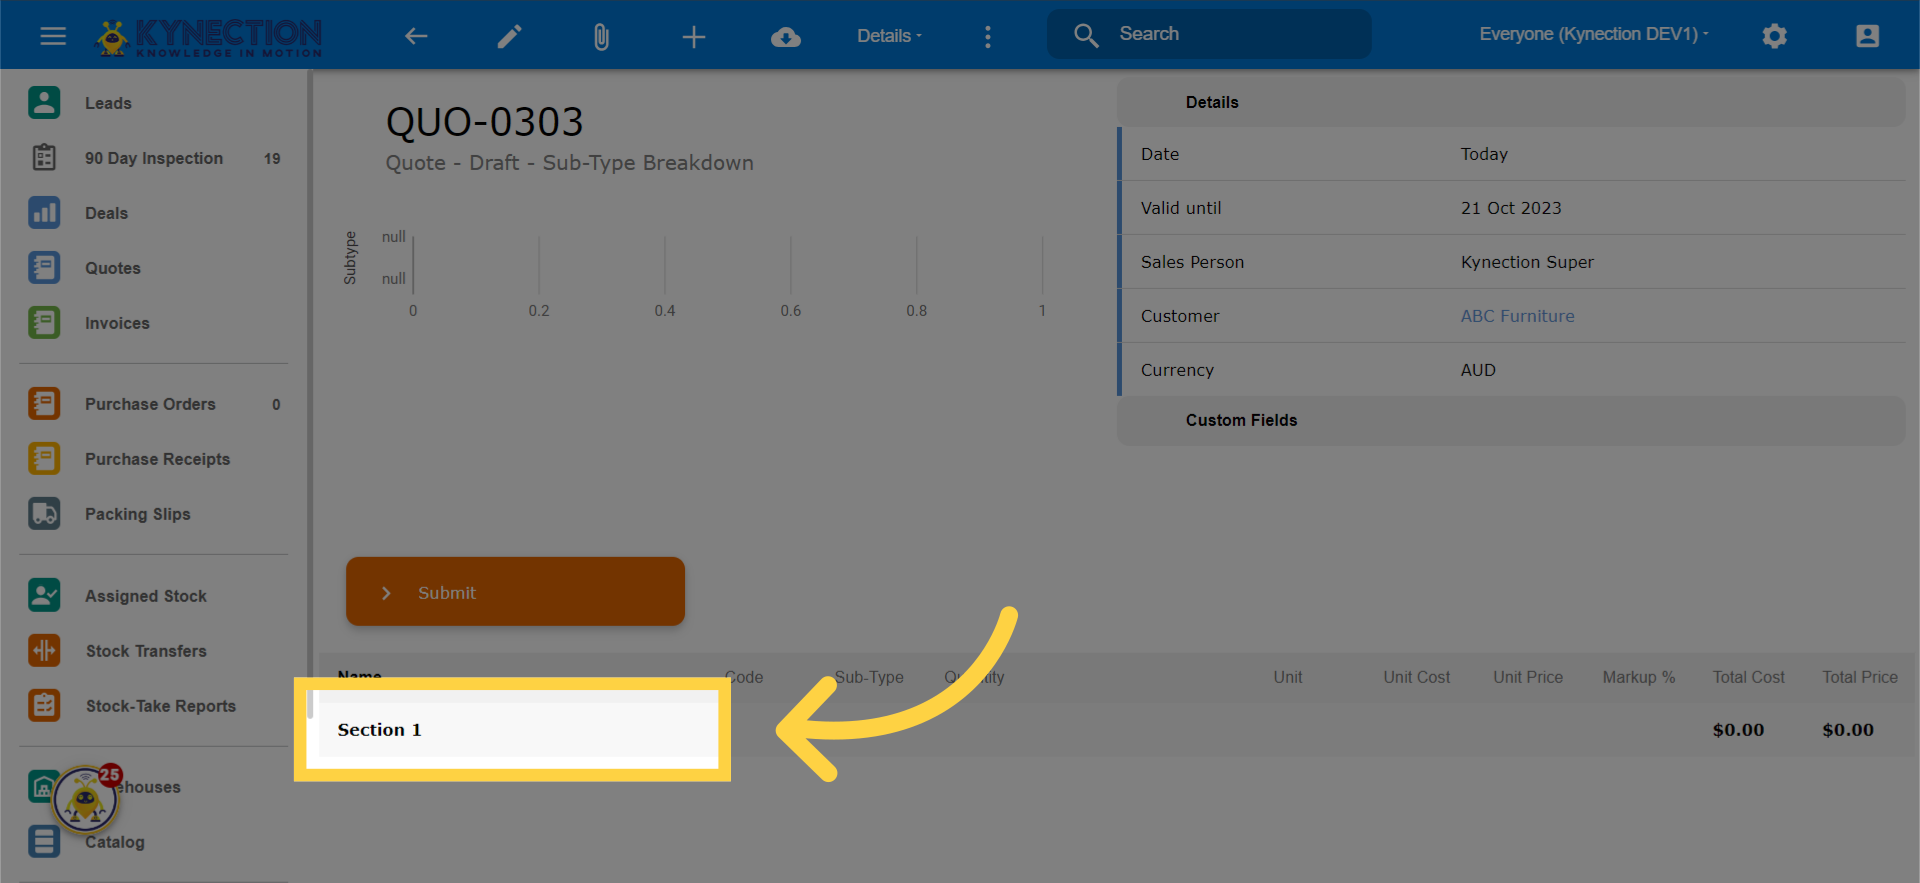
26. Click "Section 1"
Select the "Section 1" section.
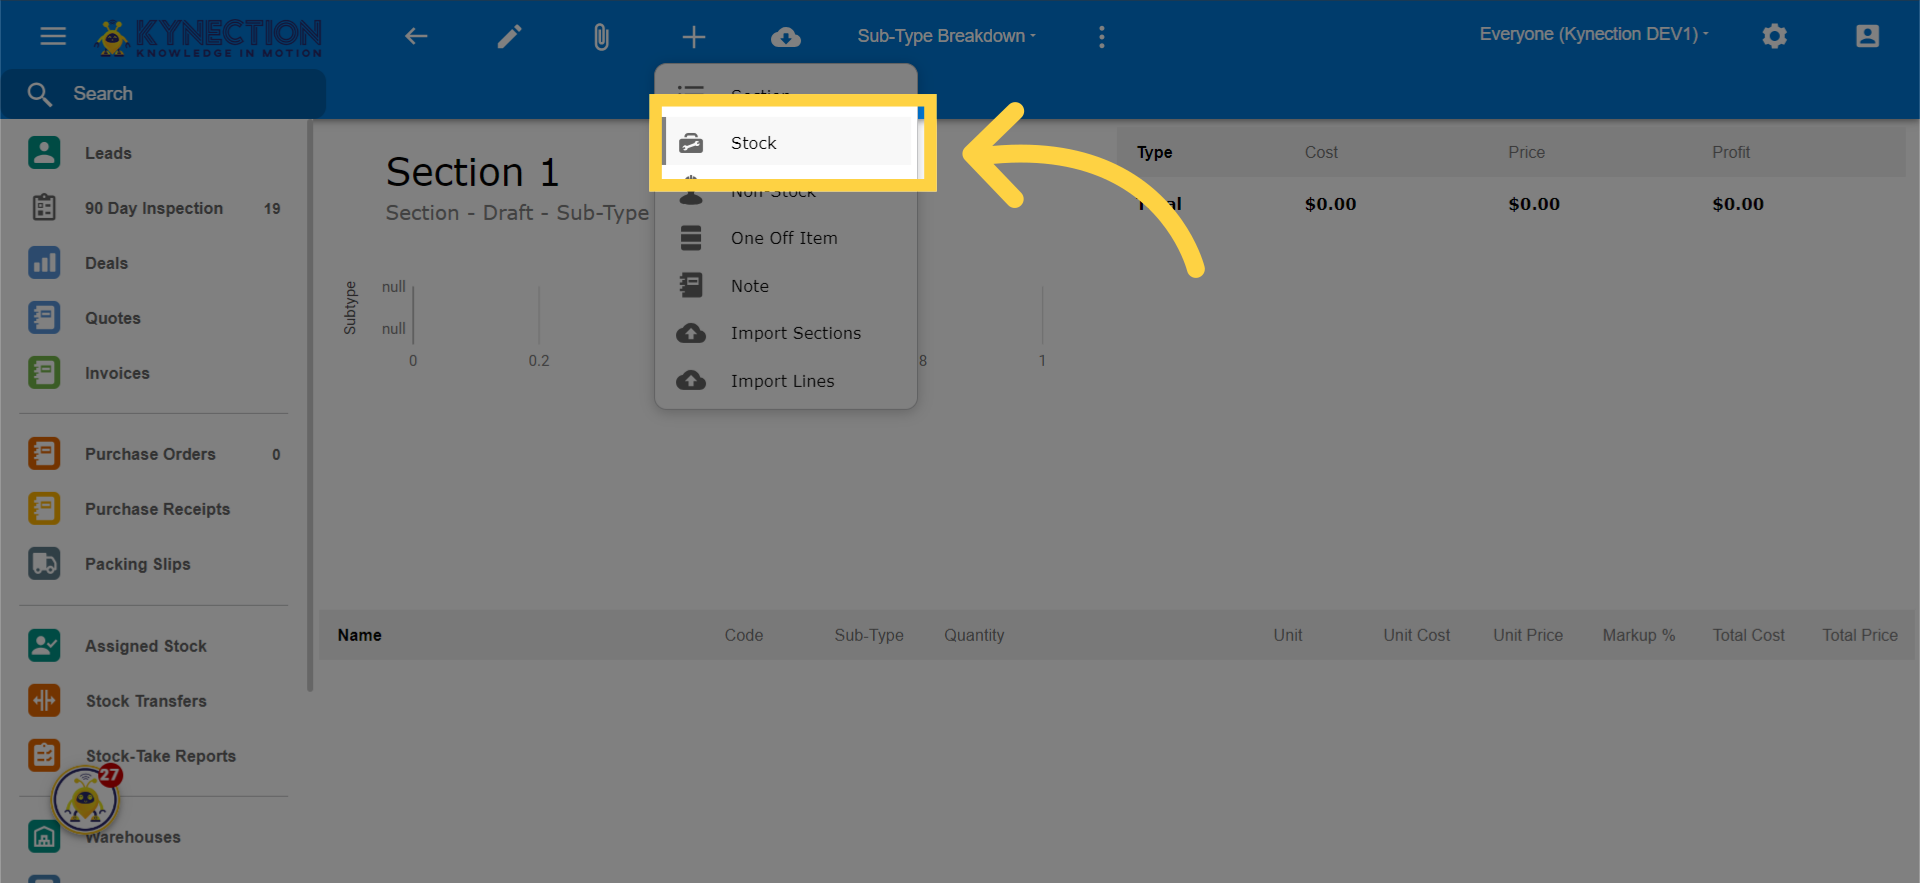
27. Click plus icon
Select this field

28. Click "Stock"
Navigate to the Stock section.
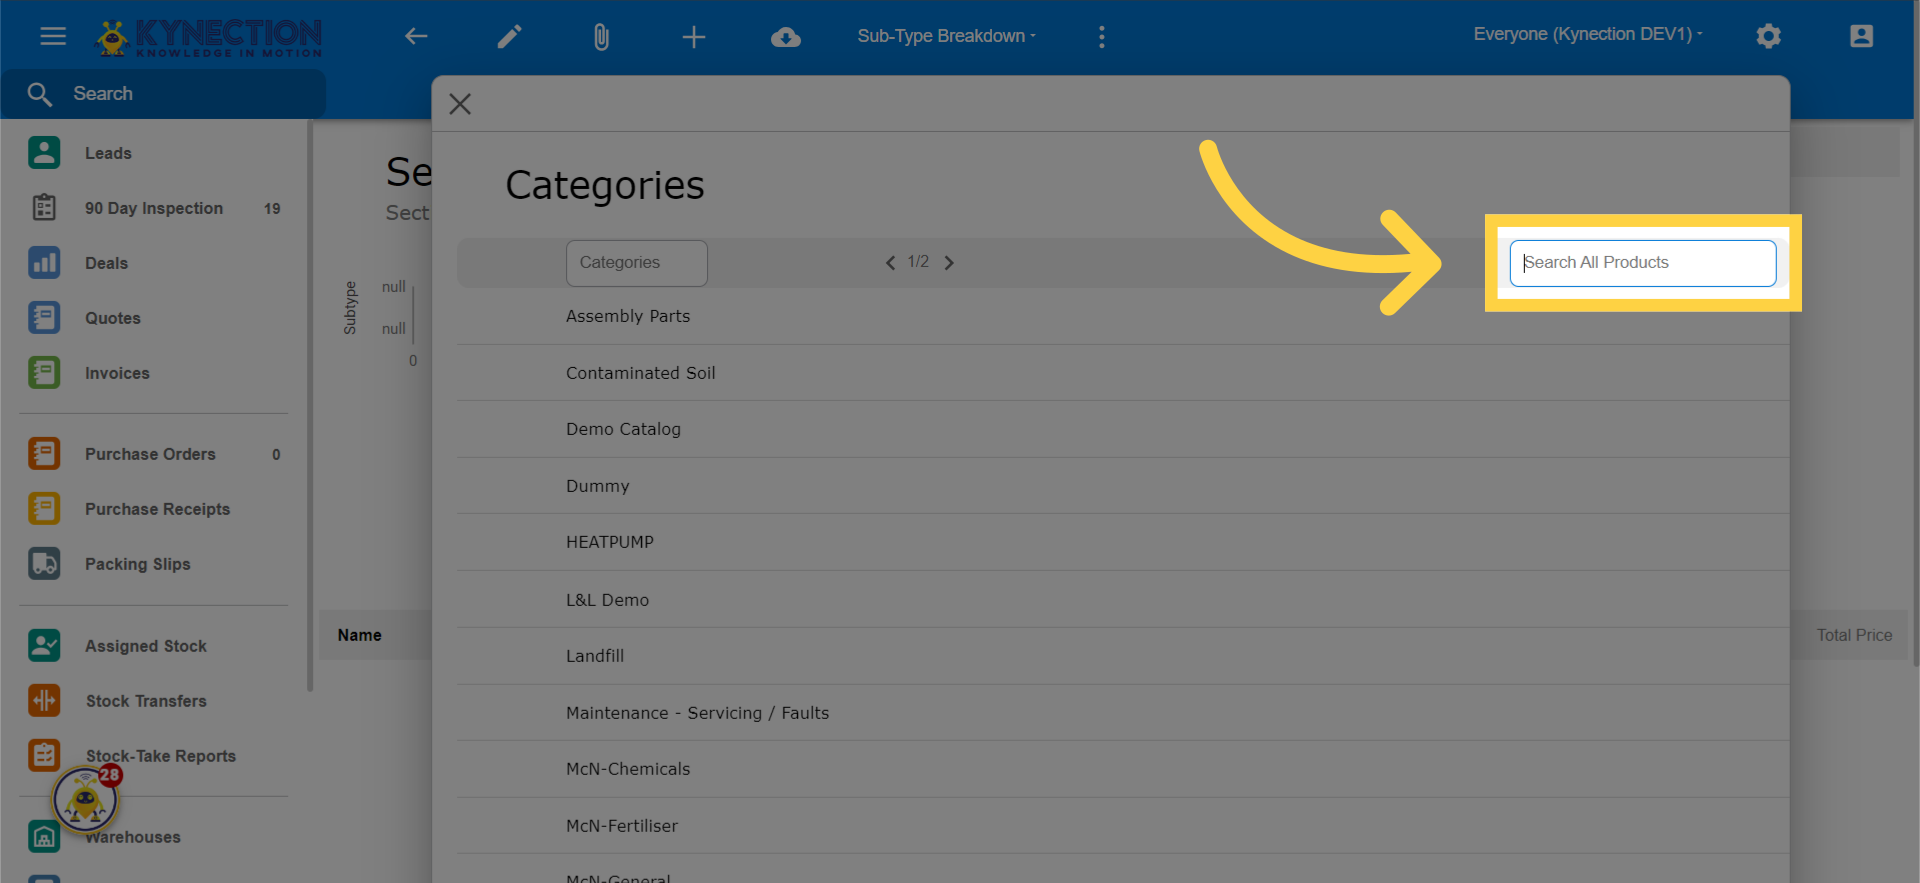
29. Click "Search All Products"
Select the option to search for all products.
30. Search for the product
Navigate to the specified location.

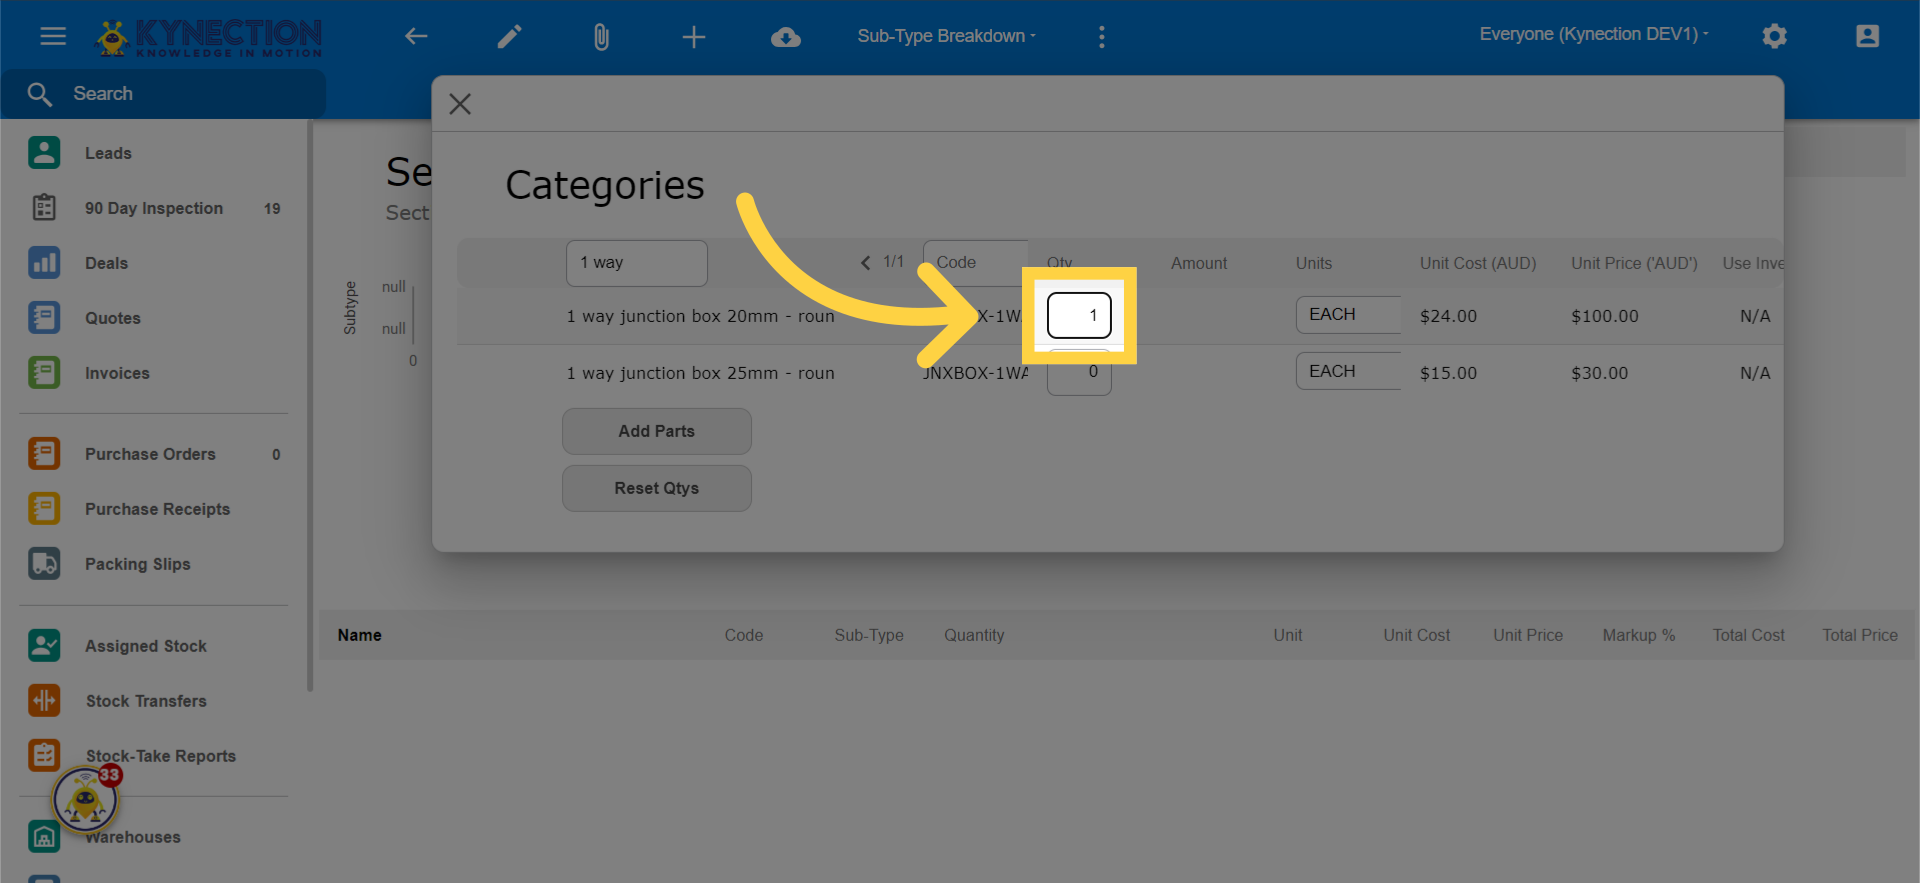
31. Fill Quantity
Enter "1" as the quantity.
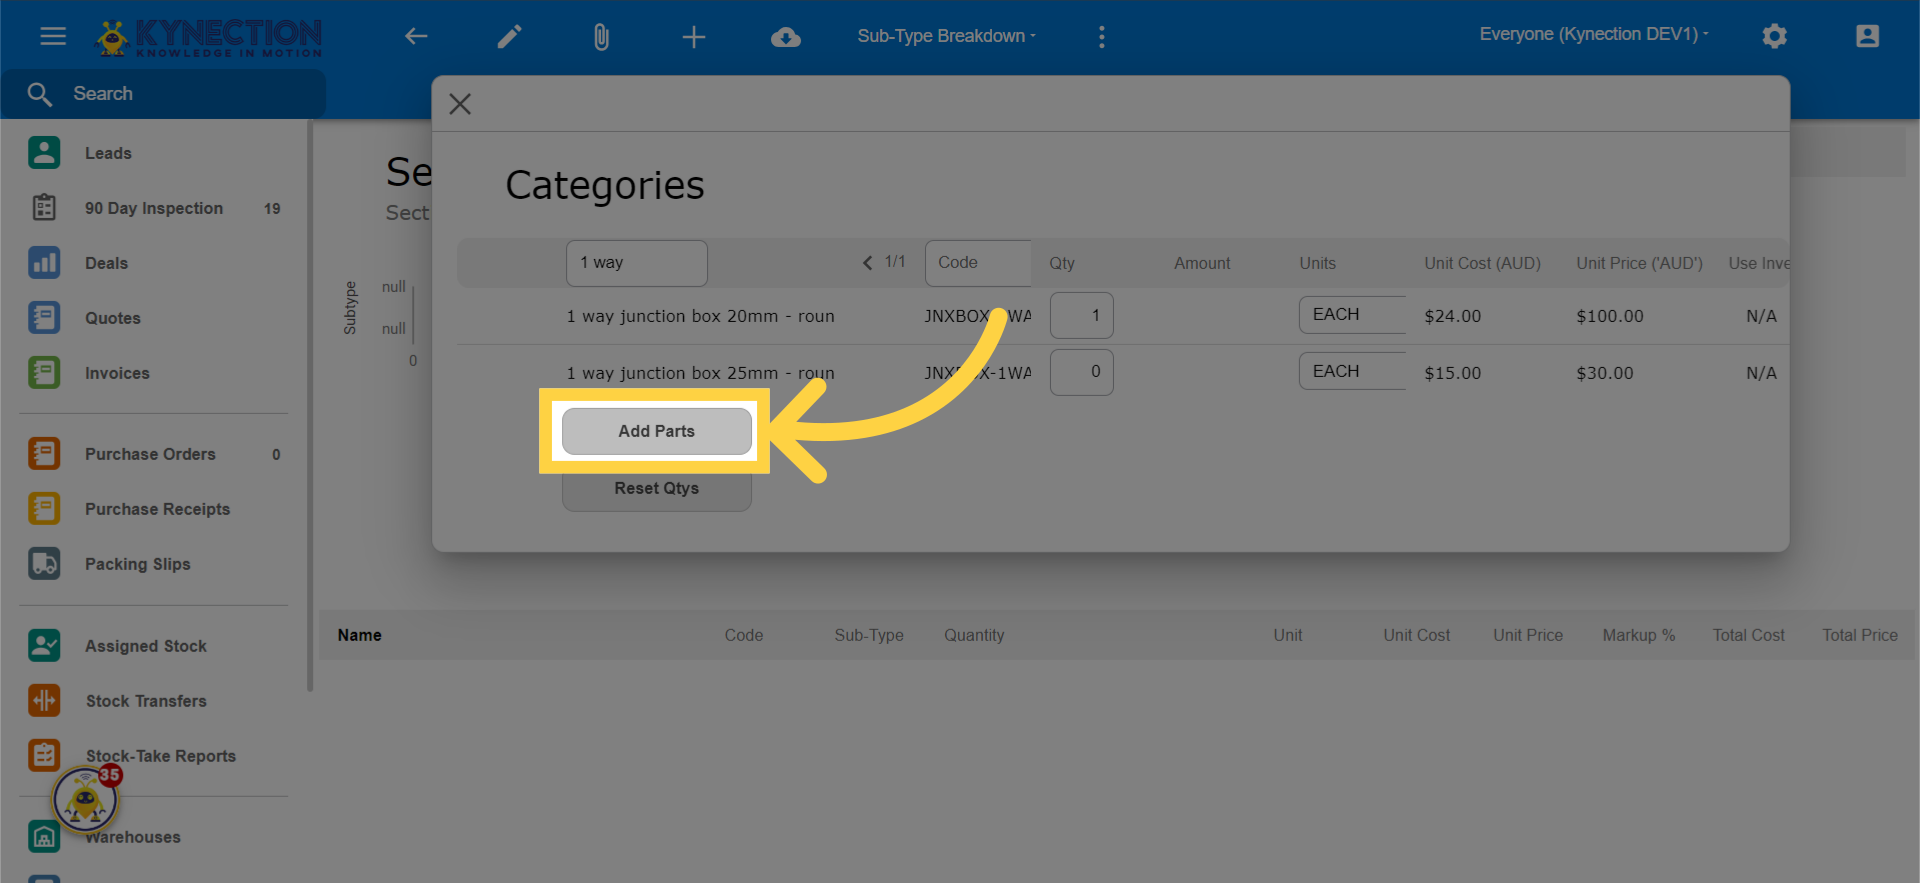
32. Click "Add Parts"
Select the option to add parts.
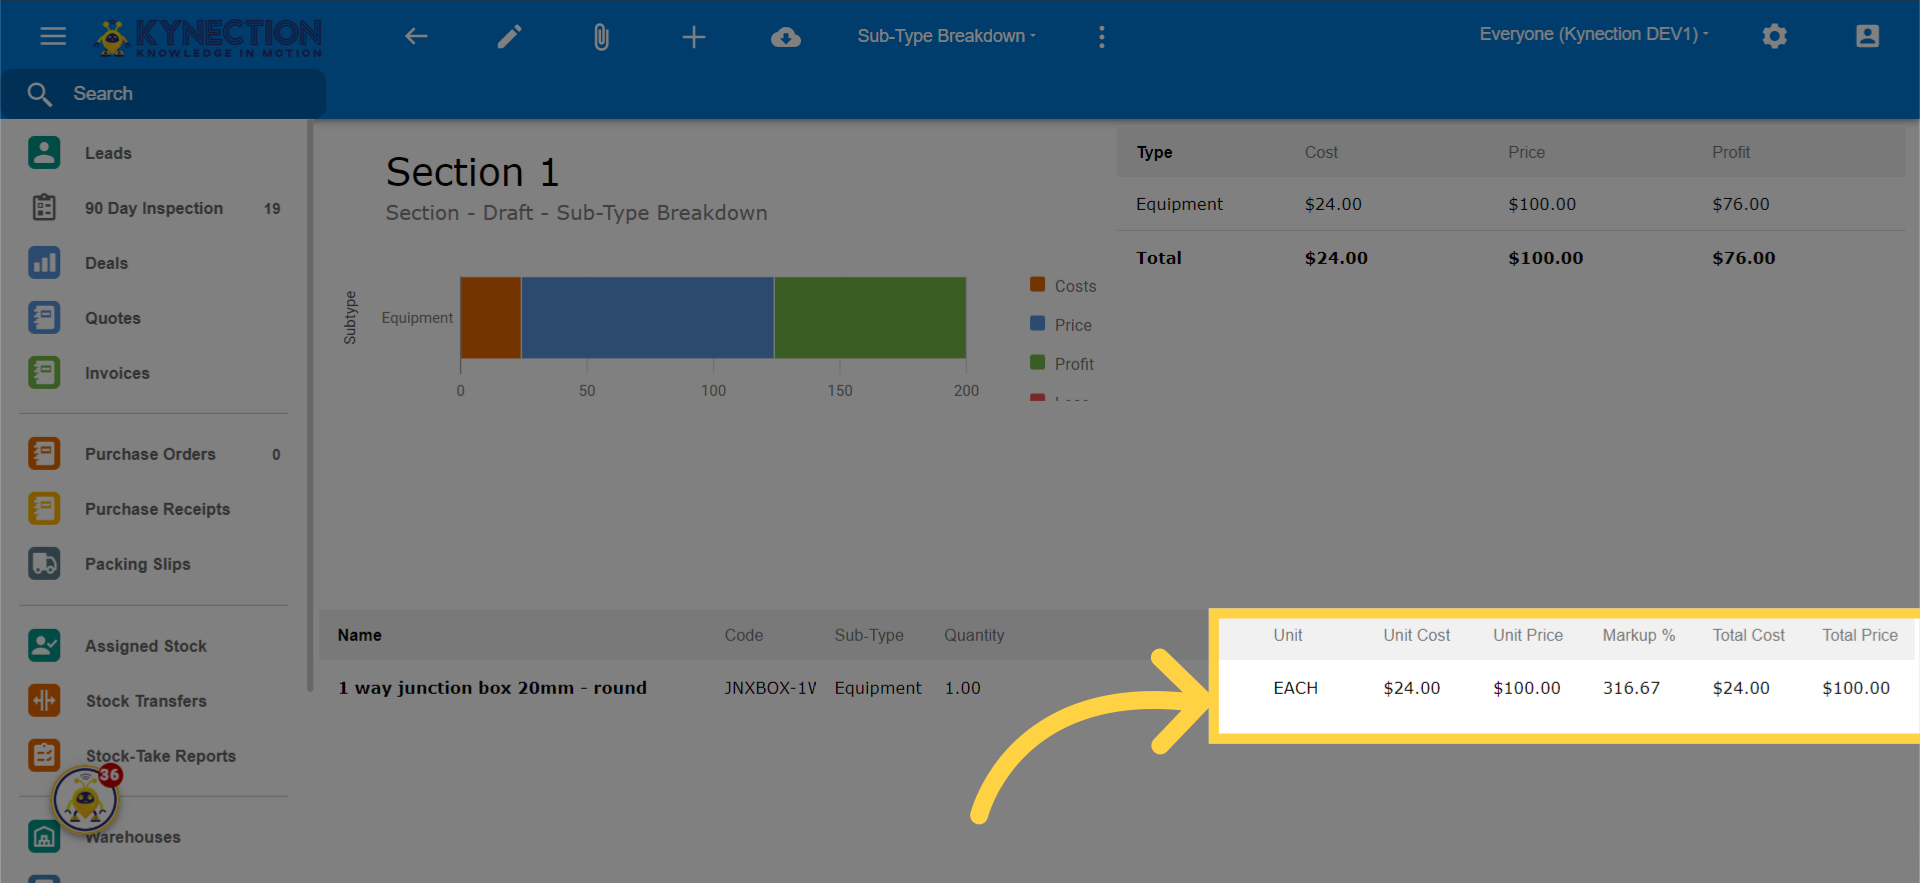
33. The unit price is the same as we created in the customer rate
Click on the specified location.
This guide covered the steps to access the Sales & Inventory Management feature, open the Rate Cards section, navigate to the Supplier/Customer section, select Customer Cards, choose a specific customer, click on different locations, fill in values, select options, add customer details, navigate to the Quotes section, add sections, navigate to the Stock section, search for products, select options, reset quantities, and add parts.
Open in App
